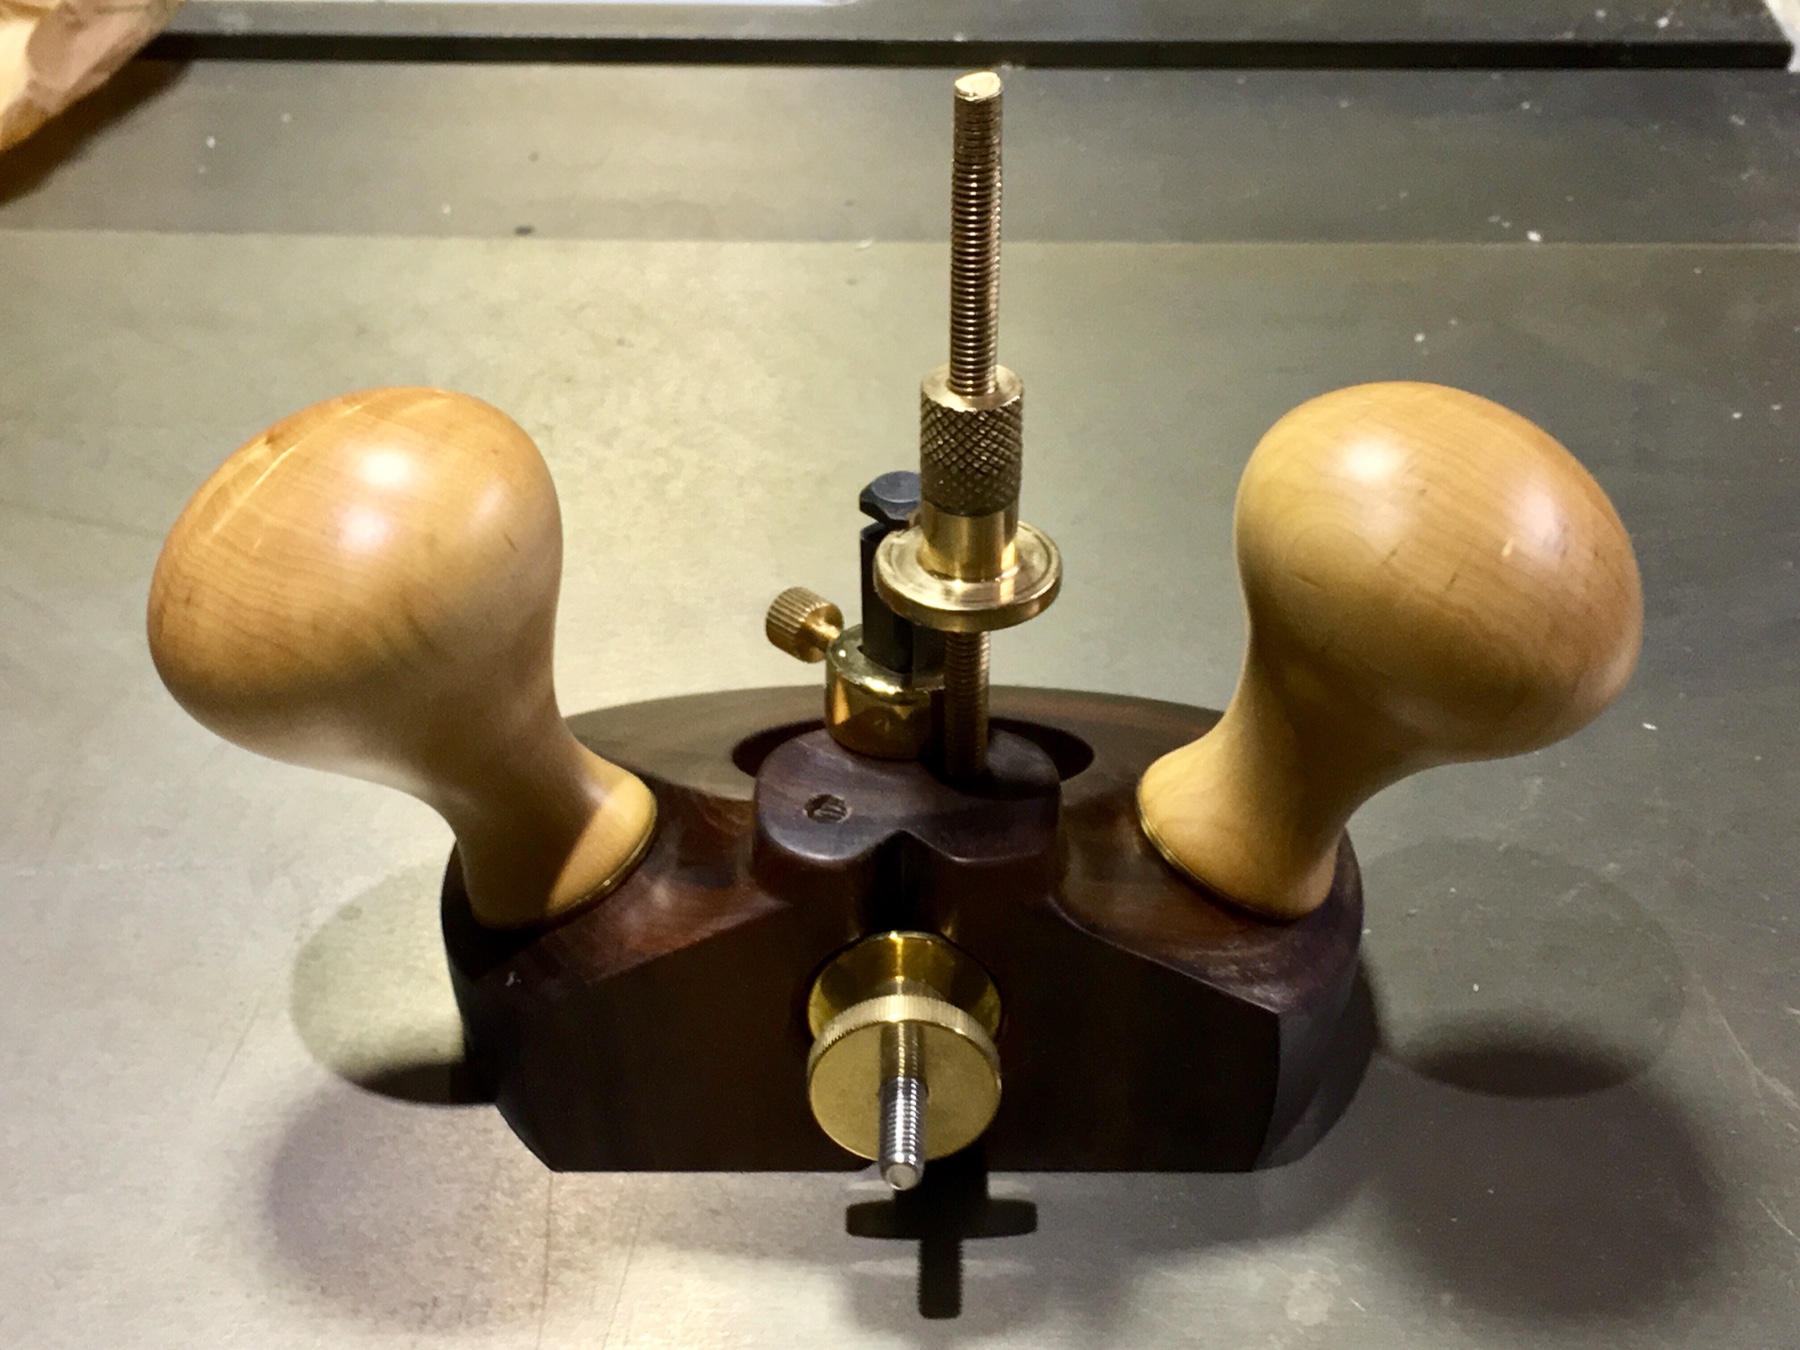
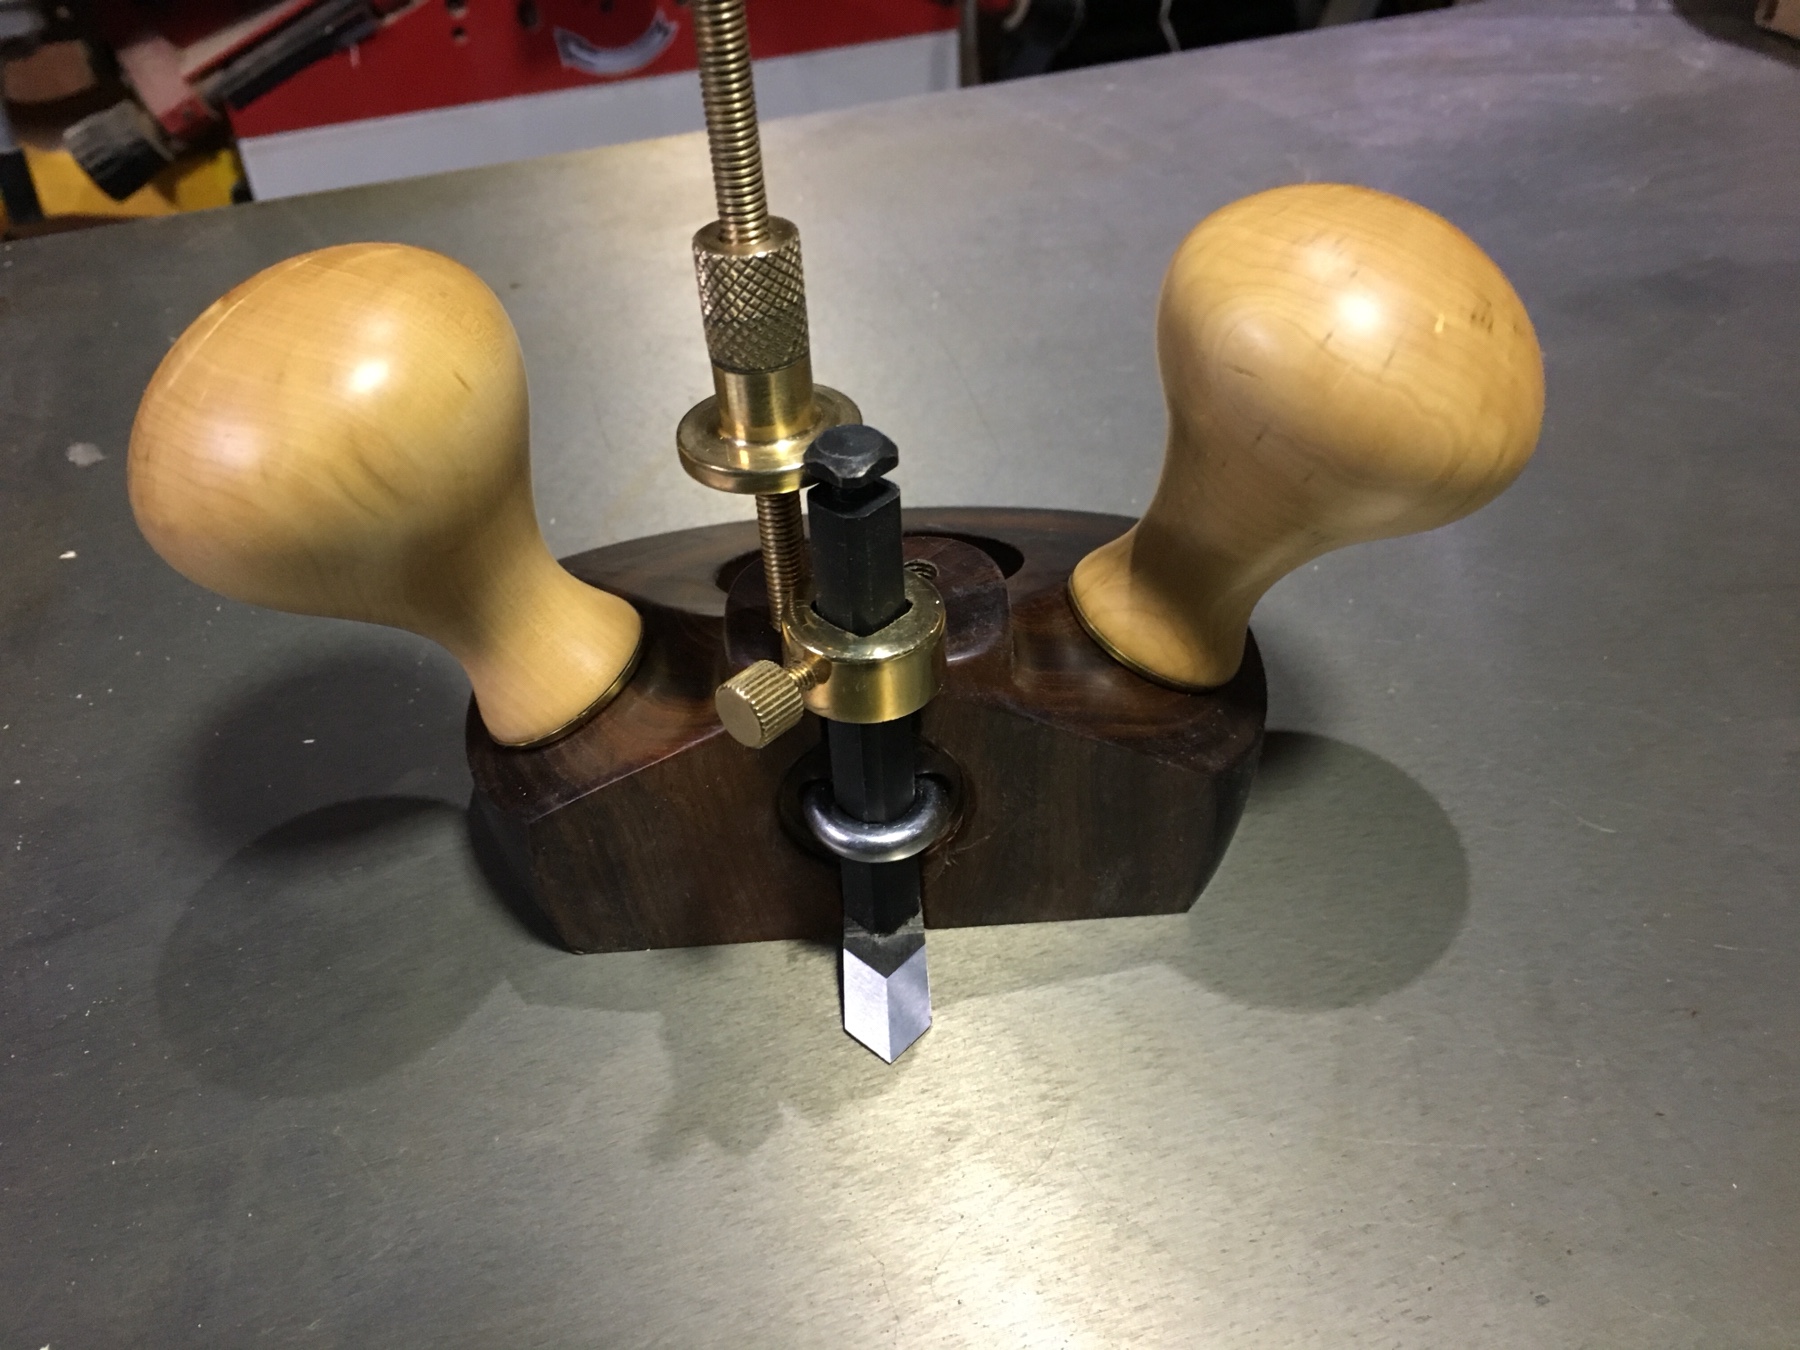
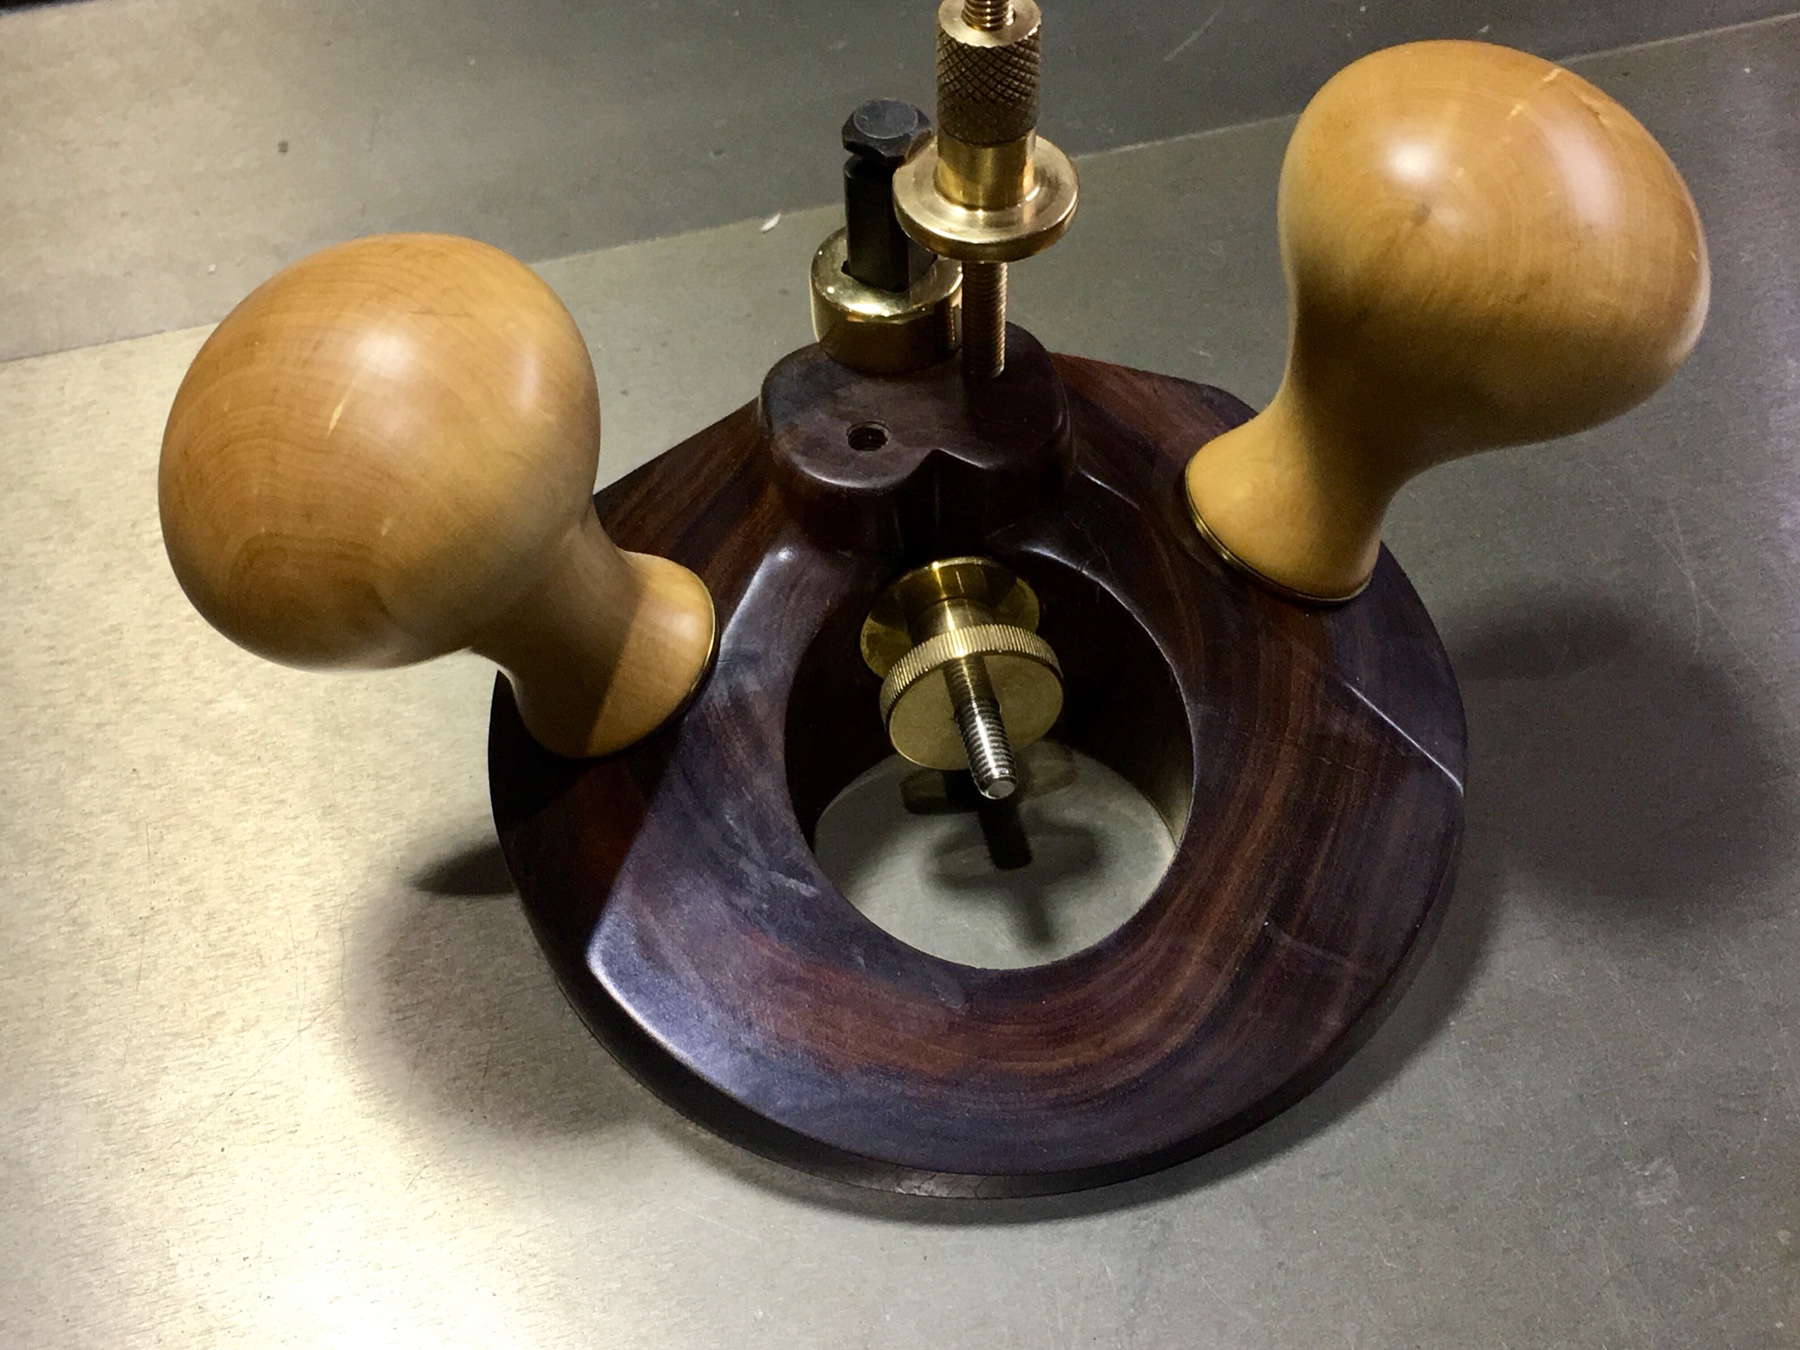
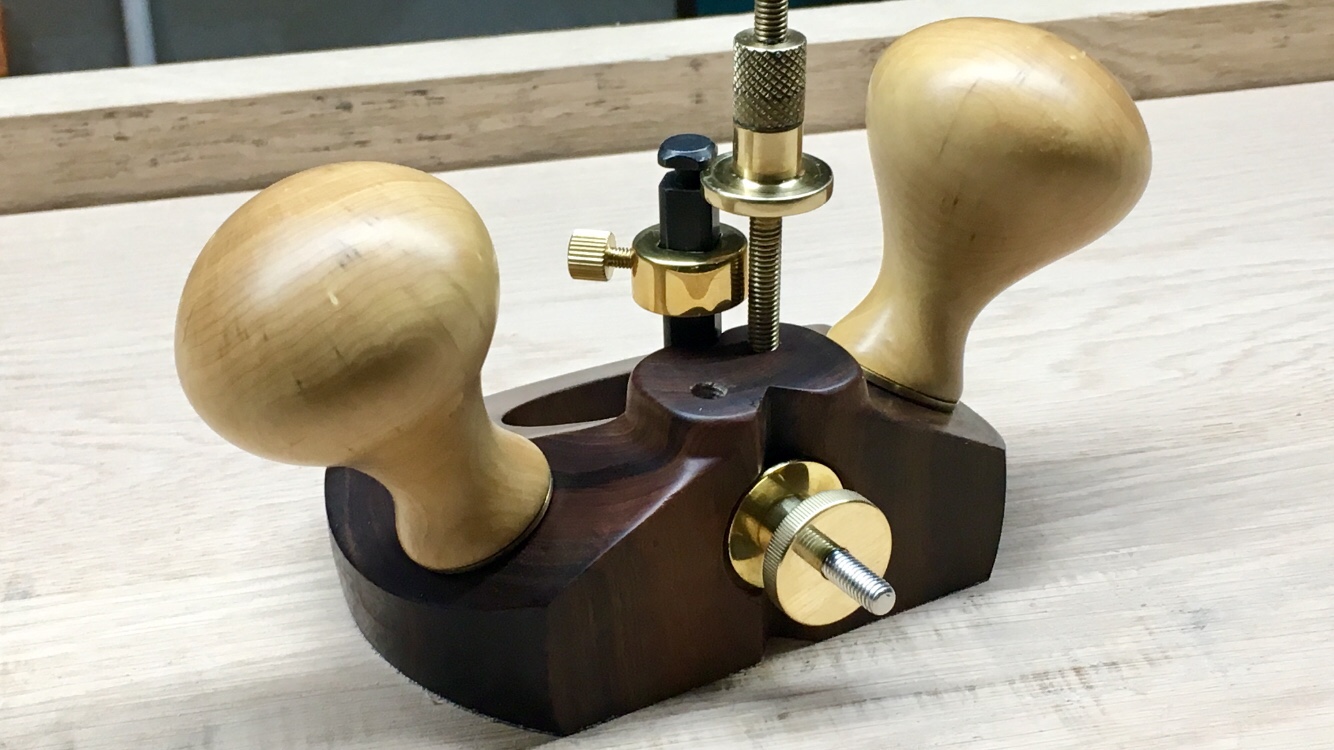
The “keeper” router plane WIP

UKworkshop.co.uk

Help Support UKworkshop.co.uk:

This site may earn a commission from merchant affiliate links, including eBay, Amazon, and others.
Back to the WIP...

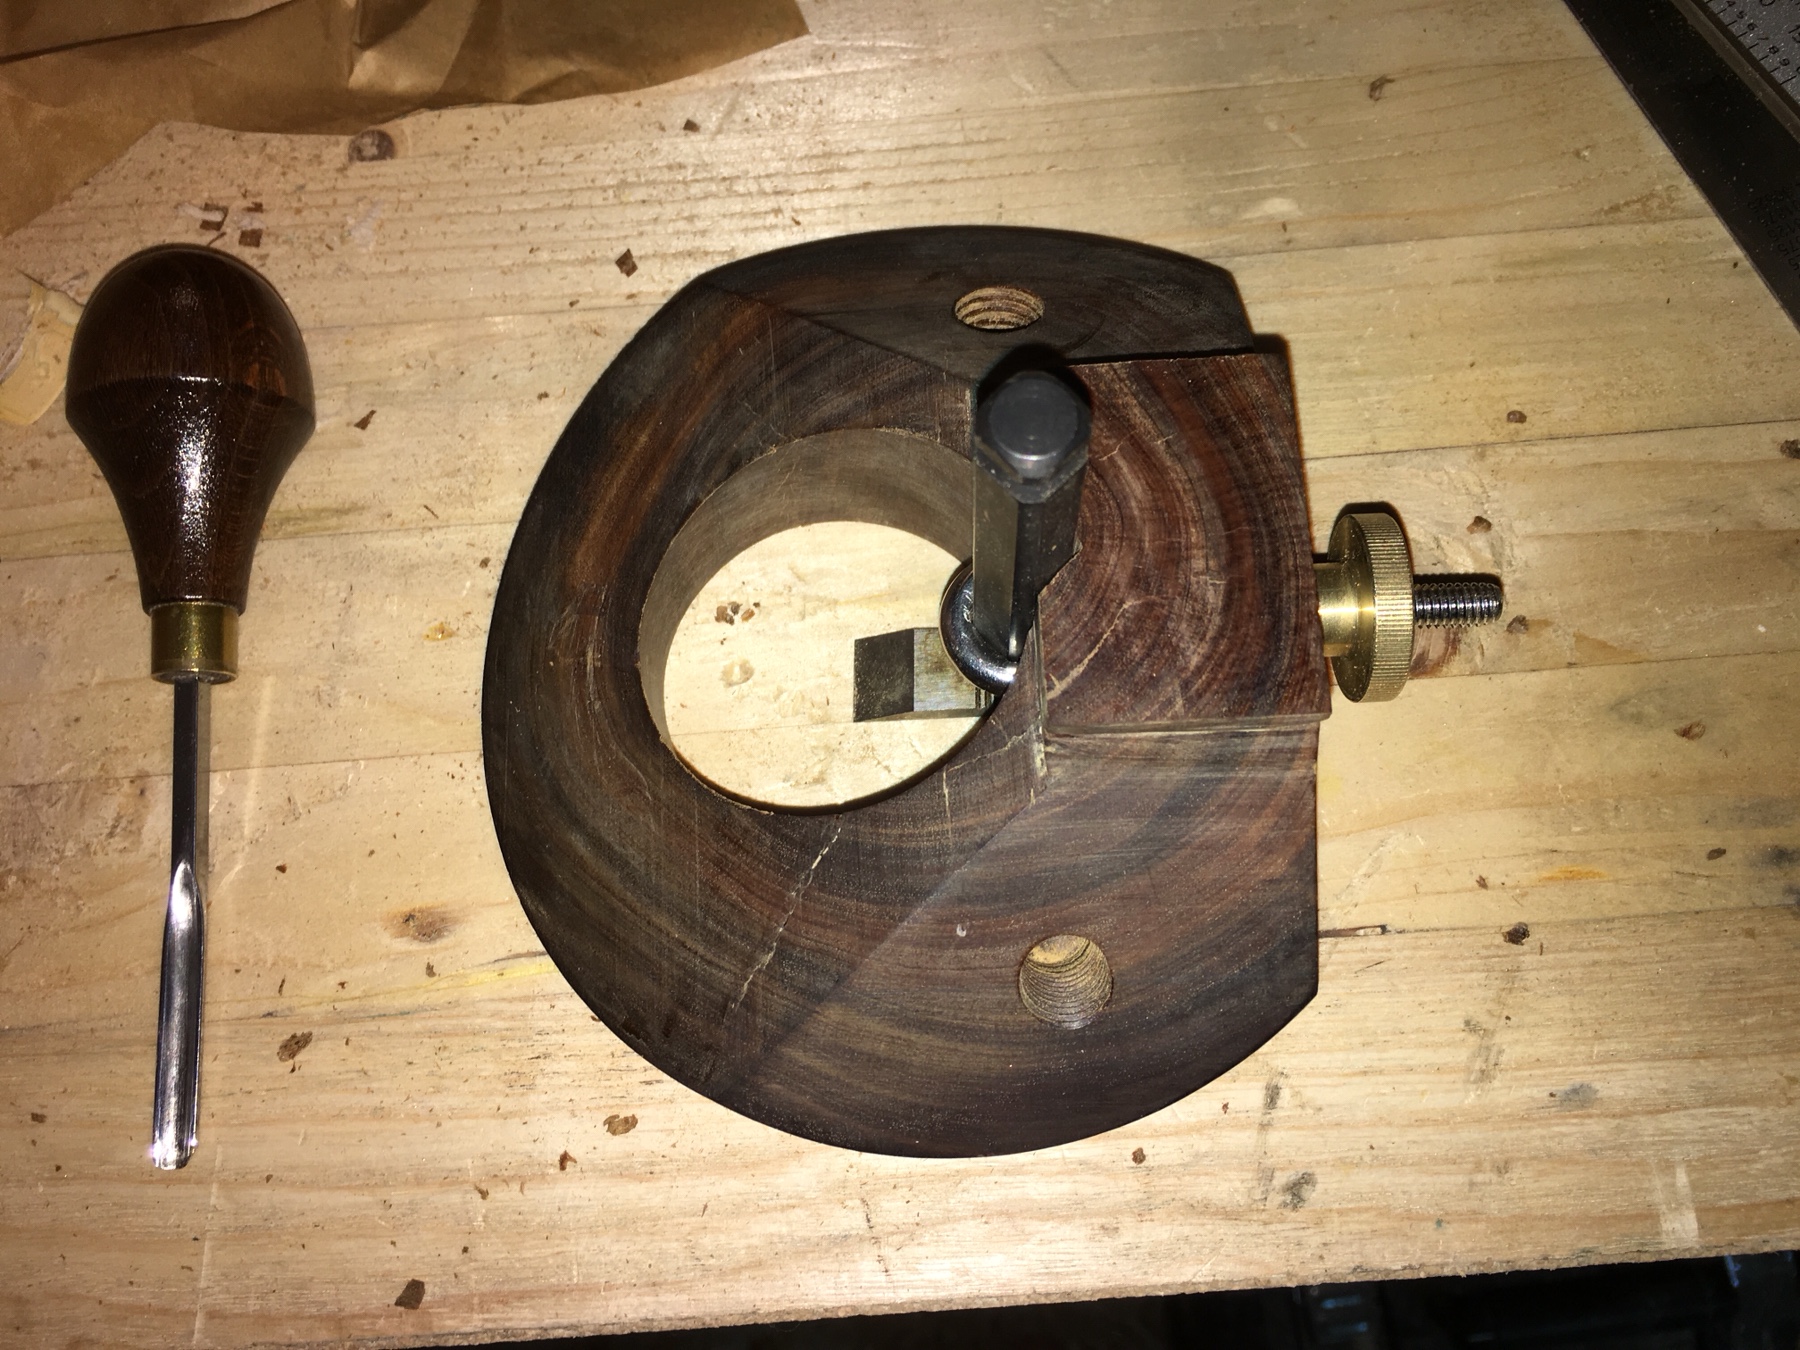
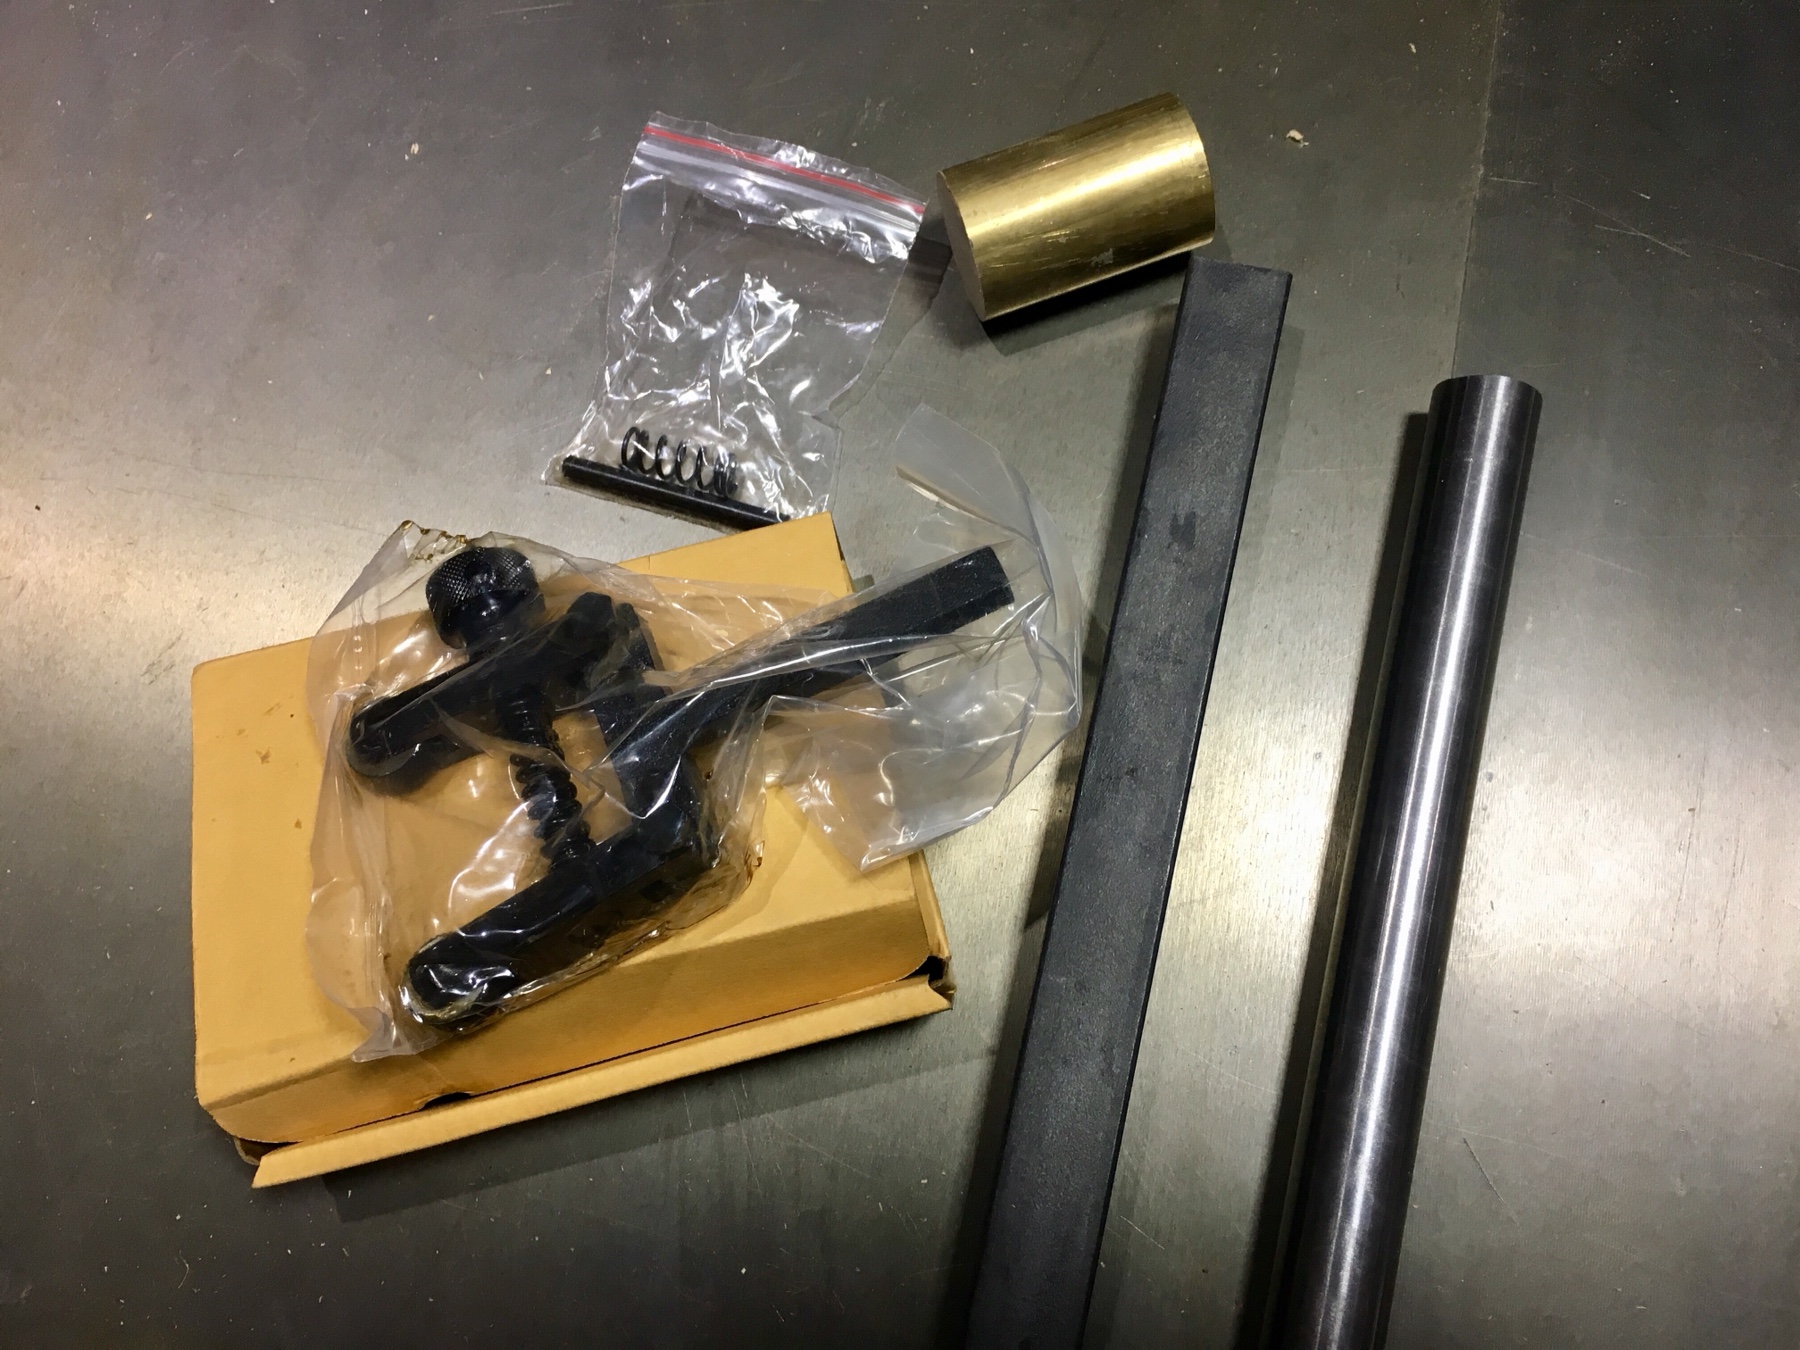
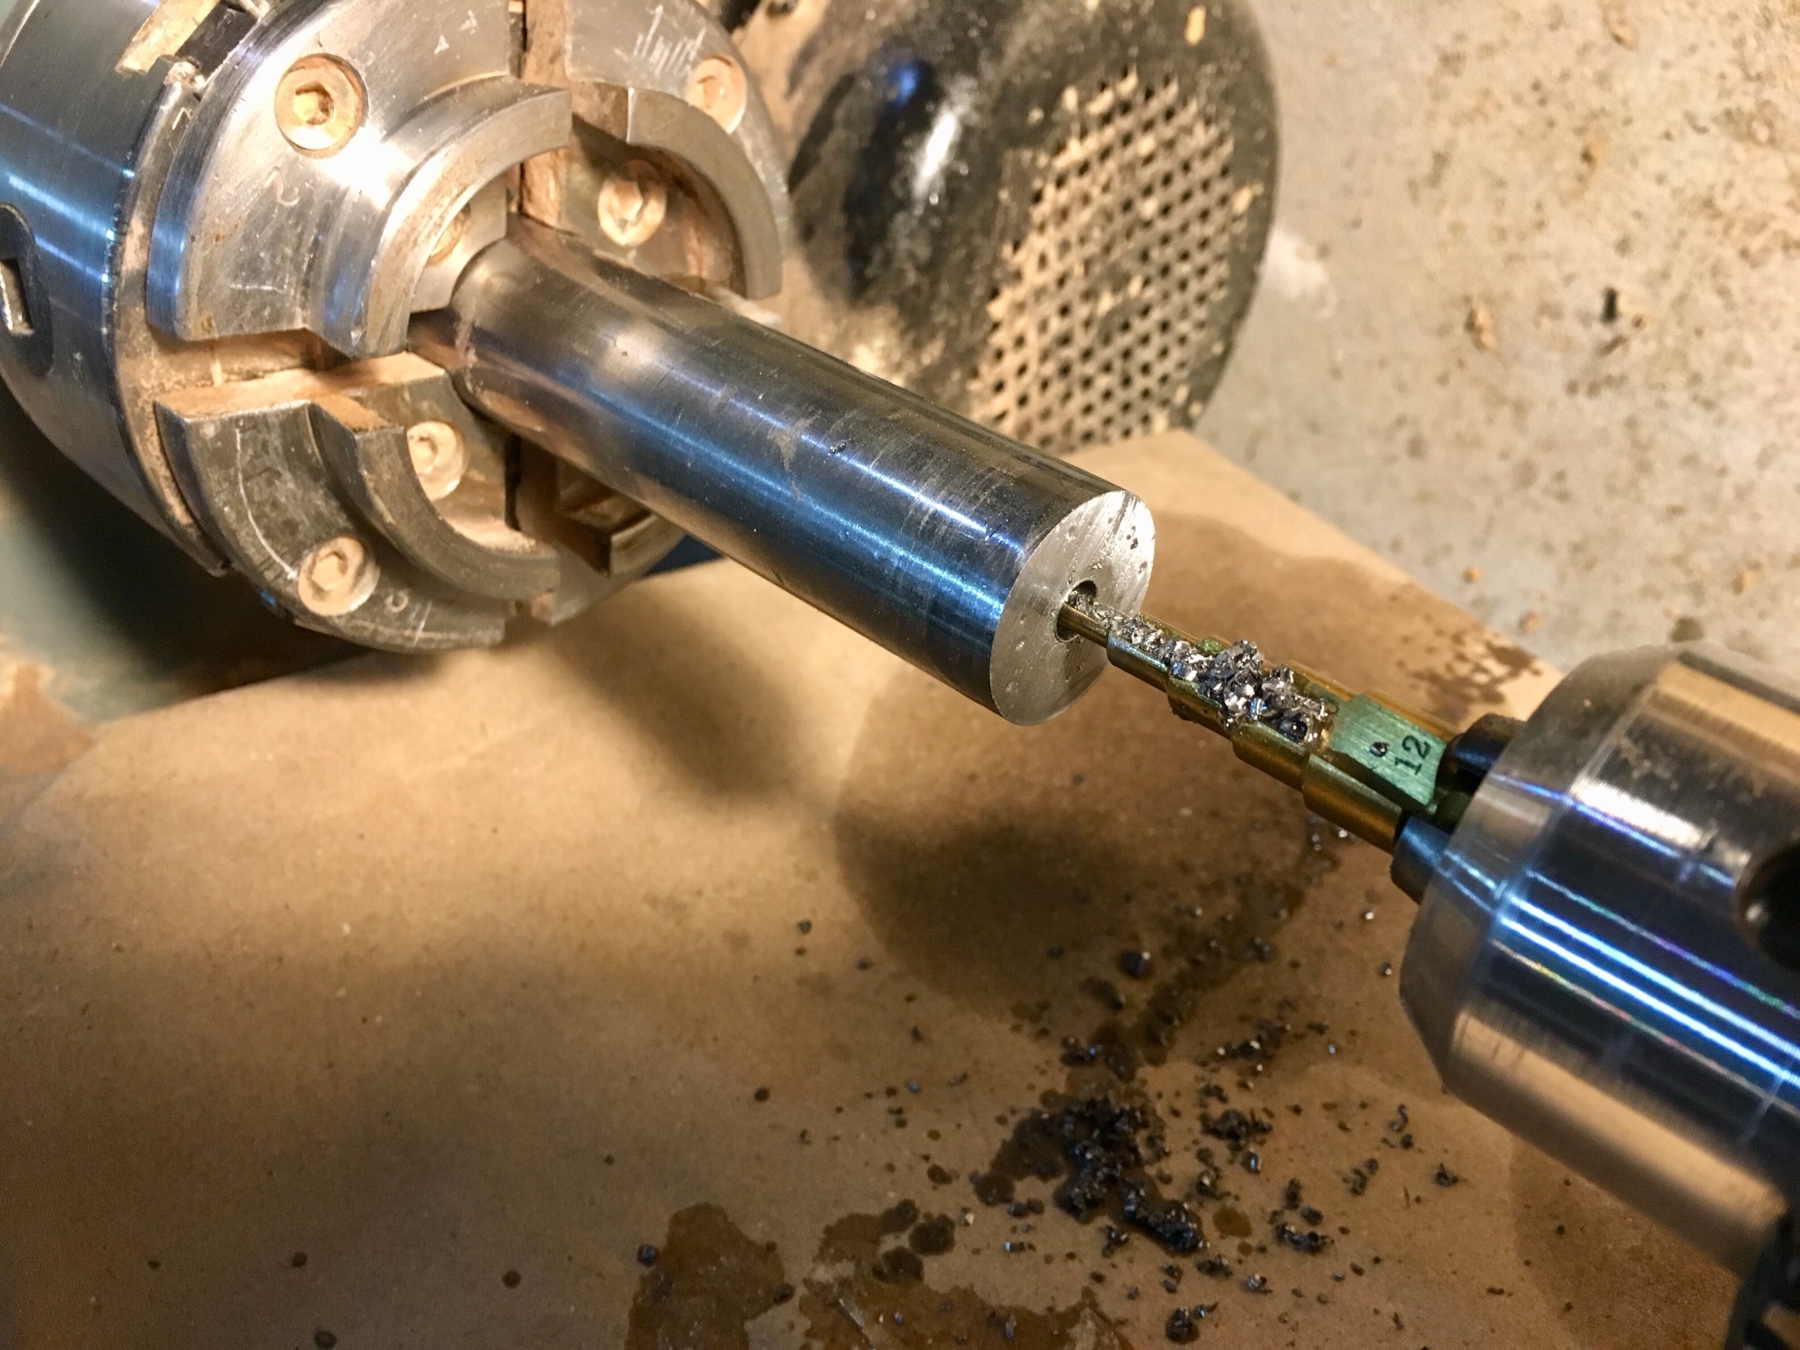
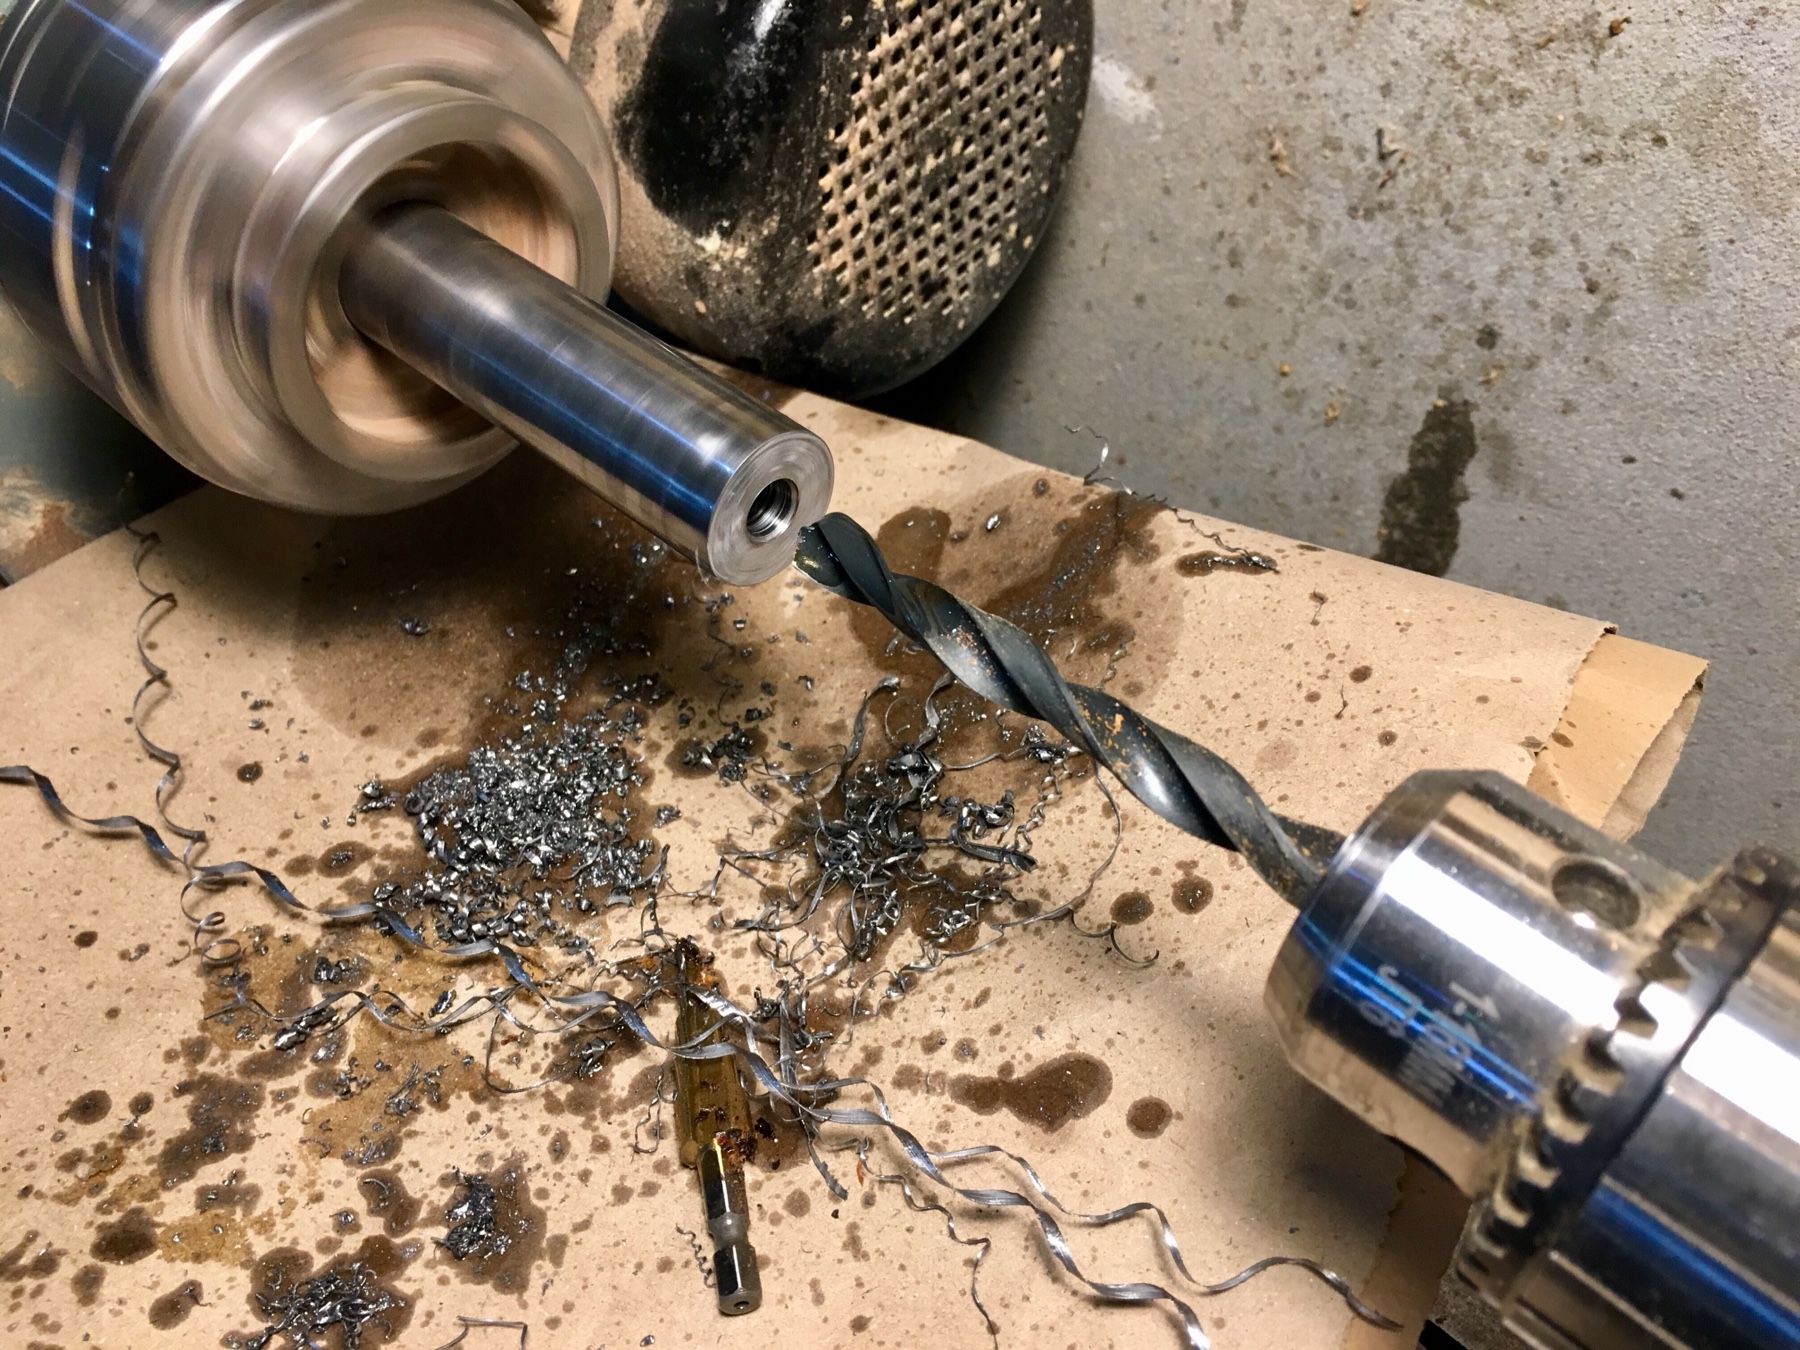
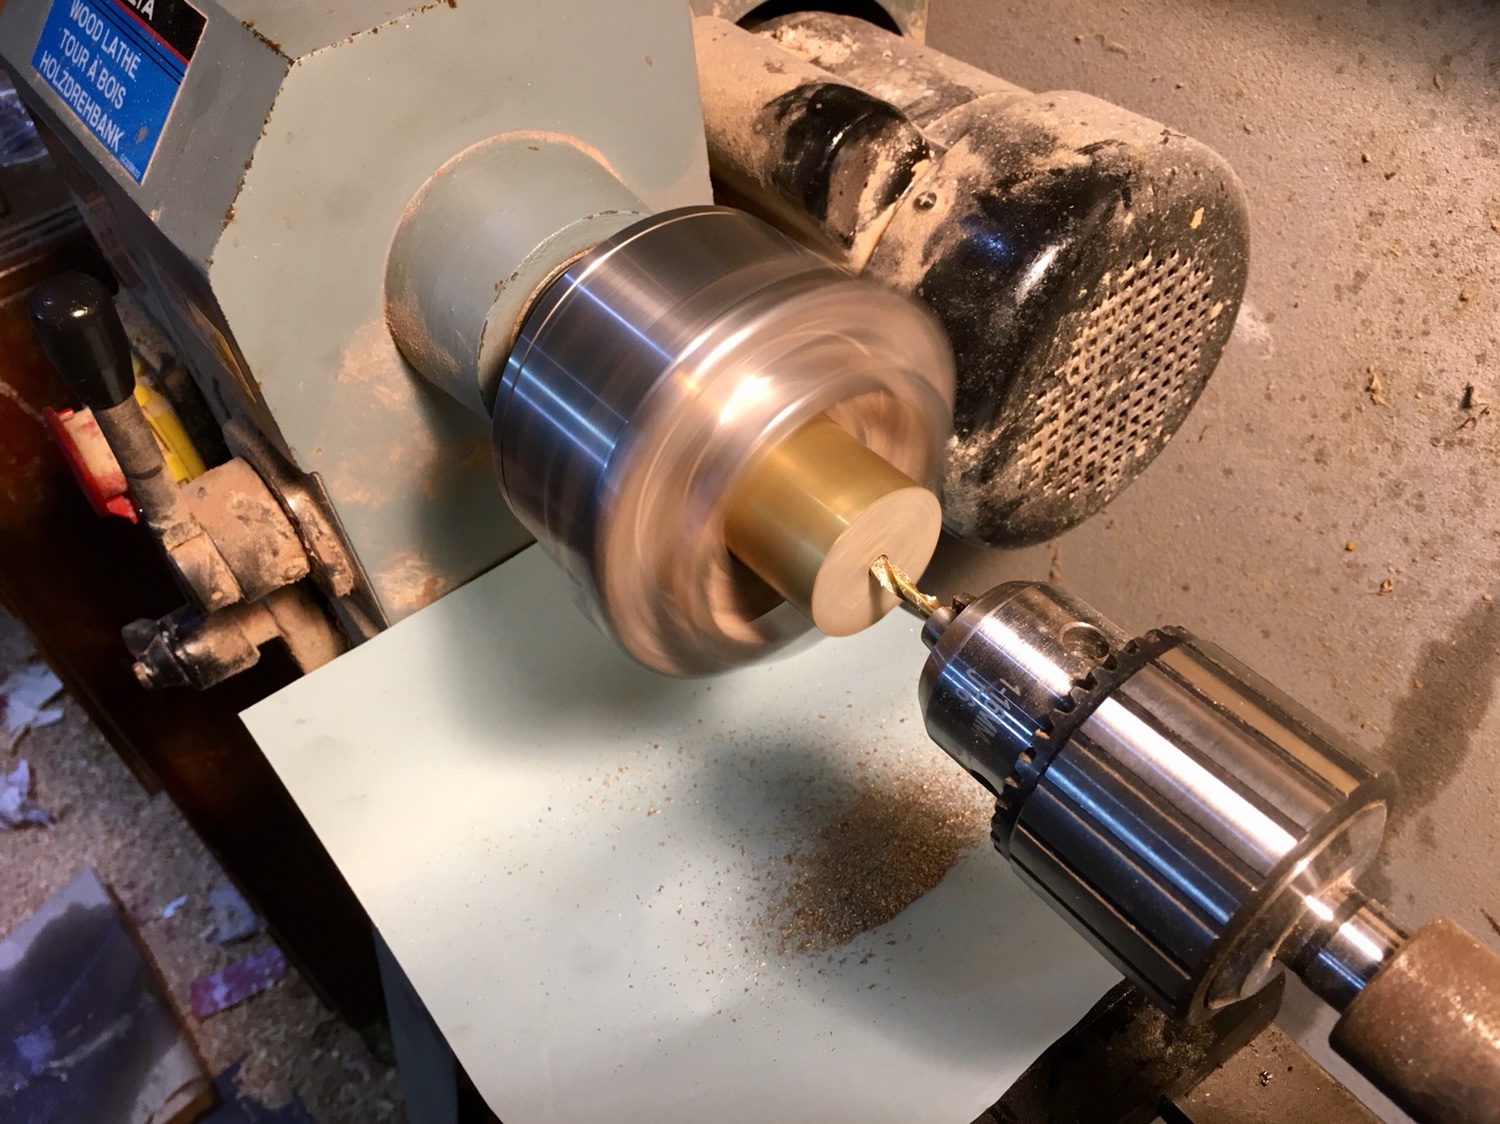
In the meantime I’d bought a couple of the Veritas router plane blades, so I had them for accurate sizing. For the depth stop I bought a short length of 22mm diameter brass rod from eBay. So as there was a lot of experimentation during this build I thought I’d try and drill a hole into the rod using the wood lathe, so I mounted the rod in my chuck using the centre of the jaws to secure the rod (hopefully) central. I then drilled a small hole (maybe 4mm) and then worked up from 6mm to 8mm and finally to a 10mm diameter hole - also used 3 in 1 for lubrication, rightly or wrongly!

52ed3188a65cd8472b6b3bcf0c9bfc2c.jpg


Once I drilled the hole I did a little shaping of what would be the top face of the depth stop using a file while the lathe was on. The i sanded it using the micro-grit pads.

In order to cut it off, again rightly or wrongly, I carefully moved a hacksaw forwards while the lathe was on in order to cut the correct length almost all the way through, but tuned off when I was close to actually saw the rest off with the hacksaw properly. Note that I found it a cleaner/slower/less scary cut with the teeth of the hacksaw blade facing the wrong way.

I cleaned up the burrs to the bottom face of the depth stop using sand paper, working my way through the grits by rubbing on my table saw table, and even went through the micro-grit pads to an unnecessary 12000 grit.

I have some cheapy small files which I randomly received among random tools that came with my lathe, which I used to try to form internal corners of the hole in the depth stop to try and make a nicely fitting square hole the right size for the Veritas blades, which took a while.
[As a side note, I bought a second cut and smooth cut Bahco 10mm square files (which are great by the way!) for this and for making the V-groove in the body, but I wish I’d gone for the 8mm square files as the 10mm files were too big to use effectively until the hole was already big enough for the depth stop, so I was only able to use the top tapered area of the files.]
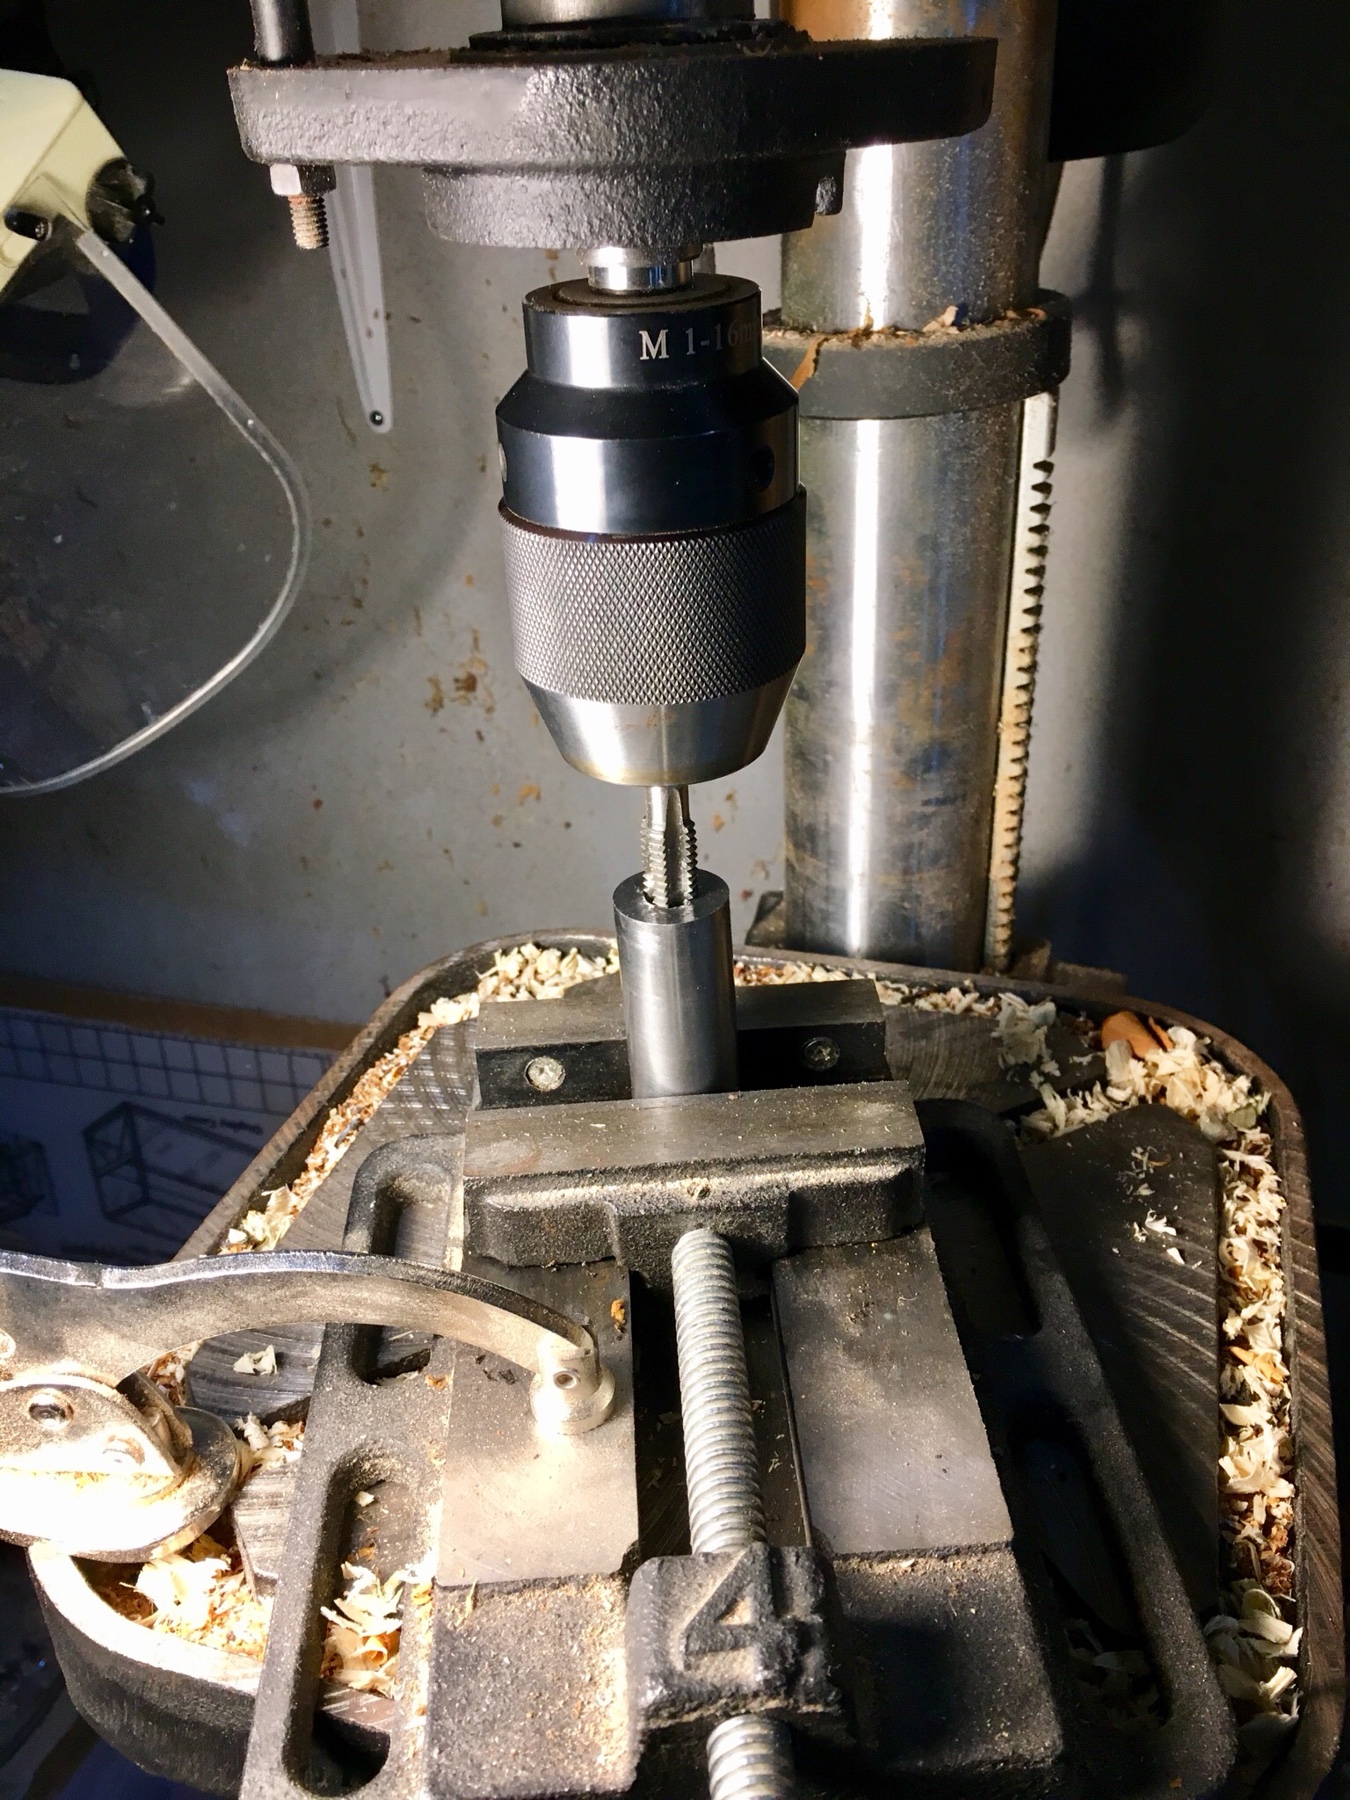
Anyway, got there in the end and then drilled and tapped a hole for an M4 knurled bolt (which I got here... https://www.amazon.co.uk/gp/product/B07 ... UTF8&psc=1 - again, a lot more than I need, but will no doubt come in handy for future projects in years to come)

cbf8c6cfb082f1719926a5694b56fa30.jpg


As you can tell from the above and below photos, the hole isn’t the tidiest and was actually a little too big/loose for my liking as it wobbled to either side of the knurled bolt a bit when tightened(so would be too inaccurate for me as a depth stop), so this was my first attempt and I have since made another tidier, better fitting one.

1a755784ccb02ff3c040e9054e6b66aa.jpg


So on to the blade clamp...
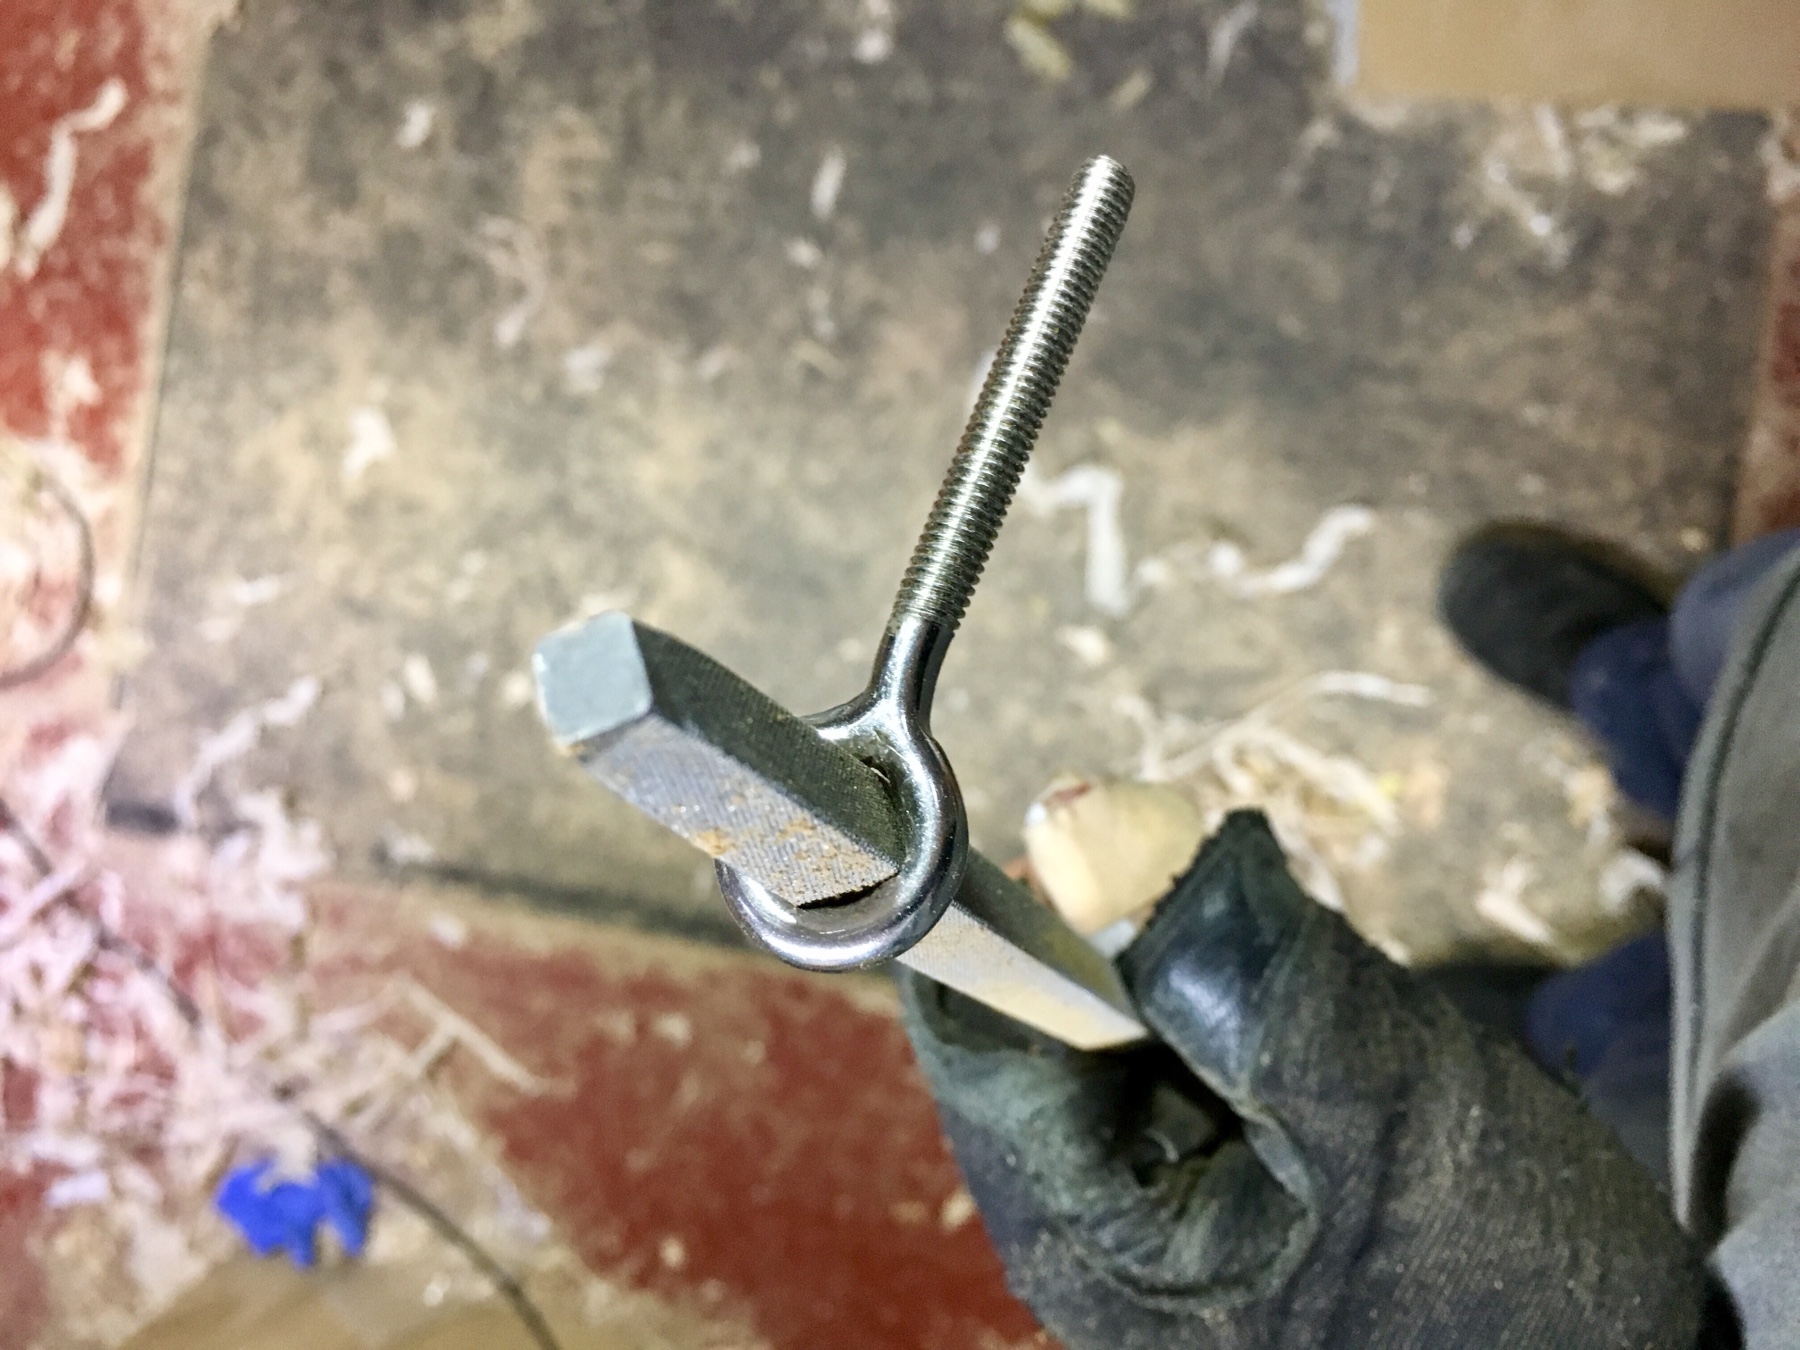
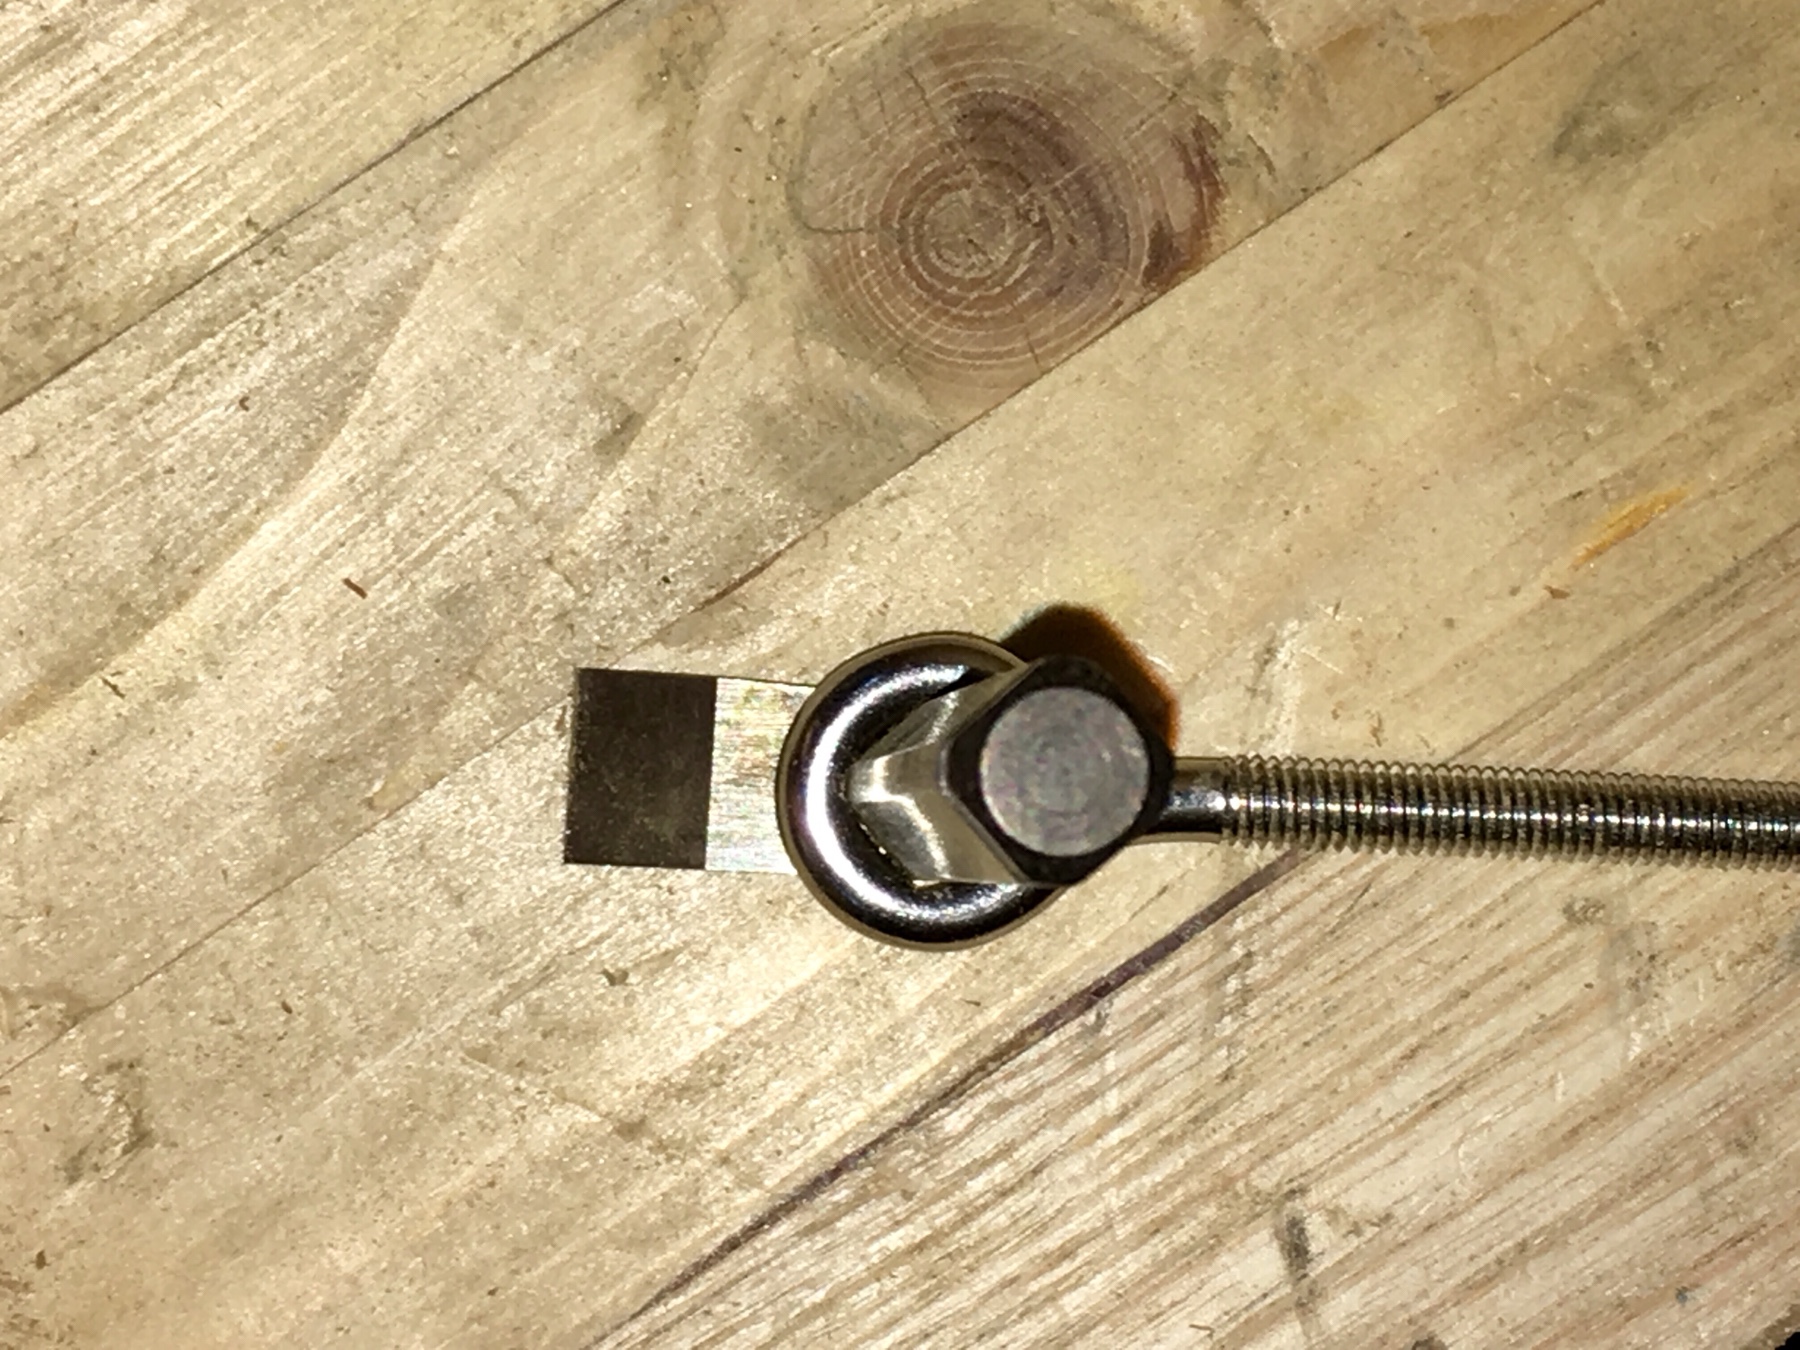
So I bought this eye bolt from eBay
https://www.ebay.co.uk/itm/2-Pack-M6-Th ... 1438.l2649
As it actually gave the inside diameter as 10mm, which is needed for the blades. So similarly to the depth stop above, I used a combination of the small files and the top tapered end of the 10mm square Bahco files to form a nicely fitting square hole for the blades.
a047678a3beaad44182fe14730b886ce.jpg


3b8fd73623814ce2e79647635fb82a8e.jpg


bf8c54cbdc66332e98d1415398a23dec.jpg


The knurled thumb nuts I bought are a pair of these on ebay
https://www.ebay.co.uk/itm/Brass-Knurle ... 2749.l2649
One is used for securing the blade clamp, the other I used for the height adjuster.

Note that I did polish up the thumb nut (not the knurled edge) by mounting the nut on an M6 threaded rod and used the OTT micro-grit pads again.
 
Try using your scrapers and parting tools next time to shape instead of files, just as if you are turning wood, better finish and easier diameter control.
No lubricant required for brass, machine dry as you would cast Iron.
Use paraffin for aluminium.
 
On to the fine height adjuster...

So in the spirit of trying to keep as much of the hardware as I could in Brass, I bought some M6 threaded rod for the height adjuster.
https://www.ebay.co.uk/itm/Brass-Studdi ... fGDcKwwHcA

As I said before, I picked M6 for the height adjuster as it’s thread has an exact 1mm pitch, so one full turn of the adjustment knob means a rise or lowering of exactly 1mm.

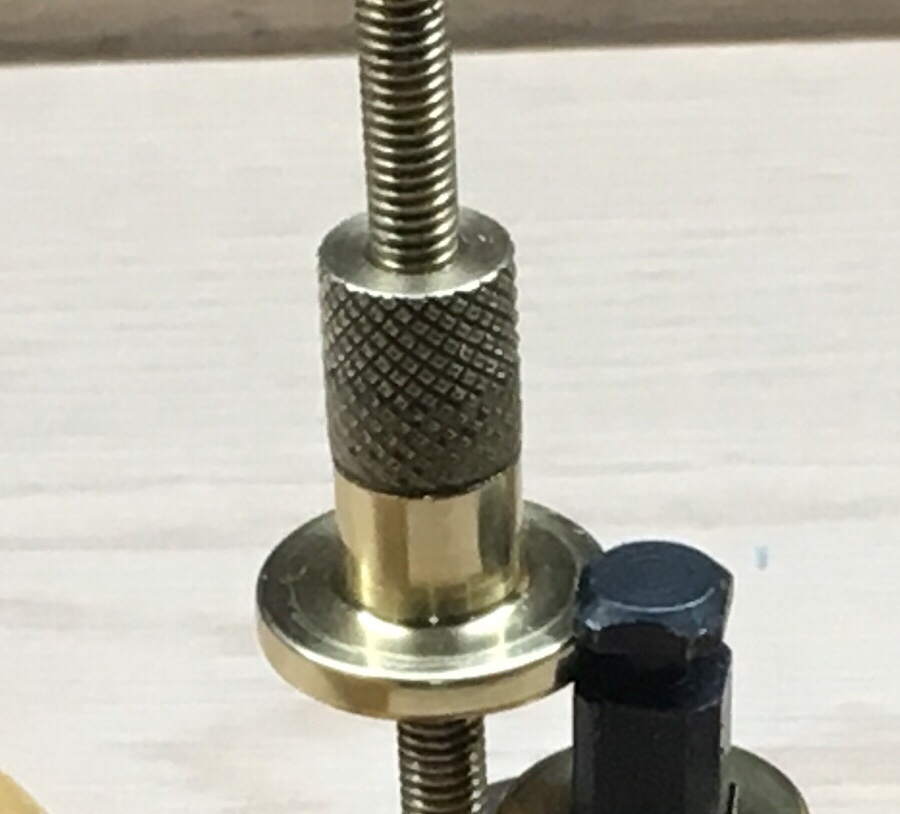
So for the height adjusting knob itself I used one of the knurled thumb nuts and mounted it on an M6 threaded rod in the drill chuck on the lathe and I filed/turned it down to the exact thickness required for the Veritas blade. I also filed off the knurling here too. (Also polished up as before)

Eventually I plan to replace this height adjustment knob with a single piece turned myself, but until then I’ve epoxied the above shaped/smoothed thumb nut with one of these knurled thumb nuts from ebay
https://www.ebay.co.uk/itm/M6-Knurled-B ... SwY~1Z61Pl

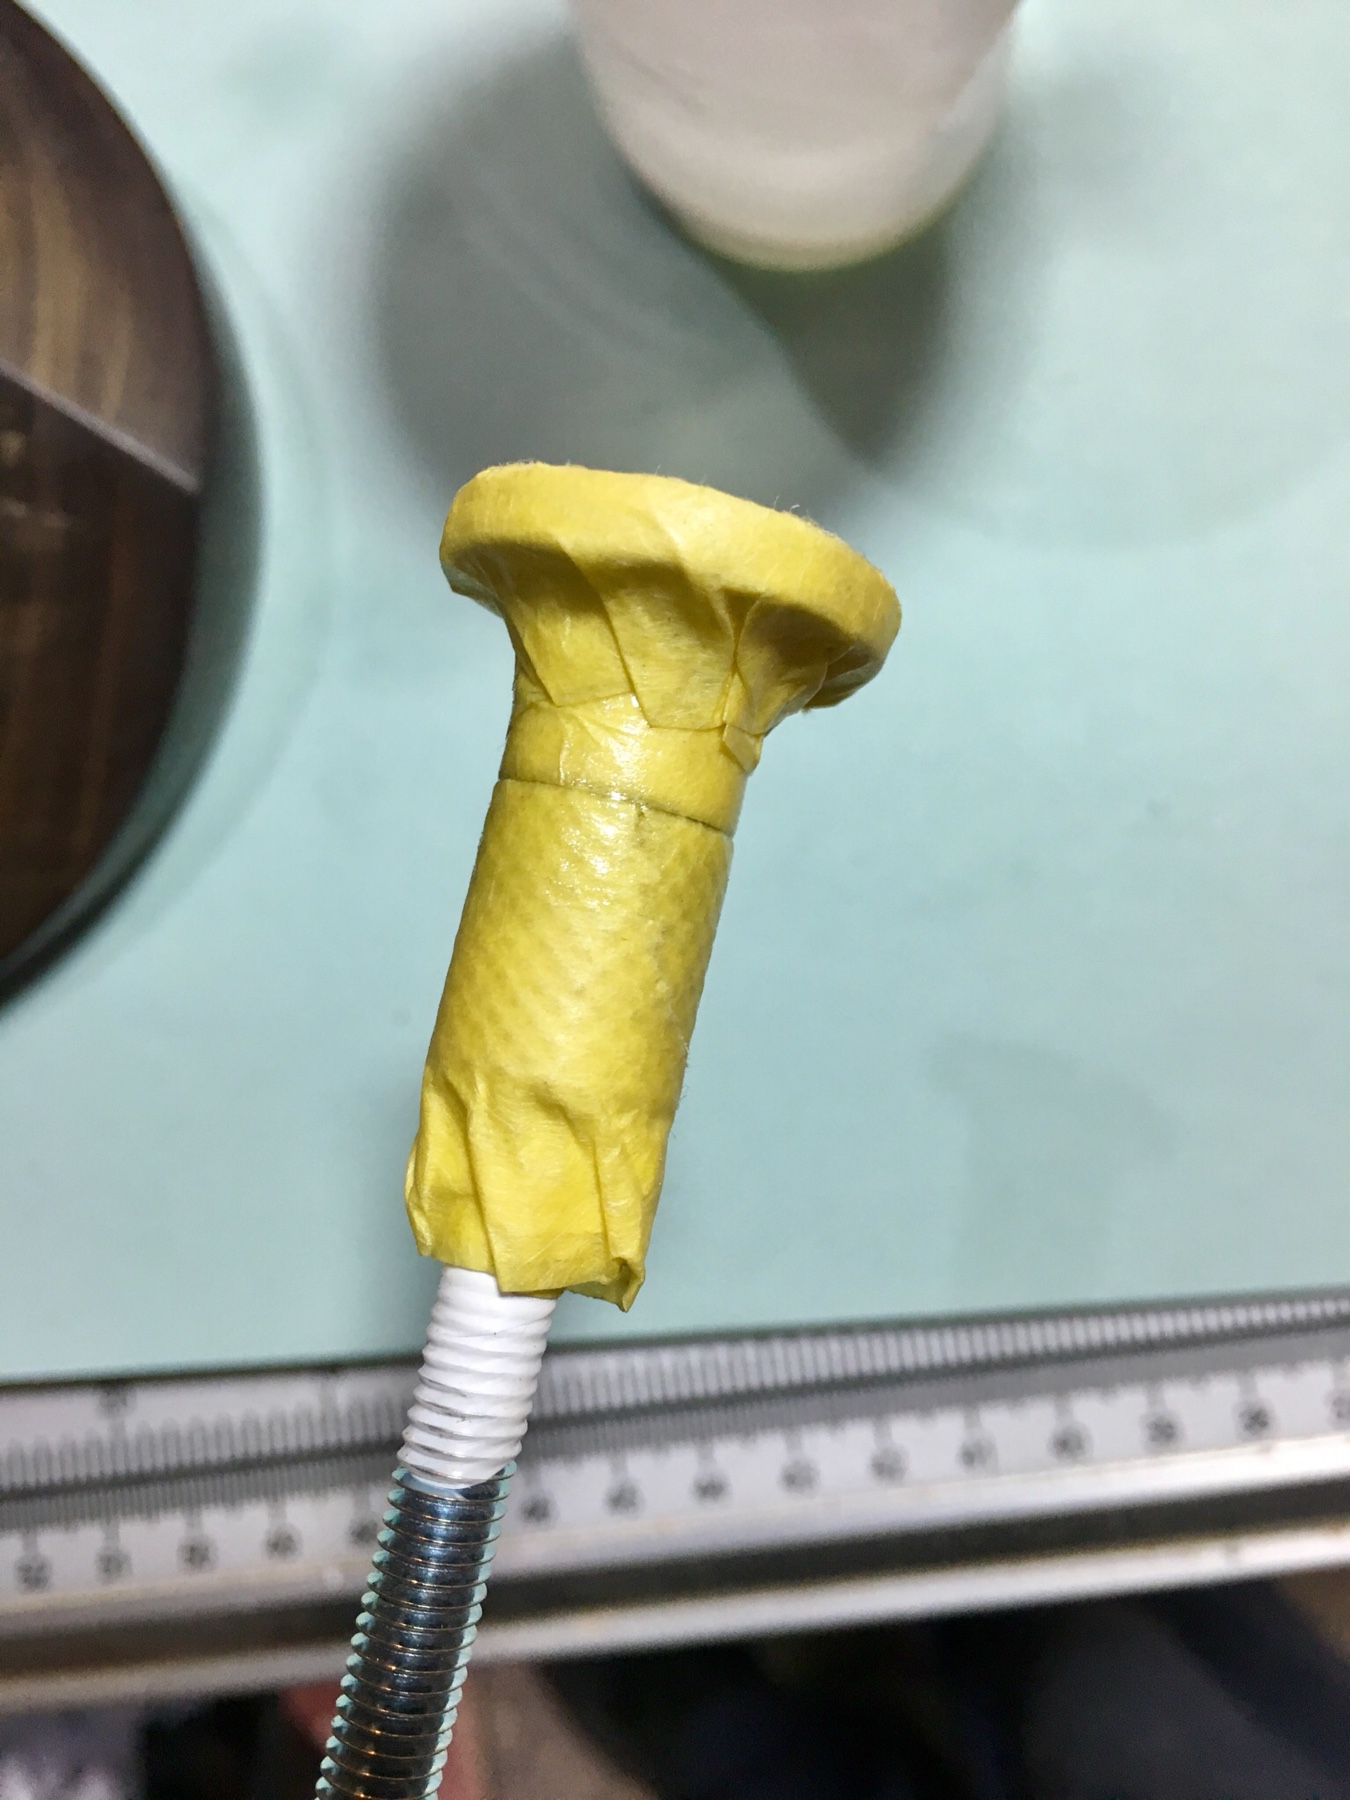
I properly scratched up both mating surfaces to try and ensure as good a bond as possible, and clamped/screwed them together with the epoxy on an M6 threaded bar (which I covered with PTFE tape to stop it gluing to the threaded rod!)

5f32e8ddcbaea4015dd2dd8ce271aabc.jpg


As you can see, I tried to protect the polished up brass surface with masking tape, but unfortunately the knurled nut did get epoxy stuck to the closest half of it, which I can’t think of a way of cleaning up without damaging the knurling.

5825c03a1be6de641464b3b4de0a0a12.jpg


So that’s pretty much it, apart from the extra brass washers I made for the blade clamp (same method as before, but it’s not threaded).

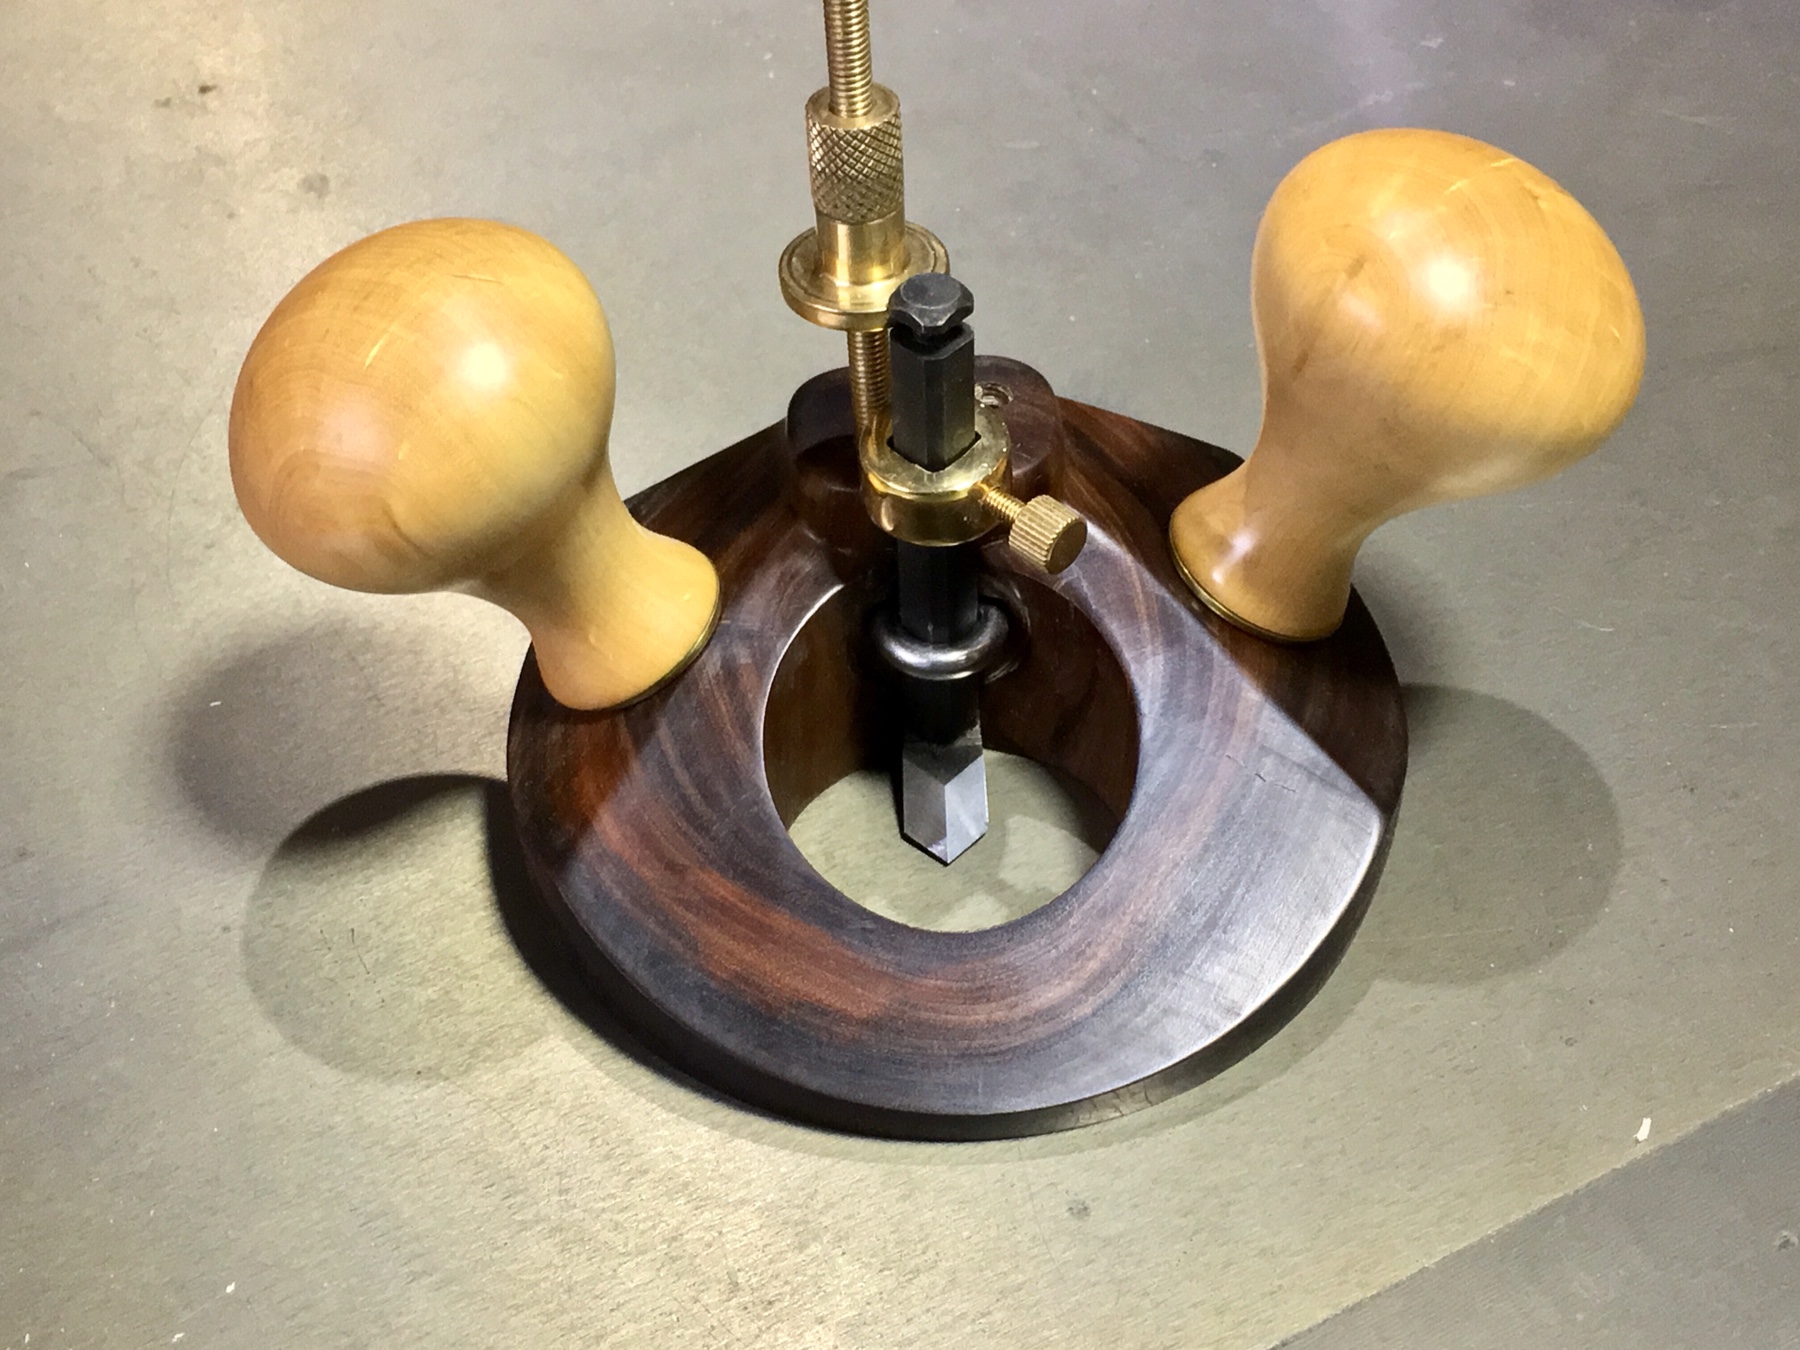
I’m happy with the result, and the plane works great. I’ve not finished it yet, but it’s useable (which now means things on the to-do list of the ‘boss’ takes priority!).

I will need to trim the height of the height adjustment threaded rod and then epoxy on another knurled nut to the top of the threaded rod to tighten/loosen it making it easier to swap from front blade use to read blade use. Also may trim the blade clamp eye bolt. I will want to try waxing the plane too, possibly using Alfie Shine, but wasn’t sure how best to treat Lignum Vitae due to its own waxes etc.


07a2d7f59c1b0081ccba8a18fd5e785b.jpg


cb4c2a5933c0312edf72d3c23c8f5074.jpg


d679ee2fe17d39ac3832dd05bdde60a9.jpg


a3ad6676ac1c4804c737fa3bde25308e.jpg


1e229913f3e67aee934e3cda2885d1cc.jpg


So thank you for reading my dyslexic waffle and please excuse my lack of photography skills too. Any future tips and advice will also be appreciated :D
 
Looks a cracking plane, love the LV.

You should be able to pick out the Epoxy from the knurling with a sharp tool like a scribe.

The LV is naturally greasy is should polish up with out any wax I have used a dremel with a felt bob on small objects.

Pete
 
I like it. It looks really nice. It puts my own home made router plane to shame, but then again any tools I make for myself are simply tools with no pretensions of looking nice. Even ignoring looks though, yours is better than mine because mine lacks the screw adjustable depth control, and I cannot reverse the iron. I like the idea of reversing the iron so I may steal that idea.

When I made mine I intended to put knobs on it, similar to yours but smaller. I started using it without the knobs and have never got around to adding them. I found I always want to push from behind the plane rather than from above it. i'm not sure having the knobs would contribute anything. Can you comment on that? Do you think yours is better due to having the knobs, and if so, how?
 
Pete Maddex":1nf4pyx4 said:
You should be able to pick out the Epoxy from the knurling with a sharp tool like a scribe.
Thanks Pete, Will try picking out the epoxy when i get a chance, just didnt want to end up scratching the brass too much.

Pete Maddex":1nf4pyx4 said:
The LV is naturally greasy is should polish up with out any wax I have used a dremel with a felt bob on small objects.
Thats one of the reasons I've hesitated before applying any finish, as it looks pretty good as it is at the moment, so will hold off and buff it up more.
 
Just4Fun":37by7hbt said:
When I made mine I intended to put knobs on it, similar to yours but smaller. I started using it without the knobs and have never got around to adding them. I found I always want to push from behind the plane rather than from above it. i'm not sure having the knobs would contribute anything. Can you comment on that? Do you think yours is better due to having the knobs, and if so, how?
Hi Just4Fun, having the handles directly in line with the blade in its traditional position and held at the an angle, so kinda pointing towards where the blade would be cutting (where the force is applied), seems to be a good transfer of forces and it works great! Having the larger handles helps too as its much more comfortable in my hands (i do have large hands though) and i can get a good comfortable grip. So i dont know if its 'better' having the handles compared to without, but they work very well for me.
 
Just4Fun":g0ct4g8h said:
When I made mine I intended to put knobs on it, similar to yours but smaller. I started using it without the knobs and have never got around to adding them. I found I always want to push from behind the plane rather than from above it. i'm not sure having the knobs would contribute anything. Can you comment on that? Do you think yours is better due to having the knobs, and if so, how?

This is something that also interests me - I suspect that handles were originally just a convenient way of holding a metal router, and this pattern has been copied by modern wooden routers. I've only ever used Old Womans Tooth type routers, where the body itself is designed to be held and it's easy to apply both downward pressure and forward direction from behind the iron. I am intending to make one with a bent iron, so I'll add one more drop to the ocean of hand router WIP's.

This is certainly a very handsome router however - anything that I am capable of knocking together will be rather more utilitarian in appearance.

Cheers,
Carl
 
Lovely job, I like that a lot =D>

I have been considering buying a router plane but this has made me think again.
 
Farmer Giles":11jnv5ap said:
I have been considering buying a router plane but this has made me think again.
Not only is it the sense of satisfaction, but it also saved a chunk of money forking out for the Veritas one. The main cost was for the Veritas blades, so the cheapest I found them (and the sharpening jig) is from the below website...

https://www.canadiantools.co.uk/tools/V ... Plane.html


CHJ":11jnv5ap said:
With a little ingenuity Knurling on brass would be possible on wood lathe.
If you can devise a method of holding one of these clamp type Knurling tools on your tool rest system you should be able to achieve the cut by tightening the adjaustment nut.
https://www.chronos.ltd.uk/engineering- ... w-chronos/
You might want to use a smaller version for your tool nuts.
Thanks to your suggestion Chas I have now ordered a similar knurling tool to your suggestion, so will try to give it a punt.

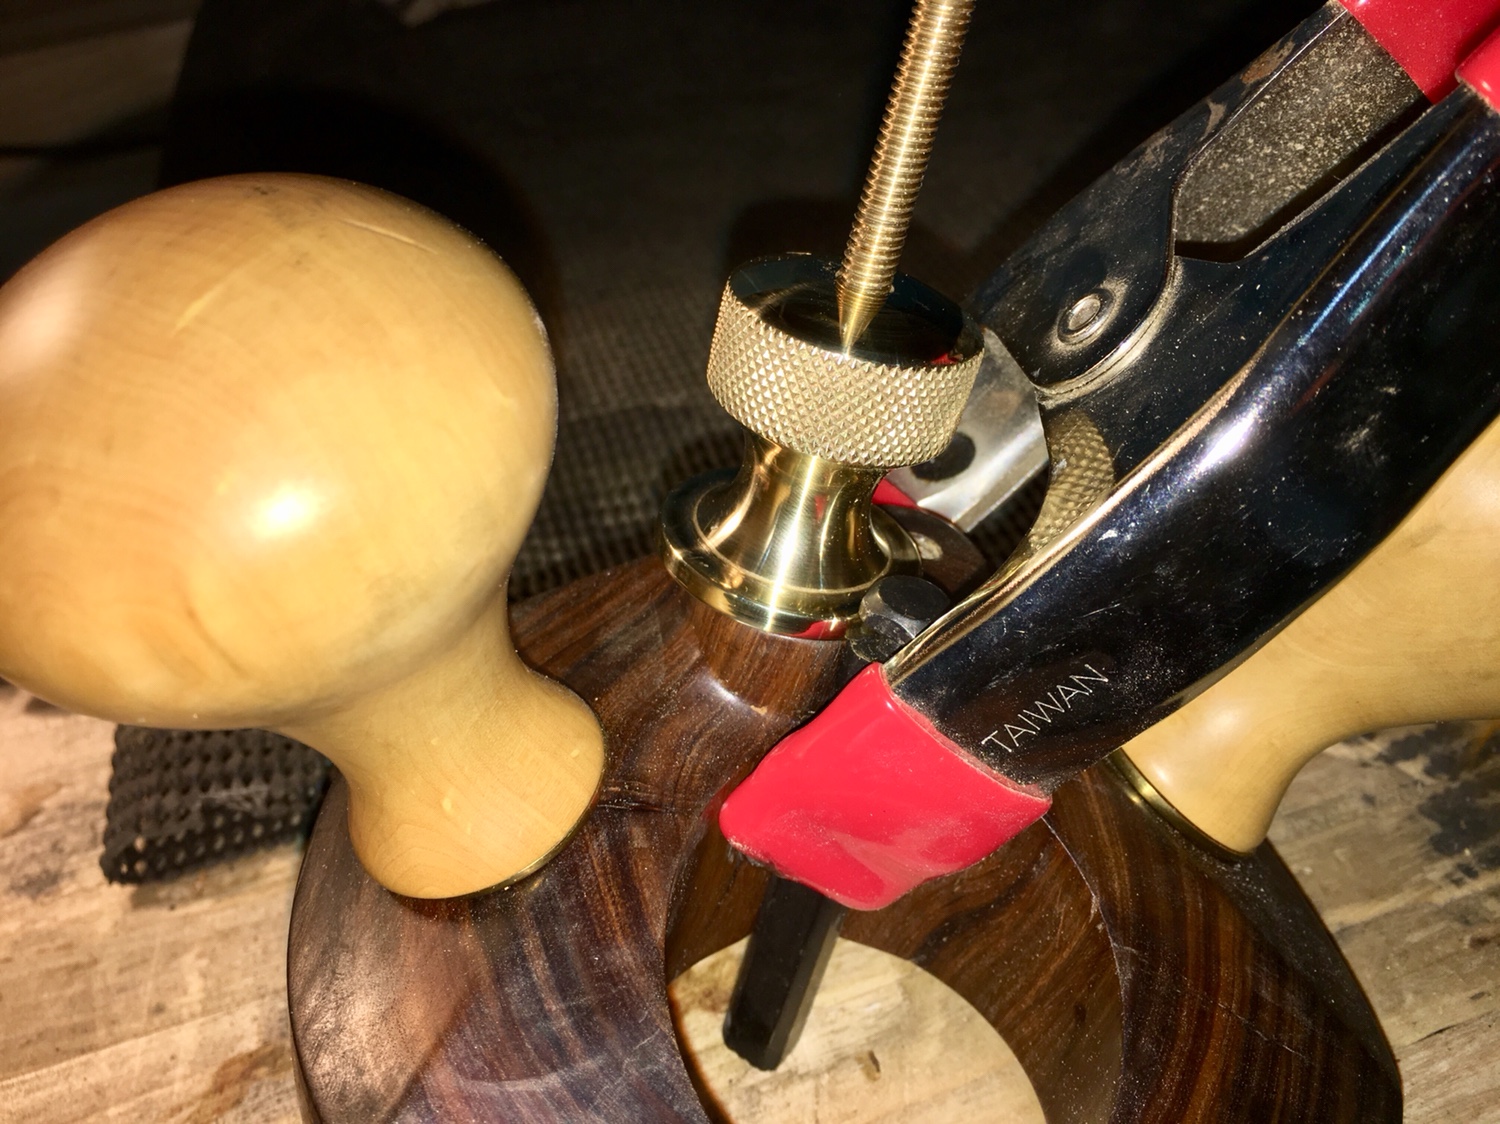
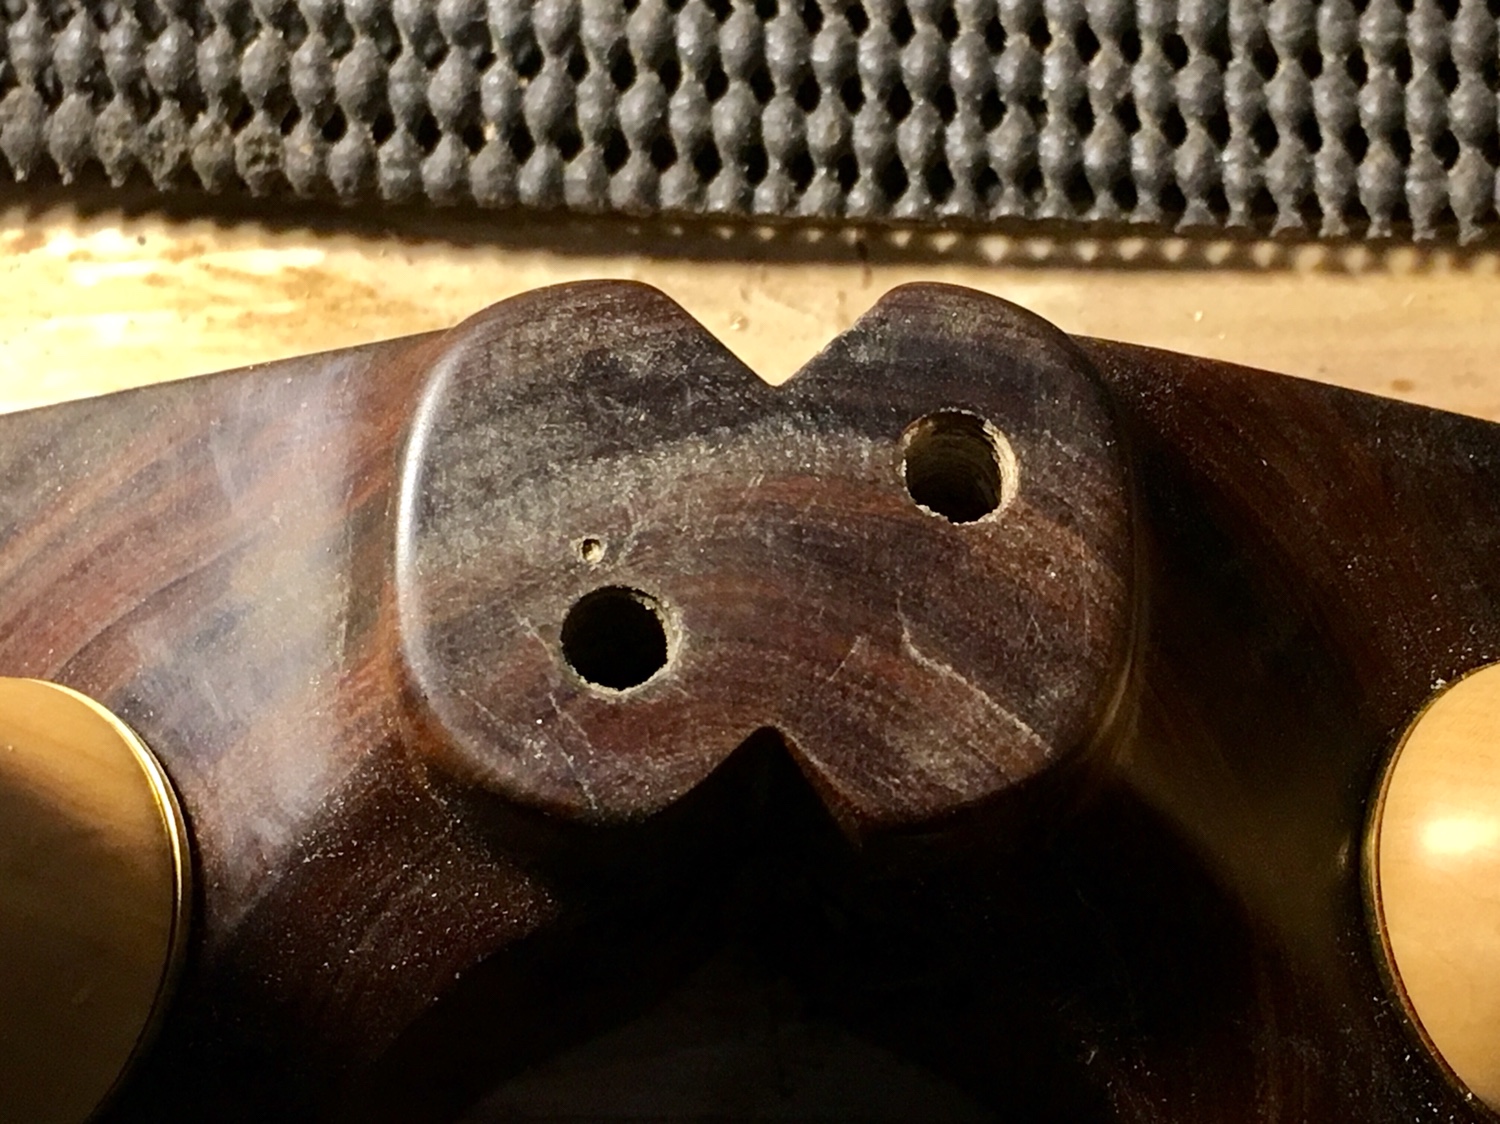
The fine adjustment thumb nut was actually too small to be able to reach the blade in both positions, hence having two holes and needing to move the brass threaded rod, but if i’m able to make my own nut from scratch that reaches both sides from one position then it would be a big improvement.

If I end up doing that though, I may just fill the two existing holes with epoxy and maybe put a shaped brass plate over the top surface, which would hide the ugly filled holes :D
 
Can you guess what’s coming up next...

7a5b2e2a0f6cab993f3dc30f527aeaf8.jpg


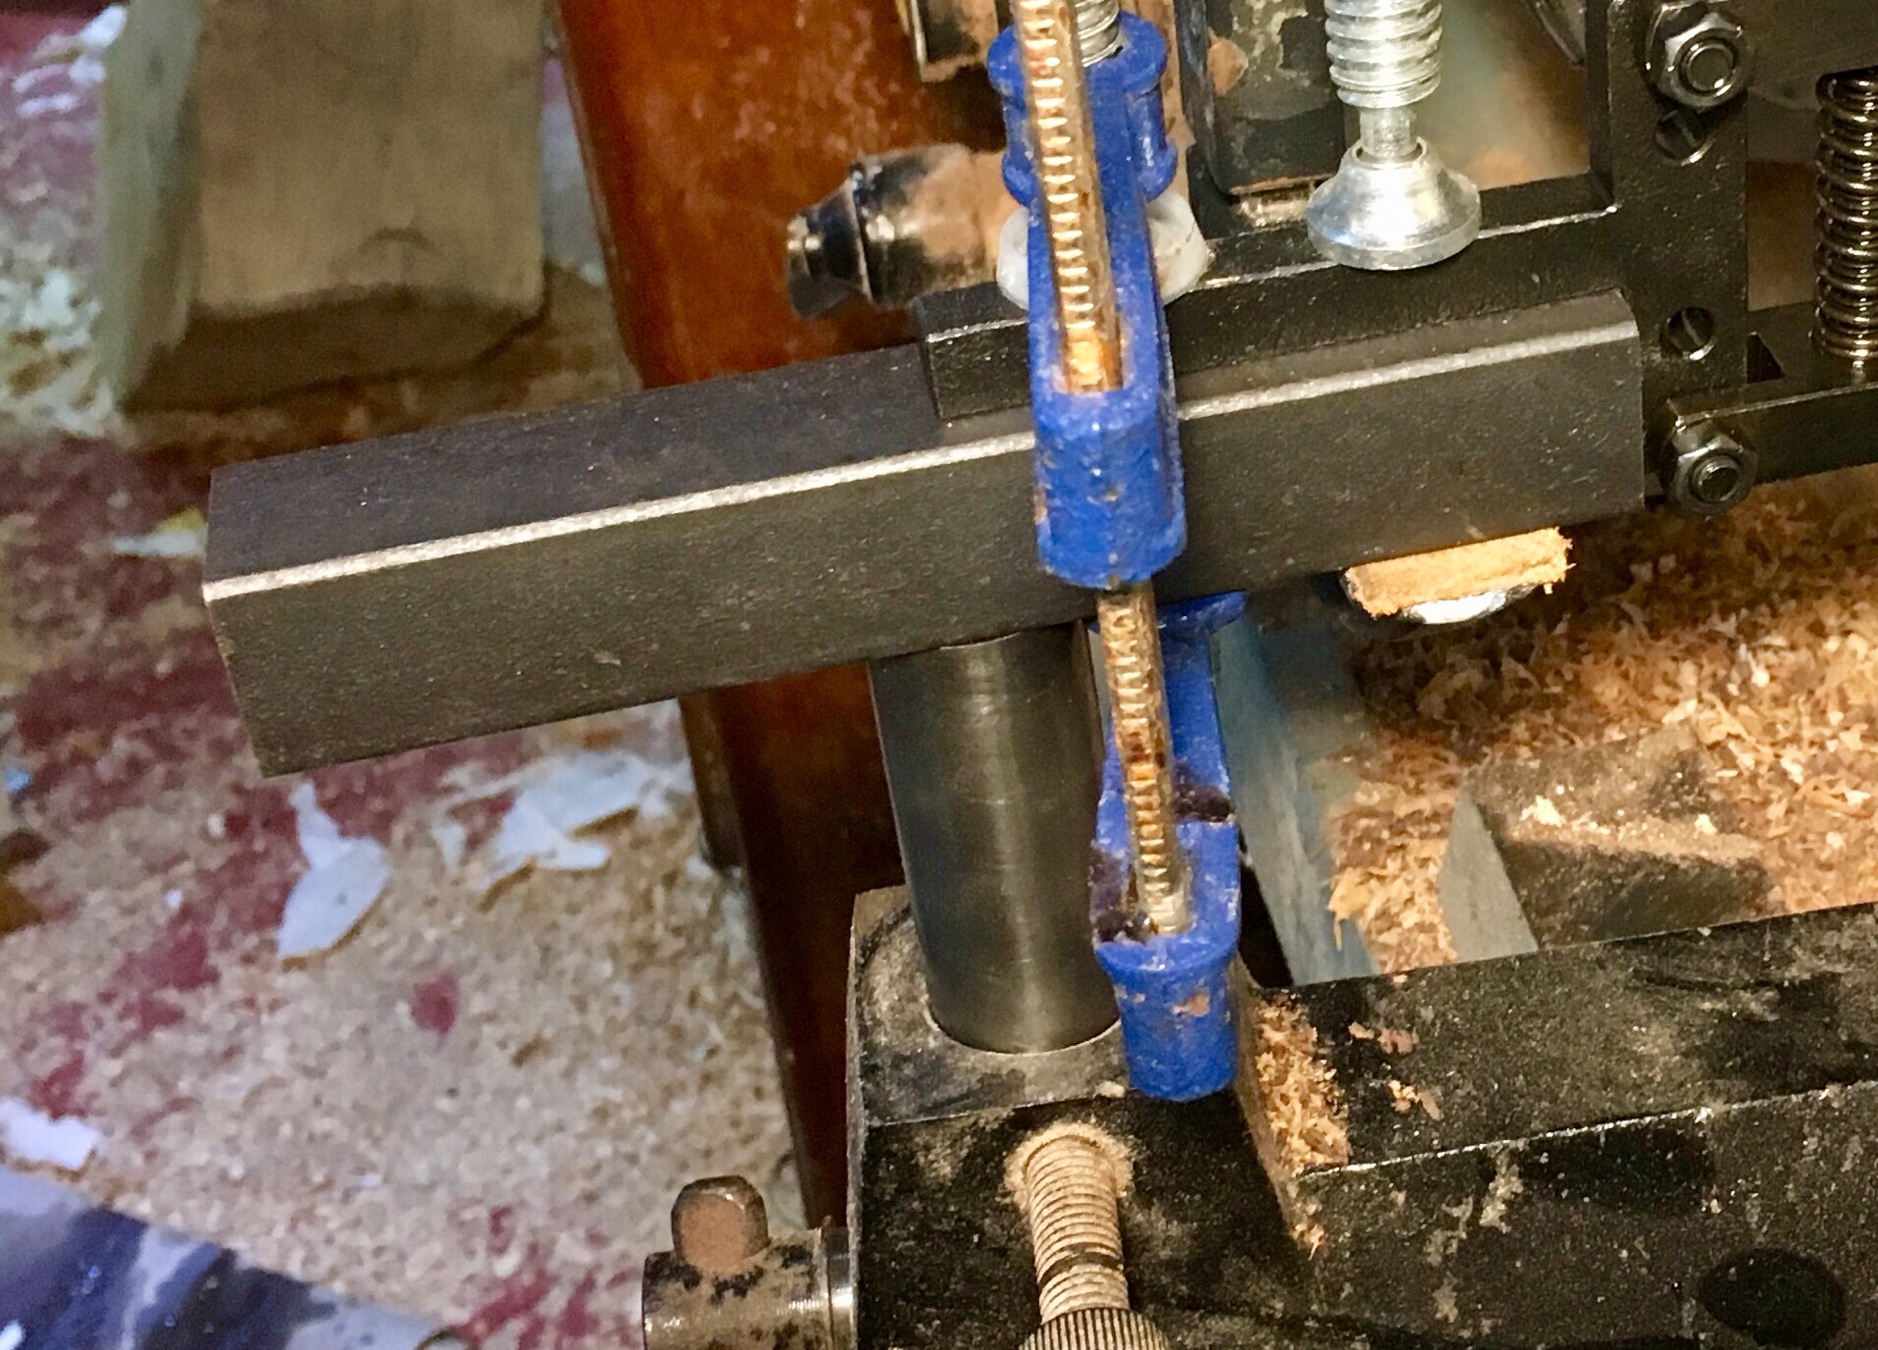
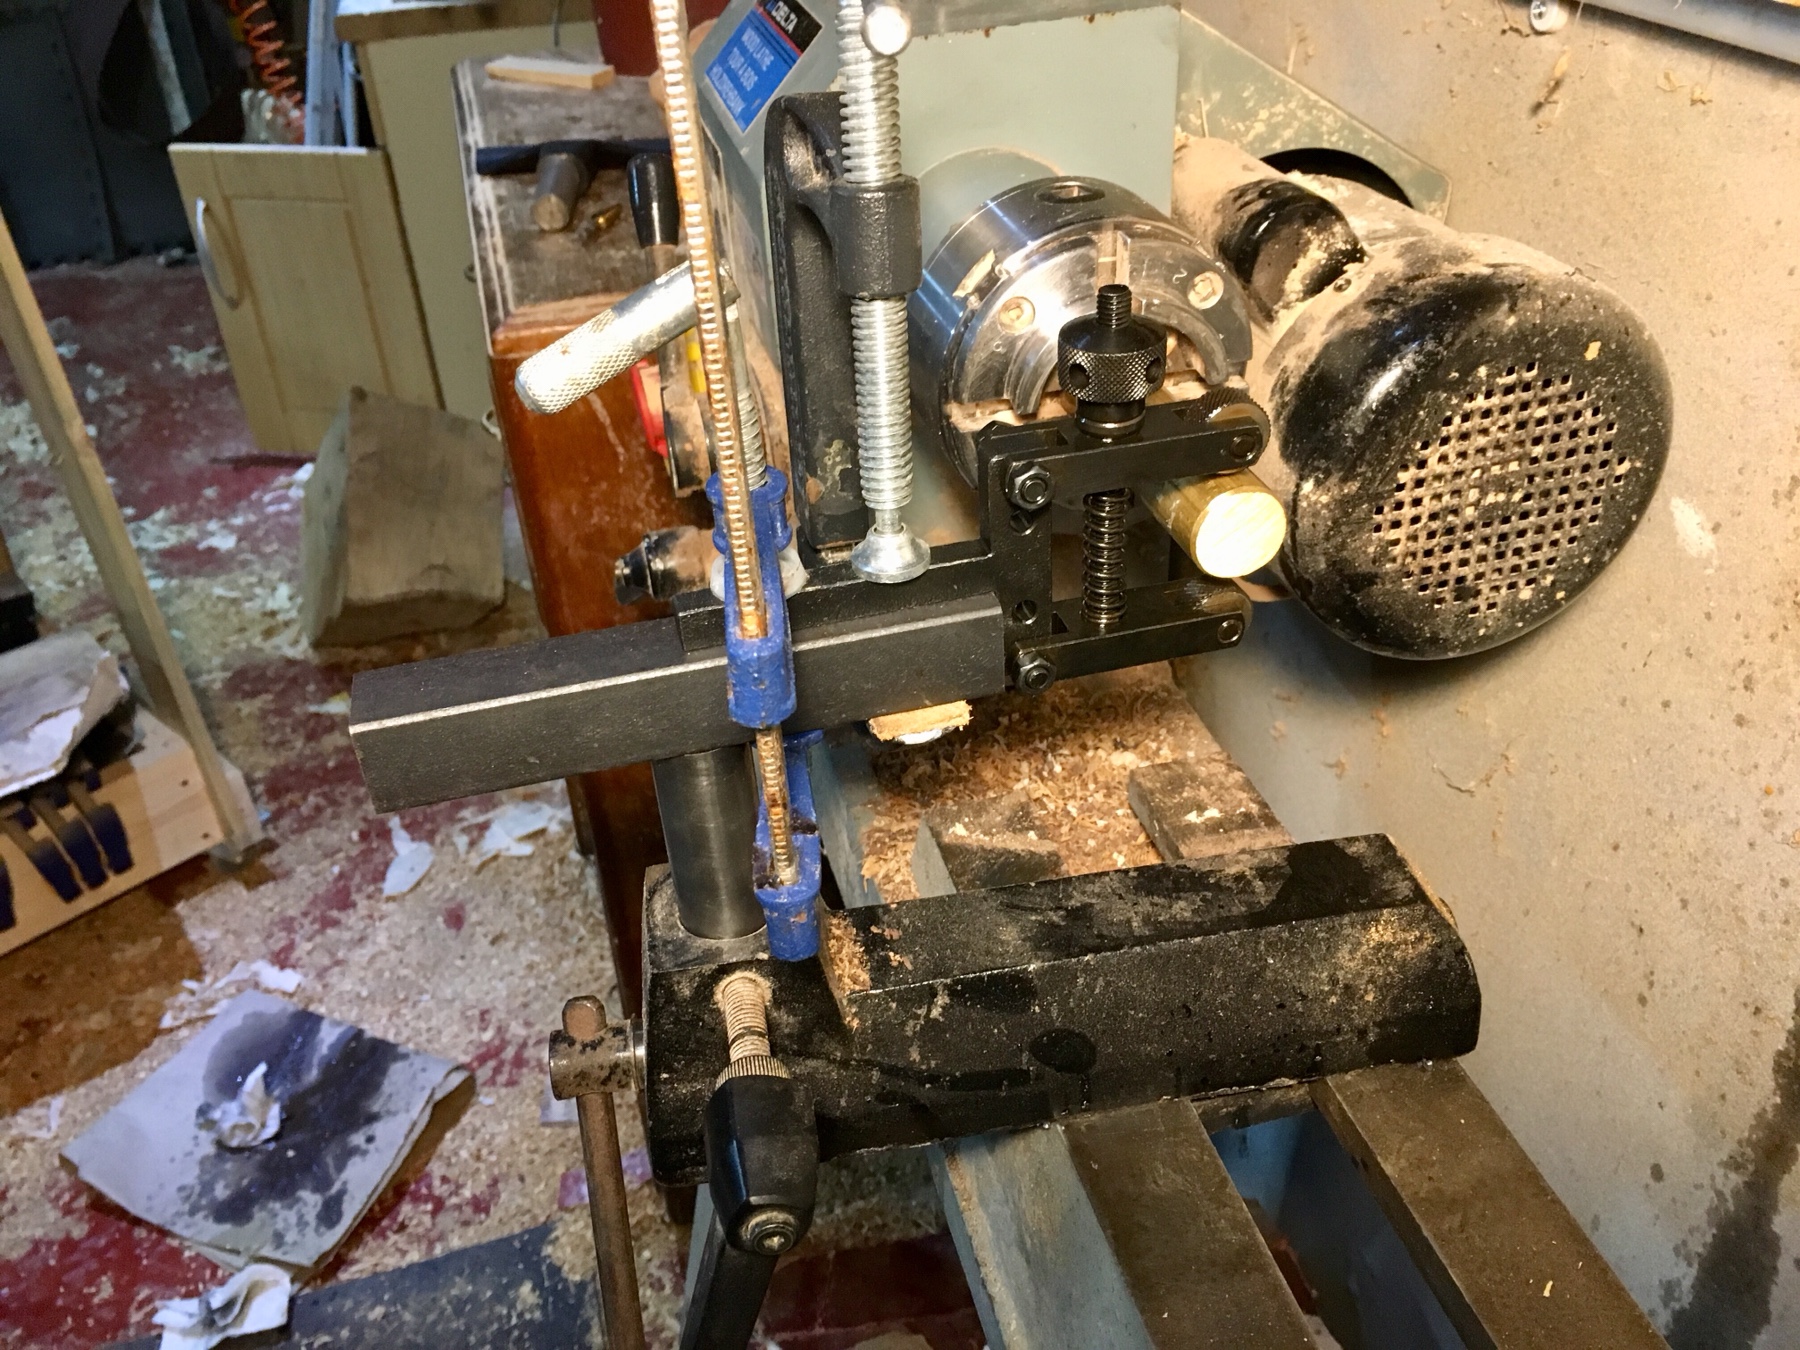
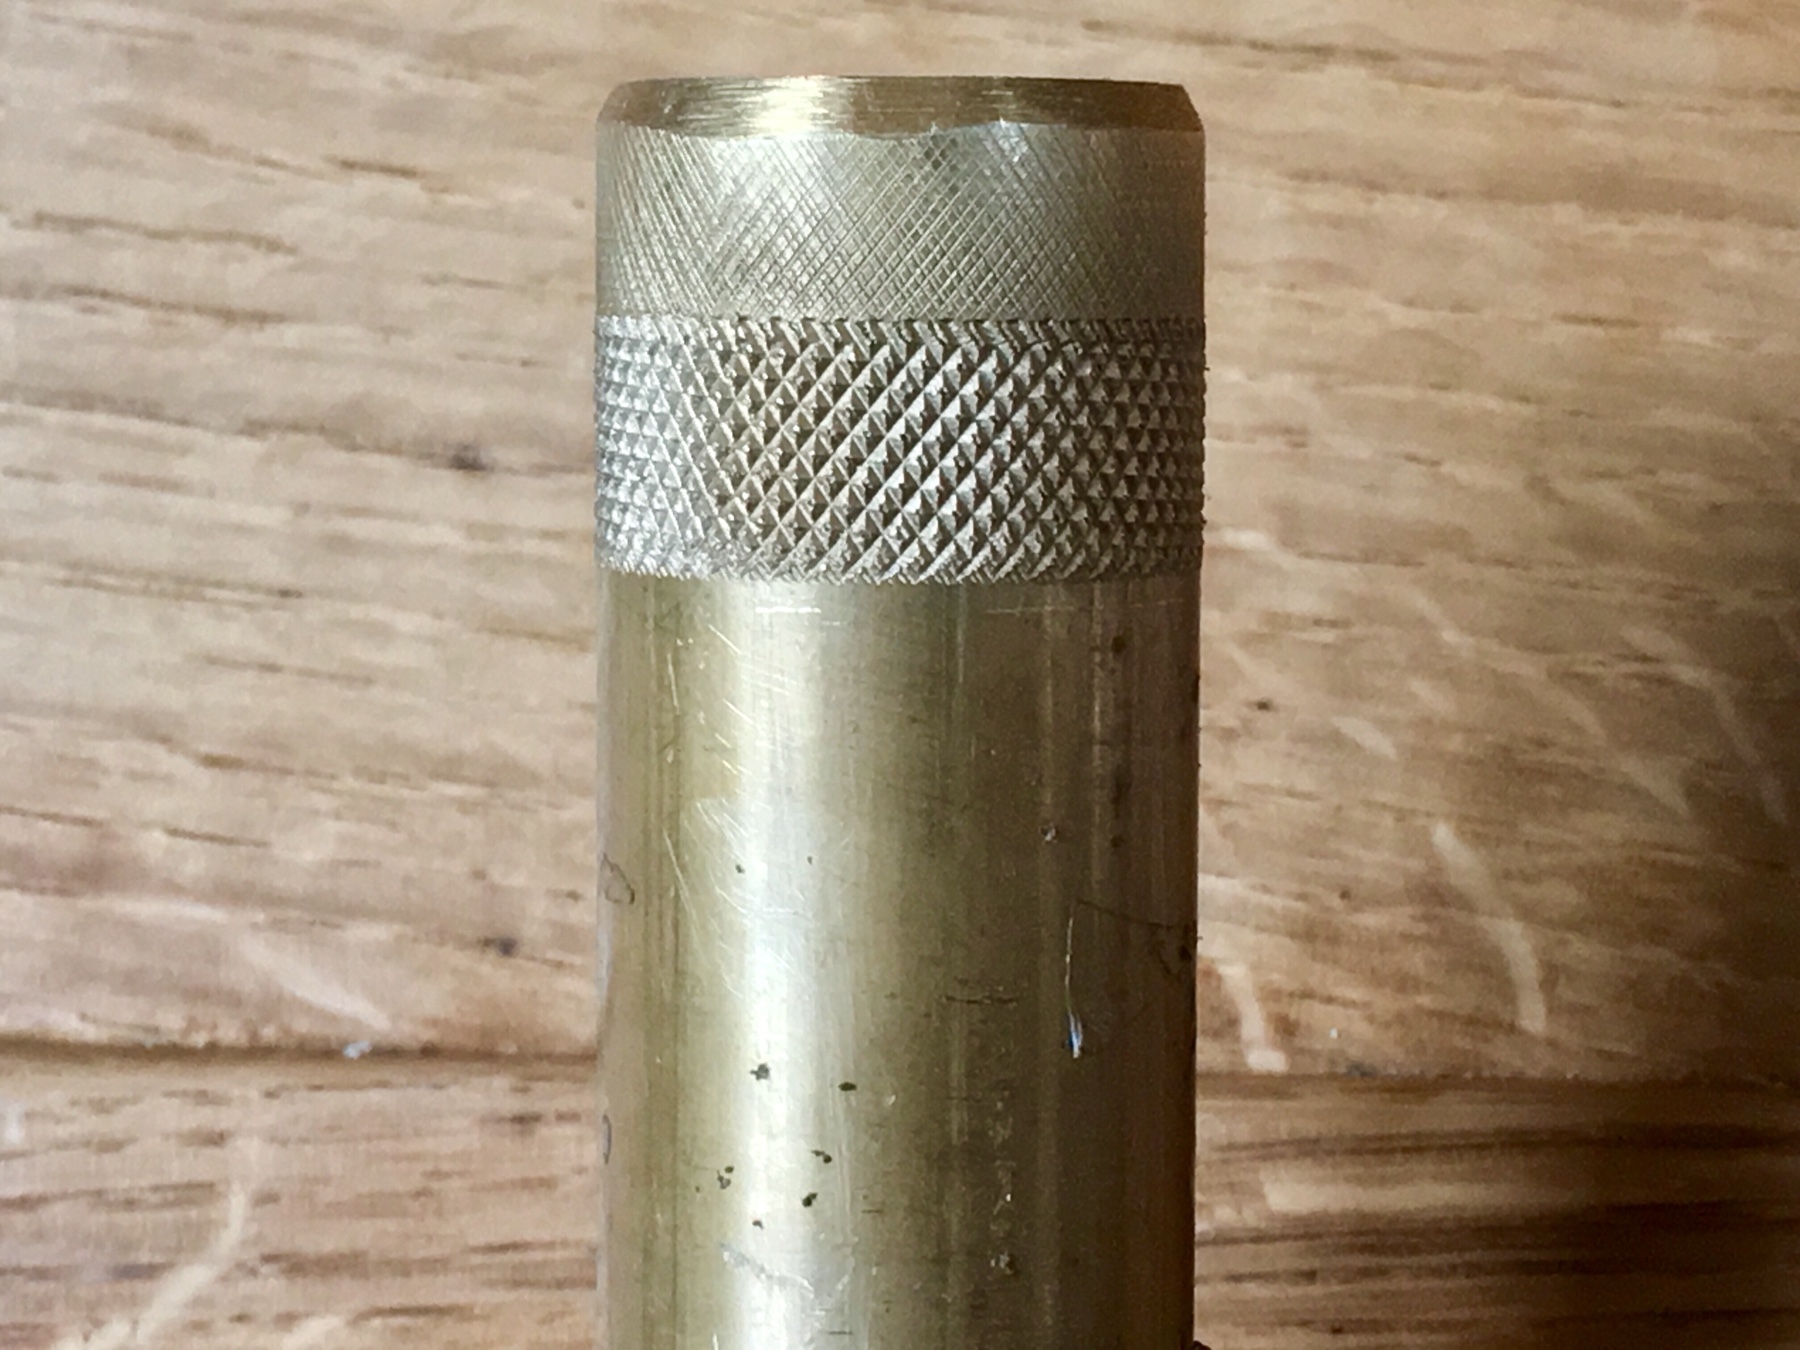
The next phase is here. As per recommendations on here I bought a relatively cheap knurling tool from Chronos. The tool posts I have for the wood lathe don’t have a square surface, so also needed to make myself a simple tool rest for a square reference surface.

So bought a 25mm diameter mild steel bar and also a 25mm square mild steel bar from the bay. So started by sawing down both bars to size, which took a while. For now I decided just to bolt them together with M12 bolts, so was straightforward enough.

405e53acaadc632bee118858d5d0db97.jpg


8b77e0260d52e0db2d50d57e8e702974.jpg


0c467cbd71d9baba7bca1f09e1bf7ddc.jpg


So did the same with the square bar (but obviously not on the lathe)

e6cfdaecd97a30f7bcc8836c32afa39d.jpg


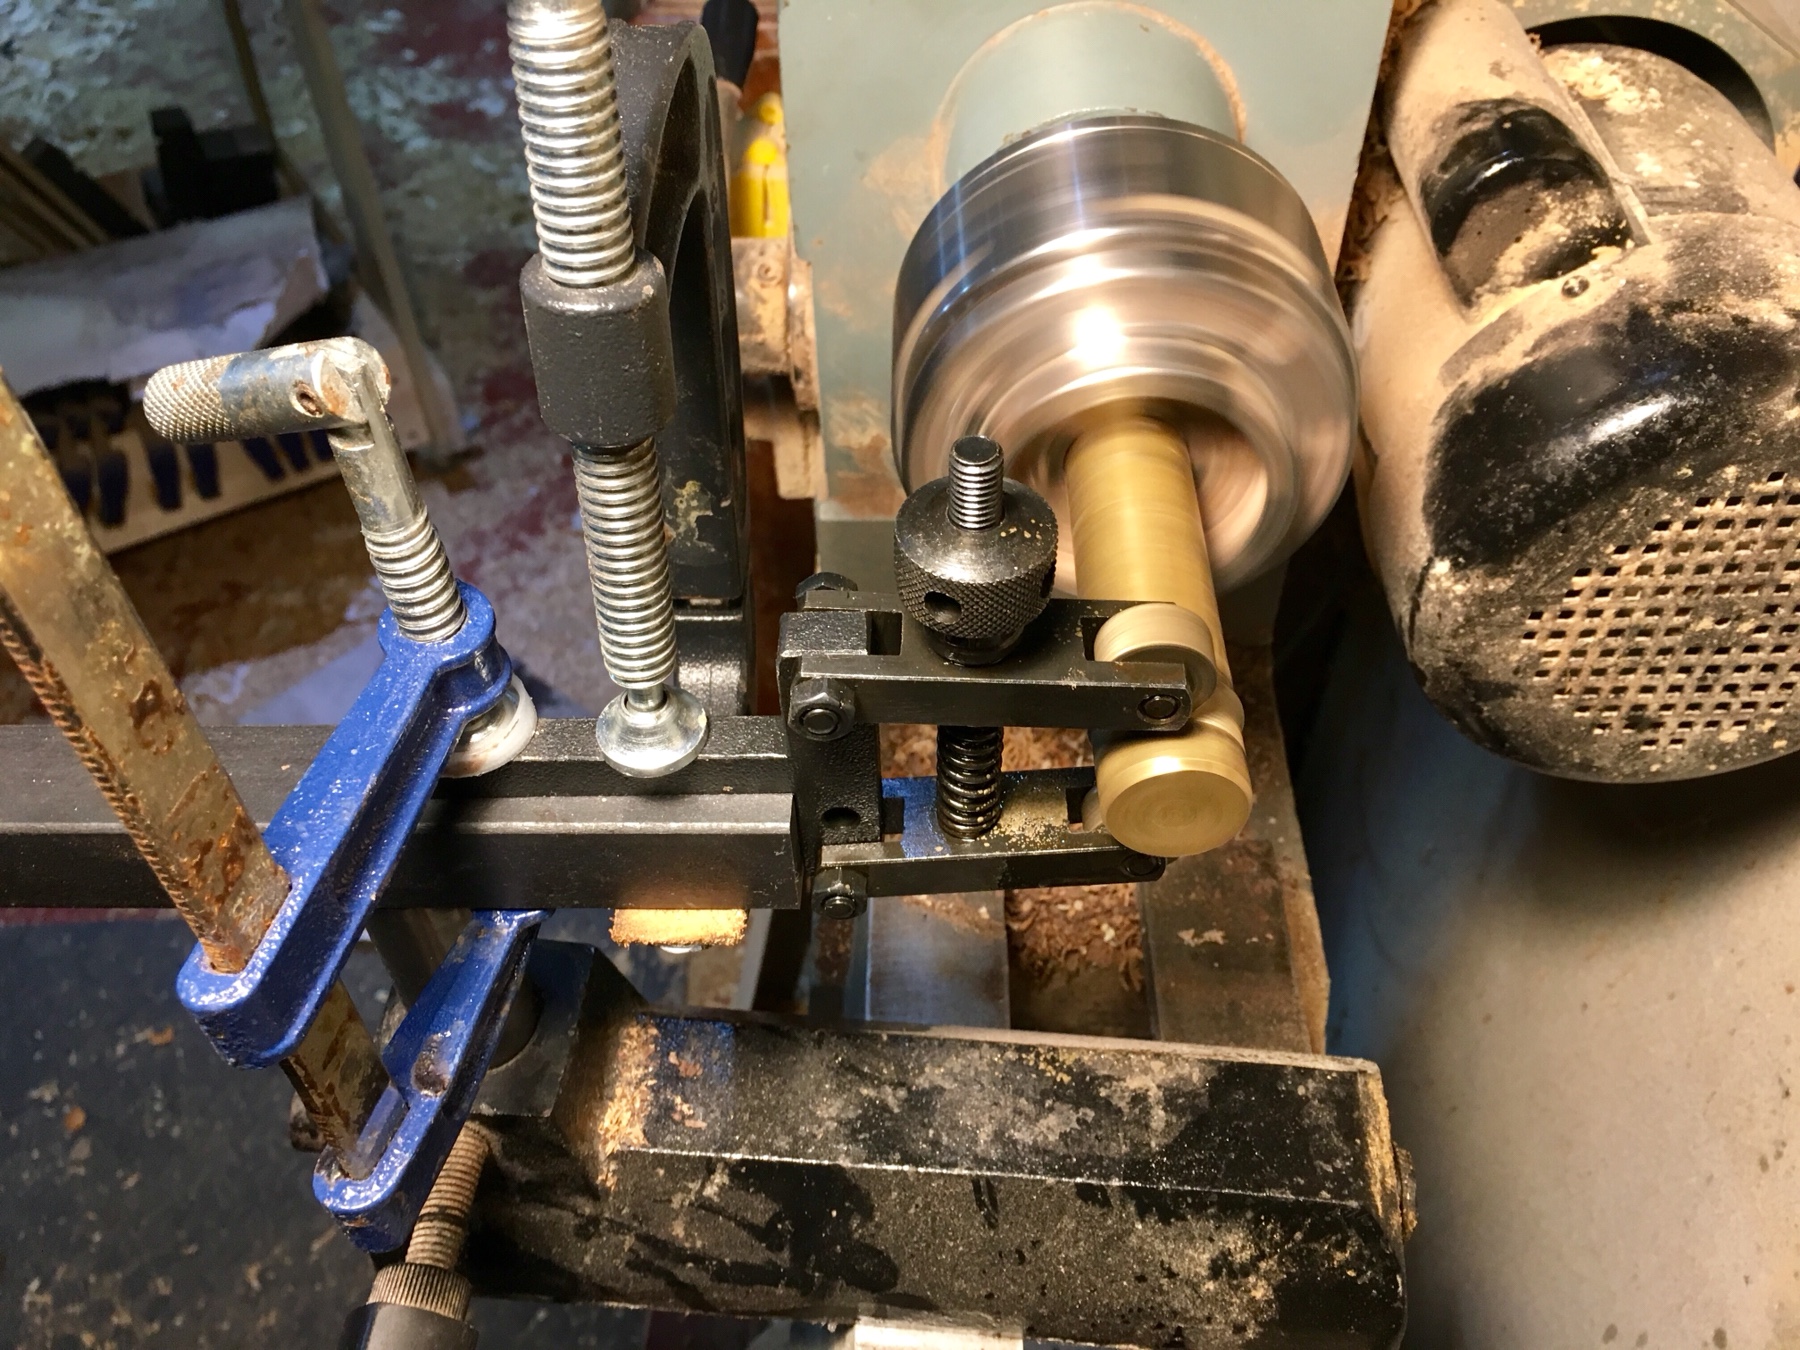
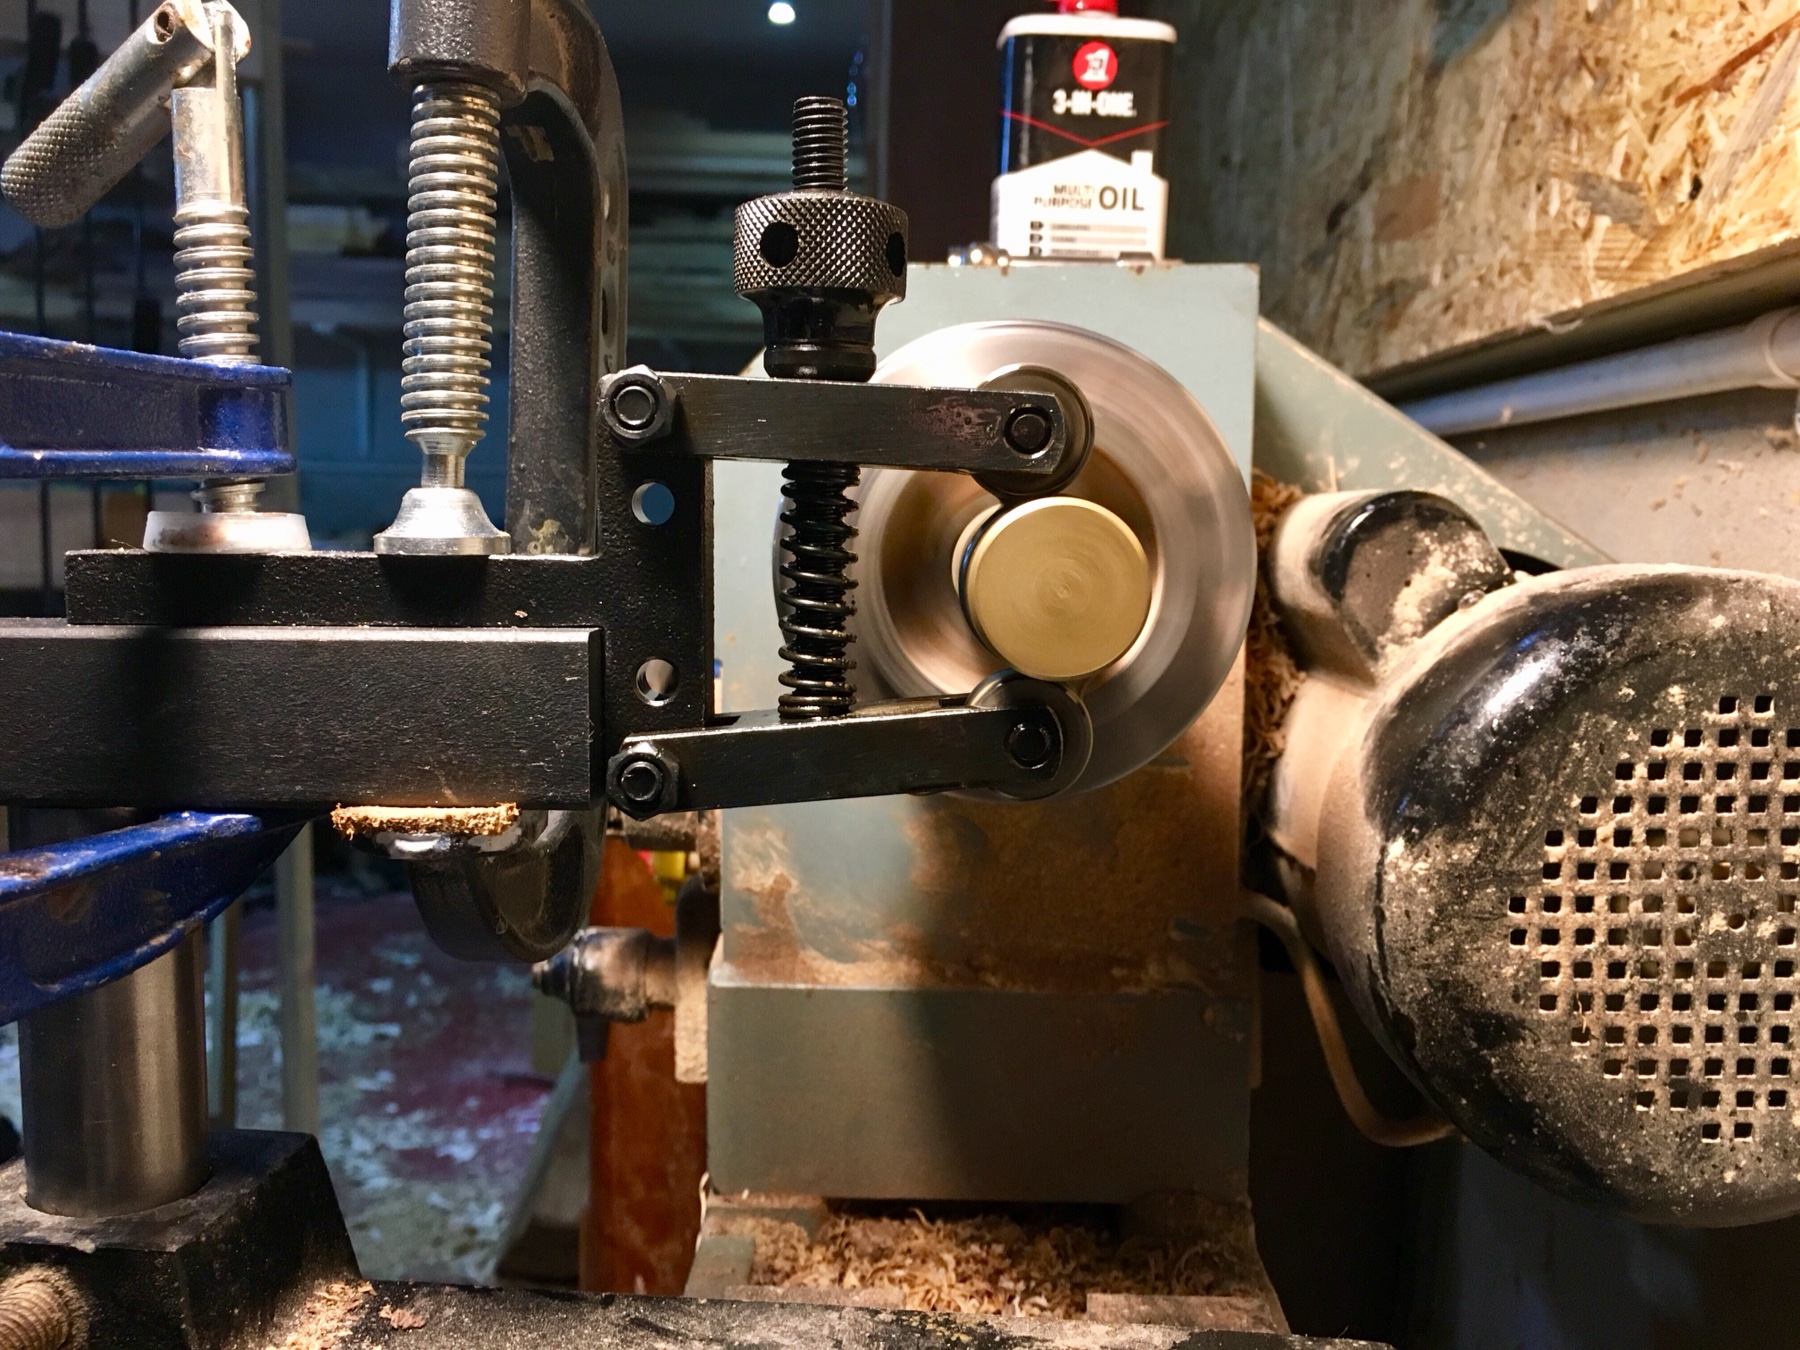
So I now have a square surface to clamp the knurling tool to.

5c55abd70d7a26c8cc8cc6064679161a.jpg


Started off just turning it by hand to see what happens, ended up trying with the lathe at low speed.

0bb9476ec2ebef1ebc21f916779a7cfb.jpg


7726b0929d9ba223152df6a6b81cafee.jpg


I’m so pleased with my first attempt experiment.

f11f40559c206ad429125d48be54db9d.jpg


When I get time I will be making some brass knobs from scratch for the router plane :D
 
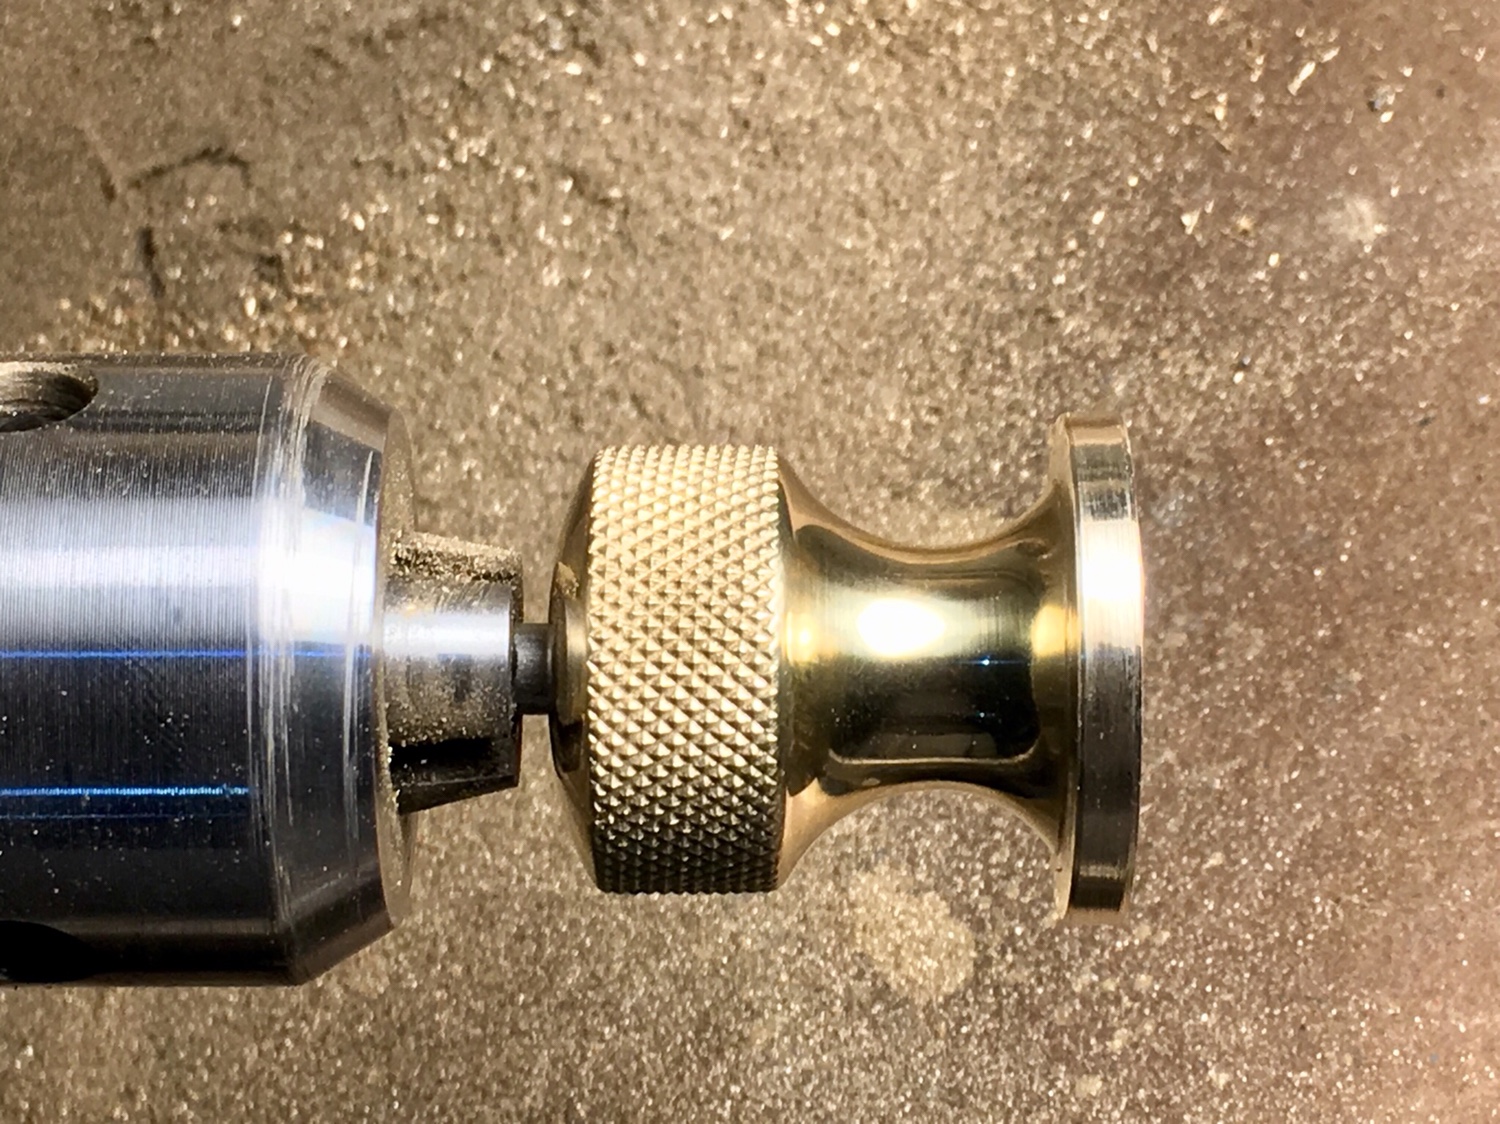
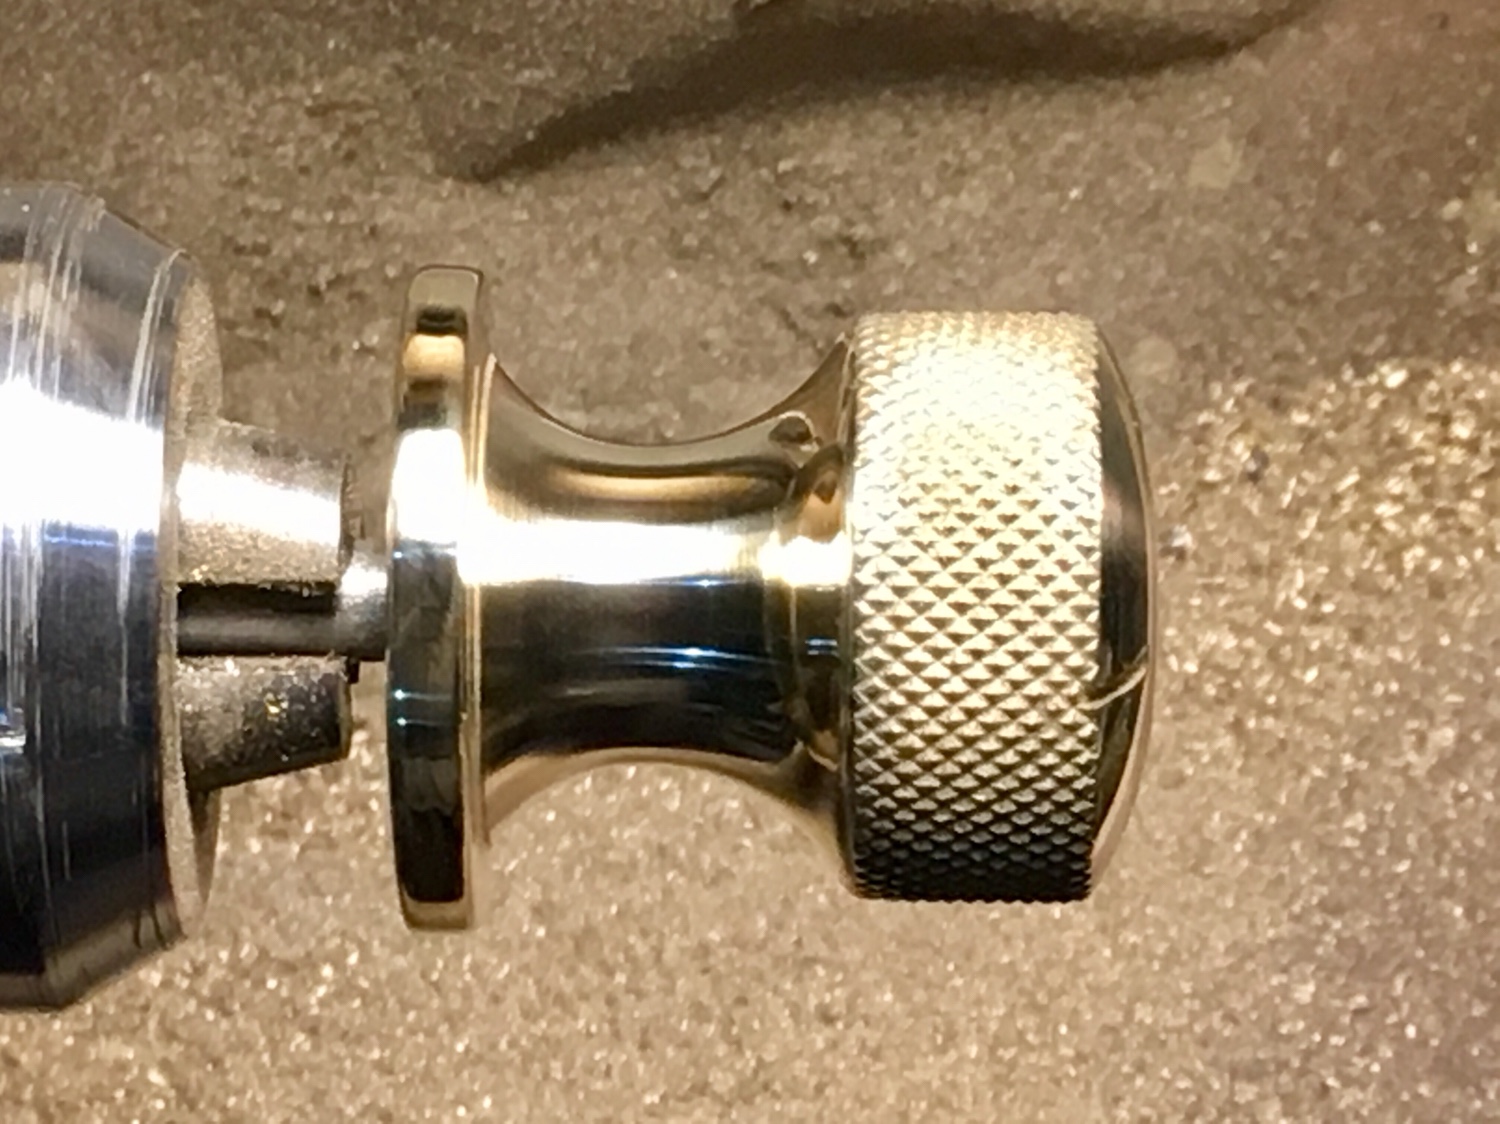
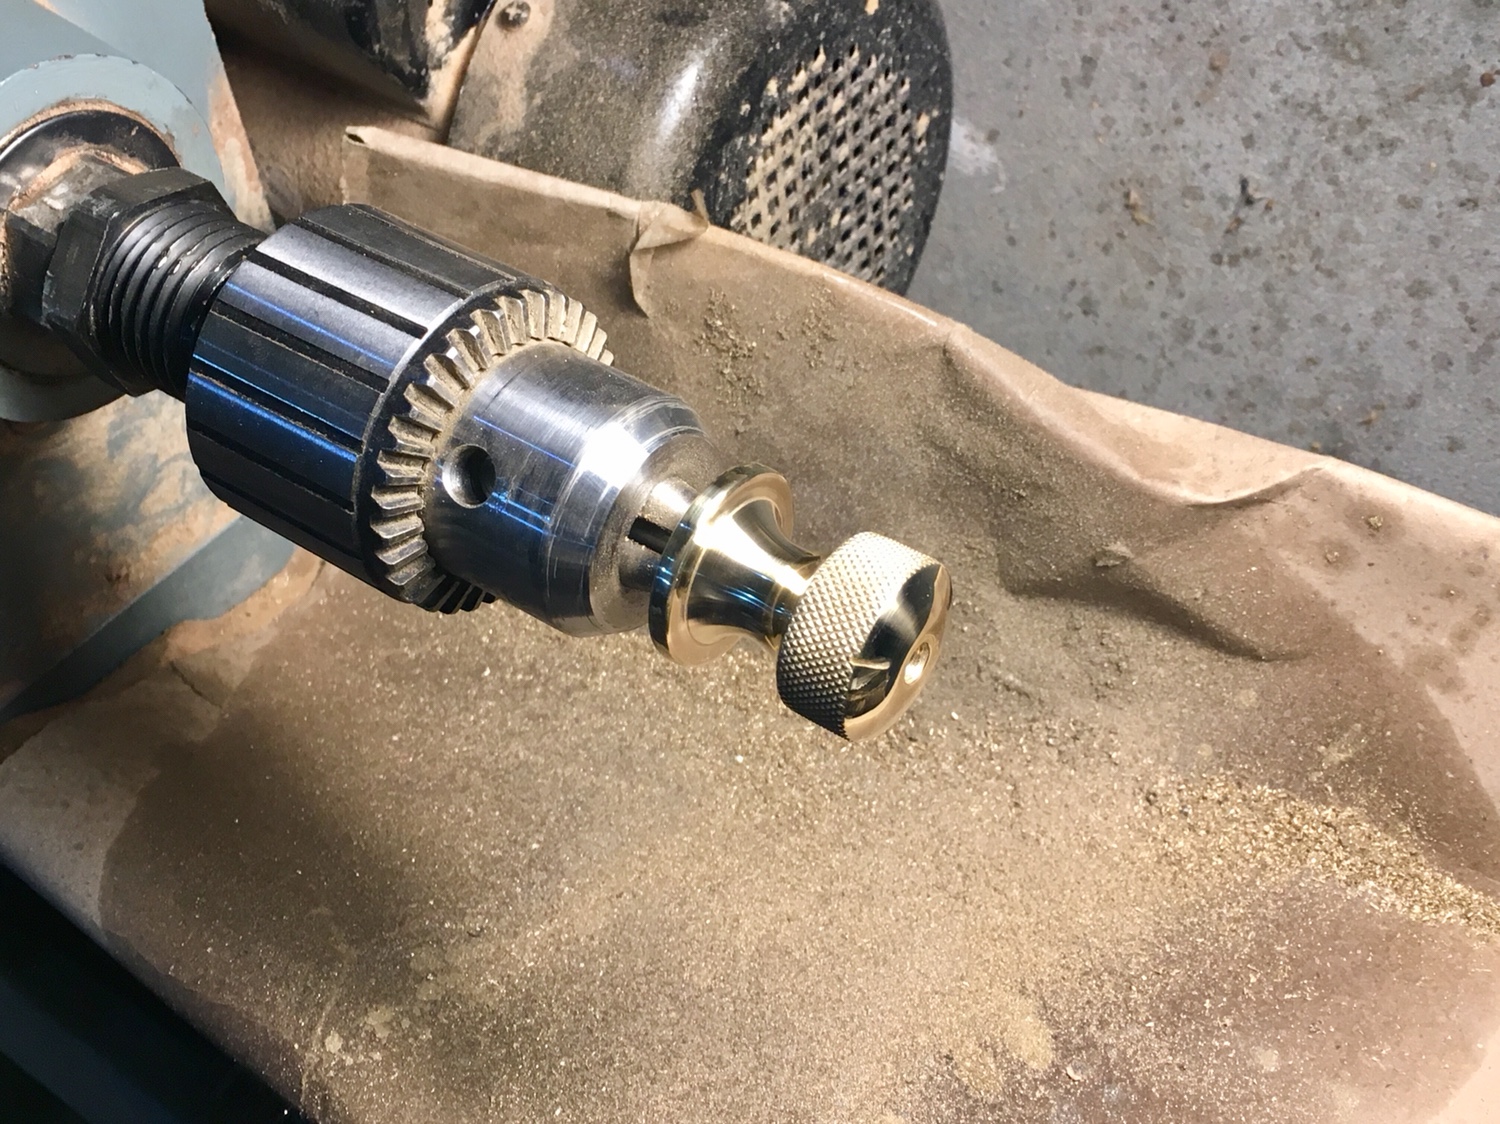
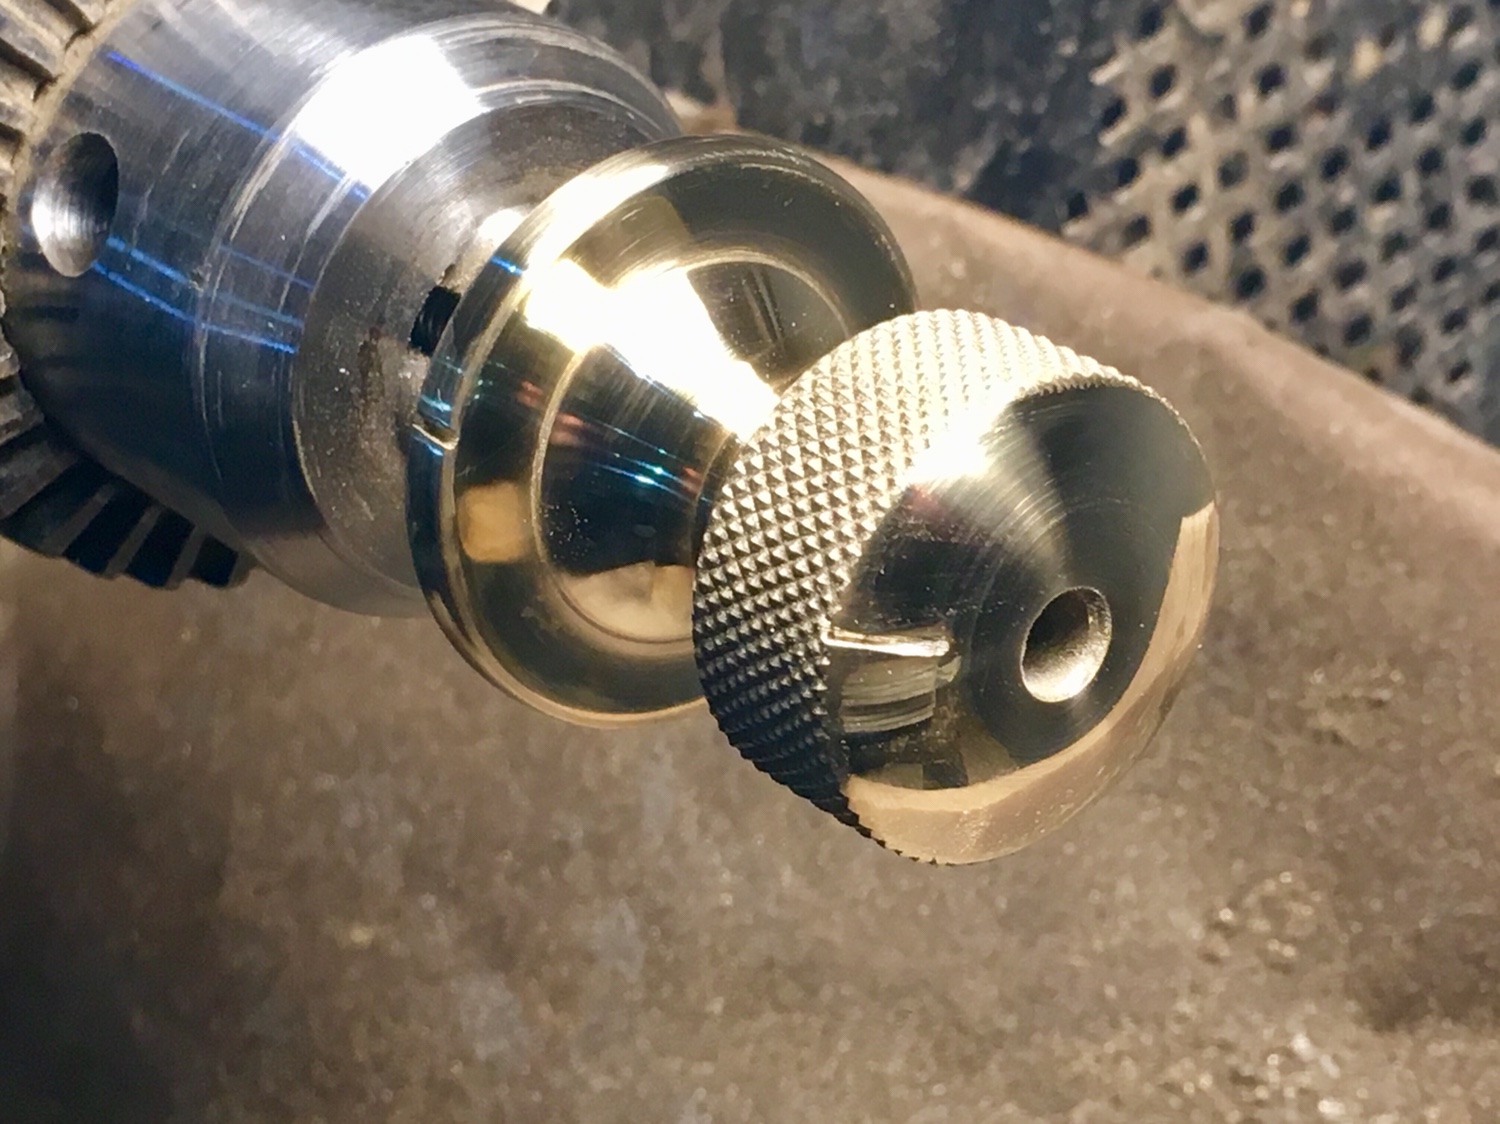
So I’ve finished the height adjustment knob!

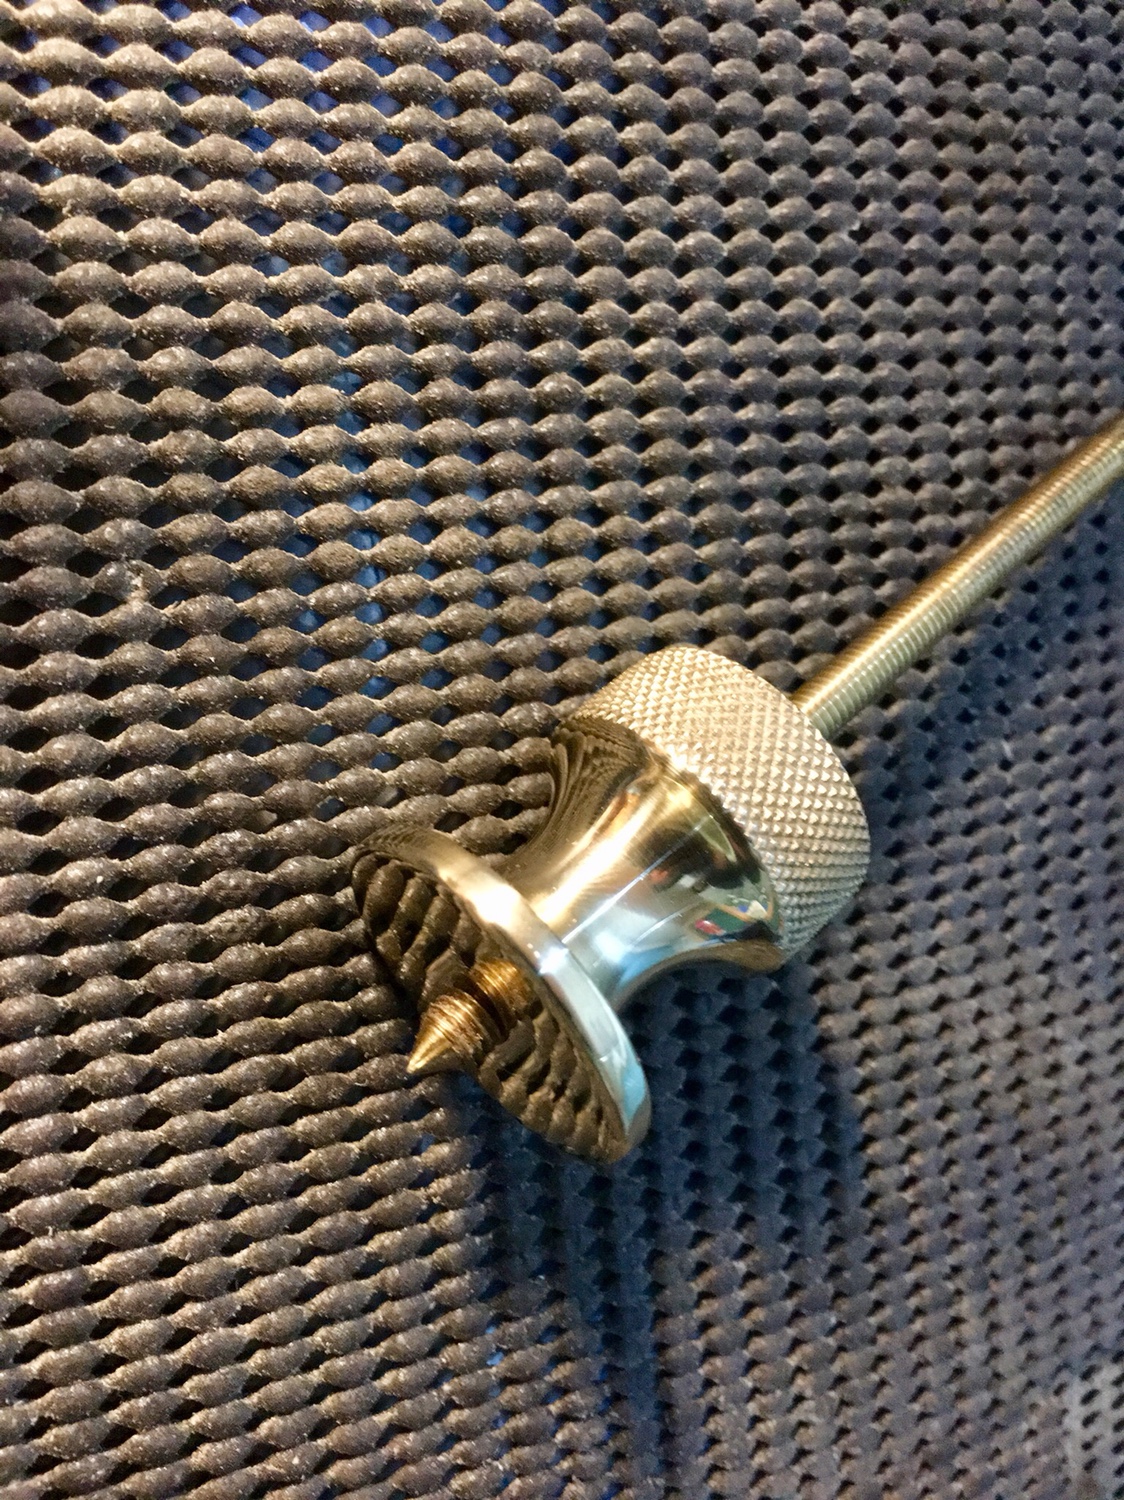
I started with a 1.5” brass rod from ebay. I placed this between the jaws of my wood lathe in order to drill a hole as close to the centre as possible. This hole is 5mm diameter in order to tap it for M6 x 1.0.

805dfd98822e10ebc87b60c04e943988.jpg


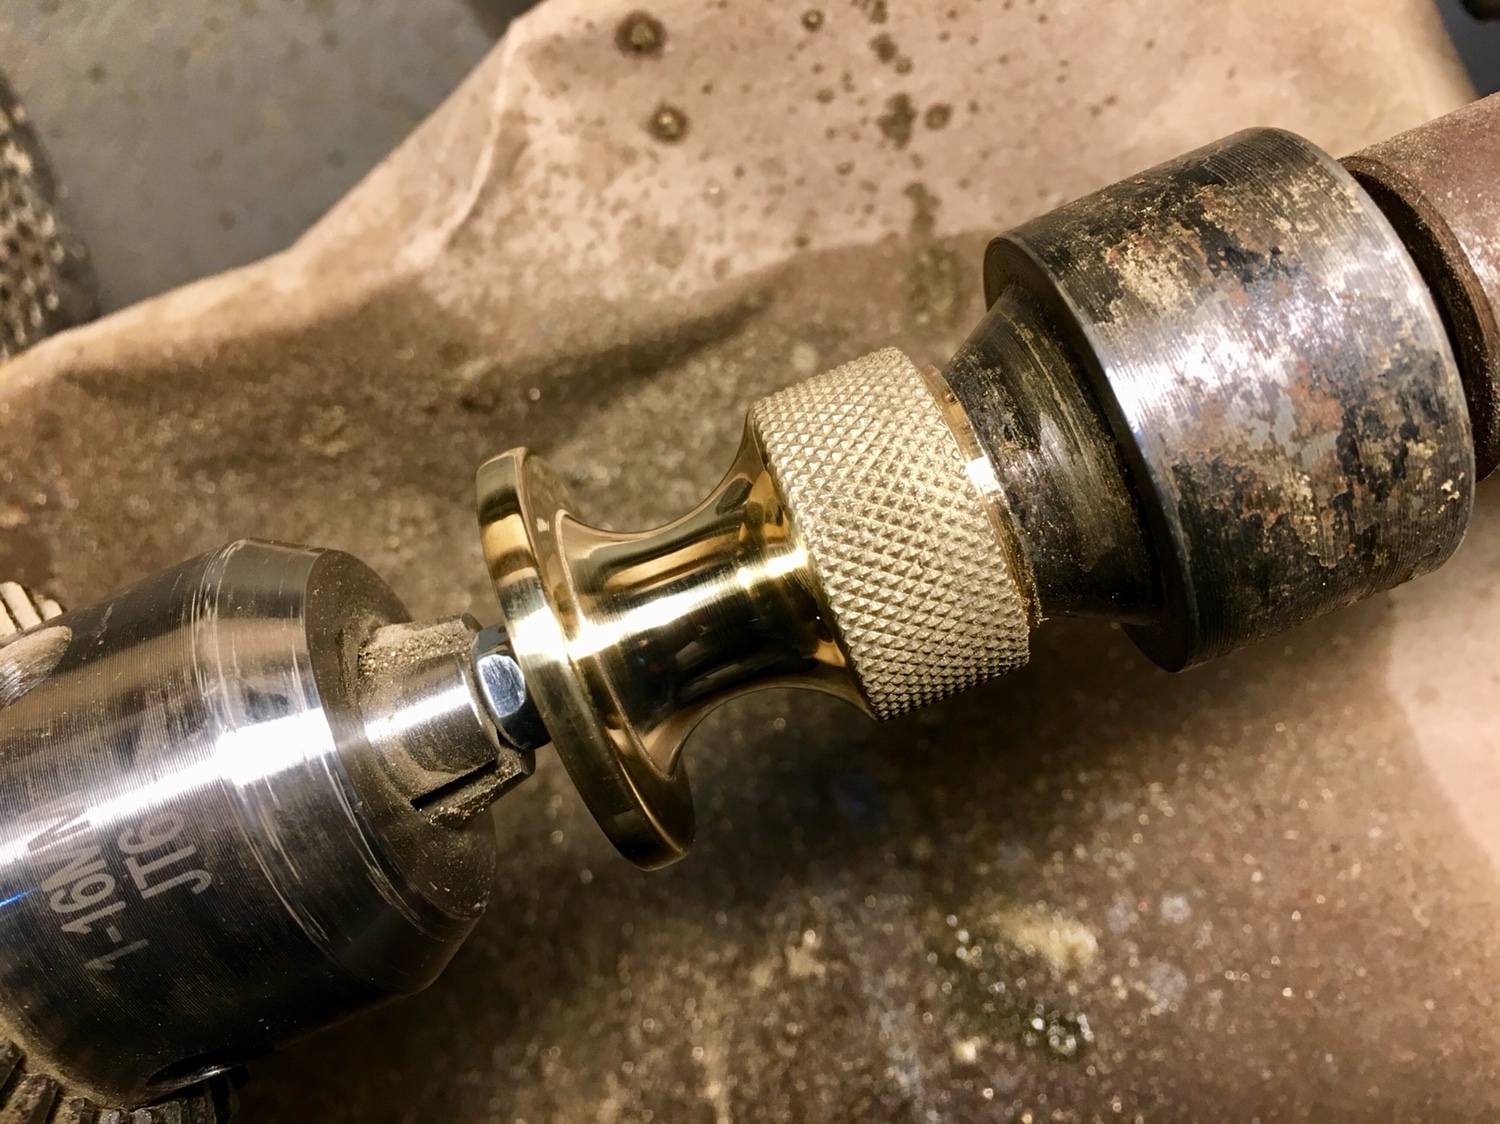
So once the hole was drilled i then tapped the hole for M6. I then mounted this on some scrap M6 threaded rod and placed this in a drill chuck on the lathe. I did use an old lathe centrein the other side of the hole for stability to stop as much chatter as possible. As per Chas’ recommendations I then (cautiously) tried using a wood lathe parting tool, and was plesently surprised as to how well it cut and the tool didn’t get too hot and start ruining the tempering, which I was worried about. Using a combination of the parting tool and a round nose scraper I slowly removed the waste to a shape I was happy with. Then I knurled the grippy part. (sorry not many in-between photos, I was “in the zone”)

0b09008b5c4c48a3bf1d4fd4f149afd6.jpg


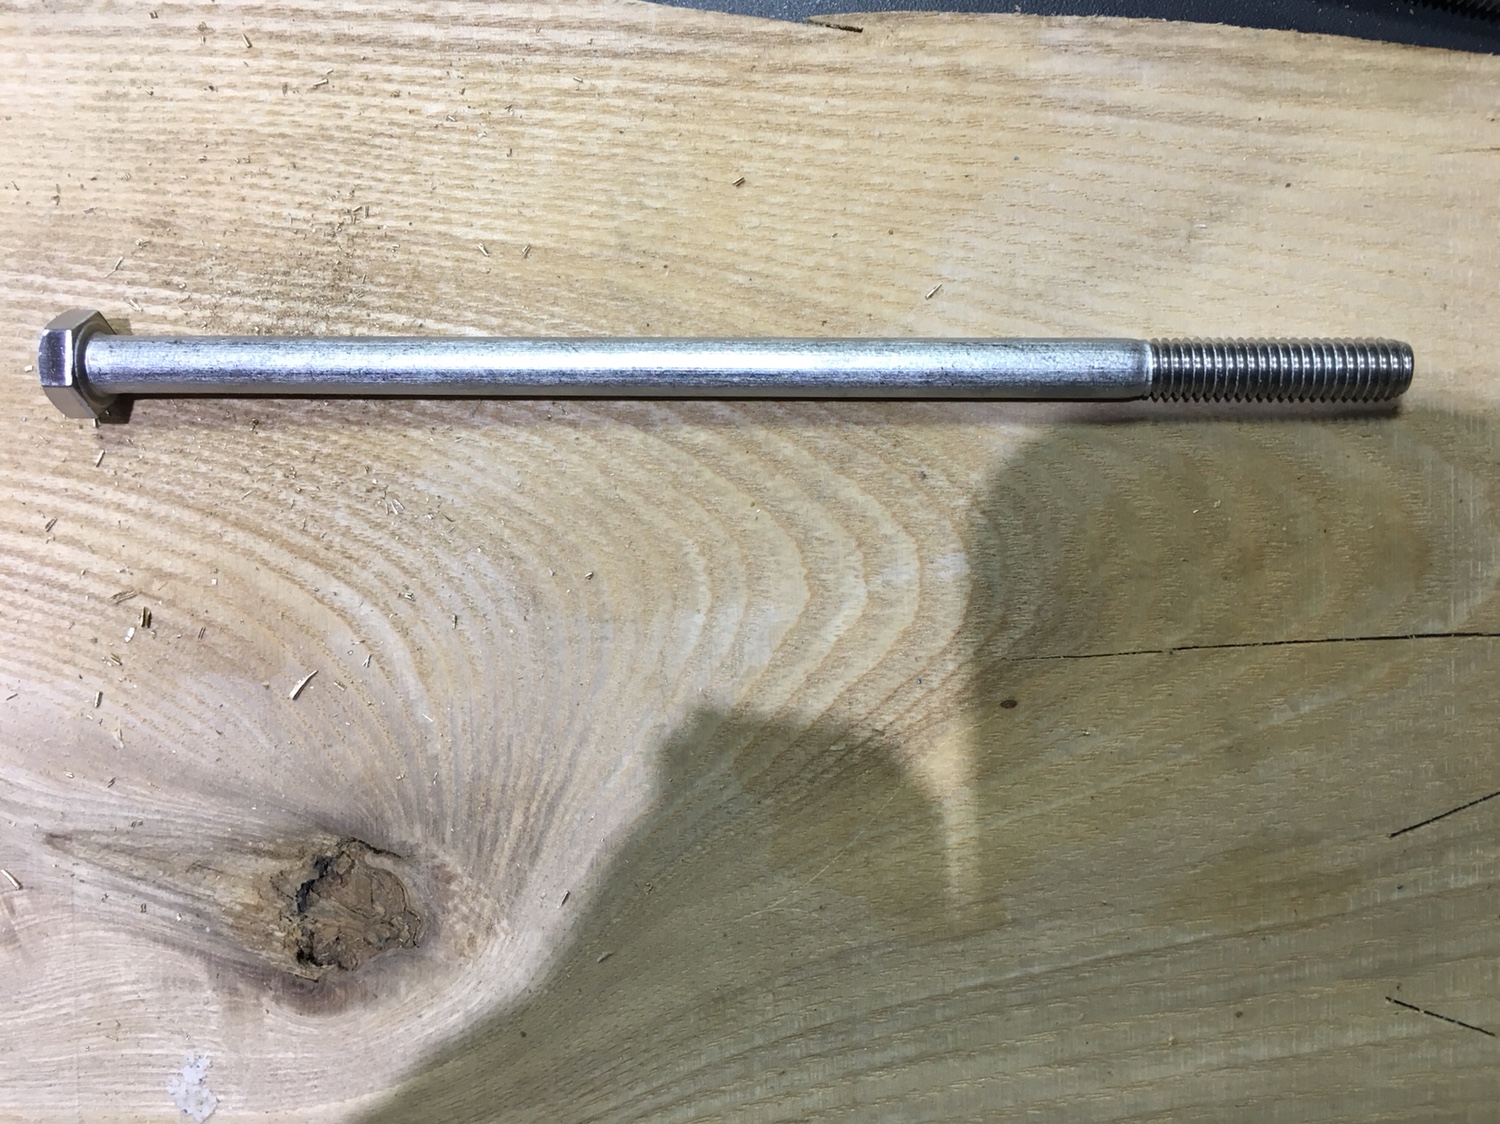
Whilst turning this I had to re-tighten the drill chuck a few times and then it occurred to me, ‘what if I’ve crushed some of the threads of the threaded rod making this knob off centre’? Thankfully it turned out to be not too bad, but when it came to shaping the top ‘dome’ shape it was a little wobbly, so decided the best bet would be to get hold of a part threaded M6 bolt, as below, which I trimmed to fit as much length as I can in the drill chuck.

528de179612215b4f55c8aa16aa95d0f.jpg


I’m glad I got the above as it did help keep it stable when turning the end of the dome with without a support. Once I was happy with the shape overall I then sanded from 320 grit up to 3200 micromesh.

bbac3ea7a3161fd8e6eba30c429cf5d0.jpg


45c49435d6194b8f501a79c786fcea9c.jpg


572340bf0984719551fa65fd70283e12.jpg


Oh, and I used a hacksaw to cut a small reference indicator line, so when using the router plane I can take mental note of where my the indicator line is for the first cut and then know that each full turn is 1mm.

4b87904b22ae1768e345eb47d0f4c65b.jpg


In order to locate the height adjuster so it can reach both front and rear blade locations I clamped 2 blade body’s to the plane. I sanded a point to the end of the M6 threaded rod, which I could protrude slightly from the bottom of the adjustment knob and mark the new location of the threaded bar.

3adc865c9339b2372ba4dd7bf44c56ad.jpg


360b99e052dc5a4ab601dd98e0a5db98.jpg


6922132b9d4404dbdd42f0d2ef219ce0.jpg


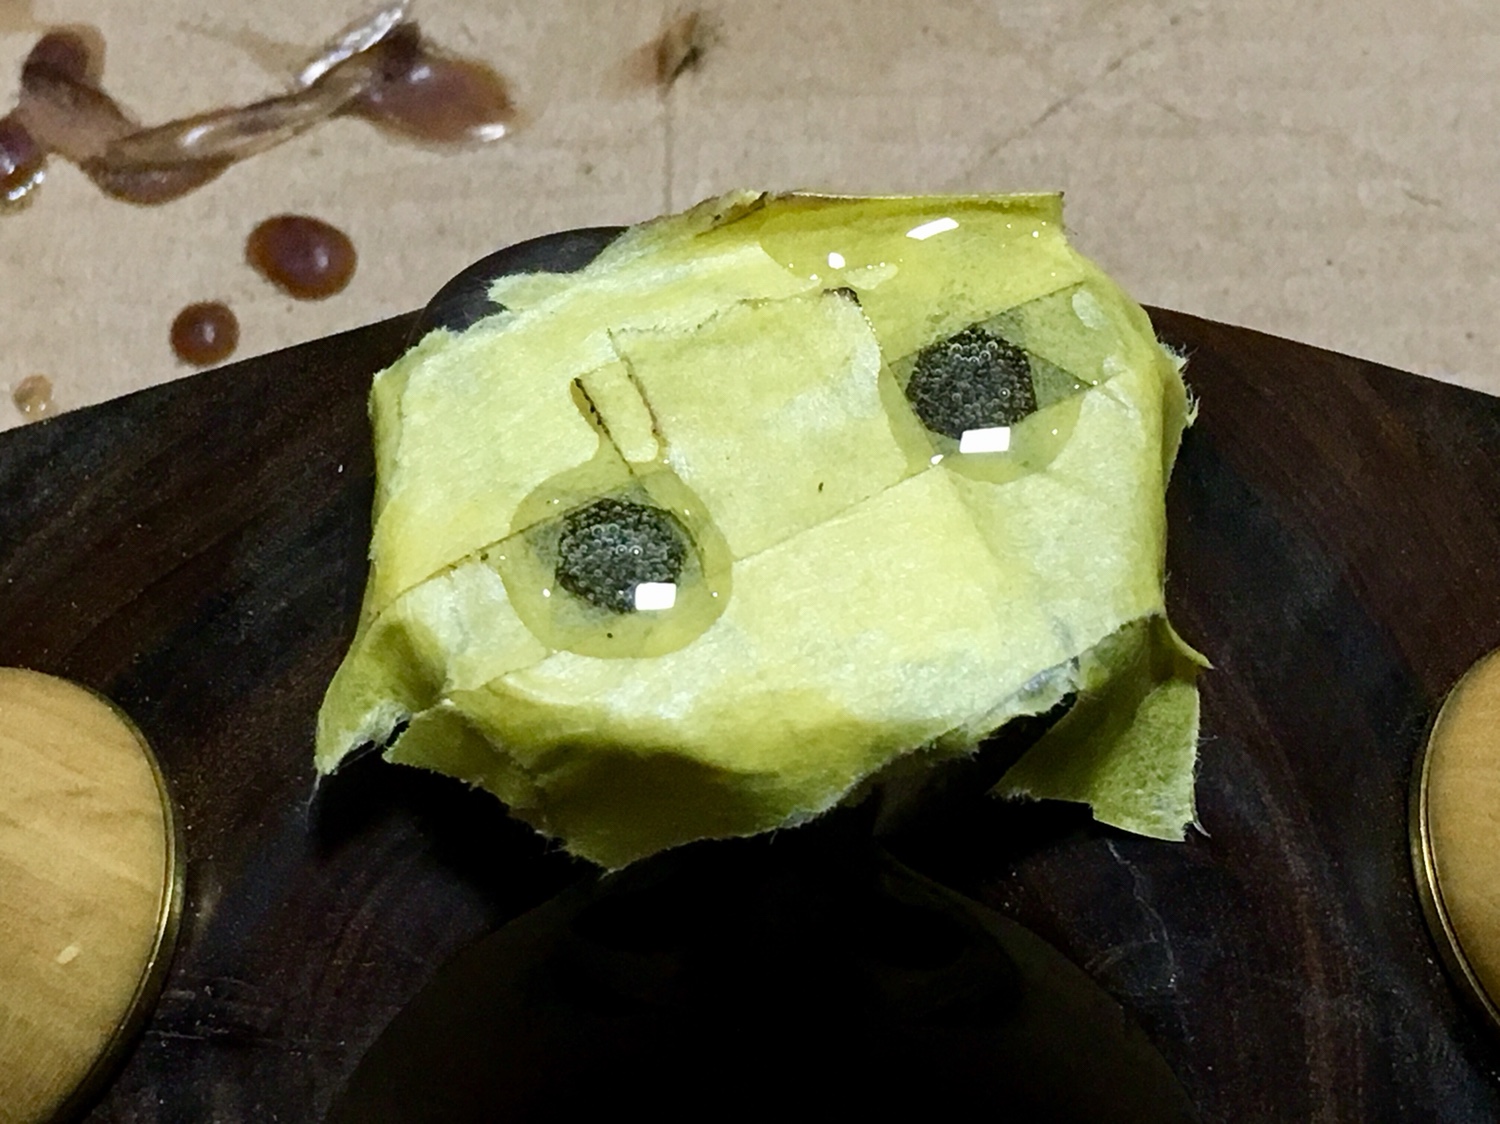
I filled the 2 exisitng holes with epoxy.

330b9fa2a42bea0dca14c533e78aa29f.jpg


I do plan on shaping a brass plate to go over the top to cover the unsightly filled holes, so that’s the next job before drilling the new hole.
 
Brilliant! That should inspire a few more makers who don't have a metalwork lathe. And it looks really classy.

I like the idea of the reference mark as well.
 
Sawdust=manglitter":5mdg2b9y said:
I'm still surprised with what you can actually get done on a wood lathe!!! I will certainly be doing more brass work in future, and I am no metal-worker

That's astonishing, and it opens the door for drawer pulls and all sorts of stuff on a woodworking lathe.

Do you know what type of brass you used? I've heard that there are dozens of different types and grades of wood, and apparently they can have quite different properties.
 
custard":26cyhfm7 said:
That's astonishing, and it opens the door for drawer pulls and all sorts of stuff on a woodworking lathe.

Do you know what type of brass you used? I've heard that there are dozens of different types and grades of wood, and apparently they can have quite different properties.

All of the brass I've bought has been in small quantities on ebay and the cheapest I can find, and they all say that it is CZ121 which i assume is the grade or purity. I never looked into it to be honest, i just took a punt on the cheapest available to me to try it out. But as you've said, my limited experience working with brass has now opened doors for future projects :D
 
:oops: Oops! I meant grades of brass, not grades of wood. Freudian slip there.

I think Musicman is a metallurgist, if he reads this maybe he could advise?
 
From a quick search...

Brass Classes
Brasses are divided into two classes. The alpha alloys, with less than 37% zinc, and the alpha/beta alloys with 37-45% zinc. Alpha alloys are ductile and can be cold worked. Alpha/beta or duplex alloys have limited cold ductility and are harder and stronger. CZ121 is an alpha/beta alloy.

Brass alloy CZ121 is used for machining. It has lead added to the composition to improve machinability. The lead remains insoluble in the microstructure of the brass and the soft particles act as chip breakers.

https://www.azom.com/article.aspx?ArticleID=2822
 

Latest posts

Back
Top