Ironballs
Established Member
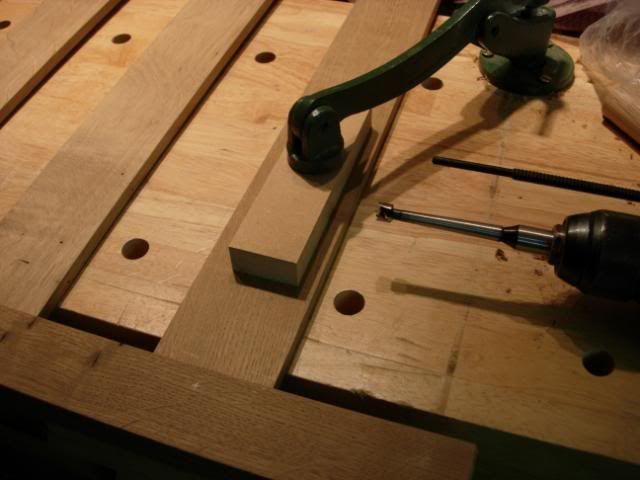
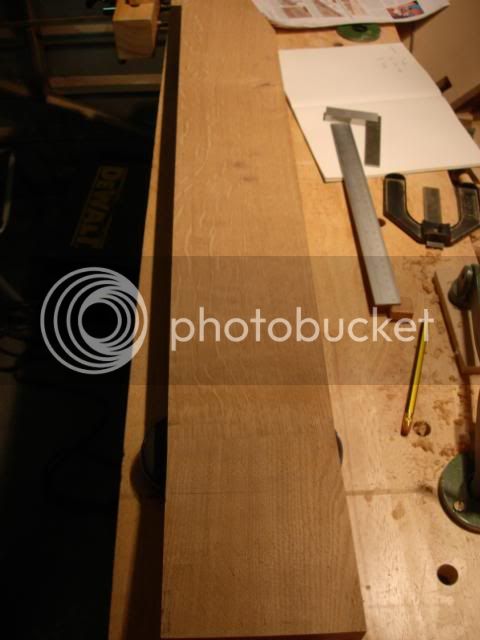
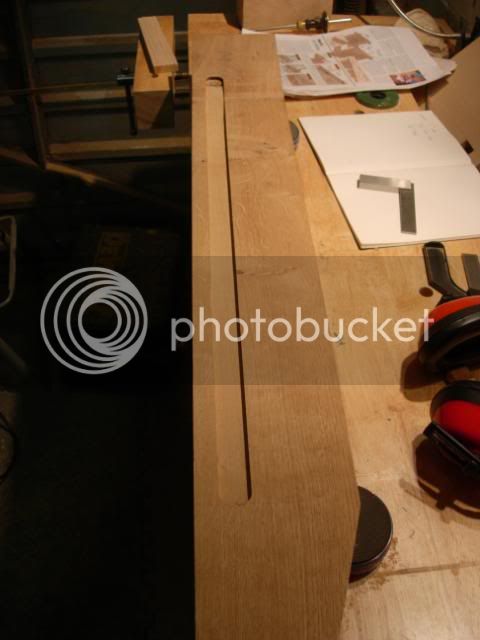
Okay a few jobs here, a few recent ones and one I did a while back but didn't get a photo. First is the underside of the arms, they need a channel routing to so that they can sit on the upper rails for strength and stability, fairly simple job with a router and fence - and I'm now a proper convert to bench cookies
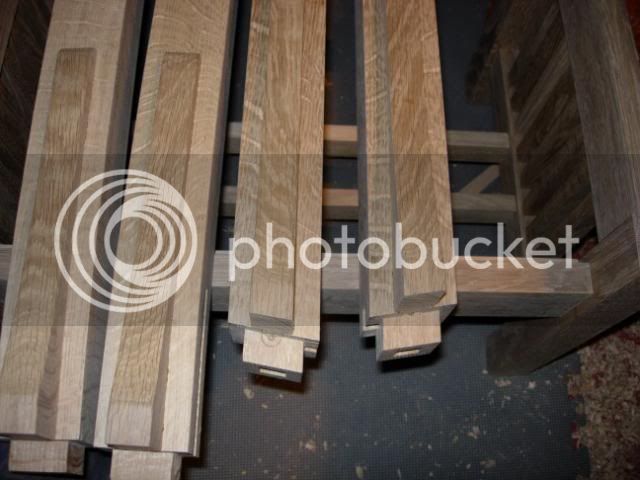
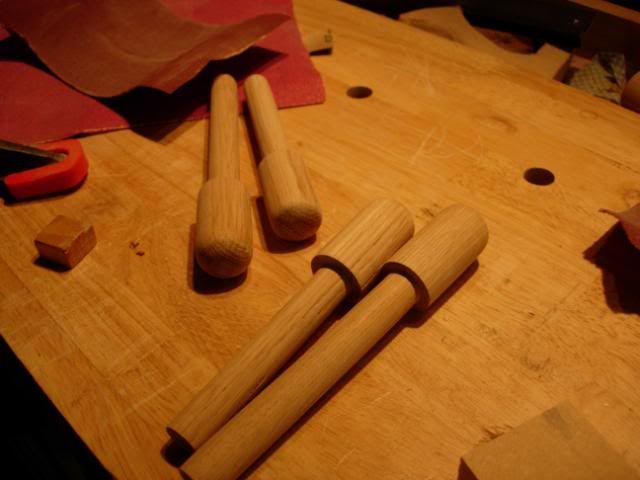
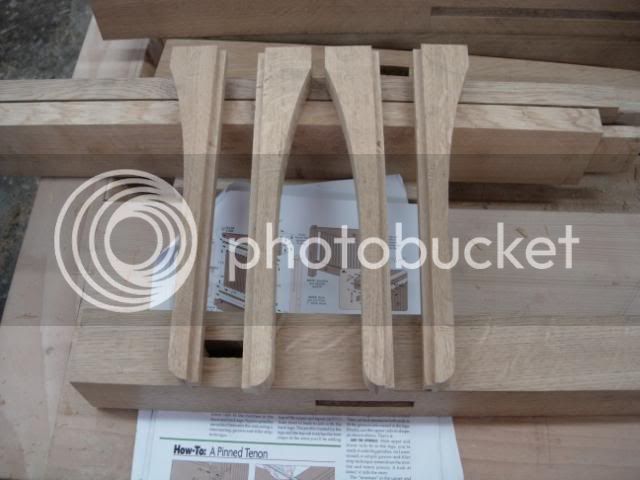
I did the corbels a while back, made a template in mdf and used this to draw on the cut to size rectangular blanks before bandsawing and spindle sanding. Template was used as a reference again when sanding. These just need part of the tenon trimming off once I trial fit the arms
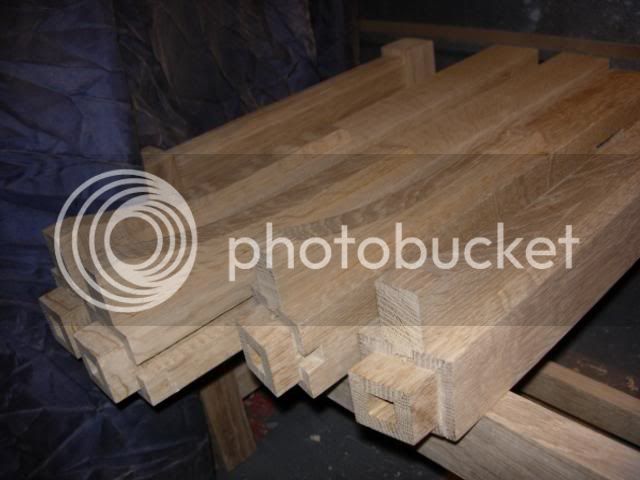
You may recall that I had difficulty getting the legs 100% square when glueing up, well this transferred to the tenons when marking up from the outside face. The result was this set of measurements
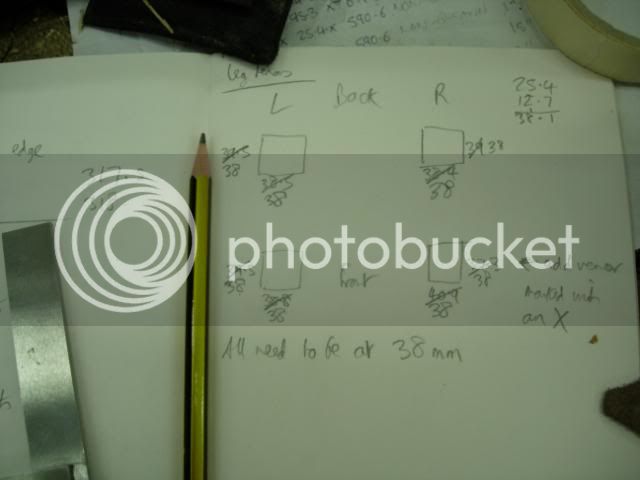
I needed to get to 38mm square so out with shoulder plane to trim to size
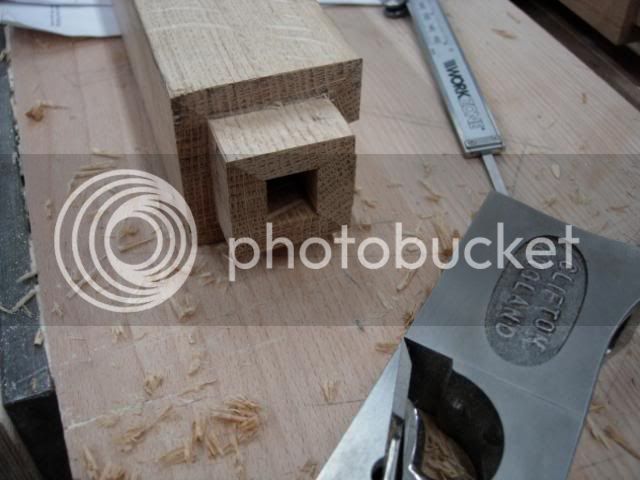
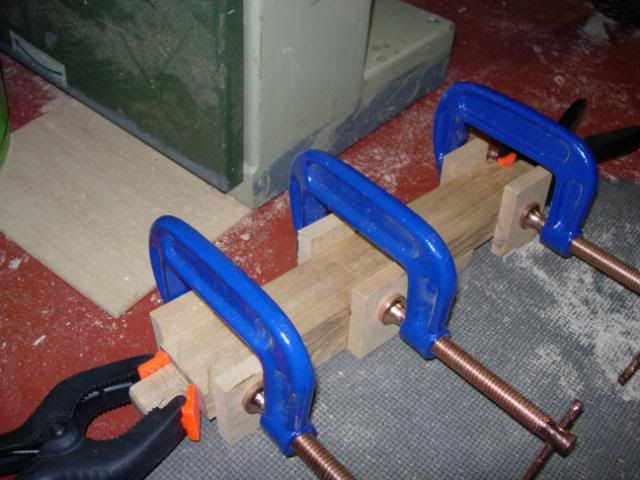
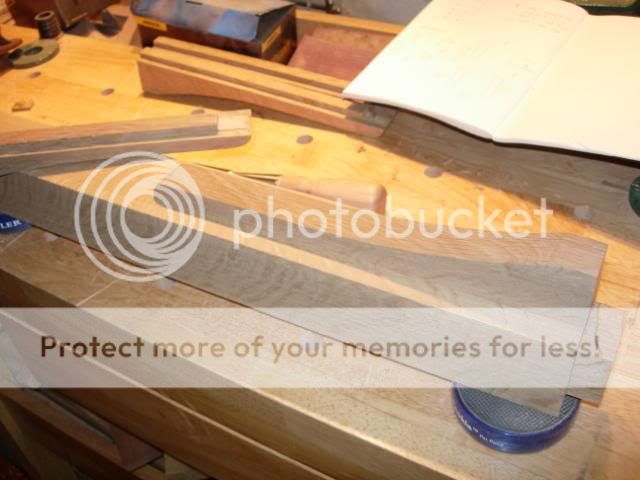
And a veneer added to one face to add some thickness
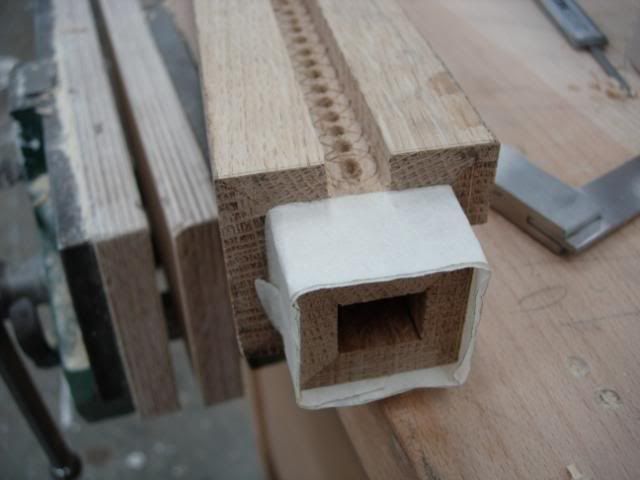
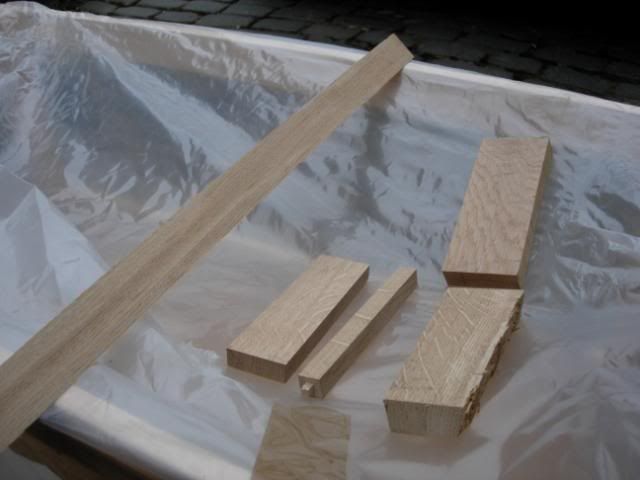
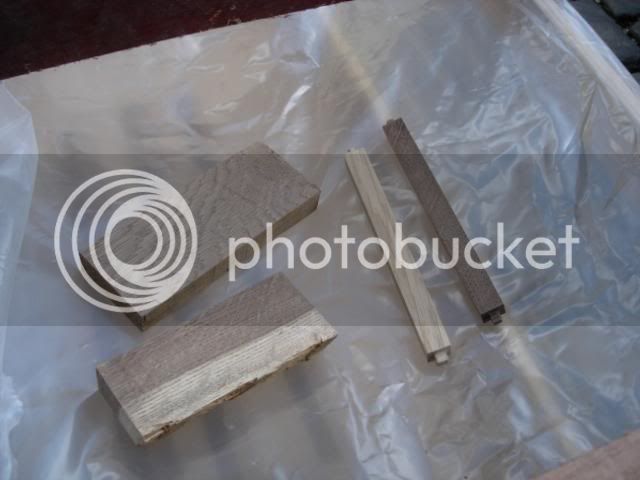
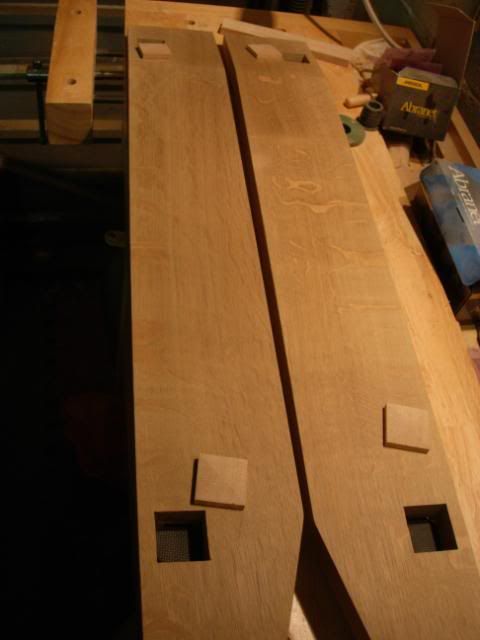
As I now know that the mortices in the chair arms are going to be 38mm I could make the mortice caps - a decorative cheat. Made them 0.5mm oversize just in case, so prepared this blank
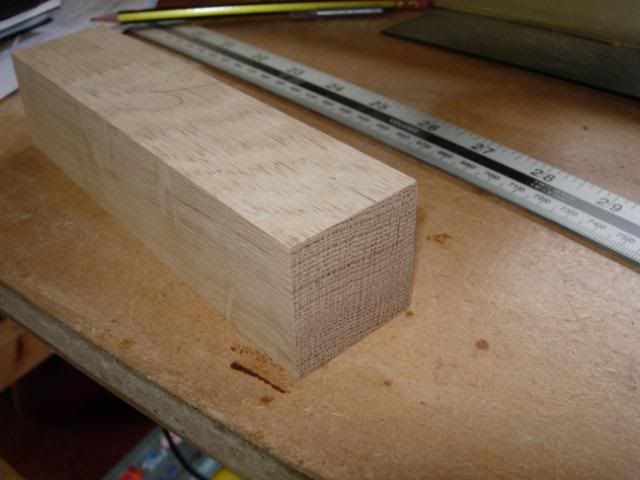
Fronts were simple and just required angling the tablesaw blade to 9.5 deg and cutting each side against a stop block
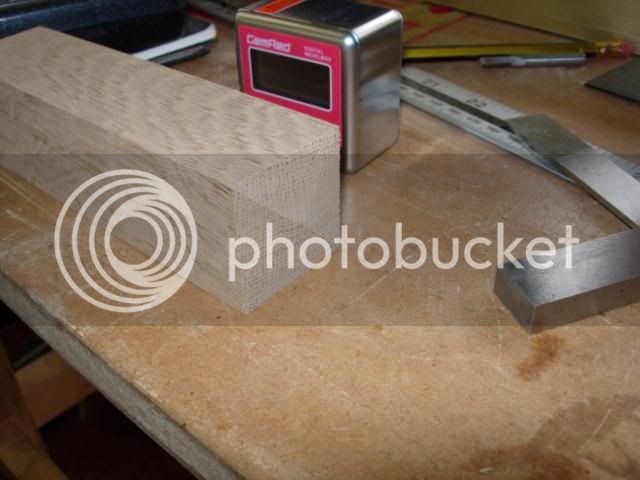
And then cut off to the required depth
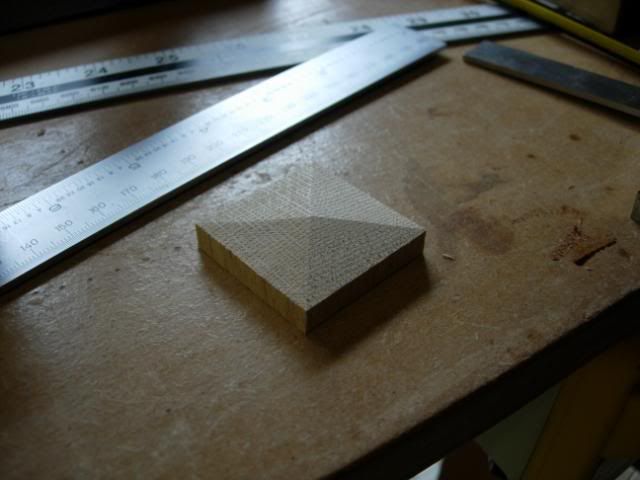
Rears were a little more complex involving more saw angle (and less) and mitring the cuts to the blade. Pretty dull to follow and even more so to write here, so I'll skip that
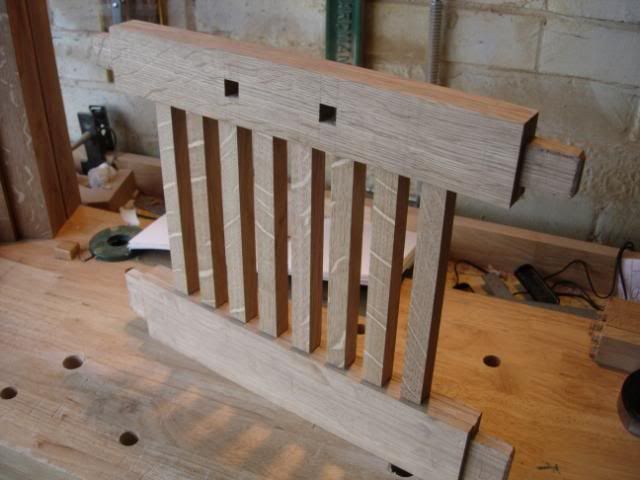
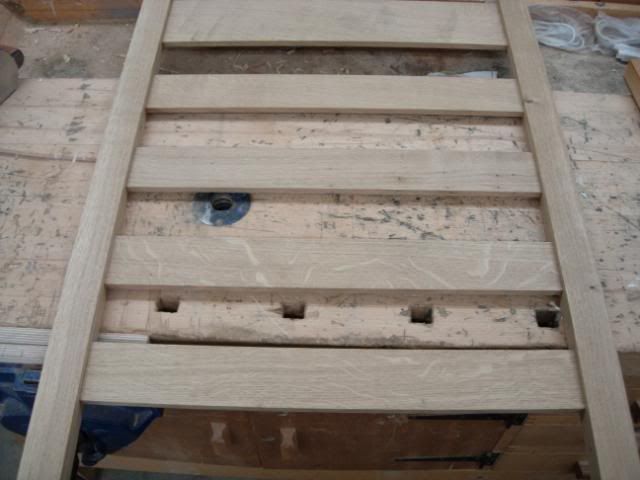
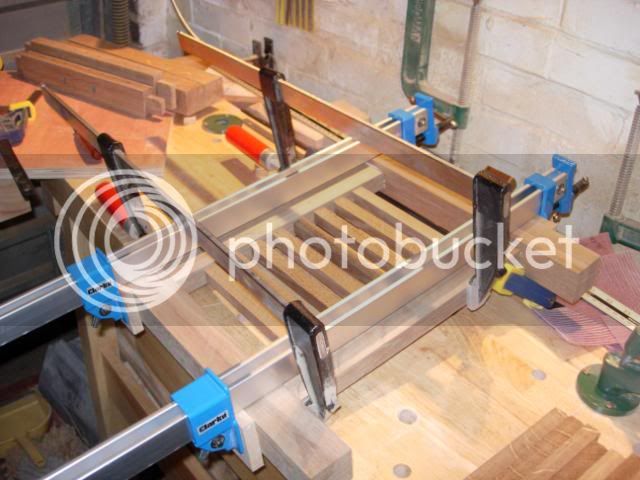
Next was the little jig I needed to make to rout the slots in the filler strips for the spindles to go into. There are 4 for the chair and 4 for the stool, each spindle needs to be the exact same distance from the other; the eye will easily spot a difference here. I was all set to try and clamp the pieces together with some mdf cheeks and devise some way to rout equal distances, until I asked Derek the tutor what he would do. He sketched out this jig for me, simple and clever.
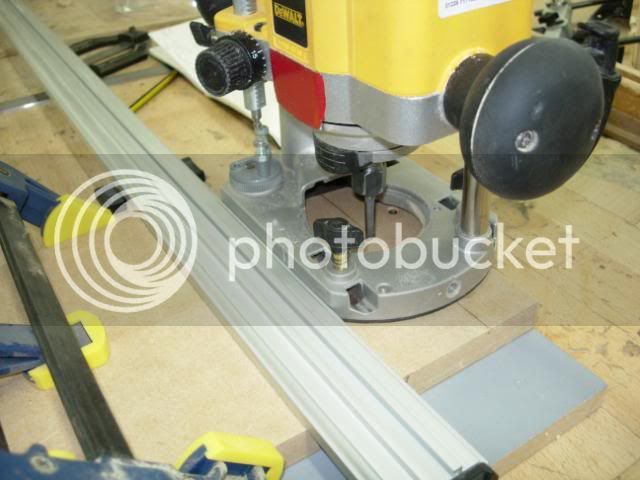
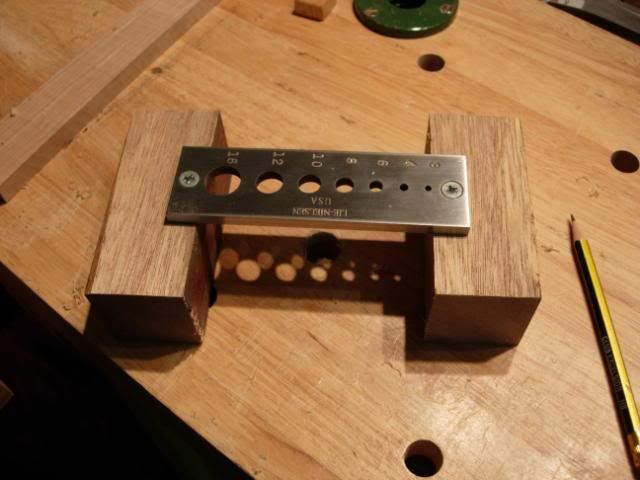
MDF base, fixed piece screwed square on one side and a floating piece on the other side that will clamp the strips and act as a base for the router. I then had to rout a first channel and then a second using a thickness block to get the right distance between the channels
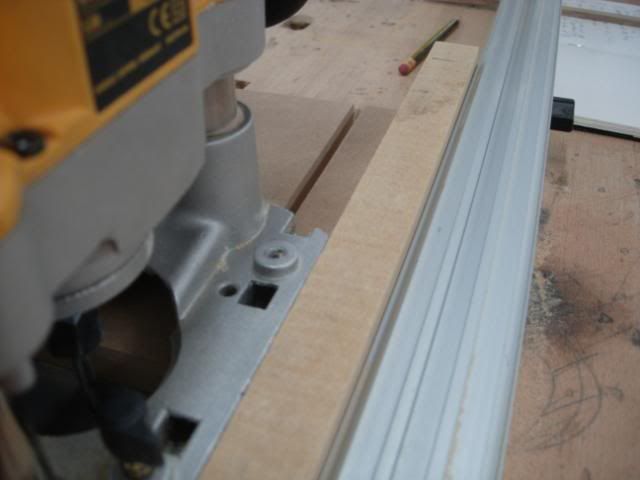
Oh and you definitely can't see a third channel, that's just an optical illusion. Certainly not a cock up. Oh no. Leaves me with these channels
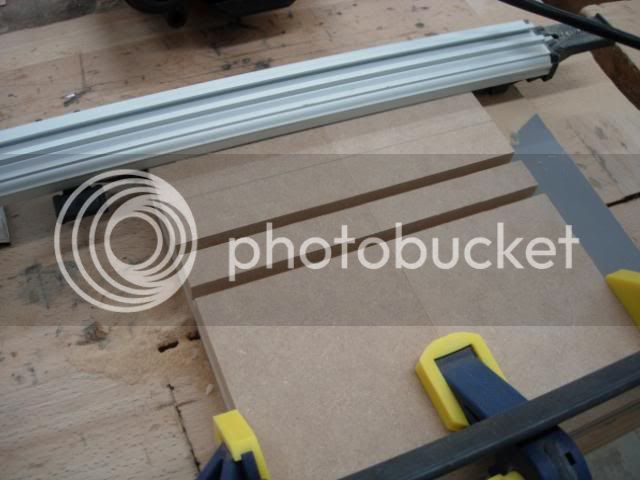
One of which I can slot a form of fence into
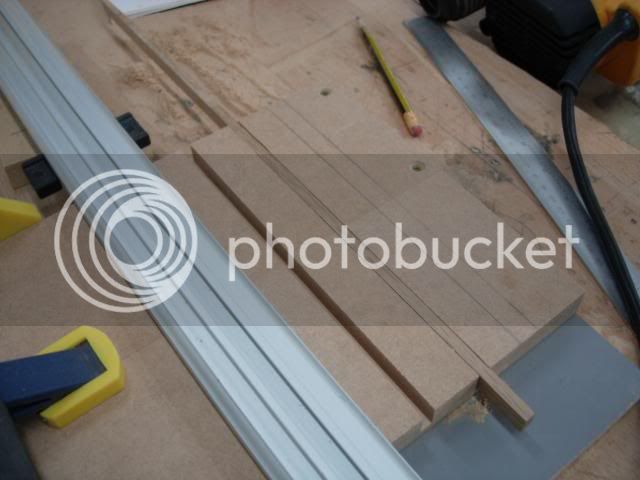
Strips inserted and first cut has to be lined up by eye from my pencil marks
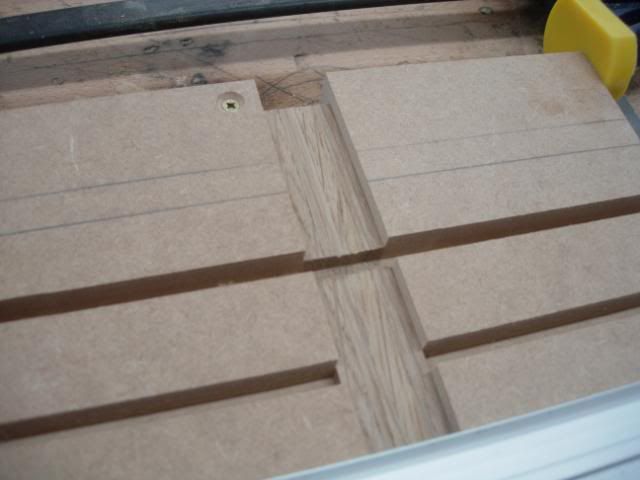
Then the jig comes into its own and the slot fence fits into the cut I've just made
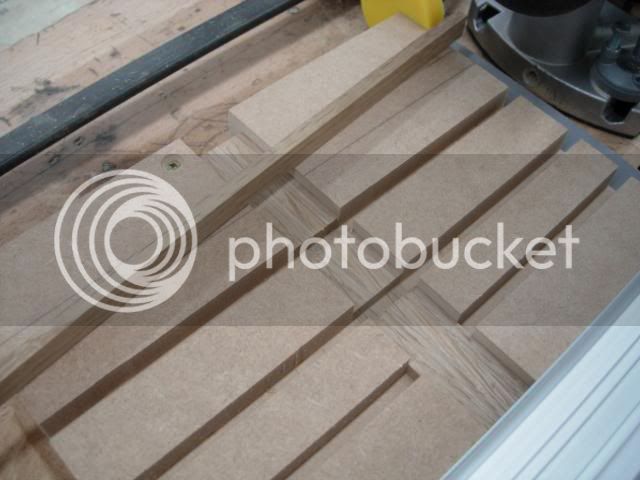
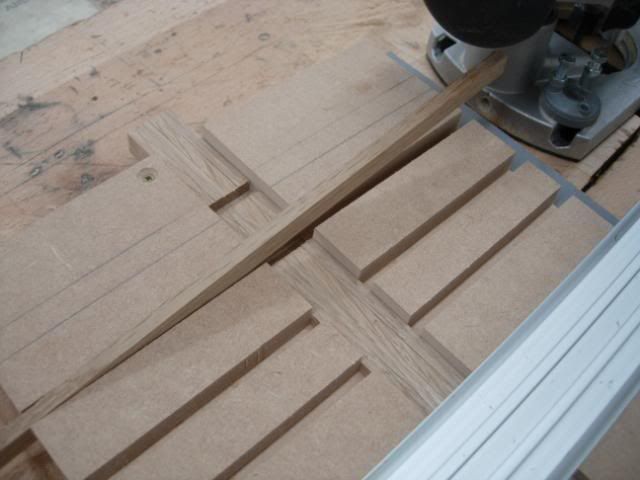
I then just feed the strips up each time and ensure they're properly aligned
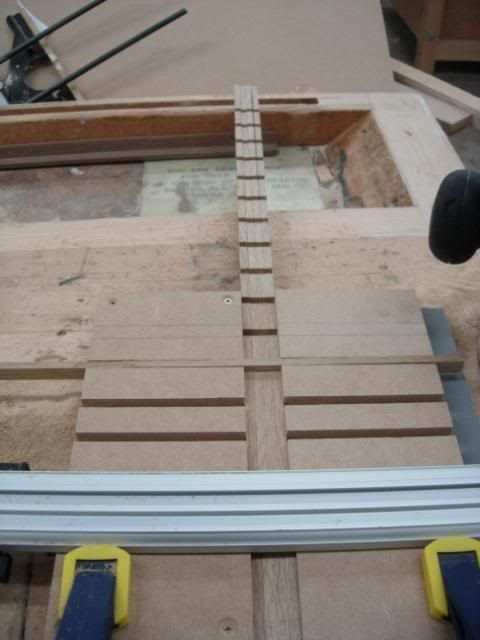
Little instruction to make sure I don't get carried away

And jobs a good un. Last thing for this update, I did say elsewhere that I had something in this project that Rob would really hate.... and here it is
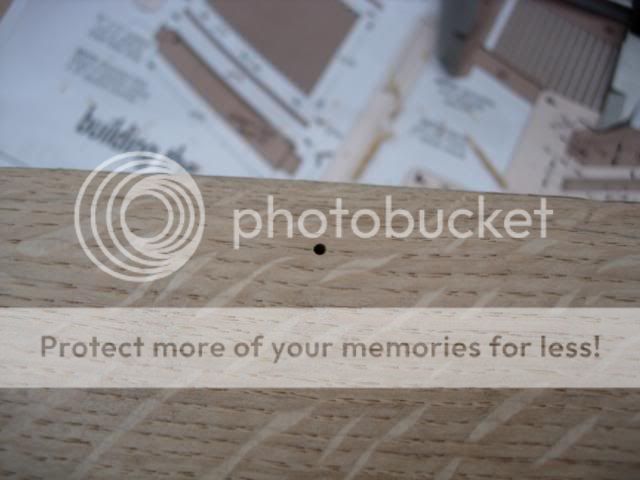
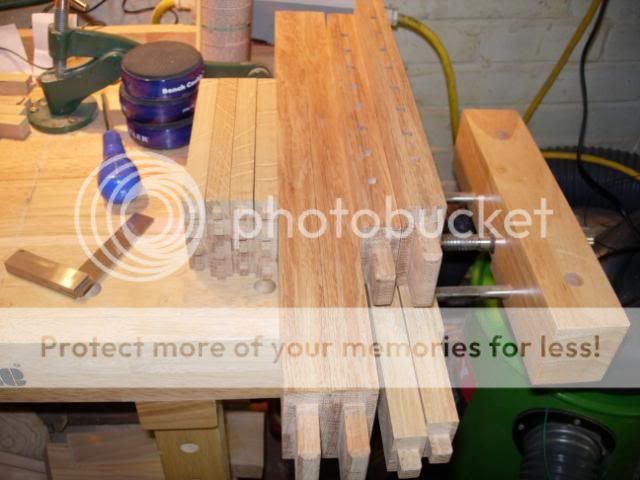
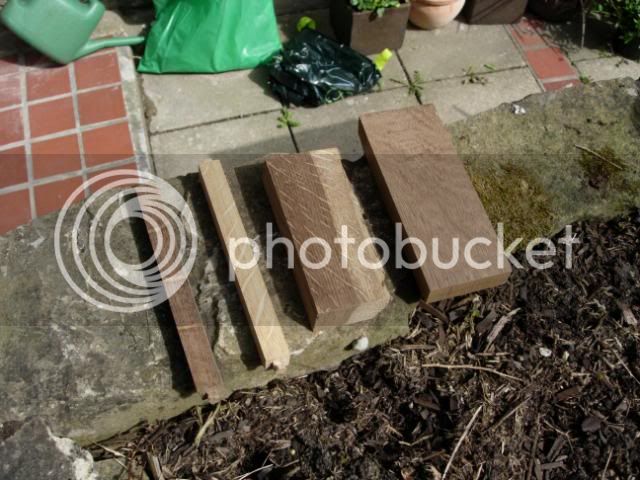
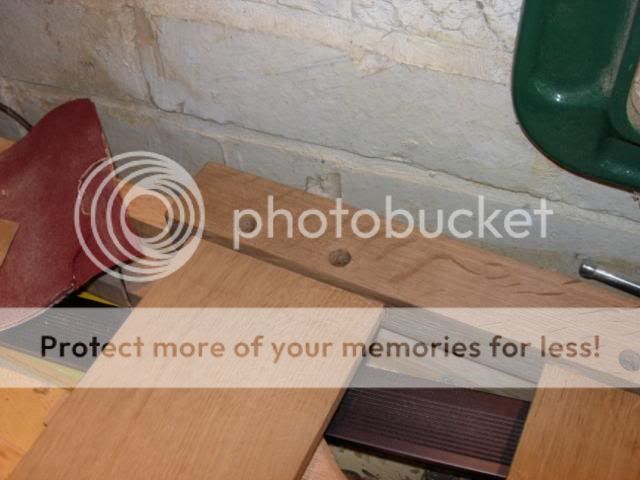
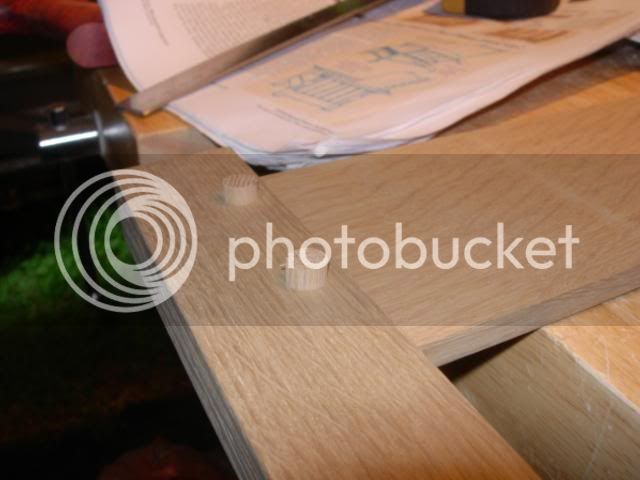
Yep, woodworm holes. A few of the pieces have some old worm holes. In the spirit of economy, character and the way Hank Gilpin uses his timber, I decided that rather than chuck out great figured pieces I'd carry on and retain them and their holes in the piece. Adds a little character I think
Feel free to criticise Rob, I can take it. Go on, punch me in the stomach, hard as you like
 :wink:


I did the corbels a while back, made a template in mdf and used this to draw on the cut to size rectangular blanks before bandsawing and spindle sanding. Template was used as a reference again when sanding. These just need part of the tenon trimming off once I trial fit the arms

You may recall that I had difficulty getting the legs 100% square when glueing up, well this transferred to the tenons when marking up from the outside face. The result was this set of measurements

I needed to get to 38mm square so out with shoulder plane to trim to size

And a veneer added to one face to add some thickness

As I now know that the mortices in the chair arms are going to be 38mm I could make the mortice caps - a decorative cheat. Made them 0.5mm oversize just in case, so prepared this blank

Fronts were simple and just required angling the tablesaw blade to 9.5 deg and cutting each side against a stop block

And then cut off to the required depth

Rears were a little more complex involving more saw angle (and less) and mitring the cuts to the blade. Pretty dull to follow and even more so to write here, so I'll skip that
Next was the little jig I needed to make to rout the slots in the filler strips for the spindles to go into. There are 4 for the chair and 4 for the stool, each spindle needs to be the exact same distance from the other; the eye will easily spot a difference here. I was all set to try and clamp the pieces together with some mdf cheeks and devise some way to rout equal distances, until I asked Derek the tutor what he would do. He sketched out this jig for me, simple and clever.

MDF base, fixed piece screwed square on one side and a floating piece on the other side that will clamp the strips and act as a base for the router. I then had to rout a first channel and then a second using a thickness block to get the right distance between the channels

Oh and you definitely can't see a third channel, that's just an optical illusion. Certainly not a cock up. Oh no. Leaves me with these channels

One of which I can slot a form of fence into

Strips inserted and first cut has to be lined up by eye from my pencil marks

Then the jig comes into its own and the slot fence fits into the cut I've just made


I then just feed the strips up each time and ensure they're properly aligned

Little instruction to make sure I don't get carried away

And jobs a good un. Last thing for this update, I did say elsewhere that I had something in this project that Rob would really hate.... and here it is

Yep, woodworm holes. A few of the pieces have some old worm holes. In the spirit of economy, character and the way Hank Gilpin uses his timber, I decided that rather than chuck out great figured pieces I'd carry on and retain them and their holes in the piece. Adds a little character I think
Feel free to criticise Rob, I can take it. Go on, punch me in the stomach, hard as you like


