johnnyb
Established Member
Think of an alternative?

Would the Veritas work just as well? I do not have, and have never used a side rabbet plane.The Etsy mod for the Stanley #79 is someone using my design. It looks nicely printed. This method should would well and be repeatable - hand work is always dependent on how carefully you pay attention to the lines.
I would also aim to create tapered sliding dovetails if the length goes over 150mm.
Here are tips for the #79 ...
Mark the depth of the dovetail (same as the socket/housing)...
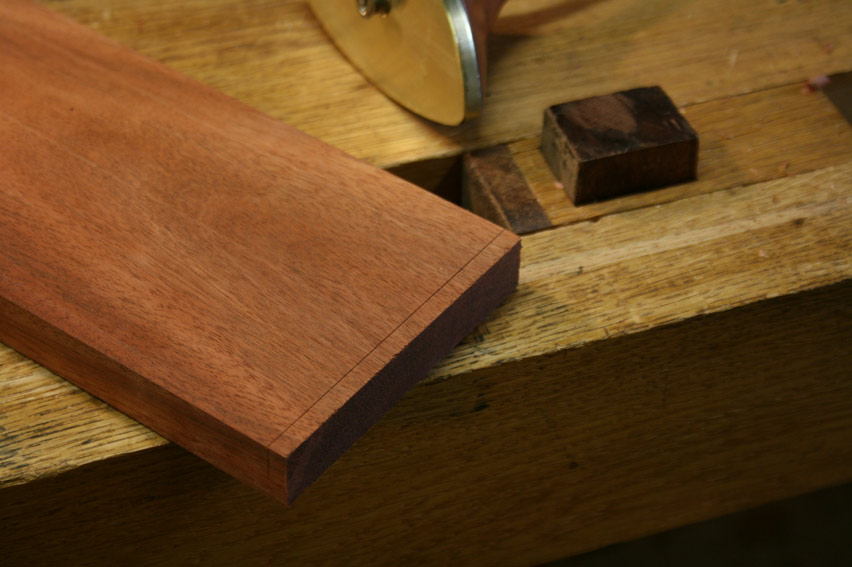
Saw to depth. Note that at this stage it is just a square rebate ...
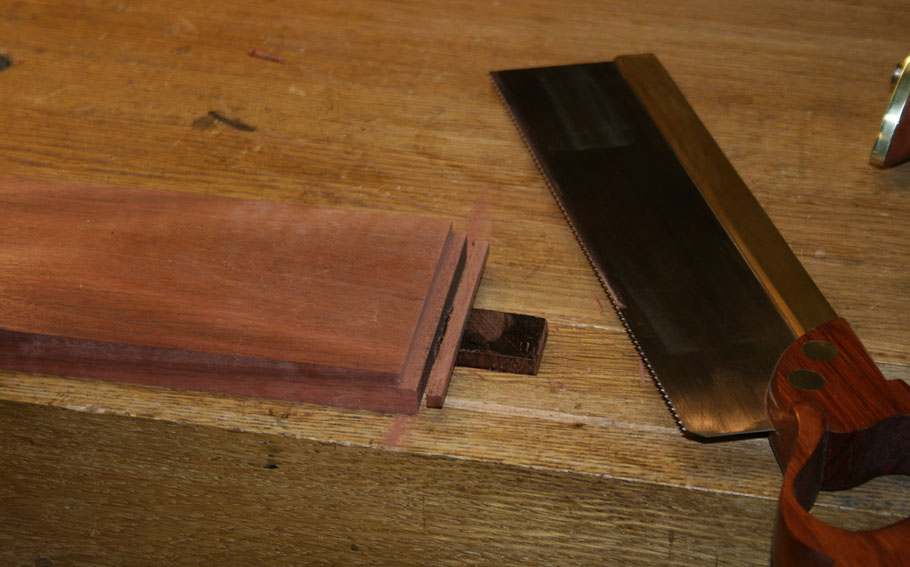
Now turn the square rebate into a dovetail ...
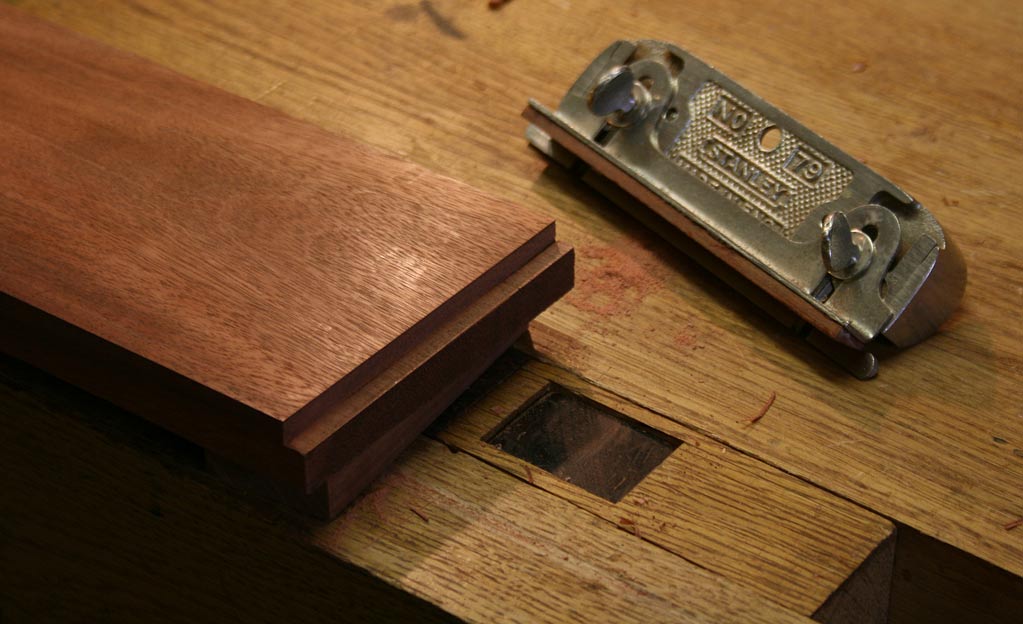
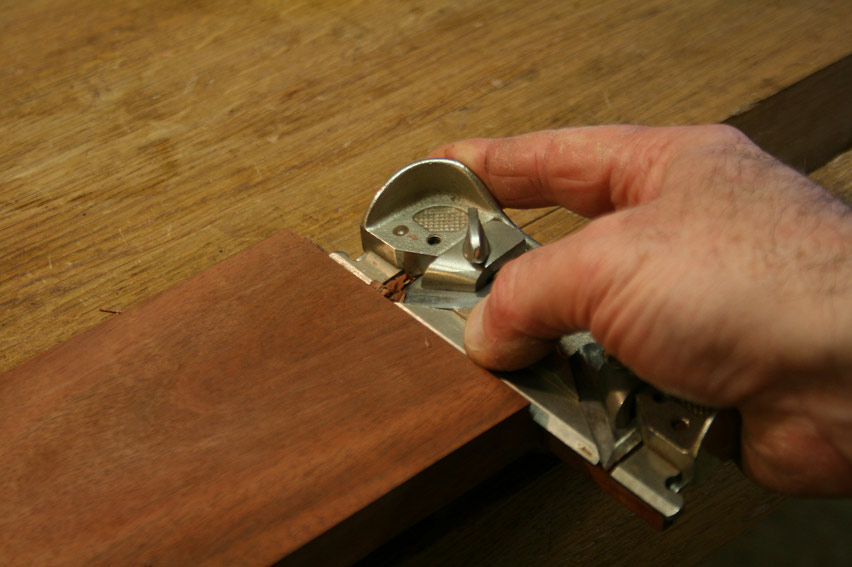
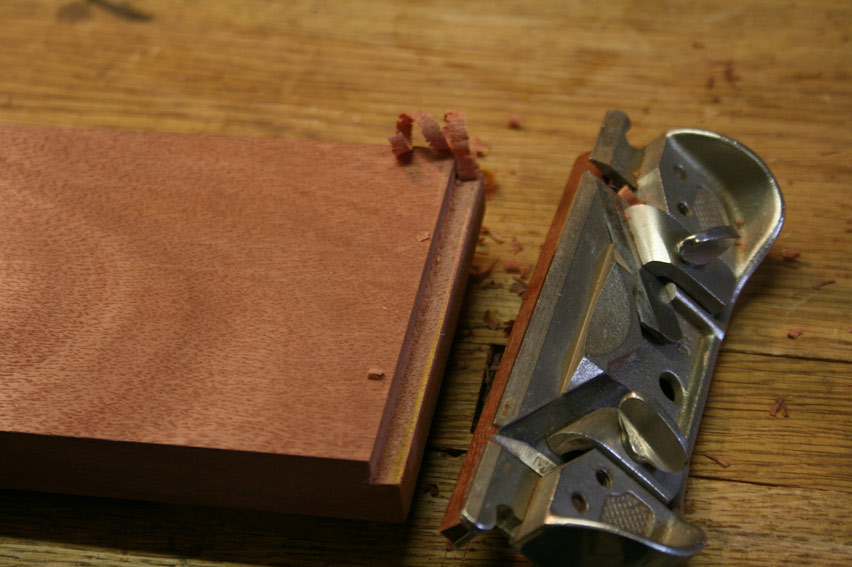
Set the lower edge depth stop flush against the edge of the board. This tilts the plane at the correct angle. Set the blade for a fine shaving. This is a low cutting angle and will pare away the wood quite quickly. The tip of the blade is left pointed and extends slightly below the body. This works in the same way as the blade of a rebate plane extended a fraction beyond the body to ensure that the corner is removed.
This plane does not stop cutting when it reaches the desired depth (as the original dovetail plane does). This is a manual process, which is described below.
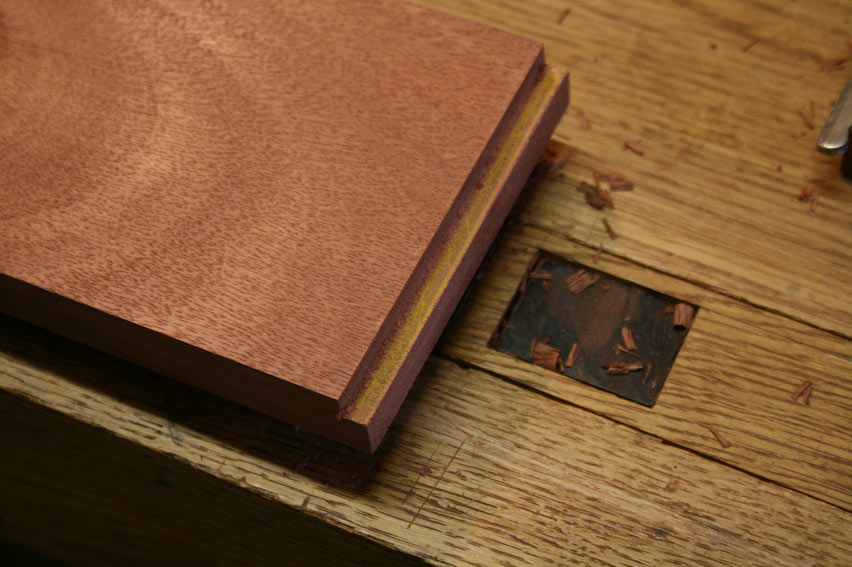
First step is to scribble a contrasting colour on the surface to be removed. This makes it easier to see where- or where not the cut has been made.
There is an alternative method, with a detailed pictorial, here: https://www.ukworkshop.co.uk/threads/benches-for-a-table.150248/#post-1789048
This depicts building bench with legs attached with tapered sliding dovetails
An azebiki saw is used against a vertical fence to cut the square shoulder ...
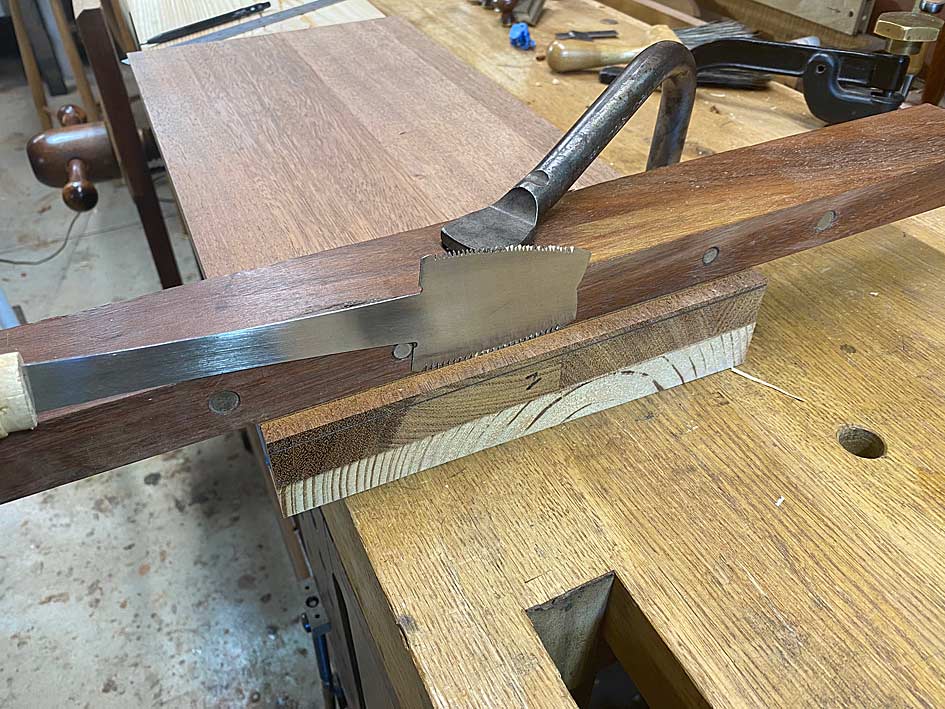
The reason for the azebiki saw is that it has a curved blade, which makes it possible to hold the handle higher up than a standard pull saw (or Western saw), and above the fence.
Once the shoulder is sawn, the remainder is down to the dovetail plane ...
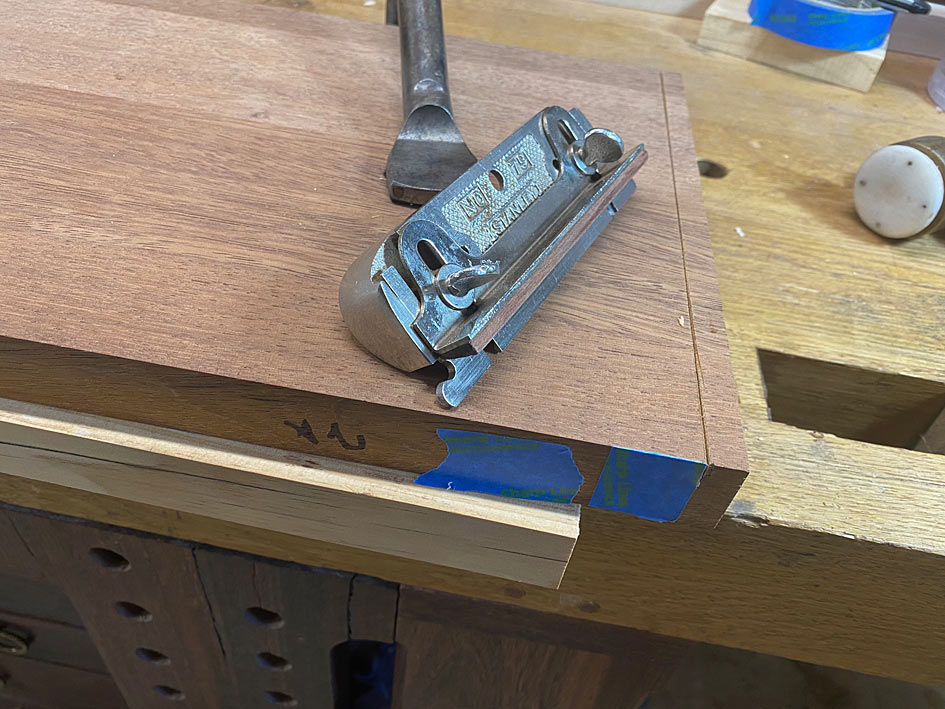
Note that the fence has been modified to angle at a 6:1 ratio. The other advantage of the #79 - which is the reason I based mine on this plane - is that it has two ends and can cut in either direction.
With a sharp blade, it makes very quick work of the dovetail ...
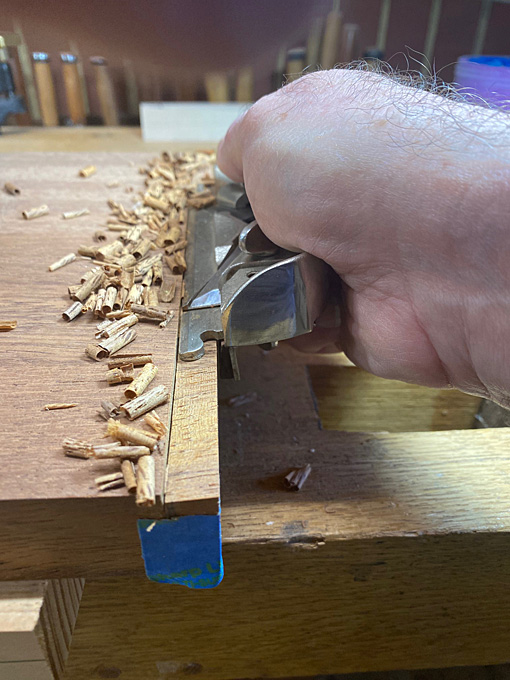
View attachment 196112
Regards from Perth
Derek
I think the Veritas one has one adjustable bolt on the depth adjustment, while the Stanley 79 has two.Would the Veritas work just as well? I do not have, and have never used a side rabbet plane.
Interesting methods, I can see you put a lot of thought and practice into it. It does seem, however, to be a bit more complicated than the traditional method with the sliding dovetail plane.
If I understand correctly, you do it like this (for crossgrain sliding dovetails):
1. Saw the shoulder line (preferably with a fence)
2. (optional) saw out a square rebate
3. Plane the angle.
Using the traditional method with a continental "Grathobel" plane, it goes like this (for crossgrain work):
1. Adjust the fence on the plane for the desired width, and set the crossgrain nicker.
2. Hold the plane vertically (a guide is optional) and plane the sliding dovetail joint, always pressing the fence of the plane against the workpiece.
3. Once the shaving is as wide as the joint (you've planed a slope from the shoulder line to the edge of the board), stop planing. If the whole joint is stopped or tapered, take a few more shavings off the front of the joint to avoid it getting stuck as you insert it.
Once the plane is correctly adjusted, you can plane a whole series of joints without needing any other tools. In theory, you can just secure the workpiece and start planing away without needing to mark anything (though I still do).
Here you can see a guy make the joint at 0:38 (with the grain) and 0:46 (across the grain).
It takes about 2 minutes to do each time (with explanations).
I should start a new thread one of these days in this joint and this tool, I don't want to go too off topic, but it's an interesting joint in any case!