Shabby wardrobes

UKworkshop.co.uk

Help Support UKworkshop.co.uk:

This site may earn a commission from merchant affiliate links, including eBay, Amazon, and others.

mailee

Established Member
Joined
26 Jun 2005
Messages
5,502
Reaction score
4
Location
grimsby Humberside
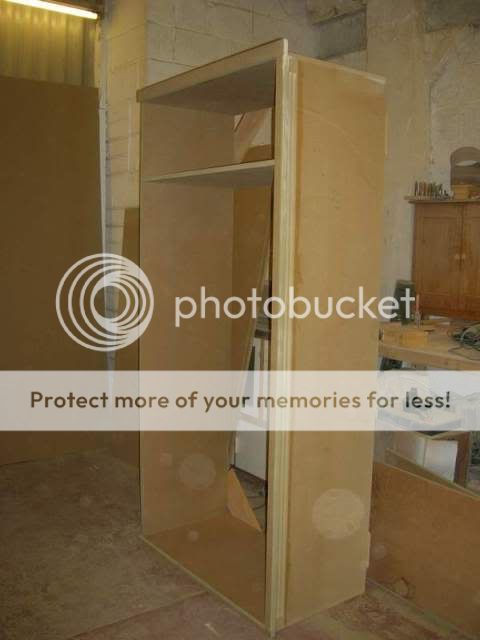
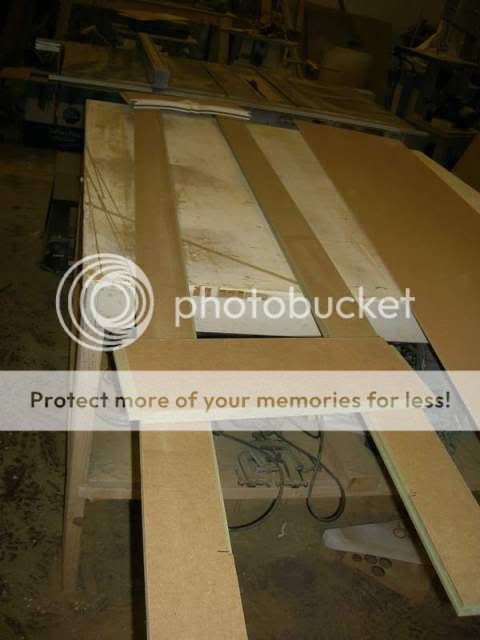
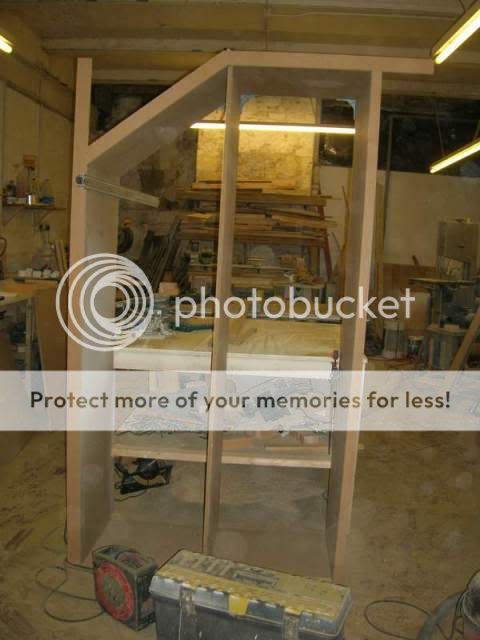
I made a start on the Shabby chick bedroom suite today. After returning from the timber merchants with three sheets of MRMDF I got cutting and started putting pieces in place:
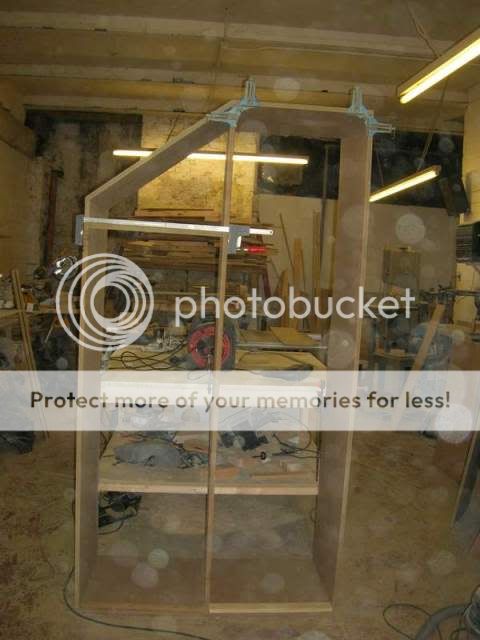
Carcassdryfit.jpg

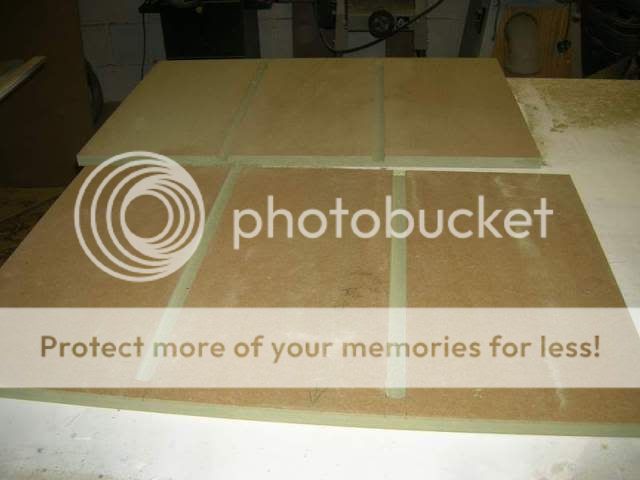
I did have some fun and games with the biscuit angles on the left hand unit top but resorted to using a block to angle the jointer.....very carefully making sure the depth was correct: :lol:

Angledbiscuits.jpg

I then made a start on making up a face fame for the front. This will also be made out of MDF as it's main use is to be used as a scribing strip to the left and top. I also have to space it off to miss a radiator.
Makingfaceframe.jpg

I will have to get some more MDF tomorrow to carry on. I NEED a van desperately, it is in hand though. ;)
 
Thanks Chems. :lol: I got started on the second part of the wadrobes today. As it is a four door unit I have made two two door units. Again after buying some more MDF I got back and got stuck in. By mid morning I had got the other wardrobe carcase in a dry fit.
Dooublerobeframework.jpg

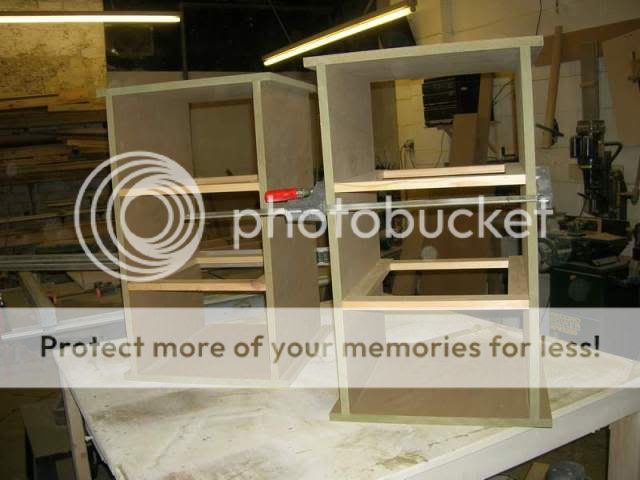
I then made a start on the drower units which will fit into them. I cut dado's using the router and jig for the sides.
Drawersidescut.jpg

I then spent most of the afternoon cutting and fitting the drawer frames until I had both of them in a dry fit too.
Drawboxesdryfit.jpg

While I was waiting for some glue to dry I glued up two doors for another job and set them aside to dry.
Paneldoor-1.jpg

All of the hinges arrived today which was handy as I needed to know how much clearance the drawers wanted to miss them. :wink:
 
So what van are you getting and how do you get by with out?

I'm still having trouble with my dakota clamps. Had 2 replaced FOC by rutlands and was able to keep the two naff ones. It feels to me as the 2 naff ones the indentations on the shaft are to shallow. Do you find yours ever slip? Bit off topic!
 
I am looking into buying a Transit van just a short wheelbase low roof. At the moment I have a 7 series T5 Volvo with a roof rack. This has been fine while I was woodworking as a hobby but now I am having to run it day in day out to and from work and jobs it is like running the space shuttle with the cost of fuel! not to mention not enough room in it for things like sheet materials. As for the Dakota clamps one of them does tend to slip every now and then so I have to keep adjusting it but the others seem fine so far.
 
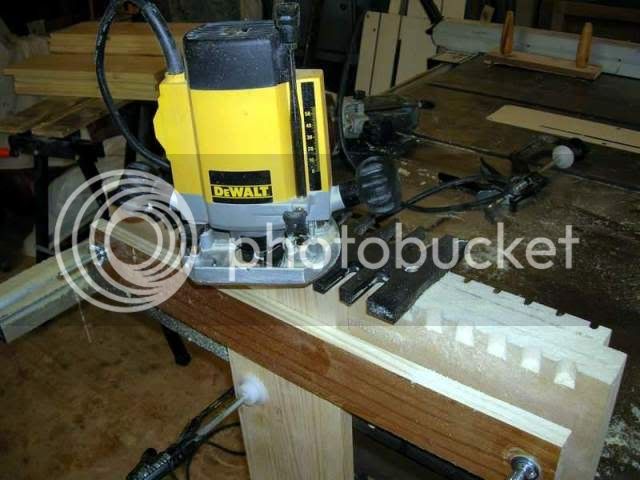
I got started on the drawer boxes today. I had a morning cutting dovetails.
cuttingdovetails.jpg

dovetailscut.jpg

Once they were all cut I put them into a glue up and started to make some trims for the drawer units but had a slight accident :shock:
Oops.jpg

Oh well I should have checked the guide fence was tight before I started I suppose. :roll:
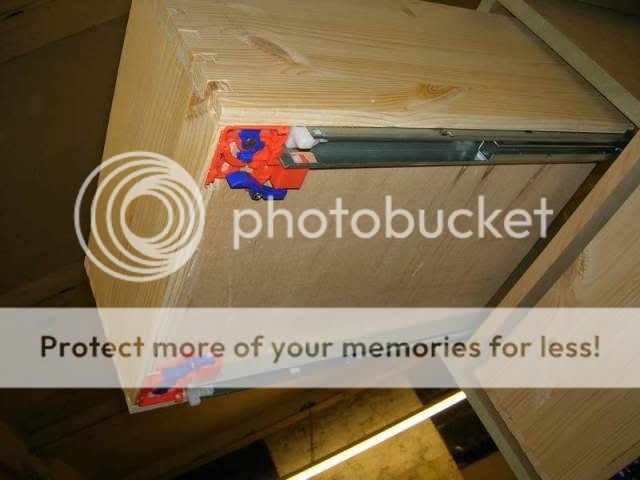
When the drawer boxes were dry I put the runners on and gave them a trial fit.
runnersfitted.jpg

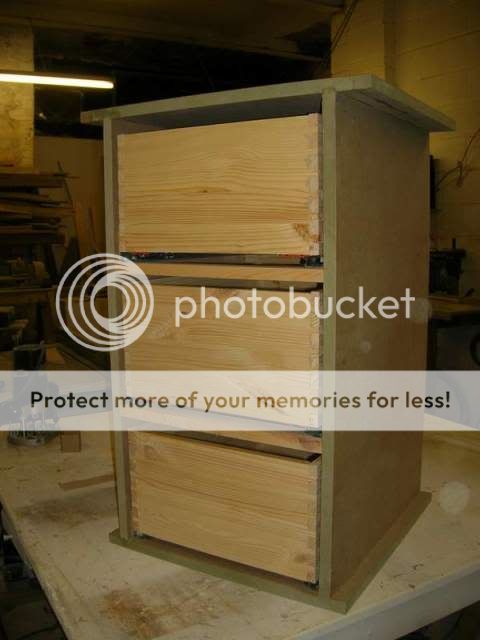
By the end of the day I had both the drawer units fitted with the drawers.
drawersinplace.jpg

I shall add the trims to the units tomorrow and then concentrate on the rest of the wardrobes. ;)
 
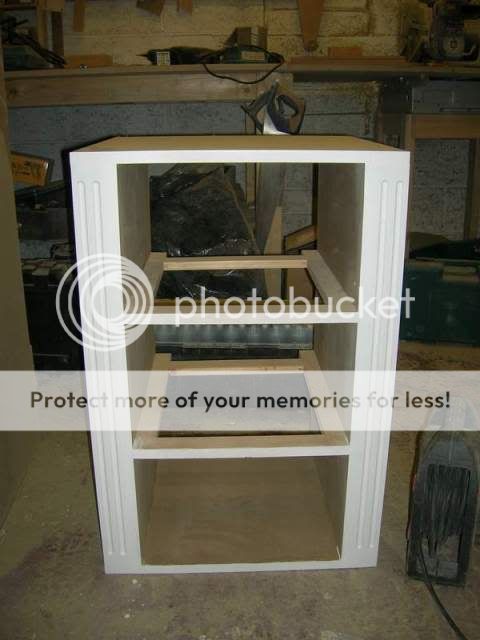
I got cracking on with the wardrobes today and got both drawer units with a coat of primer on.
drawerunitinprimer.jpg

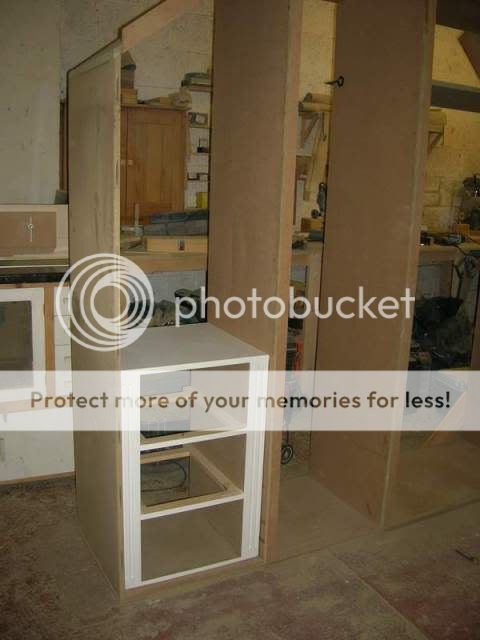
I tested the fit in the wardrobe carcass to be sure they fitted well.
drawerunittestfit.jpg

Then it was time to make a start on the drawer fronts. These are a bit intricate as they also carry the theme that will be on the doors. After cutting the rails and stiles I cut the top rails to section on the bandsaw. Then slotted them on the router table.
Drawerfronttops.jpg

I then cut out the 6mm panels and had another dry fit to make sure everything was well,
drawerfrontdryfit.jpg

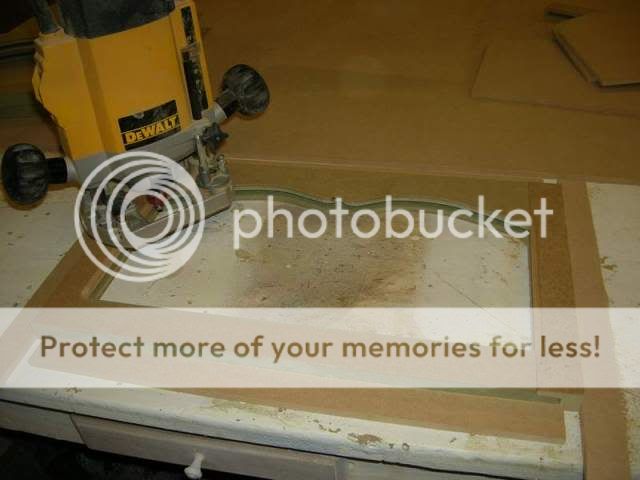
Then I removed the panels to rout a detail around three of the sides.
Routingdetailondrawerfronts.jpg

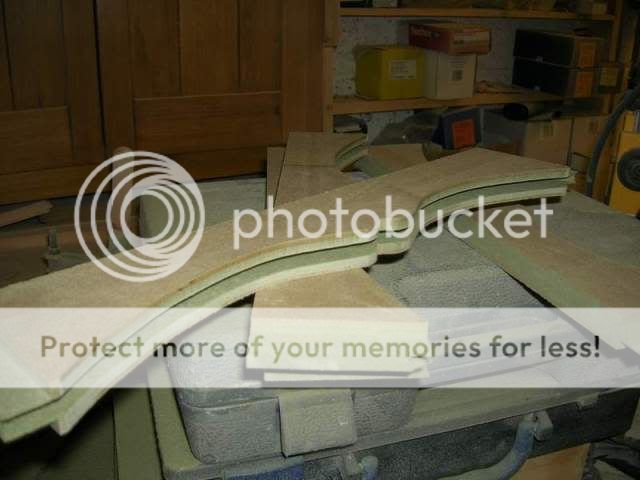
Then it was back to the 6mm to make some mouldings for the top rail.
drawerfrontmouldings.jpg

Finally I made a dry fit with everything in place to see how it looked.
dryfitofcompletedrawerfront.jpg

I need to round over the edges next before finally gluing them up and fitting them. This will be for next week as I am having a break tomorrow. ;)
 
Liking it Mailee.

I do think you make life difficult for yourself with some of your build techniques.
 
Please Bob tell me what you think. How could I make life easier? Give me some tips I am always open to suggestions. :?
 
Hi mailee,

Off topic a wee bit...I notice the jig you were using and wondered if I could get a close up picture because I have bought one of the dakota jigs and have not had much sucess with it so far , must be how I have it setup even though I have followed the instructions...joints are either too tight or too slack... :oops: :oops:
 
Here is a better pic of the jig coder:
Kdovetailjig-1.jpg

From what you have said it sounds like it is set wrong on the slotted holes. These must be adjusted for a good fit before you put the final screws in. The adjustment on these slotted holes gives a tighter or slacker fit and it is a very fine adjustment not needing much movement from one extent to the other. This does take a bit of fiddling to get it right but once set u can then put the final screws in and never touch it again. HTH. :wink:
 
mailee":2v0hw400 said:
Here is a better pic of the jig coder:
Kdovetailjig-1.jpg

From what you have said it sounds like it is set wrong on the slotted holes. These must be adjusted for a good fit before you put the final screws in. The adjustment on these slotted holes gives a tighter or slacker fit and it is a very fine adjustment not needing much movement from one extent to the other. This does take a bit of fiddling to get it right but once set u can then put the final screws in and never touch it again. HTH. :wink:


Hi thanks for the info and pics .... I have set up the jig with the scribe lines and adjusted as described so will revisit that :oops:

Do you make the centre mark on the wood as described and then the second mark lining it up with the pin on the jig as described and then mark your second piece from the wood cut previously ?

What do you have the jig fastened to by the way ?

thanks for your help,it is appreciated

Dave
 
Couple of suggestions, possibly what Bob was talking about.

Why a separate draw unit, you really only need to pack out one side of the main carcase to clear the hinges. This will give more draw capacity.

You don't need to split the draw unit into three with frames, if there is going to be a significant gap between the draw fronts then just a front rail is more than enough.

Set the bottoms of your draws higher in the draw sides, that way you won't see the runners from the side (you will get the capacity back when you don't have the dust frames). I also make the front and back shorter, far quicker than notching for the runners (only for applied fronts)

Oh and get the tops of the draw units the right size first time :wink:

J
 
I have the jig fastened to a couple of thicknesses of MDF Dave.
Thanks for the advise Jason. I do prefer to make a seperate drawer unit as I can ensure a better fit of the drawers. It also gives the option of removing them if needed. I had to make these drawer units narrower as they will have to clear a radiator close to the outer robe. I must admit I do normally build them with drawer frames in to ensure the sides don't bow out and foul the drawers. I can see that it would be much quicker to just put a frame at the front and maybe the back instead of a full frame, I will try this way in the future. Yes I also now see what you mean about sinking the runners up into the drawer bottoms without the frames, good advice, again I shall use this method on the next ones. I was trying to get the most depth out of the drawer boxes with them being narrower and this would have helped. (Sometimes I can't see the tree for the woods) we all live and learn. Ah and yes well spotted on the top. I did measure twice and cut wrong on this one, thank goodness for biscuits and paint. :oops: Thanks again for the advice that would save a lot of time.
 
I have spent most of the day building up the drawer fronts and sanding them and the carcasses. I ended up the day by priming all of the fronts. Not looking too bad really.
drawerfrontinprimer.jpg

I did have a late start today though as I have been to put a deposit on a van. :D
Tomorrow I am out delivering a shelf for a customer and measuring up two sets of drawers for two other customers so I shall have a later start again tomorrow. I hope to have a trial fit of the drawer fronts tomorrow and start sanding the carcasses ready for priming. Will have to see what I have time to do. ;)
 
After a late start today I got on with sanding down the drawer fronts. I finally got them fitted to the drawers.
Drawerfrontsfitted.jpg

These are only fixed temporarily as I have to spray them yet and put a finish on the drawer boxes. I tried them in place so I could test the fit of the handles behind the doors.
Drawerunitsfinalfitting.jpg

They will fit in perfectly behind the doors with the hadles in place I am glad to say. I then made a start on cutting out the components for the doors while I had the carcass together. ;)
 
Over the last couple of days I got cracking on the doors. I got all the parts cut out and ready for a dry fit.
doorparts.jpg

It took me a while to complete all of the fiddly bits on the door tops again. Using a mass production technique I got them all done and in place.
scribingcentrepanel.jpg

By the time I finished tonight I had all of the doors almost ready for priming.
Doorsreadyforprimer.jpg

I have also made a start on the plinth so should get that done tomorrow too. :D
 
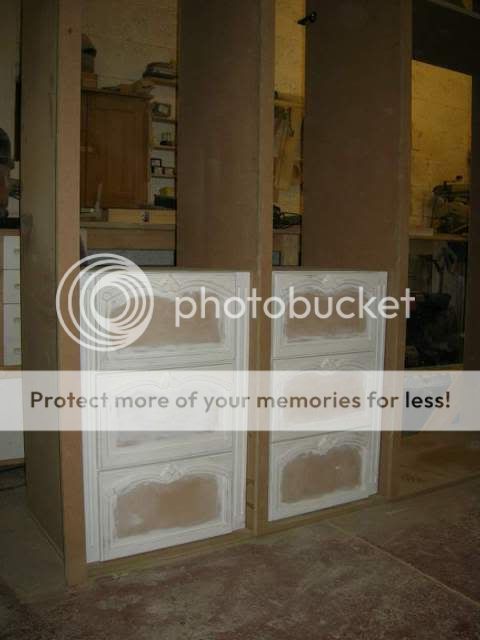
Over the last couple of days I have been priming the wardrobes. I also sprayed a dark brown colour around the high wear areas where the paint will be rubbed off.
Groundcoatondrawers.jpg

Groundcoatonsidepanel.jpg

I should get them all in paint tomorrow if all goes well. :D
 

Latest posts

Back
Top