Set of circular segmented steps - FINISHED!

UKworkshop.co.uk

Help Support UKworkshop.co.uk:

This site may earn a commission from merchant affiliate links, including eBay, Amazon, and others.
Thursday

I was planning to work on the riser readying it for finishing but discovered that the veneer had lifted up slightly and buckled right at the far end and so that needed fixing but no further work due to glue setting. This is the main niggle of this project...too many dependencies, waiting for stuff to dry plus limited assembly/working space in the workshop.

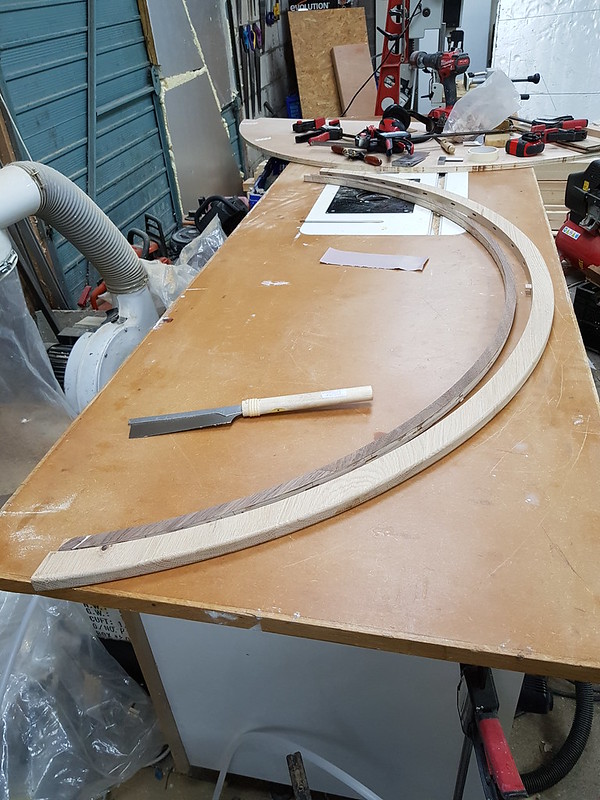
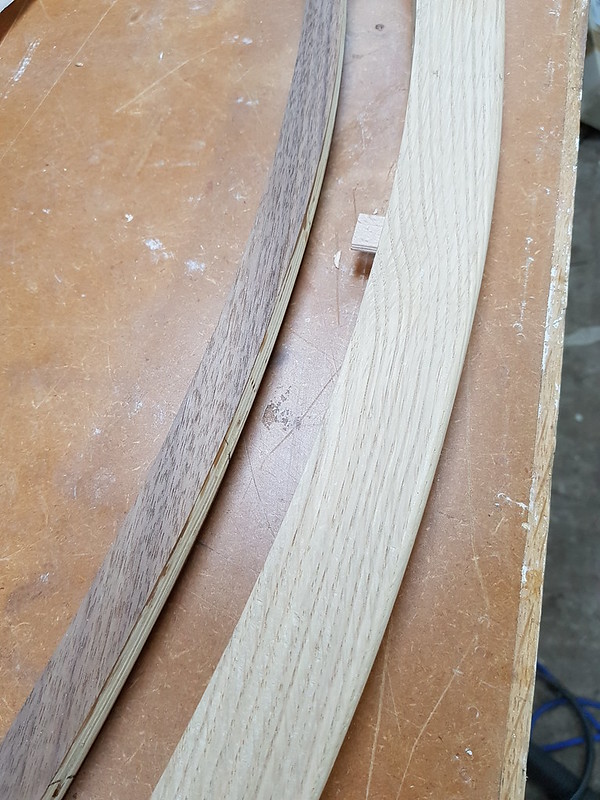
So decided to make up the two outer edge 'mouldings' (for want of a better word.....nosings ?). Decided not to cooper excessively since I had a reasonably wide piece of oak that I could use to make 60-75% of the nosing in one piece. Then it was just a case marking out the remaining pieces, cutting them on the mitresaw, finessing them with the disc sander, using a 4mm domino at each joint and glueing them all up. I use the template as my guide as I decided to glue them all together and router trim and mould them in one go.
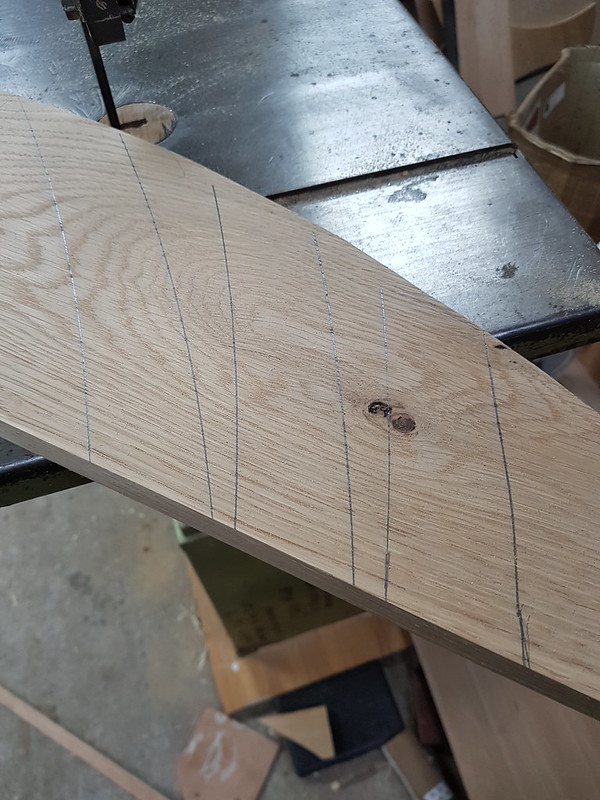
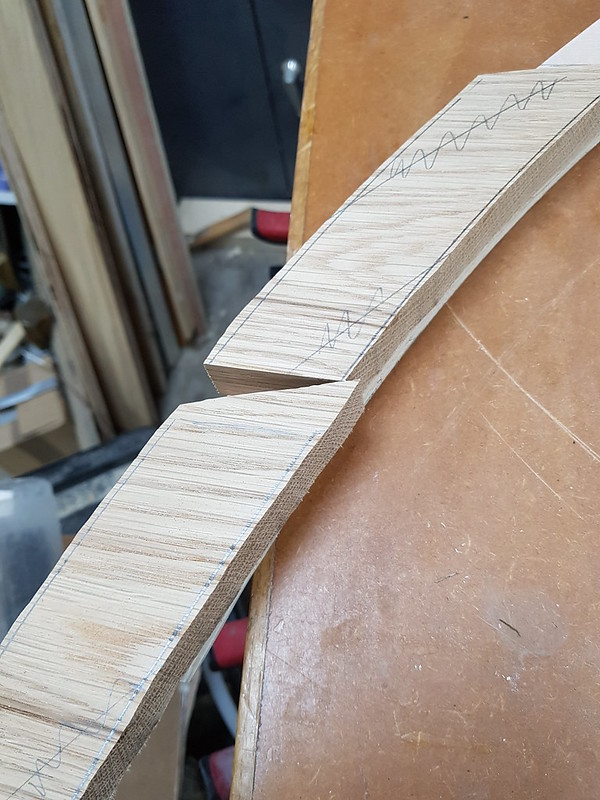
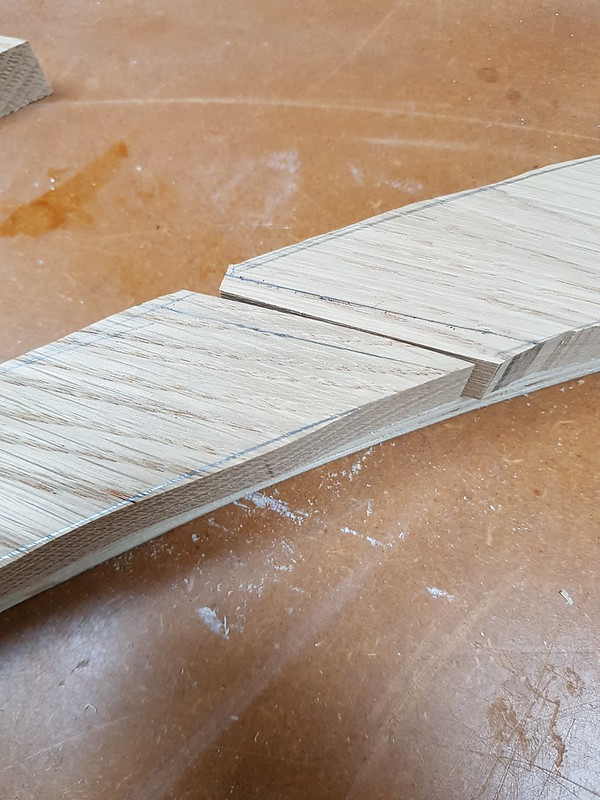
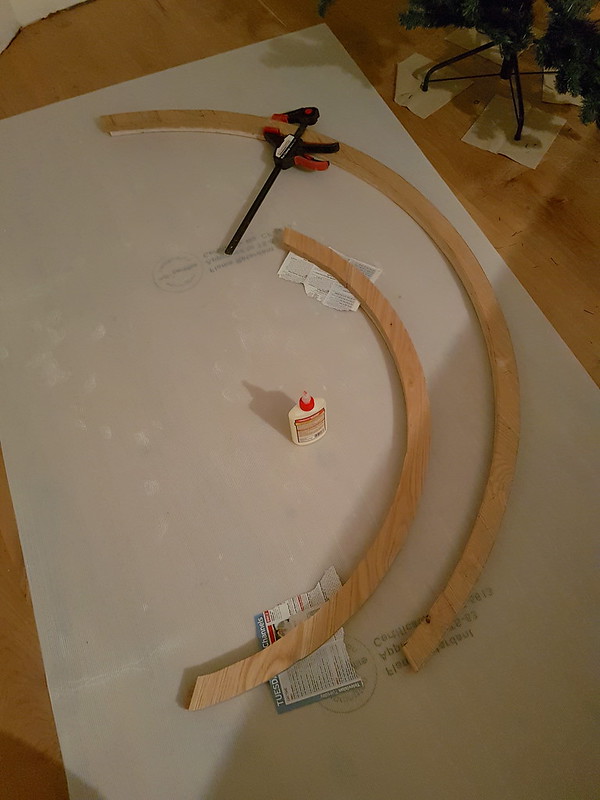


I've also decided to domino/glue the veneered 'transition' marker to these mouldings first and then fix them to the subframe as a unit.

Today - Friday

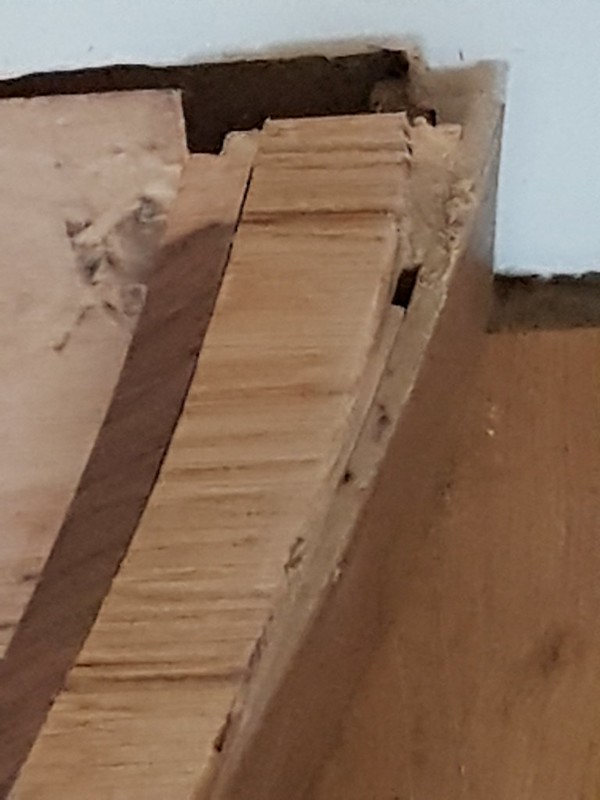
Fixed the smaller nosing to its template, started running it over the bearing guided cutter and all was going very well until…..
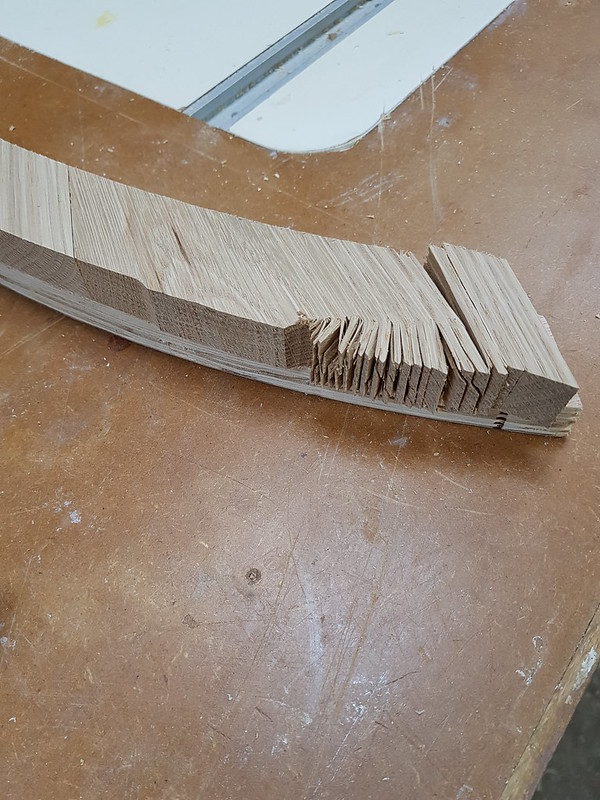


It all happened bloody fast and I still don’t know quite what caused it to happen. Just means a bit more faffing about adding and glueing a new piece (if I have enough oak left). Fortunately I still have all my fingers but I’m going to have to think of a better way of holding this.
 
You have a lot of end grain on that nosing which will cause problems, I would have joined the oak so that the grain followed the step round if you know what I mean.
 
RogerS":2alna0w3 said:
Thanks Jacob. An interesting approach.

EDIT: How much material did you have left after cutting the kerfs ? Looks like only a few mm.
Can't remember. Probably 3 to 4mm. Trial and error - tried out a few scraps to see how they bent/broke. It'd be the same sort of thickness as the 'veneer' described in the books but kerfing has an advantage in that it bends naturally into a regular curve even without the block to bend it round, all being well.
PS your radius is shallower so you could get away with less kerf, which would be stronger. The limit is what you can bend without it splitting out.
 
Doug71":3nknrrqy said:
You have a lot of end grain on that nosing which will cause problems, I would have joined the oak so that the grain followed the step round if you know what I mean.

I know what you mean. I'd wanted to keep the visual impression of the grain being in the same orientation.
 
RogerS":1vs3hs6h said:
Doug71":1vs3hs6h said:
You have a lot of end grain on that nosing which will cause problems, I would have joined the oak so that the grain followed the step round if you know what I mean.

I know what you mean. I'd wanted to keep the visual impression of the grain being in the same orientation.

With it joined as it is you have in effect created a 600mm wide board which I would expect to dry out and shrink across the width, I think there is a good chance of it cracking across the short grain depending on how it is fixed.
 
Doug71":28iip9zz said:
RogerS":28iip9zz said:
Doug71":28iip9zz said:
You have a lot of end grain on that nosing which will cause problems, I would have joined the oak so that the grain followed the step round if you know what I mean.

I know what you mean. I'd wanted to keep the visual impression of the grain being in the same orientation.

With it joined as it is you have in effect created a 600mm wide board which I would expect to dry out and shrink across the width, I think there is a good chance of it cracking across the short grain depending on how it is fixed.

Lots of epoxy, I think !
 
So here we have the larger nosing and transition piece (for the bottom step). After my little (ahem) mishap, managed to finesse routing the nosing back to the template plus rounding the corners over with a different cutter. The outside radii in the troublesome area were finished off on the linisher...a lot more gentle process than a whizzing router cutter.

I started to carry on sanding the nosing etc but felt I was playing with fire as I had been caught out with some hidden shakes in the oak and I didn't want to run the risk of it snapping. So bearing in mind my decision to pre-fit the nosing to the transition marker before fitting to the subframe now was a good time to do it.

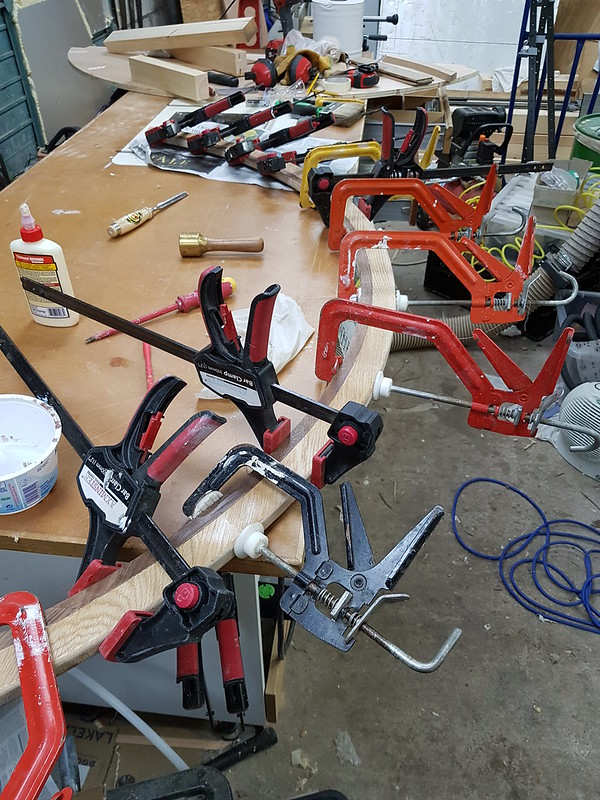
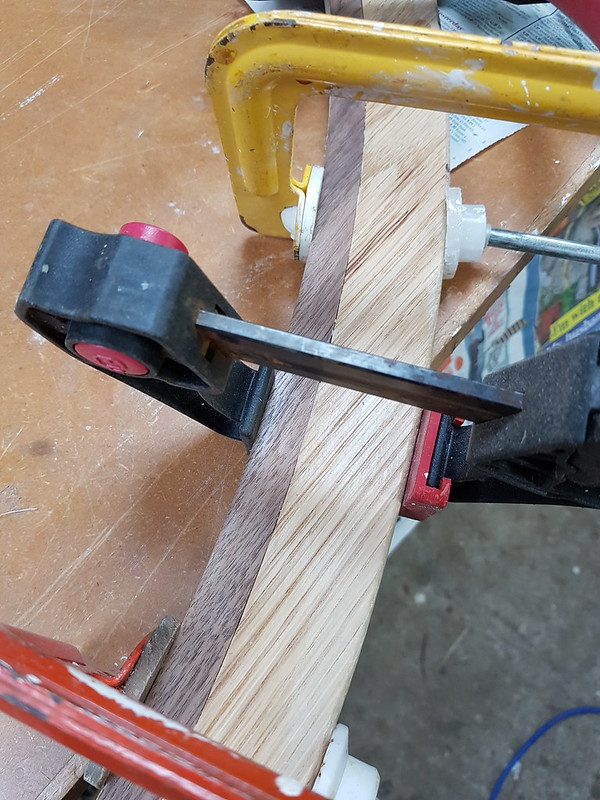
Lots of 4mm domino's...too many in hindsight. Sealed the tops of the two pieces with Blanchon Original Wood Environment to avoid any glue filling pores etc.


and away we go.


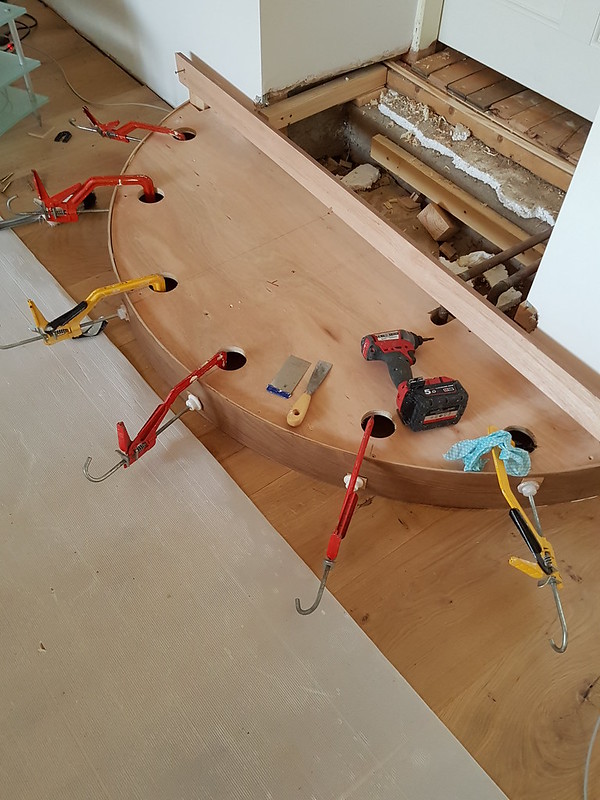
A girl can never have too many clamps...


And this turned out to be the hairiest glue-up I've ever attempted especially as there were some cockups along the way that I'm too embarrassed to admit to. :oops: But the joint looks tight and tidy-ish ...

 
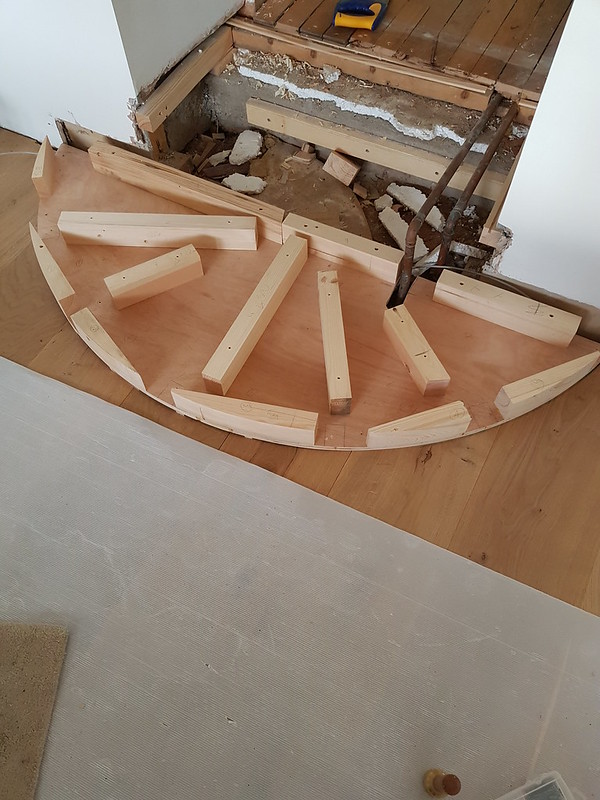
If you recall, one issue bothering me was how to secure the riser to the subframe since it couldn't be fixed prior to veneering. Idea 1 was to glue blocks to the inside face and then screw them down to the bottom subframe panel....like so..


Still got the question of how to glue to the edge of the top subframe panel. And until a few days ago, the plan was to have lots of small blocks top and bottom to provide a glued fixing point between riser and panels. Then I bought that secondhand Startrite 301 and although it's scruffy and seen a lot of use, by Jove, it cuts well and for the first time, cuts don't wander, stay vertical and so problem solved.
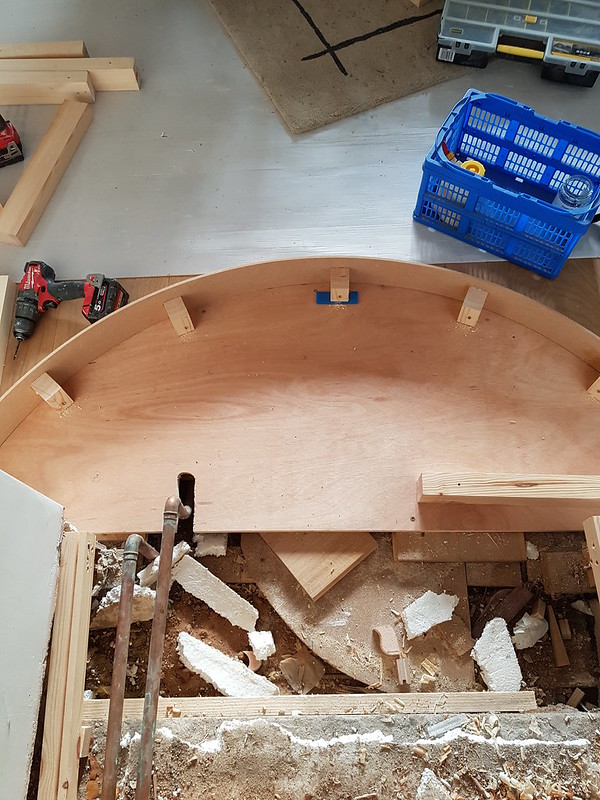
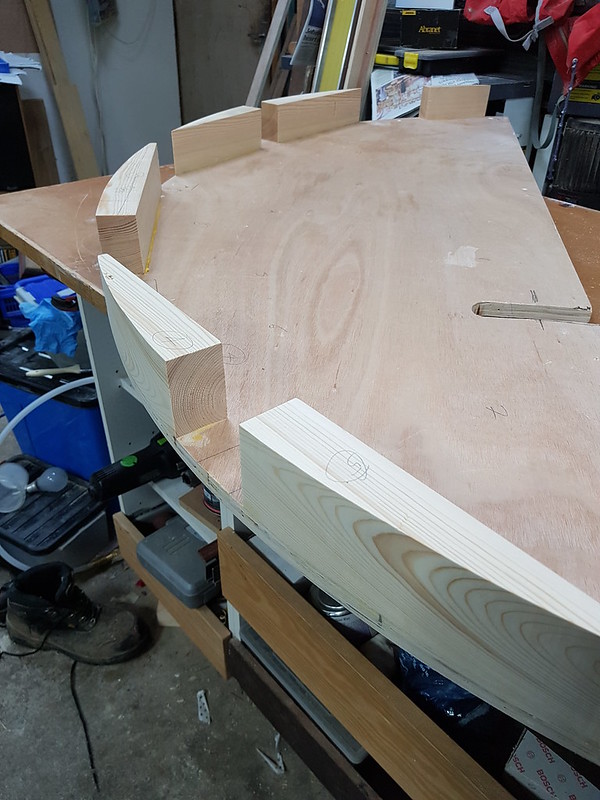


Bottom panel in place


Add glue and retire.


Someone asked about heat from the CH pipes. I'm only too aware of what that can do as shown by oak floorboards at our old place and the maple floorboards here. Apart from lagging the pipes, I'm hoping that the subframe top panel will also let any heat be spread and dissipate across the whole top rather than localised. In any event the pipes aren't that close.
 
The good news or the bad news ?

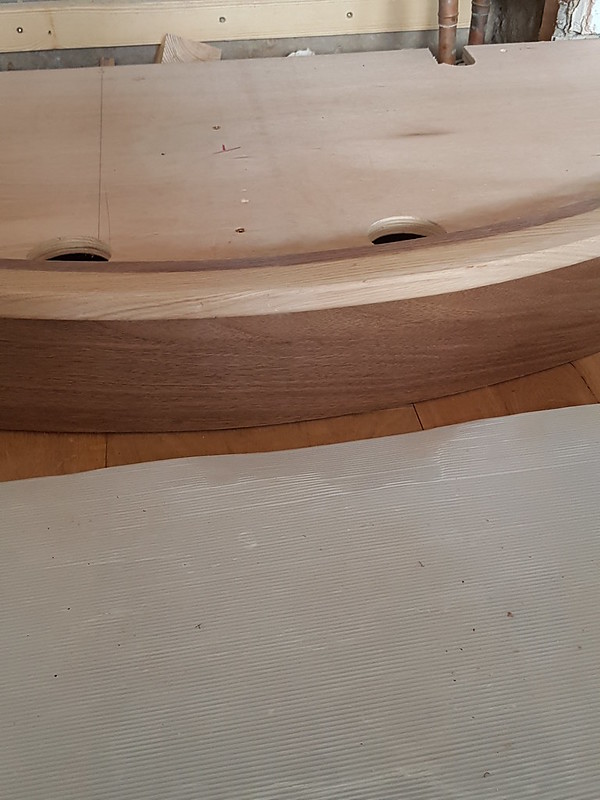
Trimmed the riser and offered up the nosing/transition strip combi. Looks good, eh ?


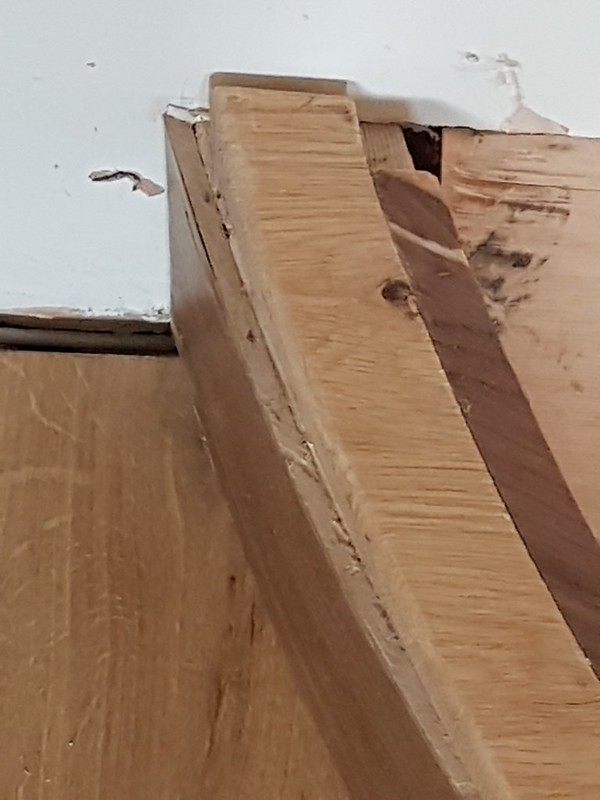
Um no. A very, bloody, Godawful, sit-in-a-corner hugging myself and sobbing quietly NO. I forgot to factor in the thickness of the riser. But even if I had, there is still something wrong. And I have absolutely no idea how to fix it. I can't face doing it all again. I don't have enough veneer. I don't have enough oak. To say I am totally gutted and devastated is an under-statement. :(


RogerS":2xbh5hdh said:
The good news or the bad news ?
Probably good news! It was doomed from the start. MDF, veneer, cross grain noseings, dominoes, etc all unsuitable - it would have started to come apart in no time, after a bit of traffic. Noseings break off or complete collapse under the weight of two blokes carrying a piano :shock:
That built in "transition marker" would treble the likelihood of it all coming apart - as you walk down stairs your weight as you leave a step is likely to be on one foot concentrated on the very edge itself. A 17st bloke carrying something heavy could wreck it !
...... And I have absolutely no idea how to fix it. .......
Scrap it. Start again with plan B.
I wouldn't lose any sleep over it we've all had things go wrong - if not one's whole life :roll: .
 
Steve Maskery":3d2loi32 said:
Jacob":3d2loi32 said:
... we've all had things go wrong - if not one's whole life.

LOL! Where did that come from?
And I thought it was just me :)
Not me personally Steve! I had someone else in mind 8-[
You still alive and well I hope?
 
Jacob":22eili56 said:
RogerS":22eili56 said:
The good news or the bad news ?
Probably good news! It was doomed from the start. MDF, veneer, cross grain noseings, dominoes, etc all unsuitable - it would have started to come apart in no time, after a bit of traffic. Noseings break off or complete collapse under the weight of two blokes carrying a piano :shock:
That built in "transition marker" would treble the likelihood of it all coming apart - as you walk down stairs your weight as you leave a step is likely to be on one foot concentrated on the very edge itself. A 17st bloke carrying something heavy could wreck it !
...... And I have absolutely no idea how to fix it. .......
Scrap it. Start again with plan B.
I wouldn't lose any sleep over it we've all had things go wrong - if not one's whole life :roll: .

We will have to differ on the design, Jacob, and I don't agree with you about your 'doom and gloom' statements re breakages etc
 
This one has confused me from the start, so I haven't said anything......expecting just to be educated. I'm afraid you are just going to have to bin this attempt. Maybe the next iteration will be a simpler affair, with kerfed risers and segmented long-grained nosings in the usual way .
 
MikeG.":9ewmmsm0 said:
This one has confused me from the start, so I haven't said anything......expecting just to be educated. I'm afraid you are just going to have to bin this attempt. Maybe the next iteration will be a simpler affair, with kerfed risers and segmented long-grained nosings in the usual way .

Nothing wrong with the riser, Mike
 
Oh OK. So it's just the geometry of your lip/ nosing. I'd make up a segmented arch, with the grain running along (around) it, sit it on top of the riser and mark it up, off-set the line by your overhang, then get to work with a bandsaw and spokeshave. Once the outside was right I'd mark a parallel line for the inside curve with a gauge and follow the same process. But I know that's not the aesthetic you're after....
 
I can only offer my sympathy - it's a real shame after all the effort you've put in.
 

Latest posts

Back
Top