Router Table WIP

UKworkshop.co.uk

Help Support UKworkshop.co.uk:

This site may earn a commission from merchant affiliate links, including eBay, Amazon, and others.
Martin what finish did your wood flooring come with, or wasn't it pre-finished?
The reason I mentioned the laminate flooring was it comes with a plastic type finish, which like formica, is ideal for feeding work on a router table.

Even if the stuff you already have does not have a finish on it, you could always give it a few coats of varnish. You should not have to use PTFE.

Cheers

Mike
 
motownmartin":1ob7vpz8 said:
Just realised that I had to throw it away as it got damp and bowed :(

Martin
Martin I covered my top with a piece of this It's about three times thicker than formica type laminates, infact perfect for router table tops. It comes in many colours two sided, the colours of mine was white/cream one side and black marble on the other side. Because it is so thick it's flat to start with, just evo stick it to a piece of mdf and your done, no bumps and to cut it just use a router, dead easy. :lol:
 
Hi Martin

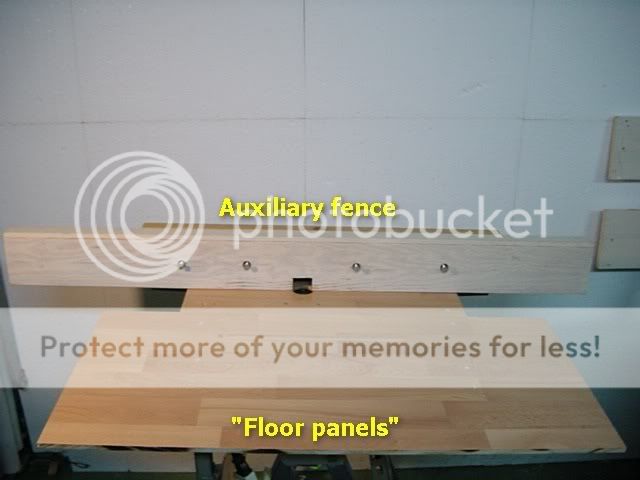
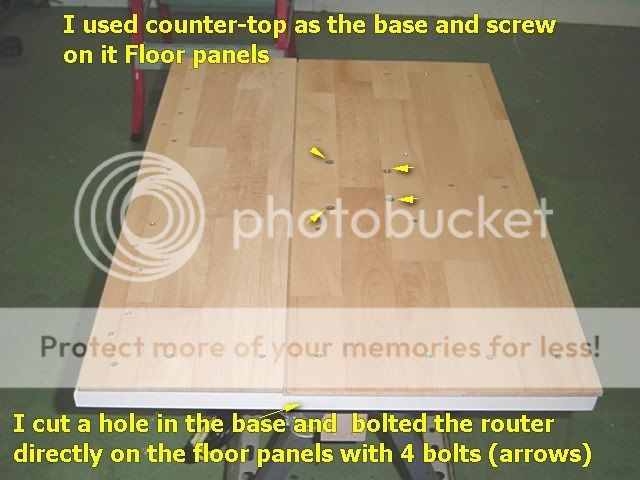
On my first router table I used 21mm plywood as a top and covered it with 8mm "floor panels" (Classen) that are laminated from both sides.

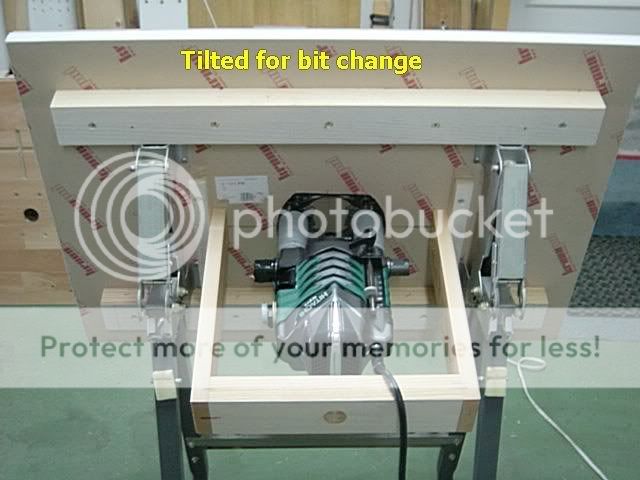
On the new one, I used 30mm counter top and also covered it with 8mm floor panels.

The floor panels are connected to the top with screws.

niki


RT8.jpg


RT001.jpg


RT019.jpg
 
Lord Nibbo":gzjrce49 said:
motownmartin":gzjrce49 said:
Just realised that I had to throw it away as it got damp and bowed :(

Martin
Martin I covered my top with a piece of this It's about three times thicker than formica type laminates, infact perfect for router table tops. It comes in many colours two sided, the colours of mine was white/cream one side and black marble on the other side. Because it is so thick it's flat to start with, just evo stick it to a piece of mdf and your done, no bumps and to cut it just use a router, dead easy. :lol:

Thanks LN, seen this stuff in B&Q but wasn't sure about it, but if you have used it then it's good enough for me, how thick was the MDF you used :?:

Martin
 
Niki":3kwbqntx said:
Hi Martin

On my first router table I used 21mm plywood as a top and covered it with 8mm "floor panels" (Classen) that are laminated from both sides.

On the new one, I used 30mm counter top and also covered it with 8mm floor panels.

The floor panels are connected to the top with screws.

niki
Thanks Niki, another option for me to think about.

Martin
 
motownmartin":36cvn7l6 said:
Lord Nibbo":36cvn7l6 said:
motownmartin":36cvn7l6 said:
Just realised that I had to throw it away as it got damp and bowed :(

Martin
Martin I covered my top with a piece of this It's about three times thicker than formica type laminates, infact perfect for router table tops. It comes in many colours two sided, the colours of mine was white/cream one side and black marble on the other side. Because it is so thick it's flat to start with, just evo stick it to a piece of mdf and your done, no bumps and to cut it just use a router, dead easy. :lol:

Thanks LN, seen this stuff in B&Q but wasn't sure about it, but if you have used it then it's good enough for me, how thick was the MDF you used :?:

Martin

I went with the plans, was it one sheet of 18mm ply and one sheet of 12mm mdf I don't remember. I do remember having to be very careful where I put any screws when it glued the mdf and ply.

Then I lipped all around the edge with oak, glued the laminate on, flush routed all around the edges, then I routed a chamfer all around. I'll go and take a pic hang on a minute or two.......

Here you go
Laminate top, fence all laminated with the same laminate from one sheet a little over 900mm square.
1412022212_45cf08abc4_o.jpg


Close up of the laminate, note how thick it is. Sorry obout the focusing.
1411140783_5409094c69_o.jpg


The top is not screwed down, with the router fixed in place and the fence on it's heavy enough not to need permanent fixing which makes it easy to remove the router if needed.
 
Tony":mkcg0lud said:
Come on Martin, get it built :wink: :lol:
I'm trying Tony, if you are good I might even let you come round and help me :lol: :wink:

The good news is that the LS positioner and Wonder fence arrived this morning :D , the bad news is that the woodpecker insert plate won't be with me until the end of next week :( , even worse is i'll be back at woek then :( :cry:

Lord Nibbo, thanks for the detailed pics, looks the bees knees, looks like the way to go, for now I shall attempt to make the top out of what I have just to make sure I can do it :? then make the bees knees top at a later date once I know exactly what I want.

In the meantime I shall get this fence together and post some pics later.

Martin
 
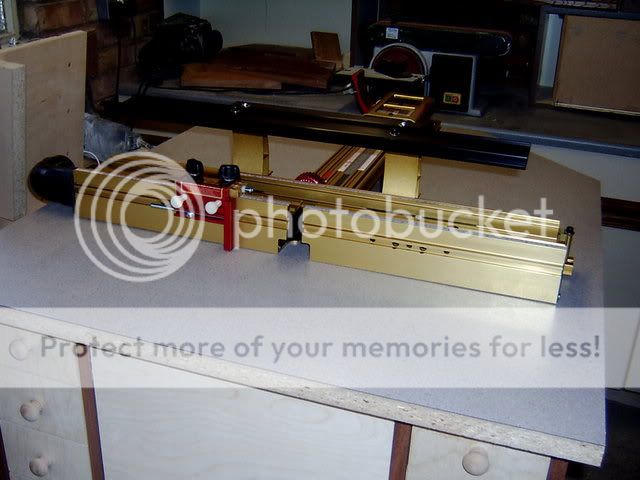
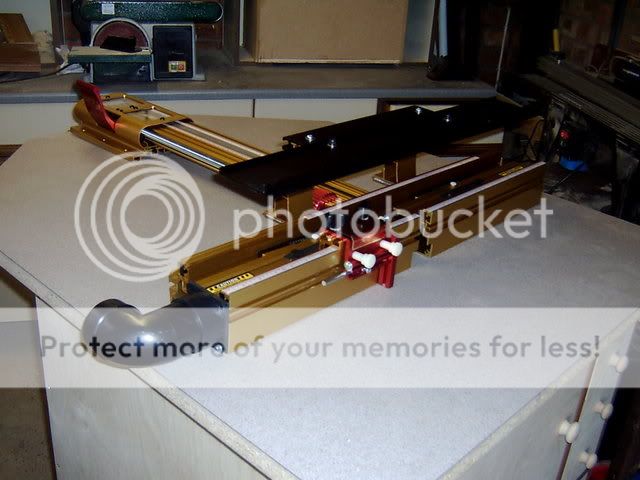
As promised, some pics of the LS positioner and Wonder fence.

There were 4 reasons why I opted for the Wonder fence, so I have tried to show them in the photo's.

Reason 1, A high rise fence cap which allows you to cut boards standing upright with accuracy.
Majorca2007001.jpg


Reason 2, the fence acts as a dust extraction hose.
Majorca2007002.jpg


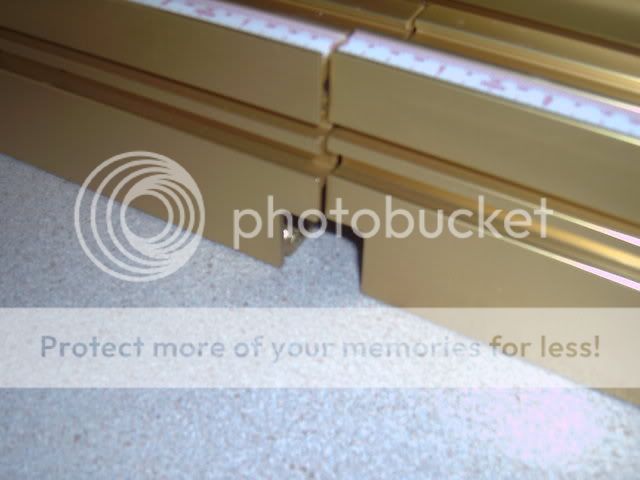
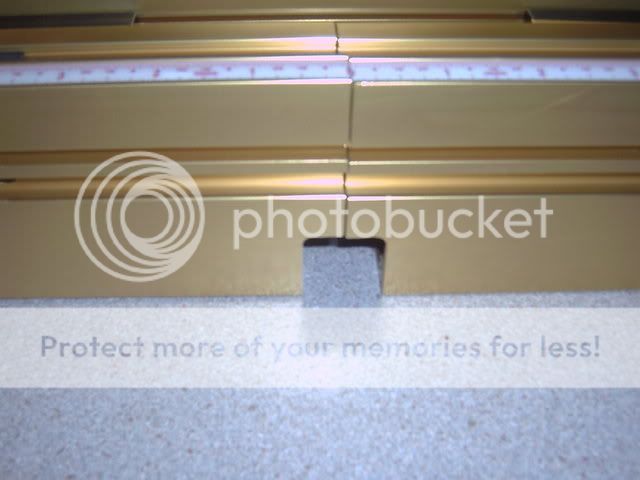
Reason 3, the fence is split and adjustable back and forth to allow for planing/jointing, this is adjusted by using a wedge on the left and right fences as shown in pic.
incra005.jpg

This is the result
incra003.jpg


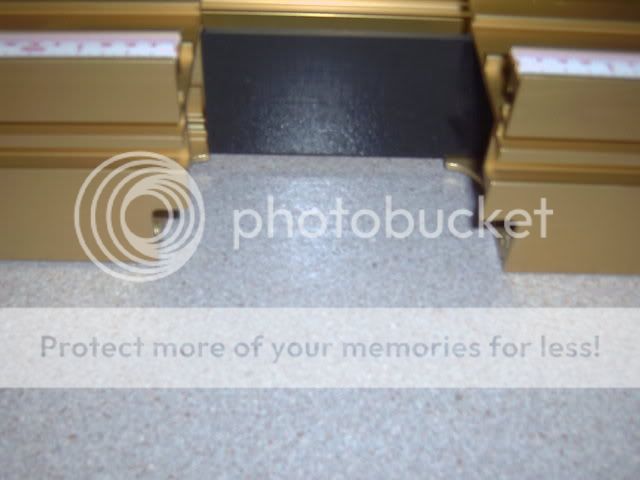
Reason 4, as above the fence is split to allow you to usea large cutter.
incra001.jpg

incra002.jpg


Sorry, I am a rubbish photographer

Martin
 
Still got no top to attach it to though. :lol: :D :lol: :D :lol:


At this rate you problem will be solved when someone buys you one for christmas.
 
Gary":3kxuy7c2 said:
Still got no top to attach it to though. :lol: :D :lol: :D :lol:


At this rate you problem will be solved when someone buys you one for christmas.
That's the top in the photo's, it'll be fine once I have waved the magic wand :lol:
 
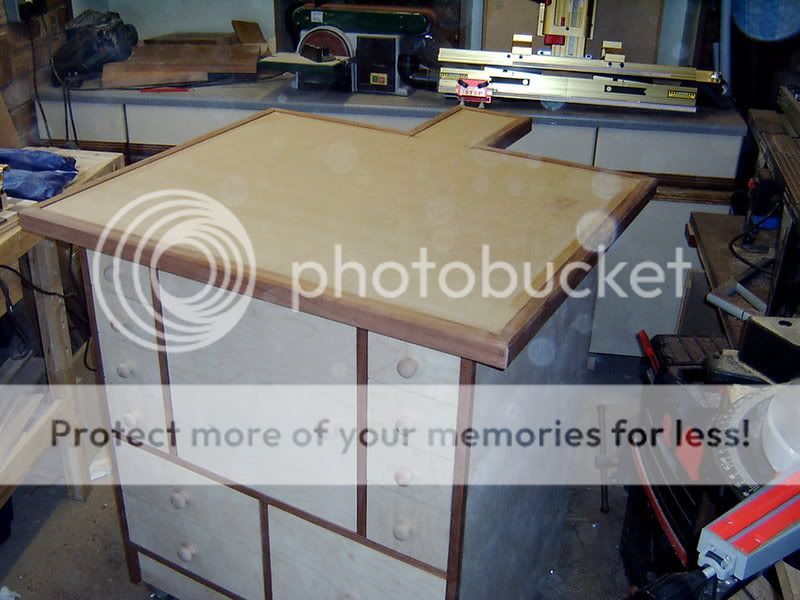
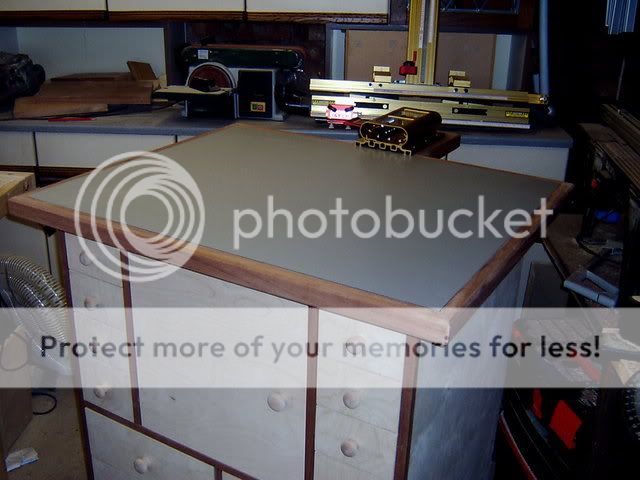
I have started to make my table top, about time too I hear you say.

I used 2 3/4" MDF boards, okay so far, cut it to size, not so easy, need a bigger workshop, don't we all :D , ripped a recycled Sapele shelf for the trimming then thicknessed them to size, I made them 2mm deeper than the top so that i could sit the the resin sheet inside.

I used the same material as Lord Nibbo for the top, seems like the bees knees, nice and flat, not sure how to glue it on though, I thought that I might use silicone sealant just in case it needs replacing, I would think that would be fine as the top fits inside the edging, anyone have any views on this :?:

Just waiting for the Table insert, it's on it's way from woodpeckers I am led to believe, lets hope it's not more Bullshit.

incra011.jpg

incra012.jpg
 
Very nice Martin, well done mate, it looks a right treat =D> =D> =D> =D> =D> =D>

When you say you used sealant, do you mean you actually fixed it down to the MDF with sealant?

Cheers

Mike
 
motownmartin":1sfsxq2b said:
Tony":1sfsxq2b said:
Come on Martin, get it built :wink: :lol:
I'm trying Tony, if you are good I might even let you come round and help me :lol: :wink:

Be a pleasure Martin :)

and my rates are very reasonable.......
 
motownmartin":rny7t459 said:
it doesn't look as good as Lord Nibbo's but not bad for a beginner :D

Well it look ok to me =D> The only difference is I glued on the hardwood edges first, covered it all with the laminate then routered the edge of the laminate back to the hardwood, doing that way made it easier to glue on the laminate.

PS ... I used Evostick contact adhesive and put two coats on both surfaces.
 
Lord Nibbo":2bg3m9g1 said:
motownmartin":2bg3m9g1 said:
it doesn't look as good as Lord Nibbo's but not bad for a beginner :D

Well it look ok to me =D> The only difference is I glued on the hardwood edges first, covered it all with the laminate then routered the edge of the laminate back to the hardwood, doing that way made it easier to glue on the laminate.

PS ... I used Evostick contact adhesive and put two coats on both surfaces.

It looks ok at a distance, I didn't get the mitred corners quite right :oops:

As far as the glueing goes, I don't think i'll be using evo-stick, the resin top fits so snugly in the recess and it will be a recipe for disaster, I need to use something that will allow me to slide it a little, if i'm 0.5mm out then it's ruined.
 

Latest posts

Back
Top