Router Table WIP

UKworkshop.co.uk

Help Support UKworkshop.co.uk:

This site may earn a commission from merchant affiliate links, including eBay, Amazon, and others.
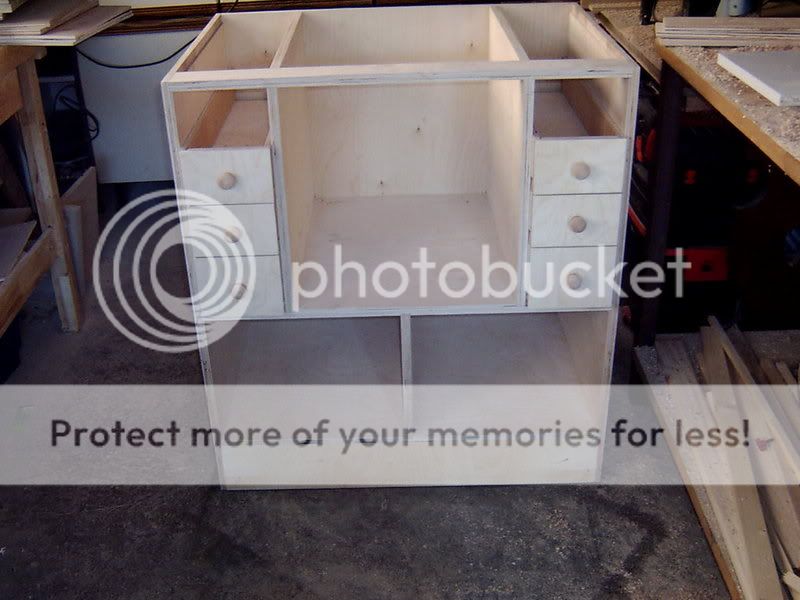
I managed to get in the workshop for a couple of hours this morning and assembled most of the carcase.
The plans called for biscuits to join the internal boards to the back but I wasn't sure how to get it accurate enough, in the end I opted for screws and glue.
If anyone could explain how to do this I would be grateful, although it's too late to do it on this job.
Some of the boards were slightly twisted but it seemed ok once I got the clamps on, the squareness was 2mm out across diagonal at the front, I was fairly happy with that.

The next Job is the drawers and I shall admit to being a little nervous, they seem to be just glued, I think I need some help with them ](*,) (hammer) #-o [-o<

The job up to date
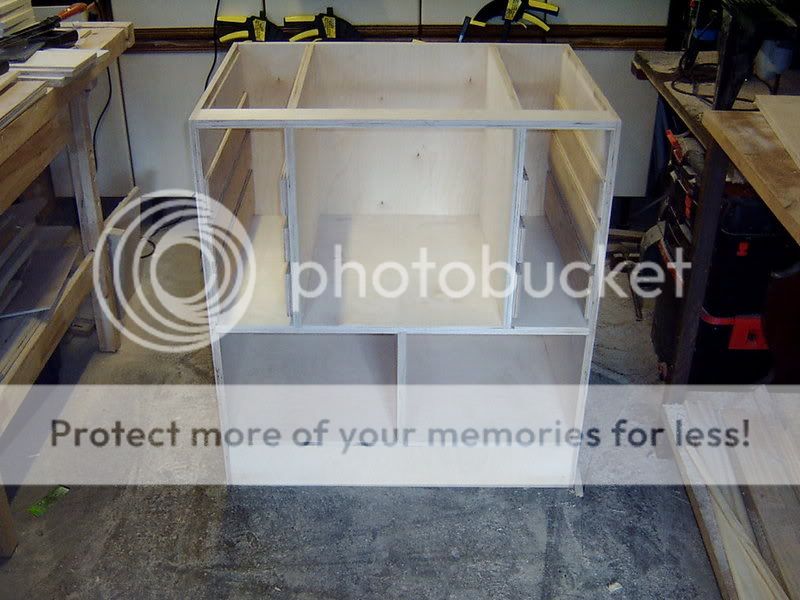
RouterTable011.jpg
 
looks good martin,

simplest way to ensure that things are lined up is to use a spacer cut to the width or length that you need. in my case i would make a spacer that is the actual width between the two uprights, because the base of my
biscuit joiner is only 18mm deep, so it is easy :lol:

as for the drawers you could always make them slightly narrow, and
then pack out.

paul :wink:
 
engineer one":27slush0 said:
looks good martin,

simplest way to ensure that things are lined up is to use a spacer cut to the width or length that you need. in my case i would make a spacer that is the actual width between the two uprights, because the base of my
biscuit joiner is only 18mm deep, so it is easy :lol:


paul :wink:

I think I understand, i'll have to have a go on some scrap.

What worries me about the drawers is that they are only glued, which is fine for the back but the front is a bit suss, i'm not keen on putting in brads at an angle, my nail gun is not the best bit of kit, and I don't want to nail from the front, I suppose I can make the drawer as a box then screw the front on, or use some brackets to strengthen them :?

Thanks Paul

Martin
 
You could do with making a jig like this martin:
fcuttingtherebatessn7.jpg

It uses the router base as the guide and the shelf is placed in between the two rails and then it is slid and clamped onto them to give a perfect 'Dado' every time. :wink:
 
I did the draws last and used the router table to make the joints etc and had seperate front plates to make lineing up easy.
 
OLD":6vpe3v1b said:
I did the draws last and used the router table to make the joints etc and had seperate front plates to make lineing up easy.
Sounds like a plan :D does that include the bit drawers :?:

Thanks OLD

Martin
 
motownmartin":3al57d3f said:
OLD":3al57d3f said:
I did the draws last and used the router table to make the joints etc and had seperate front plates to make lineing up easy.
Sounds like a plan :D does that include the bit drawers :?:

Thanks OLD

Martin

Thats what I did with mine also Martin, not fine cabinetmaking but more than adequate for this application.

Did the same for the normal drawers and likewise for the bit drawers, although the latter weren't box construction, just a base board with front and back uprights.

Used some hot melt glue (very small amount) just to hold the fronts in position while I then cramped them more firmly and then screwed through from the inside of the drawers for the final fixing.

If you use some shims for spacing the fronts you get a very neat finish with everything lined up evenly.

Looking forwards to seeing some more pics.

Cheers, Paul. :D
 
I think I might just chance it andhope they look square, if they don't it will be a lesson learnt.
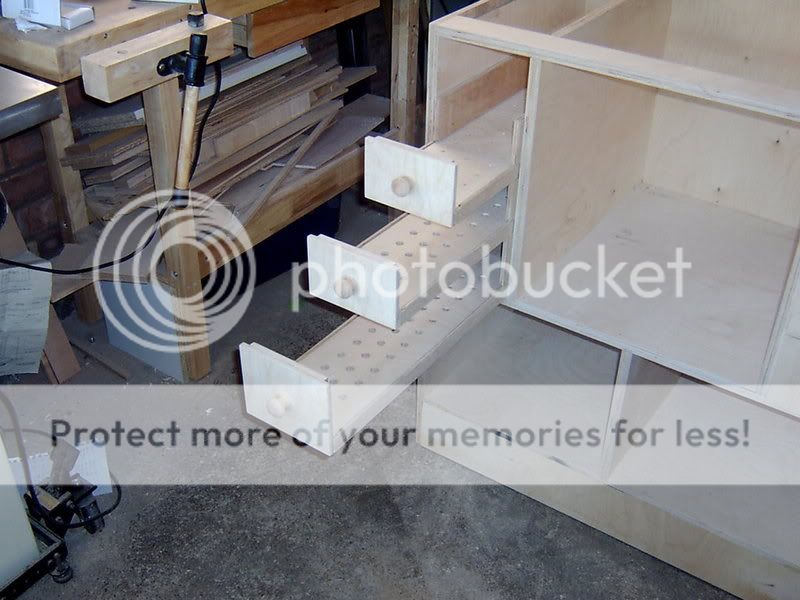
Talking about lessons learnt, I discovered that I have made a bit of a cock-up :cry: :oops: , I tried sliding in one of the bit drawers (after I took a few hours drilling them all) and it was very sloppy, I thought this can't be right, so I measured it and found that the compartment was 1/4" too wide, oh bum I thought, I couldn't take it out because it fit in the dado's, so I will build up the width of the base and re-cut the fronts.
That was a good lesson learnt, I won't be converting imperial to metric without my reading glasses again :lol: :lol:

Paul, there will be more pics and more cock-ups, even pics of cock-ups :D

Martin
 
When I get round to making the table top, I am going to buy one of the inserts, which one :?: are there different ones for different routers :?: do they come with a template :?: where is the best place to get one from :?: I will be getting a Triton TRB001, probably from Buck & Ryan.
Help please
TIA

Martin
 
well compared with all the wood, and the price of the triton, i' not so sure :twisted: :roll:

i'm sure that aldee will have a suggestion too.

paul :wink:
 
I know, it's costing a fortune but it will be worth it, thats if I finish it as the Bank account is looking a bit sorry :cry: good job i'm not making the whole top out of Phenolic :shock:

Martin
 
motownmartin":hm7yzm8h said:
When I get round to making the table top, I am going to buy one of the inserts, which one :?:

Martin, there has been lots of discussion on here about router table inserts. Many of the popular inserts are slightly crowned (not dead flat). Some people say this is not a problem, others (me included) think it's a daft idea. Steve Maskery found a very good insert that is flat. Some of the best ones are quite expensive, unfortunately. Might be an idea to do a search and look at the previous discussions before making up your mind which one to get.

Cheers :wink:

Paul
 
I mentioned that I had made a cock up with the bit drawer compartment width.
Well I got round it by adding a piece of ply to either side of the drawer using brads and glue.
RouterTable017.jpg


Then I completed all the bit drawers
RouterTable020.jpg

RouterTable021.jpg


Thats it till next Monday, starting Night shifts Tomorrow :cry:

Martin
 
Hi Martin, just got back from forced extended holiday :lol: So this is my first post... Your table is looking very good so far =D> One question though, have you sized the top yet? I ask because in my opinion it does not over lap the top enough for clamping things like home made feather boards to the top, if I were to make another I would add another two inches to the length and another one inch in the front overhang. :)
 
Lord Nibbo":1e6flrts said:
Hi Martin, just got back from forced extended holiday :lol: So this is my first post... Your table is looking very good so far =D> One question though, have you sized the top yet? I ask because in my opinion it does not over lap the top enough for clamping things like home made feather boards to the top, if I were to make another I would add another two inches to the length and another one inch in the front overhang. :)

Hello Dave, fortunately I have not cut the top yet although I did get hold of a piece of worktop 4' x 3' but it's only 1" thick and it's bowed, it looks like i will have to purchase another piece of 30 or 40mm.

I was planning to make an extra large top to accommodate the 25" incra positioner but had second thoughts and cancelled it, so I might have to get the 17" instead which means the top has to be at least 43" long :eek: so it's up in the air at the moment but I will definitely take on board your advice and add an inch on the front.

I have thought about hingeing the back part of the table top but am unsure about how rigid it would be, to be honest there would be no point fitting a precision bit of kit if it were able to move just slightly, I am open to suggestions :?

I hope your Holiday went ok, I would imagine it did from how you said FORCED EXTENDED :lol: at first glance I thought you may have had trouble with your boat.

All the best

Martin
 
motownmartin":x0jak773 said:
I hope your Holiday went ok, I would imagine it did from how you said FORCED EXTENDED :lol: at first glance I thought you may have had trouble with your boat.

All the best

Martin

Nothing wrong with the boat, just the bl@@dy weather :lol:
 

Latest posts

Back
Top