Derek Cohen (Perth Oz)
Established Member
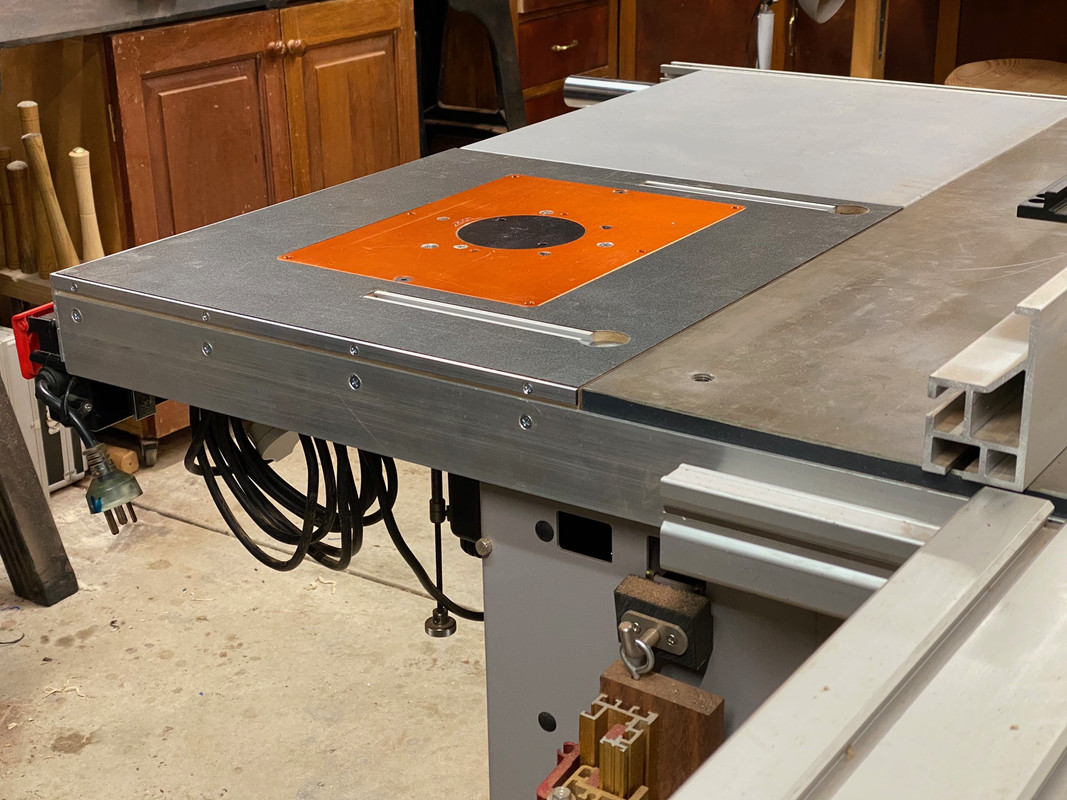
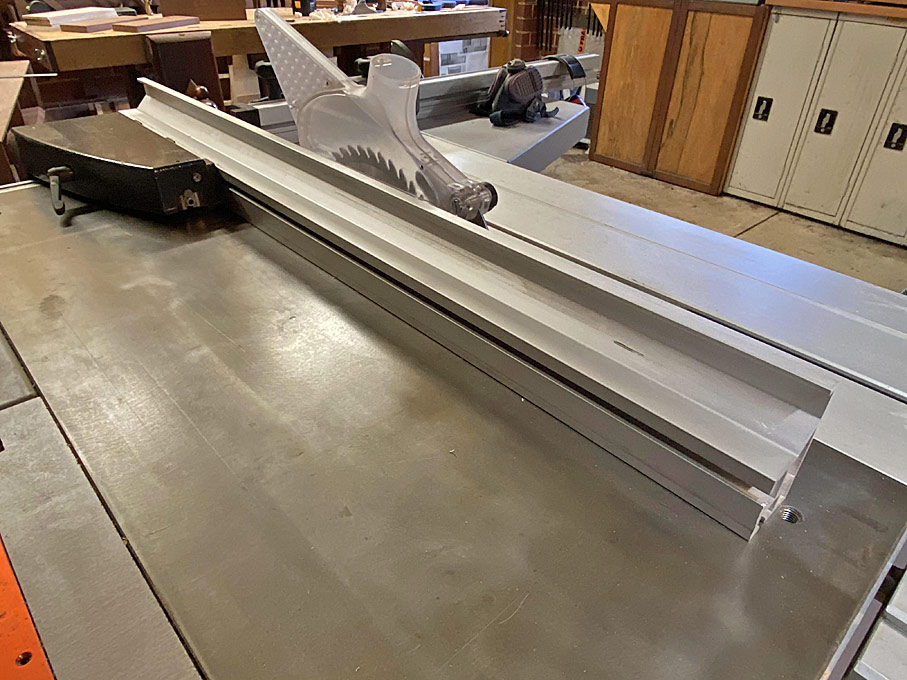
Here's a router table and router table fence I recently built.
This is a very full-on set up. What is relevant is that it did not cost much (don't include the cost of the JessEm guides, which are excellent but a little luxury). It is difficult to total, as some parts, such as the aluminium insert plate, was purchased about 3 years ago, as was the Router Raizer lift, and the MuscleChuck router bit change.
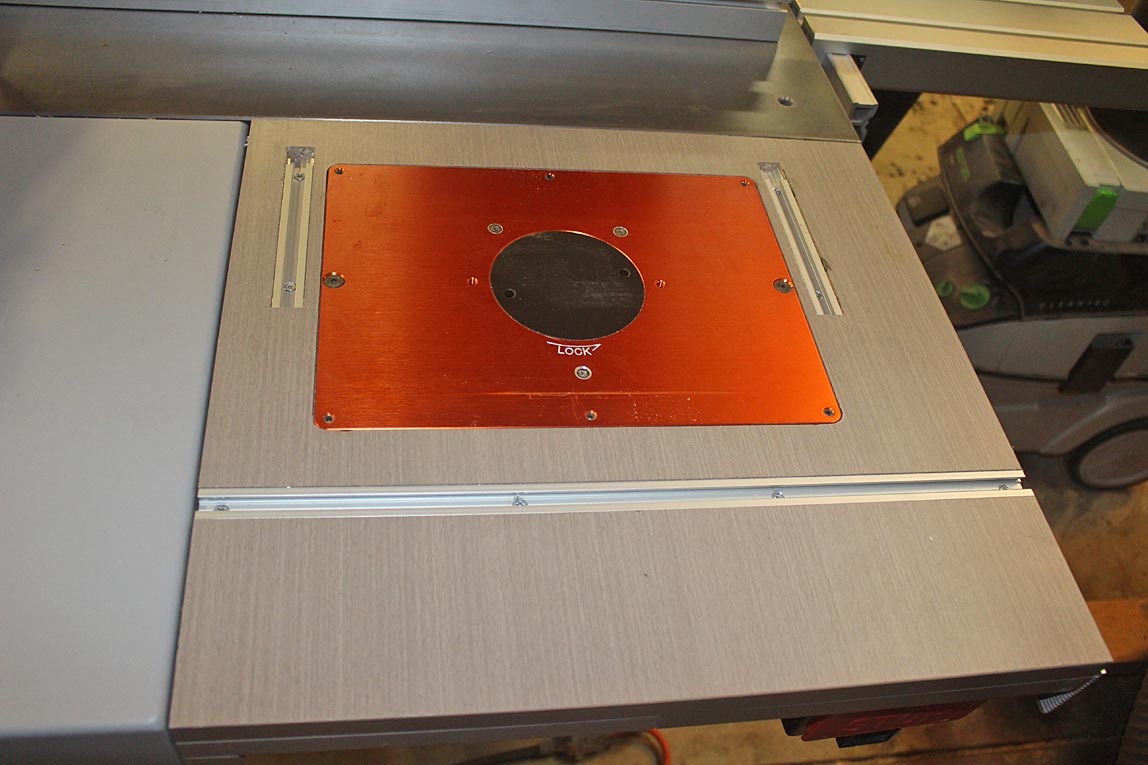
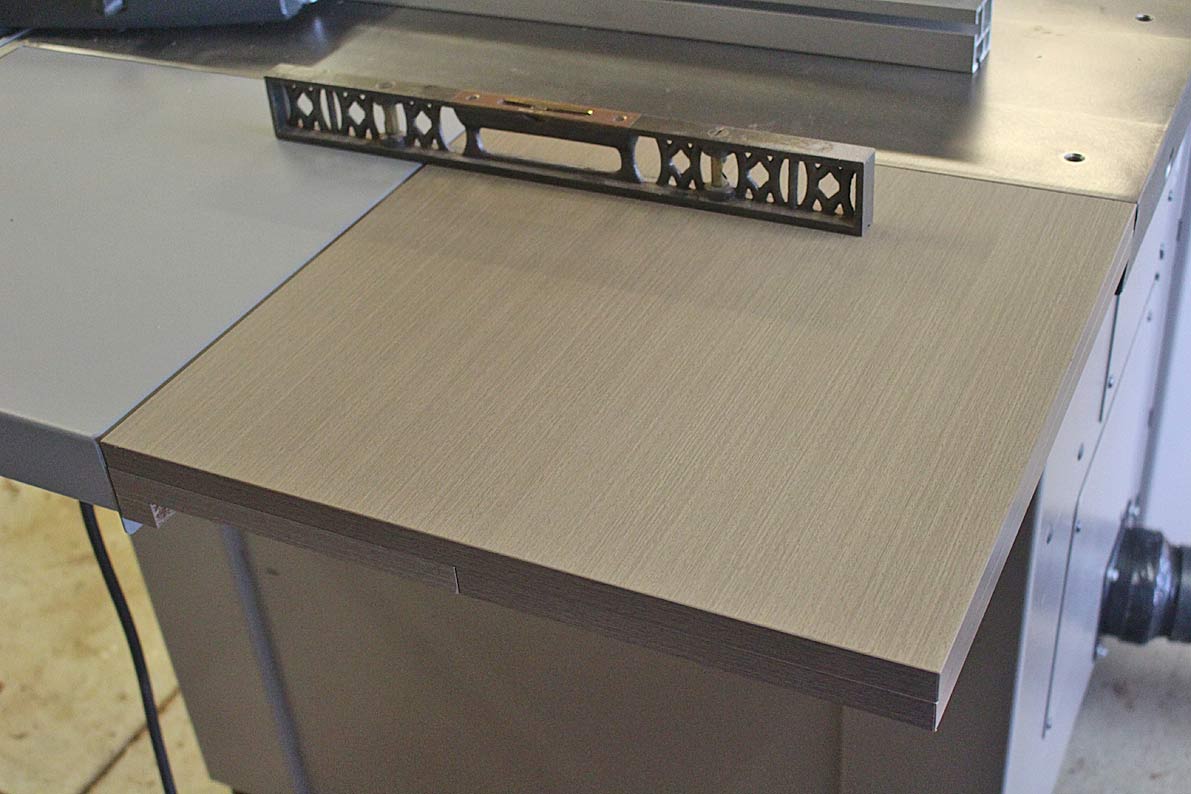
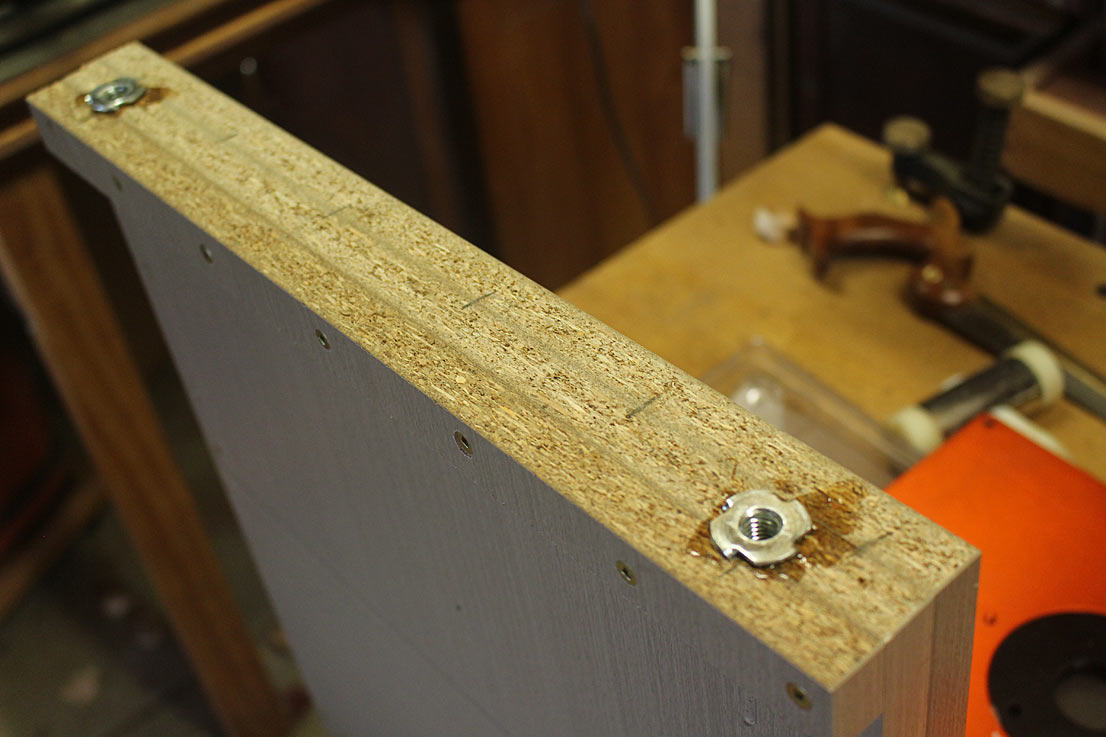
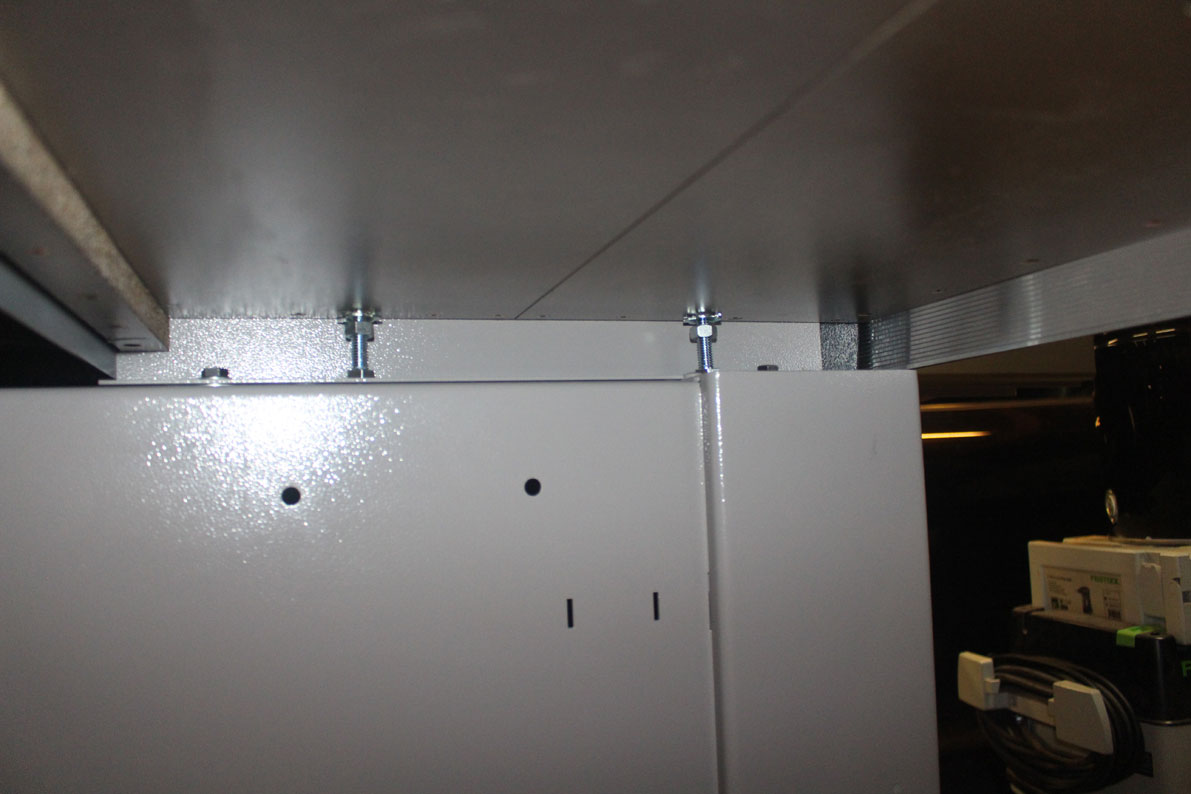
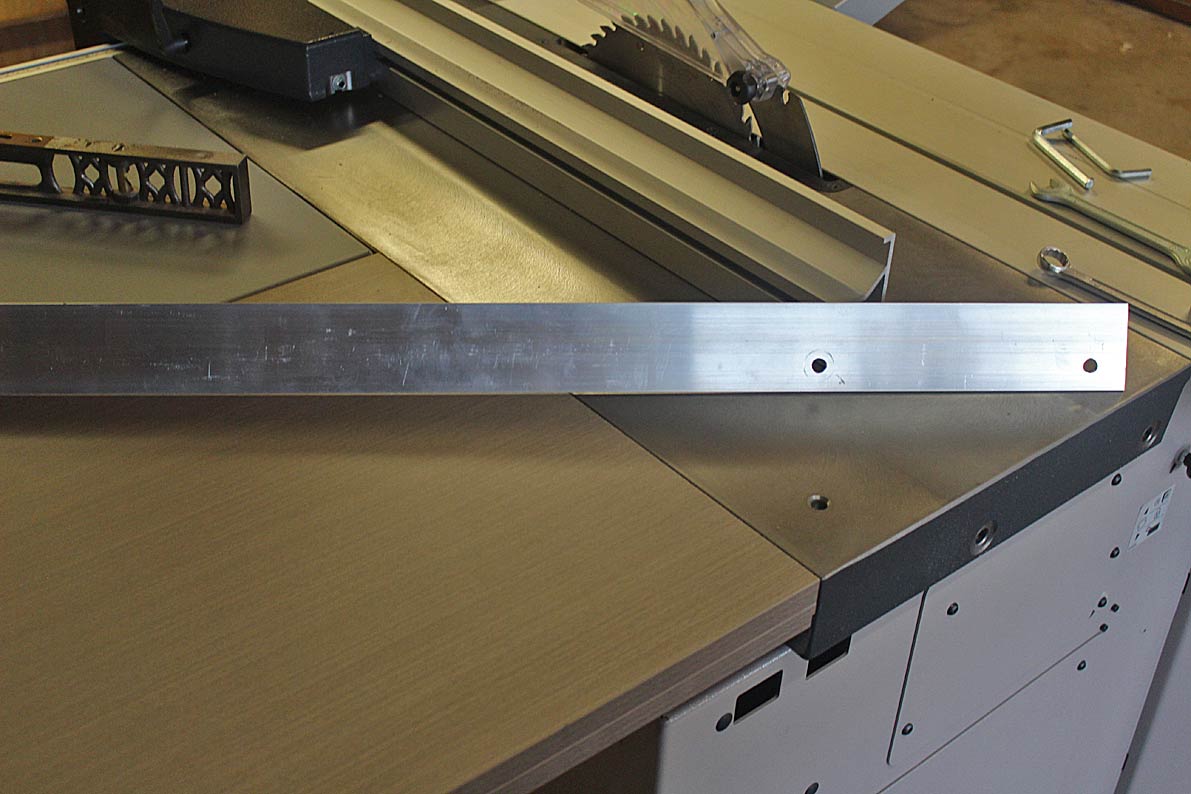
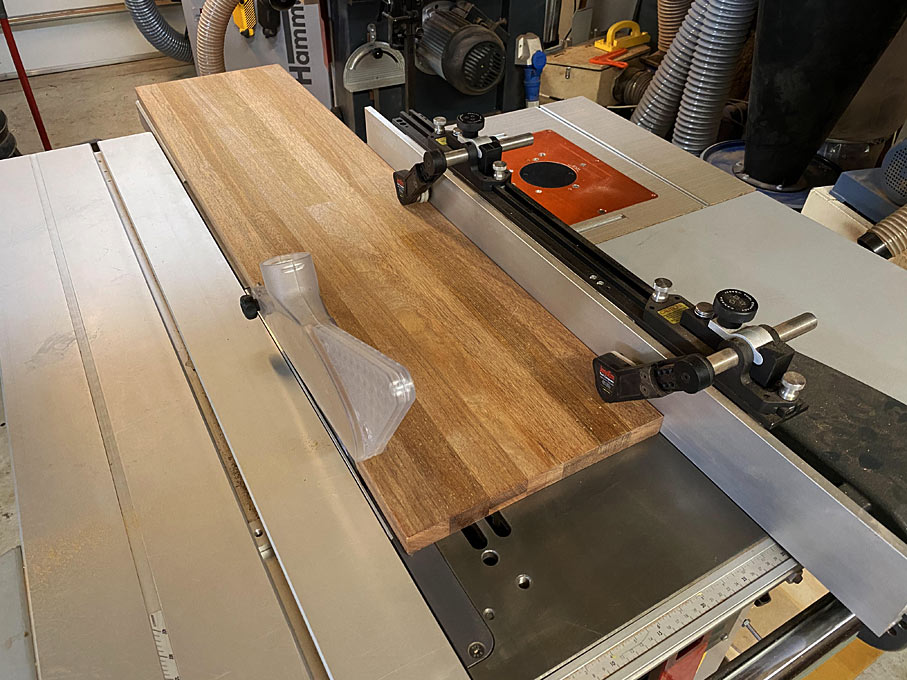
The base for the router table was a laminated high pressure MDF kitchen bench off cut from a kitchen maker ...
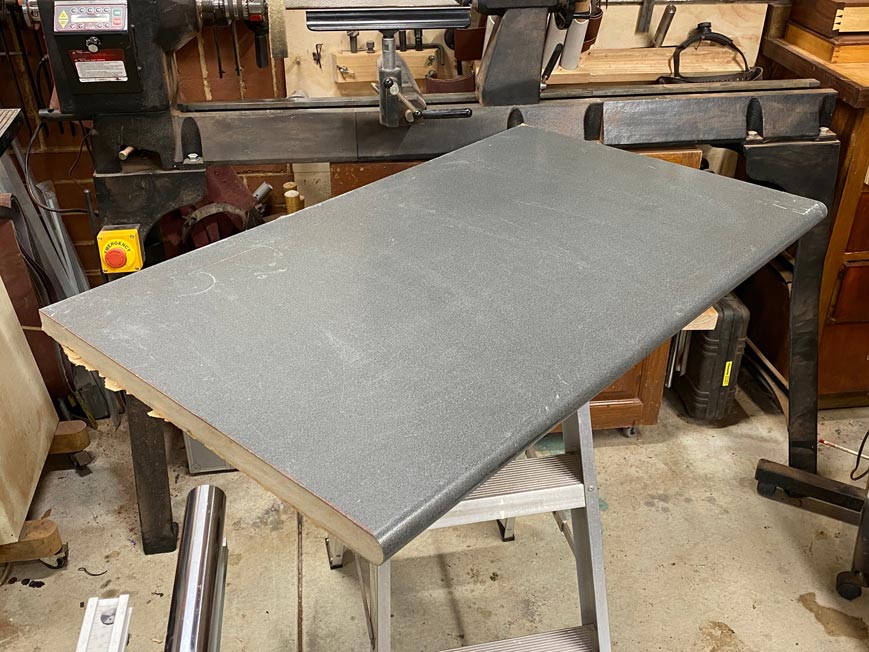
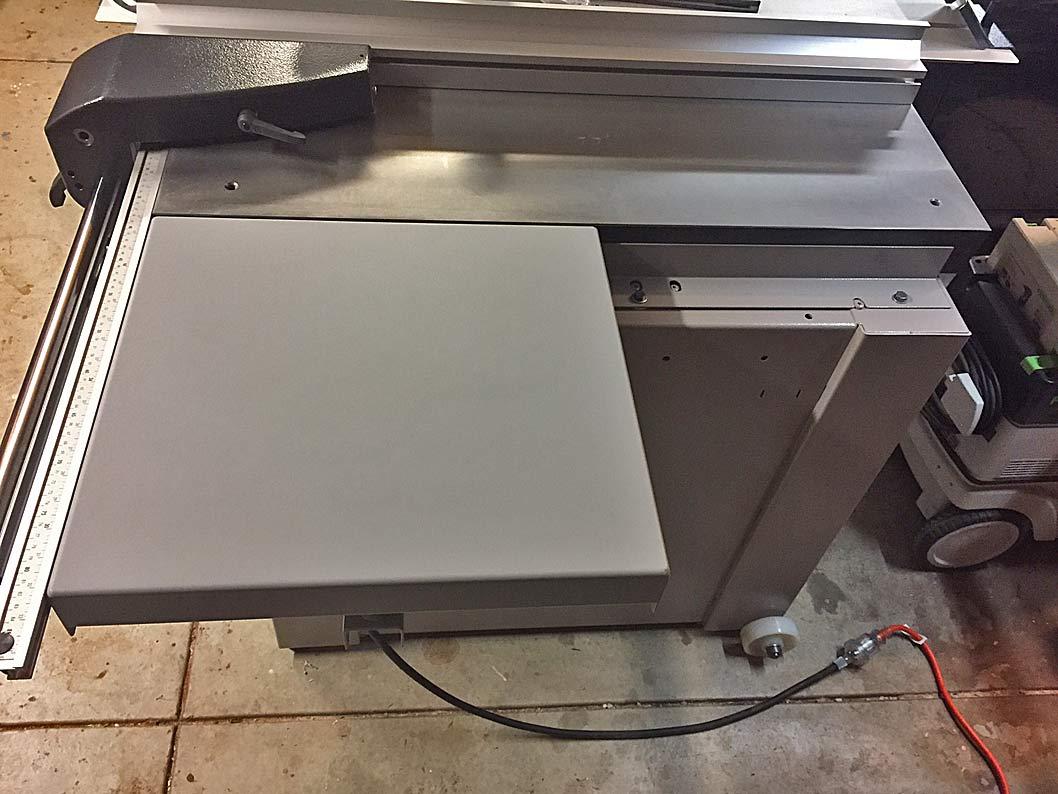
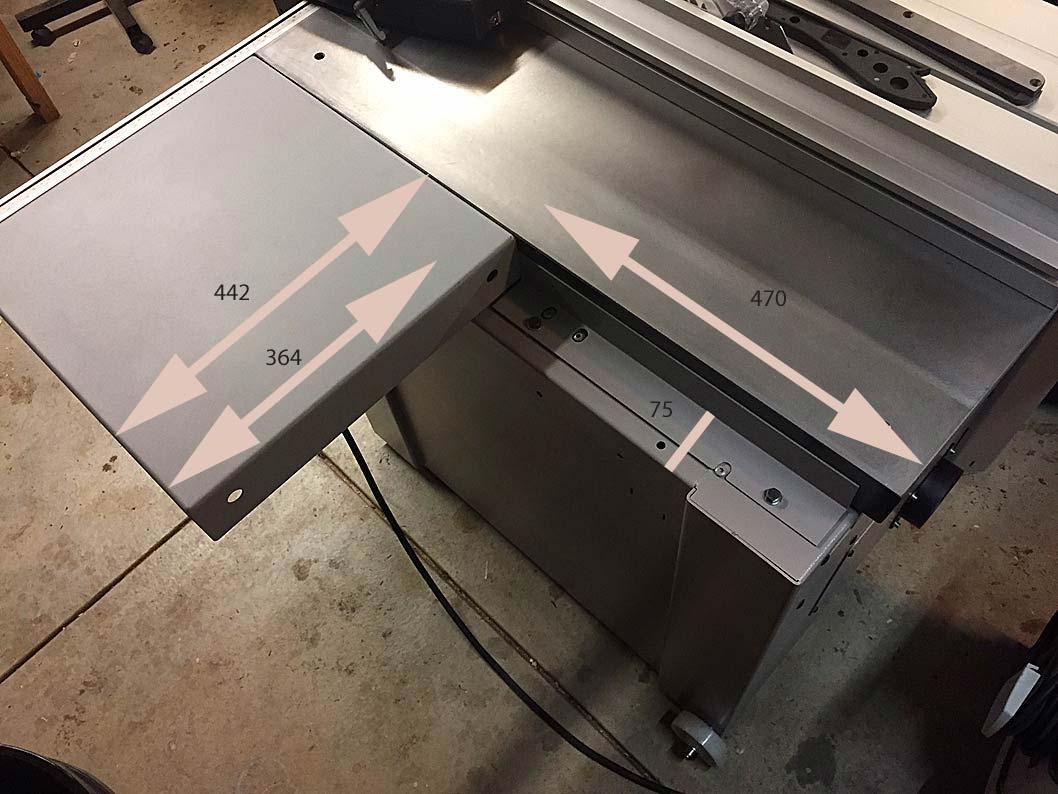
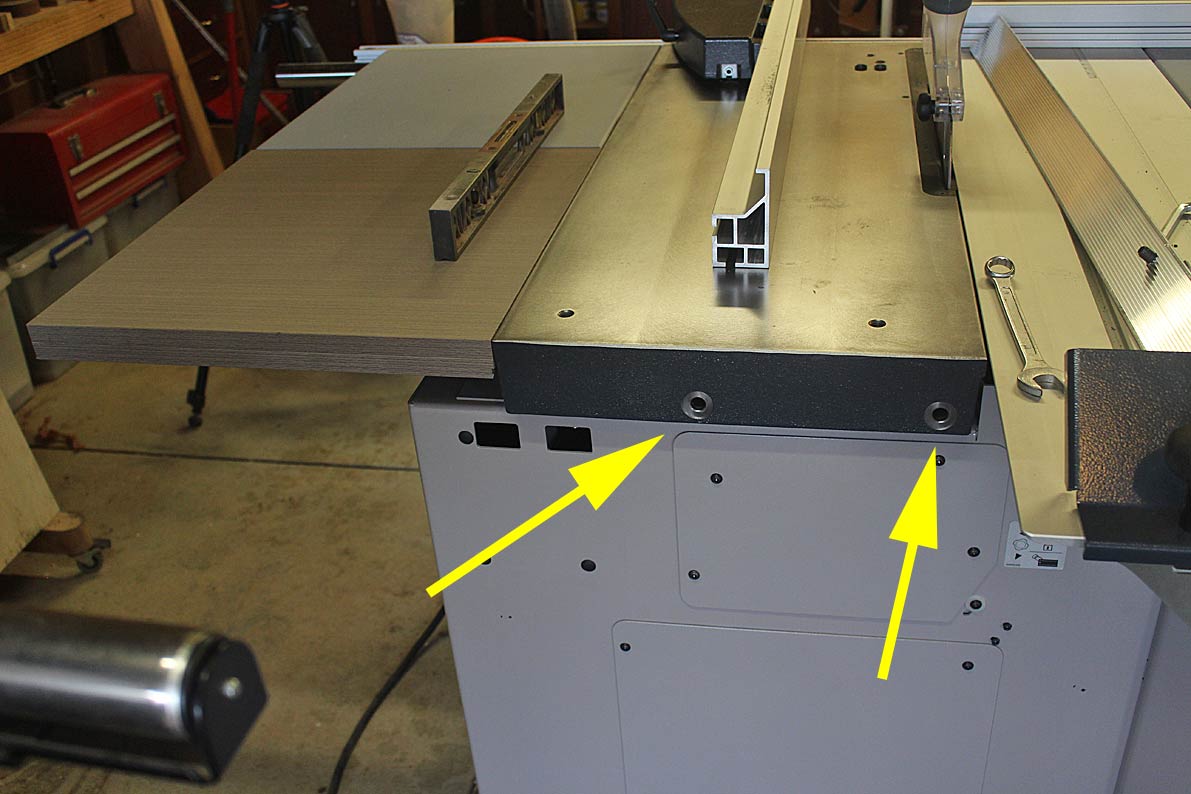
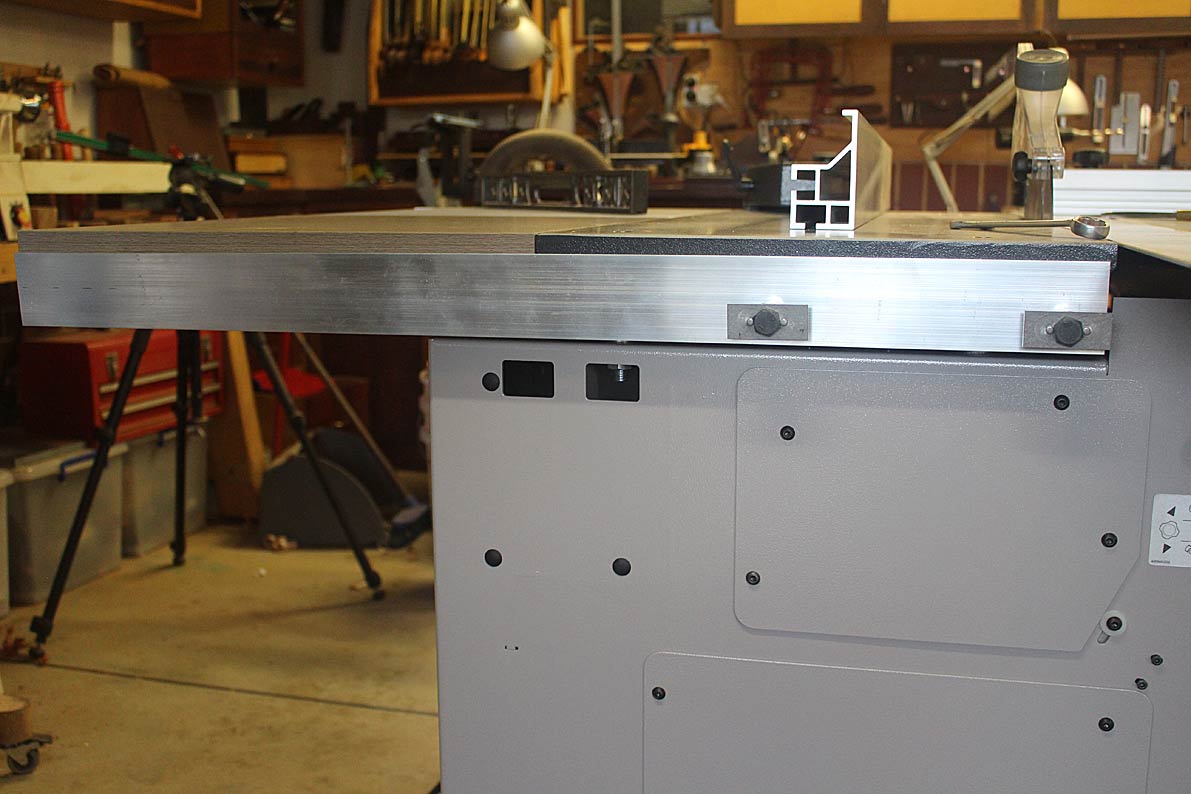
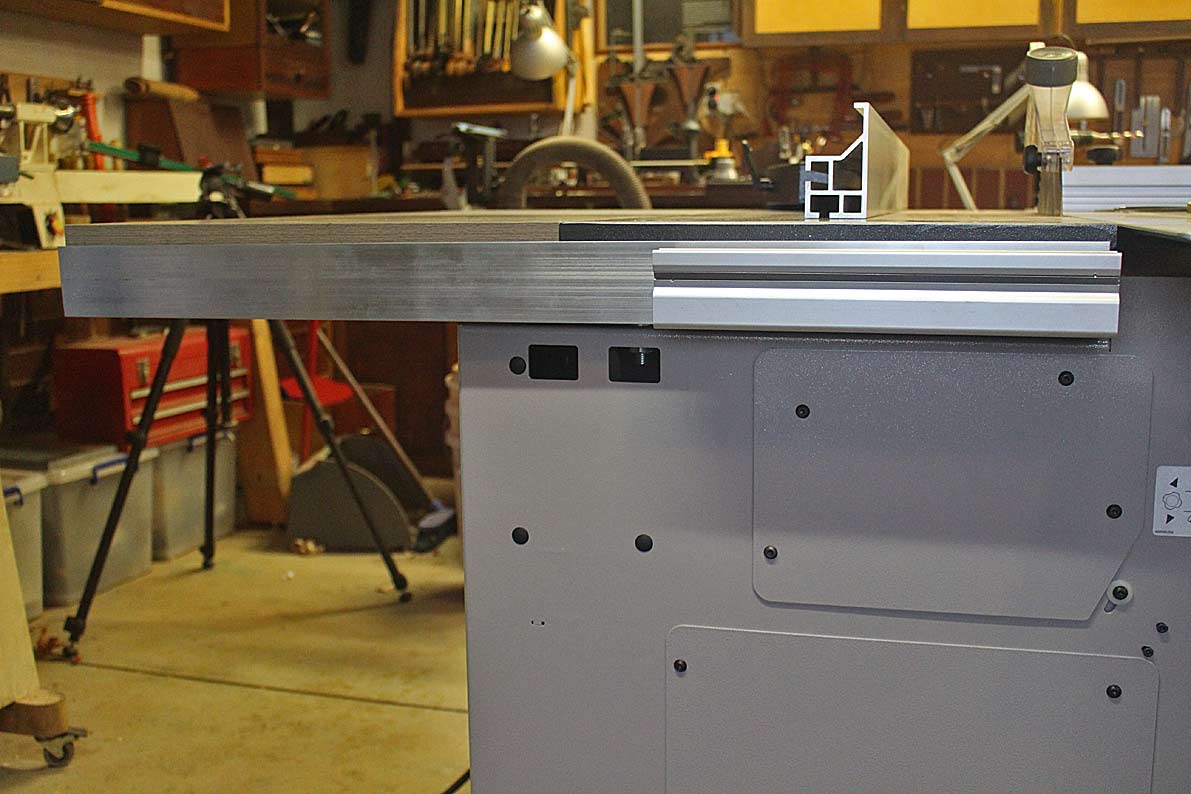
This was build into the out feed of my Hammer K3 sliding table saw ...
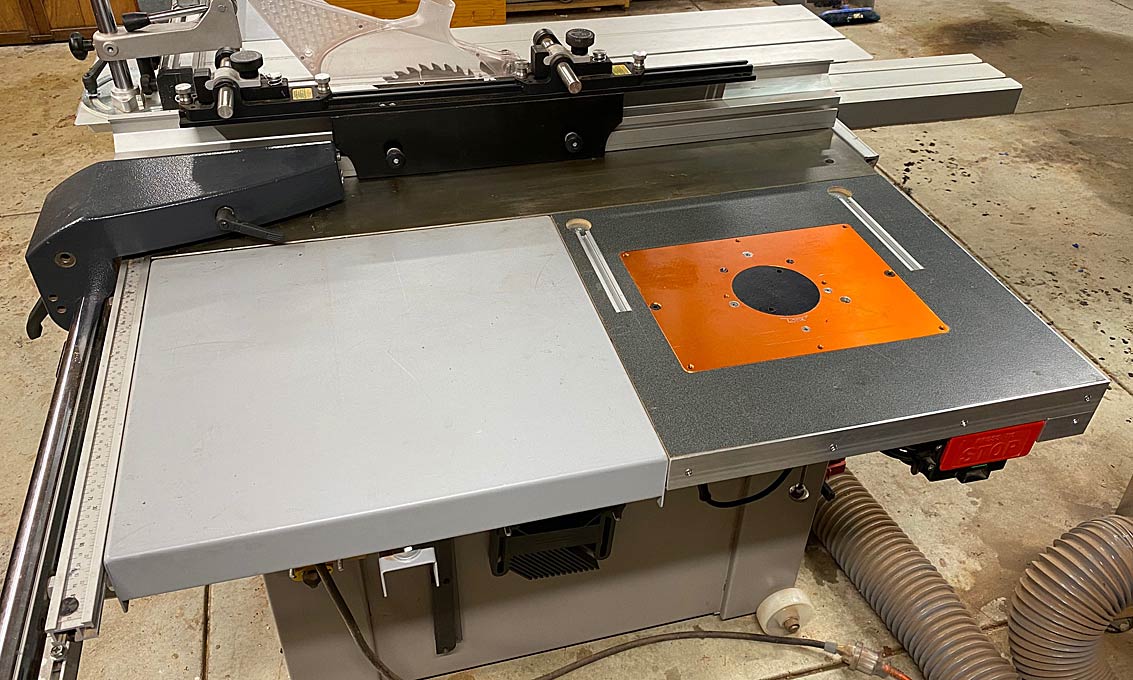
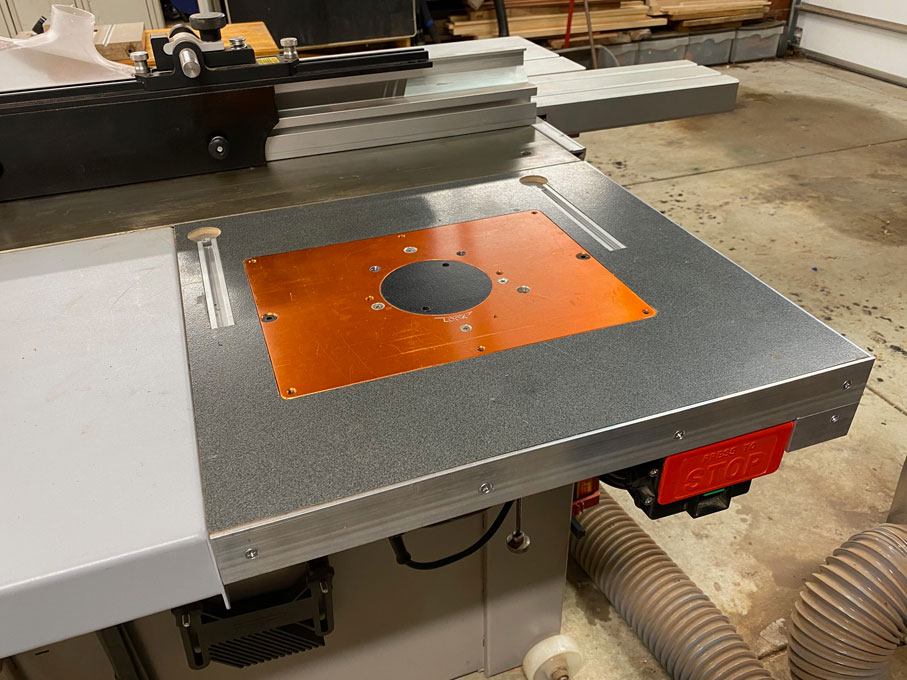
These aluminium plates are excellent. After 3 years of hanging the heavy Elu 177e (predecessor of the DeWalt DW625) , there is no signs of any dipping. The surface remains flat, flat.
The Elu below, minus handles, with Router Raizer attached ...
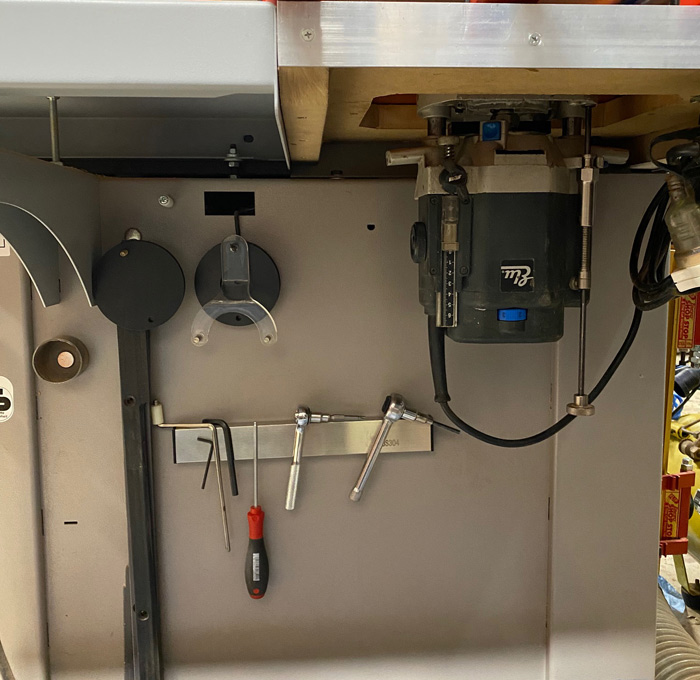
The dust collection consists of below table collection from the router bit ...
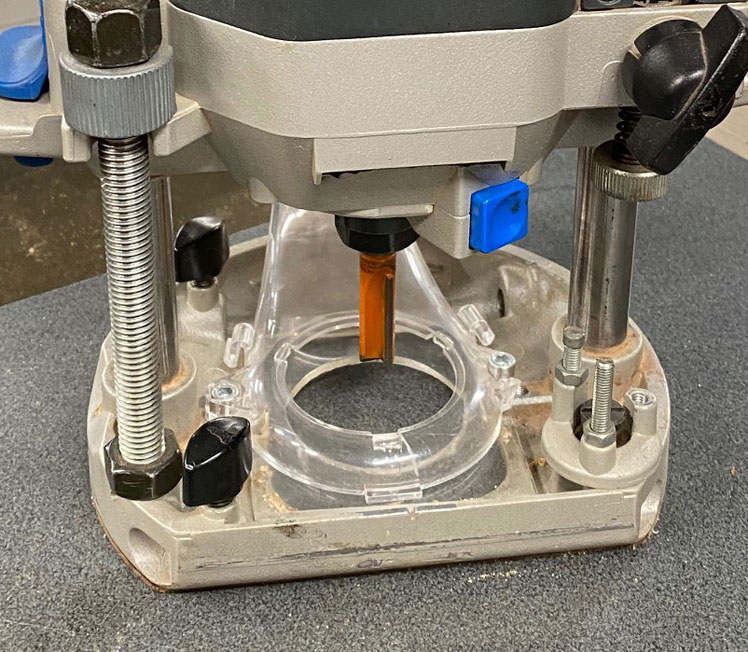
... and then via the fence using the Festool Router Table hose system, and into a Festool CT 26E.
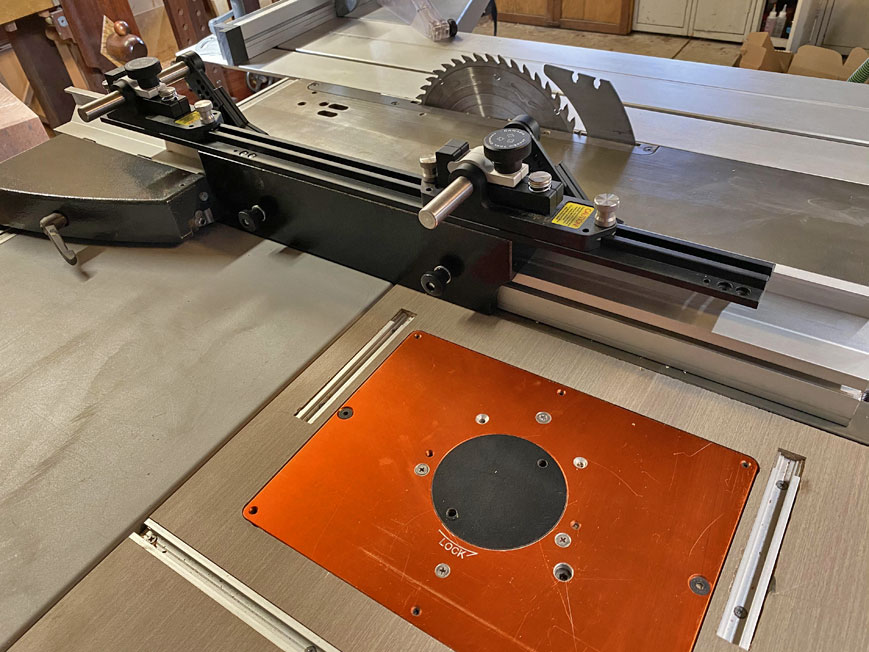
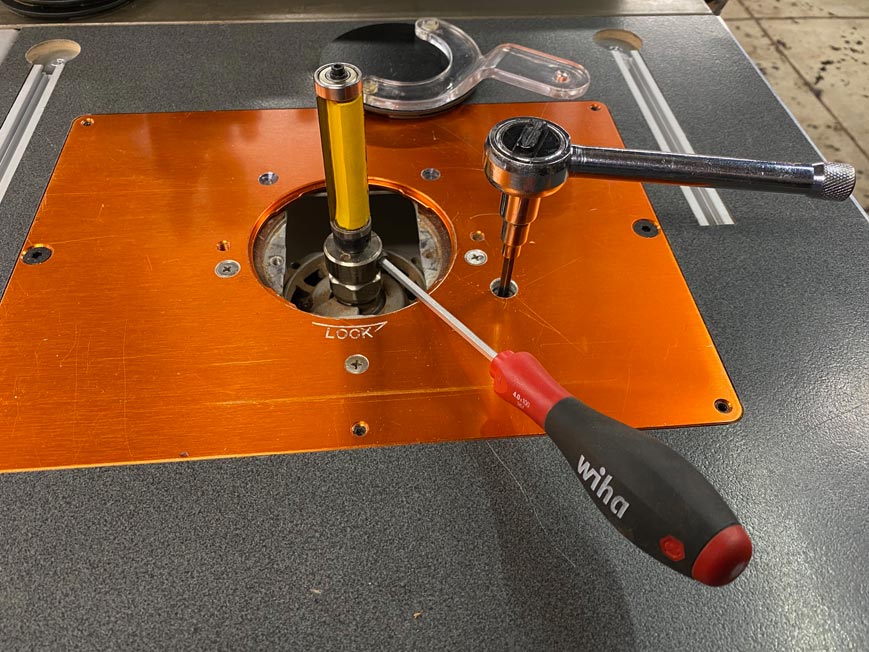
Above the plate, the MuscleChuck allows for changing bits and easy bit-holding. I built a handle for the Router Raizer from a cut-down socket wrench. This enable fast spinning as well as fine adjustments with the fence close by.
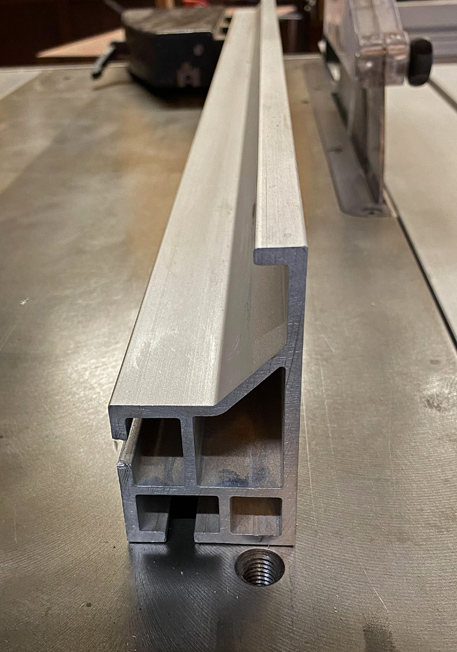
The heart of the fence is made for 8020 extruded aluminium (80mm high and 20mm wide). I comes in 1m lengths, and this fence is 600mm long.
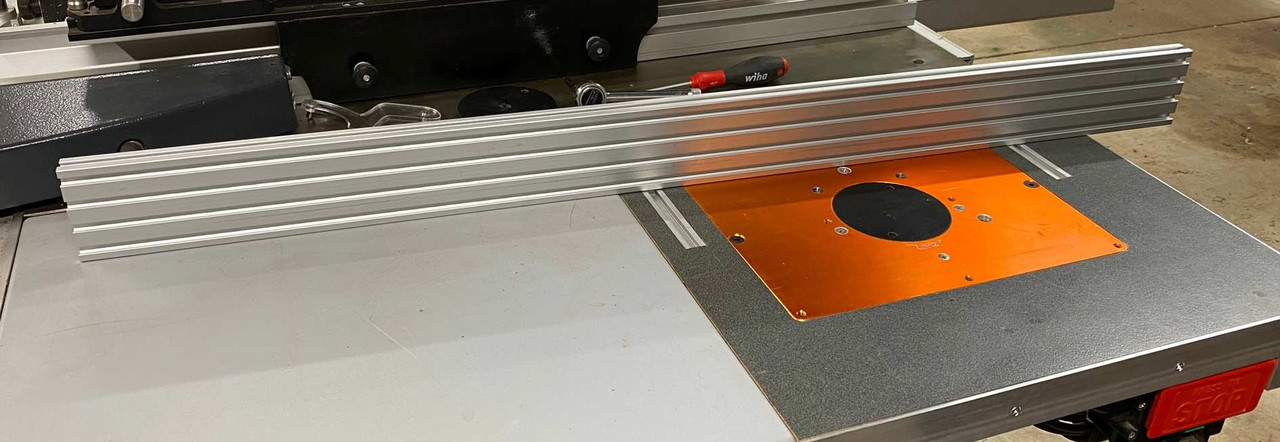
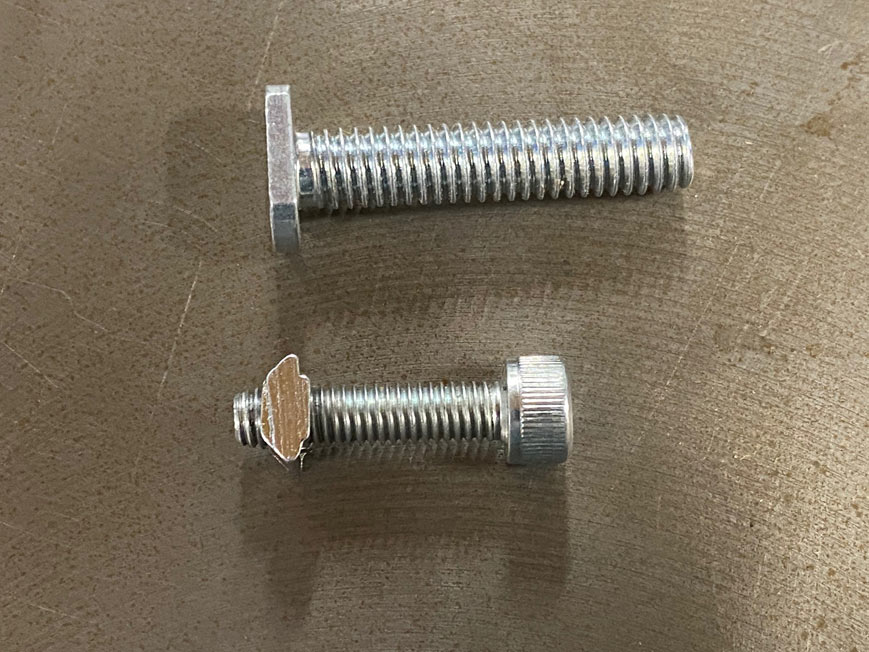
Note that the slots of this extrusion use different T-bits ...
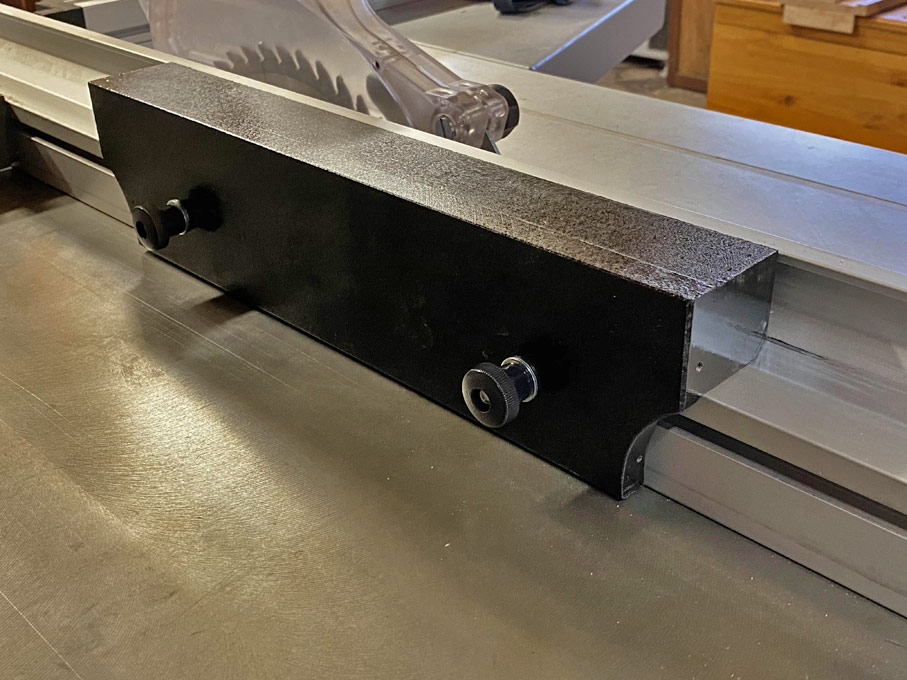
The only other part I bought in were the sub-fences, since these are phenolic-coated, and the dust port.
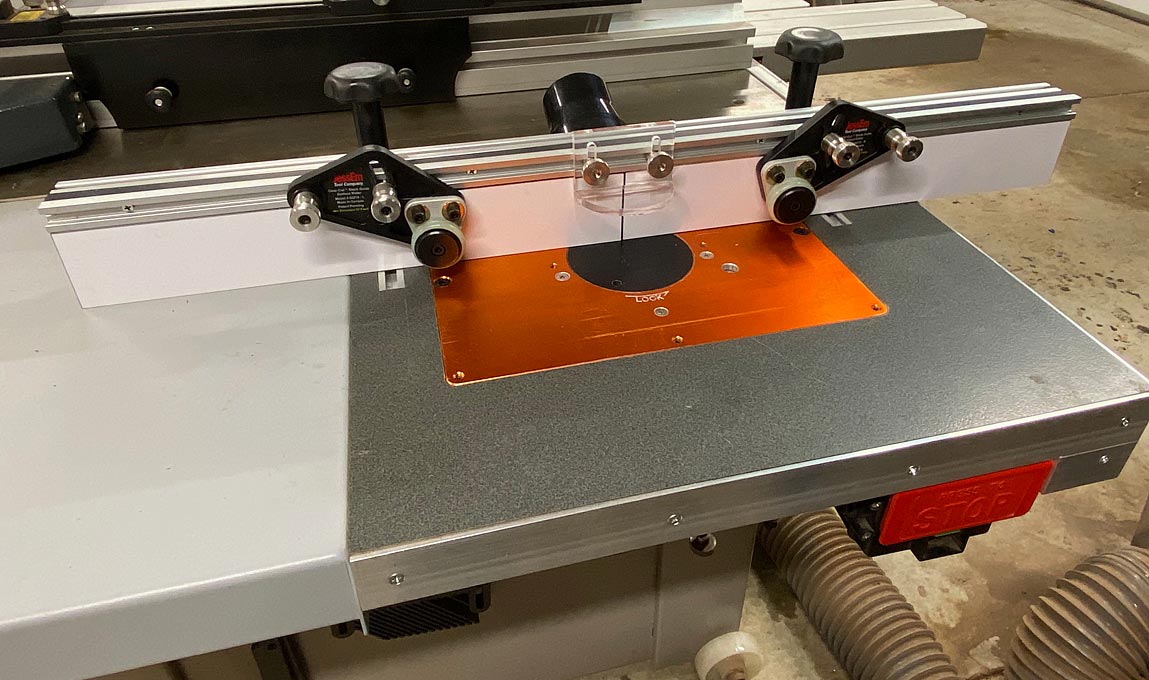
The subfences. Also note that the dust collection port in the mainfence was made with a 2 1/4" hole saw ...
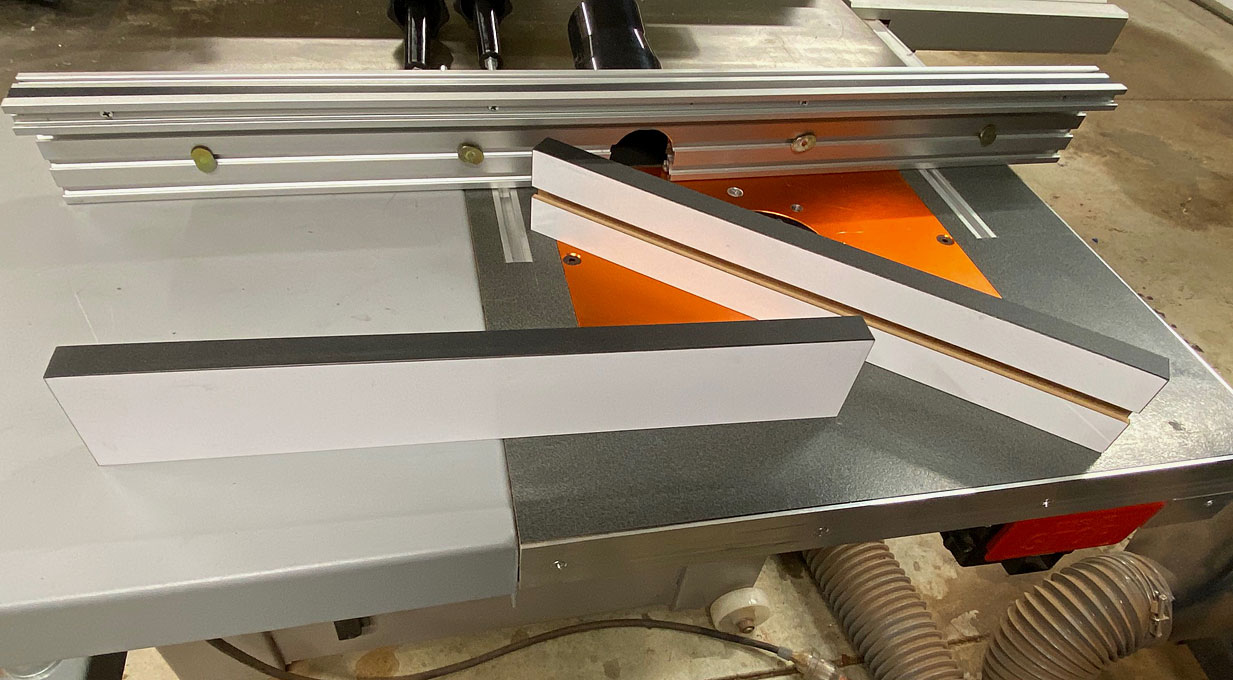
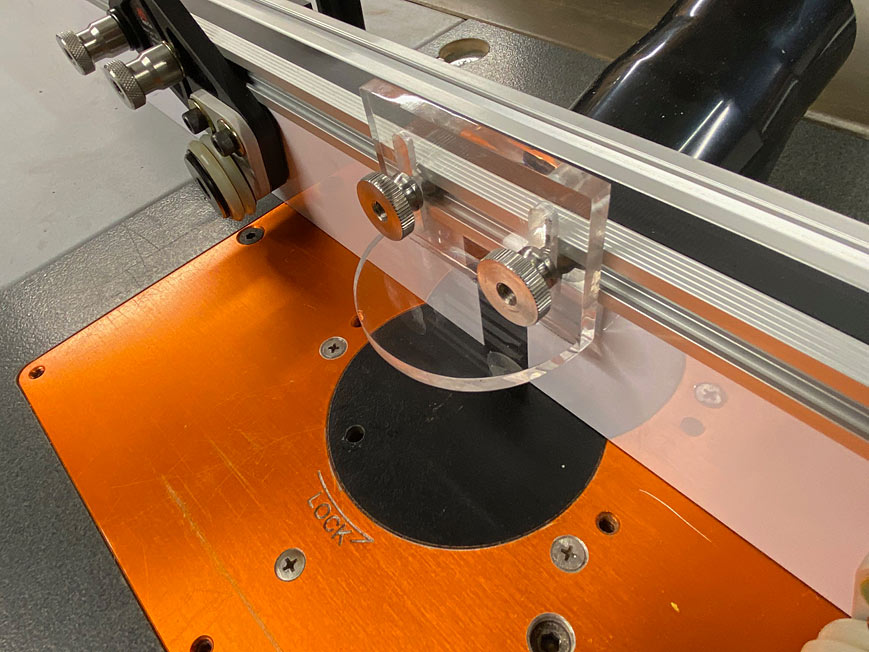
The Jessem guides, and the bit guard I made ...
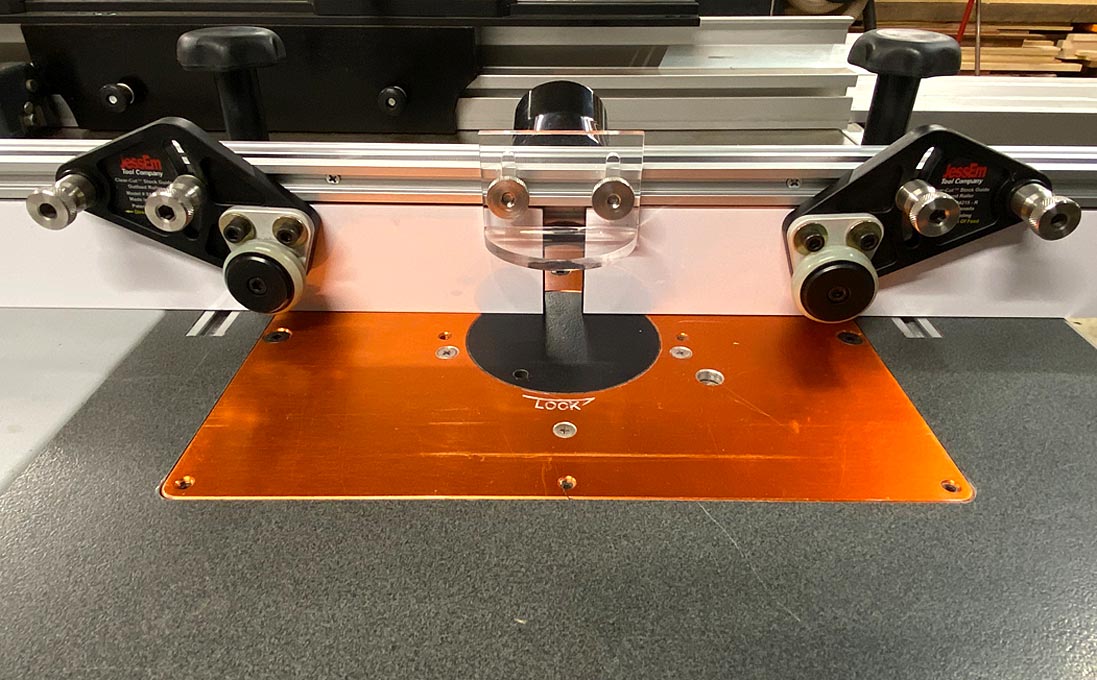
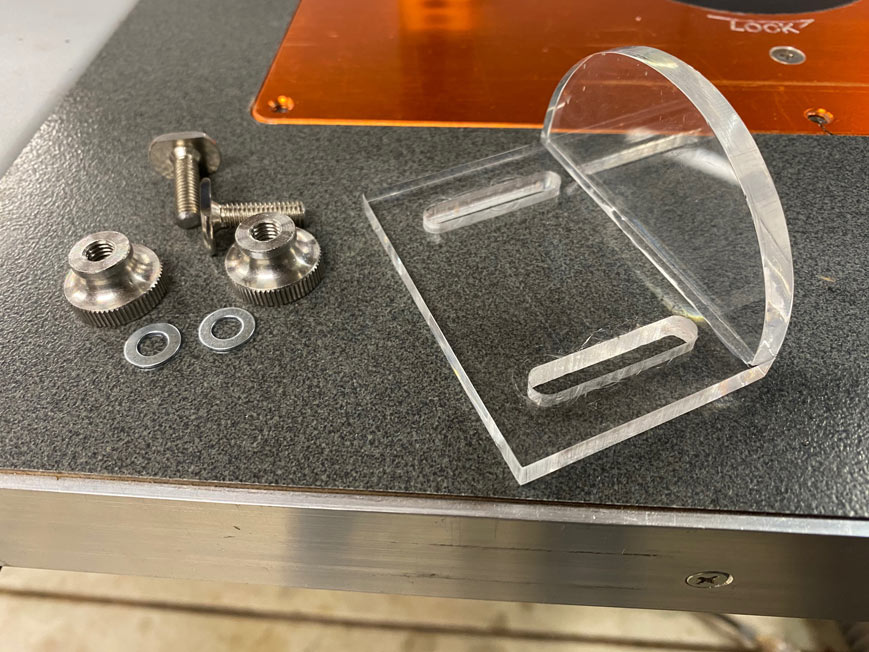
Made in two sections and superglued together ...
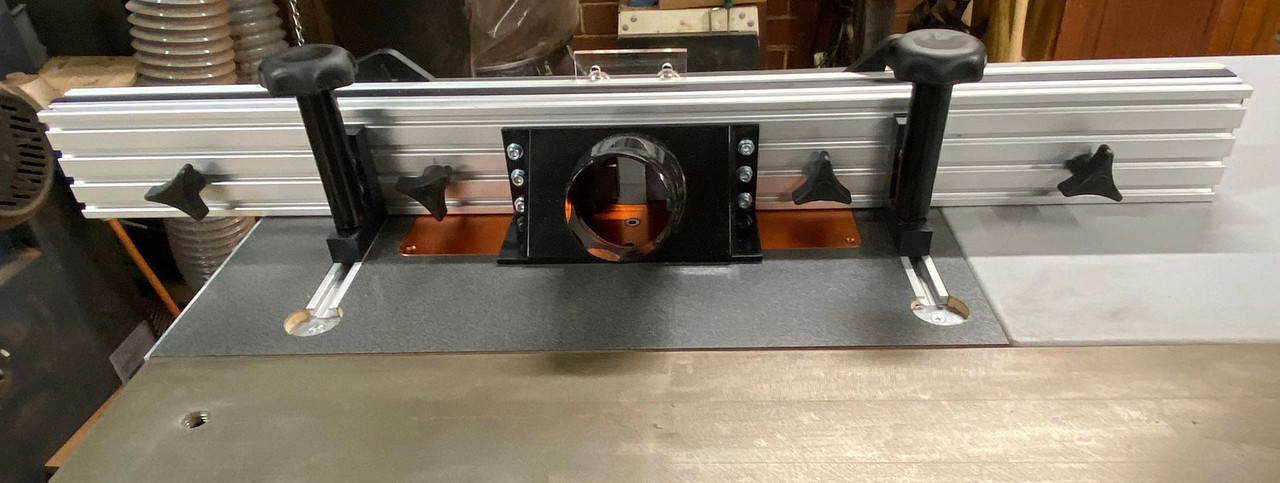
The rear of the fence, with the dust port, and sub-fence adjusters ...
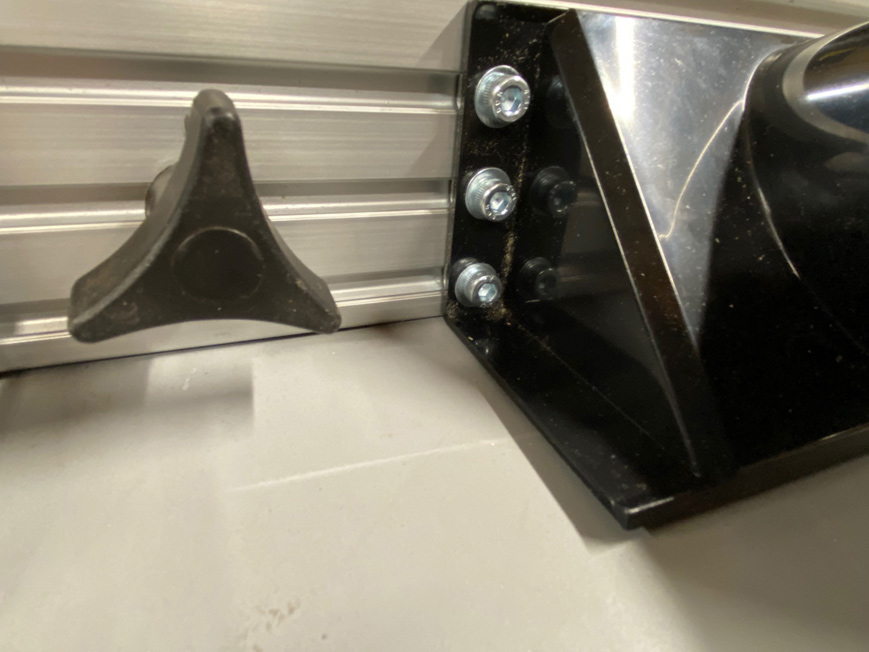
The reason for bolting on the dust port was not simply to make it possible to remove, but this enabled the T-track to be plugged ...
I built UHMW fence brackets, then replaced them with a set from Banggood ...
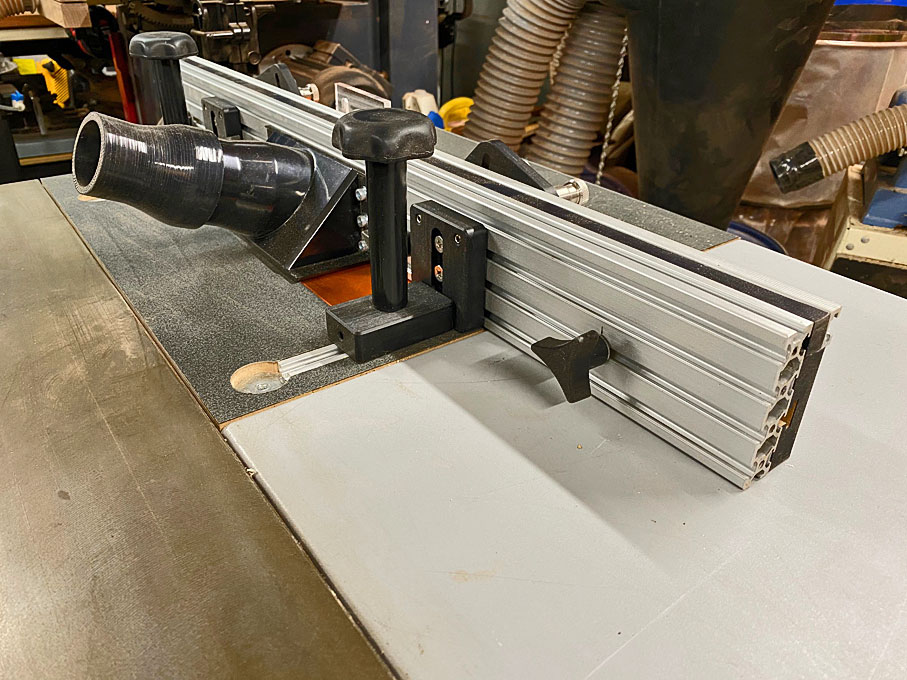
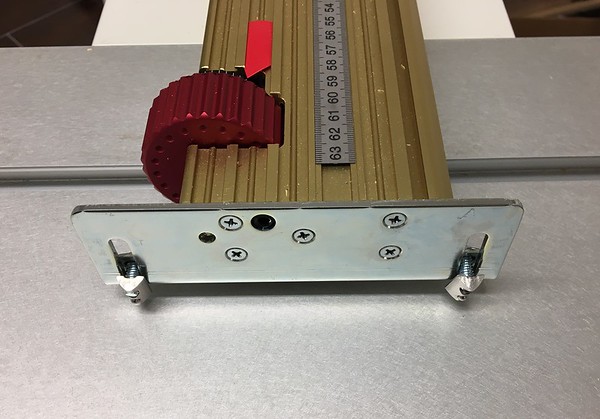
There is adjustment built into the brackets to ensure that the working side of the fence is square to the table ...
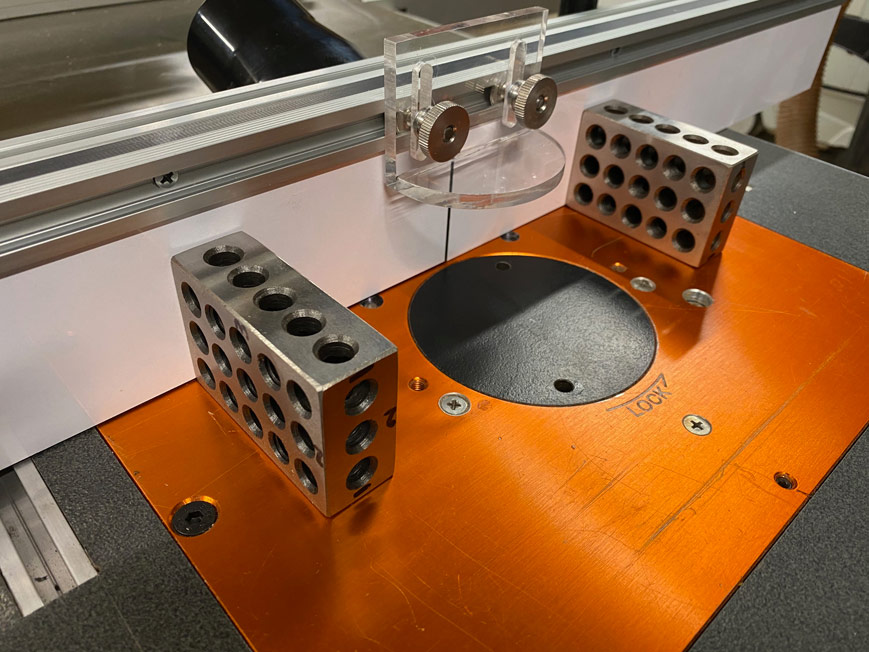
I have yet to add the micro-adjuster. This will attach with a switchable magnet ...
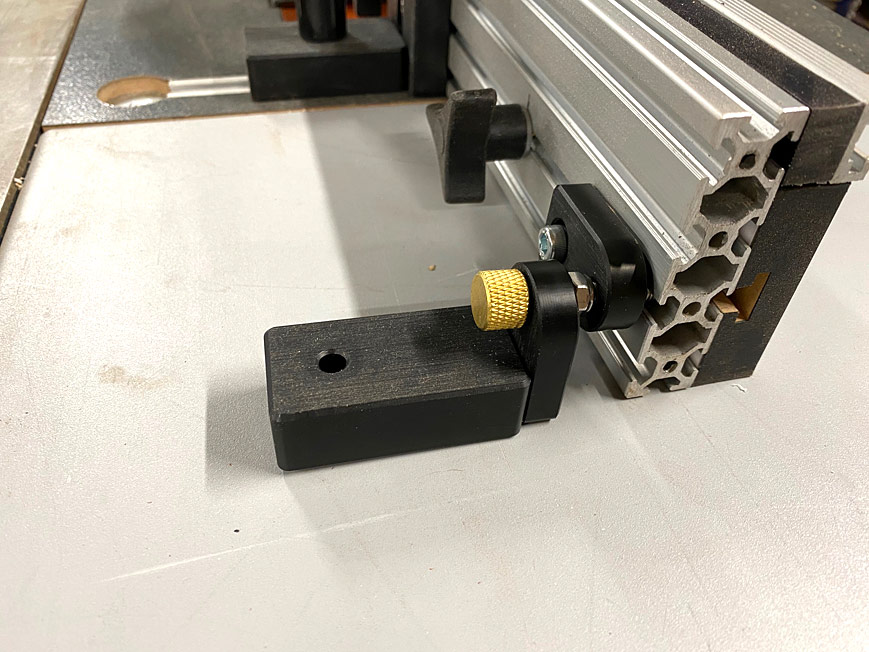
Frankly, the tap-tap of a mallet or hand works just as well.
Regards from Perth
Derek
This is a very full-on set up. What is relevant is that it did not cost much (don't include the cost of the JessEm guides, which are excellent but a little luxury). It is difficult to total, as some parts, such as the aluminium insert plate, was purchased about 3 years ago, as was the Router Raizer lift, and the MuscleChuck router bit change.
The base for the router table was a laminated high pressure MDF kitchen bench off cut from a kitchen maker ...

This was build into the out feed of my Hammer K3 sliding table saw ...


These aluminium plates are excellent. After 3 years of hanging the heavy Elu 177e (predecessor of the DeWalt DW625) , there is no signs of any dipping. The surface remains flat, flat.
The Elu below, minus handles, with Router Raizer attached ...

The dust collection consists of below table collection from the router bit ...

... and then via the fence using the Festool Router Table hose system, and into a Festool CT 26E.
Above the plate, the MuscleChuck allows for changing bits and easy bit-holding. I built a handle for the Router Raizer from a cut-down socket wrench. This enable fast spinning as well as fine adjustments with the fence close by.

The heart of the fence is made for 8020 extruded aluminium (80mm high and 20mm wide). I comes in 1m lengths, and this fence is 600mm long.

Note that the slots of this extrusion use different T-bits ...

The only other part I bought in were the sub-fences, since these are phenolic-coated, and the dust port.

The subfences. Also note that the dust collection port in the mainfence was made with a 2 1/4" hole saw ...

The Jessem guides, and the bit guard I made ...


Made in two sections and superglued together ...

The rear of the fence, with the dust port, and sub-fence adjusters ...

The reason for bolting on the dust port was not simply to make it possible to remove, but this enabled the T-track to be plugged ...

I built UHMW fence brackets, then replaced them with a set from Banggood ...

There is adjustment built into the brackets to ensure that the working side of the fence is square to the table ...

I have yet to add the micro-adjuster. This will attach with a switchable magnet ...

Frankly, the tap-tap of a mallet or hand works just as well.
Regards from Perth
Derek


