Rocking Horse build-WIP-FINISHED.

UKworkshop.co.uk

Help Support UKworkshop.co.uk:

This site may earn a commission from merchant affiliate links, including eBay, Amazon, and others.

Paul.J

Established Member
Joined
27 Sep 2006
Messages
5,754
Reaction score
1
Location
Birmingham/England.
Started making my latest Rocking Horse this week.It's been about 4 years since i made my last,strange how you forget things when they are not done on a regular basis.
Had the timber delivered from Whitmores who were very helpful,and will use again if needed.
Timber is 3" thick Tulipwood for the main body,and 1-1/2"Beech for the legs.All will have to planed down to size,with some re-sawing of the Tulipwood for some of the body parts.
I'm afraid it looks as though there will be lots of piccys so i hope you don't get too bored with it,as it will probably go on for a few weeks.So here goes :roll:

Click on images
This is the timber.
The Tulip was originaly a 13'x12"x3"piece but i had it cut in half.
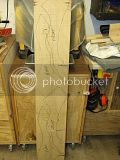
Then i marked all the body parts out and cut this into smaller more manageable sizes.
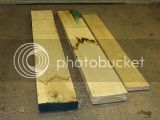

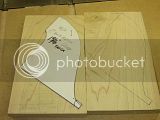
This is the Tulip planed and been marked out ready for cuttting on the bandsaw.
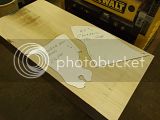

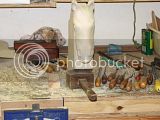
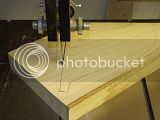
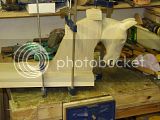
Head been cut out.
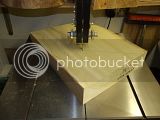

Then i cut a 10 degree angle on the back of the head to give the effect of the head been pulled to one side.
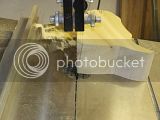

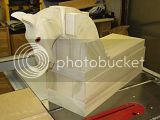
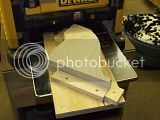
Set the 12" sander to 10 degrees to get a nice flat surface.
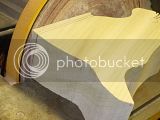

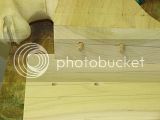
Then i drilled 2 10mm dowel holes in the middle.
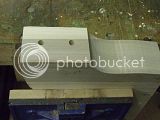

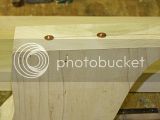
Placed the dowel markers in the holes.
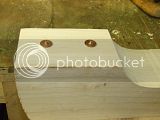

Then placed head centrally on the neck to mark the corresponding holes,which are then drilled out.
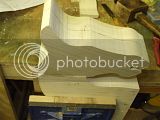

Put plenty of glue in holes and on surface.
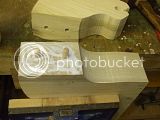

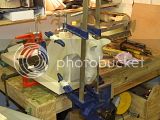
Then clamped the head to the neck,after checking first that i had a good join.
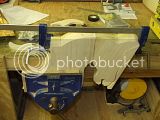

Then marked out the ears on an off cut.
The ears are 12mm thick so they were cut on the bandsaw to thickness.
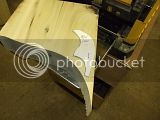

Then the ears were also glued and clamped in position.
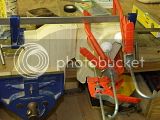

The head as now dried and i have been carving it,i will post piccys of this tomorrow.Looking good so far :shock:
 
Thanks for taking the time to do this post,Paul - have been fascinated by the construction of them since I first saw your earlier (very excellent) finished ones.
Looking forward to following the rest of it.

Andrew
 
Paul

I'm really looking forward to this project - i've been thinking about making one for my daughter for the last few months. So keep the pics coming.....

Cheers

Karl
 
Keep it coming Paul. I've fancied making one of these for ages but was totally intimidated by the ones you posted in an earlier thread.
 
Thanks for the comments :D
I will try and keep the piccys coming but as proved in the past with these wips,i seem to get carried away with what i'm doing and forget to take the pictures,but i will try and do my best with this one :roll:

Waka wrote
how long did it take you to get to this point?
I have just spent a few hours a day this week on it to this point.
I need to plane down the rest of the body parts and the legs.
But at the moment i am just concentrating on getting the head right.
Will post piccys of head later on.
 
Right as promised here are the photos of the head at the carving stages.
Started carving Wednesday,again just doing a little at a time and checking all the time that all looked o.k.
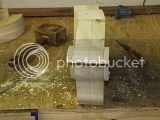
After unclamping mark a center line all round the head,mark in where the eyes will go,and drill a 20mm recess about 6mm deep using a spade end drill,the point will give you a reference point for the center of the eye, making sure you keep them parallel.
Using cardboard templates,mark in the nostrils,and the ears.
You will also need to mark in the jaw bone,this is done free hand following the full size drawing,if you use the drawings.
Clamp in vice,and to bench when needed and start carving taking your time.

This piccy shows the amount of angle the head will have when fixed to the main body.


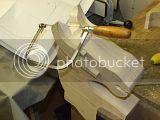
Take as much waste out from the ears by using a coping saw.


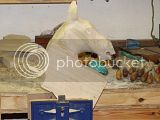
This is the head after a few hours carving and rasping.
Blend the ears parts into the face and create it's eye brows.
You will soon start to see how much you need to take off as you carve away.


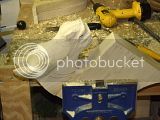
Starting to sand the gouge and rasp marks out.


Not far off finishing now.Just need to refine some of the detail round the mouth,nostrils and ears.


That's me now upto date for this week.Will post the prgress next weekend.
Forgot to say that this is a medium size horse :roll:
 
Like it so far Paul, the low key explanation belies a lot of hard work by the looks of it, hope the green machine is not pining.
 
Thanks Chas/Andrew.
Hopefully i should be starting on the body this week :D

CHJ wrote
hope the green machine is not pining.
Yes i'm afraid it is Chas,but i am still waiting for those support legs :roll:
So doing the horse now is taking me mind of it.
Though i will have 2 posts to turn for this project :D
 
Just a quick update on the horse,not that i've been able to do much to it in the last week or so.
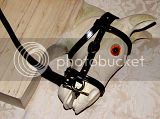
Ordered the accessory set for the horse,this includes all the leather and brass fittings needed,including real horse hair mane and tail,saddle,stirrups,swing irons and brackets,glass eyes,rosette,all the nails and pins needed,and the bridle which as you can see from the piccy i needed to make sure the Bit fitted correctly in the horses mouth.
Just had to take a little more off the mouth so the bit fitted nice.
Also put the eyes in,temporarily with Blu tac just to bring the face to life a little,and to make sure that they are also in line with each other.These will eventually be fixed in using a filler.
Now that the head is more or less finshed :D i can now concentrate on preparing the timber for the body.

I should also mention that all the card templates used for marking the parts out are from a full size drawing of the horse.

Bridle fitted on head.
 
Accessory kits sound much more comprehensive than I would have expected.
Looking better all the time :D

Andrew
 
While at Yandles I noticed a rocking horse very much lik the ones that you make there for sale at something like £1200. Checked the label but it wasn't your name on it :lol:

Pete
 
Thanks Paul :D

Bodrighy wrote
While at Yandles I noticed a rocking horse very much lik the ones that you make there for sale at something like £1200. Checked the label but it wasn't your name on it
If only :roll:
You will find that there are a lot of makers copying the same design Pete,me just been one of them :D
 
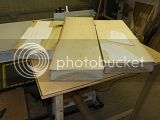
Had a good day yesterday getting all the main body parts planed up and cut to size,as you can see the timber was cut into smaller sized pieces,which were previously marked out with the card patterns.

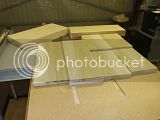
Here are the pieces part planed so i could mark out the parts needed and then were cut down to the minimum sizes,saved planing all the extra wood.


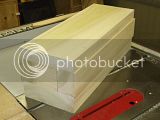
These are the finished thicknessed pieces.Sizes from 2-3/4" down to 1-3/4".The 1-3/4" pieces having been re-sawn on the table saw first then on the bandsaw.


Here are all the parts for the main body cut to size to form a box.
Lower body,upper body,body sides and ends.
The lower body will have to have angled recesses cut out at each corner to take the legs.I will show this when i come to it.


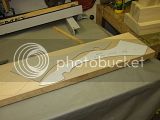
Here i am marking out the two larger neck muscles,note the arrow on the pattern to show which way for the grain to run.
There are two smaller ones to follow.


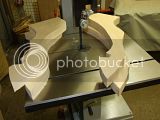
And the parts been cut out on the bandsaw,just leaving the mark line showing.The bottom of the neck pieces will be sanded flat for when it is all glued to the upper body part and the head.


As in this piccy,though this is just to show how it will look.


Now i can start gluing all the upper body parts togehter,starting with the head and neck been marked for two dowels,same way as the head and neck were glued together.This is fixed central on the upper body part so mark center lines on the on both pieces.


All four holes marked and drilled ready for gluing.


Head and neck clamped down onto the upper body part.


Today i hope to have all the parts glued together and then i can start getting the legs ready for fitting :D
Hope you like it so far.
 
Really galloping along nicely Paul, glad you are getting some shop time at last.
 
Things are going really well,i'm glad to say :shock: just get the feeling that it's going too well,if you know what i mean.
Had another good day.

Started off by making a jig for the neck muscle blocks to go through the thicknesser to get them nice and flat,after been re-sawn yesterday.
Don't worry i put Raffles,the spotty dog spark out in his w/s bed,out the shop when i started planing.It is a bit noisey for him:roll:

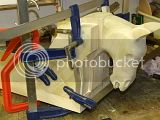
Then glued and clamped them on to the horses neck,after making sure they were flat on both sides.
Must get some decent clamps :roll:


So while that was drying i started on the legs.
Made sure i could get all four out before i started planing the Beech nice and flat.Planed it down to 1-1/4"


Re-marked them out again ready for cutting out on the Bandsaw.


And here are the four cut out.


Now the larger neck muscle was dry enough to put the second,smaller neck muscle on.


Also started on the lower body section which hold the four legs.
The front ones been angled at 5 degrees,and the back ones at 8 degrees.This is to splay the legs to give it good clearance of the stand,and for strength.
I managed to get the two front ones on the bandsaw,and one of the back ones,but had to cut into one of the back ones from the side and push it through to the outer edge,then i chiseled the rest out.If you see what i mean.
My bandsaw wouldn't tilt to the 8 degrees to the left.


So all in all it's looking good me thinks.I should get it all together next week all been well,and then i can start carving the body :D
 
Back
Top