Post a photo of the last thing you made

UKworkshop.co.uk

Help Support UKworkshop.co.uk:

This site may earn a commission from merchant affiliate links, including eBay, Amazon, and others.
Very comfortable when you're sat down...but tricky for anyone over 40 to then stand up!

Can't agree with you there Custard
Today is my 73rd birthday; I have no problem getting up from the Adi chair
It does look like a traditional deck-chair, but in use we find it easy :lol:

Roll on Summer :D :)
 
Cordy":3eb8b8ts said:
Can't agree with you there Custard
Today is my 73rd birthday; I have no problem getting up from the Adi chair
It does look like a traditional deck-chair, but in use we find it easy :lol:

Roll on Summer :D :)

More power to your elbow..or should that be more power to your knees!
 
Did I make this, or was it always inside the blank, so did I just extract it...?

axe_handle.jpg


( hickory-is-hard-t95081.html )

BugBear
 

Attachments

  • axe_handle.jpg
    axe_handle.jpg
    128.8 KB
"knocked" this up over the weekend - no skills required (not a joint in sight) and I was scavenging for scraps close to the end :) The plywood I had for this is terrible - mostly gaps and wafer!

publicpreview.php
 
First ever thing i have made, took me ages and made lots of mistake along the way. All done with hand tools, used a lot more wood that was required for it and made so much shaving trying to square the pieces that i could probably made another box out of them :roll:

Still proud of myself and the end result, not perfect but for someone learning as i go along. Wanted to do a dovetail joint for the sides but failed, so tried a mitre and again couldn't get a proper 45 degree (need to make a mitre shooting board). So ended up with a butt joint and as i was going to glue the bottom i knew it would be strong enough for a box.

Wood is Sapele and Maple, from Chrispy big piles of off cuts :wink:

Oli
 

Attachments

  • IMG_20151104_012728a.jpg
    IMG_20151104_012728a.jpg
    189.8 KB
  • IMG_20151104_012756a.jpg
    IMG_20151104_012756a.jpg
    206.1 KB
That doesn't look half bad, especially for a first go! I like the double chamfer on the lid and base.
You may have issues with wood movement and separating joints due to changing humidity, but as with the rest of the build [as you describe it] it's been a very productive and impressive learning experience.
I hope you post piccies of your next one!
 
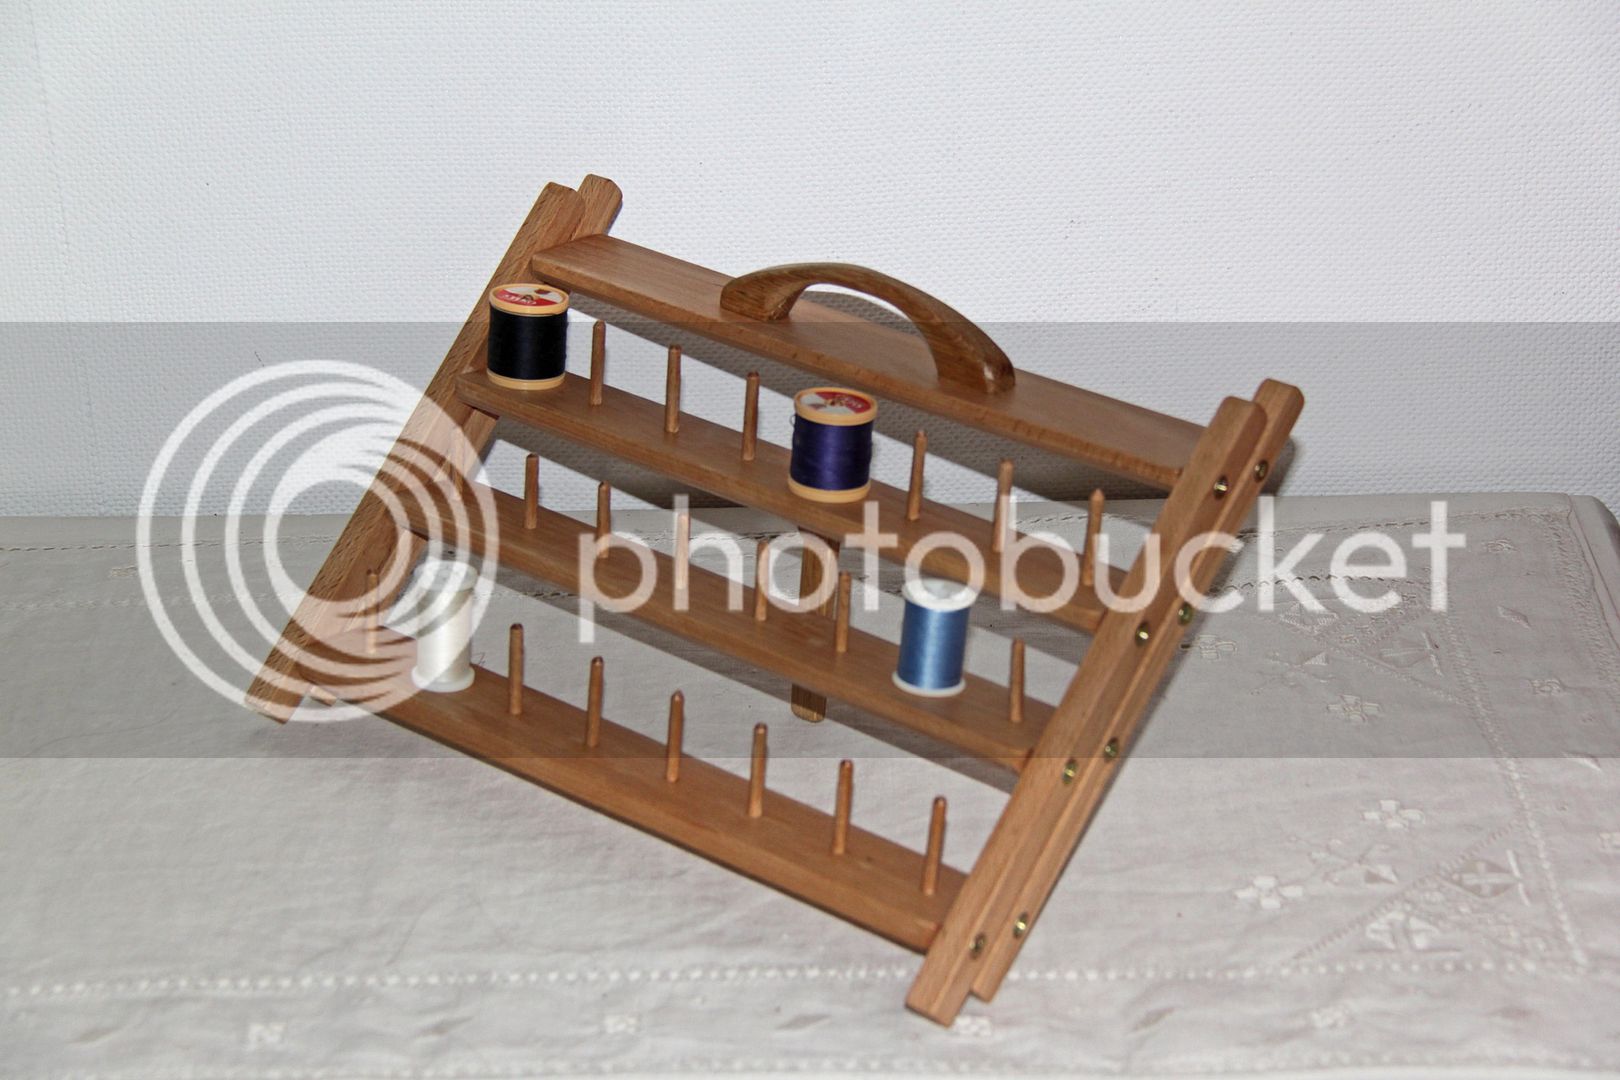
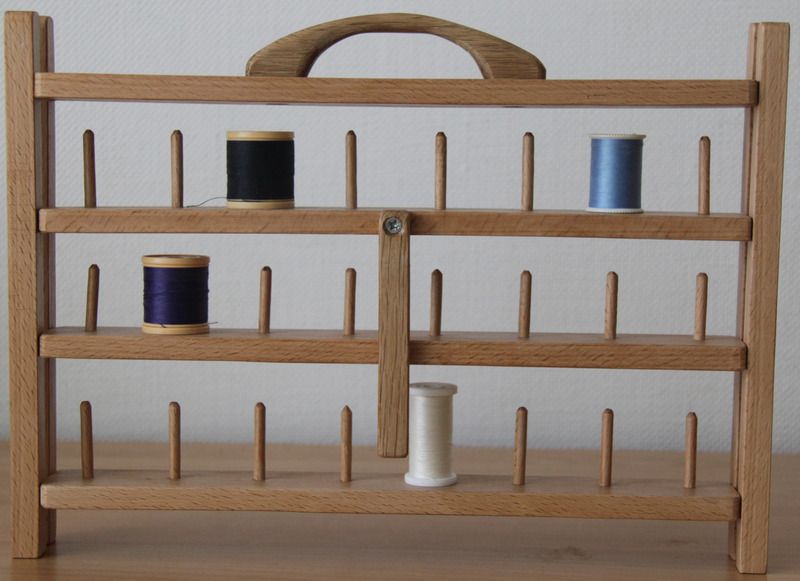
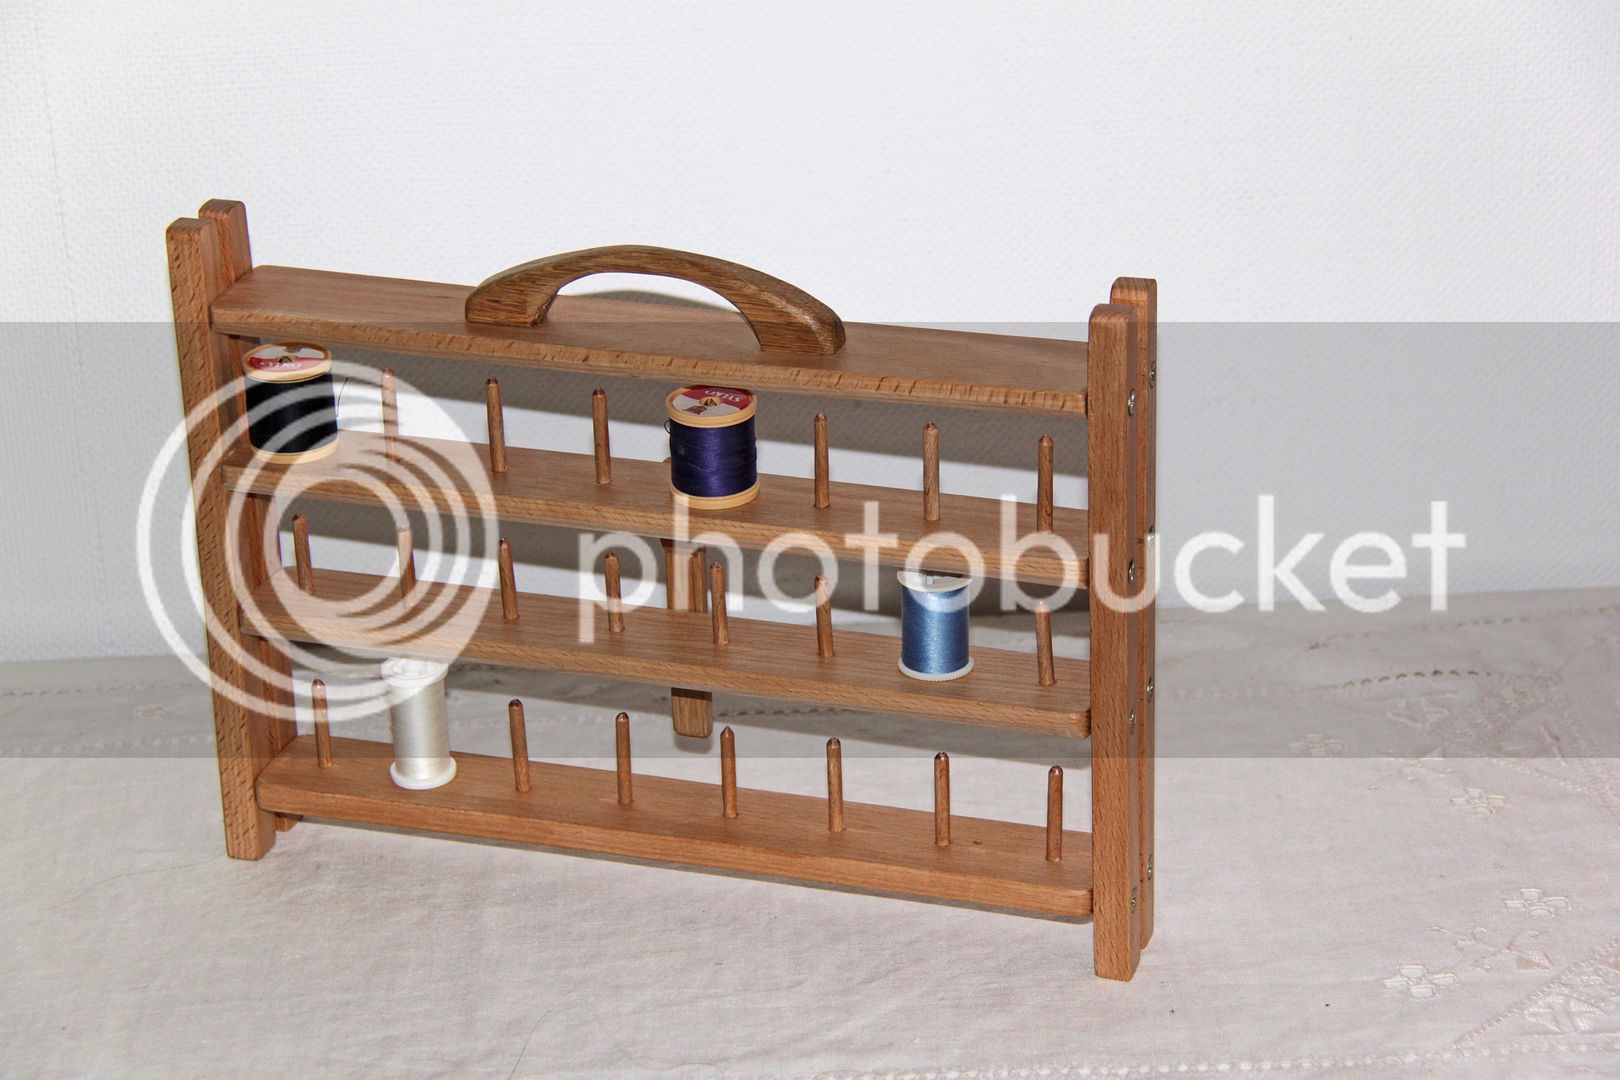
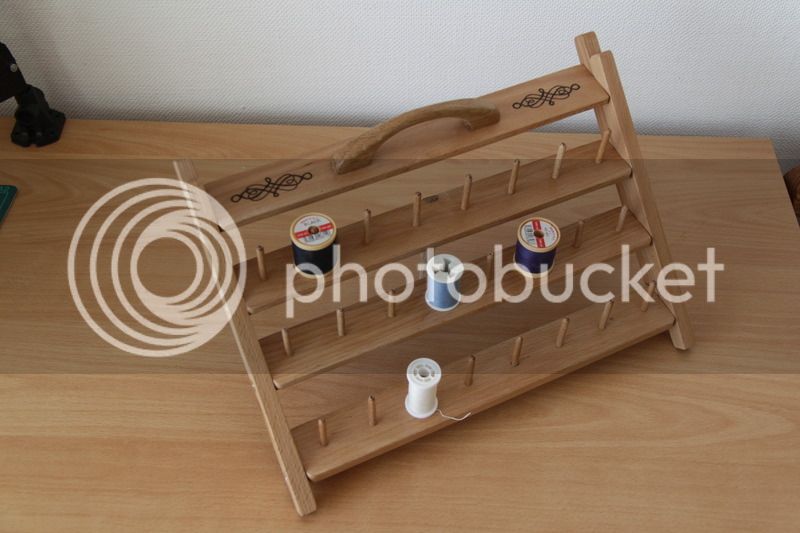
That bobbin rack is brilliant, might have to make one for my mum! love the folding away which holds them all in - really cunning!
 
:arrow: OM99. That's a cracking job, good contrast =D> . Mistakes are just a by-product of practice, keep at it :D

:arrow: Jonzjob. I'm going to steal that design if you don't mind, I know a certain someone with a sewing box in a right mess :lol: Lovely job =D>
 
defsdoor":c2i1pfn3 said:
"knocked" this up over the weekend - no skills required (not a joint in sight) and I was scavenging for scraps close to the end :) The plywood I had for this is terrible - mostly gaps and wafer!

publicpreview.php


What are the black boxes in the rolling cabinet. I'm looking for some storege ideas.

Al
 
n0legs":g349zwmg said:
:arrow: OM99. That's a cracking job, good contrast =D> . Mistakes are just a by-product of practice, keep at it :D

:arrow: Jonzjob. I'm going to steal that design if you don't mind, I know a certain someone with a sewing box in a right mess :lol: Lovely job =D>

Steal it!! That's stealing and all I did was to 'borrow' it from a sewing magazine several years back to make for SWMBO's cousin :p :p

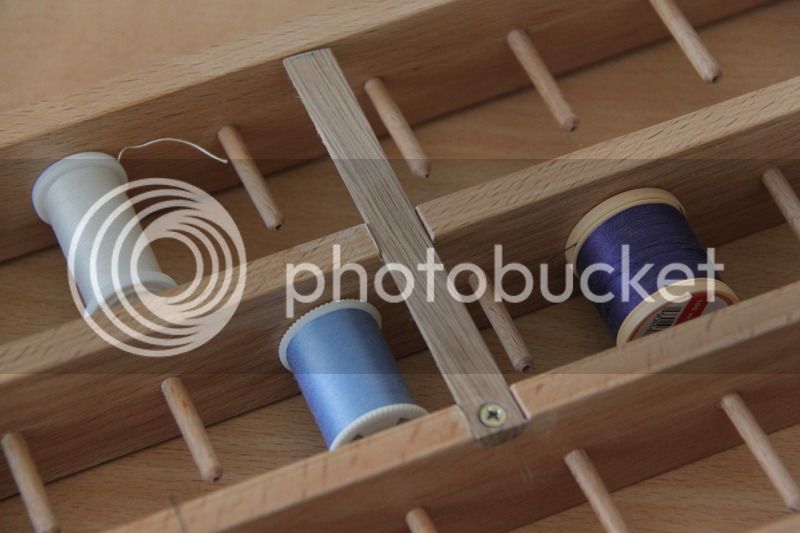
Be my guest Legless!! About the only thing to watch is to get the distance between the screw holes exactly the same for all levels and as I said, watch the height too. I recessed the stand leg at the back eventually. I double sided taped 2 strips of beech, 1/2 X 1/4" , turned to round, cut 1/2 a hole in the back of both middle levels and glued/screwed the stand into the higher one. That way, when it's laid flat it is all flush and doesn't rock on the leg. I also pyrographed a nice Celtic knot either side of the handle. I'll see about posting a photo of it. It really gives it an extra lift!!
 
Hi John,
You have given me the answer to one of my problems,how to store my fly tying threads,silks,flosses,ect,ect.I would have to have two rows of pegs per shelf.Could you please post a photo looking at it from the side??

Peter.
 
Peter, your wish is my command-ish :mrgreen: :mrgreen: Front and side as they say somewhere


Well, side and back actually??? The idea of putting 2 rows on a shelf is OK, but don't forget that the distance between the inner faces of the front and rear uprights defines the angle that the shelves will open up to. i.e., if the distance is more then the shelves will swivel further before the front/back uprights come together. Sorry, I am not putting this very clearly??

Do a small mock up, that's an 'm' not a 'c', and you will see what I mean. It's too late for me, especially after the AGM of our village Ancient Combattants, of which I am honoured to be a member :shock: :shock:
 
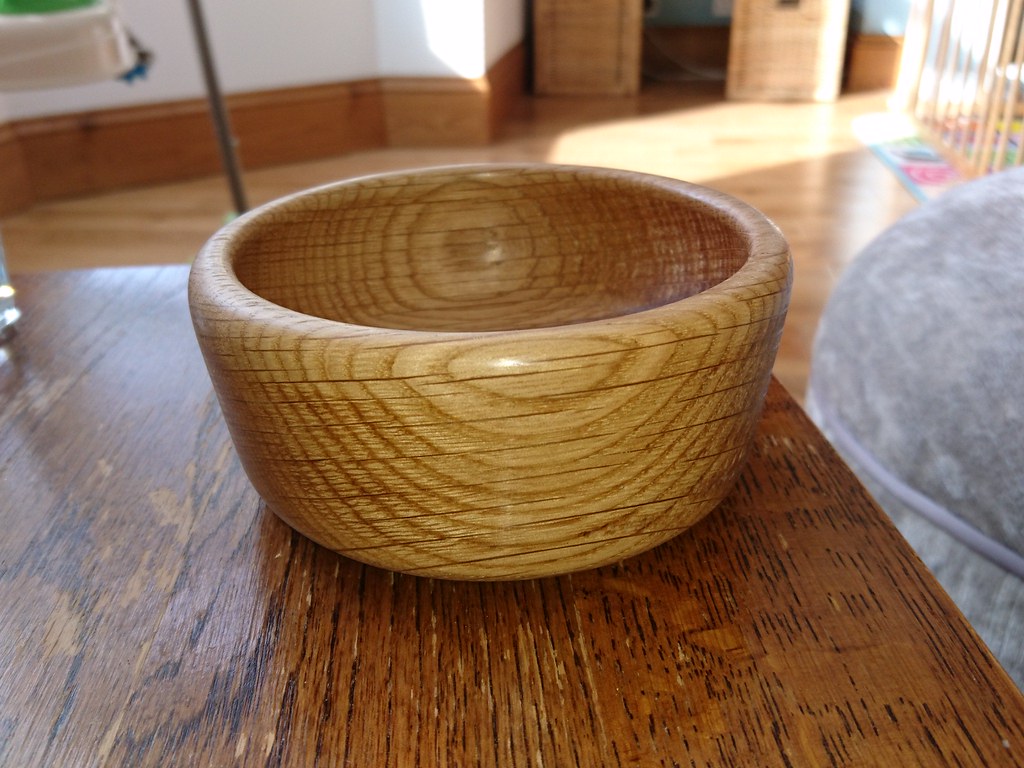
I picked up a Myford LM8 yesterday, today I tested it out by turning an off cut of oak from the kitchen door frame into a bowl:

2016-03-13_01-31-16 by Paul Rockliffe, on Flickr

I'm pretty pleased with it for a first attempt. I did **** up thinking the chuck was OK for a tenon, but it expands into a recess, so it ended up with screw holes in the bottom as I hollowed it out on a faceplate, but it was a good learning experience and you can't normally see the bottom.
 
I have been working on a wine rack for my sister. She wanted walnut and I have not worked with (much) solid wood before, so thought it would be a challenge. It had to fit in a specific space, hence the slightly odd shape. I think it turned out rather nicely after all.

WineRack_Finished.jpg


WineRack_Drawer_Side.jpg


WineRack_Drawer.jpg


It always amazes me how good dovetails look when finished nicely, even if they looked ropey as heck before hand!
 

Attachments

  • WineRack_Drawer.jpg
    WineRack_Drawer.jpg
    238.6 KB
  • WineRack_Drawer_Side.jpg
    WineRack_Drawer_Side.jpg
    219.7 KB
  • WineRack_Finished.jpg
    WineRack_Finished.jpg
    179.7 KB
Back
Top