You are using an out of date browser. It may not display this or other websites correctly.
You should upgrade or use an alternative browser.
You should upgrade or use an alternative browser.
Post a photo of the last thing you made
- Thread starter DTR
- Start date

Help Support UKworkshop.co.uk:
This site may earn a commission from merchant affiliate
links, including eBay, Amazon, and others.
frugal
Established Member
It has been a while since I have posted here (and by a while, I mean a few years). I have not been away from woodworking, just away from forums of any kind.
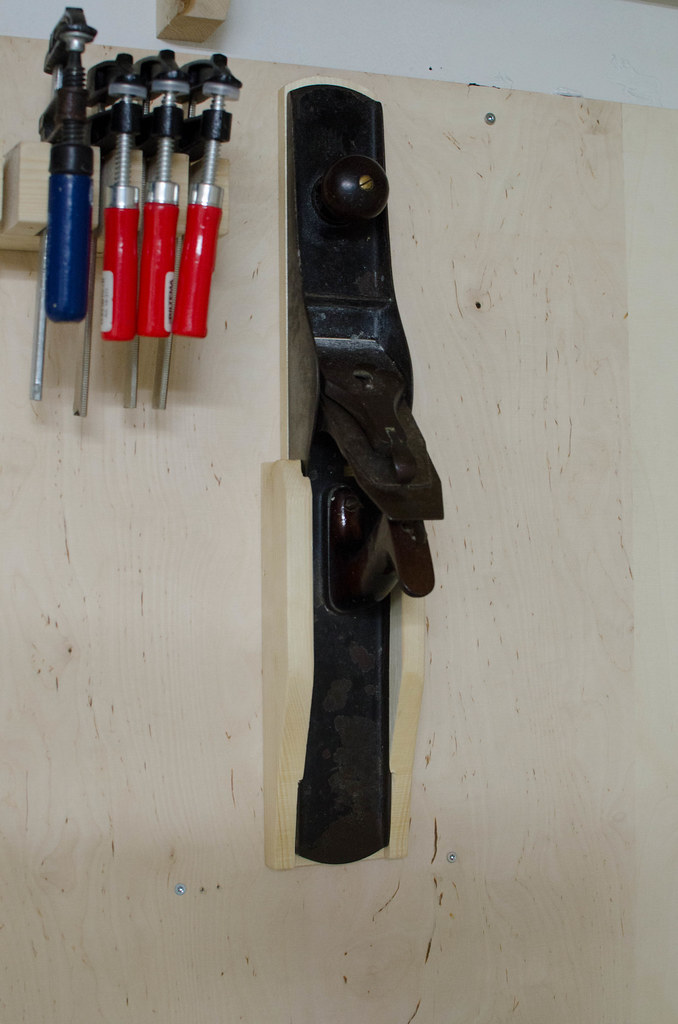
Anyway the most recent thing I have built was a new front knob for an old Stanley No.4. This was an old plane I picked up from an auction, or a car boot sale some years ago and put on the shelf to forget about. After watching Richard Maguire's latest video on cap irons and smoothing planes I figured I would break this old plane out and have a got at restoring it. The plane is a standard No4, but it had wooden tote and knob so it must be fairly old.
The tote was fine, but the varnish was flaking of; the blade had a little pitting, but was flat; the sole of the plane was dead flat. The only thing that needed replacing was the front knob as it had cracked and split up one side. I did a first attempt in beech to match the tote, but it did not go so well, so this second attempt was in Yew.
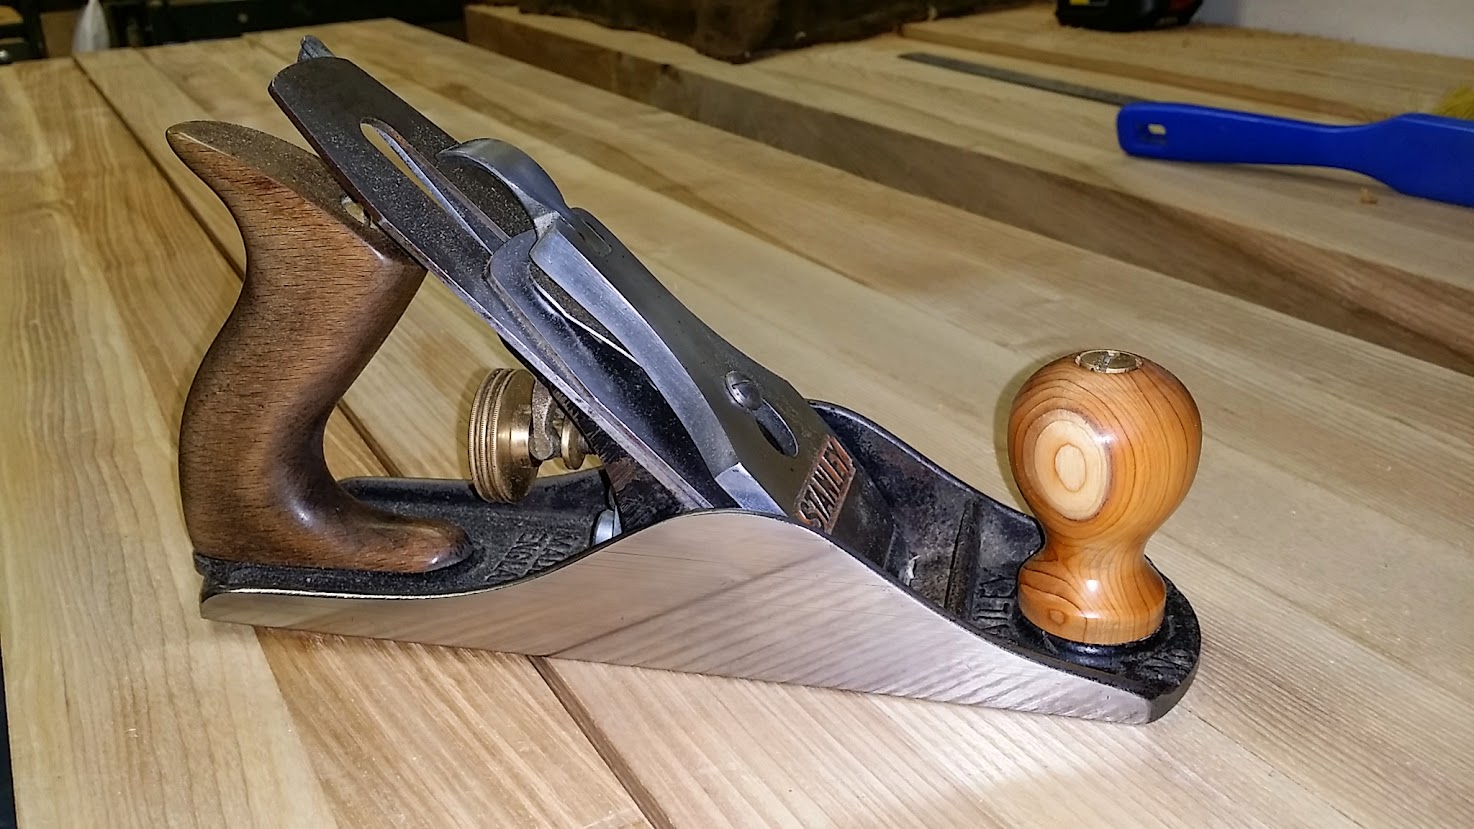
Yes I know that the hole in the top is too large. Unfortunately it needed an 11mm hole and my metric drill bits only go up to 10mm. So I picked the next size up imperial bit, which was half inch.
At some point I will need to make a new tote in yew to match as the current one wobbles from side to side a bit (the hole for the pin at the front of the tote is far too large). For the moment the rear tote just got the varnish sanded off and polished on with a variety of polishing compounds. Unfortunately whatever they used to stain the wood went quite deep so it looks too dark.
Anyway the most recent thing I have built was a new front knob for an old Stanley No.4. This was an old plane I picked up from an auction, or a car boot sale some years ago and put on the shelf to forget about. After watching Richard Maguire's latest video on cap irons and smoothing planes I figured I would break this old plane out and have a got at restoring it. The plane is a standard No4, but it had wooden tote and knob so it must be fairly old.
The tote was fine, but the varnish was flaking of; the blade had a little pitting, but was flat; the sole of the plane was dead flat. The only thing that needed replacing was the front knob as it had cracked and split up one side. I did a first attempt in beech to match the tote, but it did not go so well, so this second attempt was in Yew.

Yes I know that the hole in the top is too large. Unfortunately it needed an 11mm hole and my metric drill bits only go up to 10mm. So I picked the next size up imperial bit, which was half inch.
At some point I will need to make a new tote in yew to match as the current one wobbles from side to side a bit (the hole for the pin at the front of the tote is far too large). For the moment the rear tote just got the varnish sanded off and polished on with a variety of polishing compounds. Unfortunately whatever they used to stain the wood went quite deep so it looks too dark.
frugal
Established Member
Pete,
I think that the previous owner of the plane had tried something similar, except that they used wood glue. The results were less than successful as the glue did not stick to the enamelling at all and just made a mess of the bottom of the tote.
I think that the previous owner of the plane had tried something similar, except that they used wood glue. The results were less than successful as the glue did not stick to the enamelling at all and just made a mess of the bottom of the tote.
Penny
Established Member
It may not be the prettiest of workshops and workbench, but it works for me.
I've built a drop down 'flap' for my mitre-saw. In the up position the cutting surface is level with the workbench and allows a full scope of movement. In the down position the gap can be covered with a piece of workbench which I have fabricated from 3 pieces of plywood laminated together, thus extending the working surface.
Not highly technical, nor will it win any beauty prizes but it makes my life easier in the workshop.


Attachments
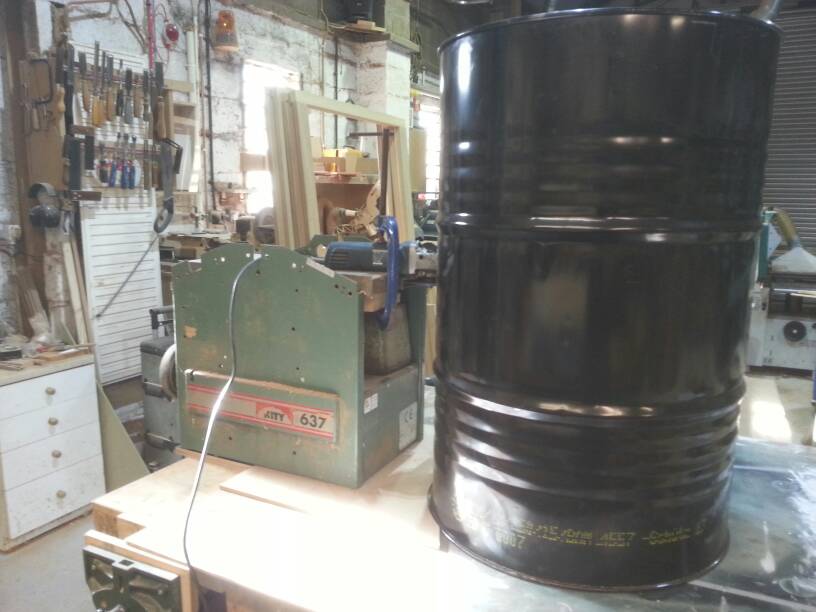
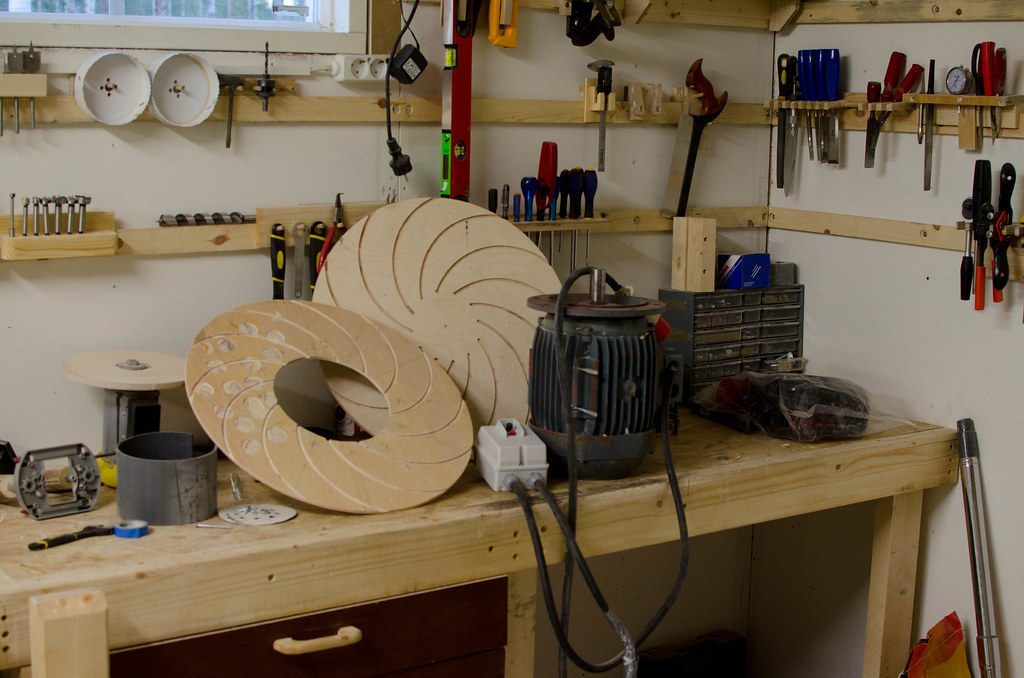
I made some components for an impeller build, which will become my dust collection system. And my workbench is way uglier than Pennys (which looks quite nice). OSB top, spilled some stain on it too. But it'll be easy to replace when it's worn out. All the little marks on the impeller are from balacing once side, I'll handle the other once I'm done with the vanes.


£13.99 (£2.80 / count)
VEVOX® FFP1 Dust Mask - Set of 5 - Valved Face Masks - Respirator - Protection e.g. for Construction, Building Work, Sanding, Woodworking, Fine Dusts, Aersoles or Particles
SLSK Ventures GmbH (UK)

£12.50 (£1.25 / count)
£14.45 (£1.44 / count)
JSP M632 FFP3moulded Disposable Dustmask (Box of 10) One Size suitable for Construction, DIY, Industrial, Sanding, dust protection 99 Percent particle filtration Conforms and Complies to EN 149
Amazon.co.uk

£17.99 (£1.80 / count)
£27.44 (£2.74 / count)
3M 8822 Disposable-fine dust mask FFP2 (10-pack)
Amazon.co.uk

£19.33 (£3.87 / count)
£19.99 (£4.00 / count)
Stealth Lite Pro FFP3 Face Masks UK Certified Dust Mask. 99.99% particle filtration, air filter reusable face mask. FFP3 Mask -7 day use per Construction, Woodworking, DIY and Welding Mask
Amazon.co.uk
monkeybiter
Established Member
Penny":17unxwmp said:I've built a drop down 'flap' for my mitre-saw. In the up position the cutting surface is level with the workbench and allows a full scope of movement. In the down position the gap can be covered with a piece of workbench which I have fabricated from 3 pieces of plywood laminated together, thus extending the working surface.
I think the most interesting workshops are full of ingenious solutions like that. Got any more?
paul-c
Established Member
monkeybiter":1ql7e8rb said:Penny":1ql7e8rb said:I've built a drop down 'flap' for my mitre-saw. In the up position the cutting surface is level with the workbench and allows a full scope of movement. In the down position the gap can be covered with a piece of workbench which I have fabricated from 3 pieces of plywood laminated together, thus extending the working surface.
I think the most interesting workshops are full of ingenious solutions like that. Got any more?
i totally agree with monkey biter about this
i would love to see some photos of your setup penny
and photos of other peoples solutions
cheers paul
Zeddedhed
Established Member
Last weekend I had an unexpected 8 hrs of undisturbed peace and quiet when SWIMBO took the little darlings out for some rowdy party or other at what can only be described as a large padded cell for adrenaline fuelled kids - sounds horrific to me. I was only too glad to be left alone in the workshop.
Anyway, the missus had been asking me for ages for a new bathroom cabinet so with Brownie points in mind this was produced:

The mirrors were done on the Monday (cost about £45) and lo SWIMBO did issue aforementioned brownie points in the form of a truly splendid chunk of prime dry aged rump steak from our local beef farmer. A fair trade methinks.
Anyway, the missus had been asking me for ages for a new bathroom cabinet so with Brownie points in mind this was produced:

The mirrors were done on the Monday (cost about £45) and lo SWIMBO did issue aforementioned brownie points in the form of a truly splendid chunk of prime dry aged rump steak from our local beef farmer. A fair trade methinks.
Attachments
Froggy
Established Member
Very nice. Just hope my missus doesn't see it, my list is long enough!!!
xy mosian
Established Member
Dang you're good at this sort of work. Well done.
xy
xy
Froggy
Established Member
I agree with XY you're very good at this.
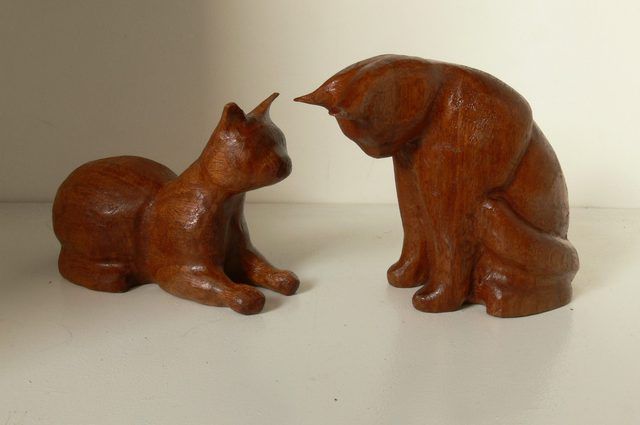
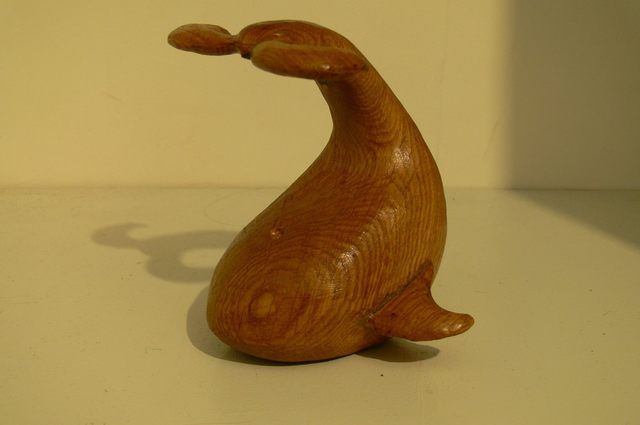
Thanks chaps. Wish my joinery skills were better though. I can't dovetail for toffee.
xy mosian
Established Member
Doris":4avsk662 said:Thanks chaps. Wish my joinery skills were better though. I can't dovetail for toffee.
Ah but you can see 3D curved surfaces, and their relationships.
xy
Froggy":3vr57duo said:I agree with XY you're very good at this.
I also agree :lol:
They are great Doris =D>
Thanks everyone 
There's more room for error here though than dovetailing :?
xy mosian":fprxw6h4 said:Doris":fprxw6h4 said:Thanks chaps. Wish my joinery skills were better though. I can't dovetail for toffee.
Ah but you can see 3D curved surfaces, and their relationships.
xy
There's more room for error here though than dovetailing :?
Froggy
Established Member
Doris":3pgboubd said:Thanks everyone
xy mosian":3pgboubd said:Doris":3pgboubd said:Thanks chaps. Wish my joinery skills were better though. I can't dovetail for toffee.
Ah but you can see 3D curved surfaces, and their relationships.
xy
There's more room for error here though than dovetailing :?
Dovetailing is something that can be learnt with practice and patience, what you have there is a natural talent =D>
Similar threads
- Replies
- 1K
- Views
- 106K
- Replies
- 7
- Views
- 2K
- Replies
- 44
- Views
- 5K


