Pine wardobes

UKworkshop.co.uk

Help Support UKworkshop.co.uk:

This site may earn a commission from merchant affiliate links, including eBay, Amazon, and others.

mailee

Established Member
Joined
26 Jun 2005
Messages
5,502
Reaction score
4
Location
grimsby Humberside
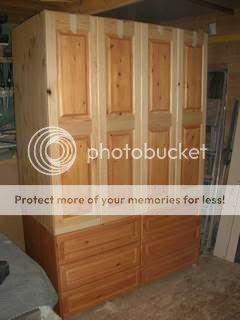
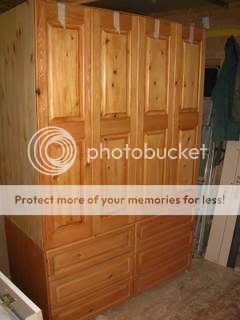
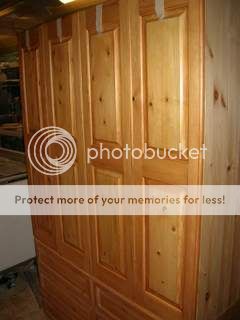
I have just started another project. This time it is a set of pine wardrobes which will eventually incorporate a computer desk and shelving.
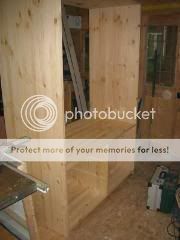
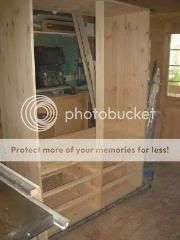
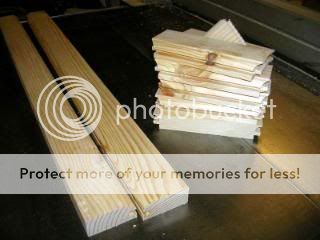
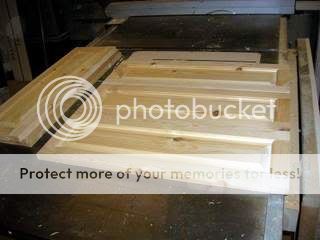
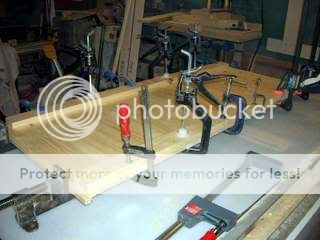
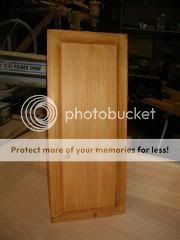
I started with Pine panels and cut the dados for the shelves.
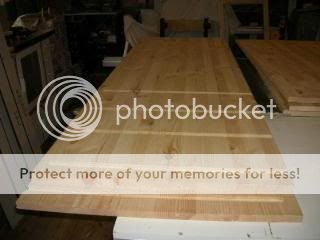
Apanelscut.jpg


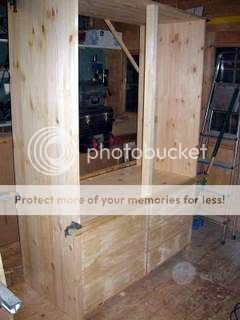
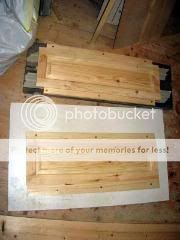
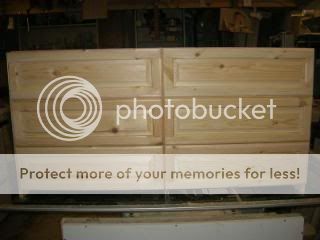
A dry fit to check my measurements.
CDryfit.jpg


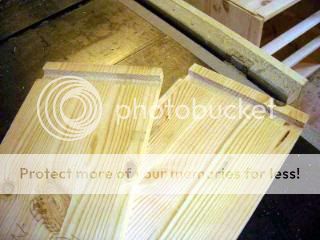
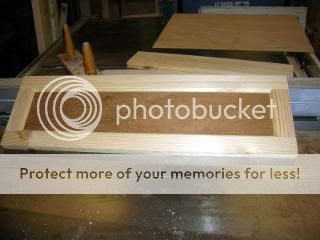
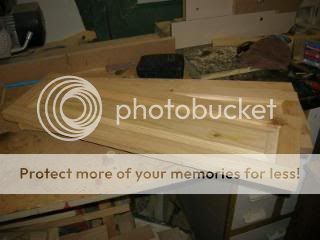
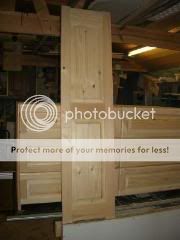
Then tested the fronts of the drawer frames to make sure they fit too.
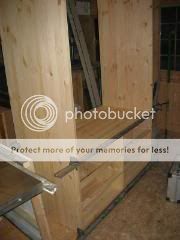
Dwithdrawerframefronts.jpg


Next I have to make the drawer frames which will house six lower drawers and above a four door robe. This is the first step and then it is on to the computer desk. I am making these modular so I can move them to site and complete the final assembly there.
 
Keep them coming - I'll be interested to see how it turns out.
 
Mailee,
I am also making some pine wardrobes and other bedroom furniture at the moment. If you don't mind me asking, what width are yours please and where did you get your wider pine panels from or did you joint them? I can only source 405mm width locally and so am having to joint them which is adding to the time, and to some extent the cost?

What finish do you intend to use? SWMBO wanted antique pine. First ones I did I used Liberon stain followed by Liberon clear wax. However with the next ones I have gone with Liberon Beeswax paste Polish, two coats with the second coat buffed using a drill mounted brush, a bit easier than the stain and less messy.

 
Well Mike the boards I use are from one of the local timber merchants, 'Bennetts' who I use for most of my wood. I get a good discount there as I buy from them a lot. The panels are 8' x 2' or the close metric equivalent which I think is about 605mm wide. Finish is going to be Antique Pine wax although I am not sure what make to use yet.
 
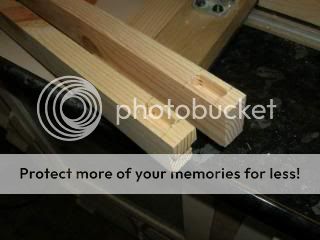
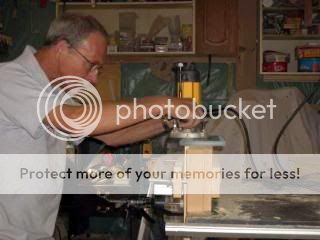
Had another good day today and started with the drawer frames. Here are some of the mortices cut on the router table.

Edrawerframesmorticed.jpg


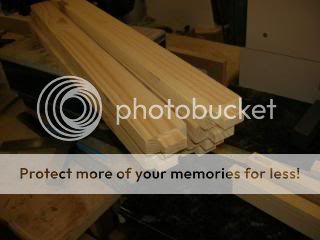
The Tennons were also cut on the table too.

Fdrawerrunnerstennoned.jpg


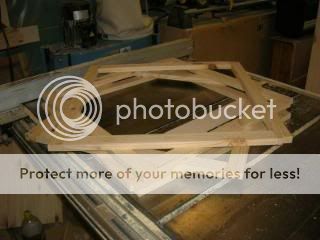
No this is not the Star of David just a pile of drawer frames waiting to be sanded.

Hfullset.jpg


I also got the centre stile for the doors fitted too. This is M&T'd into the upper and lower horizontals.

Jalmostreadyforglue.jpg


So far everything seems to fit togehter well in a dry fit so fingers crossed when it comes to glueing it all up. I shan't get much more done this week as I am on an odd shift at work, so it looks like it will be next weekend before I will see any more progress.
Guess I will have to dust off the dovetail jig and get that ready for the drawers next. :wink:
 
Well I have had to take a step backwards today as the wardrobe was too big to negotiate the stairs. I had to cut the wardrobe into two sections, upper and lower which houses the drawers. Well we all make mistakes don't we? :oops: I have just started work on the drawers and have finally put the drawer section in glue at last. I shall have more pics tomorrow when the drawers are finished. :wink:
 
mailee":1bcwkydk said:
Well I have had to take a step backwards today as the wardrobe was too big to negotiate the stairs. I had to cut the wardrobe into two sections, upper and lower which houses the drawers. Well we all make mistakes don't we? :oops:

I was just about to ask the question 'How are you going to get it up the stairs?' when I came to your last post!

In my former life as a pine furniture manufacturer I made hundreds of wardrobes and quickly learned that they've got to built in sections that can be assembled on site.

You won't make the same mistake again...


...hopefully! :lol:

Well done for owning up to it. There's many who wouldn't!

Looking good, though.

Cheers
Dan
 
Well after my set back I did manage to get some work done on the drawers.
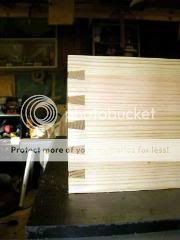
I cut and dovetailed the parts first.
Lcuttingpins.jpg

This took me a couple of hours and it was time for a cuppa after this lot.
Mallcomplete.jpg

I put a dado in the rear as I usually do, saves time.
Odadoscut.jpg

After cutting the slot for the ply bottoms I did a dry fit and it worked!
Ngoodfit.jpg

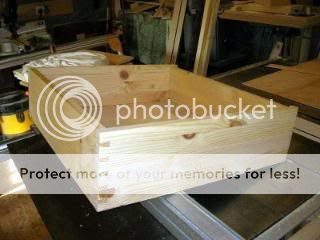
I then fitted the ply bottoms and finally glued them up.
Pdrawerboxcomplete.jpg

Then I concentrated on the drawer fronts and cut the parts for these on the router table.
Rdrawerfrontparts.jpg

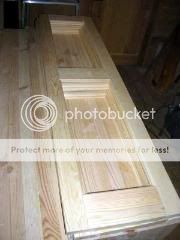
Then I cut a ply panel to the size of the final panel and did a dry fit with these too.
Stestfit.jpg
 
I finished the drawer fronts off today and just need to make the raised panels for them. I will have to make another rail for one of them as you might just be able to see in the bottom right of the photo, a piece split off the end just as I ran it through the router table! :roll:

Tdrawerfronts.jpg


I also got the top of the wardrobe assembled after having to dismember them.

Utopassembled.jpg


Tomorrow I should get started on the raised panels for the drawer fronts and also the doors if all goes well.
 
I didn't have a lot of time in the workshop today but did manage to get the raised panels made and fitted.

Vraisedpanelsinplace.jpg


Next job is to fit them to the drawers and then make the doors. :wink:
 
I have had a good couple of days and managed to get a lot done. I got all the drawer fronts in glue up.
Xdrawerfrontsinglueup.jpg


Then sanded once they were dry. They are now ready for a moulding running around the outer edge.
Ydrawerfrontsdry.jpg


I also
ran up the rails and stiles for the doors on the router table and did a dry fit on these.
Zdoorrailsstiles.jpg


I finished tonight by glueing up all the boards for the raised panels on the doors ready for tomorrow.
Zbboardsforraisedpanels-1.jpg


I shall then have plenty of sanding to do, not to mention fitting the drawer fronts to the drawer boxes. :wink:
 
Another good day today considering I had an interruption to build the gate. I started by fitting the drawer fronts to the drawer boxes first.
ZCdrawerfrontsfitted.jpg

These took a bit of lining up but I got there finally.
Then I cut the raised panels for the doors on the router table and had a dry fit of the first door.
ZDfirstdoorassembled.jpg


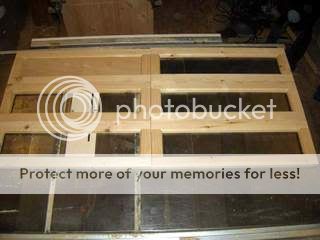
Happy that all was well I dry fitted the remainder of the doors to check everything before any glue is applied.
ZEalldoorsindryfit.jpg

I must remember to apply a finish to the raised panels this time BEFORE I glue them up! :oops:
 
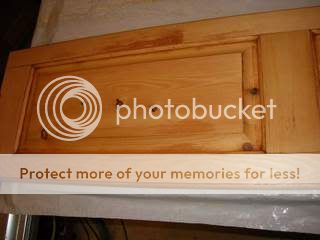
I have started to stain the panels for the doors and the drawer fronts but am having some problems at the moment. As can be seen the door panels are fine and have taken the stain well.
ZFpanelstained.jpg


I am sorry to say though that the drawer fronts are being more problematic as they have gone blotchy.
ZGdrawerfrontstained.jpg


At the moment I am stripping them and trying to re apply the sealer and stain as will be noted in the finishing advice section. I am keeping my fingers crossed to see what tomorrow will bring. :roll:
 
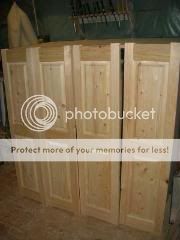
After having problems with the stain I finally got the doors assembled. I did a fit to make sure everything looked right before going any further.
ZHDoorsinplace.jpg


I hope to finish the stain on the doors next and get them hinged.
 
Those doors are looking great, Mailee. :)

Have you used a different finish for the panels and frames?
 
No Olly, it is just that the frames hadn't been stained yet. Problem is that now they are stained they have again gone patchy like the panels did! They don't look too bad in the first shot.
ZJdoorsstained.jpg


But unfortunately from another angle you can see the difference in the way the stain has taken.
ZKpatchystain.jpg

Looks like I will have some more sanding to do and some more staining to get this job right yet! :x
 
Things are going from bad to worse I am sorry to say. I stripped the doors once again and re applied the sealer and the stain again. This time the patchiness is even worse as you will see from the photo.
patchy.jpg

I am now starting to get annoyed with it as nothing seems to improve things. I am at a loss as to what to do next? Anyone any suggestions apart from cutting my wrists that is! :evil:
 
Back
Top