Painted Office and Cherry Wardrobes

UKworkshop.co.uk

Help Support UKworkshop.co.uk:

This site may earn a commission from merchant affiliate links, including eBay, Amazon, and others.

BradNaylor

Established Member
Joined
17 Oct 2007
Messages
2,311
Reaction score
2
Location
Turning MDF into gold in a northern town
In between sampling the delights of the local hostelries out in rural Cheshire, my mate Phil and I have been fitting the office and bedroom furniture we've been working on back at the workshop for the last couple of weeks.

We've been at it for three days and will get finished off in the morning.

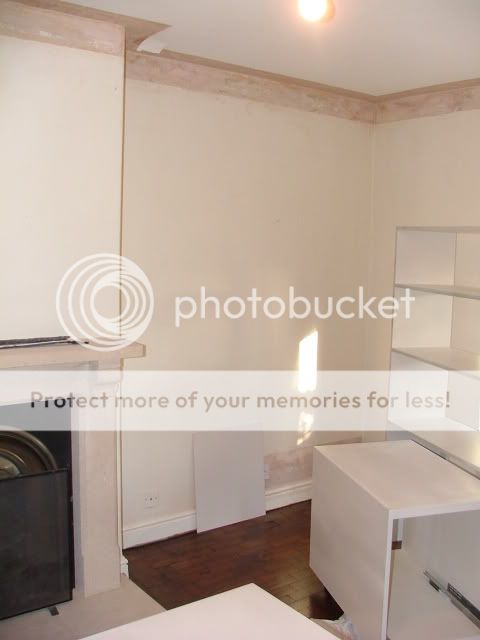
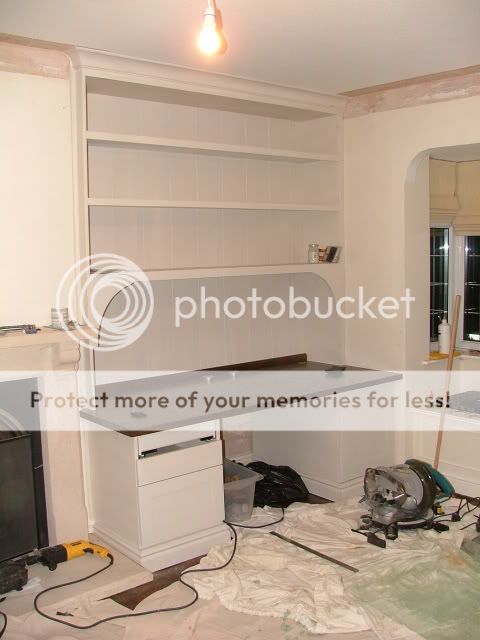
We started off with a couple of blank alcoves

SimonsOfficeBedroom002.jpg


SimonsOfficeBedroom003.jpg


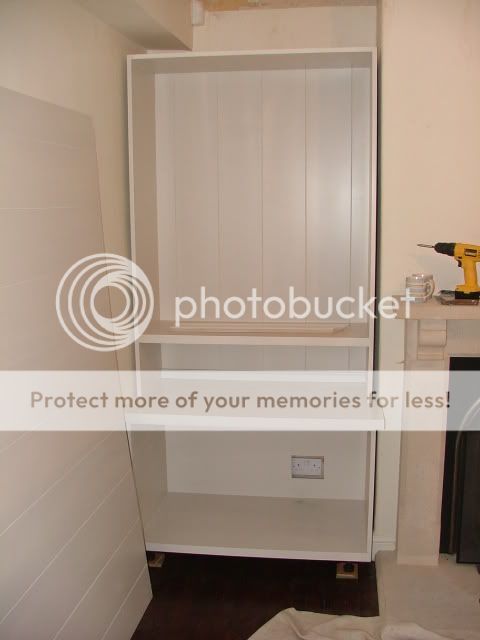
At the end of day one;

SimonsOfficeBedroom005.jpg


SimonsOfficeBedroom006.jpg


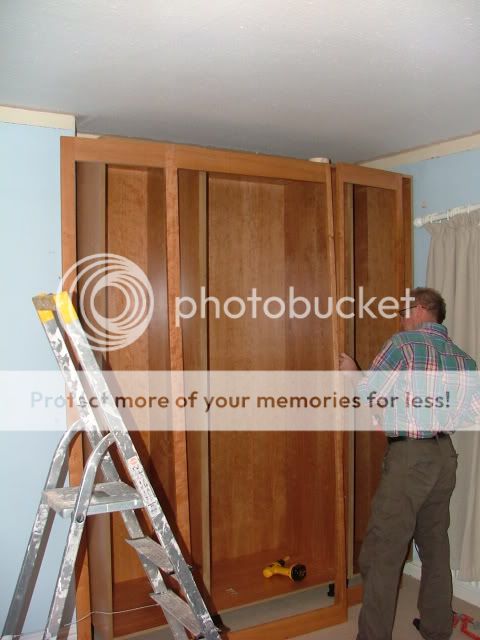
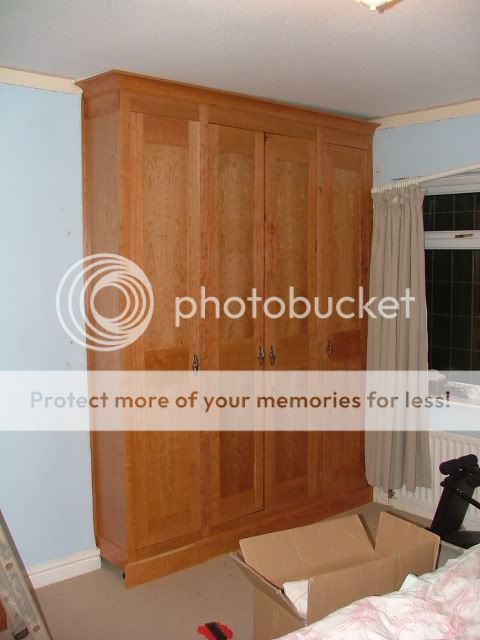
Meanwhile upstairs;

SimonsOfficeBedroom008.jpg


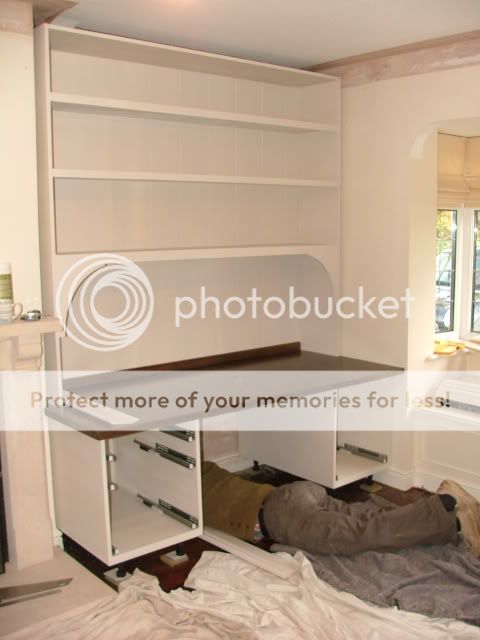
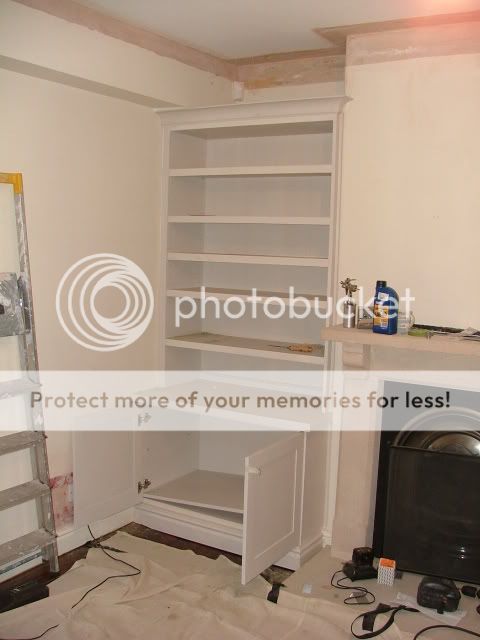
By the end of today, with time lost going in search of a new compressor following the death of my old faithful B&Q one after 6 years :cry: ;
SimonsOfficeBedroom015.jpg


SimonsOfficeBedroom014.jpg


SimonsOfficeBedroom010.jpg


SimonsOfficeBedroom011.jpg


SimonsOfficeBedroom012.jpg


It seems to have taken as long to fit these pippers as it did to make them, but ain't that always the way!

Nearly there, though...

Cheers
Dan
 
Very nice work,as always :D - particularly like the large alcove unit;the dark top helps break up what would otherwise be a vast expanse of white.

Andrew
 
The wardrobe is lovely, my Mrs likes it which may prove expensive - thanks a lot.

But I really think Frugal deserves a round of applause for the gag. :D :D

Cheers

Neil
 
Is it me or the ceiling is not parallel to the wardrobe cornice moulding?
If so, do you intend to fill the gap? how?
I've had a similar problem with a kitchen cabinet fitted too near to an uneven ceiling but ended up not trying to cover up the bad plastering job.
 
cerdeira":m2pkwd2v said:
Is it me or the ceiling is not parallel to the wardrobe cornice moulding?
If so, do you intend to fill the gap? how?
I've had a similar problem with a kitchen cabinet fitted too near to an uneven ceiling but ended up not trying to cover up the bad plastering job.

I'm not sure that curtain pole is level either... :roll: :D

Very nice job chaps.
 
Dan

Nice looking project, really like the cherry. I've nearly finished mine but after seeing yours I don't think I'll post the finished article.
 
Forgive me for being stupid....

But how did you fix these to the wall? I Imagine you maybe "packed" up the gap between the unit and wall and screwed. But how did you fix the fascia onto unit and wall?

BTW..... The job looks great! :wink:
 
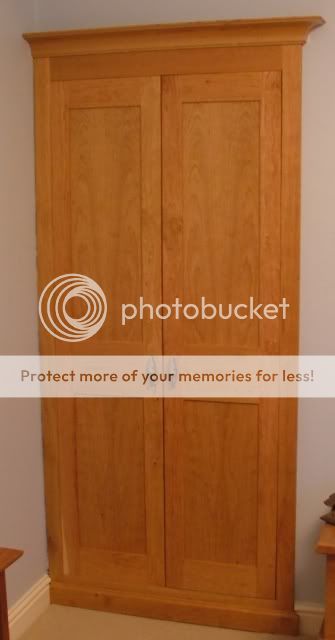
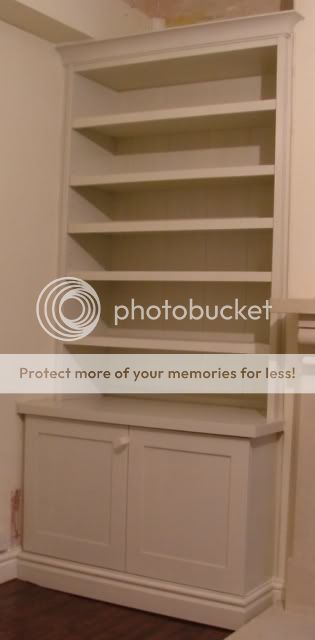
Well, here are the shots after finishing off and having a vac round and removing the body!

SimonsOfficeBedroom017.jpg


SimonsOfficeBedroom020.jpg


SimonsOfficeBedroom028.jpg


SimonsOfficeBedroom029.jpg


The client was absolutely delighted and his wife exstatic. She said it was 'the poshest stuff we've ever had!'

Always good for the morale, that kind of thing - particularly when the fitting has been a bit of a pig like here.

I'll try and answer you questions

Yes, there is a gap above the wardrobe cornice where the ceiling dips towards the middle of the room. I talked it though with the client and he was happy with it as it was. I agree.

Anything up to a 10mm or so gap I would consider 'caulkable' (a technical term!) but this was 25mm at the wall. I have in past scribed the cornice to the ceiling but if anything this can accentuate the problem rather than solve it by compromising the lines of the cornice.

The client has a plasterer and a decorator coming in so said he would get them to deal with it if he decides that it needs doing. I don't think he'll bother. It looked fine.


The left hand alcove unit doesn't reach the ceiling because of a beam running along the wall. I suggested that we build the right hand unit to the same height to match but the client was adamant that he wanted it like this. Hey ho.


We packed out the gaps between the units and the walls with fillets scribed to the walls. We then drilled a few discreet holes through the carcase and fillet into the wall, pushed though red rawlpugs, and screwed the units in place. This is our standard MO and it works a treat.

On the painted units the screw heads were filled and touched up; on the wardrobes they were concealed by a cherry strip that was added to pack out the difference between the carcass side and the inside of the face frame on to which were attached the hinge plates for the doors. These strips also conceal the pocket screws used to attach the face frame to the carcass.

Hope that's clear!

Cheers
Dan
 

Latest posts

Back
Top