Oak kitchen makeover

UKworkshop.co.uk

Help Support UKworkshop.co.uk:

This site may earn a commission from merchant affiliate links, including eBay, Amazon, and others.
Roy is no longer with us I am afraid. He used to own a tiny shop in Faversham that shifted to a site which then became Axminster before they moved to Bobbing. I think Roy died before it became Axminster.
 
After a few days entertaining the kids (well, it was half term after all) and then a couple of days getting over a sick bug the ungrateful little sh!ts gave me, I got a good day in on this yesterday.

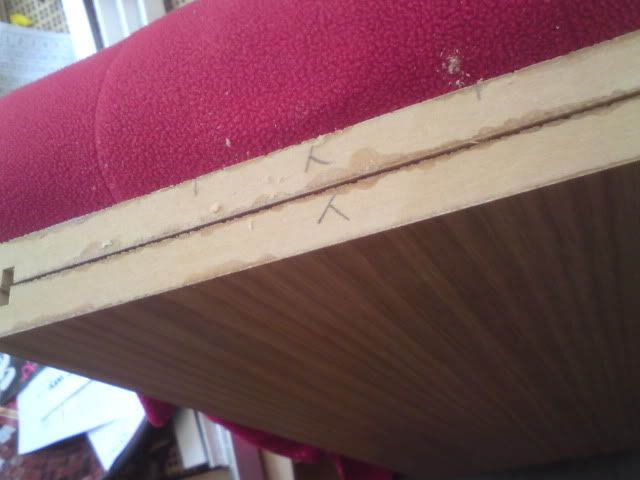
With all the parts cut to size and lacquered I needed to drill out the holes for the shelves. So, first off the sides were put into pairs and the top (T) marked on each - don't want to go drilling the pin holes from different ends now, do we!

DSC00096.jpg


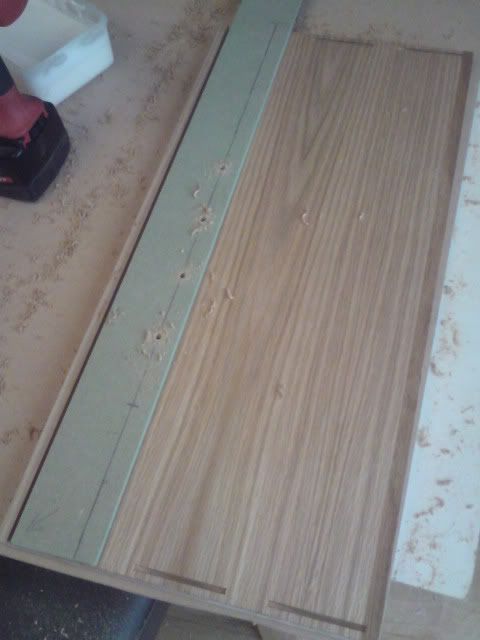
Then, using my hi tech drilling guide, the pin holes were marked out. You will note in this picture that the arrow on the guide points to the bottom and back of the panel

DSC00093.jpg


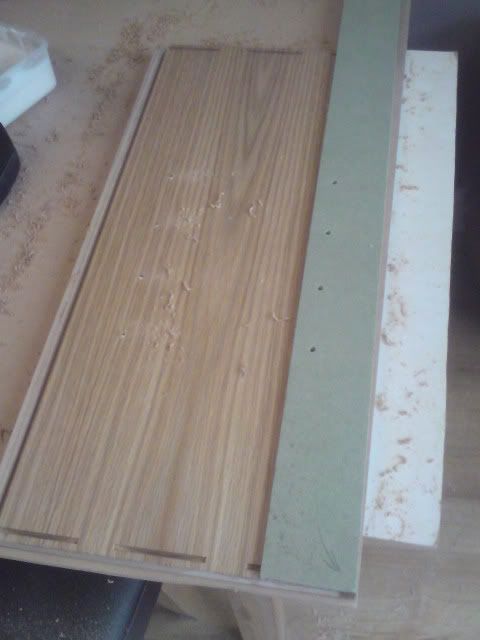
Flipping the guide over, you will note that the arrow now points to the bottom and front of the panel

DSC00094.jpg


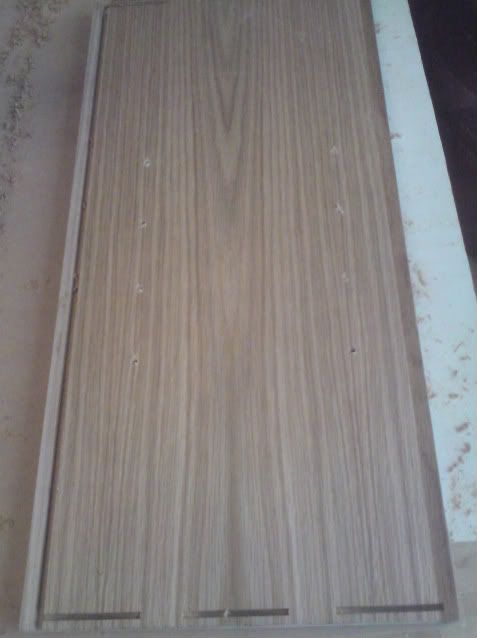
Hey presto - 4 rows of holes, all ligning up with each other

DSC00095.jpg


Sorry, that was probably a little more info than you needed to know, but what else can I show you when building MDF units :duno:

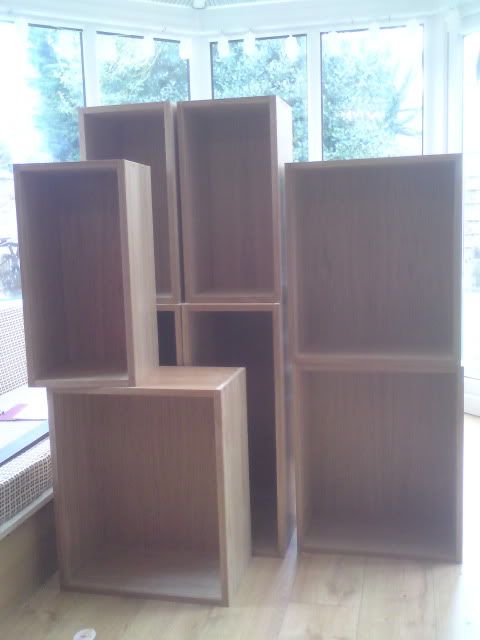
All units then biscuited, glued and screwed together. Sitting in the conservatory awaiting delivery to the customer this evening

DSC00099-2.jpg


I'm making a start on the doors tomorrow, so more progress then.

Yesterdays work - 10 hours, total to date 24 hours.
 
Time to make the drawer fronts.

After dropping the kids at school this morning, I got back and fired up some cast iron!

I had bought the oak PAR, thinking it'd save me a lot of time in prep work. Think again. They'd done a pretty cr@p job of prepping the timber, and there were all kinds of issues - it wasn't even all the same width/thickness.
:evil:

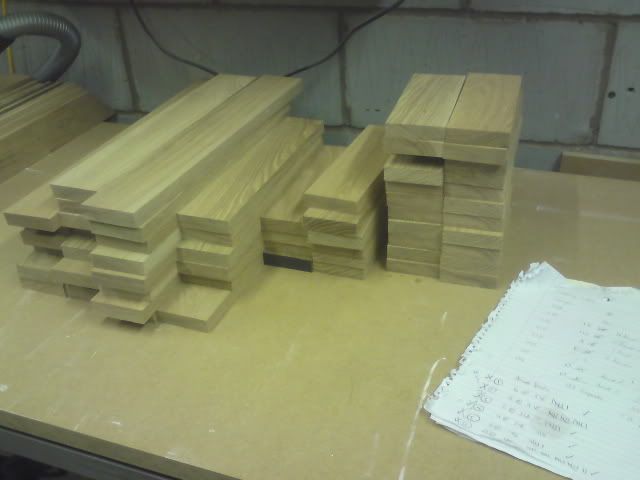
The only way to get maximum yield from the timber i'd bought was to chop it all into (slightly) oversized components, then put them all through the thicknesser individually. So I ended up with this set of pieces - uniform thickness and nice and flat.

DSC00106.jpg


I then took all the stiles - most of the drawer fronts are 180mm high, but 3 are 196mm.

DSC00107.jpg


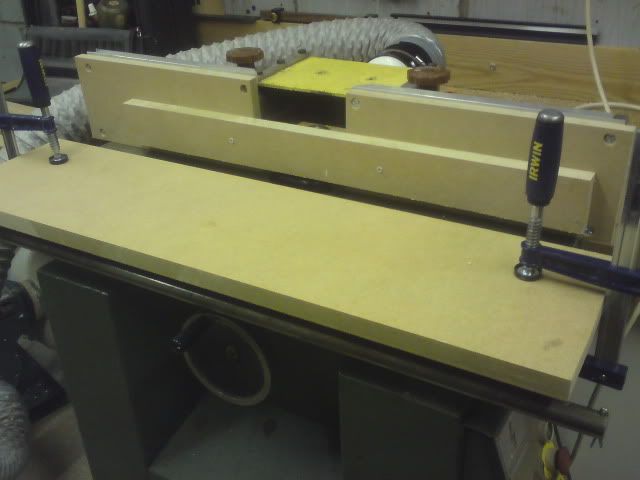
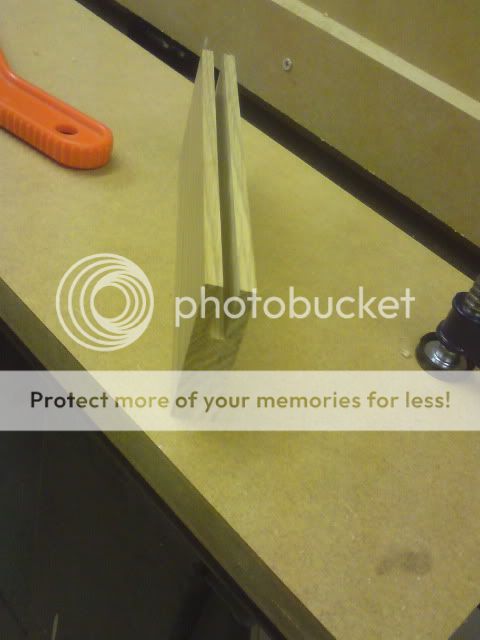
I set up the spindle moulder with the 6mm groover, and ran each of the stiles through once to get a 25mm deep groove running down the centre (ish).


DSC00108-1.jpg


DSC00109-1.jpg


I then did the same for all the rails, but reduced the depth of the groove to 10mm.

Last job for today was to change the width of the rails. They were the same as the stiles (at 70mm), but I think they will look better if they are slightly narrower - it'll allow more of the 6mm veneered board which will form the panel to be seen.

DSC00111-1.jpg


All pieces are slightly over length at the moment. Tomorrow they will be trimmed to the right size.

I now need to make a decision. I was going to join the rails to the stile with a tenon (into the 24mm groove already cut in the stiles). This could be done on the SM, or I could knock up a tennoning jig for use on the table saw.

Or ..........

I could trim the rails to net length and, using the sliding carriage on the SM, cut 24mm grooves in the ends of all the rails. The whole lot would then be glued together with 48mm wide 6mm thick splines.

I think i'm going to go for option 1, but haven't quite decided yet. What do you lot think (if you haven't all gone to sleep yet :lol: ).

5 hours today, 29 in total

Cheers

Karl
 
I agree with Ed.
Do them on the spindle with the slider using the rebate block.
Is your x/cut fence dead accurate at 90deg?
 
Yes, having looked at it again this evening, I am going to machine the mortices on the spindle moulder.

Trousers - the fence isn't 90 deg yet, but i'll set it up properly tomorrow. I've prepped some spare stock so that I can get the machine set up properly.

Cheers

Karl
 
Well, other jobs have got in the way of cracking on with this, but i'm back on with it now.

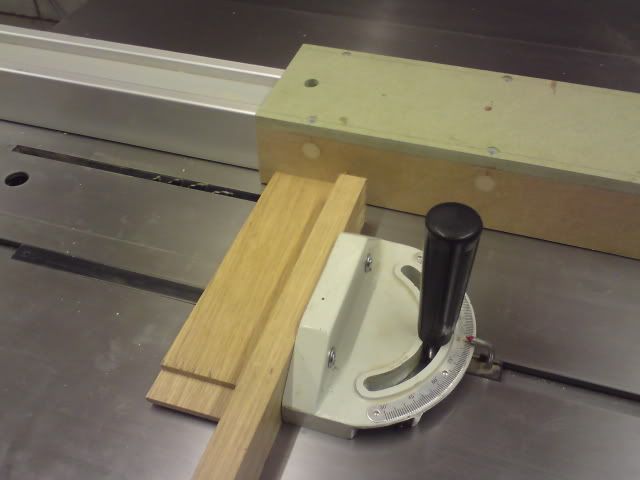
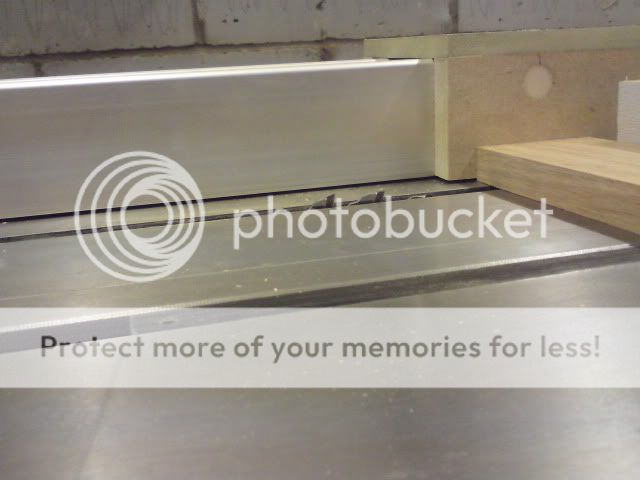
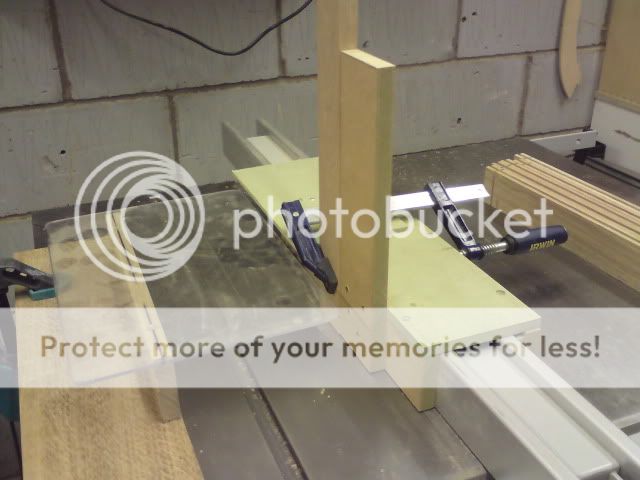
I decided not to cut the tenons on the SM, but on my new Xcalibur t/s. I set the mitre fence up with the short rip fence in order to cut the shoulders

DSC00182.jpg


DSC00183.jpg


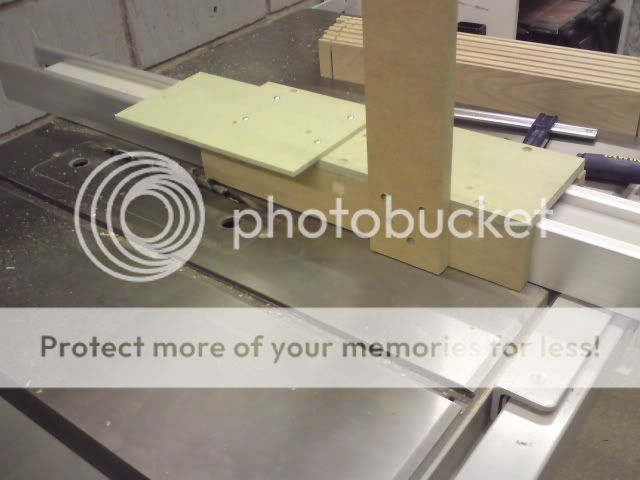
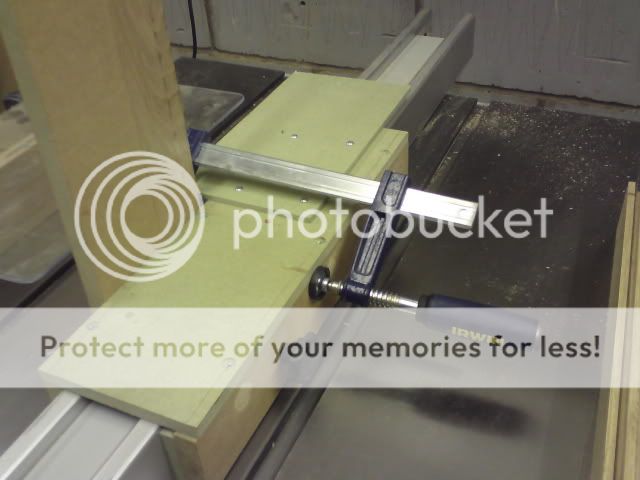
With all the shoulders cut I intended on making a dedicated tenoning jig (or, more precisely, Steve Maskery's Ultimate Tenoning Jig), but I decided that I would modify my short rip fence for the job. Worked out really well, though I will be building a dedicated jig soon.

DSC00184.jpg


DSC00185.jpg


DSC00186.jpg


The pieces are clamped to the rip fence, butted against the upright piece of MDF which keeps everything square.

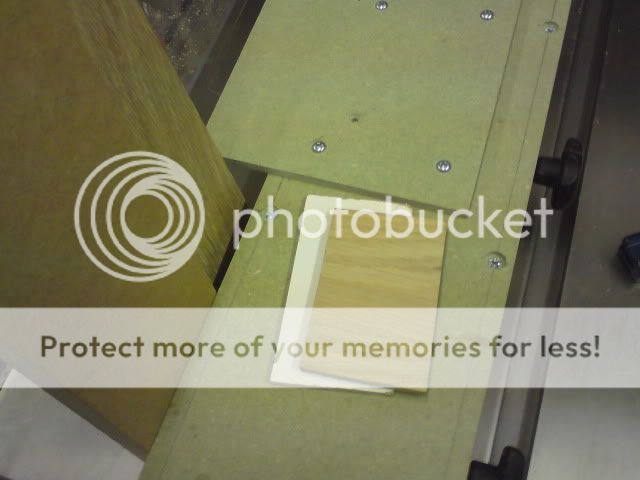
Once one all the cheeks are cut, a couple of spacers are placed behind the workpiece; one 6mm (the width of the panel) and one 3.2mm hardboard (the width of the kerf of the blade).

DSC00187.jpg


This removes the 2nd cheek, and means that the rip fence stays in the same position and no need for any change in settings.

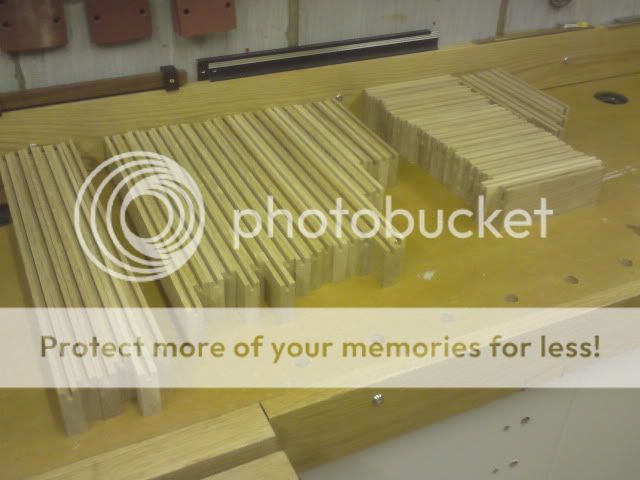
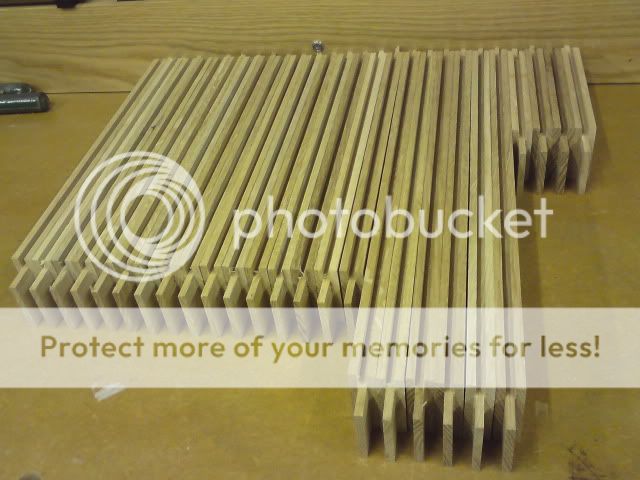
With all the cheeks cut, you end up with a pile of pieces with the tenons cut

DSC00189.jpg


Finally, all the pieces stored away for the night

DSC00191.jpg


The next couple of days will be spent making all the pieces for the doors, in the same manner as all these have been cut for the drawer fronts.

Thanks for looking.

Cheers

Karl
 
Quick update.

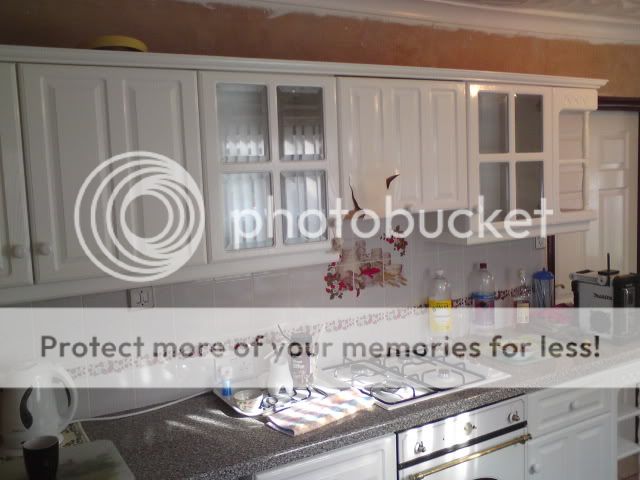
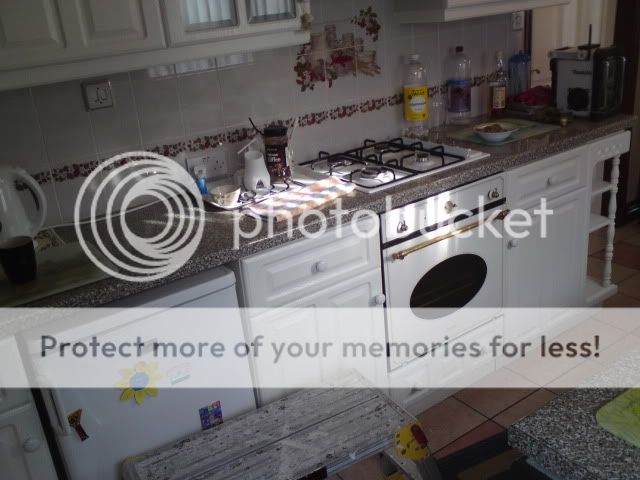
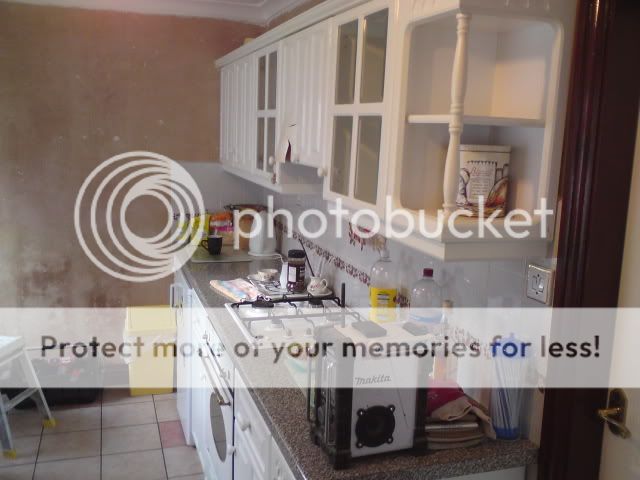
I've started fitting on site this week. Here's the kitchen at the start

DSC00203.jpg


DSC00204.jpg


DSC00205.jpg


DSC00208.jpg


DSC00209.jpg


This week i've got the replacement units fitted, end panels installed, new worktops, sink, hob, oven, integrated fridge etc.

Next week I am fully tiling (ie floor to ceiling). Then the doors and final trim are to be fitted after easter weekend.

I'll do a final shot once all's fitted.

Cheers

Karl[/img]
 
Karl,

Where did you buy that nice White Makita radio is anywhere doing good deals on them ?

Chris
 
Mark - you do realise that is the kitchen before i've started working on it???? :lol:

Chris - i've had the radio about 2 years now. It's got 2 aux inputs, so you can add an MP3 player easily. One of the inputs is inside the battery compartment, so you can also store a (small) MP3 player in there and close the cover. I paid about £80, but not sure if there are any deals on it at the mo.

Cheers

Karl
 
Karl":1u8eghld said:
Mark - you do realise that is the kitchen before i've started working on it???? :lol:

Chris - i've had the radio about 2 years now. It's got 2 aux inputs, so you can add an MP3 player easily. One of the inputs is inside the battery compartment, so you can also store a (small) MP3 player in there and close the cover. I paid about £80, but not sure if there are any deals on it at the mo.

Cheers

Karl

Come to think of it I asked once before when I saw it in another photo. I know about the mp3 thingies we have had them radios on site for years but Ive never bought my own thought it was about time I did :lol:
 
Hi guys

I am new to this forum but thought i would jump straight in with my tip.

Regards to lipping your MDF edges with oak, there is a much simpler way that requires no cramps whatsoever.

Masking tape, a good strong masking tape.

I used to work for a prestigious joinery company (I completed my apprenticeship there), we built cabinets for windsor castle and the V and A museum etc etc.

and our standard practice was to used masking tape on all lippings it was very effective, much quicker and therefore cheaper i guess.

Your WIP is looking brilliant so far, just looking at your pictures has given me the bug again (ive been doing site work for the last few years)

I hope my tip helps

Regards

Mark
 
Hi Mark, and welcome to the forum.

I heard somebody else mention masking tape for securing lippings, but only after i'd done the lippings on this job. Will definitely give it a go next time. What make would you recommend? What about duck tape? I guess that would leave too much residue behind.

Quick update for the thread - i'm well underway with the tiling, and, although not to my taste, the customer is well chuffed.

Cheers

Karl
 
Karl":29gkxd9u said:
although not to my taste, the customer is well chuffed.

Always a bummer isn't it? You do some really nice work then have it fcuked up by the customers' personal preferences. Hey ho, there'll be other jobs for the portfolio, lol ;)

Re. masking tape, I use it a lot for lipping, especially when I do chunky floating shelves in alcoves/fireplaces - fitted ten of those today, would never have got them all done them all if I had to use edge clamps! Don't know the make offhand - it's what my local decorators' merchant stocks but I can check tomorrow. Best to use one with a bit of stretch to the tape though.

Cheers, Pete.
 
Hi thanks for the welcome message

I do was doing some research on the net and came across this forum very very helpful and very friendly (it is isn't it?!)

I am in the throws of taking the plunge and setting my own small joinery business up on A very tight budget, if you know anyone who has a sliding table saw and spindle moulder available please let me know (must be 240v)

what are you using for feet?

Also there is a fantastic company out there called hafele for ironmongery etc etc, if they haven't got it, its not been invented.

Kind Regards

Mark
 
Back
Top