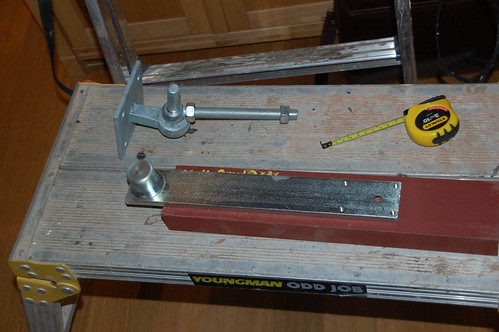
This weekend, I found some time to weld the shoe to the bottom hinge, the shoe is a 1 ½ foot long piece of U profile that will fit around the bottom joist of the gate
 DSC_2518
 by
mcluma, on Flickr
The hinge above is the wall plate which is going to be the top hinge
I will admit I am not the world’s best welder, but was not disappointed with the final result (of course I ran out of welding wire, and had to get some new one, (I just got a bit crazy and didn’t now I was using that much wire)
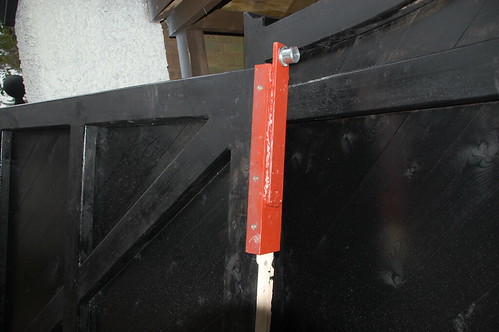
Below you see the shoe fitted to the bottom of the gate, 6 screws will hold the gate in the shoe, the bottom got painted before fitting
 DSC_2552
 by
mcluma, on Flickr
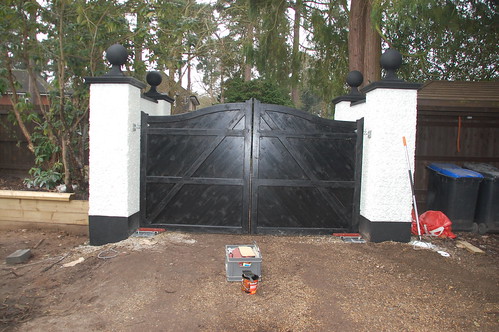
And here you see the final result of all the hard work, the gates are finally fitted
 DSC_2557
 by
mcluma, on Flickr
This is the back of the gate with only one coat of paint on
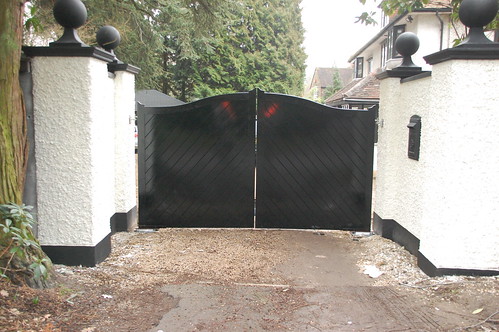
AND THE FRONT
 DSC_2566
 by
mcluma, on Flickr
Really happy with the final result, the opening between the gates is 12mm, i had calculated for 10mm, so all in all really happy
What remains to be done is:
Electrics / Intercom / lights / wooden gate styles / etc


