Not shooting straight!

UKworkshop.co.uk

Help Support UKworkshop.co.uk:

This site may earn a commission from merchant affiliate links, including eBay, Amazon, and others.
Thanks for all the replies. I am clearly still going up the learning curve. I have been out in the garage this evening and I think there is probably an accumulation of minor errors. Firstly using two squares it seems the two surfaces are not perfectly co-planar. The first photo with the squares on the same surface was to confirm they were square and the second photo on the different surfaces shows a little gap.

IMG_5992.jpeg

IMG_5991.jpeg

The gap is probably only 1.5mm at about 150mm from the lower surface, so not a lot but a bit.

Next I lay the No. 7 on its side along the board to see if it made even contact all the way along. Again there is a very slight gap I can see at one point, but it is not much.

IMG_5993.jpeg

IMG_5994.jpeg

I was trying to show it better in the second photo, but it doesn't really come out well because it is very small. Finally I looked at whether the side and bottom of the plane were perpendicular. It depends exactly where I look along the length of the plane. Much of it looks okay, at one point it is marginally out.
IMG_5995.jpeg

I don't think I will win any prizes for my photography, but I think this looks okay.

I think the conclusion I have reached is that the two surfaces of the board are not quite coplanar so I perhaps could look at shimming it with some tape. I need to then use the lever to ensure the blade is absolutely square. Most importantly I probably need to develop my technique about how I hold the plane and apply pressure to both the plane and the wood I am trying to shoot.

Thanks for all the advice. I now need to practice some more and see what results I get if I get a chance at the weekend.

Cheers,

Mark
 
I absolutely agree. I watched Cosman building a shooting board. He does this with a great deal of precision and care ... a lot of this is showmanship. Hell, I have used my bench top as a shooting board ....

OneStepBack_html_m15577872.jpg


... and the proof of the pudding ... the book matched joint was flawless ...

BackonTrack_html_d627785.jpg


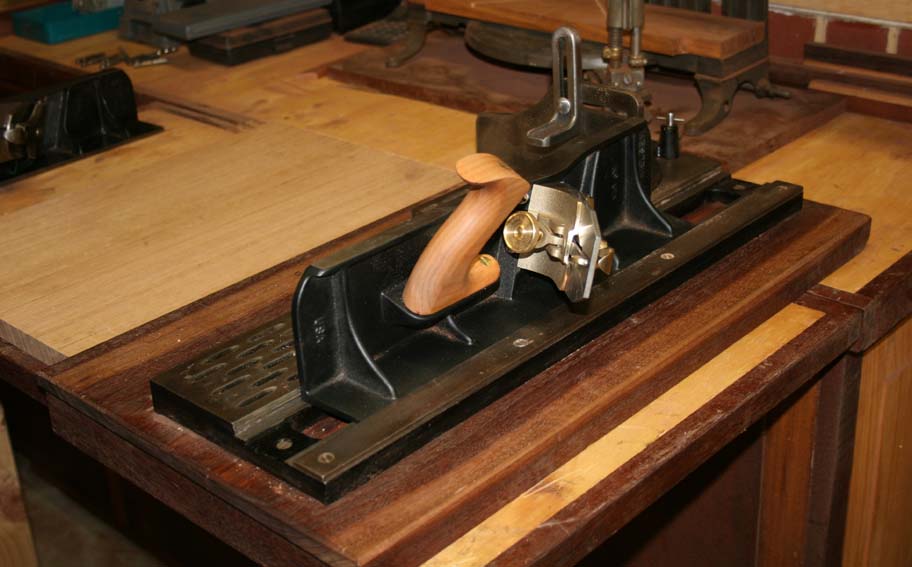
I have a number of shooting planes, and never checked one of them for square ... ever. These include a Veritas Shooting Plane, Stanley #51, LN #51, a wooden strike block plane, and Veritas LA Jack. I have no idea if they are square or not. But they all work perfectly.

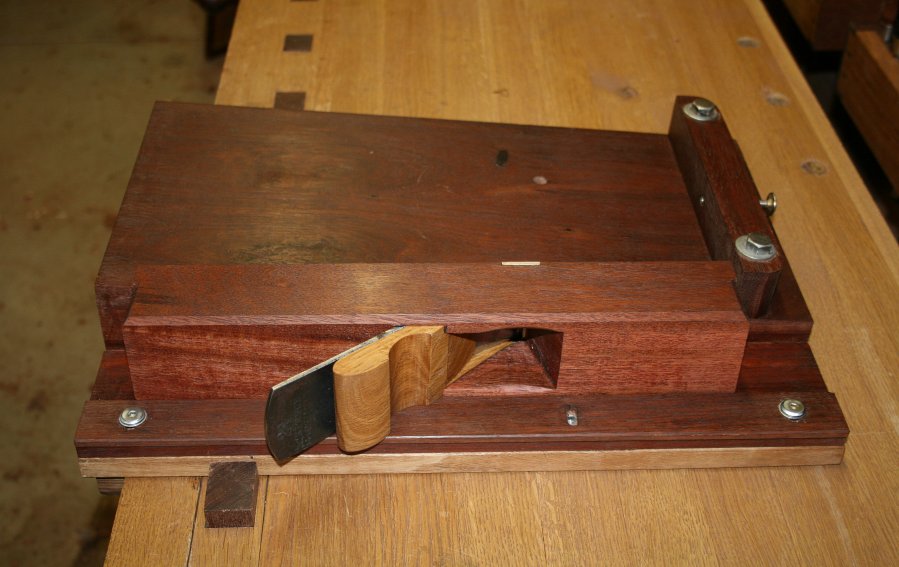
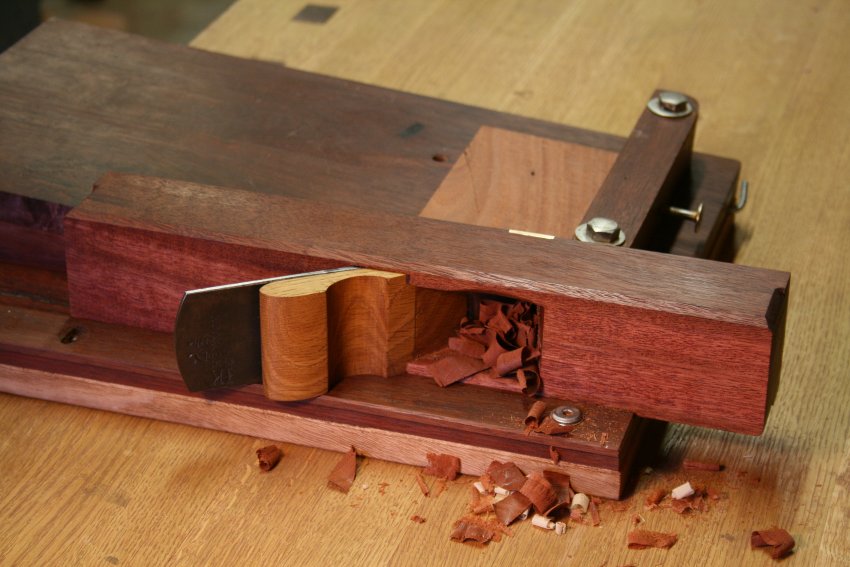
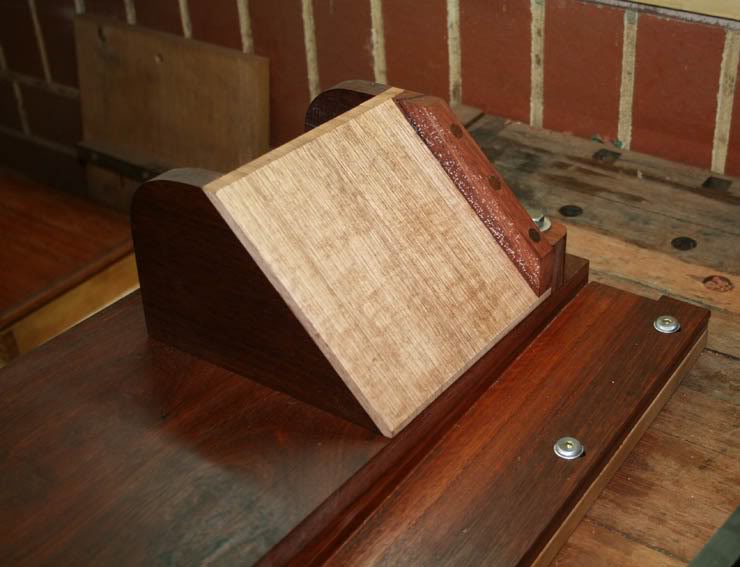
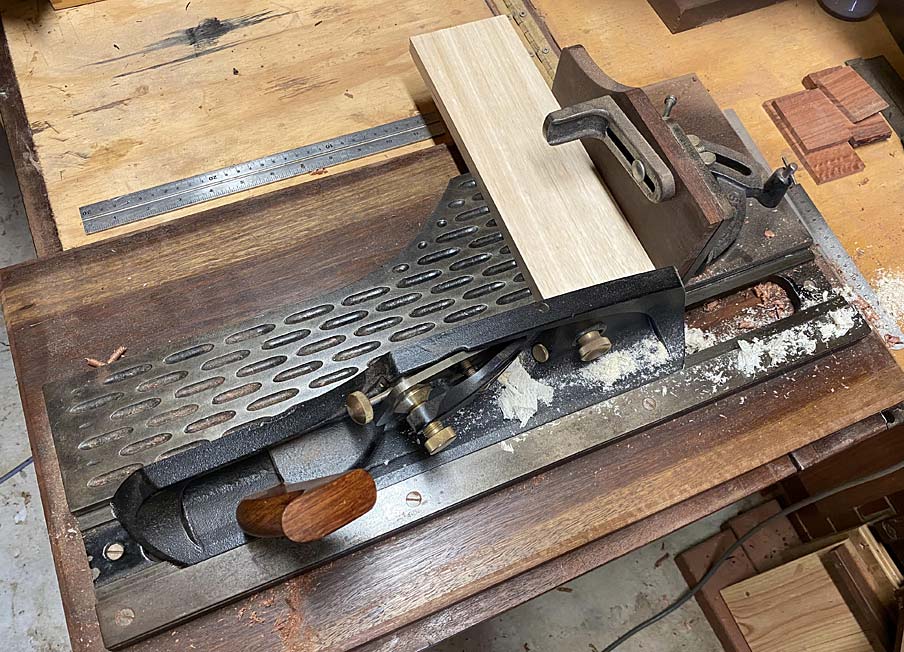
I have built many shooting boards over the years, both flat and ramped, and sold some internationally. Here is one with a wooden strike block plane I built ...

Buildinga-Strike-Block-Plane-html-71a1e942.jpg


Buildinga-Strike-Block-Plane-html-6e20bb98.jpg


The secret to a successful shooting board is this little side fence ...

Buildinga-Mitred-Pencil-Boxwitha-Shooting-Board-html.jpg


I began posting about this many years ago having discovered how useful it was on the Stanley #52 I have ...

LN51-Shooting-Plane-html-m73102486.jpg


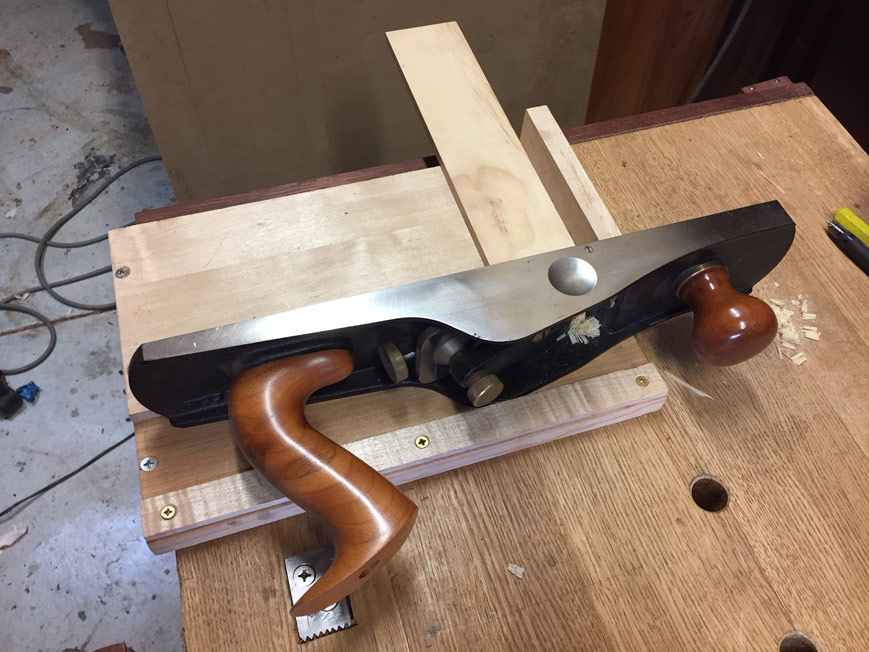
What may also be missing is technique - how to push the plane, how to hold the work piece, where to apply pressure ...

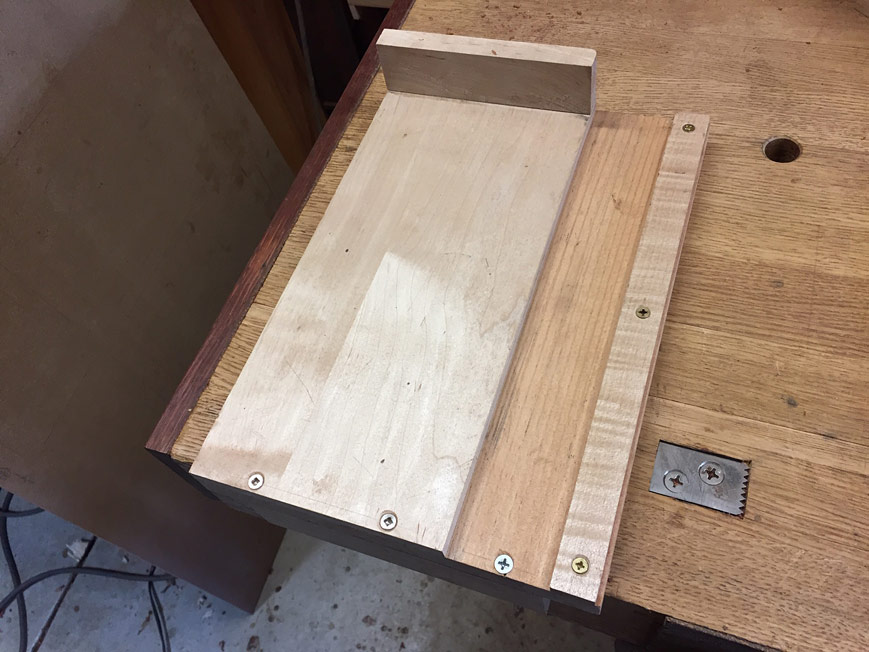
There are ways to make even the most basic shooting board work. One fixture I have on my bench and use a lot is this simple bench hook ...

Bench-Hook-Shooting-Board.jpg


It also makes a great shooting board (note the side fence) ...

6.jpg


Regards from Perth

Derek
Thanks Derek, I need to see if I have space on the board I have made to put the side fence like you use as it would reduce the number of variables I have to worry about when shooting wood.

Thanks,

Mark
 
Lovely shooting boards Derek, is the Stanley what you use for thicker stock?
Tom

Tom, for thicker stock I use a cross cut table saw! :)

It's one thing shooting drawer sides ...

EntryHallTableForANiece11_html_m76ea7331.jpg


... but thick case work is another story!

Either use the cross cut slider, a cross cut fixture in a table saw, or a hand plane with the board in a vise.

ApothecaryChestWeekend7_html_m4b6b18fe.jpg


Regards from Perth

Derek
 
I have come up with a sacrificial stick which is held against the main fence with a toggle clamp.

This may be advanced and the end perfected (shot) before each use.

Spelch or splintering is almost entirely eliminated, as the gap of plane sole to fence is now one shaving..

Best wishes, David

David, there is a yet better method ... and I could swear that you taught me this about 20 years ago! I see Rob Cosman teaching this now, and I assumed he learned it from you as well (he has taken up a number of your techniques). So now I feel like I am teaching you to suck eggs :)

Your sacrificial stick attempts to deal with the gap between fence and plane, as spelching will occur if there is an unsupported edge. The problem with fences is that they are set up once, and then a thicker shaving at a later time will destroy that set up. Trying to fix this all the time makes for extra work, and poor technique.

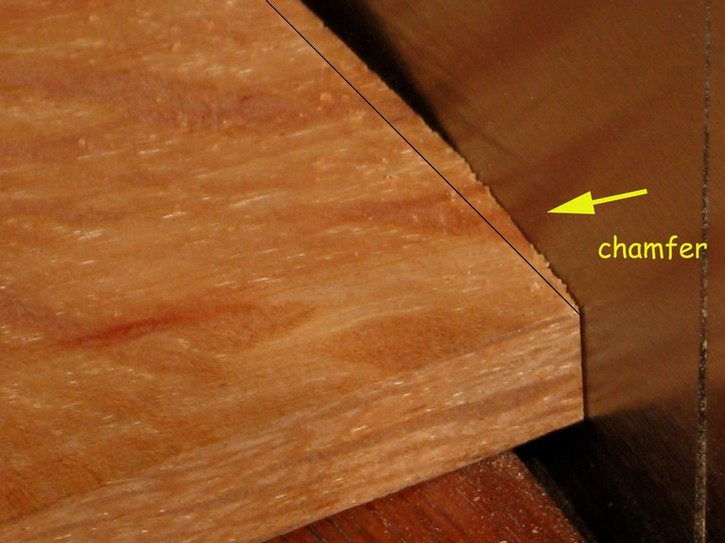
The correct technique is to add a chamfer to the end of the edge you are shooting. This is somewhat exaggerated below for illustration ...


Setting%20Up%20and%20Using%20a%20Shooting%20Board4_html_6da4ff98.jpg


Now turn the board around and shoot until the chamfer disappears. This is the same technique as chamfering the end of a board in the vise when planing.

Regards from Perth

Derek
 
Can I poke my nose in on this thread just to say that I long ago gave up using try squares, beautiful though they can be, and now stick to engineer's squares. Having seen what a mess a class of kids, can easily make of the former, hammering with, dropping, levering etc I now stick more robust all metal squares just in case of accidents/missuse. Just a thought.
 
Derek, Steve,
I got fed up with constantly having to renew the edge of my simple boards. It had to be done on circular saw.
These get damaged because beginners tend to lean the plane sideways with too much force.

The sacrificial fence part allows for quick st up and no need to chamfer.
I see this as a separate technique to chamfering, which also works very well. It is not the only way!

best wishes,
David
 
Derek,

Regretfully I am not sufficiently technical for photos.
Just imagine an accurate piece about 1" square which sits up against the fence.
It is held down by one small toggle clamp fixed to the existing fence, in the middle.

It is released and slid up into contact with the front sole and fixed.
Then one (or at most two shavings) are taken. There is a chamfer on the far side of the stick.
No more shavings are possible, off the end grain, as long as the plane is not tipped.

Another advantage of the sacrificial stick is that tiny errors of fence squareness may be cured by tapering the stick.

I plan a double ended one so that left handed shooting may handled as well. This may need two toggle clamps.

Best wishes
David
 
Late to the party here, but noticed something I'm not sure has been mentioned. Of the three planes, one is out in the opposite direction to the other two, so issue can't be exclusively the board...
 
Late to the party here, but noticed something I'm not sure has been mentioned. Of the three planes, one is out in the opposite direction to the other two, so issue can't be exclusively the board...
Hi TJC,

I think that the error on all three planes is in the same direction. The degree of error does vary which must be due to some variation between the planes. If I get a chance this weekend I will test with lever being adjusted and see if there is space for a fence for the bed the plane slides along.

best wishes,

Mark
 

Latest posts

Back
Top