New tool cabinet WIP

UKworkshop.co.uk

Help Support UKworkshop.co.uk:

This site may earn a commission from merchant affiliate links, including eBay, Amazon, and others.
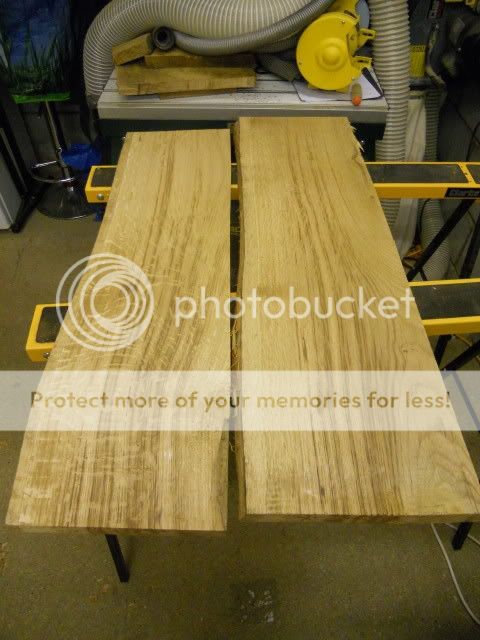
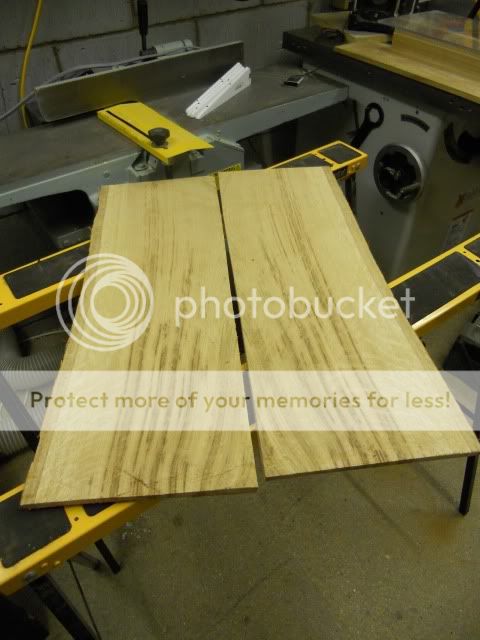
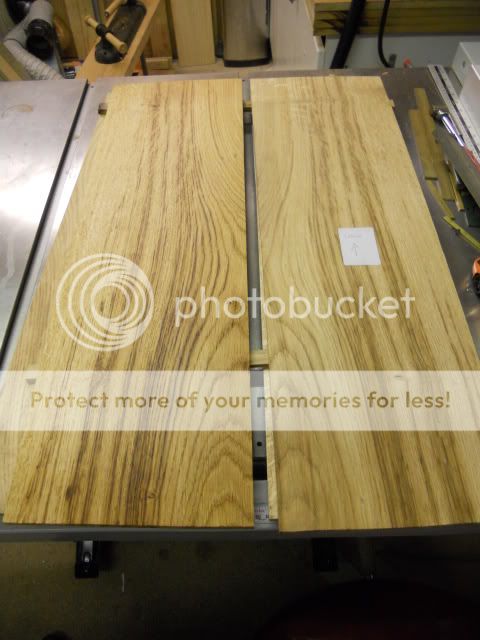
Made a little progress tonight by chopping up some of the boards to get the panels for the doors. A little suface planing to reveal the grain pattern. 4 panels needed, and managed to find a reasonable match.

DSCN0138.jpg


DSCN0137.jpg


Obviously they aren't sized yet, so for now they will be put to one side.

Next job is to find a good match for the rails and stiles.

Thanks for looking.

Cheers

Karl
 
Nice looking oak Karl, most of the QS I used last year had the same dark stripes in it that yours does, adds a nice bit of character though the Yanks would probably hate it
 
I'm beginning to like the timber IB - I was a bit overwhelmed to start with, and wondering whether it'd look too busy with all the figuring.

I've sorted out the timber orientation for the stiles today, and thought that this evening I would tackle the panels for the doors. I am not going to do the raised panels on the doors, and will instead be going for a plain inset panel. Time to bookmatch a pair of panels from the 1" board I had allocated.

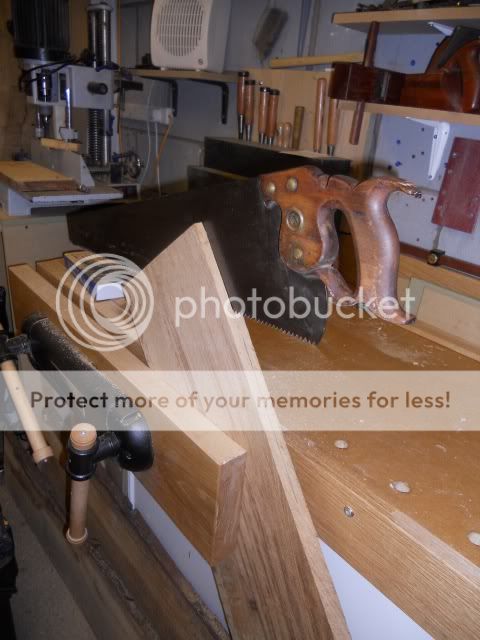
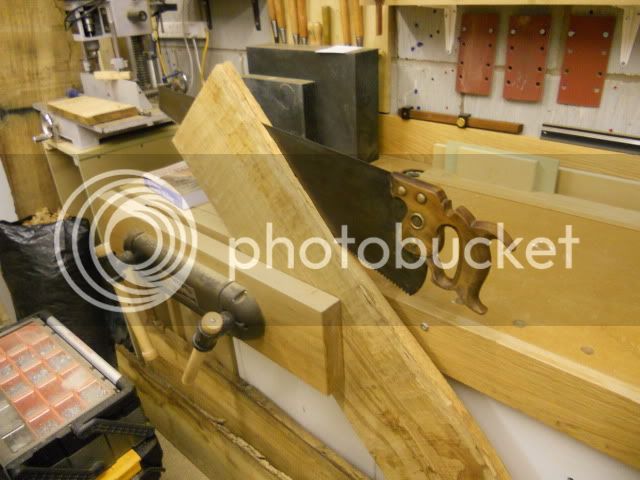
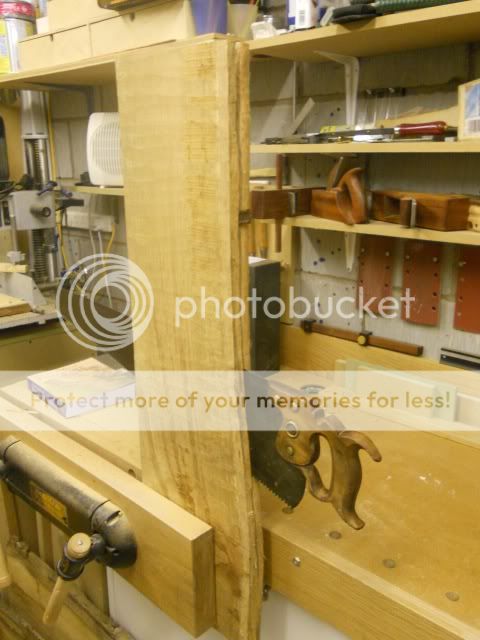
Started off with the timber clamped at 45 degrees in the vice. Marked out (by hand) a rough line midway from the 1 previously prepared face. Then proceeded to rip along this line until I reach the opposite corner.

DSCN0139.jpg


DSCN0141.jpg


By repeatedly flipping the board and sawing at 45 degrees work progressed very well. Wedges were inserted as there was a little bit of closing up, but nothing major. I didn't bother marking out the line down the length of each edge - one edge was waney (after bark removed), so I just judged by eye.

DSCN0142.jpg


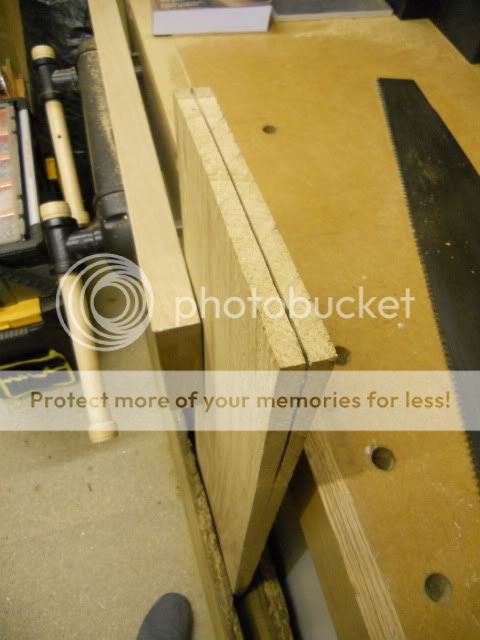
When I reached the right depth on the diagonals, the board was put in the vice vertically so that the final ripping could be done (the board is oversized so that it could be clamped without closing up the saw kerf)

DSCN0146.jpg


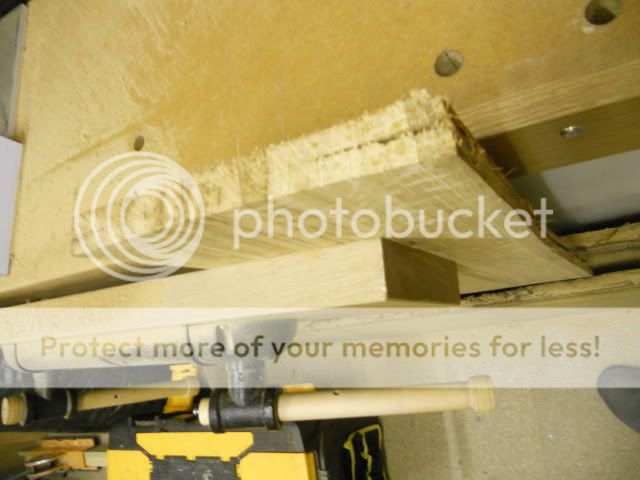
After trimming to length I realised that I hadn't gone quite far enough

DSCN0147.jpg


So I just joined up the kerfs to reveal the bookmatched board

DSCN0148.jpg


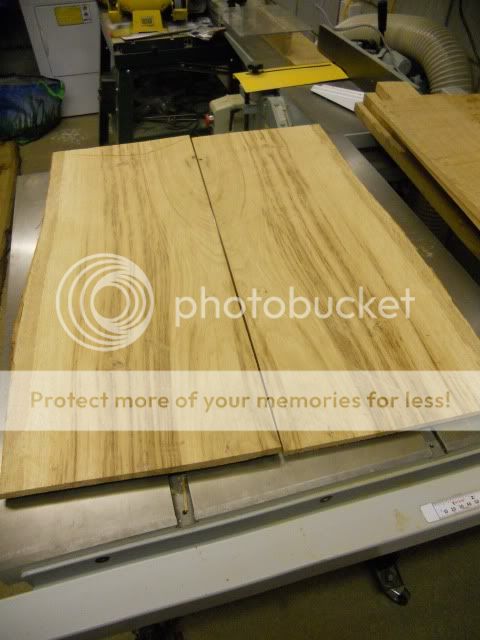
Quite pleased with how they've turned out. They're about 9/10mm thick at the moment, and they need skimming to clean them up and bring them down to final thickness. They aren't going to be joined, but will form separate panels within the same door, with a quartersawn stile splitting them.

Got to do the other board tomorrow.

Cheers

Karl
 
Cheers Paul. It's one of the reasons why i'm going heavy on the hand tools (ie to practice some skills).

Cheers

Karl
 
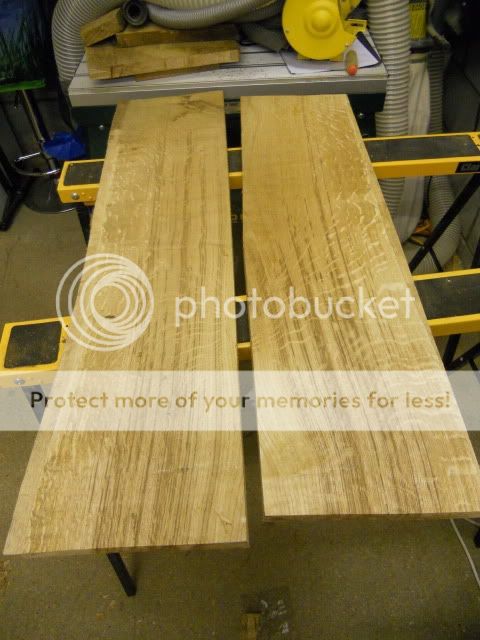
Just to prove that the first set were no fluke, I got the second set of panels cut tonight

DSCN0150.jpg


Cheers

Karl
 
Well, to coin Alf's phrase, I fell right off the Neanderthal bandwagon today :p

I had started thicknessing the stock for the door fronts this week. Flattened the face of each piece. Lovely. Easy peasy. Then started marking out for the 3/4" thickness I was going to bring them down to. Got one piece done, which went ok, although a bit tedious trying to avoid tearout, yet wanting to work quickly and get as near as possible to finished thickness with the jack before turning to the smoothing plane.

That was at the end of last week. Then today, I found that I had a spare hour before going to collect the kids from school. "HHhmmmmm...... better get the planes out and get another piece flattened" I thought. Just as I was about to start I could almost hear the Sedgwick p/t whispering "you fool".

So I succumbed to temptation and fired up the Sedgwick. Boy does that machine sound sweet :D

So that's it. I gave in, and stock prep will now be done largely by machine. Which will make the job go quicker - which it needs to. I'm booked up to Christmas with work, and today i've been asked to make a dining table to compliment a kitchen i'm fitting in Nov/Dec. That'll have to be done in my "spare" time too - I really should learn to say no to people :lol:

I'll post some more pics later on in the week when there's something more interesting than flat pieces of timber knocking about.

Cheers

Karl
 
I think I said at the outset that this might be a long WIP.......

For various reasons, I haven't had chance to do much more on this. Work was one reason, but I also hadn't made a final decision on design/layout of the internals. So the parts have just sat on a shelf awaiting some inspiration.

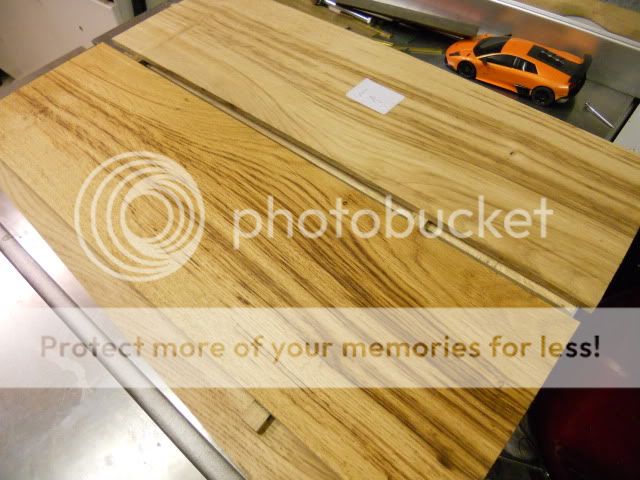
I've now made my mind up on how the cabinet is to be set out, so decided to get to work on smoothing out the panels for the doors. Couldn't resist putting a coat of finish (Osmo satin) just to see how they would look.

001-11.jpg


You can see the finish better in this pic

002-5.jpg


Note - toy car is my sons, awaiting repair. I've not been playing in the 'shop, honest.

I've got all the rails/stiles cut for the doors, so will be getting onto making the doors up over the next few days. Will give me chance to try out the new Trend M&T jig.

Cheers

Karl
 

Latest posts

Back
Top