devonwoody
Established Member
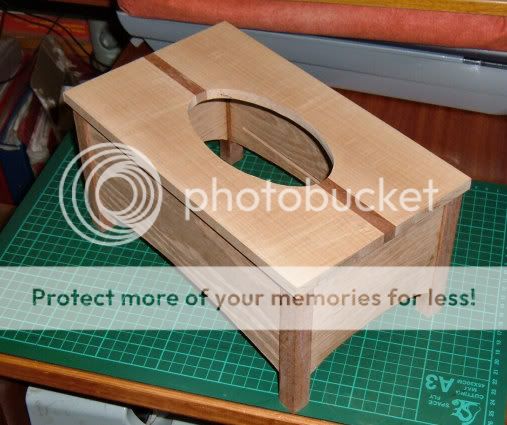
Seeing Ironballs shakereske box earlier this week, I though I would adapt the box to make a new tissue box design for me.
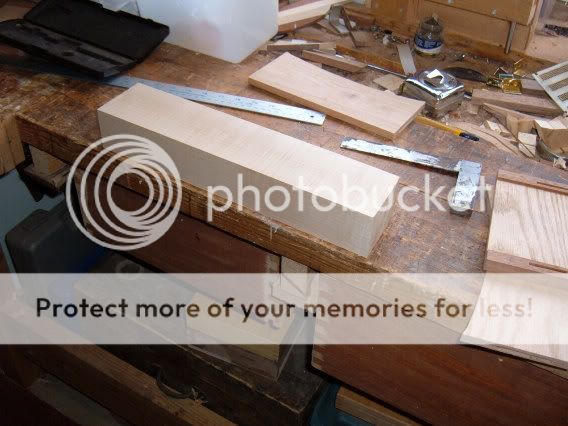
So started around 09.15 and a cold start again, I dug out some of these oak offcuts.
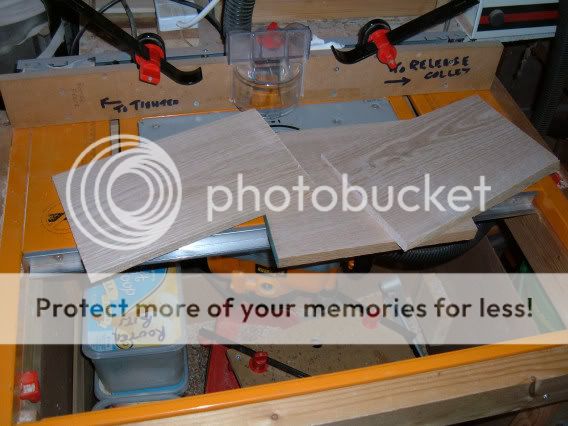
A change for me I got out the hand stuff.
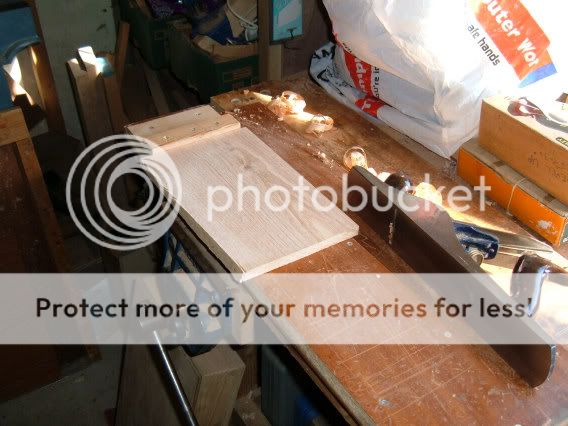
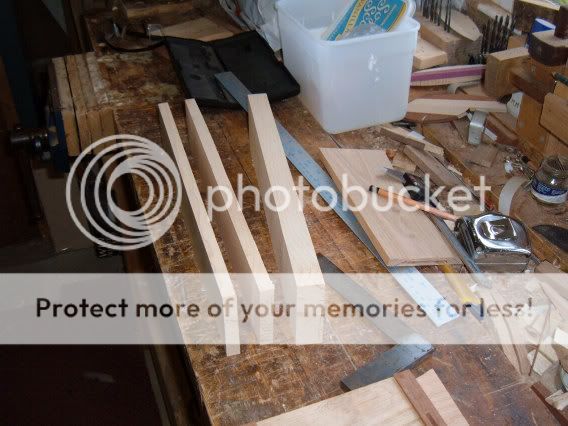
These two end pieces I forgot to plane down to thickness and I put them through the thicknesser at the picture size showing, never again, they went through but struggled, the rollers in the thicknesser had difficulty catching the timber.
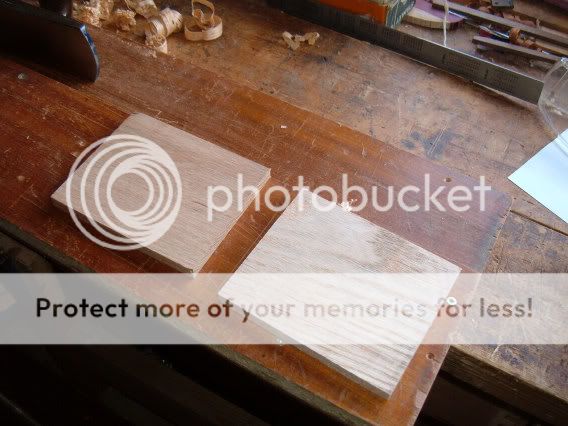
However I did finish up with four pieces all same thickness in the end.
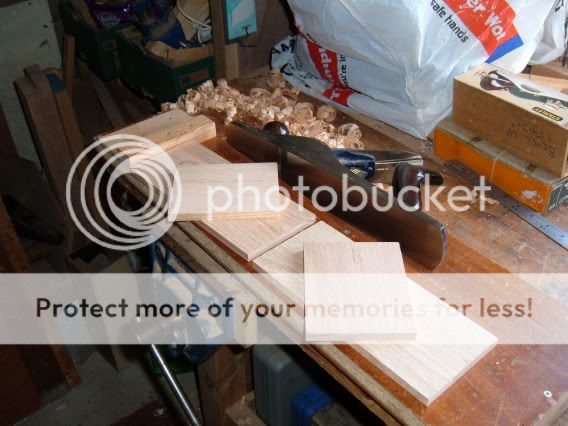
Within the hour.
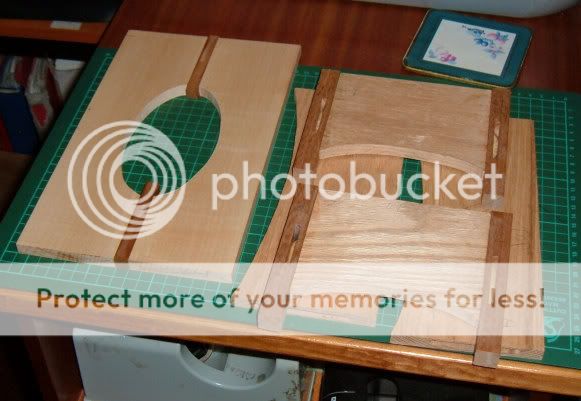
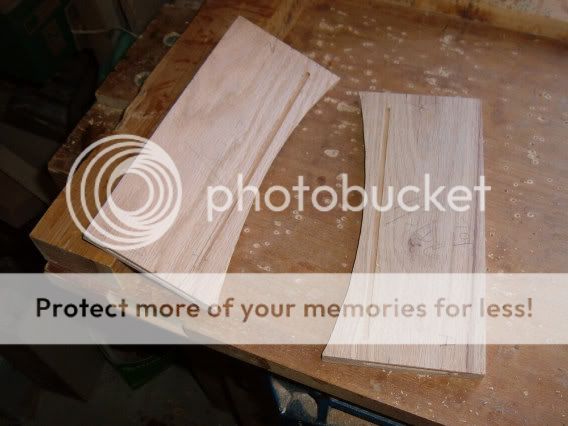
Cut some dadoes on the router, should have done those before I shaped the carcass sides.
It made a naughty cutting setup. But I was only using a single flute router cutter so perhaps that is acceptable?
Made some corner posts and put biscuits cuts to all pieces, that was a bit of a puzzle as well.
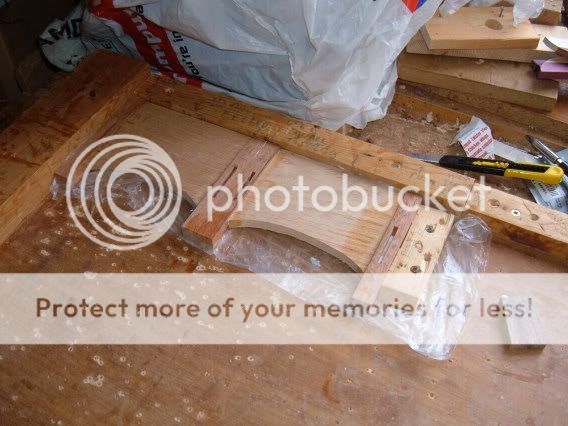
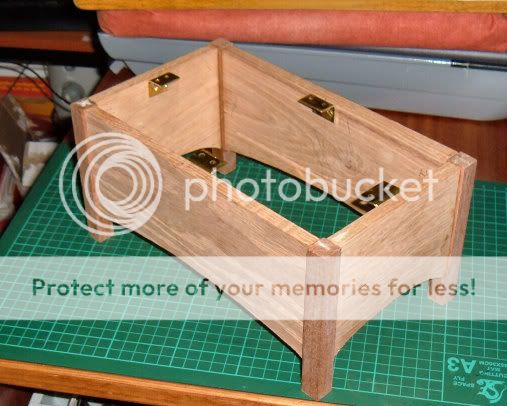
Couldnt resist putting in long sides in position (they are unglued in picture)
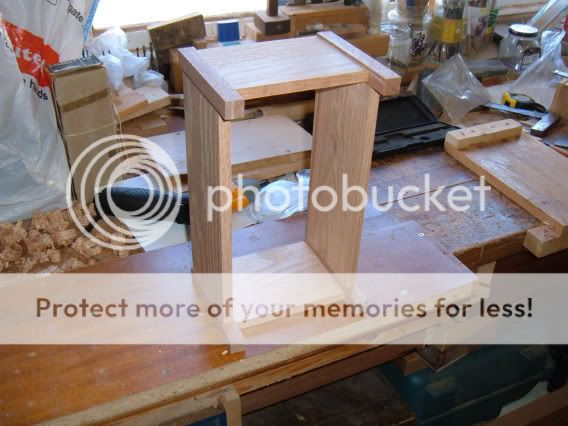
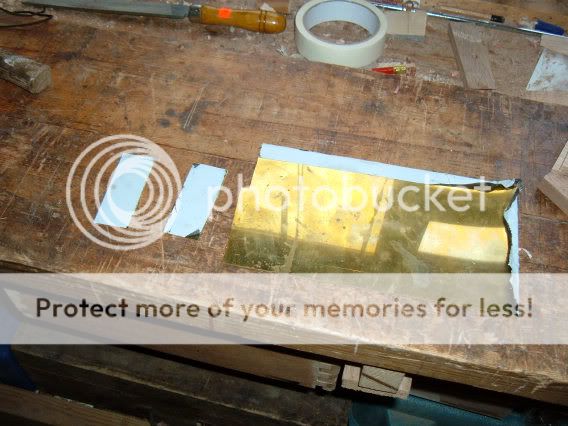
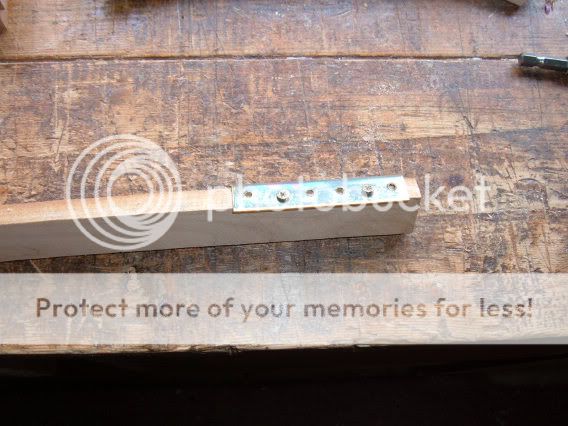
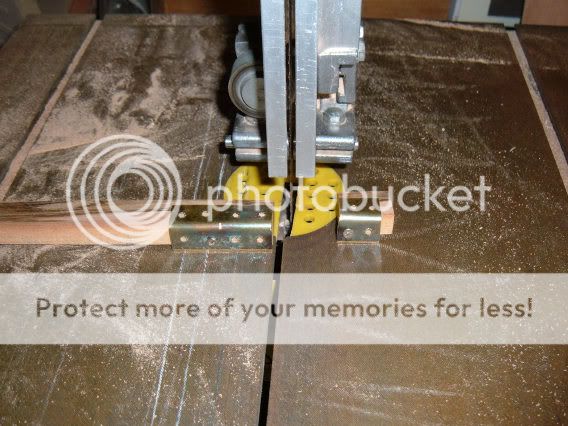
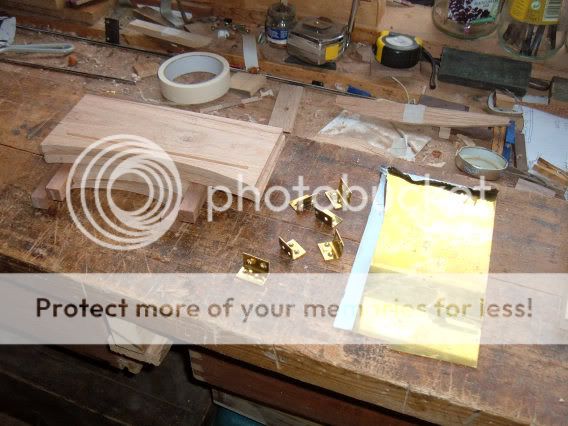
Going to make some brass fitting brackets to hold the tissue lid down to box, but will screw them in position before sides are glue up to make fitting easier.
So started around 09.15 and a cold start again, I dug out some of these oak offcuts.

A change for me I got out the hand stuff.

These two end pieces I forgot to plane down to thickness and I put them through the thicknesser at the picture size showing, never again, they went through but struggled, the rollers in the thicknesser had difficulty catching the timber.

However I did finish up with four pieces all same thickness in the end.

Within the hour.

Cut some dadoes on the router, should have done those before I shaped the carcass sides.
It made a naughty cutting setup. But I was only using a single flute router cutter so perhaps that is acceptable?

Made some corner posts and put biscuits cuts to all pieces, that was a bit of a puzzle as well.

Couldnt resist putting in long sides in position (they are unglued in picture)

Going to make some brass fitting brackets to hold the tissue lid down to box, but will screw them in position before sides are glue up to make fitting easier.


