pulleyt
Established Member
A little over three years ago I retired from my salaried career and was able to get back into my shed which had been neglected since the early 90's - apart from the occasional really basic DIY jobs. The first few months were given over to rearranging the layout, building storage solutions, rearranging a bit more, extending storage etc etc. It does seem that this is not uncommon.
I discovered two game changers in my time away - Sketchup and the Festool Domino (the latter was a retirement present to myself). I wanted to make a nest of tables for our eldest and this seemed like a good project to develop the use of both Sketchup and the Domino. I had a load of sawn maple left over from the kitchen remodelling I'd completed back in the day. If I was going to make one set, I thought I may as well make a second which would always come in handy.
I took a few pictures along the way...
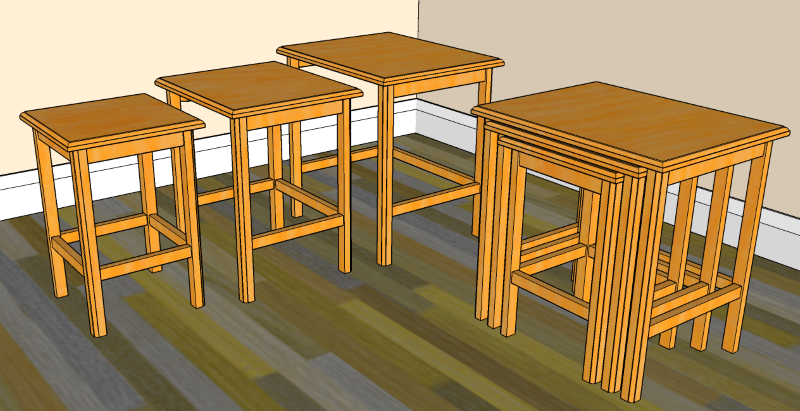
It didn't take too long to get to grips with Sketchup and I really like the 3-d modelling that I'd not experienced before.

All the components prepared on the planer thicknesser, cut to size and domino joints completed.

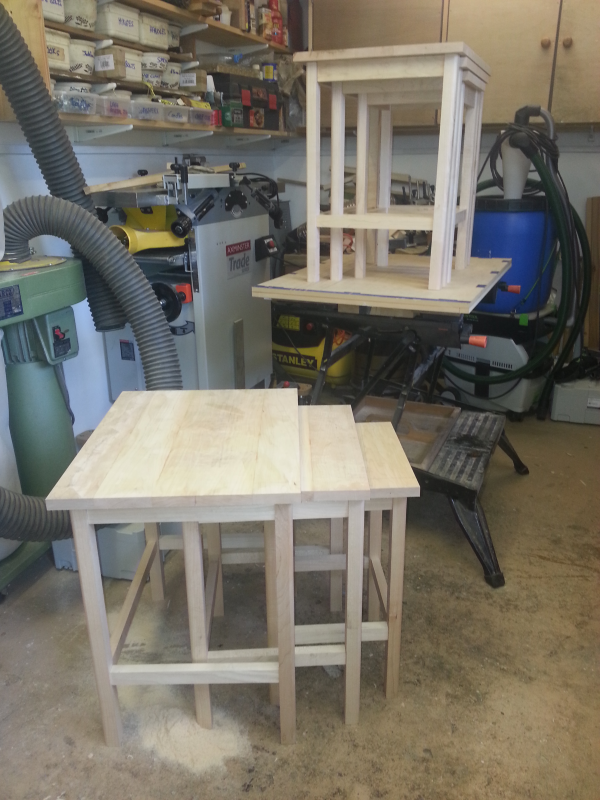
A dry fit to ensure my translation from Sketchup was accurate.

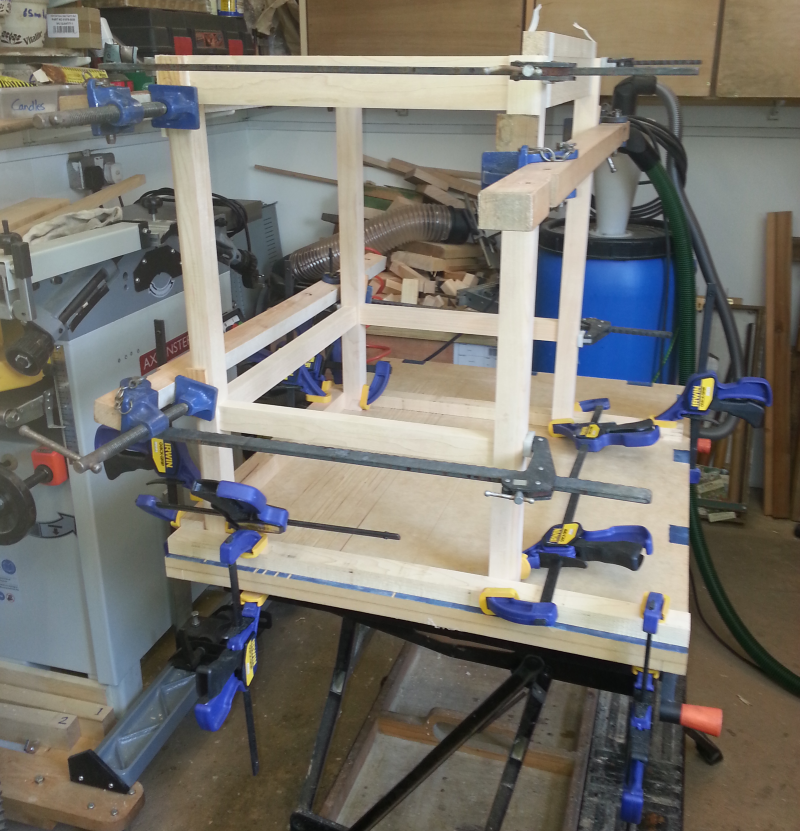
Gluing up one of the table frame using my makeshift assembly table top on an old workmate.

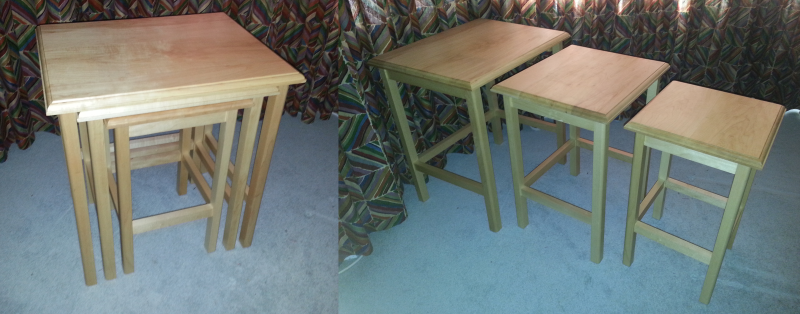
And the completed tables, finished with three coats of Osmo PolyX (another new product to me that I really like).

I was really impressed with the ease of creating loose tenon joints with the Domino and quite happy with the results.
I discovered two game changers in my time away - Sketchup and the Festool Domino (the latter was a retirement present to myself). I wanted to make a nest of tables for our eldest and this seemed like a good project to develop the use of both Sketchup and the Domino. I had a load of sawn maple left over from the kitchen remodelling I'd completed back in the day. If I was going to make one set, I thought I may as well make a second which would always come in handy.
I took a few pictures along the way...
It didn't take too long to get to grips with Sketchup and I really like the 3-d modelling that I'd not experienced before.

All the components prepared on the planer thicknesser, cut to size and domino joints completed.

A dry fit to ensure my translation from Sketchup was accurate.

Gluing up one of the table frame using my makeshift assembly table top on an old workmate.

And the completed tables, finished with three coats of Osmo PolyX (another new product to me that I really like).

I was really impressed with the ease of creating loose tenon joints with the Domino and quite happy with the results.


