Hattori-Hanzo
Established Member
Thanks Trees 
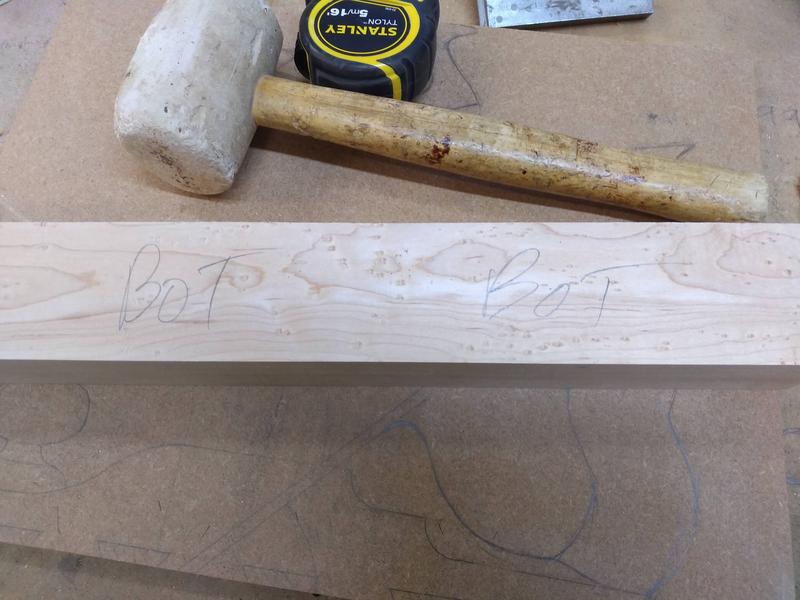
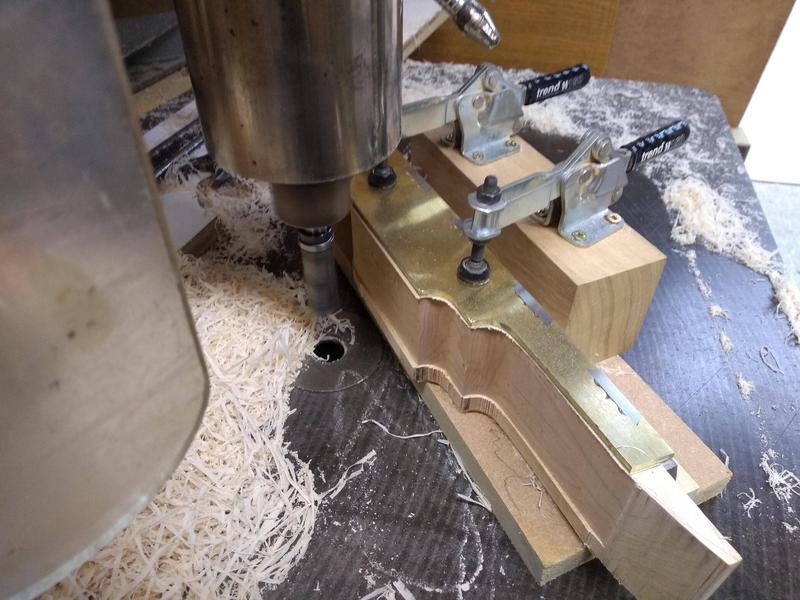
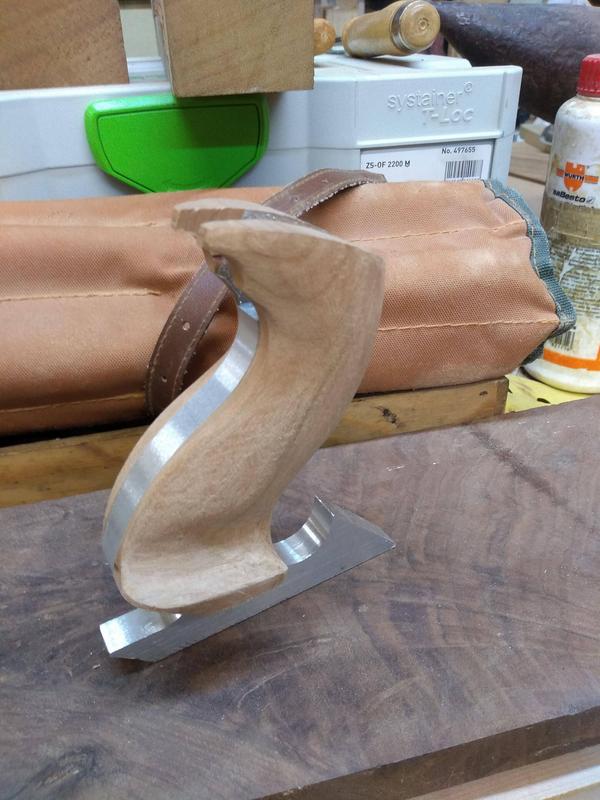
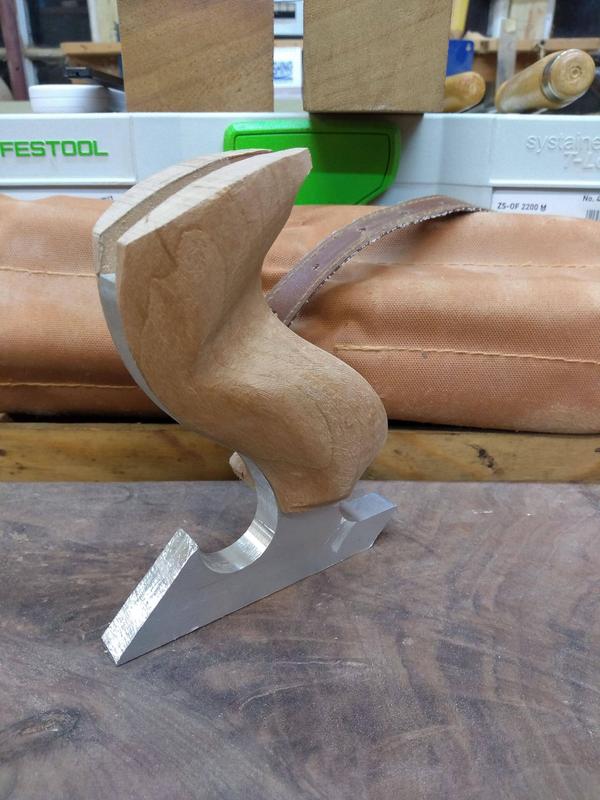
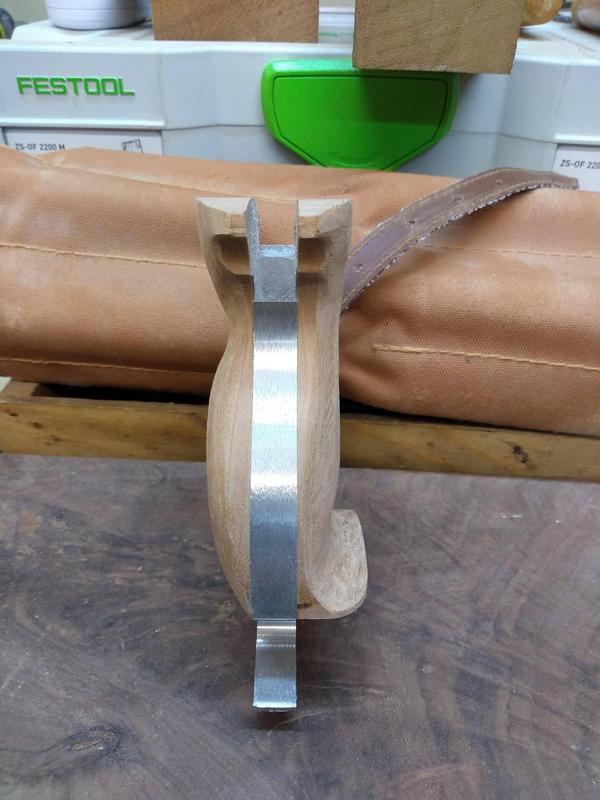
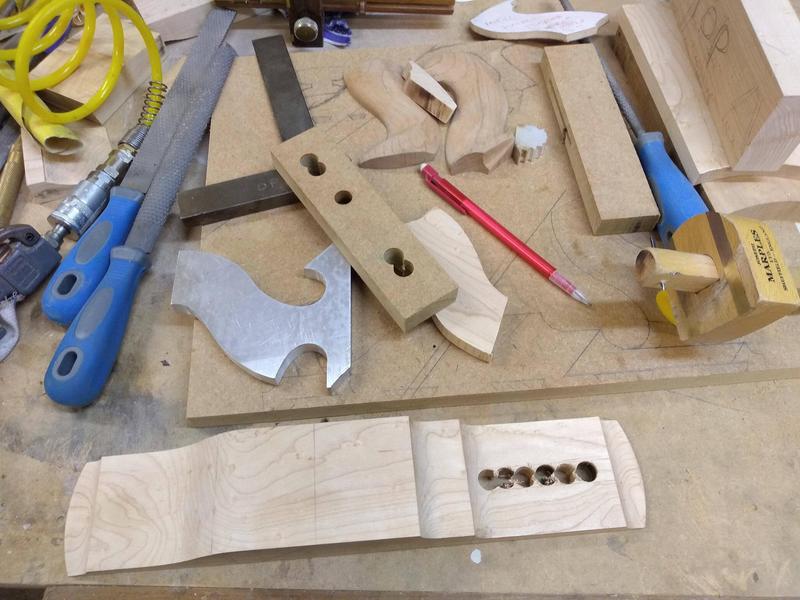
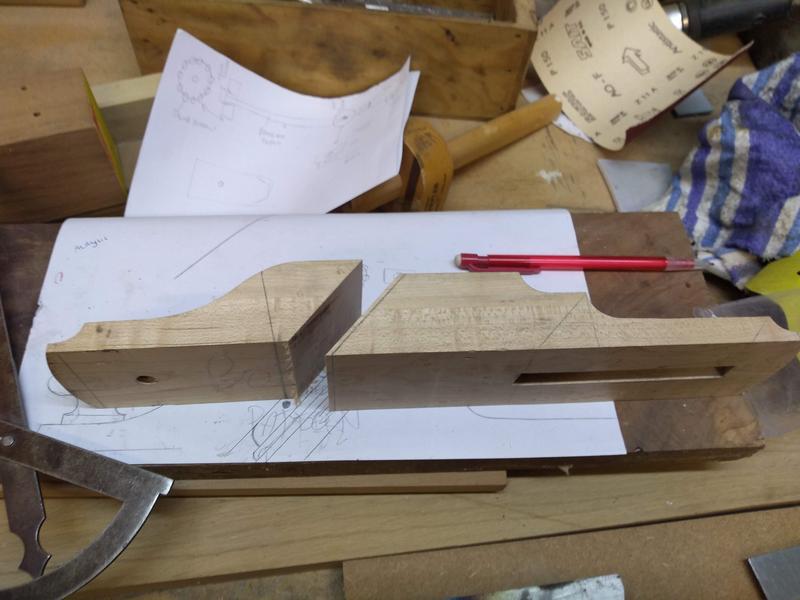
The former is nothing elaborate just a lump of Iroko machined square.
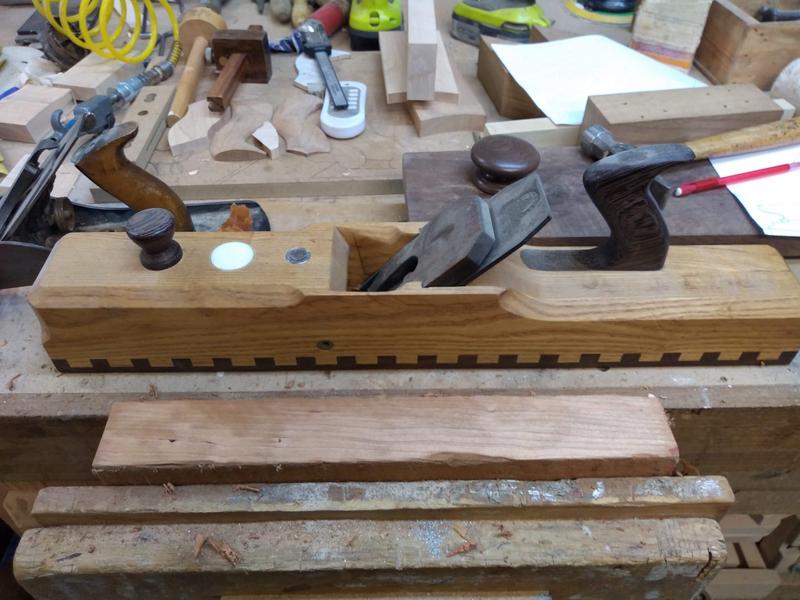
I'm going for a lever cap design but with a single iron instead of a bridge and wedge.
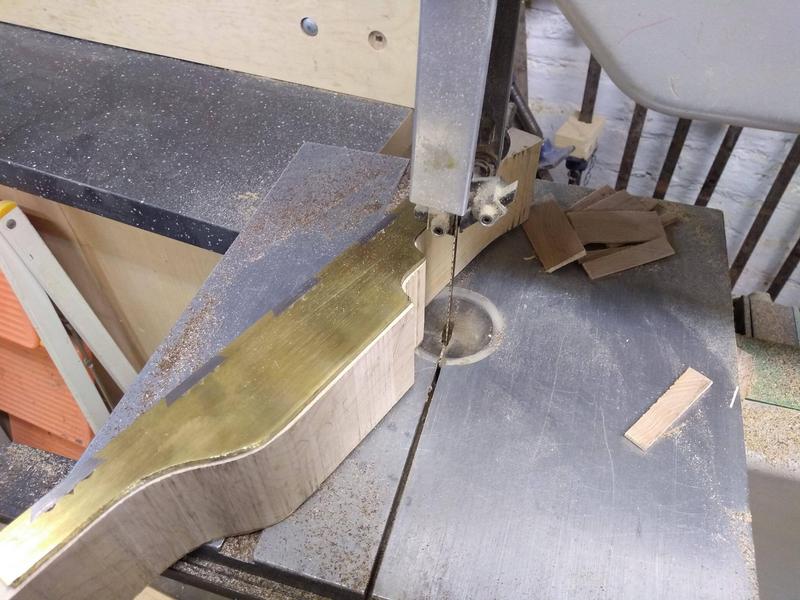
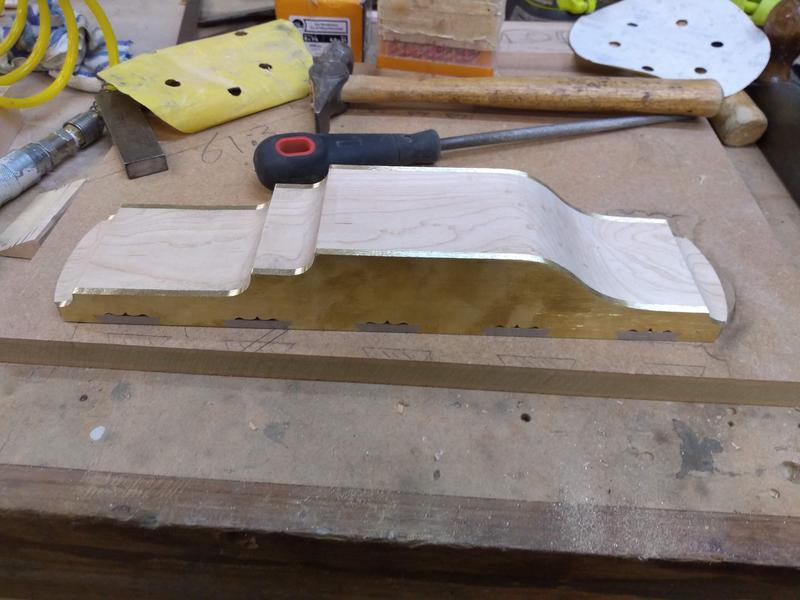
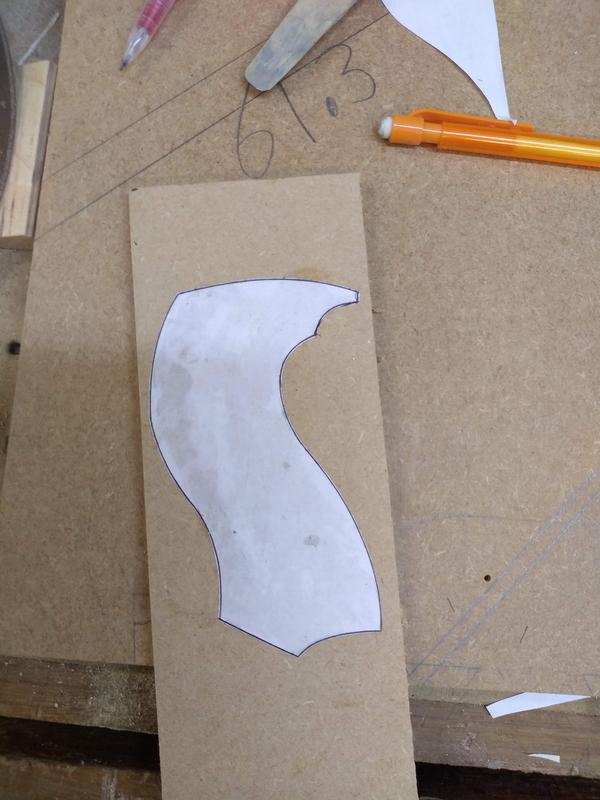
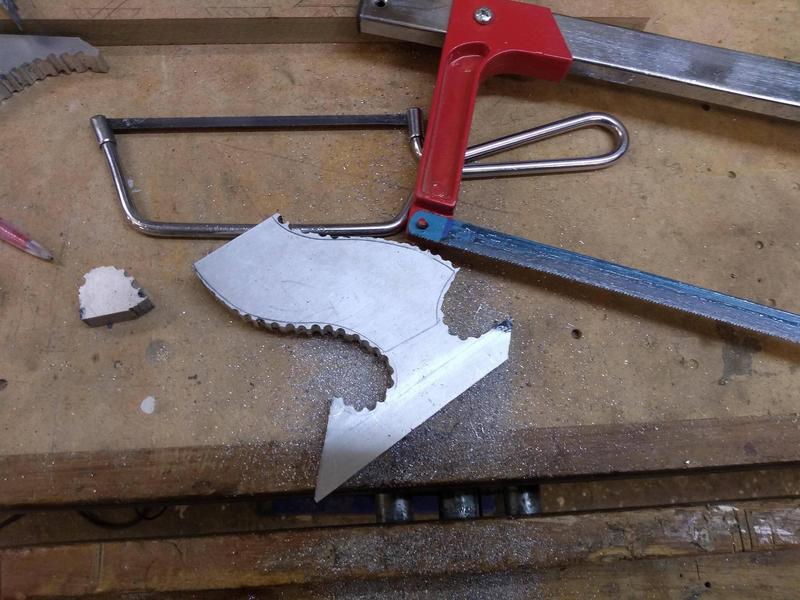
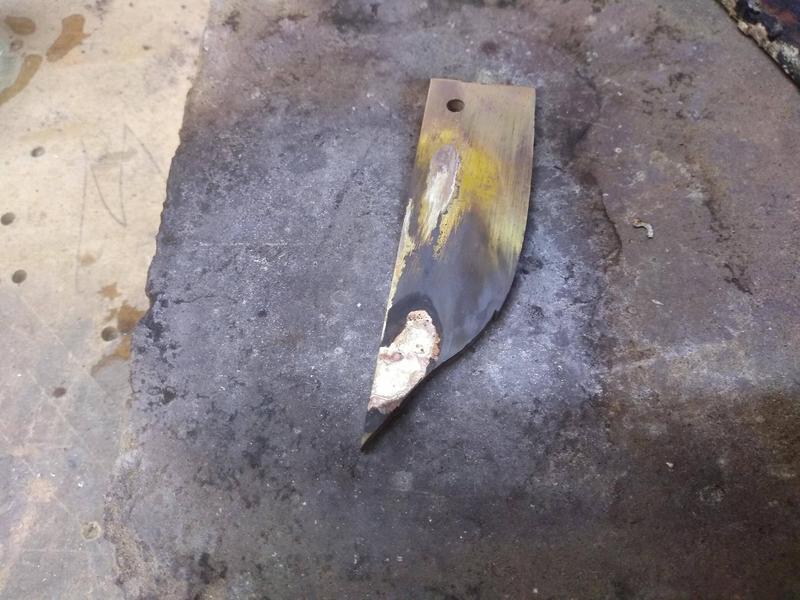
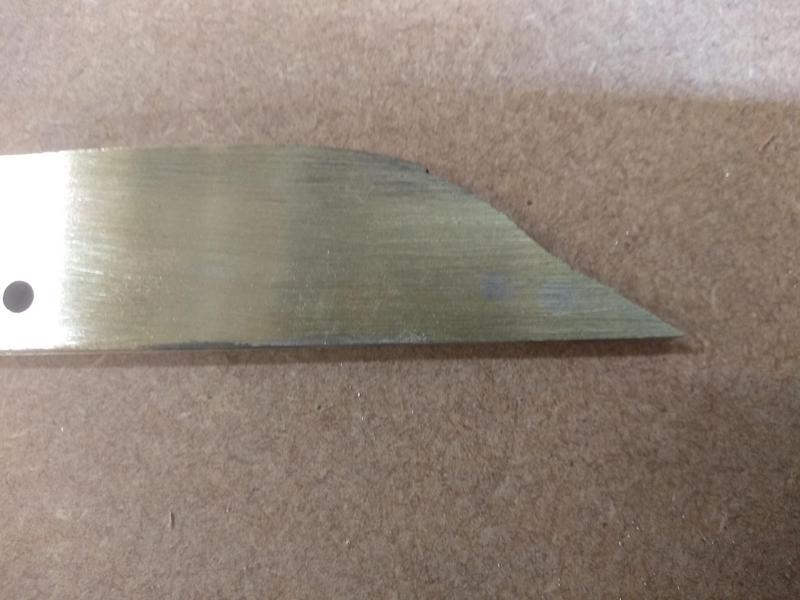
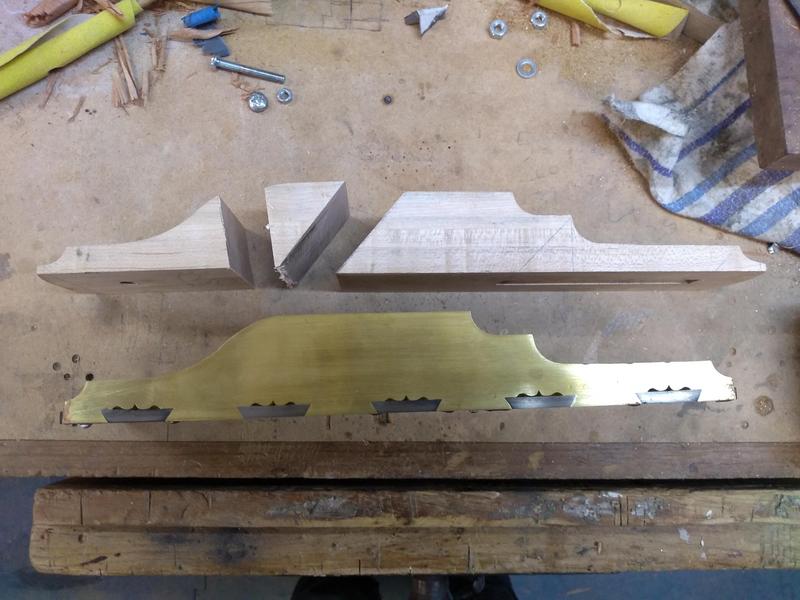
Now that the plane sides have been cut to shape I can permanently fix them to the sole.
This is done by peining the metal surfaces together to create a tight fit that will not come apart.
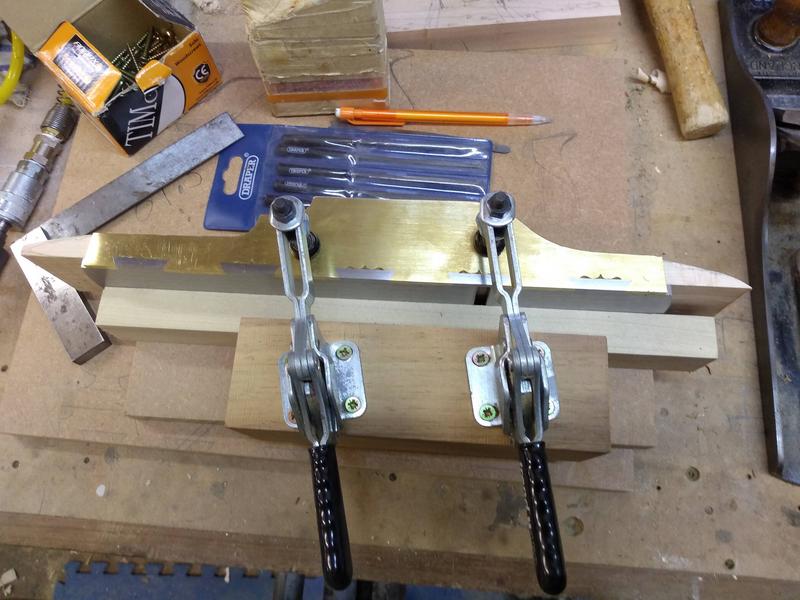
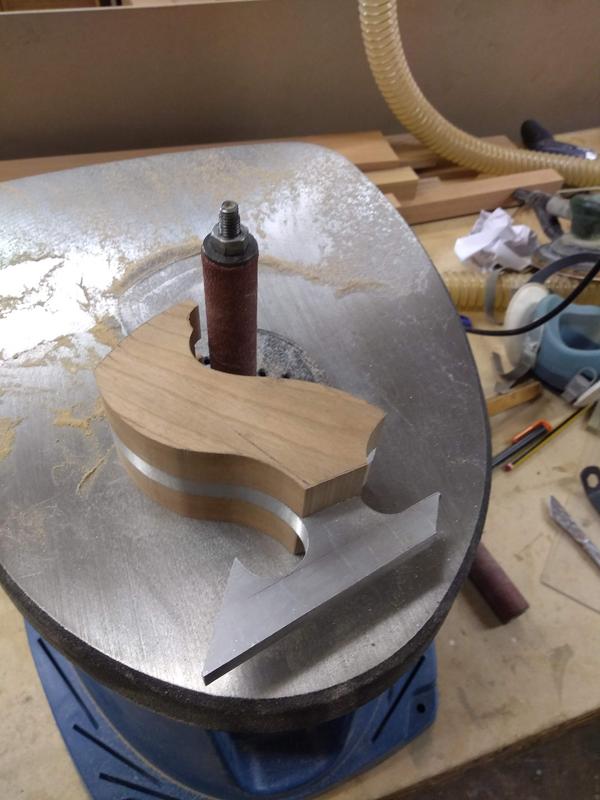
I started by machining a piece of wood to the exact internal dimension of the sole. I made sure it was straight and square as this will help to hold the sides of the plane square when i peen them.
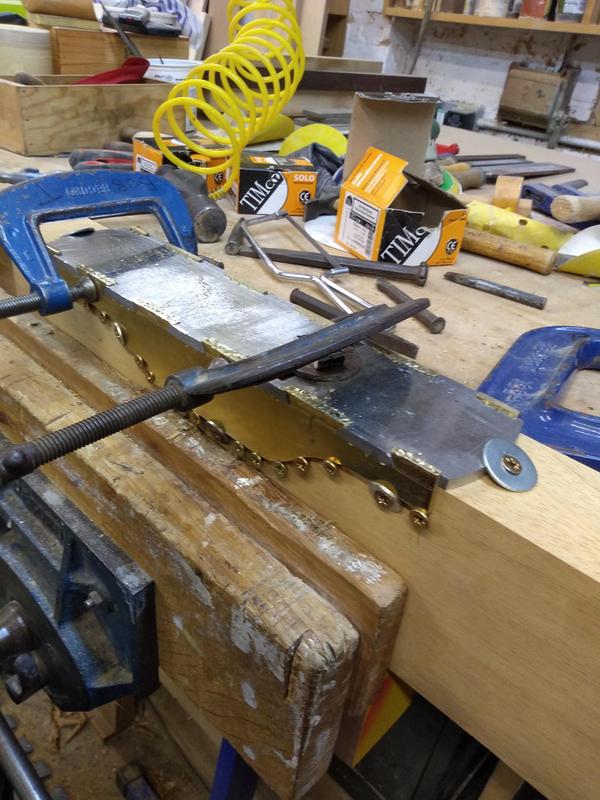
I fixed the piece of wood inside of the plane body and secured it in place with G cramps and screws.
It's make or break time, this is either going to go well or totally ruin all of the work so far leaving me with no choice but to scrap what I've done and start again.
I needed to peen the side dovetails first as this will drive the sole of the plane tight onto the sides.
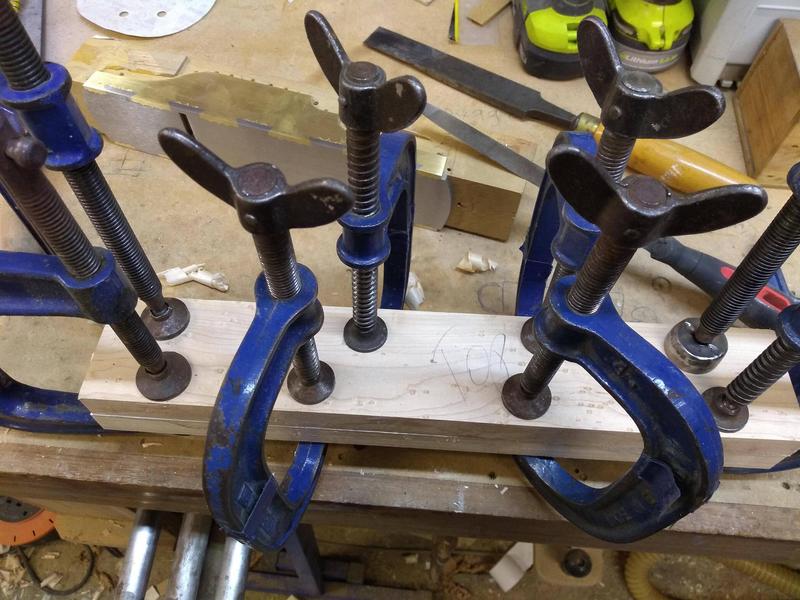
I secured the plane into my bench vice and fixed a G-cramp around the dovetail I was working on. This was to help keep the metal from spreading outwards.
I then used a combination of metal punches to try and drive the metal into the cupid bows.
I found that working from the outer edge towards the centre helped to get the brass where it needed to go.
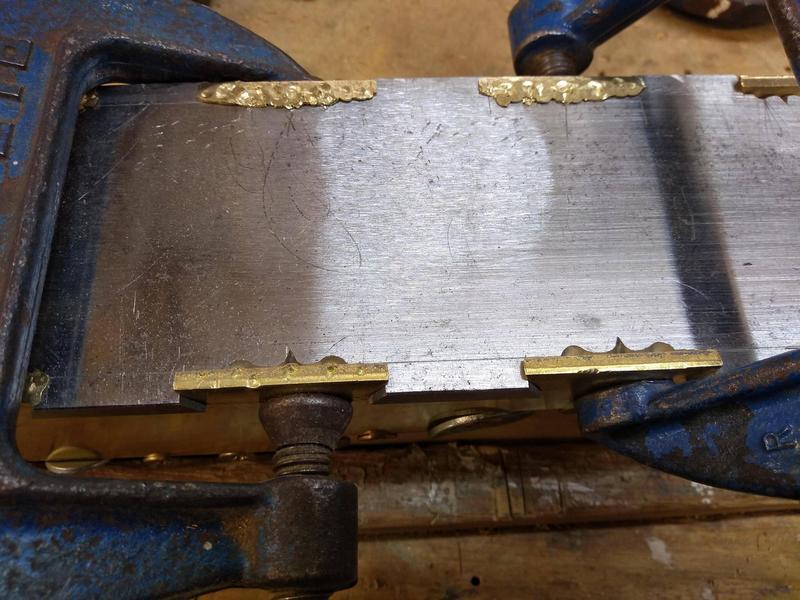
Filling the bow part was hard enough but trying to drive the brass all the way to the point of the cupid bow was incredibly difficult.
I found the hammering force needed was far greater than I had imagined and I was getting a lot of bounce from my bench vice making it even harder work.
I tried hammering on top of an anvil but found the plane would bounce even worse. At least with it held in a vice it left both hands free to work.
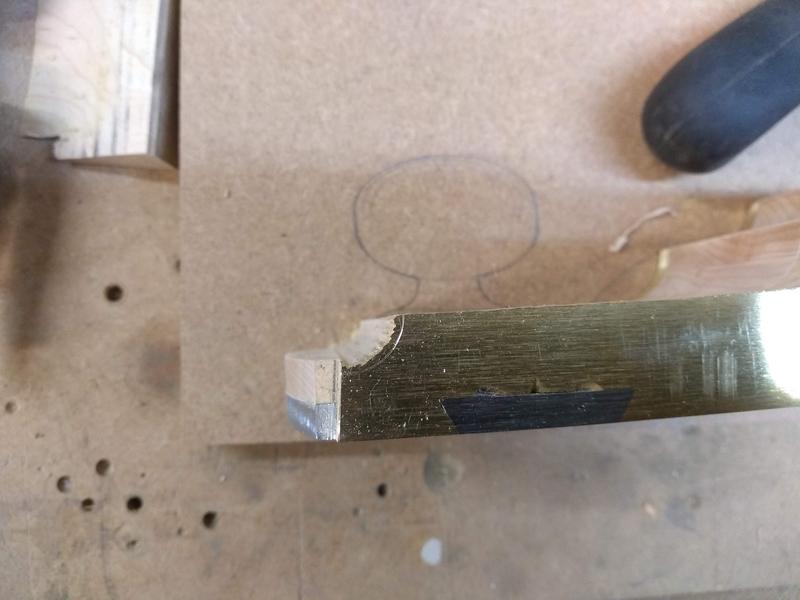
Here you can see that the bows are filled but I still need to drive the brass in to the point.
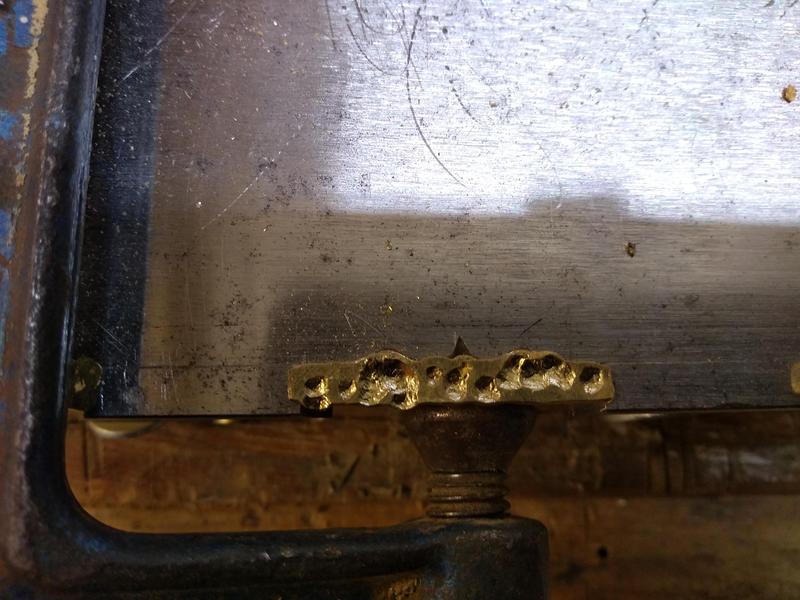
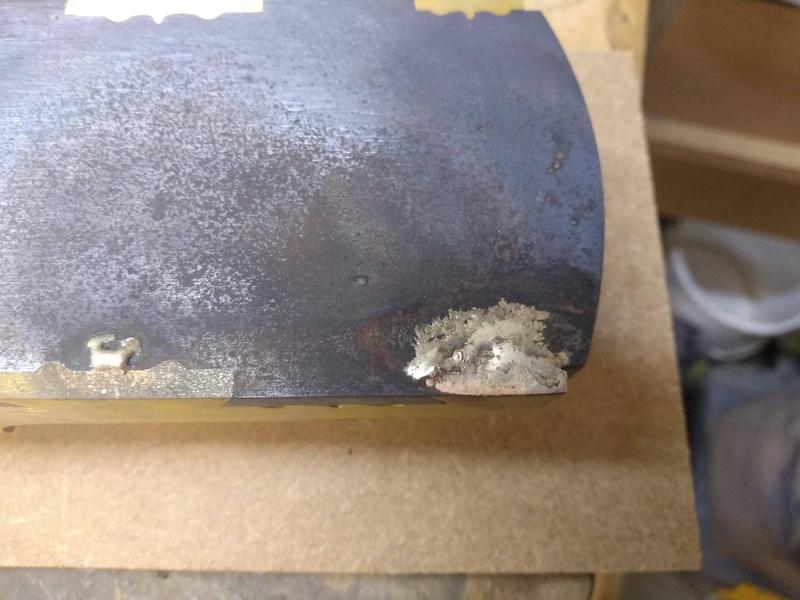
I also found that while brass is quite soft it's also brittle. On a few occasions small pieces would crack and break off as can be seen on the right of the first dovetail.
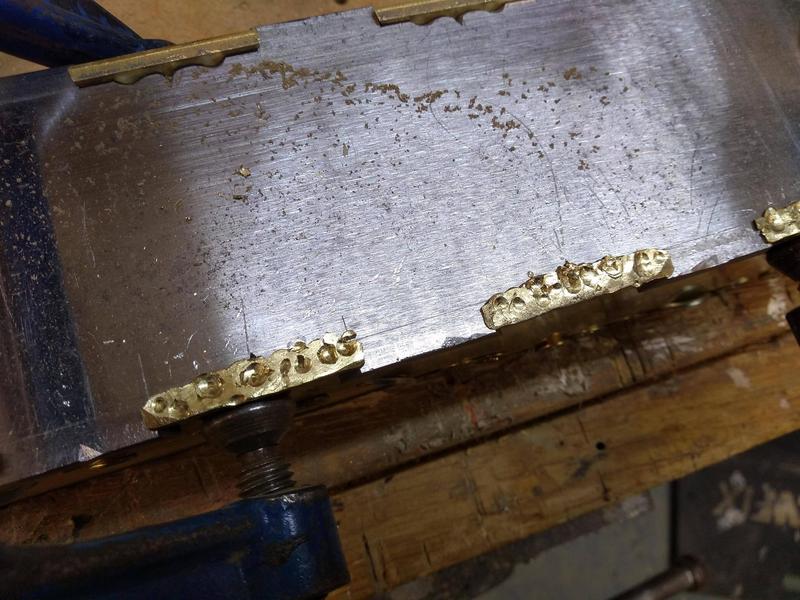
I knew this stage was going to be tough but it was much more difficult than I had anticipated. The bounce from my vice was hindering progress and my poor technique certainly wasn't helping either.
But I persevered, wedging a large bit of wood under my vice as a leg helped to take some of the bounce away and with each dovetail my technique was improving until they where all done.
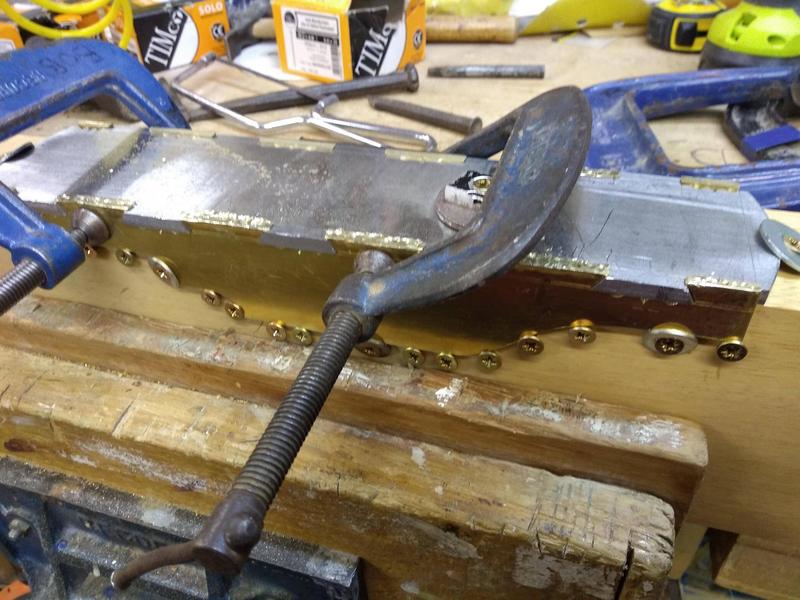
All I had to do now was peen the steel dovetails on the side of the plane.
I thought I'd have no chance of getting it done, brass is softer than steel and that's been a nightmare but to my surprise the steel seemed easier to peen than the brass.
I used the same technique of clamping the plane in the vice and working from the outside in to drive the dovetail up tight.
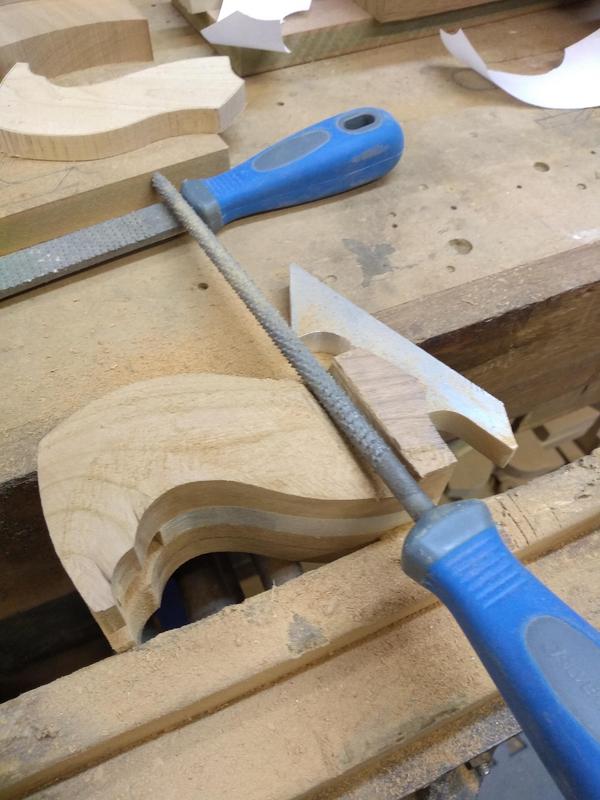
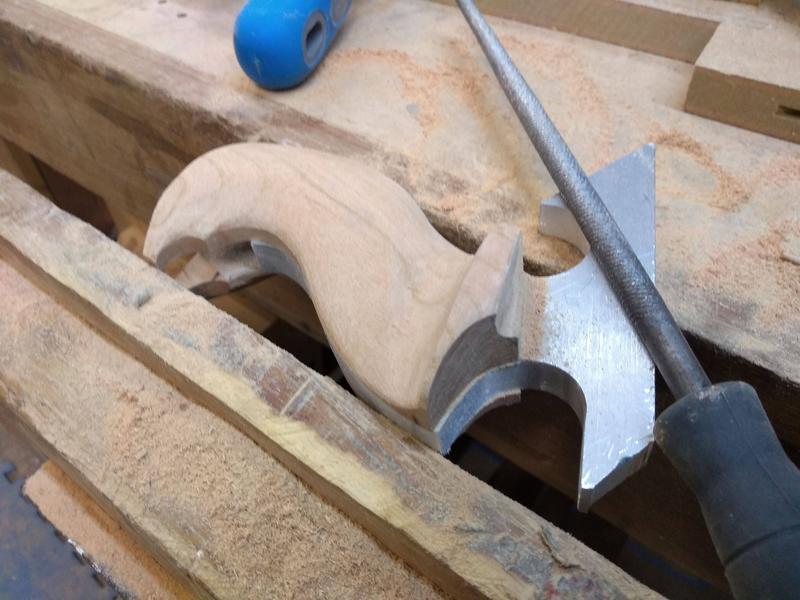
With all of the peining done it was time to file away the surplus metal and flatten the sides to reveal the results.
I used a mixture of files to remove the bulk of the waste then fixed 60 grit sand paper to the bed of an over hand planer,
It has a solid cast iron bed which is very sturdy and nice and flat. I used that to flatten the sides and sole.
thankfully the side dovetails where looking good
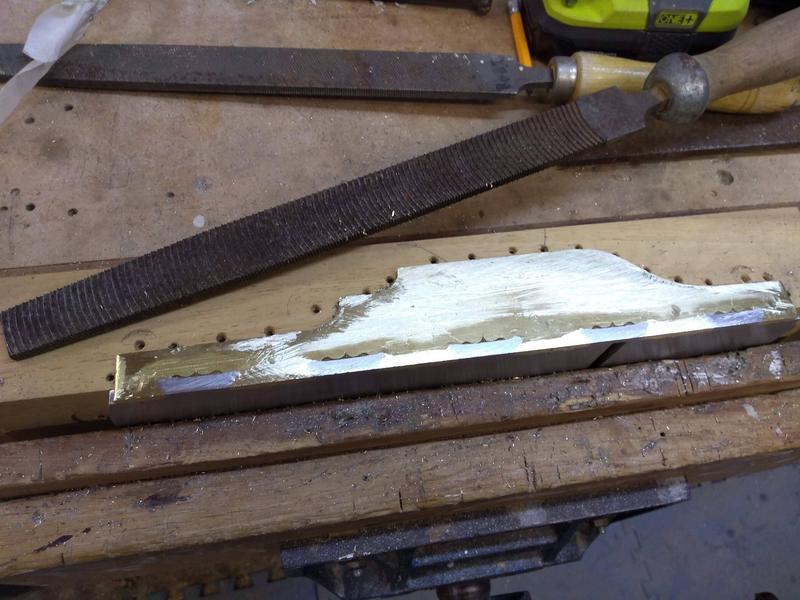
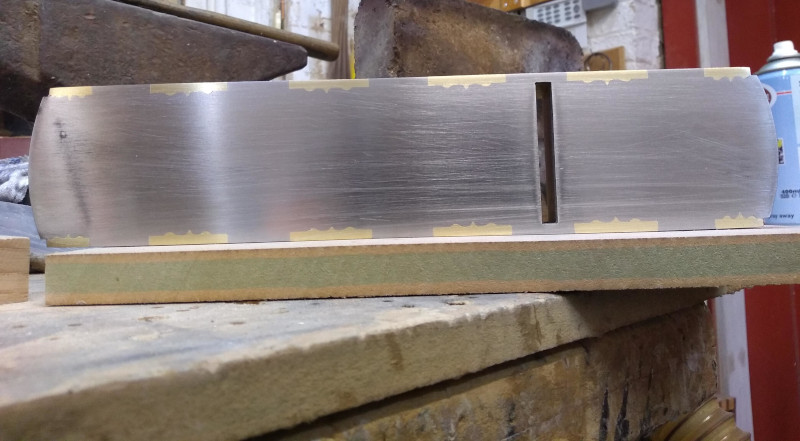
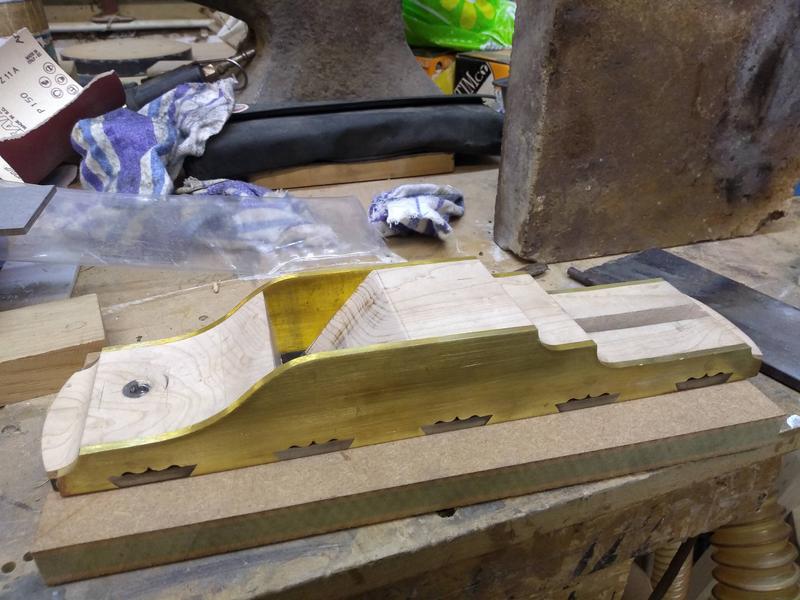
And after a lot of filing and sanding the sole dovetails could be seen.
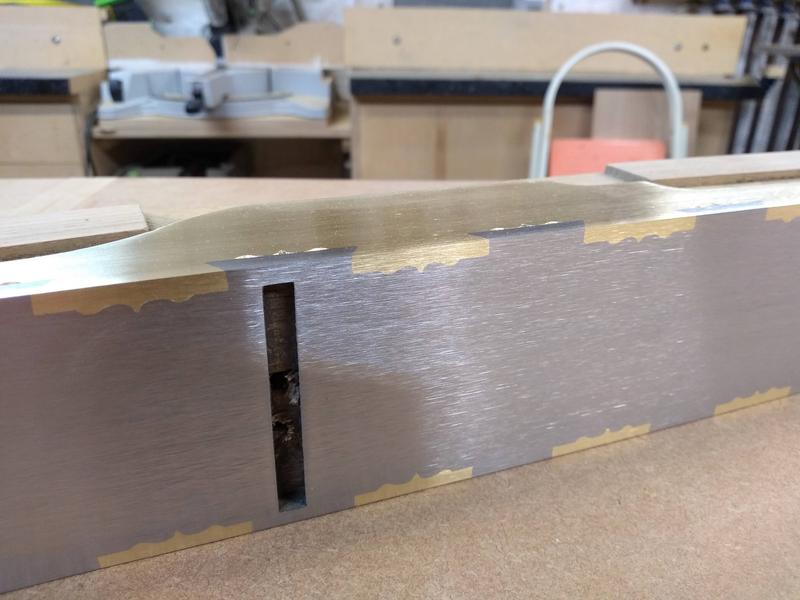
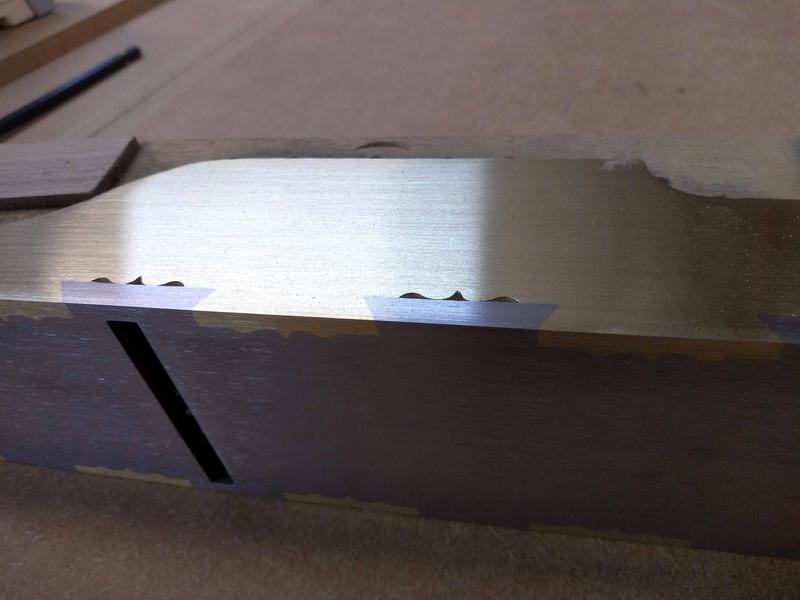
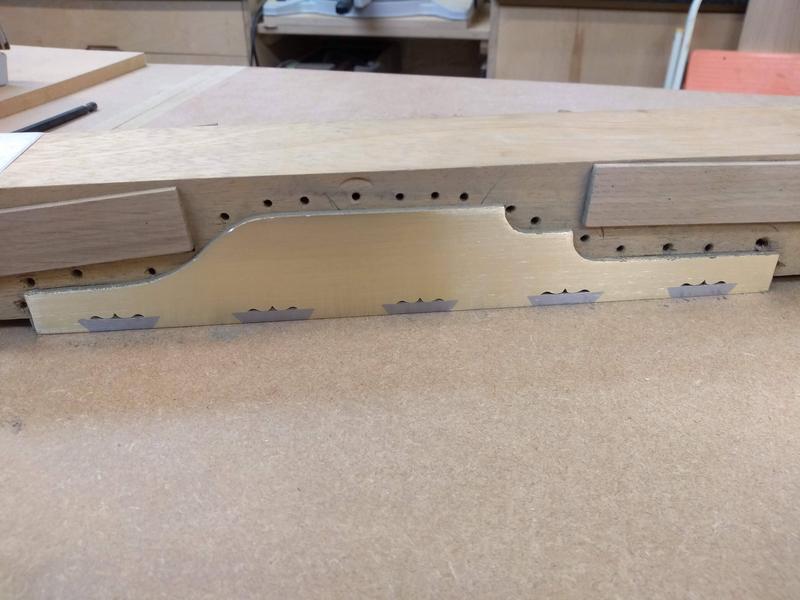
In total with filing and sanding this stage alone took around 5 hours and while they are not perfect I'm pretty happy with the results for my first attempt.
There are some gaps that I'm not happy with but the majority of them came up well.
The project still has a long way to go but I've learnt so much already from it. It's been hard work but rewarding too. I was most apprehensive of this stage and I'm glad its done, I don't think my arms could have taken much more hammering
The former is nothing elaborate just a lump of Iroko machined square.
I'm going for a lever cap design but with a single iron instead of a bridge and wedge.
Now that the plane sides have been cut to shape I can permanently fix them to the sole.
This is done by peining the metal surfaces together to create a tight fit that will not come apart.
I started by machining a piece of wood to the exact internal dimension of the sole. I made sure it was straight and square as this will help to hold the sides of the plane square when i peen them.
I fixed the piece of wood inside of the plane body and secured it in place with G cramps and screws.

It's make or break time, this is either going to go well or totally ruin all of the work so far leaving me with no choice but to scrap what I've done and start again.
I needed to peen the side dovetails first as this will drive the sole of the plane tight onto the sides.
I secured the plane into my bench vice and fixed a G-cramp around the dovetail I was working on. This was to help keep the metal from spreading outwards.
I then used a combination of metal punches to try and drive the metal into the cupid bows.
I found that working from the outer edge towards the centre helped to get the brass where it needed to go.

Filling the bow part was hard enough but trying to drive the brass all the way to the point of the cupid bow was incredibly difficult.
I found the hammering force needed was far greater than I had imagined and I was getting a lot of bounce from my bench vice making it even harder work.
I tried hammering on top of an anvil but found the plane would bounce even worse. At least with it held in a vice it left both hands free to work.
Here you can see that the bows are filled but I still need to drive the brass in to the point.

I also found that while brass is quite soft it's also brittle. On a few occasions small pieces would crack and break off as can be seen on the right of the first dovetail.

I knew this stage was going to be tough but it was much more difficult than I had anticipated. The bounce from my vice was hindering progress and my poor technique certainly wasn't helping either.
But I persevered, wedging a large bit of wood under my vice as a leg helped to take some of the bounce away and with each dovetail my technique was improving until they where all done.

All I had to do now was peen the steel dovetails on the side of the plane.
I thought I'd have no chance of getting it done, brass is softer than steel and that's been a nightmare but to my surprise the steel seemed easier to peen than the brass.
I used the same technique of clamping the plane in the vice and working from the outside in to drive the dovetail up tight.
With all of the peining done it was time to file away the surplus metal and flatten the sides to reveal the results.
I used a mixture of files to remove the bulk of the waste then fixed 60 grit sand paper to the bed of an over hand planer,
It has a solid cast iron bed which is very sturdy and nice and flat. I used that to flatten the sides and sole.
thankfully the side dovetails where looking good

And after a lot of filing and sanding the sole dovetails could be seen.


In total with filing and sanding this stage alone took around 5 hours and while they are not perfect I'm pretty happy with the results for my first attempt.
There are some gaps that I'm not happy with but the majority of them came up well.
The project still has a long way to go but I've learnt so much already from it. It's been hard work but rewarding too. I was most apprehensive of this stage and I'm glad its done, I don't think my arms could have taken much more hammering


