cornucopia
Established Member
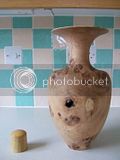
hello folks today I turned a 17" long by 8" square burr oak vase this morning and a boxwood box with a 18tpi thread.
here's the lump between centers- it was very heavy and out of balance

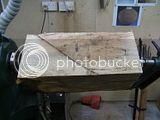
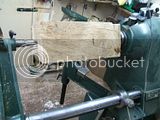
here it is knocked into the round still between centers
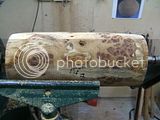
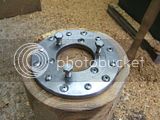
here is my 6" faceplate- don't worry about your plates going a bit rusty some say it actually helps the plate to grip!!
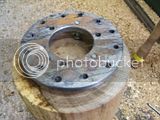
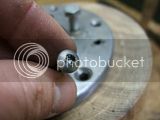
these are the screws I use ( this ones a bit chewed) there square drive self tapping sheet metal screws- they last ages and hold very well.
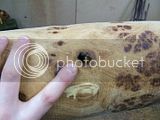
on the faceplate now roughed out a bit more and a little hole appears!!
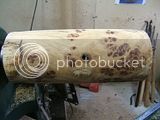
this is going to be a two piece vase- heres the neck shaped, it looks a bit daft stuck out on the end but you have to sand and finish this bit now before moving on
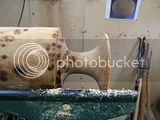
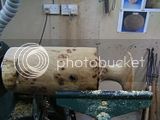
a little bit of rough shaping to give the idea
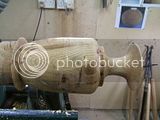
hollowed out and ready to part of
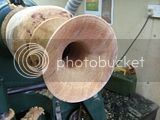
parted of- here you can see a little bit of wood still to remove by hand- i used a proxon carver but you could use rasps etc- if you left it thick it would crack the piece
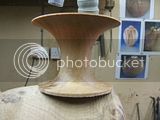
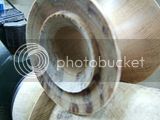
all gone
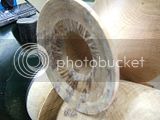
the top 2/3rds are now ready and the neck is fitted- to look at the form
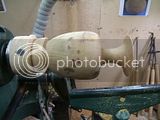
without the neck
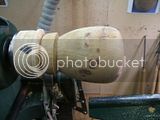
a tiny little shoulder for the neck to go
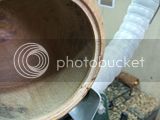
ready to sand- you can see the bottom 1/3rd still wet the top being thin is dry enough to sand already the bottom bit will get some help from a heat gun
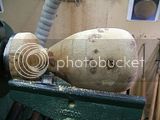
all done
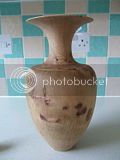
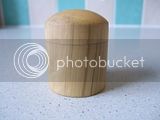
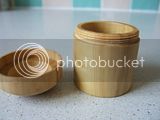
heres the little boxwood box- this is a bit of pratice for the upcoming nut and bolt box- an amazing wood I started sanding at 320- the inside is'nt sanded.
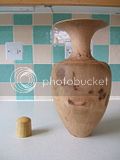
heres the two together
here's the lump between centers- it was very heavy and out of balance


here it is knocked into the round still between centers

here is my 6" faceplate- don't worry about your plates going a bit rusty some say it actually helps the plate to grip!!

these are the screws I use ( this ones a bit chewed) there square drive self tapping sheet metal screws- they last ages and hold very well.


on the faceplate now roughed out a bit more and a little hole appears!!


this is going to be a two piece vase- heres the neck shaped, it looks a bit daft stuck out on the end but you have to sand and finish this bit now before moving on


a little bit of rough shaping to give the idea

hollowed out and ready to part of

parted of- here you can see a little bit of wood still to remove by hand- i used a proxon carver but you could use rasps etc- if you left it thick it would crack the piece


all gone

the top 2/3rds are now ready and the neck is fitted- to look at the form

without the neck

a tiny little shoulder for the neck to go

ready to sand- you can see the bottom 1/3rd still wet the top being thin is dry enough to sand already the bottom bit will get some help from a heat gun

all done

heres the little boxwood box- this is a bit of pratice for the upcoming nut and bolt box- an amazing wood I started sanding at 320- the inside is'nt sanded.


heres the two together


