ok, so we are starting something here aren't we

my attempt:
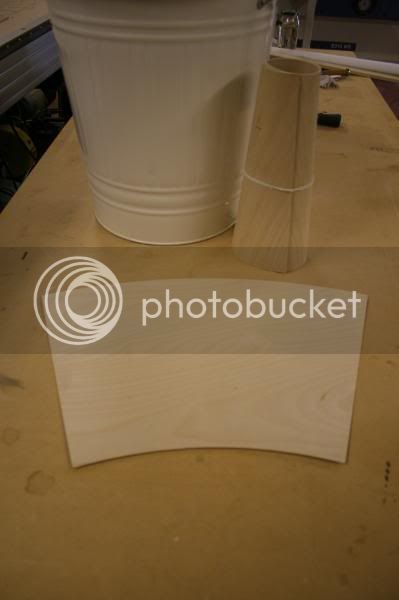
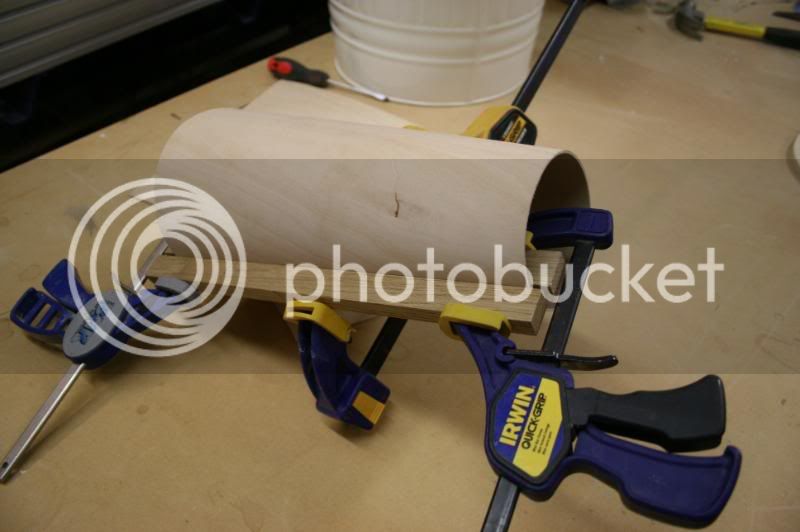
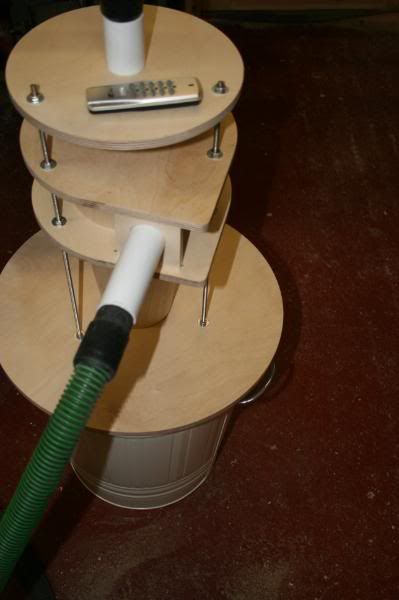
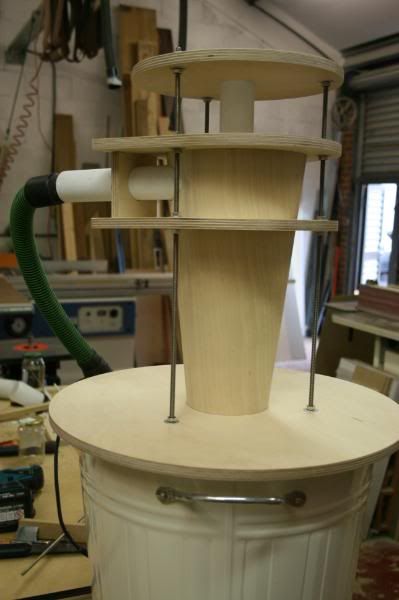
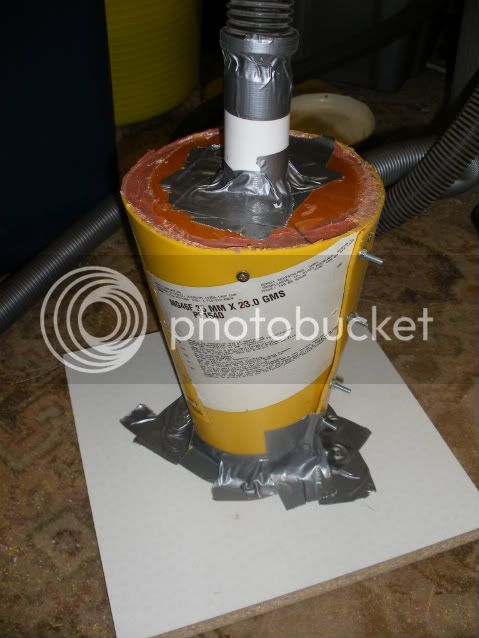
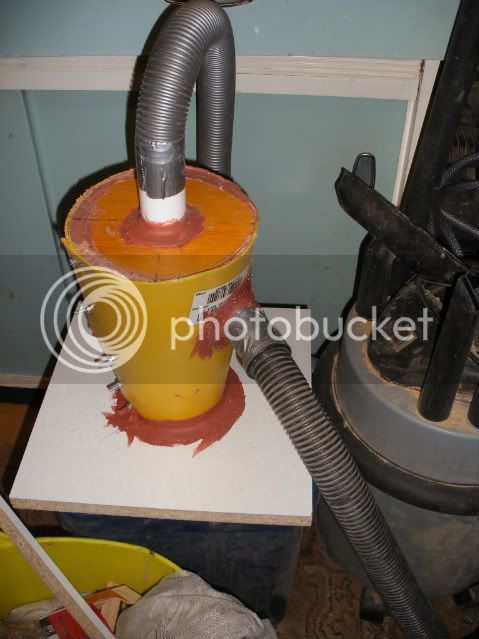
we are talking 1 plastic bucket, an old piece of pine, a few nuts and bolts and copious amounts of grip fill. (and some PVC pipe off cuts)
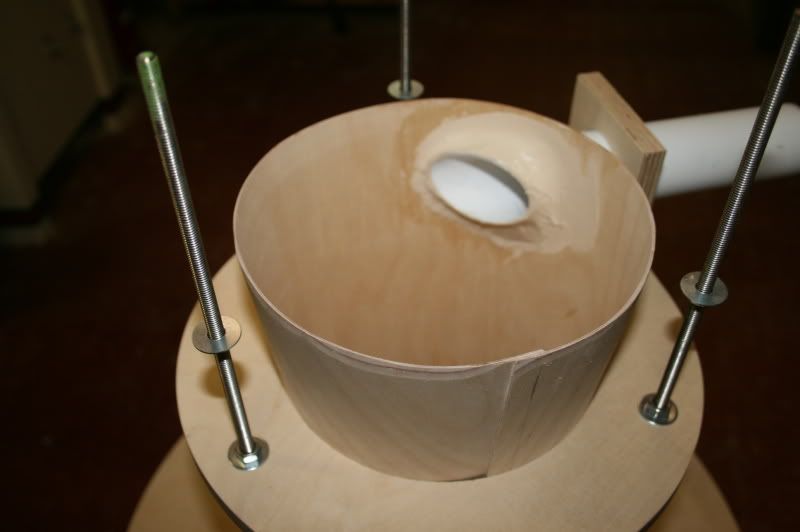
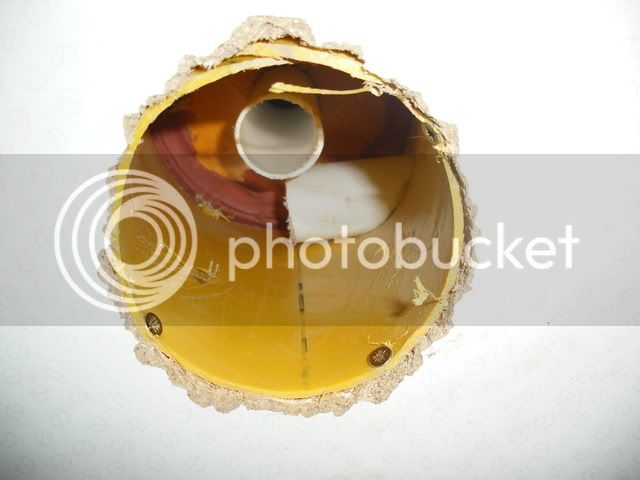
The vertical seam is grip filled inside and completely air tight, note to self, BUY A RIVET GUN!
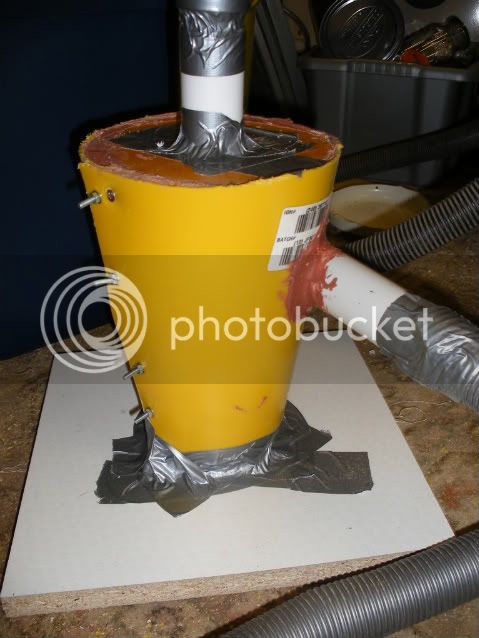
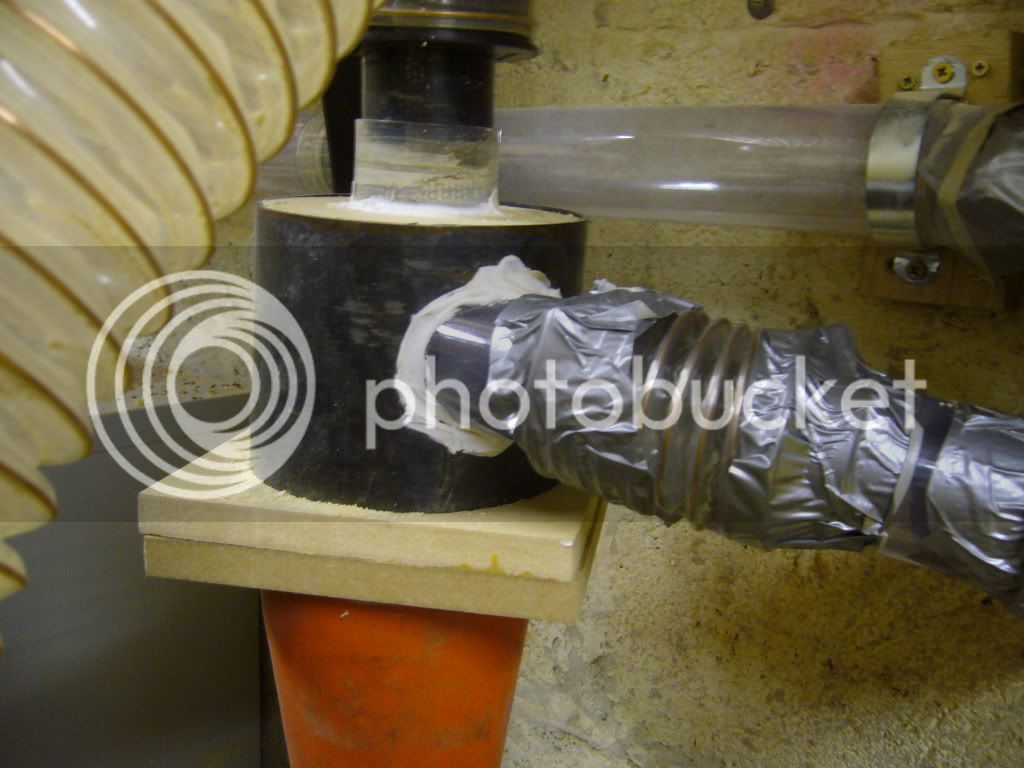
I extended the side port inside the cyclone because as I believe I've read that it can cause some undue turbulence (and thus loss of suction) if its left flush with the cyclone side.
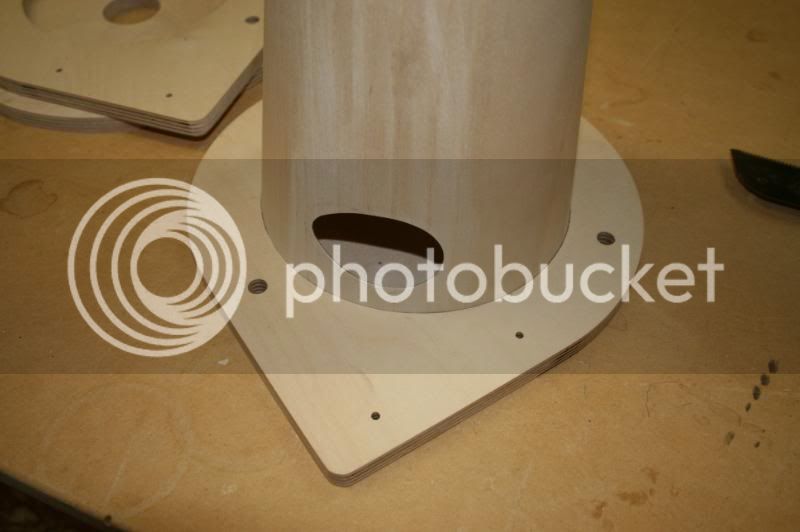
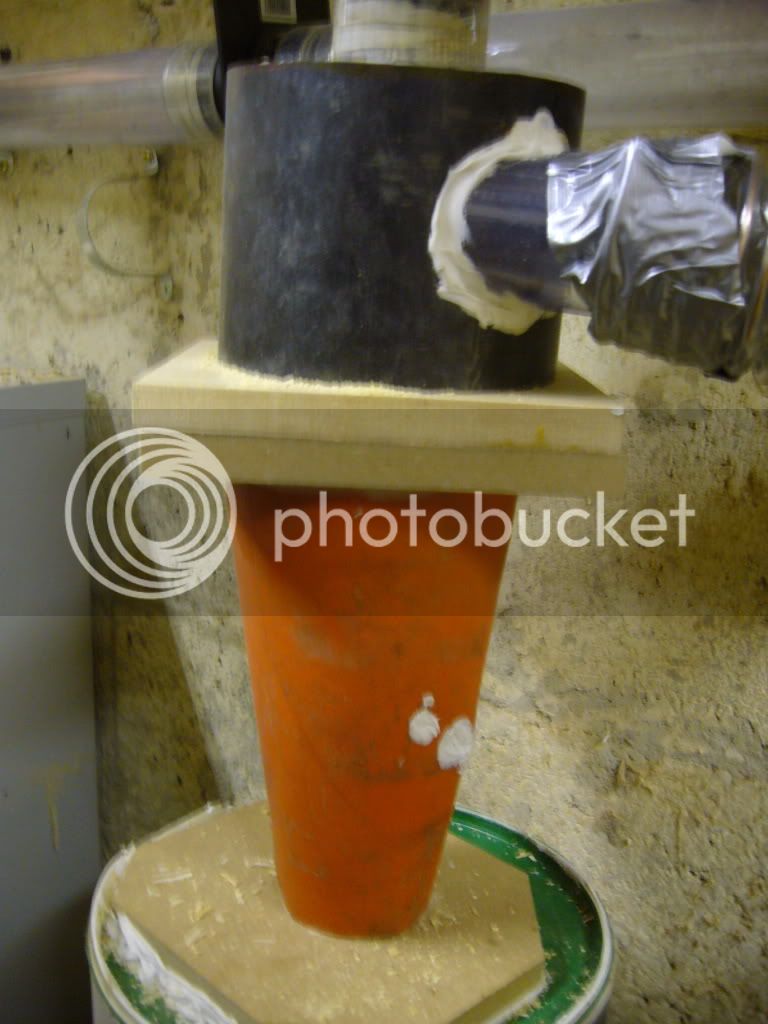
As far as possible I`ve tried to follow the dust deputy design, printing a picture from their website and based on the stated 2 inch inlet port, I derived the measurements:
approx 12 inches high, top diameter approx 7 inch, bottom diameter approx 3.5 inch
As per rules:
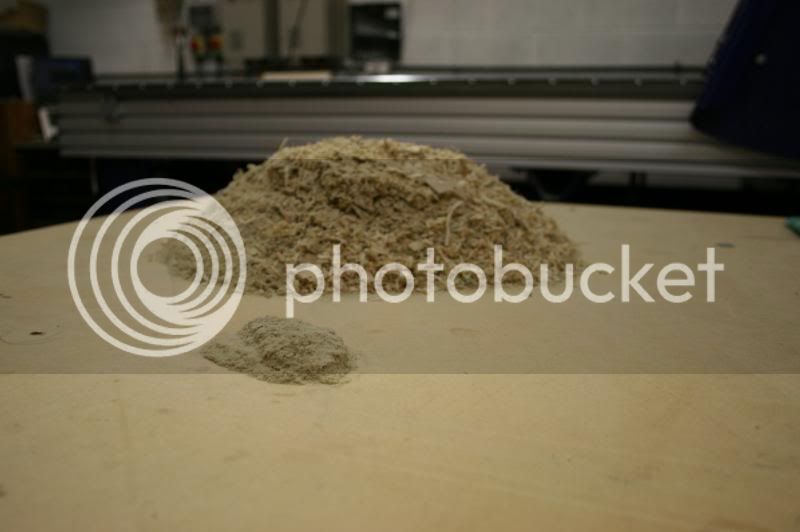
Before:
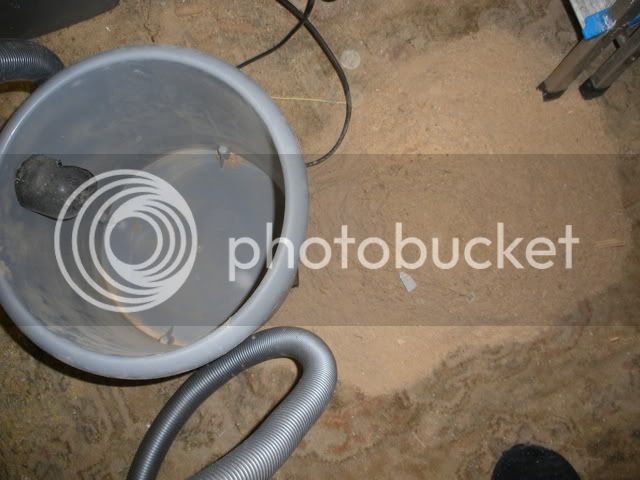
empty wickes wet `n` dry. big pile of dust, assorted sizes, fine and coarse including some chippings:
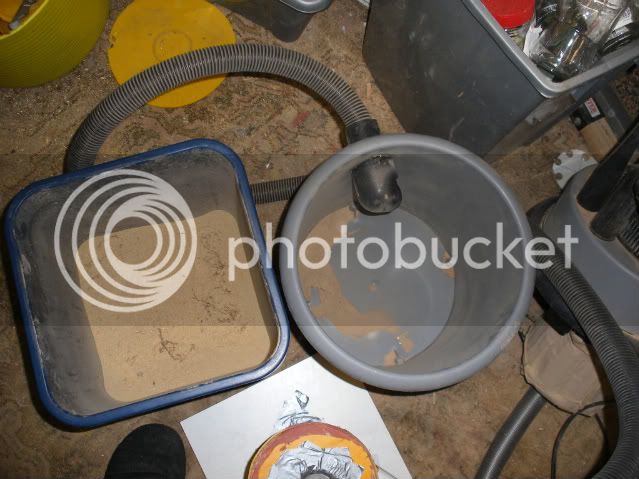
after
only very fine, dust made it to the vacuum. Large collection of material inside the "bin".
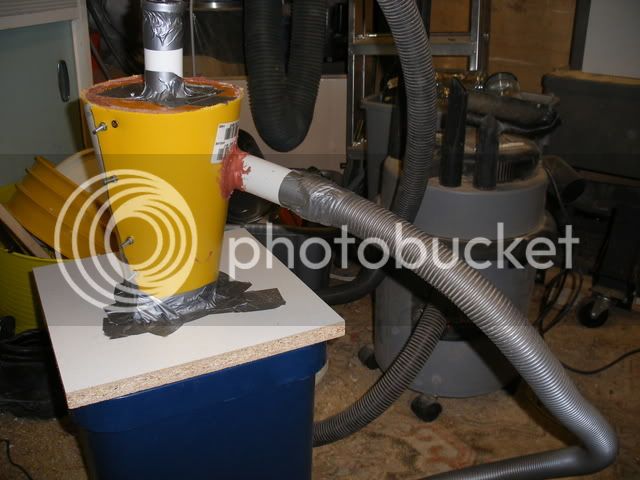
Interestingly I made a find, at one point I managed to block the inlet with dust and shavings, this made the vacuum labour BUT allowed me to trace leaks in the cyclone/bin.
A bit more duct tape and these were sorted.
enhancements
1) better gasket on bin/cyclone junction
2) top port is not yet fixed, to allow experimentation with depth into top of cyclone vs effect on collection
3) remove all duct tape and seal with grip-fill, NOTE to self, don't rush because you want to see if it works
I can assure you most of the joints are cleanly cut, grip fill and duct tape are hiding no bodgery 8)
what have I started.......
ITS ALIVE!!!!!! MUU HA HA HA HA HA HA HA HA ha ha a a a a
Steve (chuffed)
:twisted: