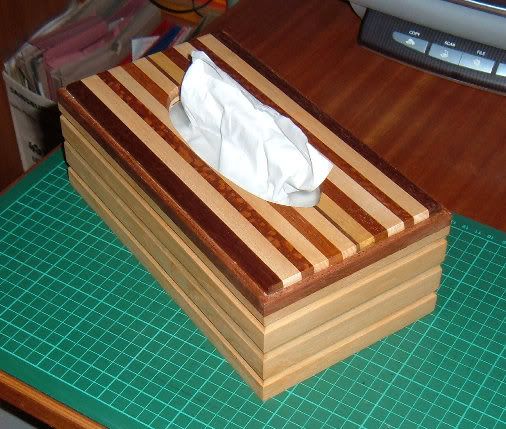
devonwoodies tissue box

UKworkshop.co.uk

Help Support UKworkshop.co.uk:

This site may earn a commission from merchant affiliate links, including eBay, Amazon, and others.

devonwoody

Established Member
Joined
11 Apr 2004
Messages
13,493
Reaction score
25
Location
Paignton Devon
Started a new box before completion of existing project completed :x
So found a bit of ash that has been laying around and prepared this 900mm length.
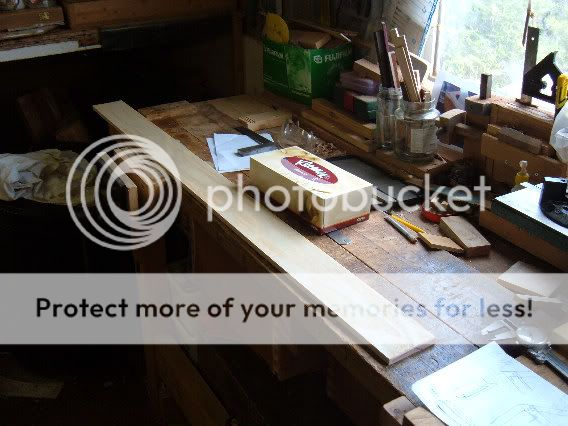
1w-19.jpg


Also dug out these veneers that were given me by a ukworkshop member which I thought would contrast nicely with the ash. (BTW what veneer is this?)
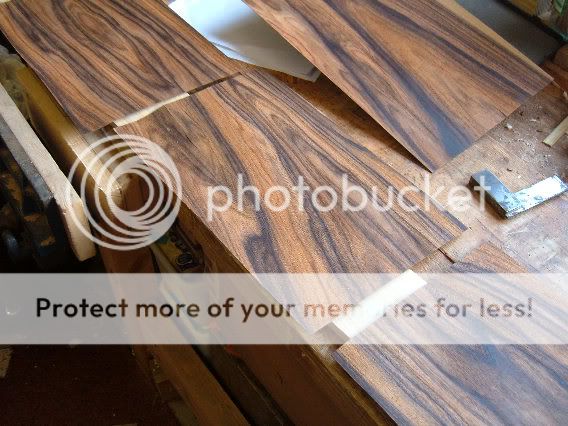
2w-19.jpg


The ideas was to infill the ash with the veneer as per pattern shown.
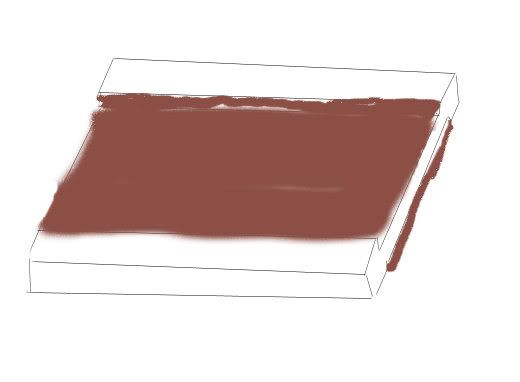
3wa.jpg


However when preparing the first dado things have not gone right.
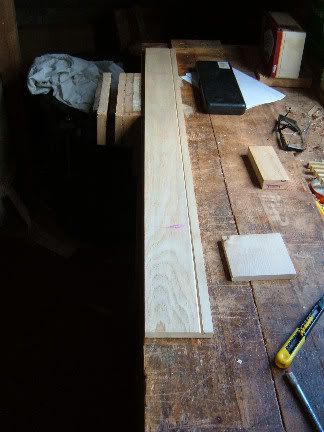
4w-16.jpg


So things are being redesigned on the run again, (veneers have been put away for another day).

Oh. and I have a brick pillar under construction ( to add a handrail to negotiate some steps in our garden.)
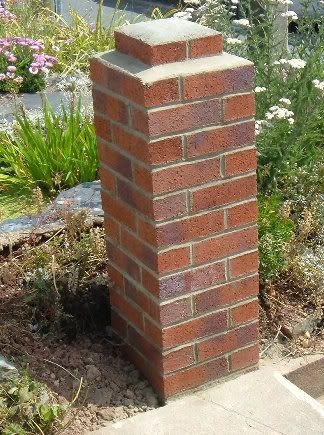
5w-17.jpg


(2.4 metres of softwood handrail cost £24 plus vat :roll: )
 
That veneer sounds posh. Thanks.

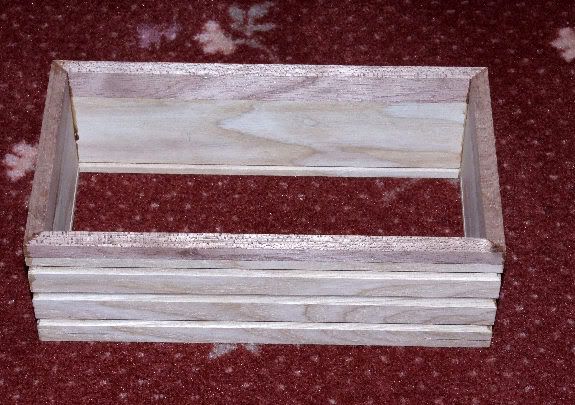
Used a couple of core bits in the router and put the complete length of timber through on the router table before cutting mitre corner joints.

Glued up and photographed before clean up.

6w-15.jpg
 
Cleaned up the excess glue, Titebond 3 is good but very runny.

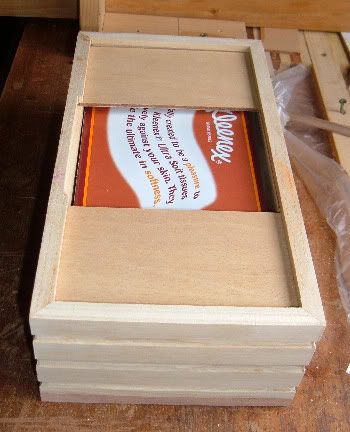
Fitted two sliding panels to hold the tissue box inside the carcass, the panels can be removed because the rebate has a section cut away at the centre portion. (idea from Martin at ukworkshop)

9w-14.jpg


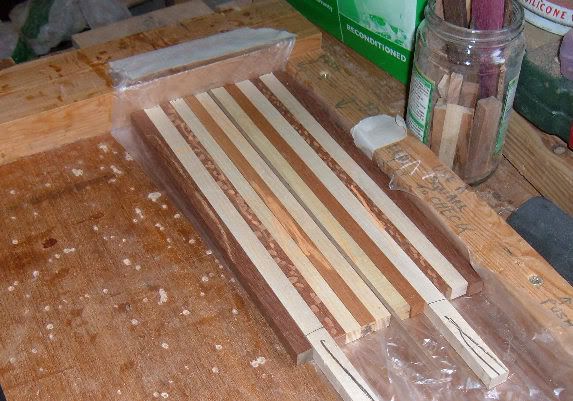
I like my strip formed lids, I have not had a failure due to warping over the past 5 years using this method, so layed out some more offcuts (the pile never seems to run short) .

8w-14.jpg


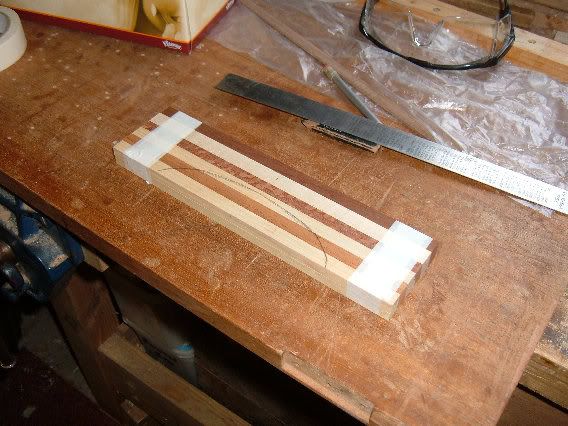
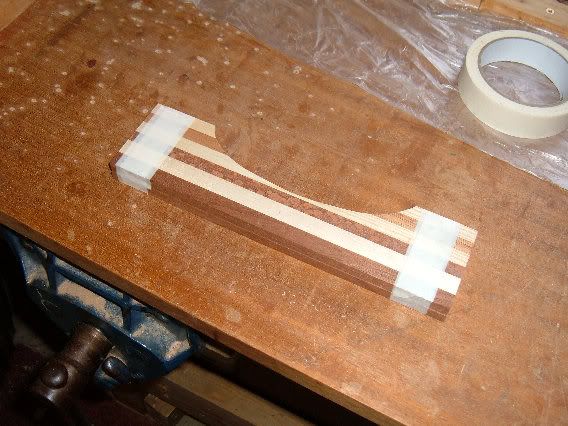
Glued up and two pieces marked up for the bandsaw and cut to shape.

10w-13.jpg


11w-13.jpg


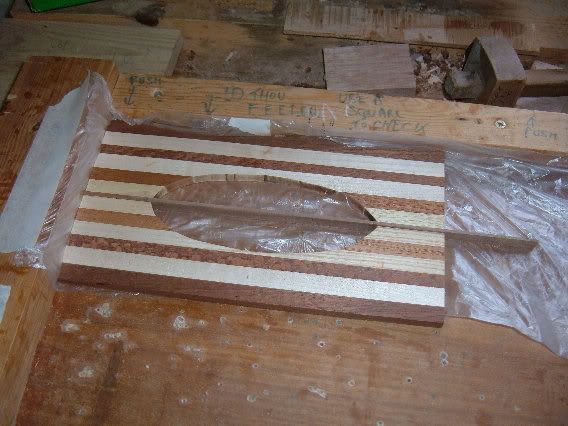
Rejoined with a contrasting piece of black walnut through centre (waste centre to be removed)

12w-13.jpg


I think I should have put a round over bit round the inside edge of the aperture before this last join up?
Do you think it is safe to drop this piece on a router table and guide round?
Or should I sand to shape by hand?
 
John, I rounded over mine as one complete lid with no problem, just watch out for scorch marks, what you could do is raise your cutter a couple of thou short for the first cut then finish off with the cutter in the right position.
 
Pleased to say the internal roundover went without an hitch.

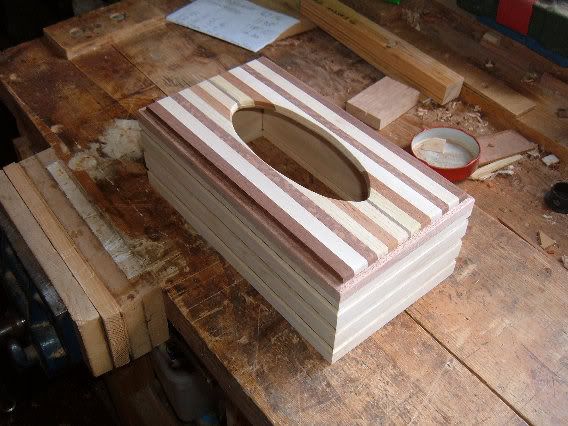
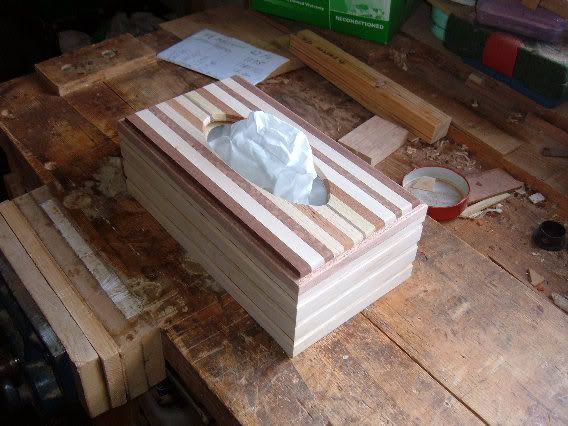
Rebated the under lid to drop on to box and put an external roundover bit on its outside edge, dropped the lid on and put in a tissue box for a preview.

13w-12.jpg


14w-12.jpg


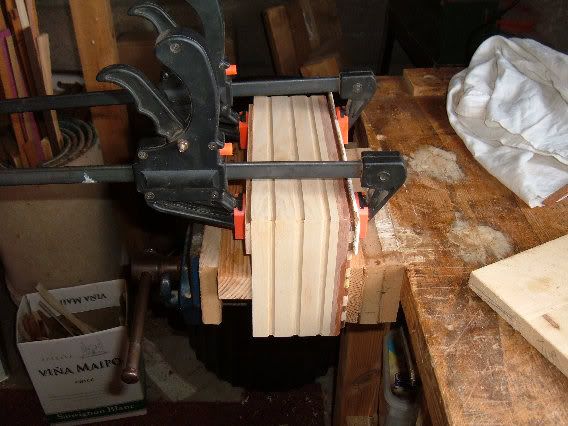
Glued the top lid on and secured in vice and clamps.

15w-11.jpg


Should have the box in operation for the final day of test match for tears
later today
 
Box not needed after all. :)

The item is ready for a final sand down, coat of sealer and wax, can't wait to get started on another tissue box got a new idea, :wink: , at least I think it is. Some construction problems to overcome so it might be a pipe dream.

See yeah.
 
Back
Top