You are using an out of date browser. It may not display this or other websites correctly.
You should upgrade or use an alternative browser.
You should upgrade or use an alternative browser.
Dave's Metal Stuff
- Thread starter DTR
- Start date

Help Support UKworkshop.co.uk:
This site may earn a commission from merchant affiliate
links, including eBay, Amazon, and others.
Eric The Viking
Established Member
- Joined
- 19 Jan 2010
- Messages
- 6,599
- Reaction score
- 76
That's nice!
I recognise a Black & Decker Mk. 2 drill stand when I see one!
The original clamp carried the drills with two locating pins at the front and a wide hole on-axis at the back, for a clamping screw. I still have mine in occasional use, when it's really handy for making good square holes in the middle of boards, or anything else I can't get under the drill press. The B+D drill it usually gets used with is a transitional one - plastic body but has both the locating lugs on the front and a collar around the shaft, for the now-standard clamp designs.
So whenever it gets retired from that purpose (and I get my long coveted Super Seven), I'll know what to make with it
Eric The Viking":3jzxwaxc said:I recognise a Black & Decker Mk. 2 drill stand when I see one!
I'll have to take your word for that, but you've described it to a T! Unfortunately the clamp / moving head is in just as crusty condition as the base, albeit still functional. There's another variety of drill stand that only has a single clamping ring for the drill. I've seen a few of these fitted with a bush to take a tapping spindle; a far simpler conversion than my one!

£12.50 (£1.25 / count)
£14.45 (£1.44 / count)
JSP M632 FFP3moulded Disposable Dustmask (Box of 10) One Size suitable for Construction, DIY, Industrial, Sanding, dust protection 99 Percent particle filtration Conforms and Complies to EN 149
Amazon.co.uk

£400.66
Trend Portable Benchtop Router Table with Robust Construction for Workshop & Site Use, 240V, CRT/MK3
Qwikfast Trade & DIY Supplies Limited

£96.66
£101.95
O'SKOOL Mortise and Tenon Jig is Ideal for cabinets, Chairs, and Table Construction Using a Plunge Router
Amazon US

£17.99 (£1.80 / count)
£27.44 (£2.74 / count)
3M 8822 Disposable-fine dust mask FFP2 (10-pack)
Amazon.co.uk

£30.95
£40.82
Tracer ProScribe Tool with Deep Hole Pencil, Lead Holster and Carry Case (DIY, Woodworking, and Carpentry Multi-Function Scribe Tool)
Build and Plumb Materials Online
Dave
You have made some very nice thing, I am amazed how some can take a trash pile and make a very good tool. The bushing on the banjo, I guess why make a new one when the bushing made it like new. Very nice fix.
I stand amazed.
Nelson
You have made some very nice thing, I am amazed how some can take a trash pile and make a very good tool. The bushing on the banjo, I guess why make a new one when the bushing made it like new. Very nice fix.
I stand amazed.
Nelson
Thank you Nelson 
The Hobbies lathe that I made that bush for may reappear in this thread very soon...... the head and tailstock sockets are non-standard stub-length 1MTs. Unfortunately it's the narrow end of the taper rather than the "business" end, so it's not as simple as just cutting a standard 1MT shank to fit. Up till now I've been turning down standard shanks to fit, but this is a pain. Enough is enough, I'm going to bore out the tapers to make them standard......
The Hobbies lathe that I made that bush for may reappear in this thread very soon...... the head and tailstock sockets are non-standard stub-length 1MTs. Unfortunately it's the narrow end of the taper rather than the "business" end, so it's not as simple as just cutting a standard 1MT shank to fit. Up till now I've been turning down standard shanks to fit, but this is a pain. Enough is enough, I'm going to bore out the tapers to make them standard......
Togalosh
Established Member
Dave, that's ace !.. I didn't know such thing existed .. but I have struggled to tap straight & wondered how the hell it should be done.
I want one.
Stoopid question; can you then use this with a die as well ? (Obviously not in that chuck)
Togs
I want one.
Stoopid question; can you then use this with a die as well ? (Obviously not in that chuck)
Togs
Thanks Togs  Not my idea, obviously, just my interpretation. There are one or two commercially available options, but it's cheap and simple to knock one together from scrap.
I can't see a reason why it wouldn't work with a die. All it would need is a mandrel to suit a common tailstock die holder. Having a lathe though I've never felt the need.
I can't see a reason why it wouldn't work with a die. All it would need is a mandrel to suit a common tailstock die holder. Having a lathe though I've never felt the need.
Togalosh
Established Member
DTR":21sna48x said:Thanks Togsbut it's .. simple to knock one together ..
Ah, you assume too much of my skills & tooling, but thank you.
My lathe is yet to run & it's been 12 months since I bought it (& all the upgrade kit).. ho hum.
I've been working on the screw and nut for my Hi Vice, as posted in my other thread. But not everything has gone to plan.......
I started by facing off the nut block in the chuck. Then I drilled a tapping hole in the block:
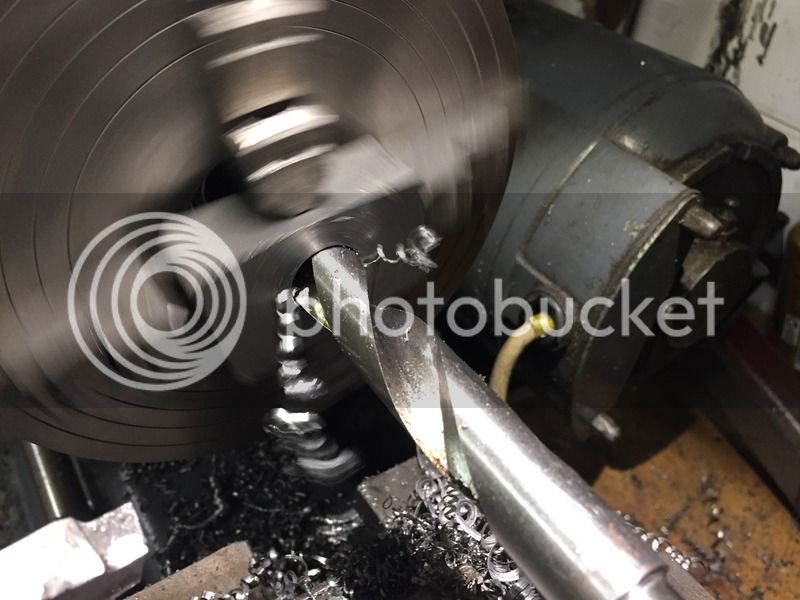
Screwcutting the thread:
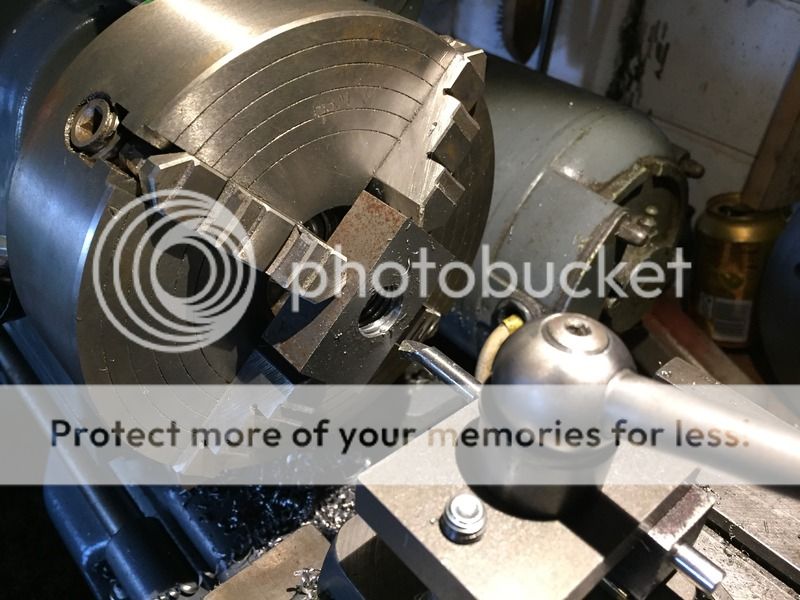
I screwcut most of the way, then finished with a tap.
That's when I discovered it had gone pear shaped. I found that the tapped hole wasn't square to the face of the nut. At first I thought the tap must have wandered off course, but the thread crests were all even (they would be different thicknesses if the tap had wandered). I can only guess that the block must have shifted after I faced it off, but before cutting the thread. Ho Hum, I'll come back to that later......
Onto the vice screw. Facing off a long bar:
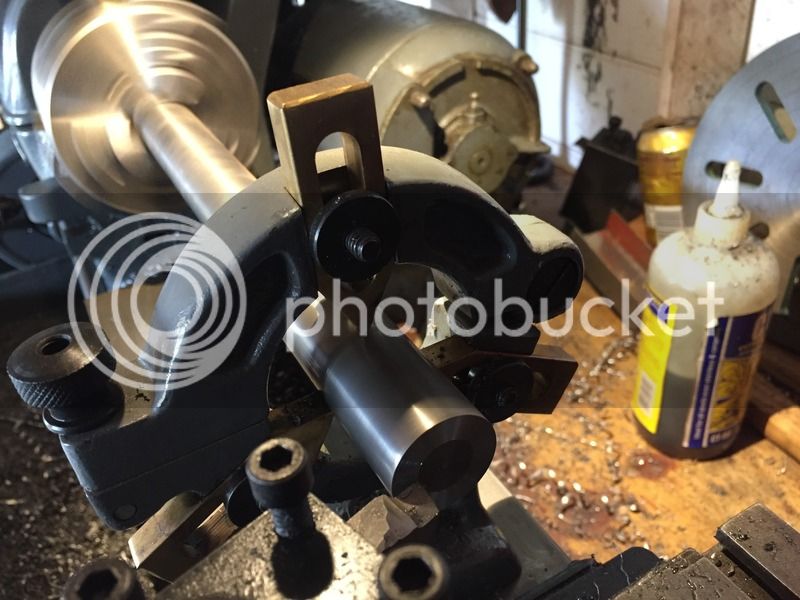
Then turned everything but the screw head down to diameter. Some hogging later...
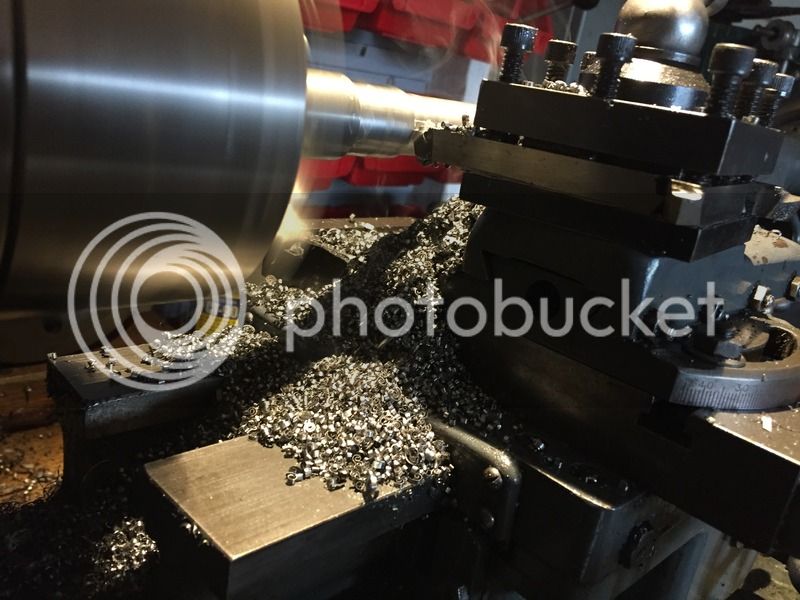
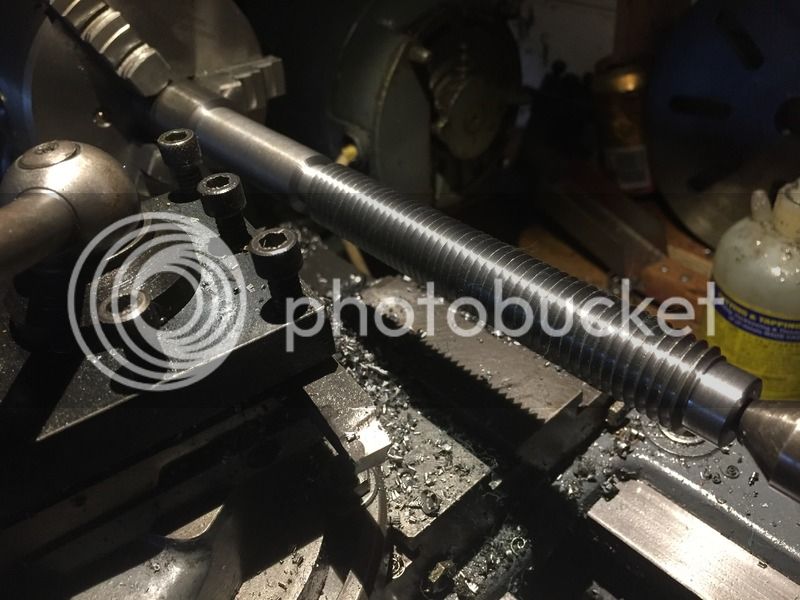
Screwcutting the thread:
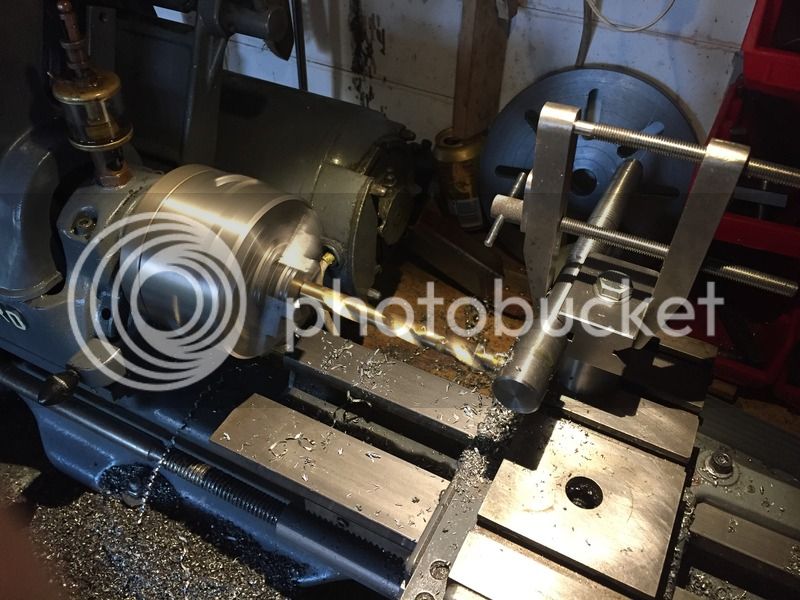
And drilling a cross-hole for the tommy bar:
I started by facing off the nut block in the chuck. Then I drilled a tapping hole in the block:

Screwcutting the thread:

I screwcut most of the way, then finished with a tap.
That's when I discovered it had gone pear shaped. I found that the tapped hole wasn't square to the face of the nut. At first I thought the tap must have wandered off course, but the thread crests were all even (they would be different thicknesses if the tap had wandered). I can only guess that the block must have shifted after I faced it off, but before cutting the thread. Ho Hum, I'll come back to that later......
Onto the vice screw. Facing off a long bar:

Then turned everything but the screw head down to diameter. Some hogging later...

Screwcutting the thread:

And drilling a cross-hole for the tommy bar:

Now to fix that nut!
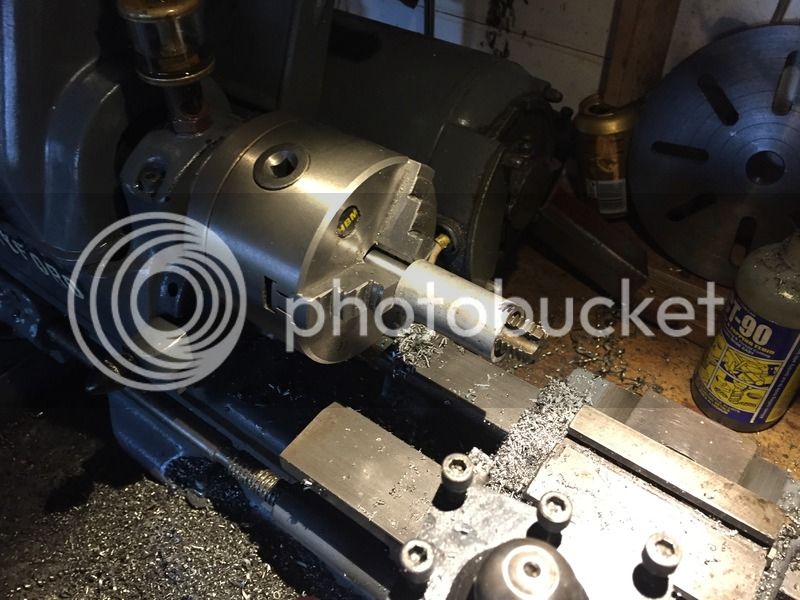
I found a random bit of pipe / conduit and faced either end. Then I mounted the tap used earlier in the chuck, and slid the conduit over the top:
Next I tightened the nut up against the conduit and used the tap as a mandrel:
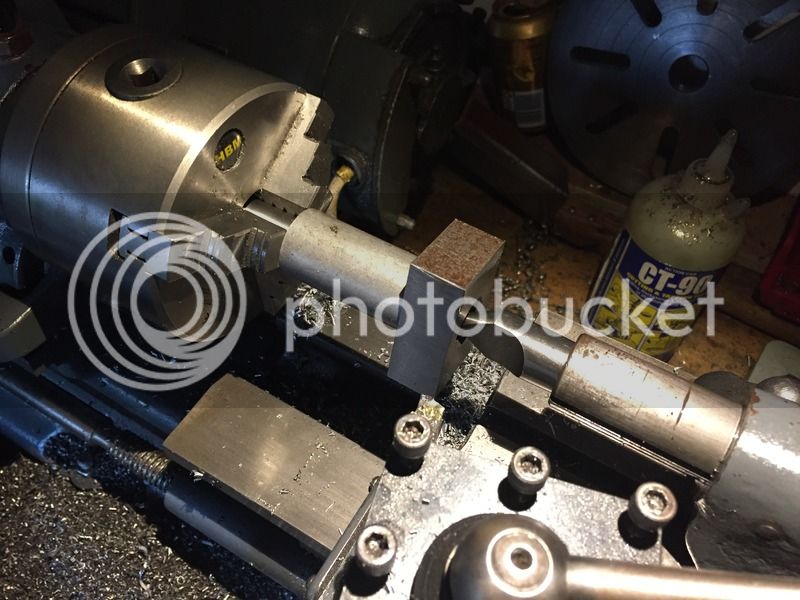
Now the nut can be faced off perpendicular to the thread axis. One face done, one to go.....
I found a random bit of pipe / conduit and faced either end. Then I mounted the tap used earlier in the chuck, and slid the conduit over the top:

Next I tightened the nut up against the conduit and used the tap as a mandrel:

Now the nut can be faced off perpendicular to the thread axis. One face done, one to go.....
That IS ingenious. One to file away in the unreliable memory cells for future reference.
dickm":1n6ou3h9 said:That IS ingenious. One to file away in the unreliable memory cells for future reference.
More of a bodge to get me out of a tight spot (hammer)
Eric The Viking
Established Member
- Joined
- 19 Jan 2010
- Messages
- 6,599
- Reaction score
- 76
Dave, you're just showing off.
And long may it continue -- I'm learning loads
Best, etc.
E.
And long may it continue -- I'm learning loads
Best, etc.
E.
AES
Established Member
+1 for EtV's comment (and others). Not only good motivation Dave, but a lot of good thinking to be picked up from your posts and - hopefully - applied to my own work.
Thanks for posting.
AES
Thanks for posting.
AES
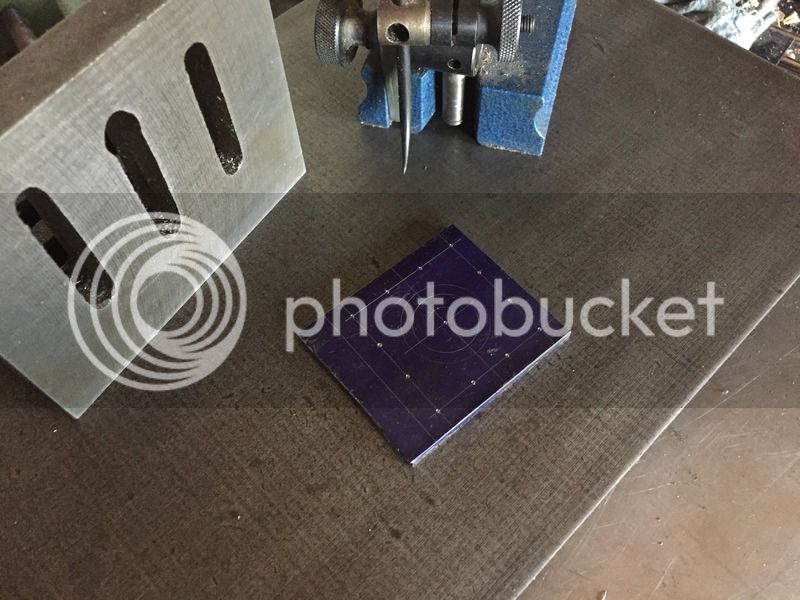
Making the garter that captures the leadscrew.....
Marked out:
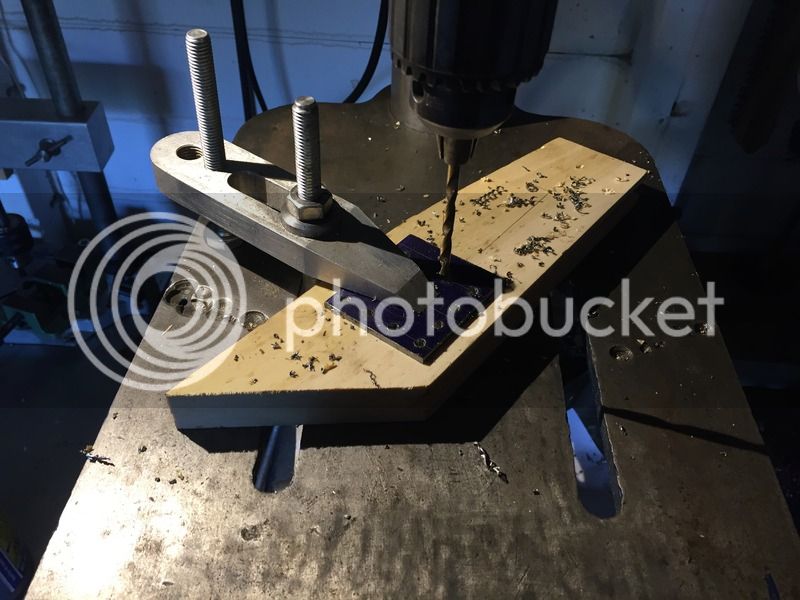
Fixing screw holes drilled on the pillar drill:
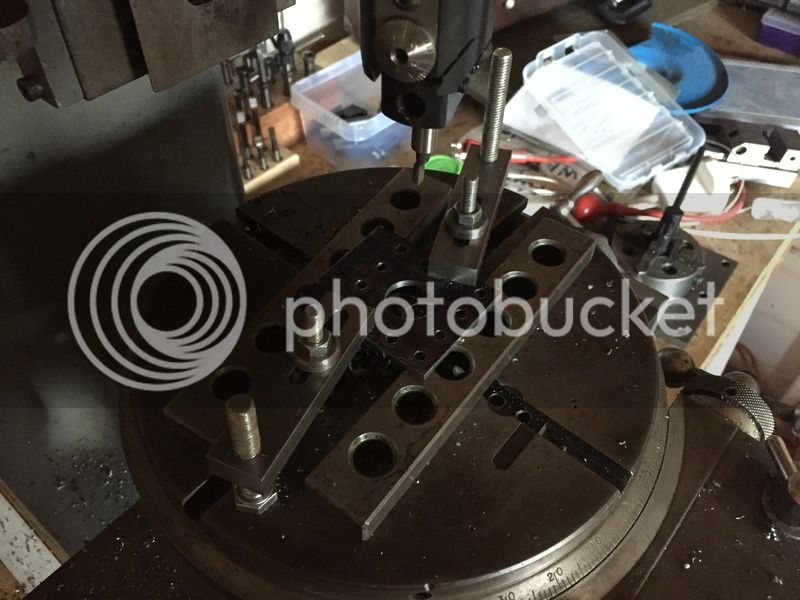
And boring the hole for the leadscrew. Normally I'd do this sort of job on the lathe, but I thought I'd try out the boring head on the mill:
Next I need to trim it to length, then saw it in half....
Marked out:

Fixing screw holes drilled on the pillar drill:

And boring the hole for the leadscrew. Normally I'd do this sort of job on the lathe, but I thought I'd try out the boring head on the mill:

Next I need to trim it to length, then saw it in half....
Super work, but WHO butchered the table on that pillar drill? Don't think I've ever seen one that bad!
Similar threads
- Replies
- 24
- Views
- 1K
- Replies
- 18
- Views
- 1K


