Dave's Metal Stuff

UKworkshop.co.uk

Help Support UKworkshop.co.uk:

This site may earn a commission from merchant affiliate links, including eBay, Amazon, and others.
So Doris has a "third hand" type stand for when her carvings involve soldering, similar to this one...

5839F60D-84BD-4D85-8432-027F7D2E69DF-1383-000003848491182D.jpg


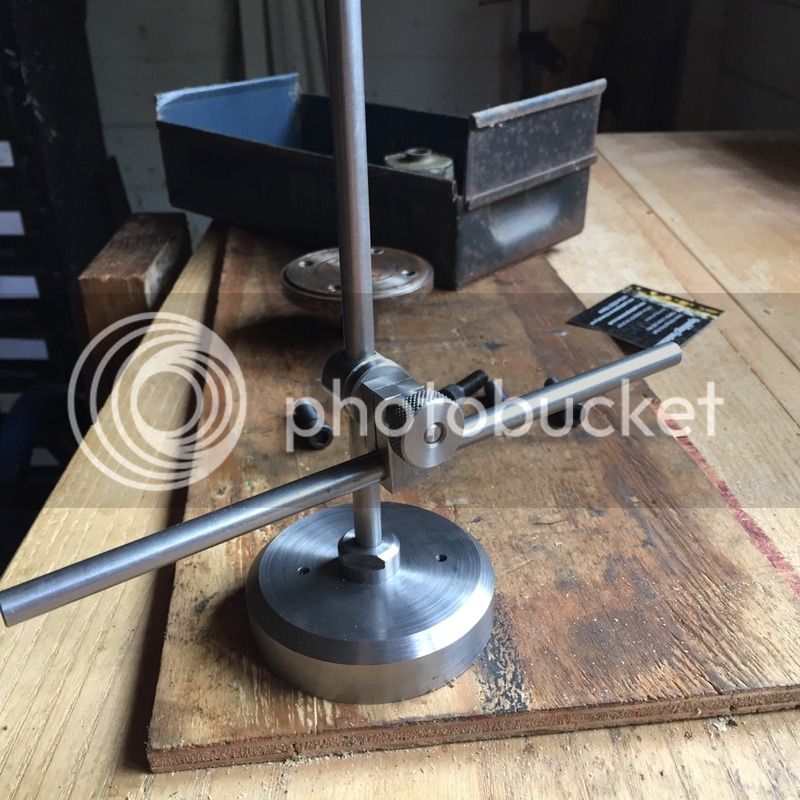
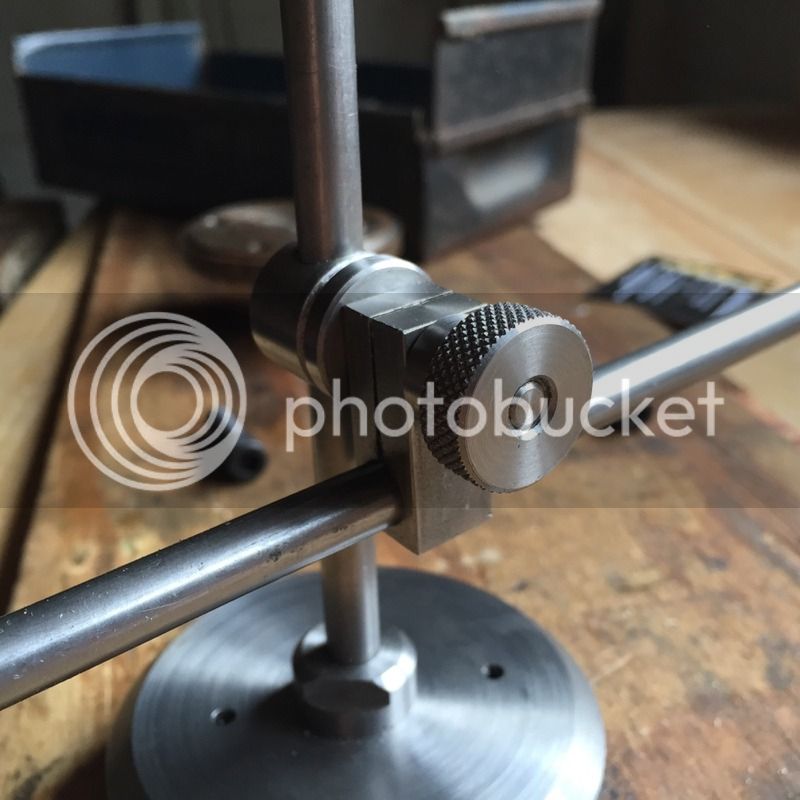
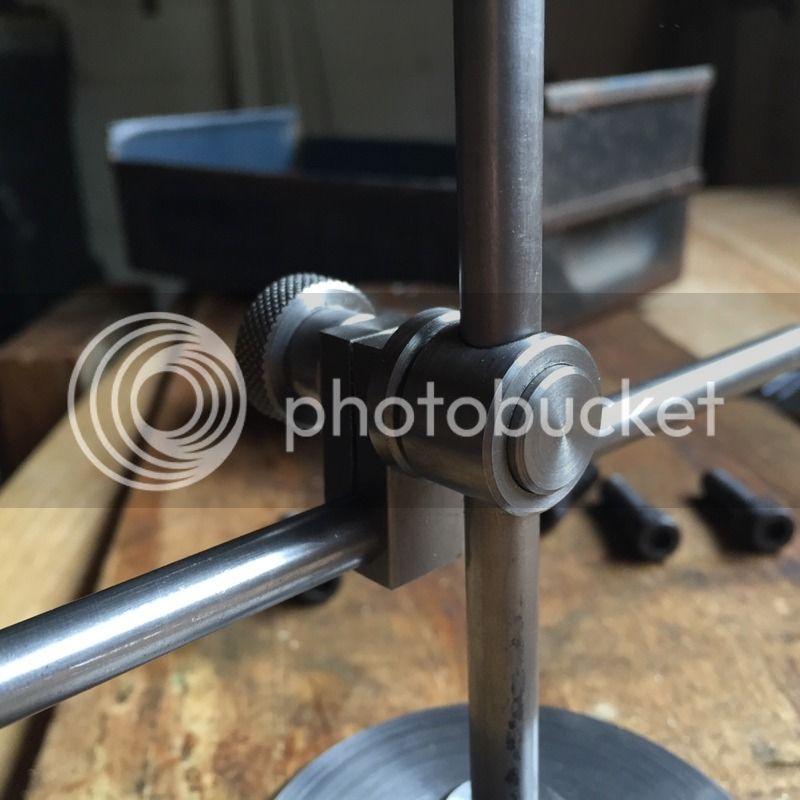
...but she found it a bit lacking. The latest project is to make a better engineered one:

D12F6E08-5CF4-40CB-B948-EF2D612898E8-426-000000AA0B1CAF1B.jpg


DCA84768-4380-489C-B6B5-0E72AB5A5B1B-426-000000AA1478C579.jpg


CAB275E1-ED85-4579-AAD2-8B8BF8B4D237-426-000000AA2090694B.jpg


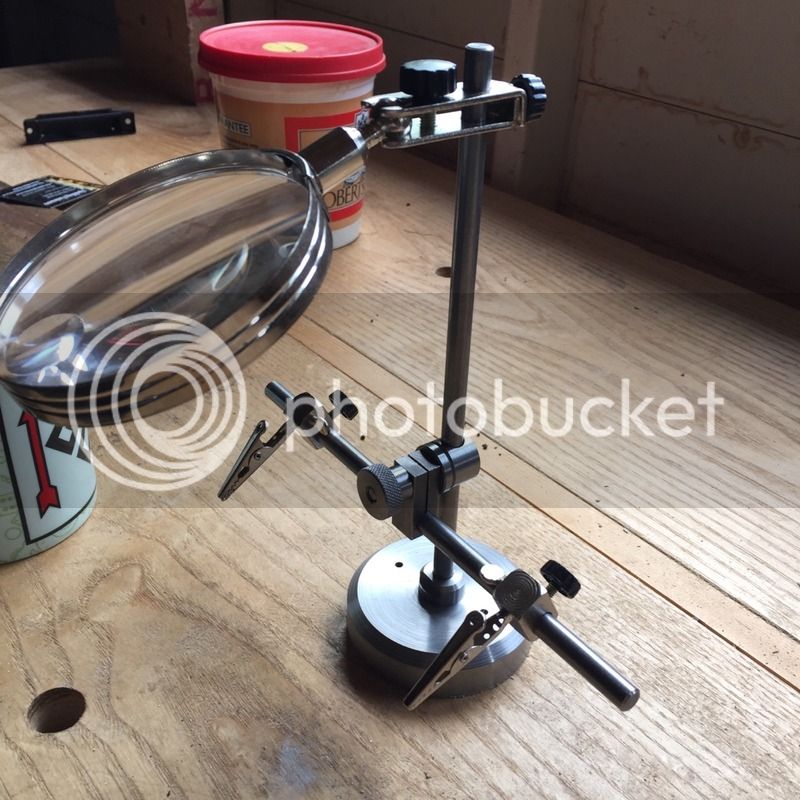
And with the croc clips borrowed from the original stand, until I make some better arms:


B95B4B9E-A93C-40CD-8063-9DFF3295E22C-1383-000003870B360270.jpg
 
That knurling does look good. Good enough to make yourself a wood turning texturing tool I would have thought?!
 
And BTW DTR, I don't know what thread the mandrel/nose is on the Adept, but as you're looking for a chuck (s?), I can recommend Arc Euro Trade without hesitation - usual disclaimers. I bought a couple of bigger ones for my little Chinese lathe (3 & 4 jaw - backplate system, not threaded) and out of the box they were pretty accurate on run out (+/- 0.2 mm if I remember correctly) and at quite reasonable prices too I thought.

HTH

AES
 
Thanks AES, I have already been an Arc customer on numerous happy occasions :) I'm holding out for a chuck on e**y at the moment, but as I keep forgetting to bid....
 
OK DTR, glad you know Arc. I've had nothing but good experiences with them. But re the bay, as my Aussie friends always said (about their national lottery) "You've got be in it to win it mate"!

(hammer)

AES
 
Here's another happy Arc customer - they used to attend the MEX shows but sadly gave up a couple of years ago.

That's very nice work again Dave

Rod
 
Here's my current project, a tapping stand. The usual advice with tapping is to tap while the work is still under the pillar drill (off power, turned by hand) in order to keep the tap square with the hole. That's how I've tapped for years, but I always end up rapping my knuckles on something whilst trying to turn the chuck. There are lots of homemade tapping stands on the web, often made from old drill stands, so finally I'm making my own.

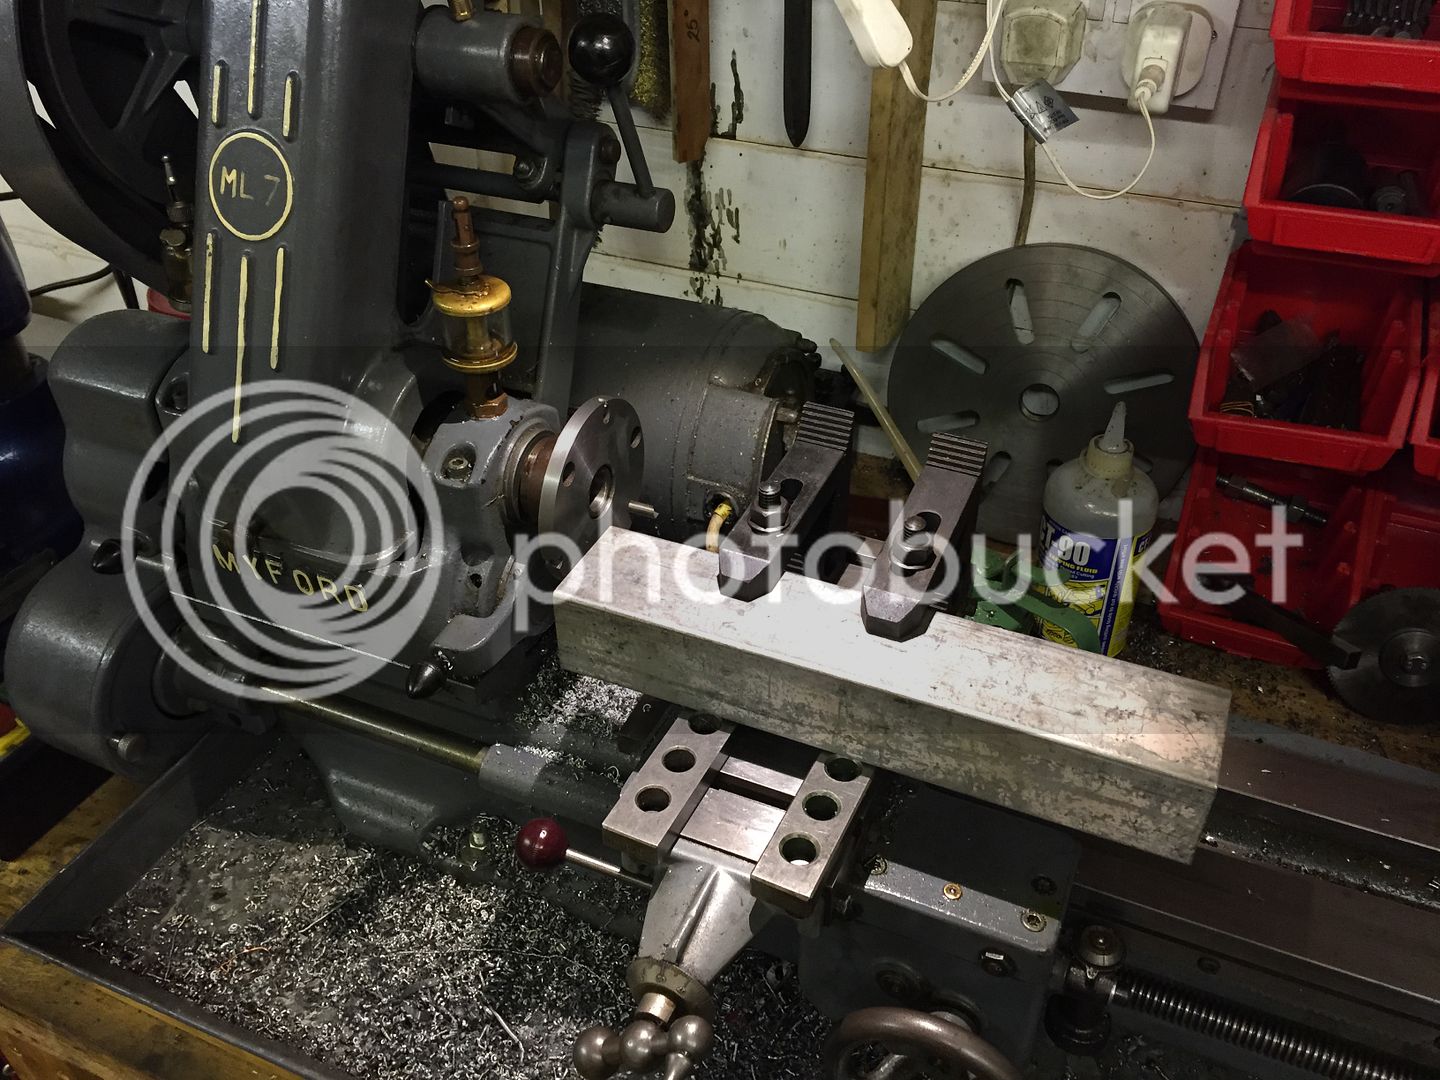
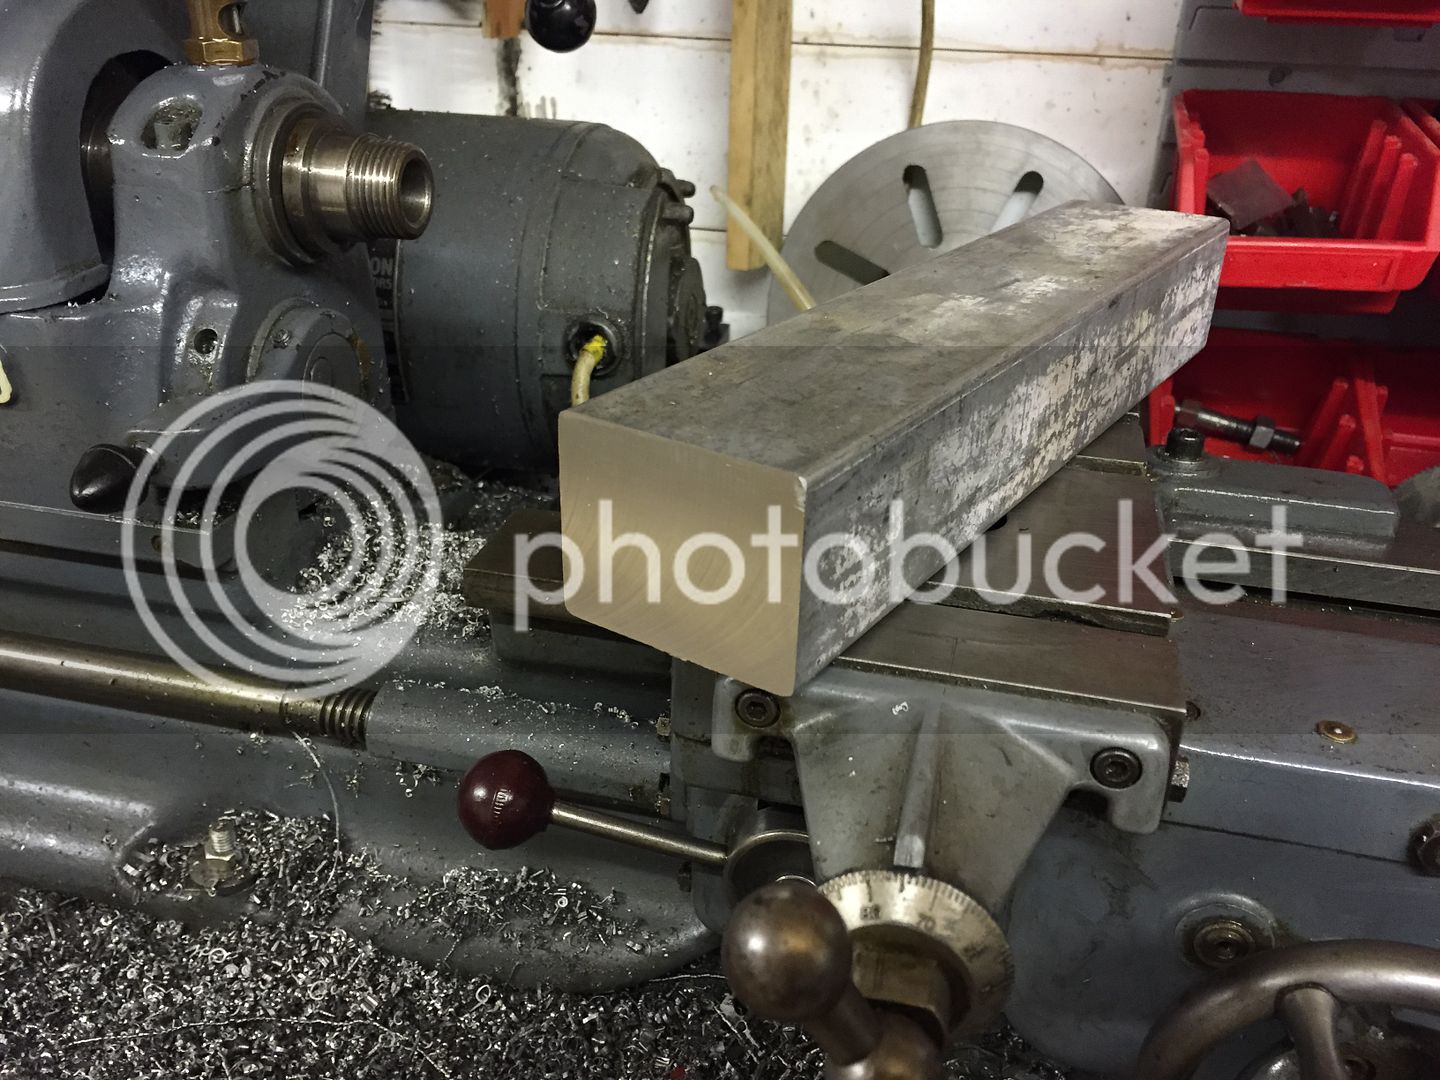
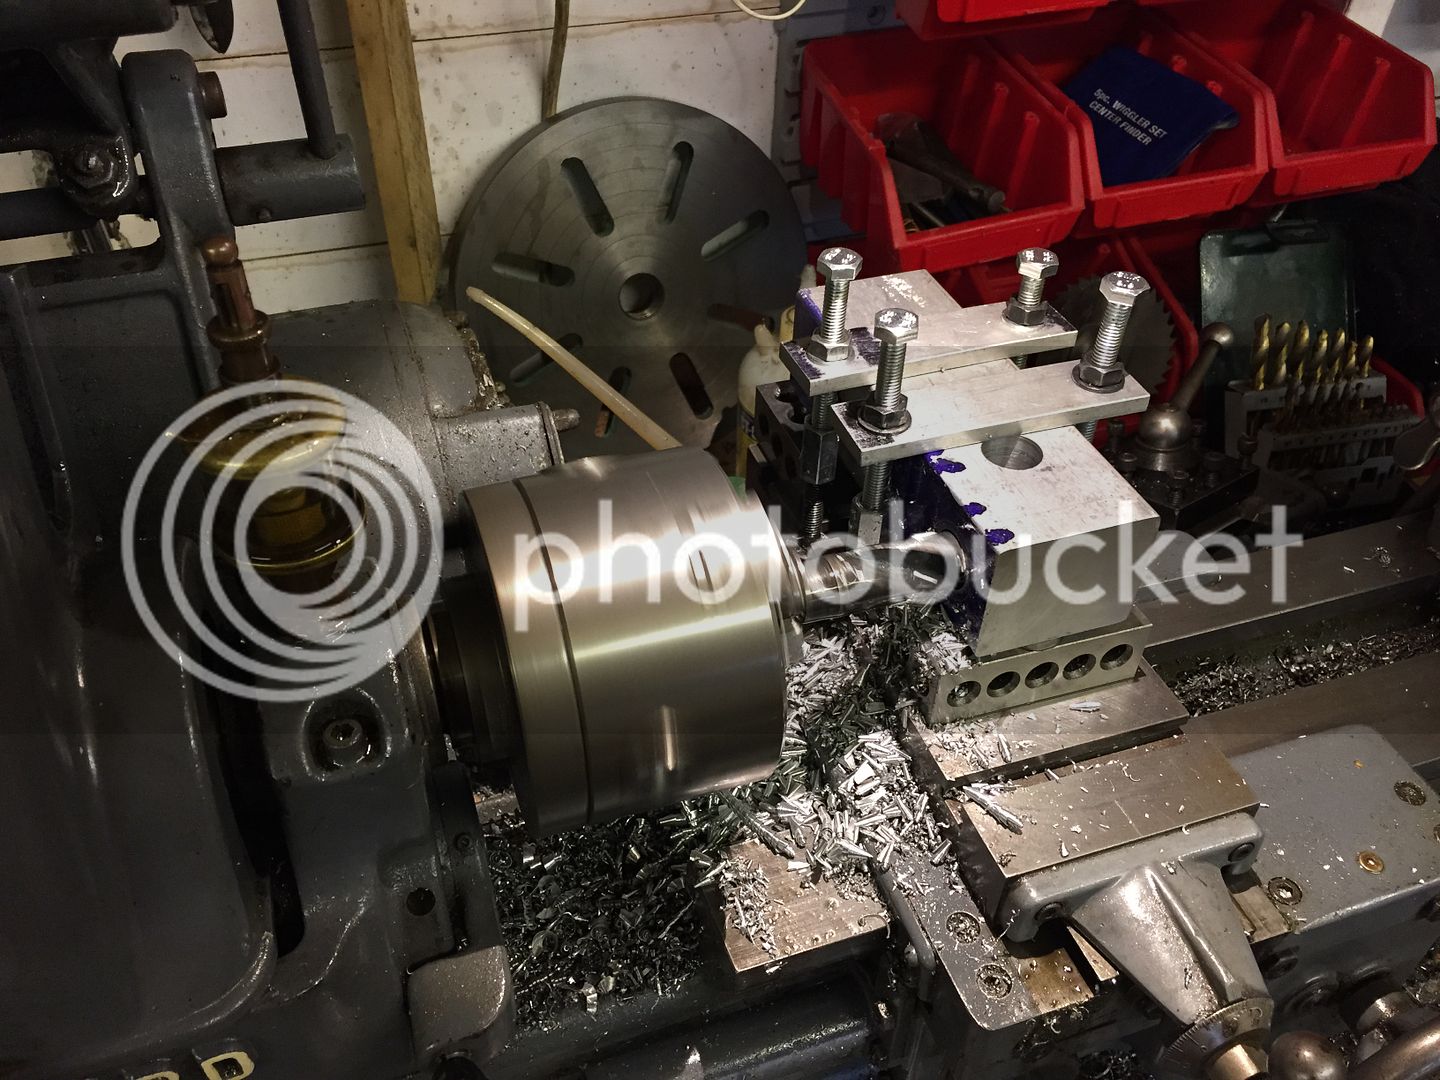
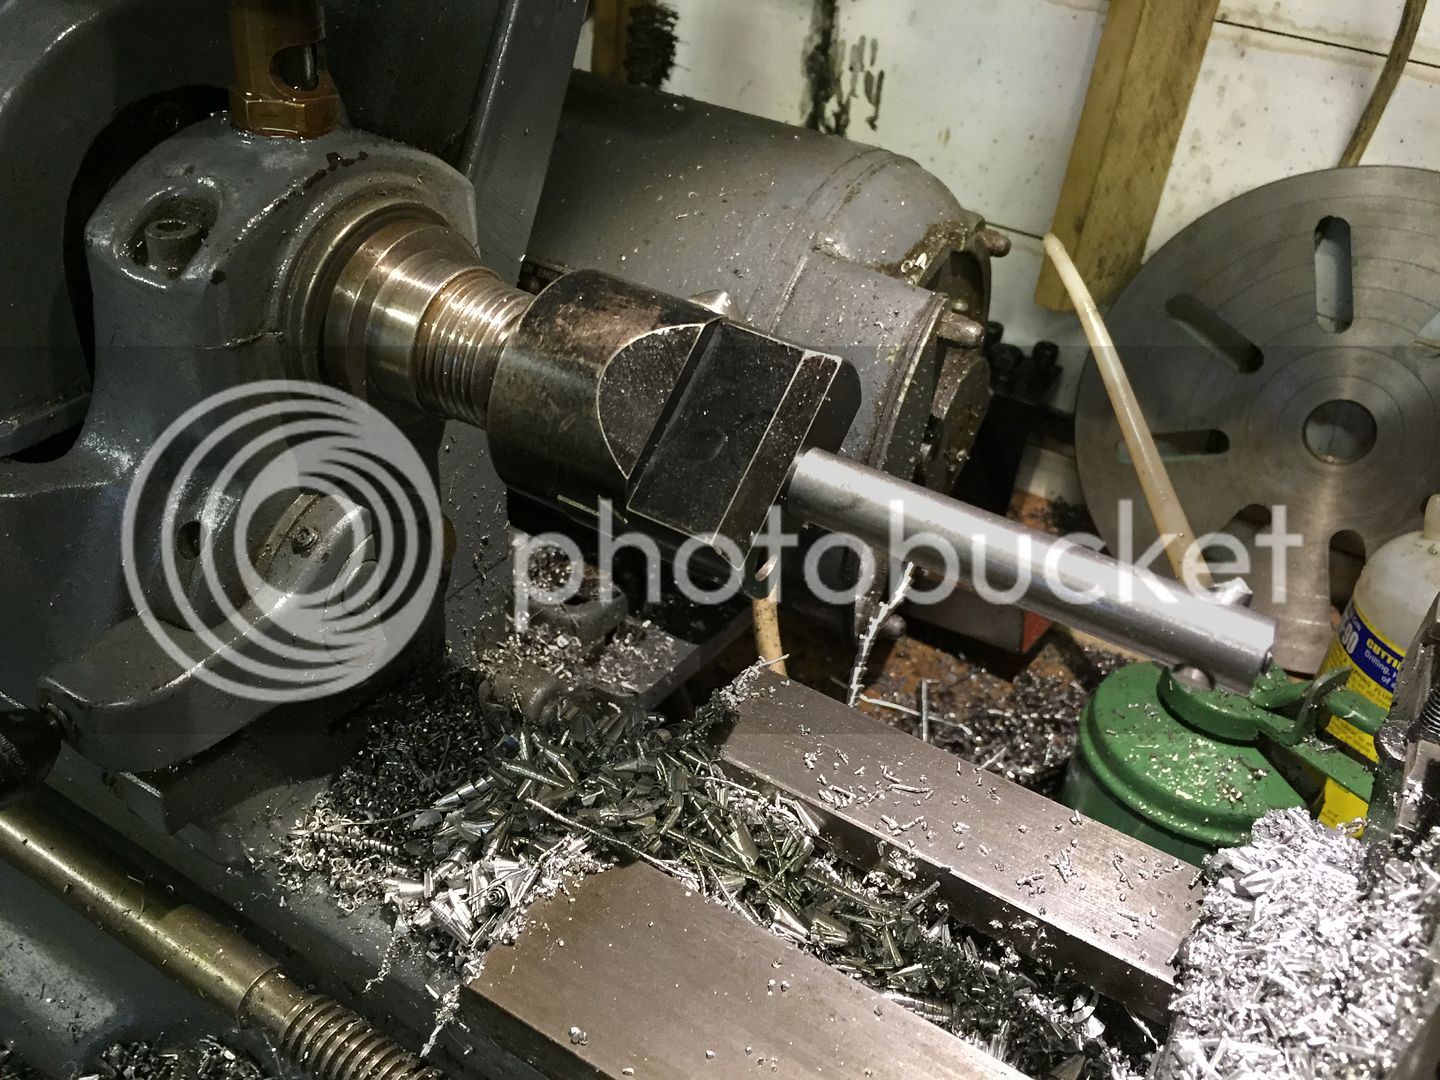
I have an old crusty drill stand, but the original drill holder isn't easily adaptable for what I want, so I've made a new arm from some random aluminium bar. First off, milling the end of the bar square. My mill is nowhere near big enough for this, so I'm using the lathe instead:

2AE4354F-B991-438A-BFEC-8B38EB9DF9E2.jpg


CFF27F8E-097A-4030-9538-2D13D9AB52DD.jpg


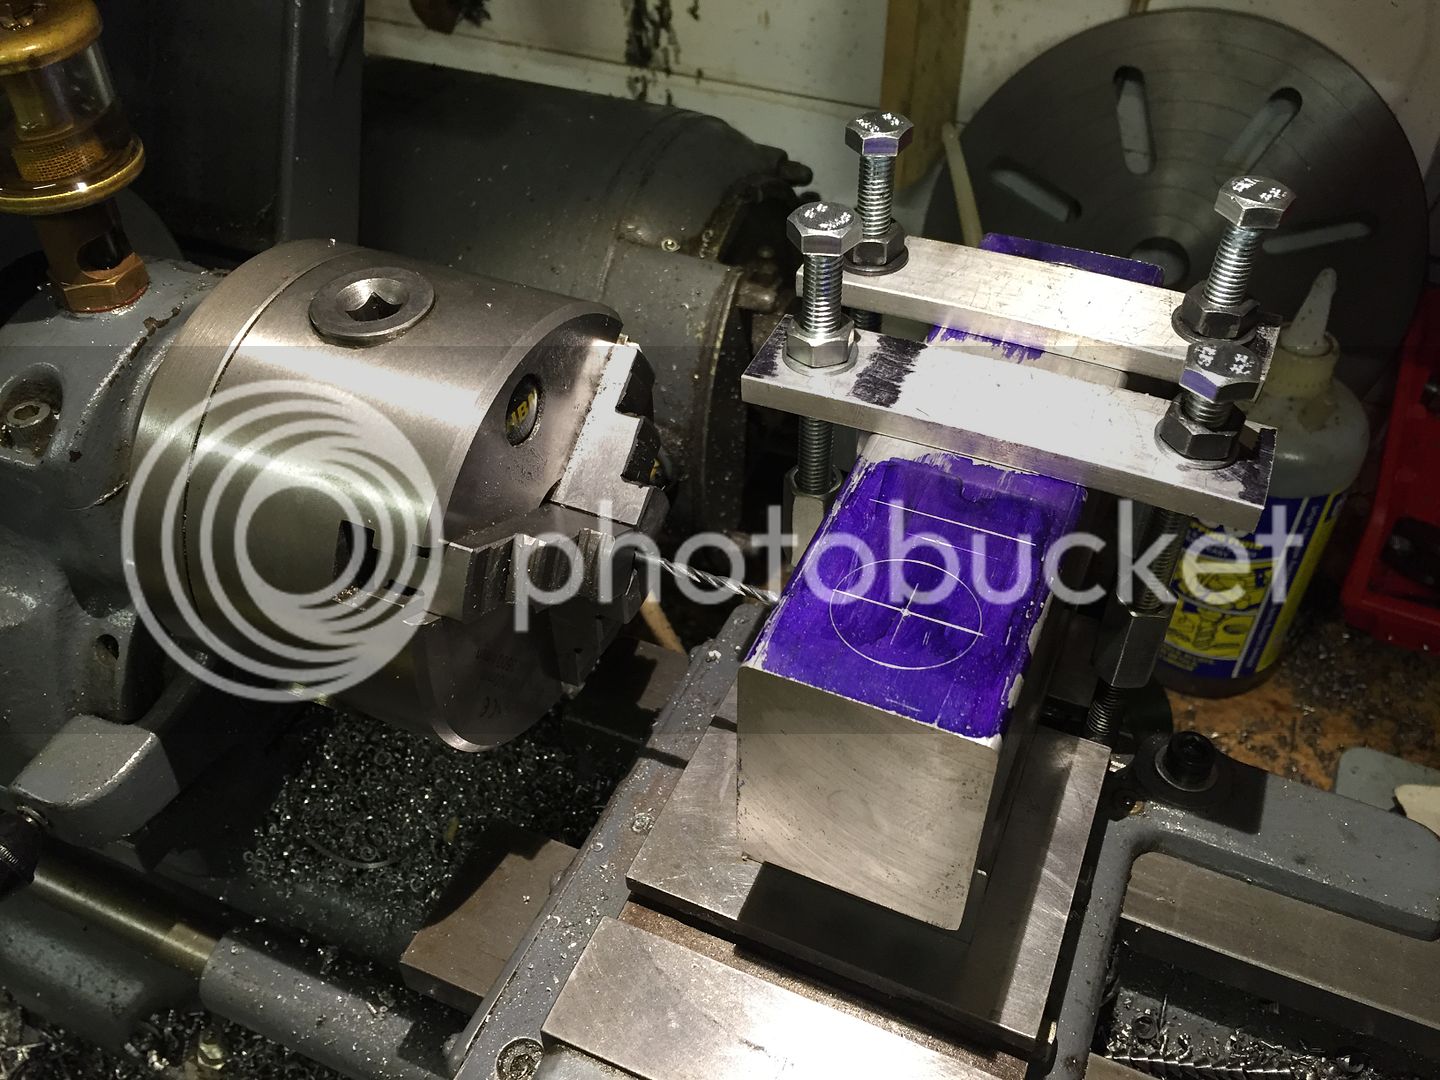
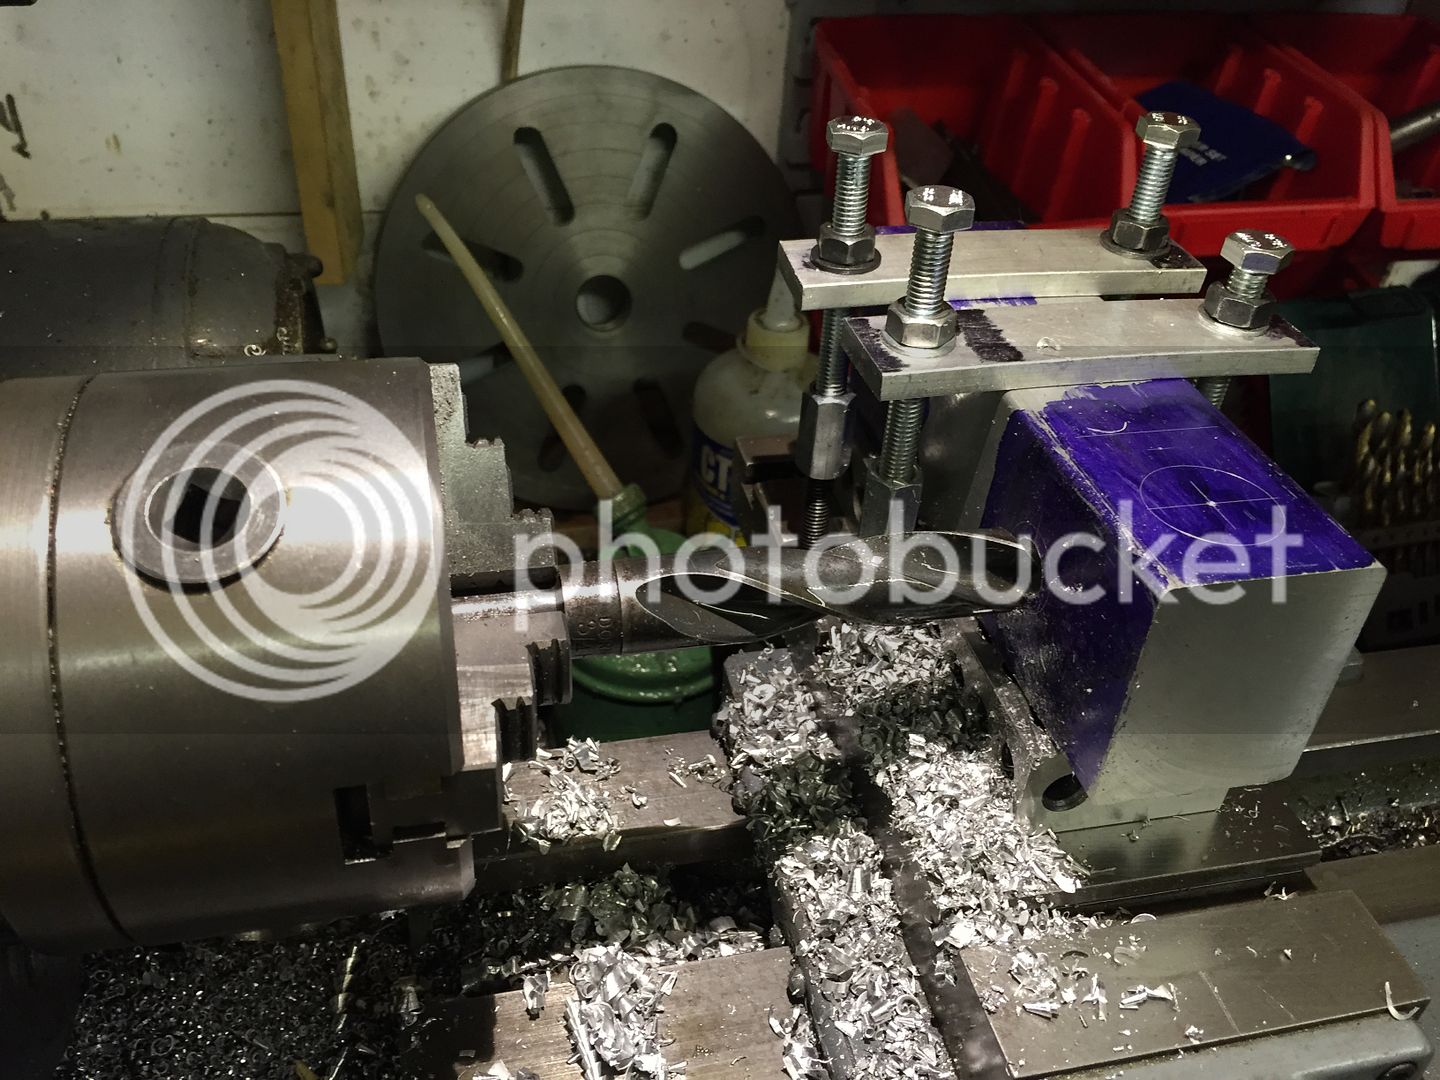
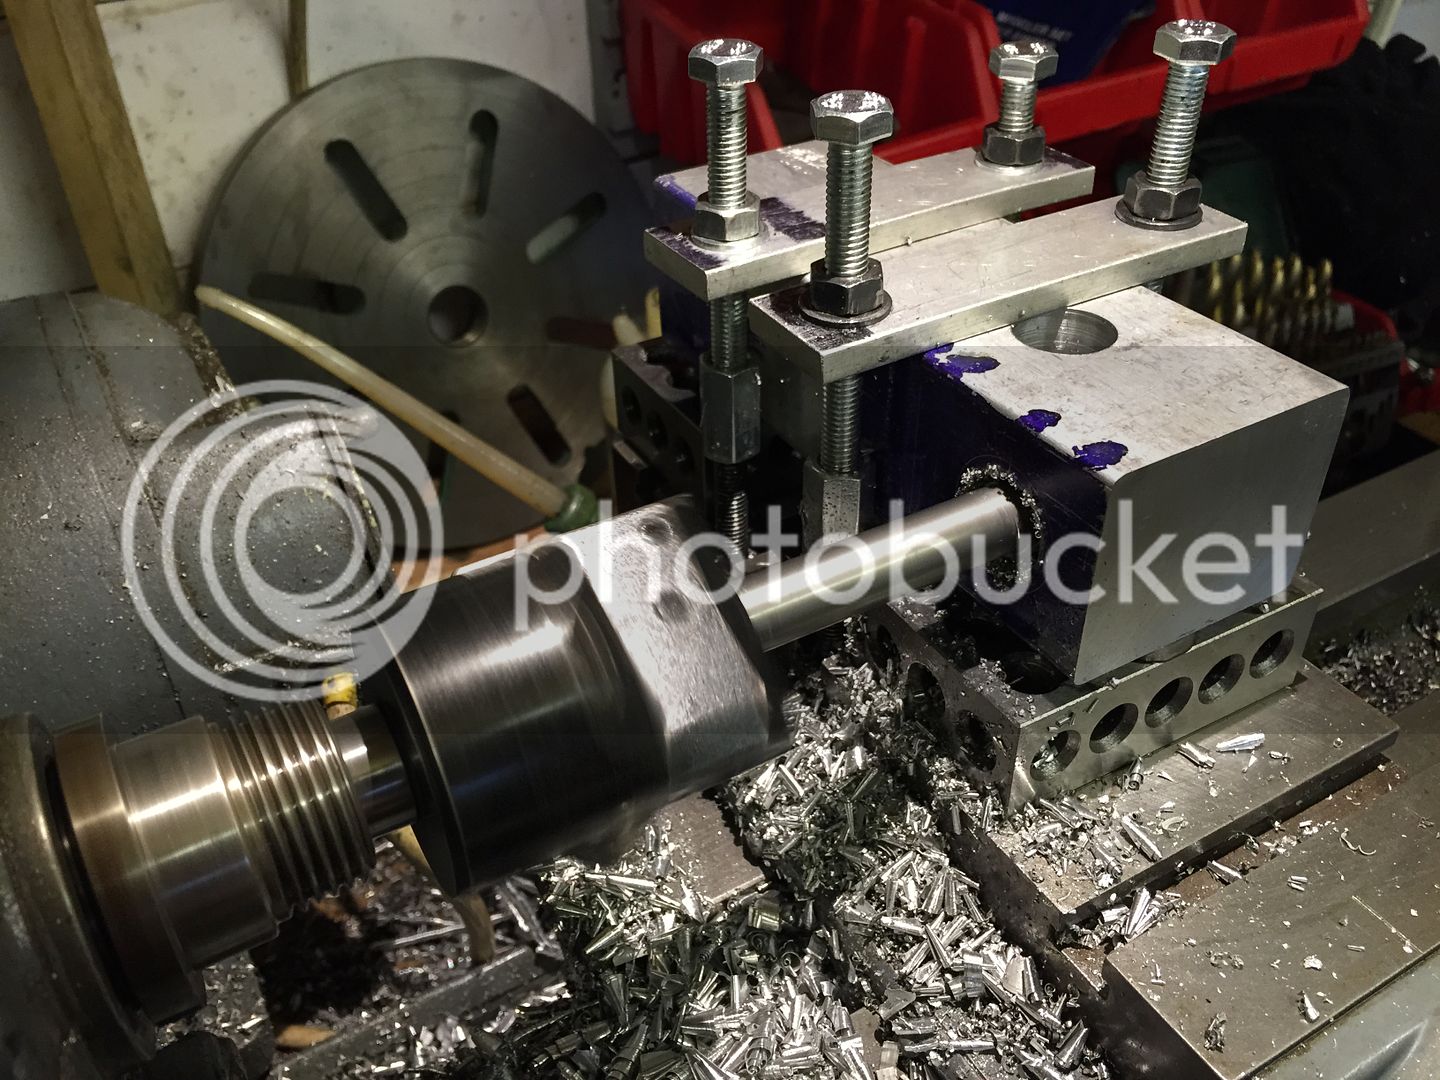
It was then sawn to length and the opposite end milled square. After marking out, it was mounted on the cross slide to bore the locking holes. Started out with a pilot drill, then followed up with a 3/4" drill:

67016882-BDEB-4572-AF39-D7F24E28B1B6.jpg


F13F192A-13D0-469A-AB9B-5FA1EDB0E857.jpg


The hole left by the 3/4" drill was accurate enough for the locking shafts. Next the bar was rotated 90* to bore the holes for the pillar and tapping spindle. By boring both without disturbing the bar on the cross slide, they should in theory be parallel. Started out by drilling as before:

B1183332-70FB-449F-BE66-9155C0CD53D1.jpg


Then followed up with a boring head:

989E797B-AAA4-4D8A-B42B-7E80389C9A55.jpg


5B2C4391-9ED8-4A27-BBA0-77947916A784.jpg


Apart from going larger than my biggest drill (the 3/4"), using the boring head resulted in a much more accurate, better finished bore. I can live with the drilled holes for the locking shafts, but I wanted the bore for the pillar to be a close fit.

(Not pictured: making a new boring bar for the boring head, or making a new draw bar from a rusty iron hand wheel and a rod salvaged from a printer.....)
 
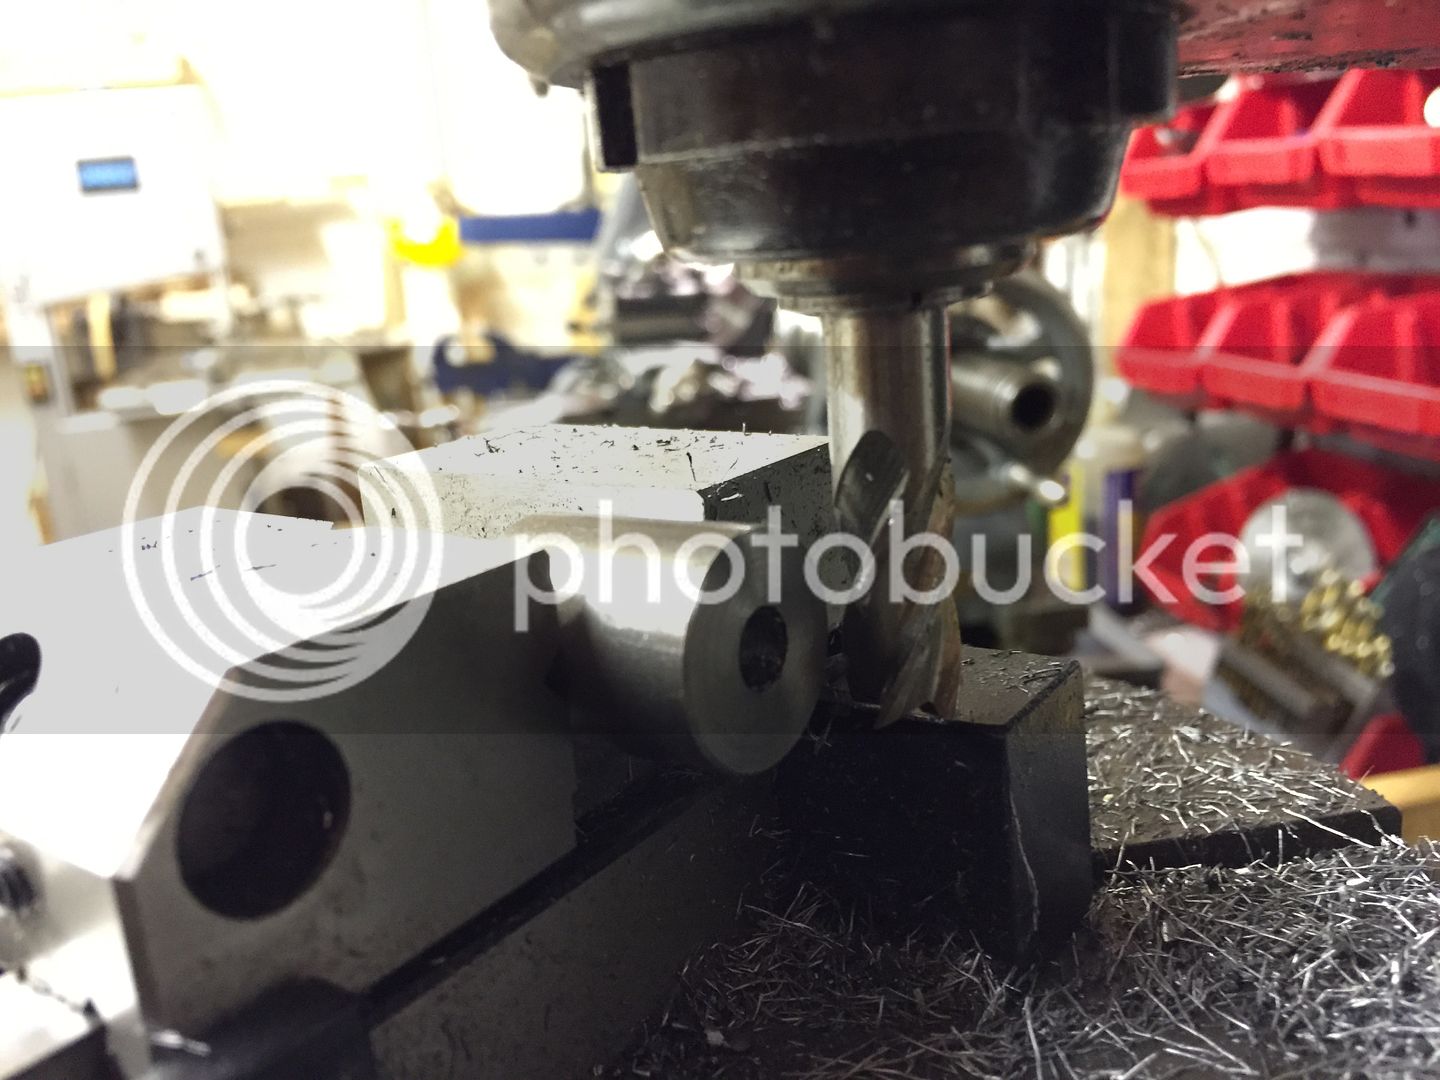
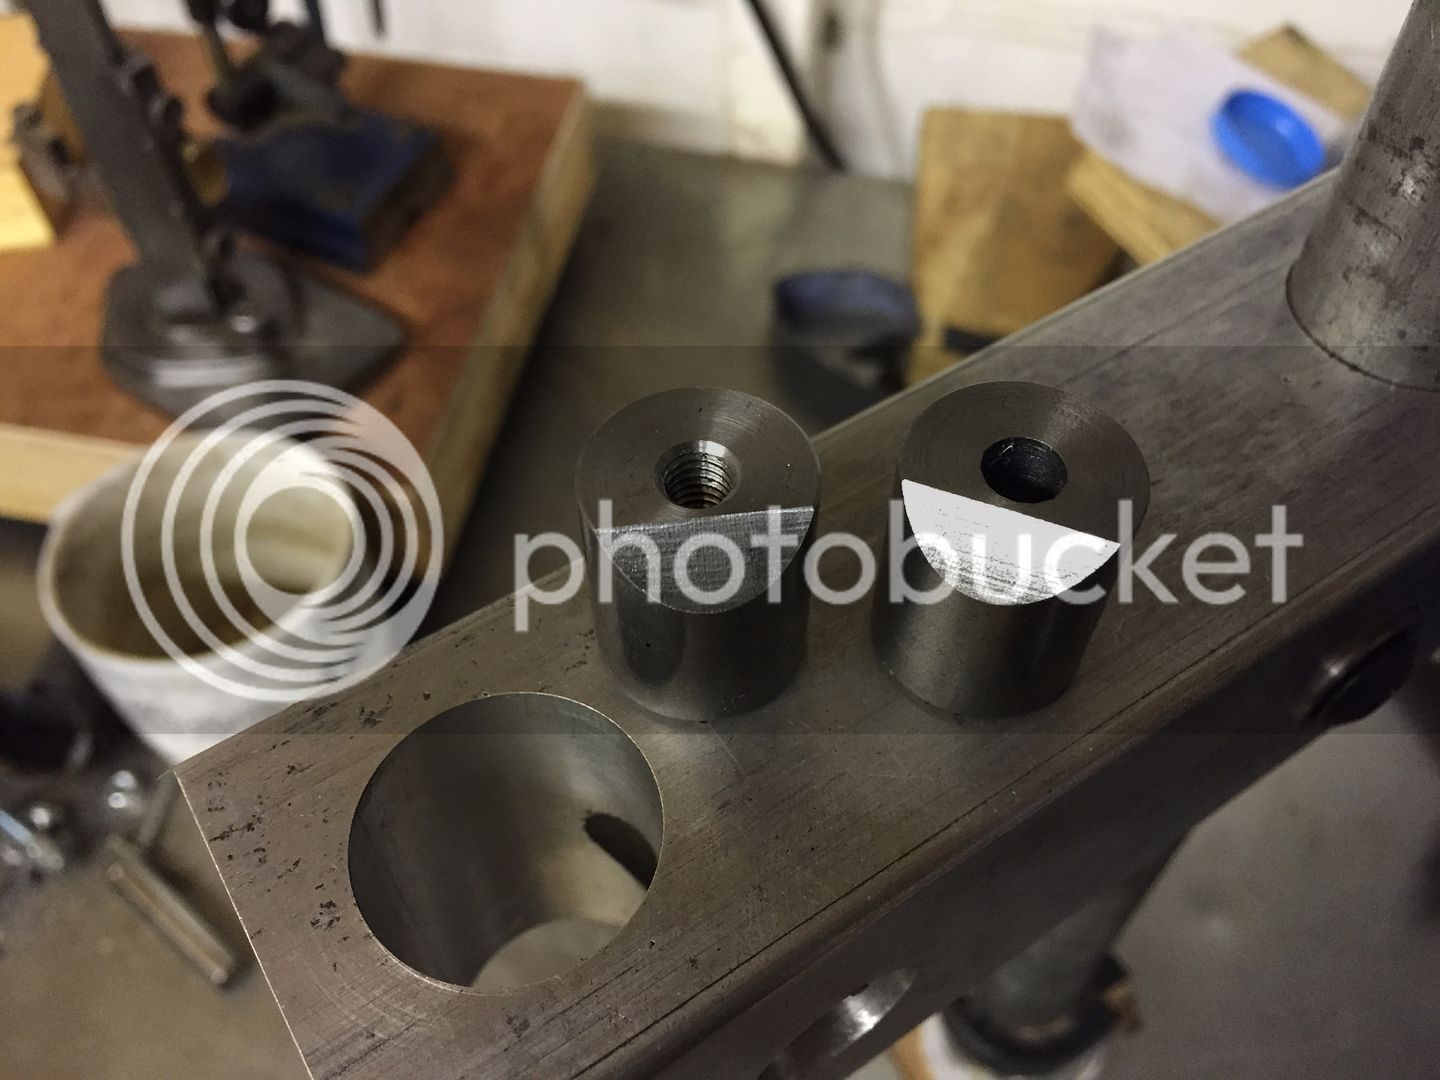
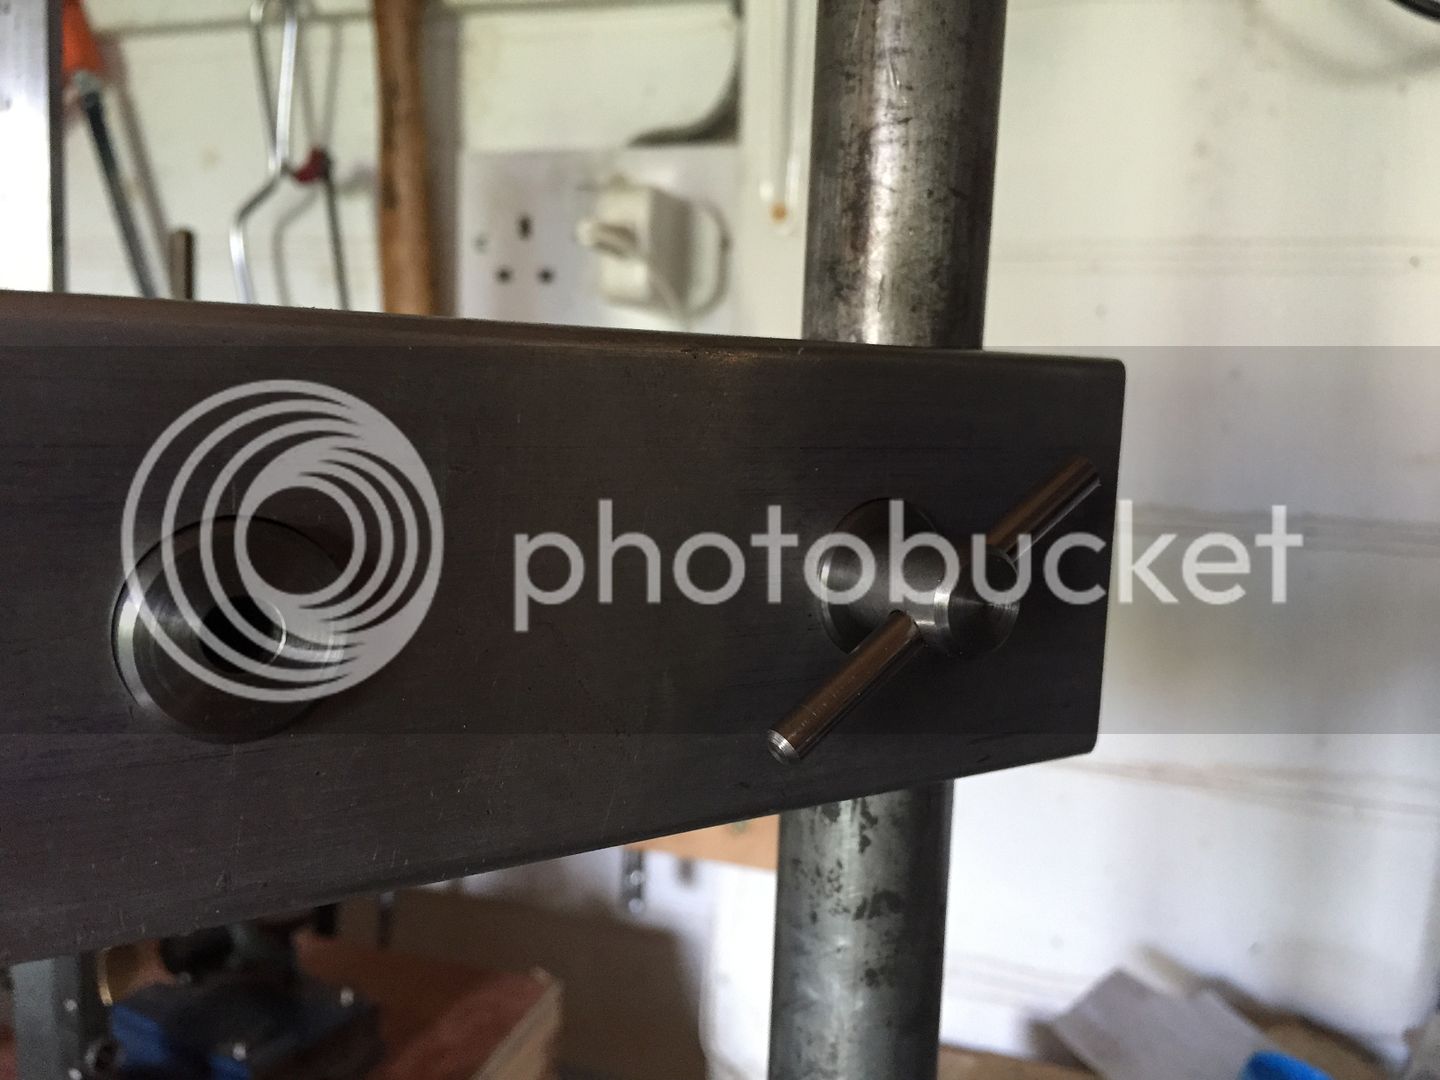
Then for the clamps that lock the arm to the pillar. These are just a simple turning job with a chamfer milled on the end:

31821CAF-4A6F-4C47-B4C1-9844BC4CB70D.jpg


43EF0F7B-6DE3-4972-AC2A-E19B7B841CF1.jpg


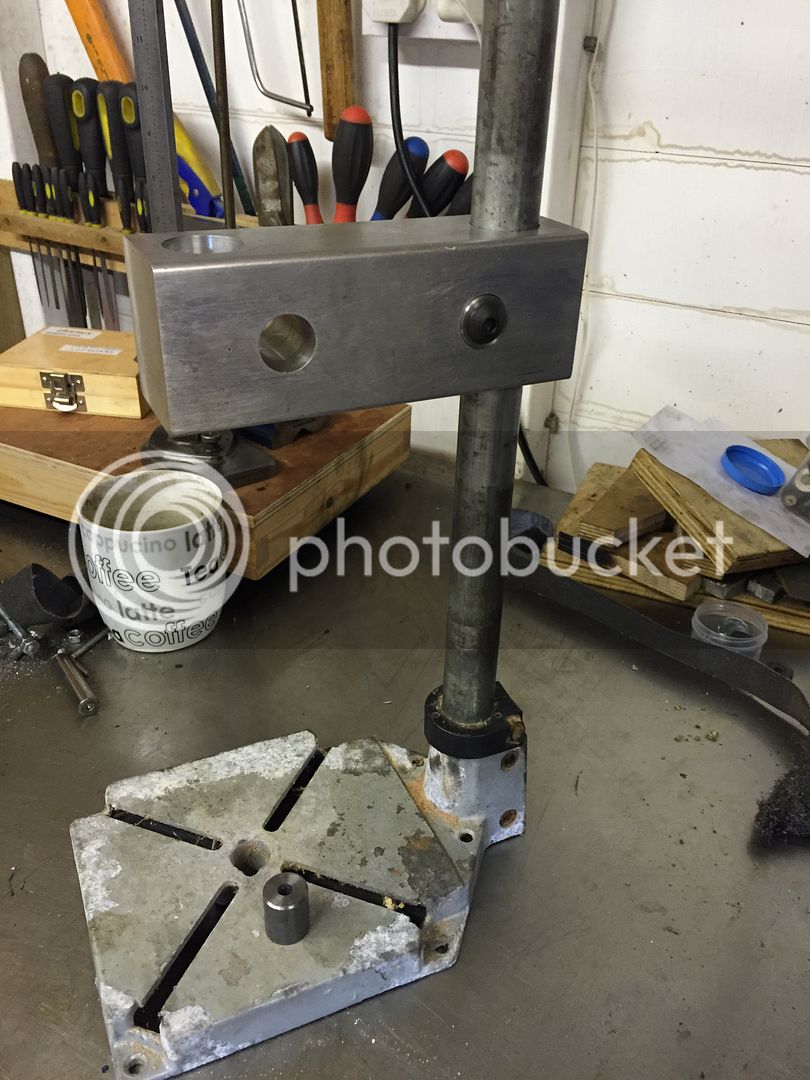
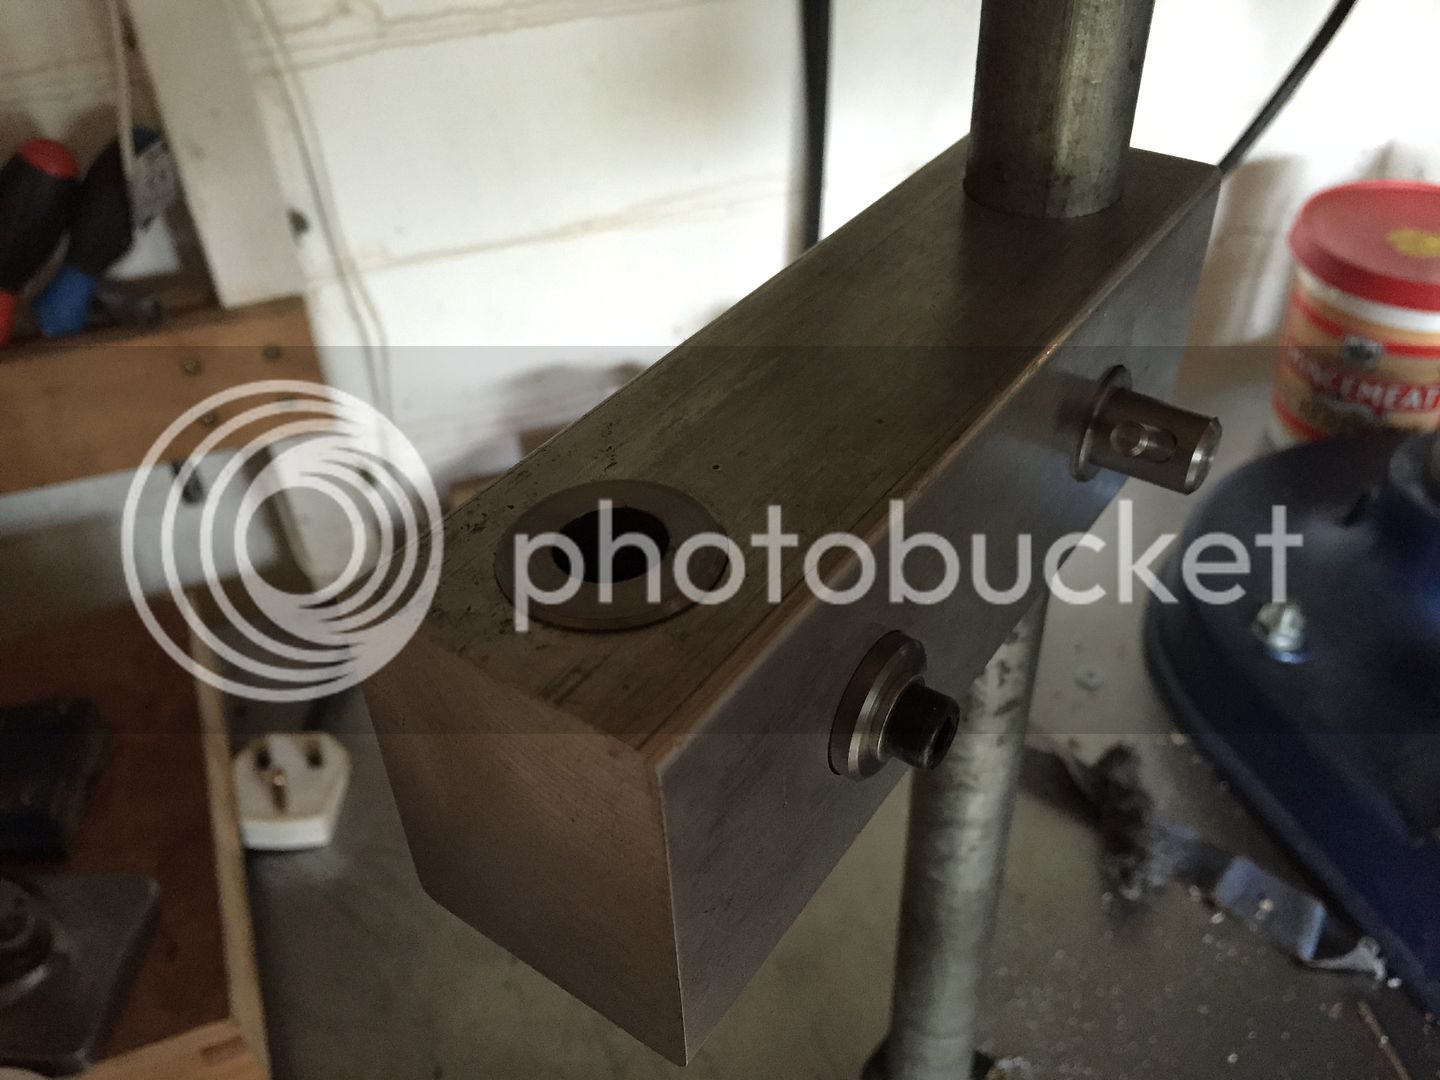
The arm mounted onto the (crusty old) drill stand:

D213445F-143B-42B7-BE24-CA138FD68198_1.jpg


The black-headed screw is temporary until I turn some kind of knob or lever for the locking clamp. The vertical bore at the opposite end of the arm is for the tapping spindle. Originally this was just going to be sized for the spindle. Then I realised that I could bore it out larger to take an interchangeable bush to make it a bit more versatile. Not that I know what else I could use it for yet....
 
@DTR.

As always, a consistently high standard of work from you Dave. Thanks for posting - always an inspiration for a bodger like me.

BTW, I echo your sentiments about shafts from printers 100%. I have a couple from scrapped inkjet printers and with a normal 0-1 inch mic, or a vernier caliper, I can measure no difference in diameter along the whole length. Finish is brilliant too.

=D>

AES
 
Thank you :)

I have been reliably informed by SWMBO that it's not from a printer, it's from a photographic enlarger. It thought it was safe hiding amongst the salvaged printer rods, but it was wrong :D Whatever it was, it already had the right thread on the end to fit the boring head. All I had to do was screw cut the other end.

I absolutely agree, printers are a great source of accurate rods. I use one for aligning the tailstock.
 
Some progress (of sorts) with the tapping stand...

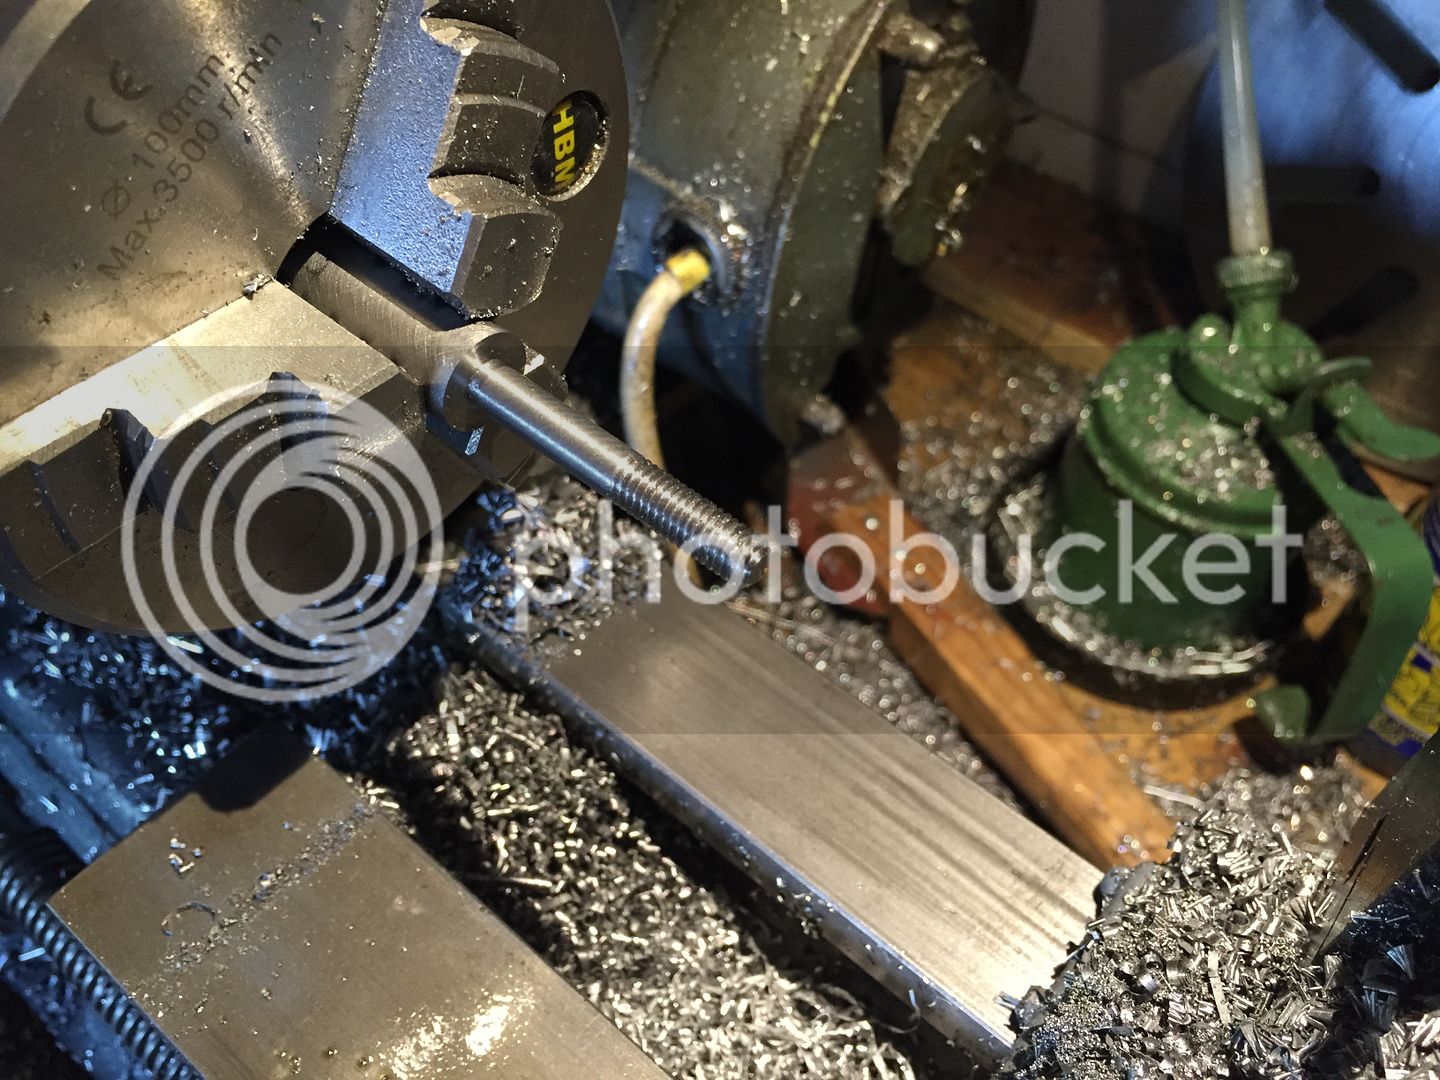
Making a thumbscrew for the pillar locking clamp thingy. Turned some steel down and threaded the end:

C8B1E542-CE17-4FA2-8B92-B0F3B9C1402F.jpg


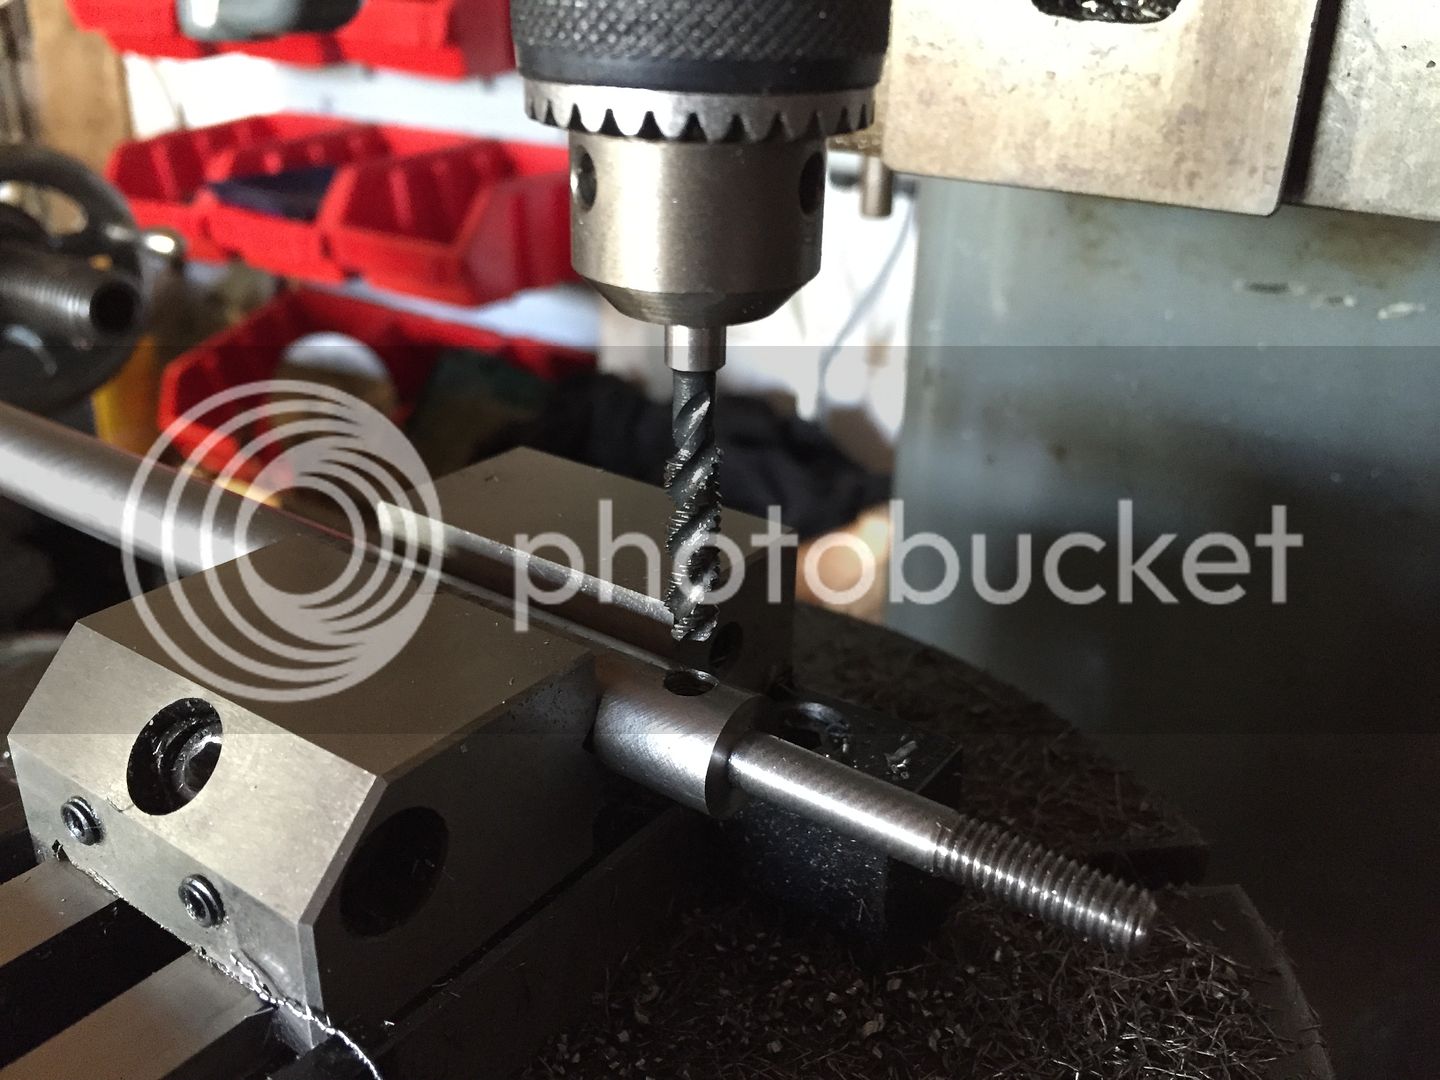
Drilled and tapped a 1BA hole to take some tommy bars:

03F12B65-9771-4768-8057-211347530DA0.jpg


(Oh, if only I had a tapping stand *sigh*)

Now to cut the 1BA outside thread on the tommy bars. Where did I put the 1BA die again? Oh that's right, I don't have one #-o . Botherations! (or something to that effect)

Started again, and this time tapped it 2BA :roll:

D6DCCB9E-6747-4850-AE3A-D41324FA80B1.jpg


Also turned the bush to take the tapping spindle. It's just some 1" stock, faced either end and drilled out to 1/2". I was expecting the drilled hole to be oversized, but my 1/2" stock refuses to go through. I am now awaiting a 1/2" reamer to arrive in the post......
 
Geeat work and an inspiring answer to the question 'what can I make next?'

I love the way that your first project brings in the necessity of other projects too.
 
Thanks chaps :D

woodpig":yym9bhgp said:
Nice work. I don't have space for a tapping stand so I use a tapping guide in the Mill.

http://www.chronos.ltd.uk/acatalog/info%5f318221%2ehtml

I've got a couple of home made ones and a shop bought that I had to remake as it was a bit wobbly!

I've got one of those, but the limited head room on my mill and drill means I've rarely got the space to use it.
 
Yes, I know what you mean. I only just have enough room on my mill to use the guide. Plenty more on the bench drill but I rarely use it that way for some reason.
 
You can put the shank of the tap in the chuck as a guide, jaws snug but not tight, then turn the tap by 'non-standard' means. I have used the tap holder to grip the flutes at the back end of the threaded portion, I've never chipped a tap, probably dulled some edges but only on the least used/unused portion. You could always grind some flats on the shank.
 
monkeybiter":38t19ui6 said:
You can put the shank of the tap in the chuck as a guide.

That's how I start the tap, I then undo the chuck and put the tapping guide in it.
 
I've never tried that, I'll have to give it a go. Thanks for the tip.

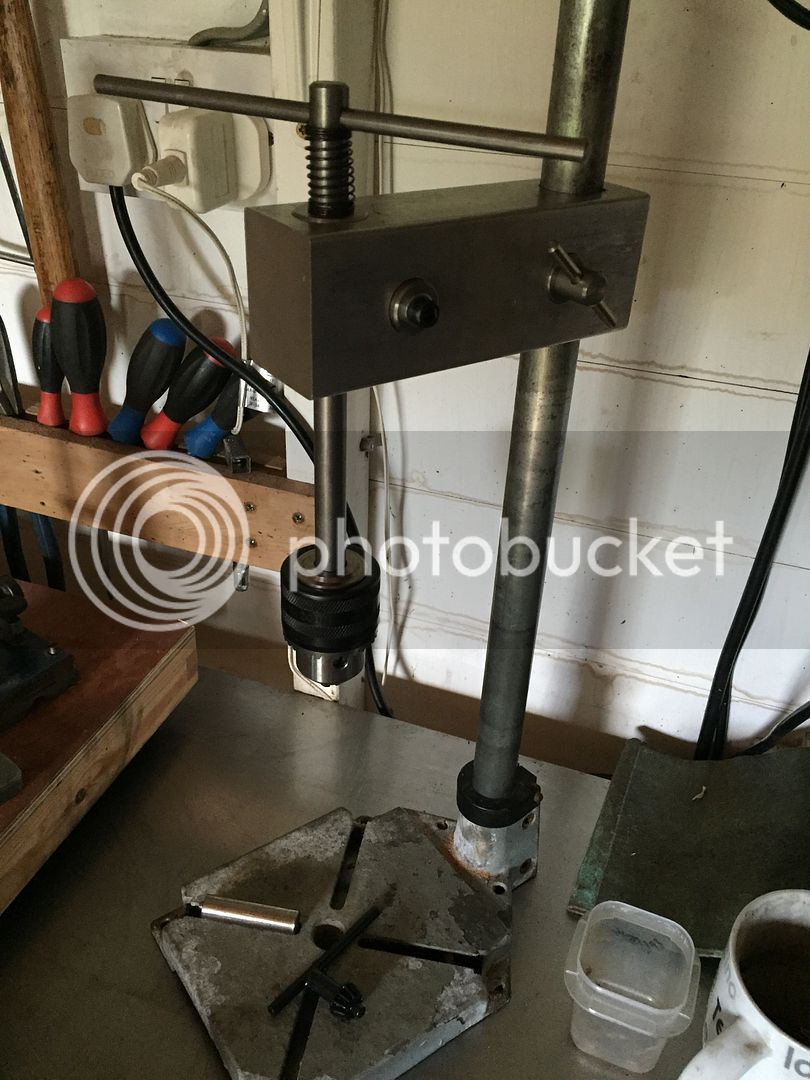
The reamer I ordered turned up the other morning, and thanks to its fifteen seconds of glory, I now have a tapping stand

39CDFAEE-CDE2-44E7-B3A6-2C8F34AC3279.jpg


3C469DF5-8C4D-4C75-91EB-21C5257A4F11.jpg


I'm not sure what I want to do with the handle, so I've left it as a floating Tommy bar for now. I might incorporate some kind of knurled knob for use with small taps. The spring is just there to stop the spindle dropping to the bottom with a clang.
 
Back
Top