A short (Ha) writeup of my experience moving from an Ender 3 Pro with a BTT SKR Mini E3 V2 and a BTT TFT35 screen, to using a Pi, Mainsail and Klipper.
After noticing an unexplainable and apparently unsolveable Y axis banding on my Ender 3 Pro I decided that it was time to look at the famed "Octoprint" and "Klipper". Usually things like this make me dread the days ahead as I try and navigate my way through the process when it inevitably doesn't work like
they say it will. That was certainly my experience getting a few things running on a Pi early in 2022 and Home Assistant, docker etc.
A friend had a spare Raspberry Pi 2 kicking around and I duly went home and had a little read up on what I needed to do with it to just get started. A little reading suggested that Mainsail and another option were a bit lighter on the hardware than Octoprint, and given that I only had a Pi2 I thought I'd try Mainsail. Fortunately using the Pi Imager on my PC, in short work I could select the right image and have it all put onto an SD card. Ethernet cable in, BT keyboard in and off we sail. That all went and worked exactly as it said it would!
Next I would have to build a printer config suited to my not at all stock Ender 3 Pro, and then actually get one thing talking to the other. A little hunting around and googling and the generally good Klipper documentation had me away fairly fast and then I was left needing to buy a USB to USB mini cable because it's 2022 and I want to feel like its 2005 again. It was the only way to connect to my SKR Mini board. With that and a fancy USB wifi adapter installed (Sum cost £8.50) I was able to get the Pi talking to the printer and homing using the endstops. From my computer. Jolly exciting.
Before I got printing I needed to add the necessary to the printer config for the BL Touch, sort out the offsets, get the "rotation distance" set for the extruder (a Biqu H2) and then get it level. Once that was done and I was satisfied with the first layer prints, I set about ordering a £6 accelerometer, connecting it to the Pi using a length of Cat5 and getting the machine to do it's funky Input Shaper dance. It vibrates the **** out of the machine and measures things, and then tells you what your max acceleration should be and what setting it should use to minimise ringing or ghosting on the sides of the print. Then I had to move the accelerometer to the bed to do the same for the Y axis.
With that done and then Pressure Advance sorted, I have to say I'm happy with the result, for the £14 it's cost me. Had I been able to get one, a Pi Zero would have worked and those are ~£11 or so but are made from unobtanium.
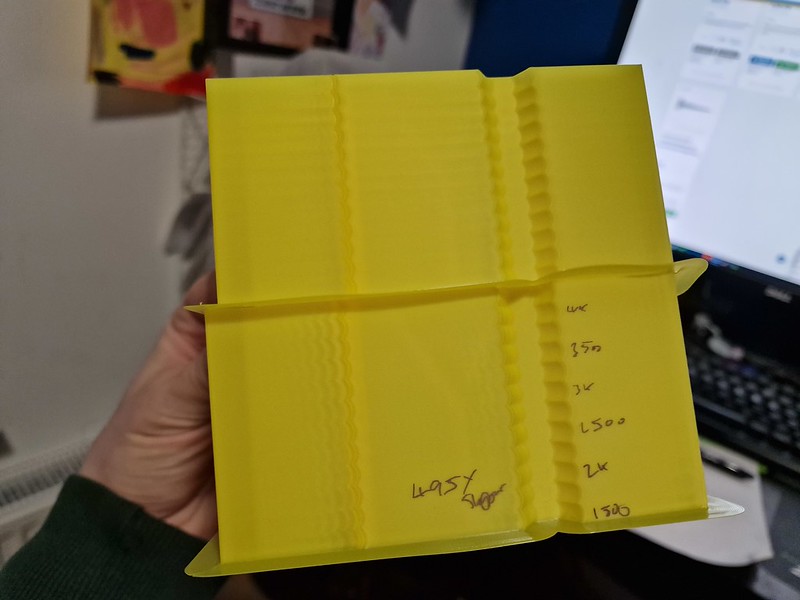
Here are some pics of the tuning towers. One tower is no Input Shaping and variable acceleration every 5mm, the other is IS on with the same variable acceleration every 5mm, with input shaping just set at whatever result it spat out (there are 5 options and it suggests one it thinks will be best). I was actually shocked to see it look that good.


I no longer have to put files on an SD card, I no longer have bulging corners, I can now print at 150mm/s+ with upto 3000mm/s acceleration. Print times are down, print quality is up.
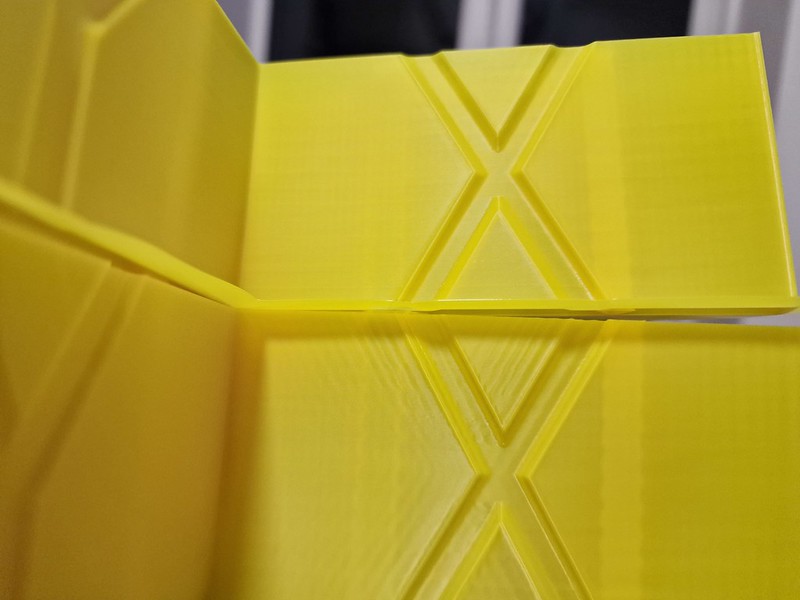
Next I'd love to get this banding figured out, you can see it in the pics. That big X is actually showing you the Y axis printing direction (the bed moving under the stationary head).
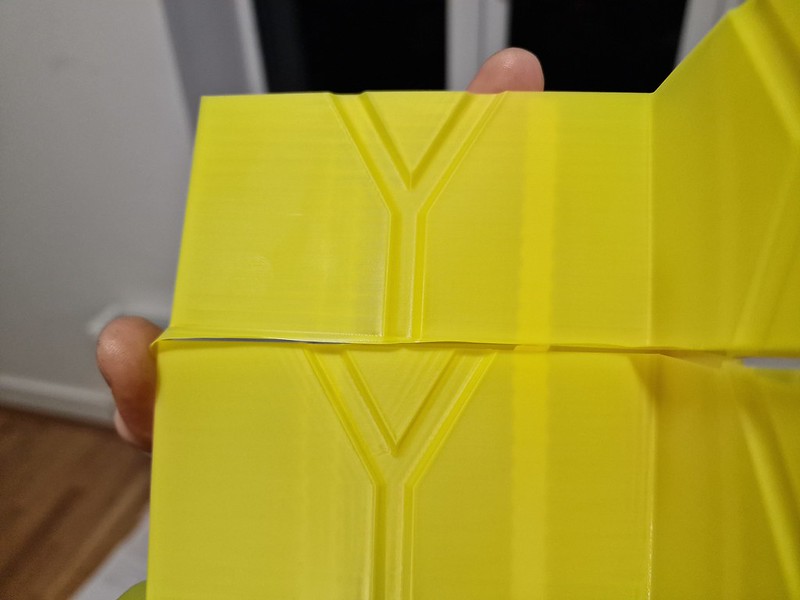
The photo below is of the X axis printing (head moving over a stationary bed) and as you can see, the same banding is not as evident, if at all.


