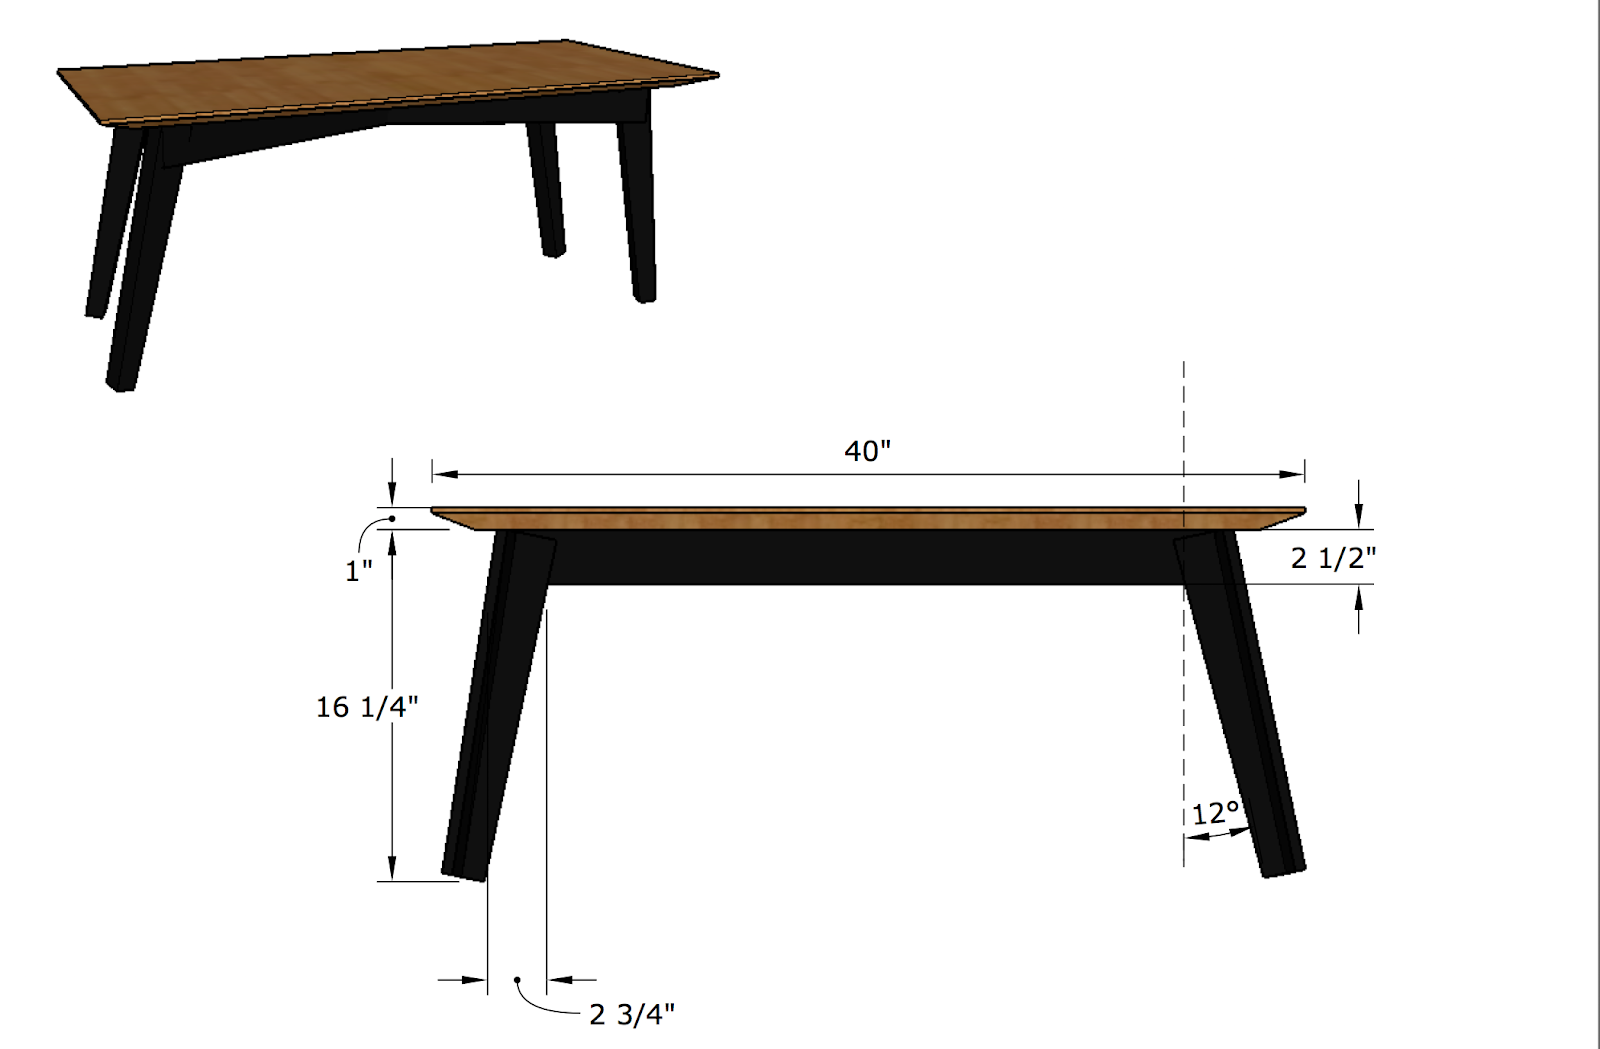
Custard, any tips on the joinery would be much appreciated
Draw out the end and side views of the table full size, you're checking that your design satisfies two requirements. Firstly that the feet are
inside the footprint of the top, if the legs protrude beyond the top they'll get kicked and the table will be knocked over. Secondly, that the chamfer on the underside of the top's edges doesn't interfere with the apron rails and legs.
I normally make these with legs that are 32mm x 32mm tapering down to 25mm x 25mm. But if you want something a bit beefier you could go to 35mm x 35mm tapering to 28mm x 28mm. I taper the legs on all sides, in other words it isn't like a traditional leg with an untapered section at the top to accommodate the apron tenons, and then tapers on the inside faces of the leg only. It's this tapering on all sides, and straight through from top to bottom, that gives it a contemporary look.
The splay as measured at the ends of the aprons is seldom more than five or six degrees, sometimes less.
The leg/apron mortice & tenons should be drawn out full size. Personally I don't like the two mortices in each leg "crossing over" and connecting with each other, the reason is I like to glue up in stages, two opposite sides then glue these two sub assemblies together, if the mortices cross over then you get squeeze out running from one mortice into another which complicates that two stage glue-up. I like a small haunch at the top of these tenons to help resist any twist; to be honest I'll sometimes just run the mortice straight out the top of the leg (i.e. cut the mortice on the router table). You definitely need a shoulder at the bottom of the apron tenon, if you try and use a bare faced tenon at the bottom it'll just look gappy and nasty. I cut the mortice perpendicular to the leg face, so the tenon needs a small angle, another reason to draw out your joinery full size.
If you cut a curve on the lower edge of the apron rails (very nice touch, especially if the top has matching curves on two or four edges), then ensure the curve terminates about 2 or 3mm before the end of the apron rail, don't run the curve right to the end because firstly it leaves a bit of short grain which can get broken off and secondly it's too easy to get a bit over enthusiastic spokeshaving the curve and before you know it you've exposed the mortice.
I leave the legs say 1/4" over length top and bottom and trim and flush off after assembly (remember the tops of the aprons need flushing down to level. Trimming the bottom of the legs is just the normal procedure, level the table on a flat surface with wedges, then scribe around the bottom the legs 3-6mm above the flat surface, then saw them off and go down to the scribe line with a block plane. If the splay is greater than five or six degrees I chamfer/cooper the bottom edges of the aprons so they're parallel with the top edges, if the splay is six degrees or less I don't usually bother.
If you're ebonising the legs you can orientate the grain any way you like, if the legs are given a clear finish I always ensure the end grain runs diagonally from corner to corner so that the legs look similar whichever face you look at.
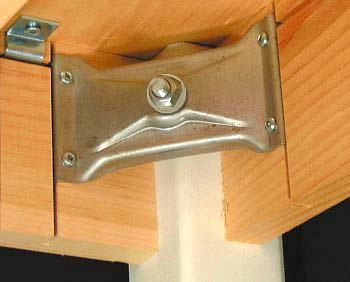
Attaching the top to the apron rails is a bit trickier with angled aprons, in that you can't use buttons or brackets. I often use a pocket hole type arrangement and screw through the apron rails from the inside directly into the top. If you've never done it before practise on some scrap.
I hope this doesn't sound too prescriptive or off-putting, once you get stuck in it's all fairly obvious and straight forward.
Good luck!


