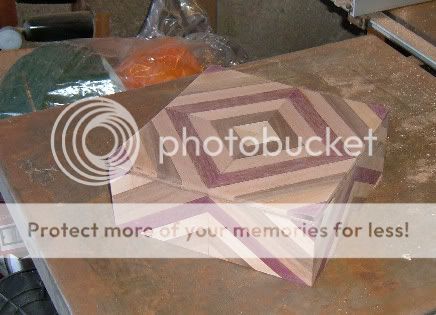
chevronbox restarted

UKworkshop.co.uk

Help Support UKworkshop.co.uk:

This site may earn a commission from merchant affiliate links, including eBay, Amazon, and others.

devonwoody

Established Member
Joined
11 Apr 2004
Messages
13,493
Reaction score
25
Location
Paignton Devon
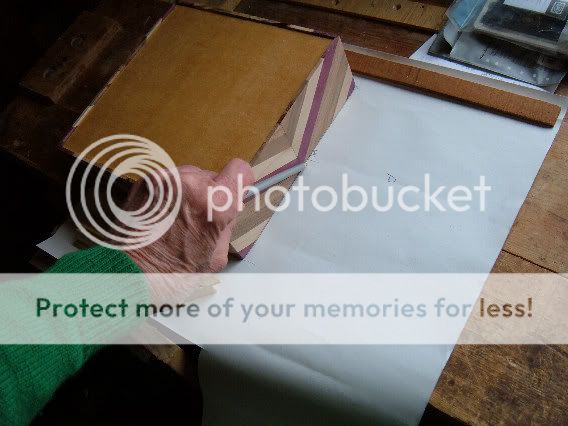
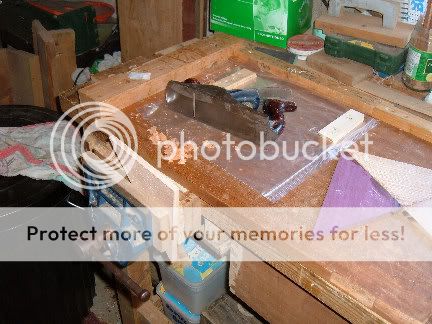
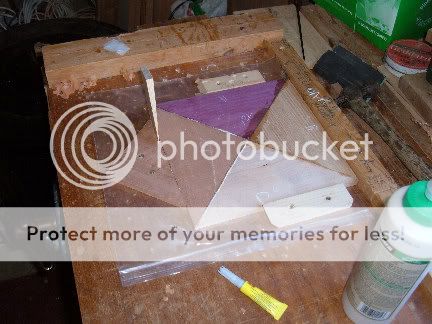
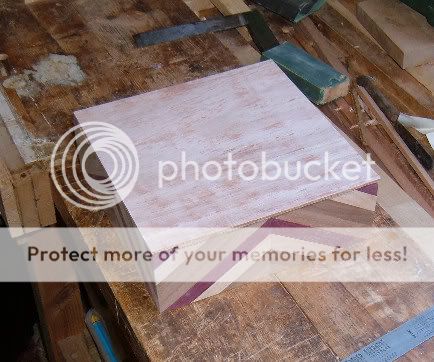
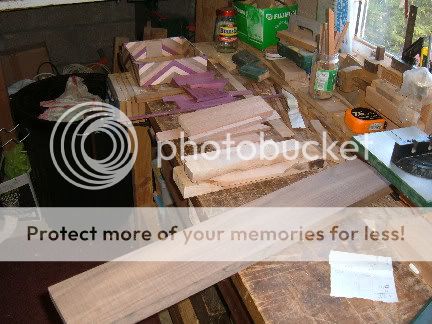
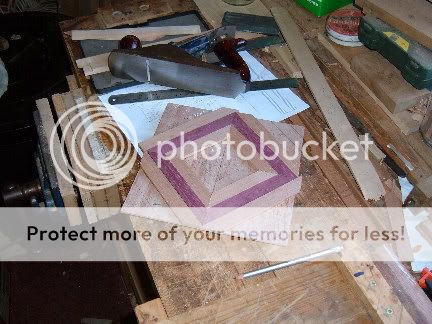
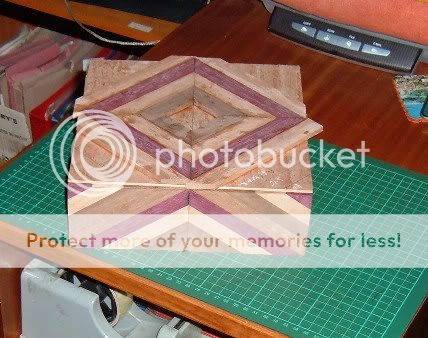
Last year I was inspired to make a box with a chevron design for base as well as lid.

2009_0303sbox00026x6w.jpg


2009_0303sbox00036x6w.jpg


But I confess it was never completed, this was owing to the lid construction not matching the carcass to my satisfaction.

There was some movement of timbers of the base, but we are now almost 12 months on and hoping that it has settled down.

I did intend restarting this week but the weather has gone off again so perhaps soon.

My thoughts this year is to have a plainish lid to get me started for the new boxing season :wink:
 
Tried the workshop this morning at 9.50 and its only 40 (f)
Put new batteries in the clock, try again after lunch.
So its back to the new Axminster catalogue.
 
I like the look of the box! It's very unusual, not something I've seen done before. It would be really good if you could get the lid to match up with the sides. Rather than doing a plainish lid instead. Especially looking at the hard work you have put into it so far!
 
Yes it would be nice to complete as such but..........

at the moment it is laying there full of bits and pieces awaiting the return of some nice shed working weather.
 
haha :lol: i'm thinking about braving it in my shed tomorrow, as I've got the saturday off from the commercial shop. I'll see what the temperature gauge says first! I'm hoping I can post some new WIPs tomorrow night, but depends how long it takes me to clean up, as it's in a bit of a state at the moment, with tools just being thrown in after work! :roll:
 
Do you remember this box, the project was dumped April 08, last year.

I intended to proceed with the chevron box design across the lid, I did make one or two attempts during 2008 but I could not get a decent match of lid to carcass.

Also there as been some movement with carcass timbers, they are inclined to fall in to the box, so there is a not perfect straight rim.

So I have succumbed to making a plainish lid.

Drew a template around box top rim on a piece of paper.

5w-11.jpg


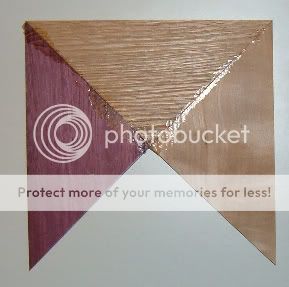
I am going to try and make the lid up of 4 segments, this picture shows the first section of timber cutting a 45% angle segment.

6w-9.jpg


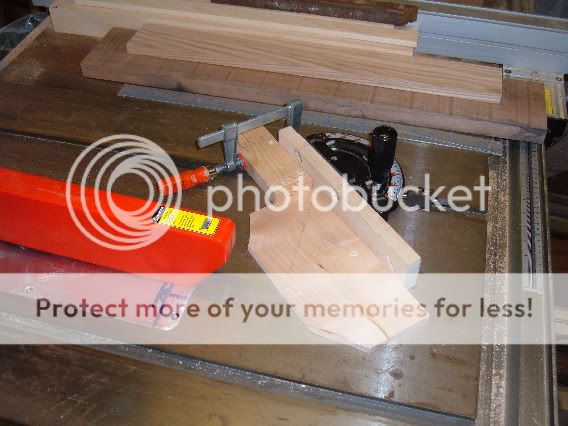
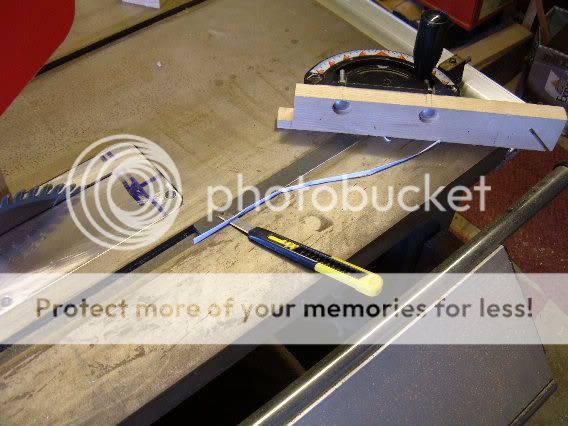
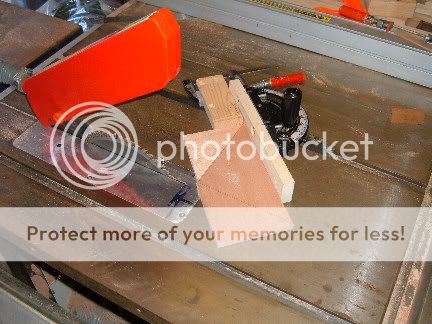
This picture shows me packing out the tablesaw mitre gauge runner withtwo thicknesses of paper to stop slop on this lefthand side runner, (the r/h side is OK)

7w-9.jpg


Three section fitted up OK, the fourth failed, (I will remake a final piece today)

8w-8.jpg
 
So I have had to search around for some timber for the final section, and I went to my very depleted secret timber storage area where I knew there might be the last length of Br. Mahogany.

9w-9.jpg


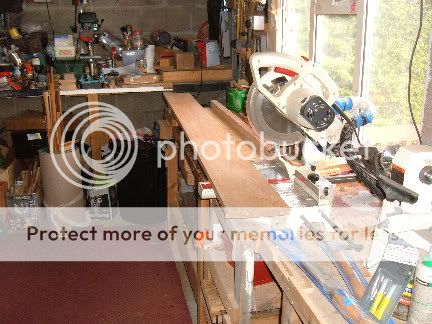
2.2mtr br.mahogany x190mm wide on the chop saw bench and a 60cm length removed.

10w-8.jpg


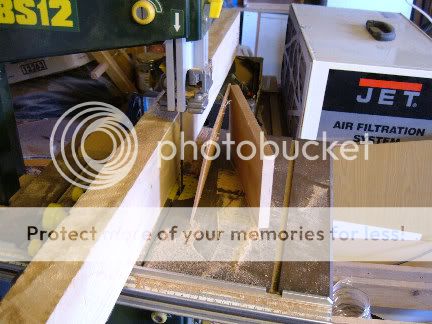
Over to the bandsaw to do a resaw jobbo, I put a heavy piece of ash against the bandsaw fence and also I clamp a steadying lump on the back side of the fence so nothing moves except what is called for.

11w-8.jpg


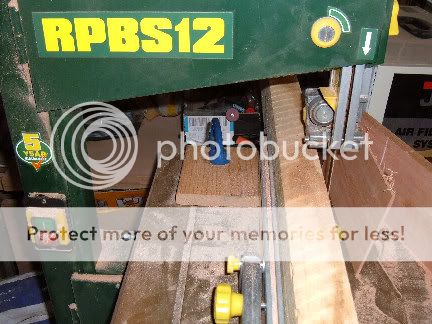
12w-9.jpg


It really makes a difference clamping that block to the table top on the back side of the fence, because when I am cutting on the bandsaw, I use two push sticks, one at the side of cut timber by blade and the other working the timber through the blade.


Cut the last portion of lid on the tablesaw and had to make final adjustment using a handplane.

13w-7.jpg


14w-8.jpg


Glued in the final section.

15w-7.jpg
 
Dissatisfied with lid design so have put the lid piece away for use sometime on another idea.

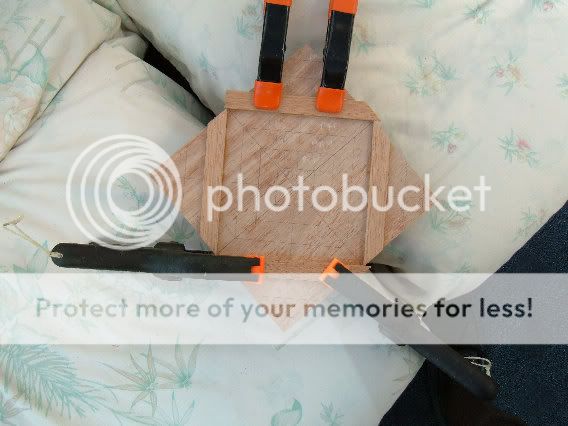
So found a piece of 3 mm ply and cut to size to fit top of box, also glued on formers under lid to stop bowing of this cheap bit of timber.

18w-5.jpg


19w-5.jpg


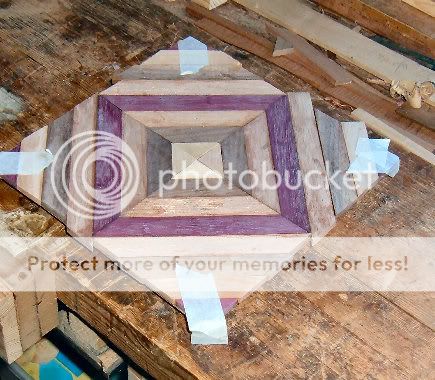
Found hopefully sufficient matching timbers to maintain chevron design for lid.

20w-5.jpg


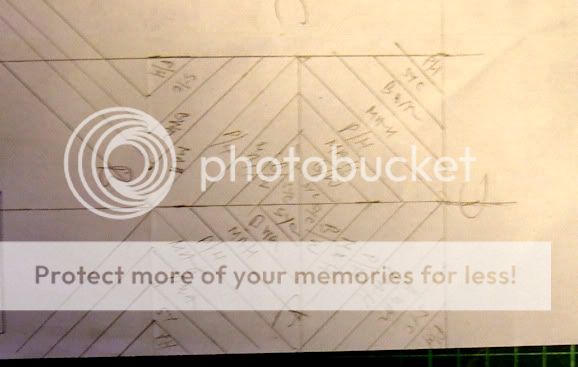
This is a drawn plan designating which timbers and positions required .

17w-7.jpg
 
Had a good day, and my enthusiasm for this box has returned.

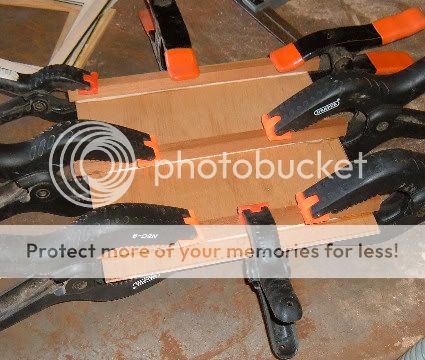
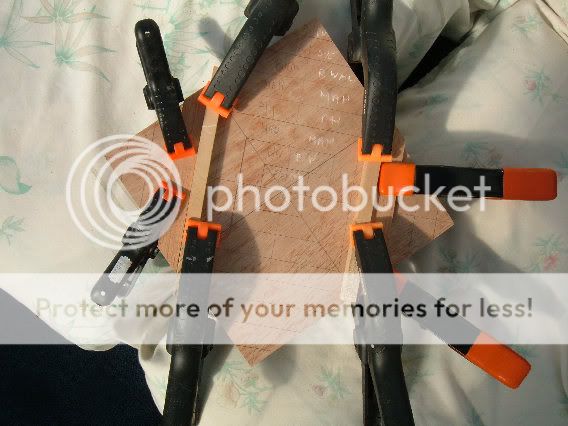
Used a couple of straight edges and glued up the first two pieces in position, (its like laying paving slabs, much much lighter work) Had to leave them to dry quickly and the warmest place in the daytime is our conservatory, reaches over 90F this time of the year, so pieces set up in the hour.
21w-5.jpg


the first row on.

22w-5.jpg


and another row

23w-5.jpg


building up nicely, and the days work

24w-4.jpg


I will have to have a lip moulding around the outside edge to make the lid work, the ply is developing a bow again.
 
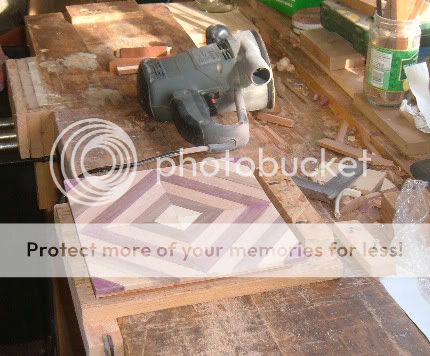
Cleaned up the lid using handsaw on edges and orbital sander after plugging a few gaps.

26w-5.jpg


lid laying on carcass, but at the moment things are not very happy, the lid is warping.

27w-5.jpg


I am going to soak the underside of lid hoping that it might shrink back to flat and also leave it again for a few weeks.
 
Thats a lovely box. Shame about the warping.

I have to ask, whats with all the boxes what do you do with them? Do you give them as presents? Do you make other things to as your skills are considerable?
 
Chems":pzozwomn said:
Thats a lovely box. Shame about the warping.

I have to ask, whats with all the boxes what do you do with them? Do you give them as presents? Do you make other things to as your skills are considerable?

Here is a recording which you can keep open whilst looking in at UKworkshop.

http://www.box.net/shared/eqr041ggjf

You will most probably have noted I have been a member of the forum since 2004, the earlier days I was making furniture for a hobby, but then had to switch over to smaller items, the situation now is that 90% of items made are given to friends or family.
 
Would it not be far easier to assemble the top as a long section of striped timber, then cut it into wedges and glue it up?

I can't help but feel that your technique requires you to cut perfect mitres, and perfect long grain jonts, and get them all glued up tight at the same time, significantly increasing tghe difficulty of each glue-up.
 
Setch":b4aha9w3 said:
Would it not be far easier to assemble the top as a long section of striped timber, then cut it into wedges and glue it up?

I can't help but feel that your technique requires you to cut perfect mitres, and perfect long grain jonts, and get them all glued up tight at the same time, significantly increasing tghe difficulty of each glue-up.

Its the end grain glue ups portions I think would be weak. Had the problem on the carcass and had to put a backing insert piece at that section.

If youlook at the first picture of this post you can see the reinforcement I put in.
 
devonwoody":49jyre8a said:
Setch":49jyre8a said:
Would it not be far easier to assemble the top as a long section of striped timber, then cut it into wedges and glue it up?

I can't help but feel that your technique requires you to cut perfect mitres, and perfect long grain jonts, and get them all glued up tight at the same time, significantly increasing tghe difficulty of each glue-up.

Its the end grain glue ups portions I think would be weak. Had the problem on the carcass and had to put a backing insert piece at that section.

If youlook at the first picture of this post you can see the reinforcement I put in.
DW, could you not put a loose tenon or biscuit in between that end grain section to help out?

Cheers

Mark
 
devonwoody":32ylvhzw said:
Chems":32ylvhzw said:
Thats a lovely box. Shame about the warping.

I have to ask, whats with all the boxes what do you do with them? Do you give them as presents? Do you make other things to as your skills are considerable?

Here is a recording which you can keep open whilst looking in at UKworkshop.

http://www.box.net/shared/eqr041ggjf

You will most probably have noted I have been a member of the forum since 2004, the earlier days I was making furniture for a hobby, but then had to switch over to smaller items, the situation now is that 90% of items made are given to friends or family.

Not sure I get why I'm listening to this music? Your family are very lucky to get nice little boxes. I've only ever made one box when I did A Level shop a few years ago. I'll get a picture ... . . .

No idea what wood it is but it peaked my interest in woodwork so I have it to thank for that. I use it as my receipt keeping box.


I'd like to see some DevonWoody furniture, got any links to old topics?
 
To Trim the king, I did consider biscuits etc but the pieces for the lid were only 5mm thick, and the carcass 10mm thick. I did even consider a splitter in a dremel setup. Then decided I do what I do for pleasure and not pressure. :)

To Chems, I tried using the search box above but having made many posts over the 5 years the task of finding previous articles was quite daunting. However if you click my profile icon and go to "find all posts by devonwoody" then choose the highest page number you can see some of my earlier projects that way, and I think I mentioned above that box making for me started around 3 years ago, (when I switched over to a tablesaw) from the Triton.
 
devonwoody":1lj5zzp2 said:
To Trim the king, I did consider biscuits etc but the pieces for the lid were only 5mm thick, and the carcass 10mm thick. I did even consider a splitter in a dremel setup. Then decided I do what I do for pleasure and not pressure. :)
Ahhh, didn't realise they were quite that thin.

Not to worry though, as you say it looks good as is.

Cheers

Mark
 
Back
Top