Cherry Table WIP

UKworkshop.co.uk

Help Support UKworkshop.co.uk:

This site may earn a commission from merchant affiliate links, including eBay, Amazon, and others.

woodbloke

Established Member
Joined
13 Apr 2006
Messages
11,770
Reaction score
1
Location
Salisbury, UK
This rather pleasant board of air dried English Cherry (none of your 'murrican stuff :wink::

smallct-1.jpg


was roughly converted and left for a couple of months so that after a bit of skimming with the LV LA jack I had a much smaller pile of sticks:

woodsmall2.jpg


There's going to be four inlaid panels with something burry and round the outside of the burr will be a line in ebony:

woodsmall-1.jpg


The four bits nearest the camera are the bits going to be inlaid, but first of all they had to be shot in:
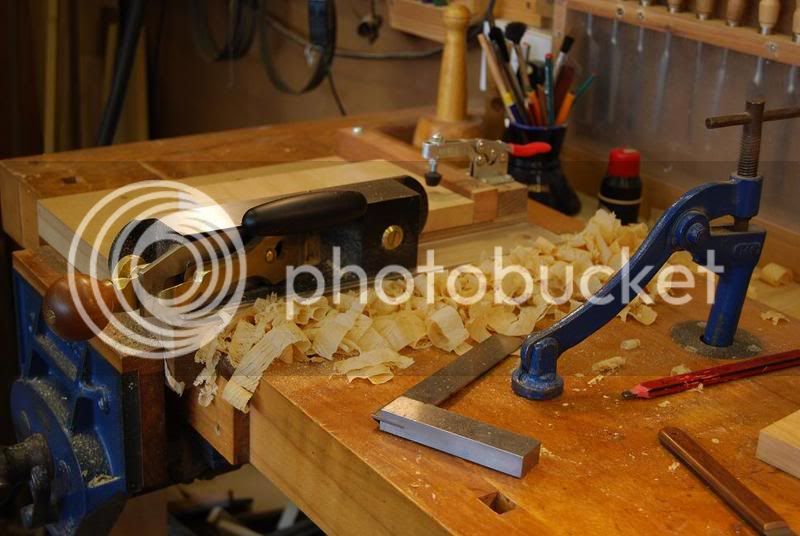
woodsmall3.jpg


after which all the m/t's had to be marked out...this shot just shows all the legs cramped together at the start:
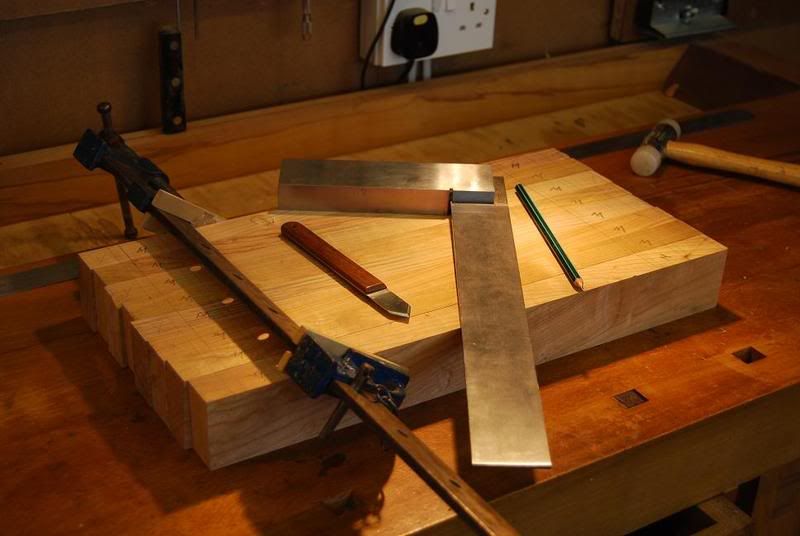
woodsmall5.jpg


This project is going to be quite complicated :wink: :roll: to put together as there will be eight legs, eight rails and five panels, plus sixteen 'birds mouth' tenons (with 6mm ply inserts) so there'll be lots of 'shave and rasp work. I've just finished marking out all the mortises so it's tenons after that - Rob
 
Look forward to seeing this one progress, Rob. Sounds like there might be a few challenges :wink:

Cheers :wink:

Paul

PS Nice plane.....
 
Looks like a cracking piece of Cherry Rob. Looking forward to seeing what you do with it.

Cheers, Ed
 
It looks like you're off to a great start, can't wait to see what methods are used and the final product of all your hard work will look like!
 
Rob,

Please excuse the silly questions from a beginner, so often I see a rough plank being converted to a nice neat pile of rough sized parts but no idea of sizes? Can you tell us the size and thickness of the original piece of cherry and how much waste to give the complete stack of parts?

Thanks

IanL
 
StarGazer":a5d3fflp said:
Rob,

Please excuse the silly questions from a beginner, so often I see a rough plank being converted to a nice neat pile of rough sized parts but no idea of sizes? Can you tell us the size and thickness of the original piece of cherry and how much waste to give the complete stack of parts?

Thanks

IanL
As you can see from the first pic, the board's just under 2m high, about 500mm wide at the widest point and 50mm thick. Although it looks quite impressive, there was a lot of waste on it because the other side was full of quite deep surface checks and soft bits of sap :) , so I had to be pretty careful how it was converted. I did it initially by using a hand held c/s to cut it into rough lumps before it was planed on the p/t, so I guess there was probably 30-40% waste on it - Rob
 
woodbloke":td16ux0l said:
There's going to be four inlaid panels with something burry and round the outside of the burr will be a line in ebony:

woodsmall-1.jpg

Thanks, Rob. It's nice to know I'm not the only one who spends time putting on the face and edge marks and then decides to change his mind! :D :wink:

Nice lump of cherry, by the way. Good to see of the English stuff being used, there isn't always much around.
 
Last week I posted some pics of this coffee table project which probably meant nothing to anyone 'cept me so I deleted them. However I've done a bit more and have got one of the end frame assemblies together as a dry-run:

Endpaneldryrunsmall.jpg


The depression in the middle of the wide end panel will be filled with a nice bit of burr stuff and then an ebony line is going round the outside'

The next shot shows:

Dryrunendfirstframesmall.jpg


one of the frames together and there'll be an identical pair of frames fitting in the halving joints to form a cross shape. There'll be lots of shaping to do, you can just make out the cross hatching in biro on the inside of one of the end frames. In addition the legs will also be flared from the top down so that the panel and legs will eventually be flush. Horns will be removed so it'll sit flat on the floor - Rob
 
Haven't shown you much of what's been going on with this table, but here's an update. After a very pleasant day at Yandles I came away with nice lump of burr elm which was duly sliced up an stuck into the recesses on the end frames. This pic shows a trial fit with small bits of 6mm ply for the loose tongues...the end frame is then shot in tight against the mitres:

smalltrial.jpg


so that by this morning I had four of them glued up:

fourendssmall.jpg


I've been working on one of them all day and have got this far:

oneendpanelsmall.jpg


As you can see, the corners have been roughly cut (scribing gouge) and then rasped to shape, arrises are still sharp so there's still loads of shaping to do. There's going to be an ebony line round the elm burr...you can see the groove.

What makes it ever so slightly more complicated is that the side profile:

endviewsmall.jpg


is slightly curved so the rails had to be taken down level with the burr elm...it's taken me all day to get this far on just this panel. English Cherry though is a right pita...it's the last time I'll use it (maybe this board was kilned :duno:) but there's parts of it that cut like coarse pine. The only thing it does do in plane well, apart from that I'd keep clear :x Onwards and upwards... - Rob
 
Love the look of those panels, Rob. I've heard elm can have a mind of it's own at times - I hope those burr panels remain flat for you! :wink:
 
OPJ":zdnhzwsy said:
Love the look of those panels, Rob. I've heard elm can have a mind of it's own at times - I hope those burr panels remain flat for you! :wink:
The actual burr is 2mm thick and has been glued in the AirPress to the wide cherry rail which is itself 18mm thick...so the elm's going nowhere :) - Rob
 
Don't you just love these threads that show a quality piece coming together. This looks like another heirloom in the making Rob. Many thanks for the detailed account and all the WIP pics. Greatly appreciated. I'm waiting for the next batch of pics with eager anticipation.
 

Latest posts

Back
Top