Budget guitar build

UKworkshop.co.uk

Help Support UKworkshop.co.uk:

This site may earn a commission from merchant affiliate links, including eBay, Amazon, and others.
I chose to finish this guitar with Tru-Oil in the end, and boy is it a nice finish. Just rub it on with some paper towel and leave it 24 hours and it looks spectacular. It brings out even the most subtle 3D grain:
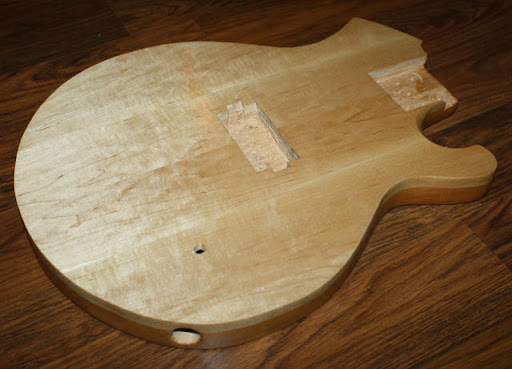
IMG_5189.jpg


From another angle:
IMG_5191.jpg


The alder on the back took on a lovely rich warm tone, and the grain is quite fascinating. Here the "itteh bitteh kitteh inspection commiteh" is doing some quality control:
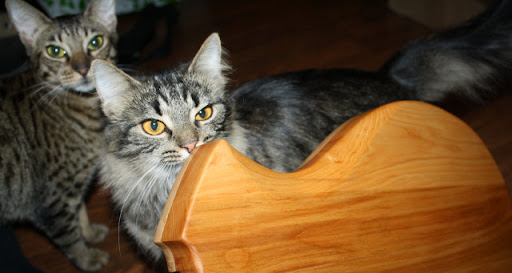
IMG_5193.jpg


Treatment of the cutaway to assist high fret access:
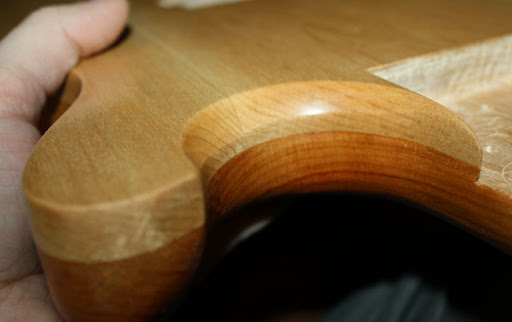
IMG_5198.jpg


Rear of the same - I had to carve away a lot here, the cutaway really should have been bigger!
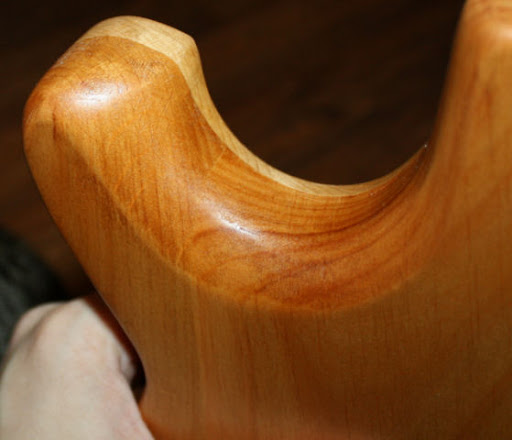
IMG_5205.jpg
 
I finished the guitar a month ago but I've been away on honeymoon since then so haven't had a chance to update this thread.

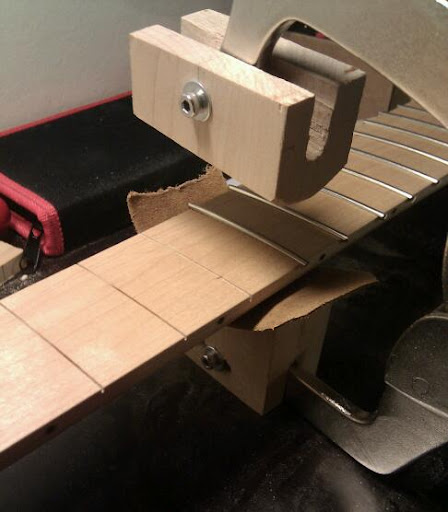
I tried hammering the frets last time I made a neck and I hated it, a miserable experience. This time I made a fret press out of a welding clamp, a few blocks of scrap maple and a strip of suede. The frets went in a whole lot easier and gave me a much more consistent basis to start fretwork on:

IMG_20101010_203035-1.jpg


I levelled the frets by flattening a length of alder and attaching a piece of 320 grit sandpaper and stroking that up and down until all frets had been worn on the top. This went quickly. After that I polished them up to 12000 micromesh.

I used a zero fret this time around, and I'm really happy with the result. I used unbleached bone for the nut, and cut the slots with a simple triangle needle file - with a zero fret they just act as a string guide, so accuracy is far less important!

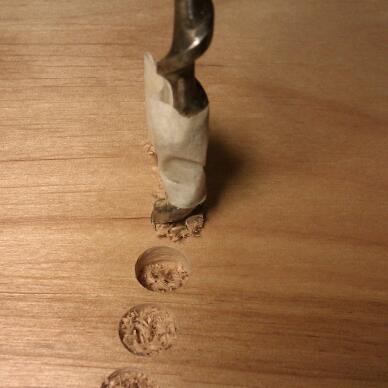
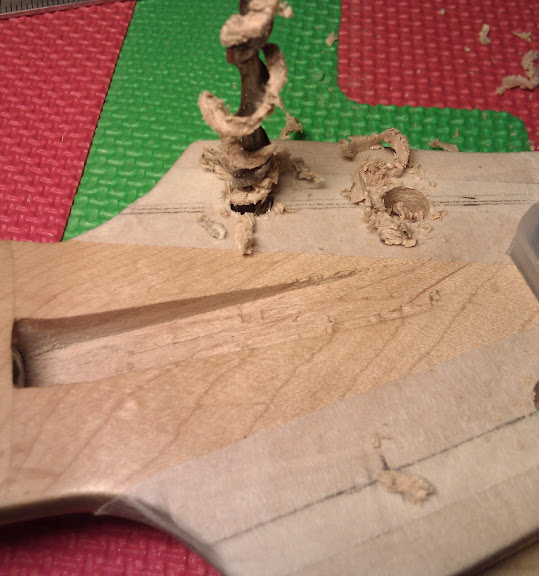
Back to the body, I used a 5/16" auger in a brace to bore the string ferrule holes in the back:
IMG_20101012_003354-1.jpg


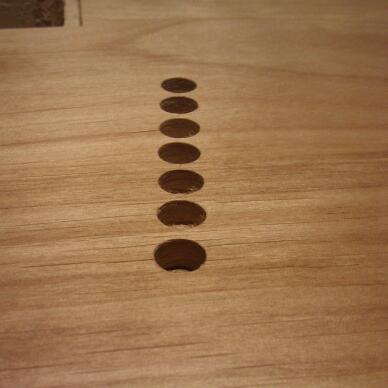
I get these all lined up by first drilling through the body from the top for the two farthest apart strings, then divide them evenly on the back for a neat look. The result, entirely drilled by hand, looks like this:

IMG_20101012_003831-1.jpg
 
I superglued some M4 nuts into those holes to act as string ferrules.

Next up I masked off the headstock and located my tuner holes. I drilled those out with an auger as well, starting from one side and switching to the other once the leadscrew was coming through:

IMG_20101012_024153.jpg


The rest of the process was pretty uninteresting so I didn't take any shots - it was basically just installing all the hardware and soldering the electronics together. I made up a truss rod cover & electronics cover from some wood that is sold here by the kilo to help you start fires - they're all a uniform 3mm thick by 16mm wide, and all are very dry hardwood. A very cheap and convenient way to get sticks to mix glue, paint, etc.

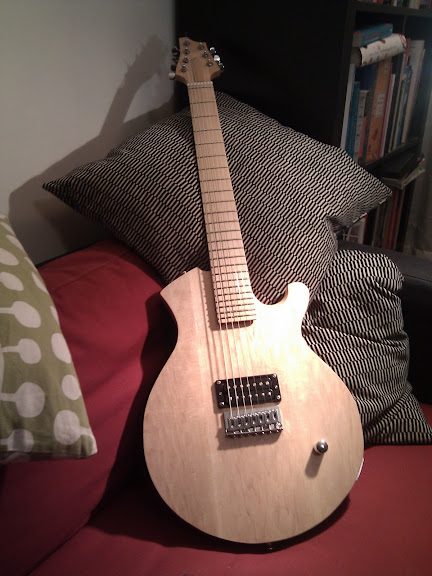
The finished guitar:
IMG_20101013_050627.jpg


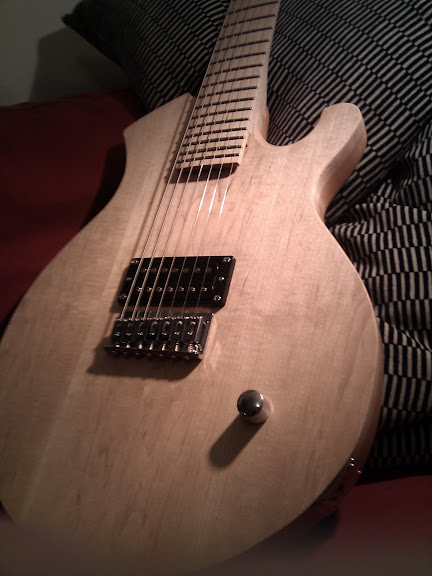
A close-up showing the figure in the top:
IMG_20101013_050641.jpg


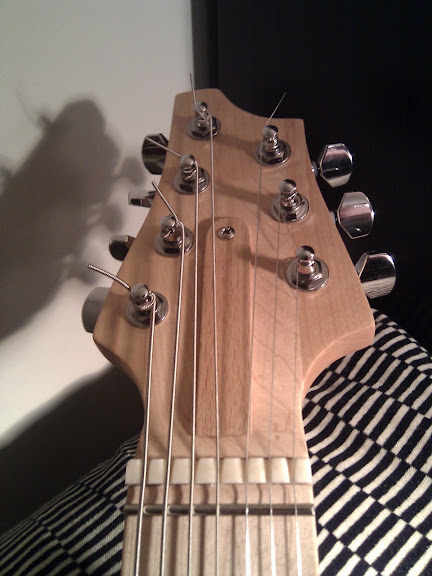
And a shot of the headstock:
IMG_20101013_050652.jpg


All in all I'm super happy with the way this guitar turned out, its really great fun to play! Thanks for watching :)
 
Nice looking guitar, especially for a 'Budget' job. By the way on the drive-by "I've been away on honeymoon", congratulations on the preceeding wedding. Long may it continue to be a happy one.

xy
 
Trizza":1witx96r said:
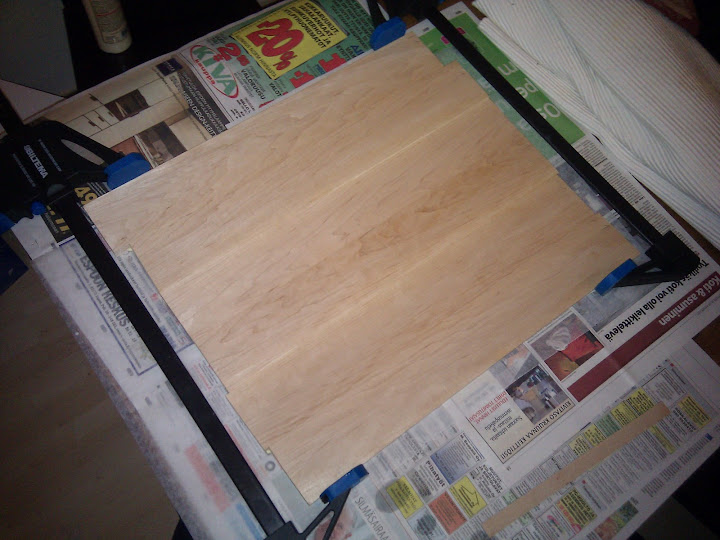
This week's progress: Glued up the maple cap, flattened both sides of the cap and the body blank. Good exercise ;)

Top cap glue-up:
IMG_20100924_002314.jpg
WOW! Did you really clamp all those thin pieces in one operation? I'd have thought the whole assembly would just spring upwards (It certainly would if I tried it! :( )

BugBear
 
bugbear":3mm59kgv said:
WOW! Did you really clamp all those thin pieces in one operation? I'd have thought the whole assembly would just spring upwards (It certainly would if I tried it! :( )

BugBear

I was a little bit worried before I started but it turned out to go very smoothly! I was ready with more clamps and a bar to put over the top if I needed it, but I didn't need it in the end.

The pieces were each about 15mm thick, and I had tuned the joints until they were pretty much perfect - without any clamping pressure the surface tension of the glue was enough to hold them together. The clamps were only applying very light pressure to hold everything in place. I think if the joints were any less tight then there might have been some drama!
 

Latest posts

Back
Top