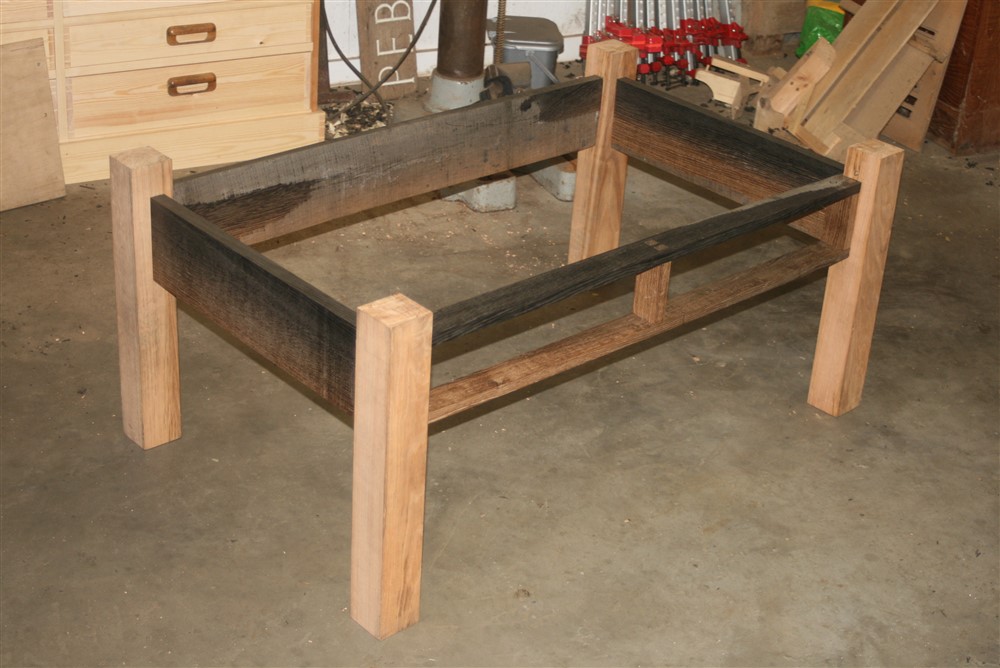
Bog oak coffee table (Finished.....photo heavy).

UKworkshop.co.uk

Help Support UKworkshop.co.uk:

This site may earn a commission from merchant affiliate links, including eBay, Amazon, and others.
Wow, the wood is stunning.
Apart from orientating the pieces to take advantage of the colour variations, have you considered how to balance the impact of the beauty of the wood against the design?
 
Steliz":3sdw3g90 said:
Wow, the wood is stunning.
Apart from orientating the pieces to take advantage of the colour variations, have you considered how to balance the impact of the beauty of the wood against the design?

That's what I worry about most, Steliz. I spent ages worrying about whether I should have just built an orthodox oak (ie not bog oak) undercarriage...aprons & legs.....and just made a feature of the top. I really hope it isn't overdone visually when I've finished. It would be nice to be somewhat subtle.
 
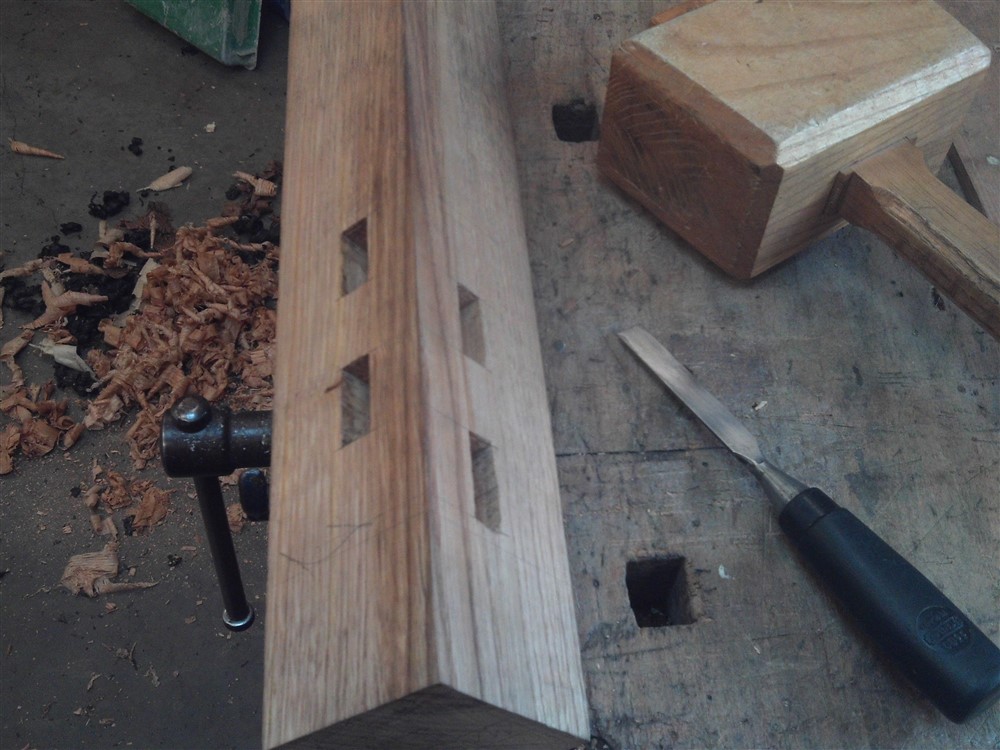
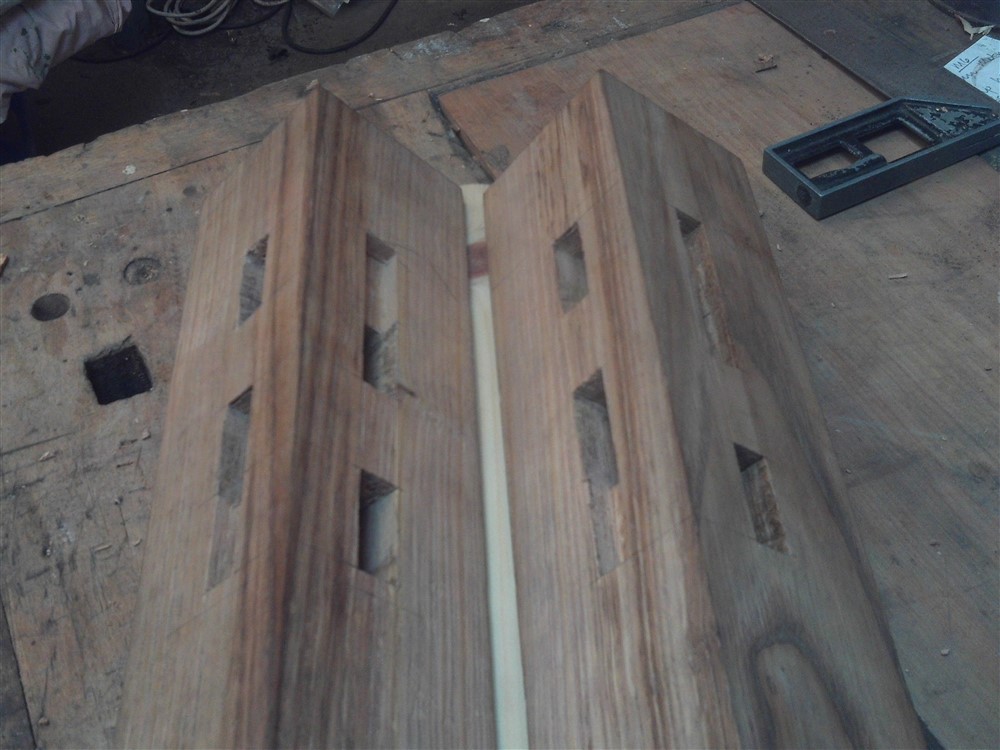
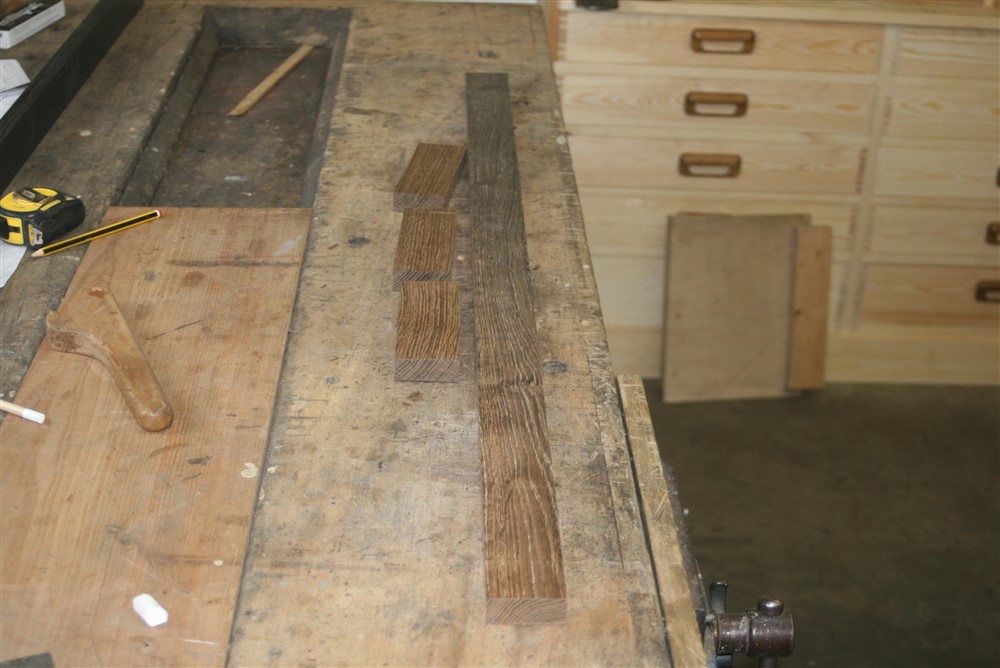
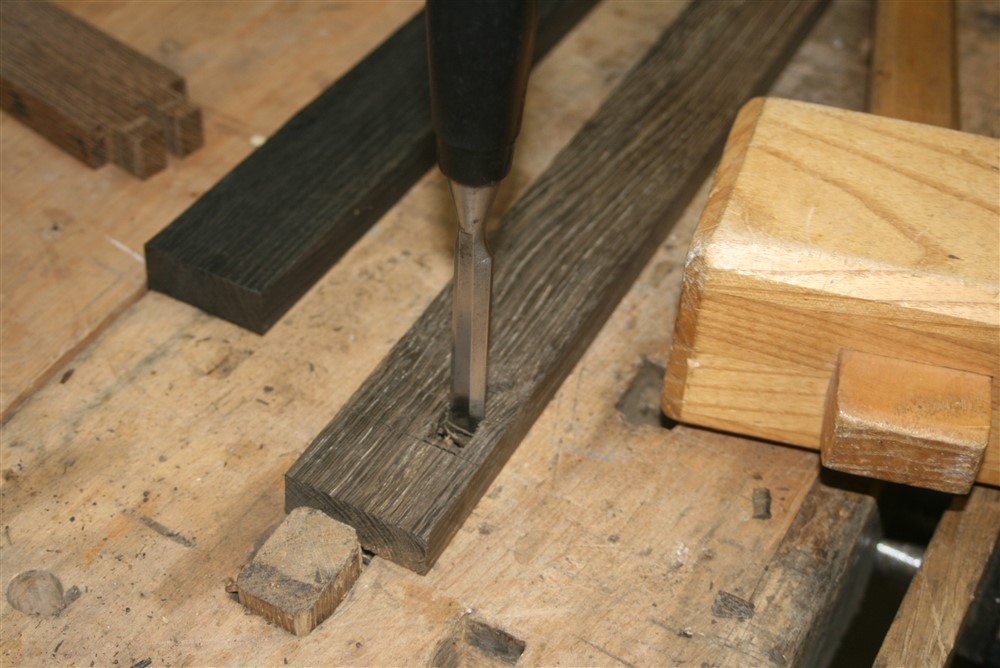
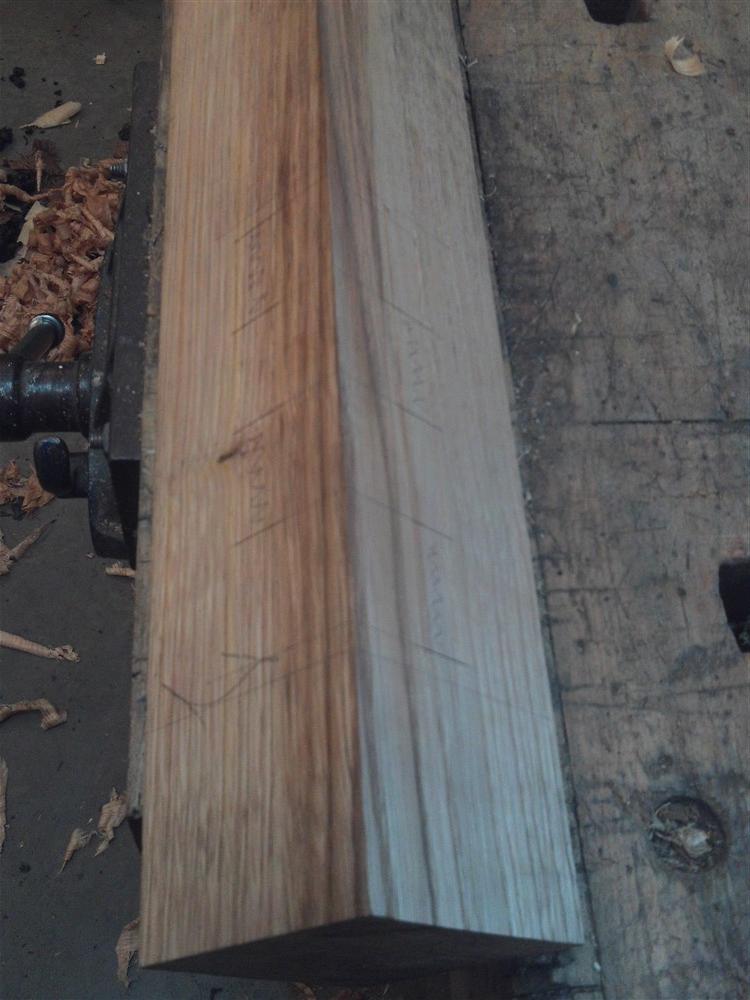
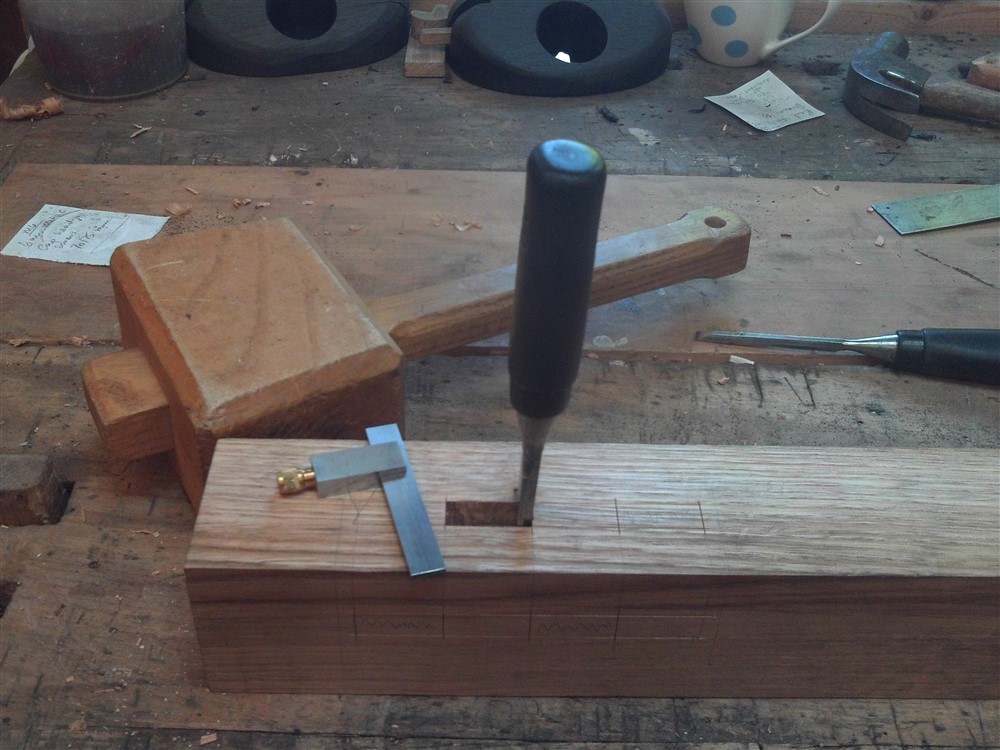
I said this would be slow! I made a start on the joinery. Here are the mortises in the two "back" legs (ie those opposite the drawer side of the table):

13MGeP8.jpg


lAR02SA.jpg


5x1ZgNu.jpg


phi7lZo.jpg


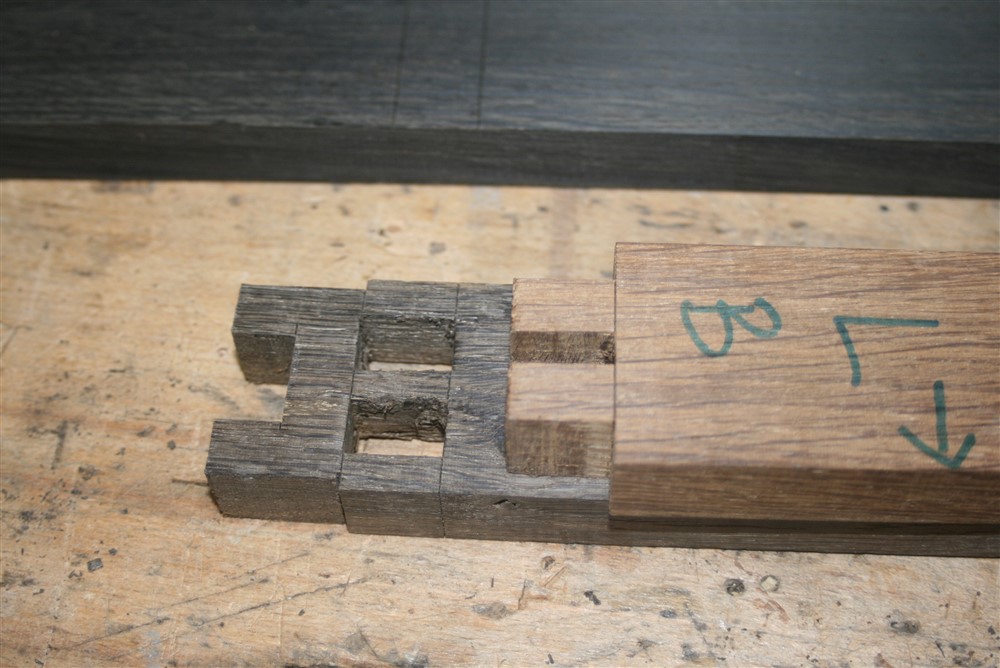
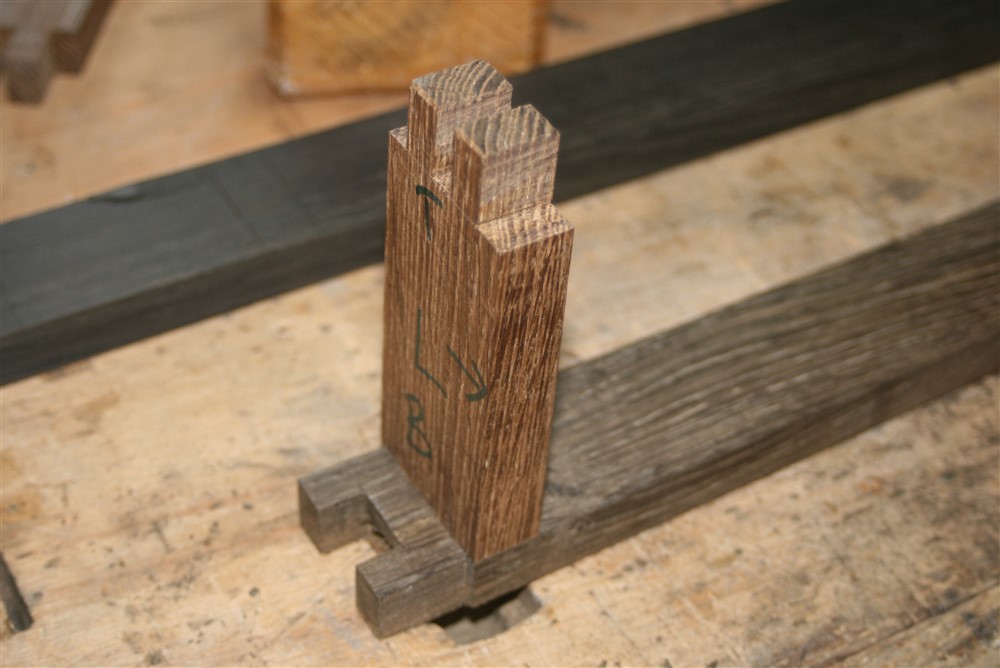
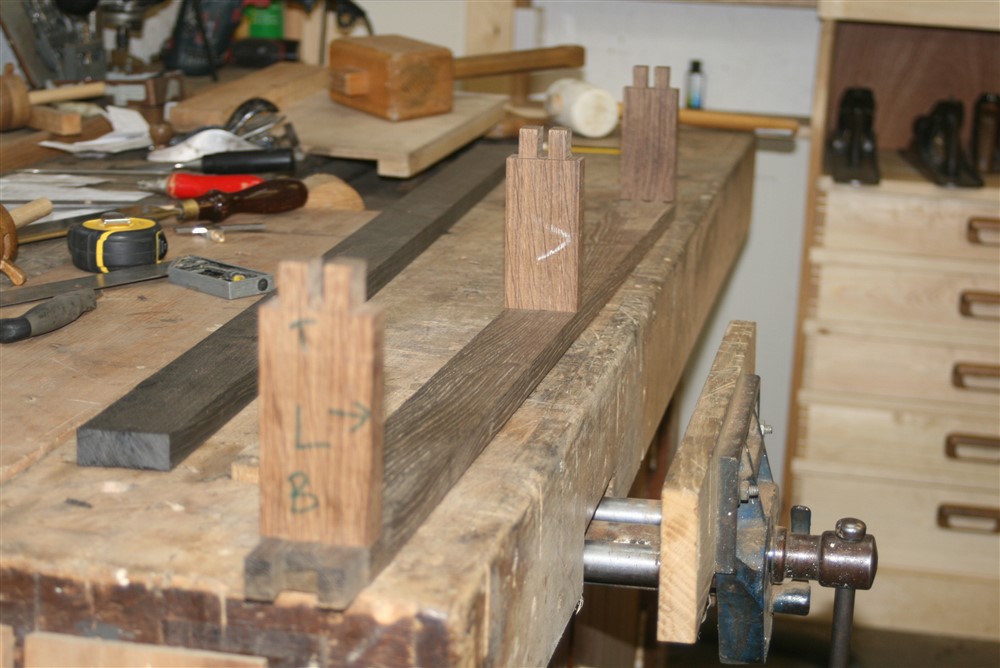
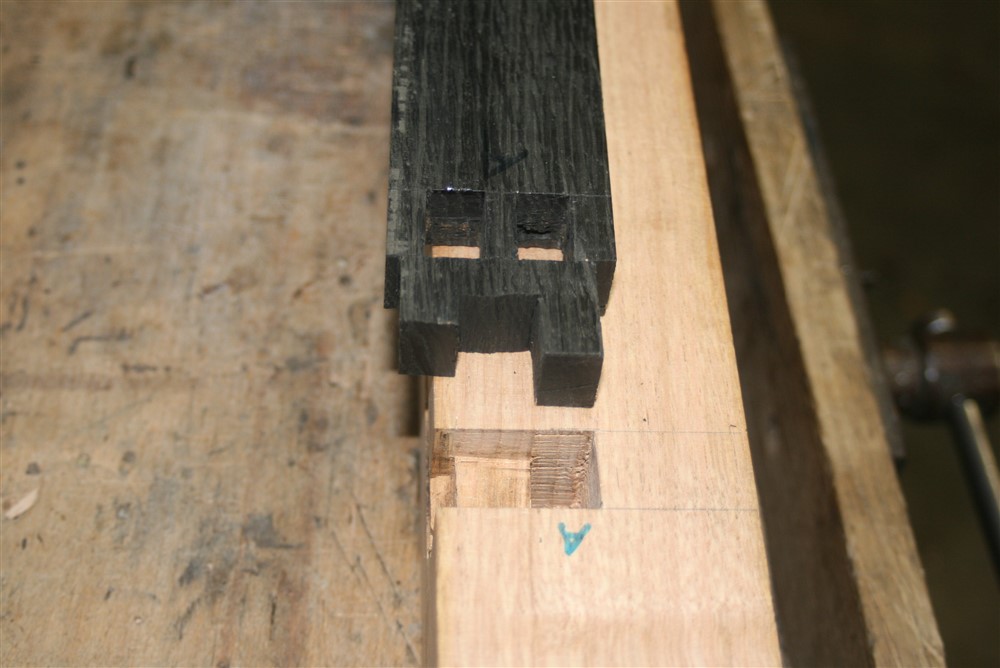
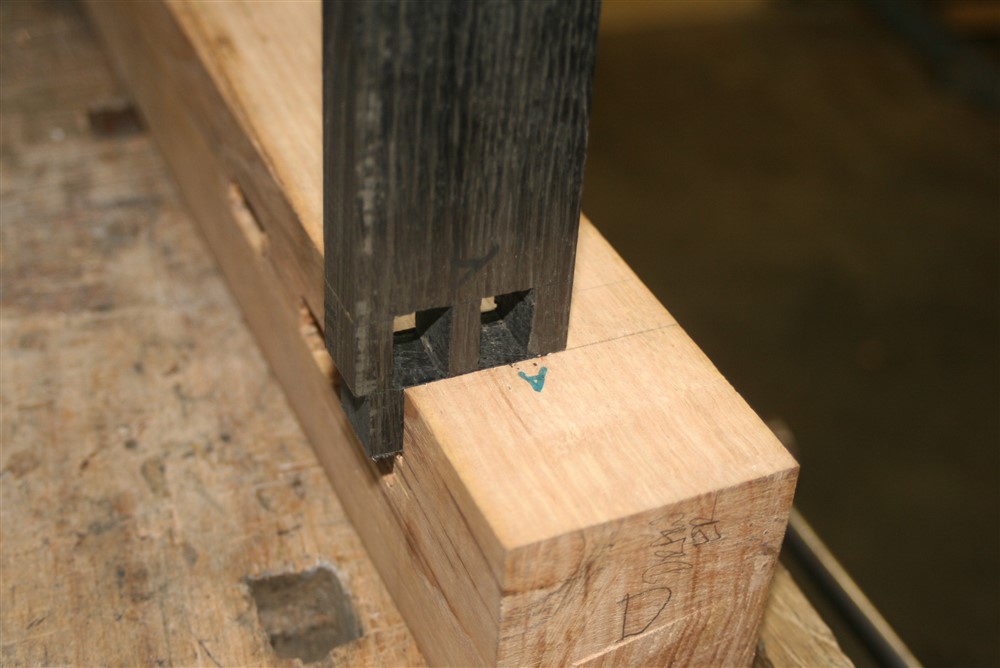
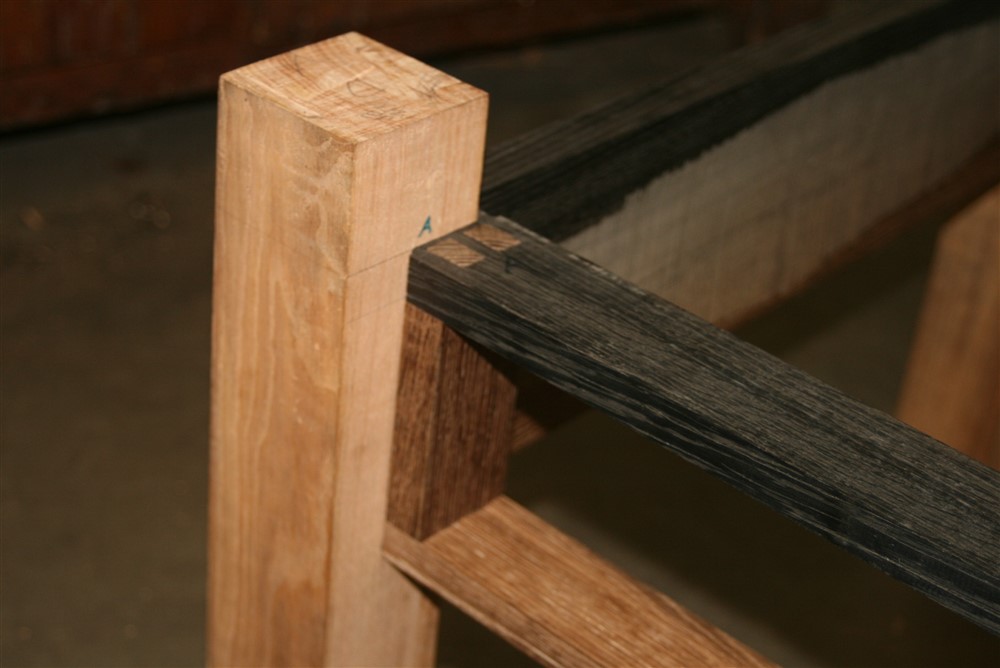
There will be a pair of M&Ts for each of the apron/ leg joins, and these are offset so as to not weaken the leg. The mortises are really hard to chisel out cleanly, being 13 x 33 x 50 deep....so small and very deep. I also added a haunch to the edge of the joint not going into a deep mortise, to prevent twisting. If you don't follow that, all will become clear when I show the tenons later in the proceedings. The reason for the deep mortises is that without a lower shelf I am worried about racking. I imagine someone bumping into this table, standing vulnerably out in the middle of the room, and damaging the joints.....so I've made the joints as strong as I can.
 
MikeG.":2l6yeui7 said:
You'll see when I come to doing the joints that the aprons are only good one side. This is because they were so twisted and mis-shapen that the long one would have ended up under 15mm thick if I'd thicknessed it, and one of the side ones wouldn't have been much more.

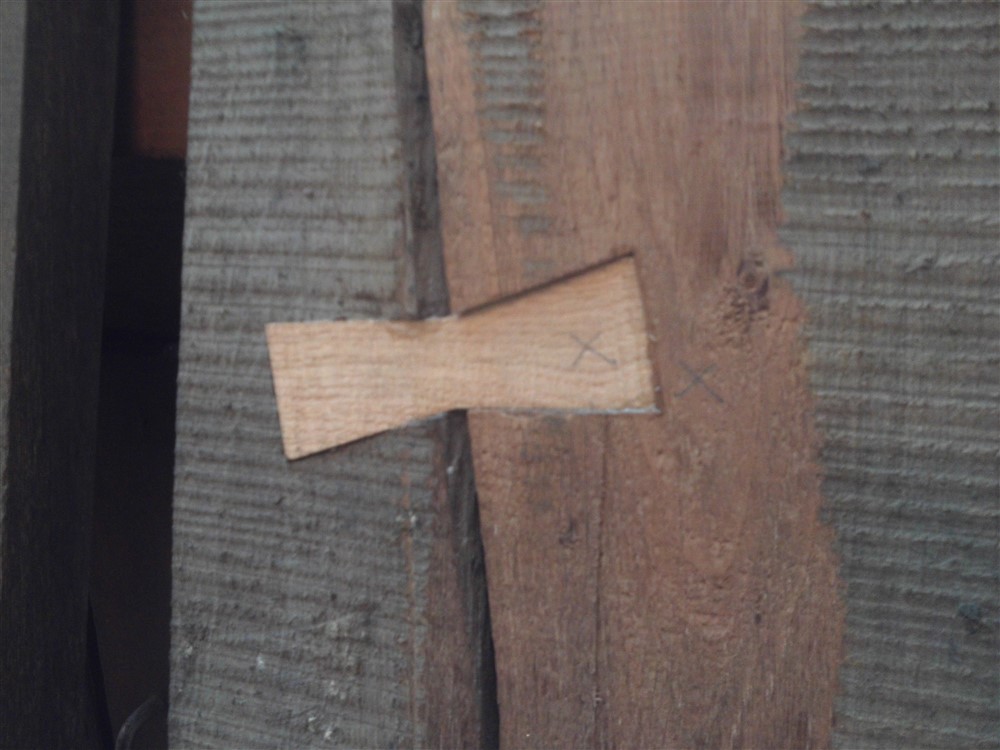
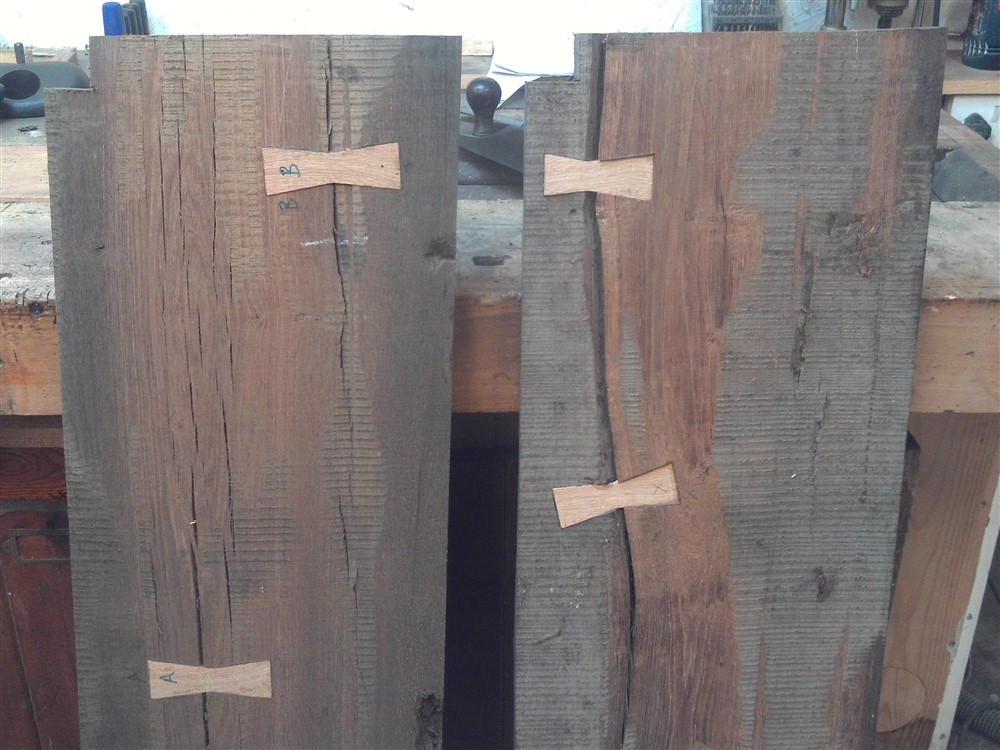
I inset some butterflies into the underside of the tops, and they've done a great job of stabilising the huge crack (which goes all the way through, obviously):
WrkInU4.jpg


vrpohyK.jpg


You can see that the undersides of the table top boards haven't been flattened yet. I am proposing to fill them first, then take them to a large thicknesser.

Mike, have you thought about not flattening the underside and leaving it as is. I personally think that would be a great touch for something special, made of such an ancient timber. It would seem more authentic and historic some how, difficult to put into words :) sort of leaving the story of the wood exposed, but out of site.
 
I'm only going to flatten it to the extent that the edges are even. The long apron is only good one side, with the other untouched, because the wood was so wonky that if I thicknessed it it would only have been 12 to 15mm thick.
 
MikeG.":dvai2lpo said:
without a lower shelf I am worried about racking. I imagine someone bumping into this table, standing vulnerably out in the middle of the room, and damaging the joints.....so I've made the joints as strong as I can.
Would have to be in our house, yesterday I caught our 6 year old granddaughter standing on the coffee table practicing her gymnastics. :roll:
 
this is going to be very nice, will you use turnbuttons to attach the top to the frame? how will it be attached?
 
Yes, exactly that. I did think about using a sliding dovetail connector, just for fun, and I might have a play with some scrap...but chances are it will be buttons.
 
I did say this was going to be slow....

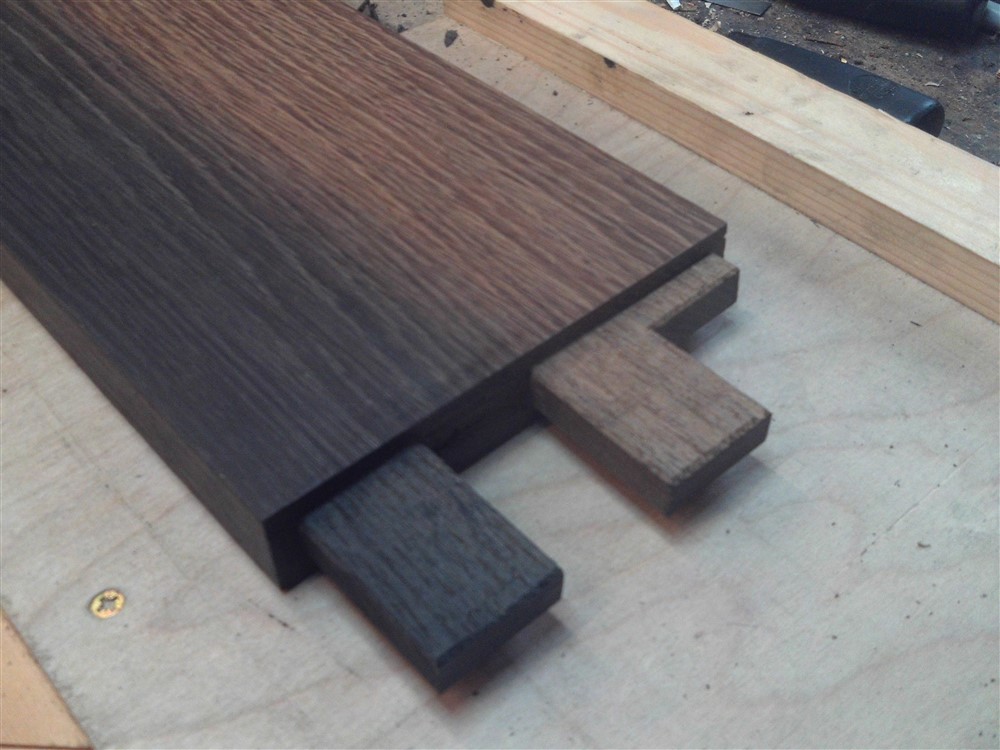
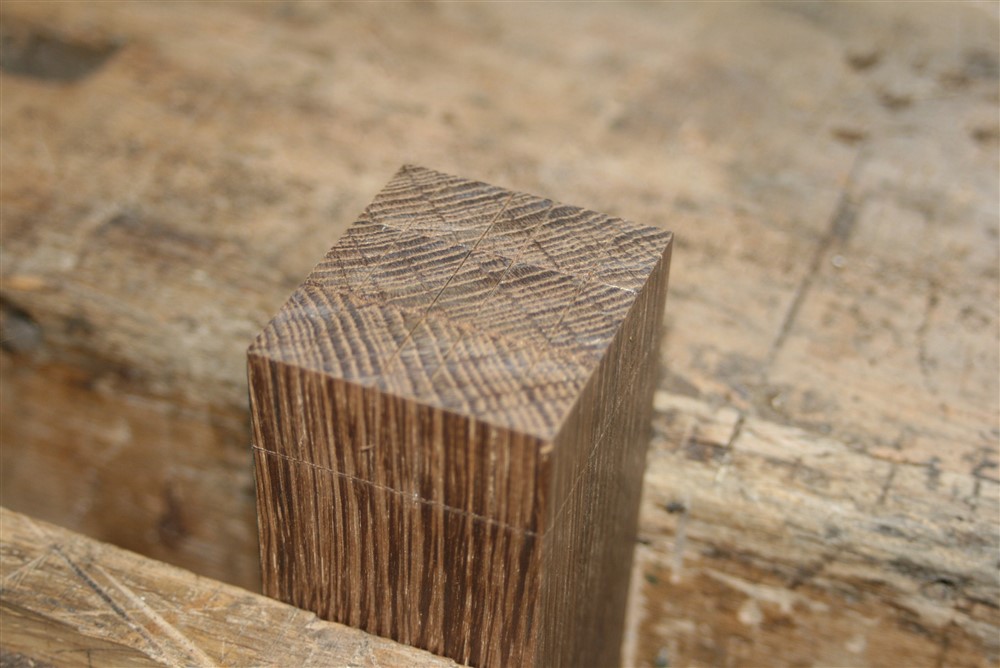
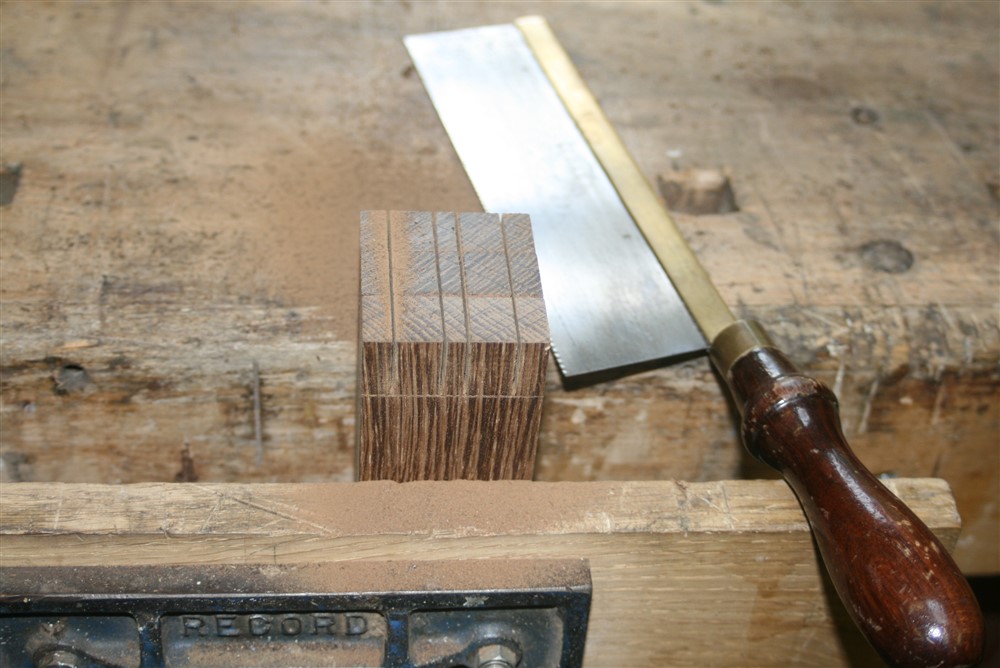
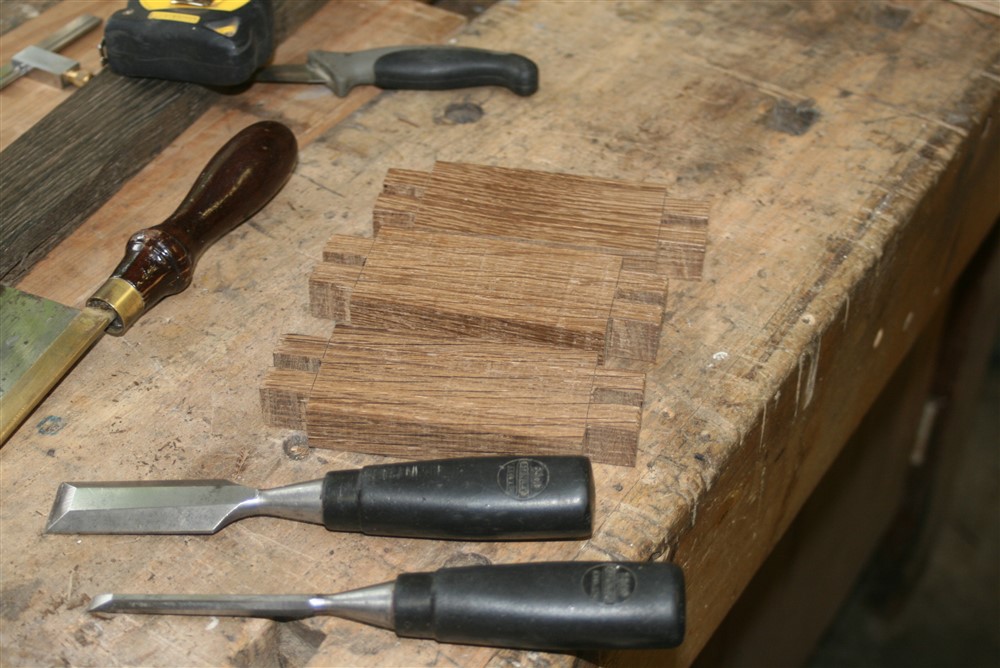
Previously, I'd chopped out the mortices for the apron on the back and two sides, so next, it was time to do the tenons. Mark, knife, chisel, saw:

5aZX2QY.jpg


FwmVJ2w.jpg


Rg59xaw.jpg


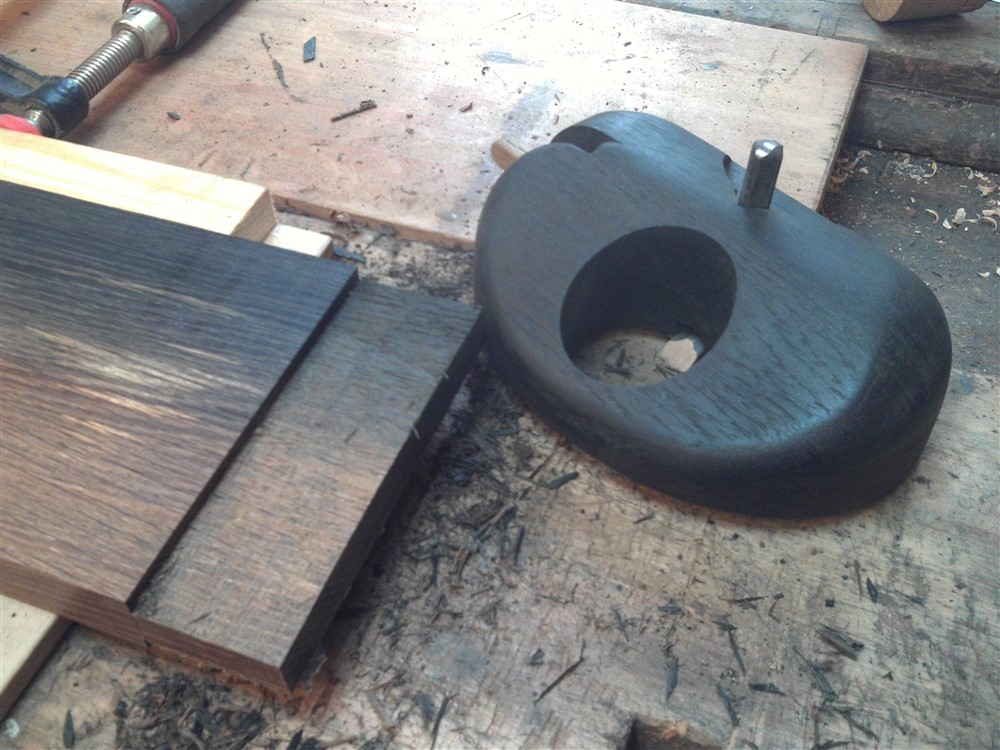
You'll note a router plane in the last photos which you've not seen before. It's half built, but works a treat. I'll post on that separately in due course. Anyway, on with the joints:

CYv9ZyW.jpg


I haven't a photo, but you'll have worked out that the tenons are staggered so that adjoining sides can have full depth over-lapping joints. I want really strong racking resistance.

qFvQPnq.jpg


9SsQjAi.jpg


Now, we swap to a DSLR camera, so the photos improve, but I've forgotten how to turn the flash off and some of the colours will therefore look a little different.

QJ0hsJW.jpg


PtIDP3X.jpg


None of the timber has been properly planed at this point. I want to do the joinery first, so the vertical mark you can see on the apron is just where I must have slowed down on the planer. It won't be there in the finished article.

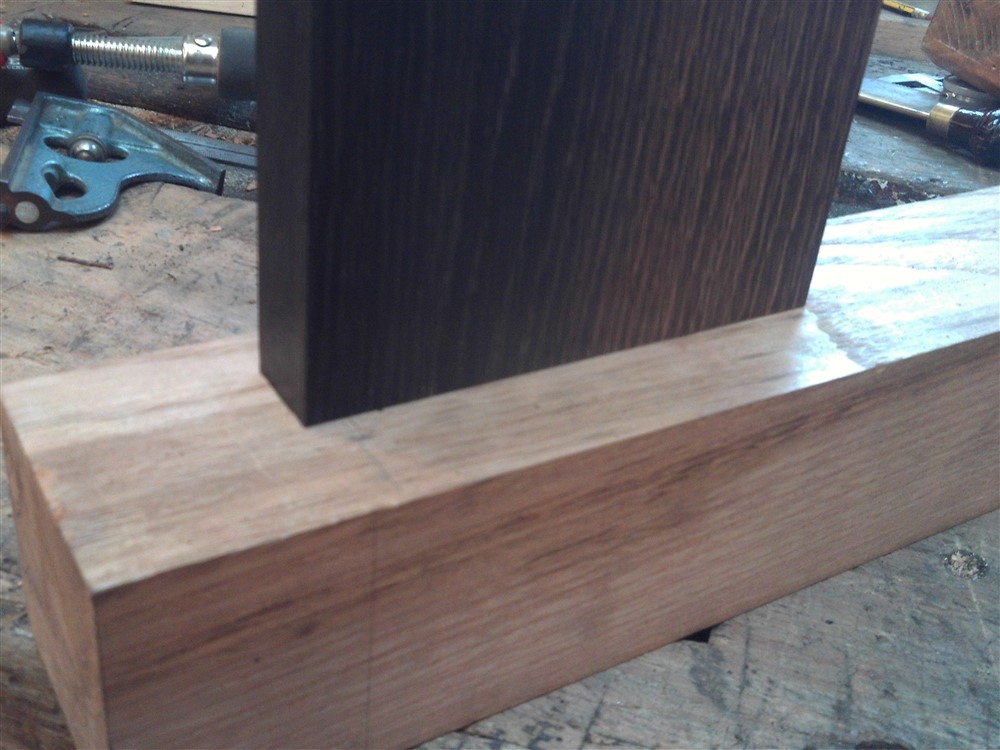
This is a view of the end of the rear apron. Remember I said previously that the inside would only be partially planed as there wasn't enough thickness to thickness the whole board properly? Well, this is the consequence. There is nowhere to reference the router plane to sort out the inside face of the tenon, and thus the work that side is all with a chisel:

OvfuxPS.jpg


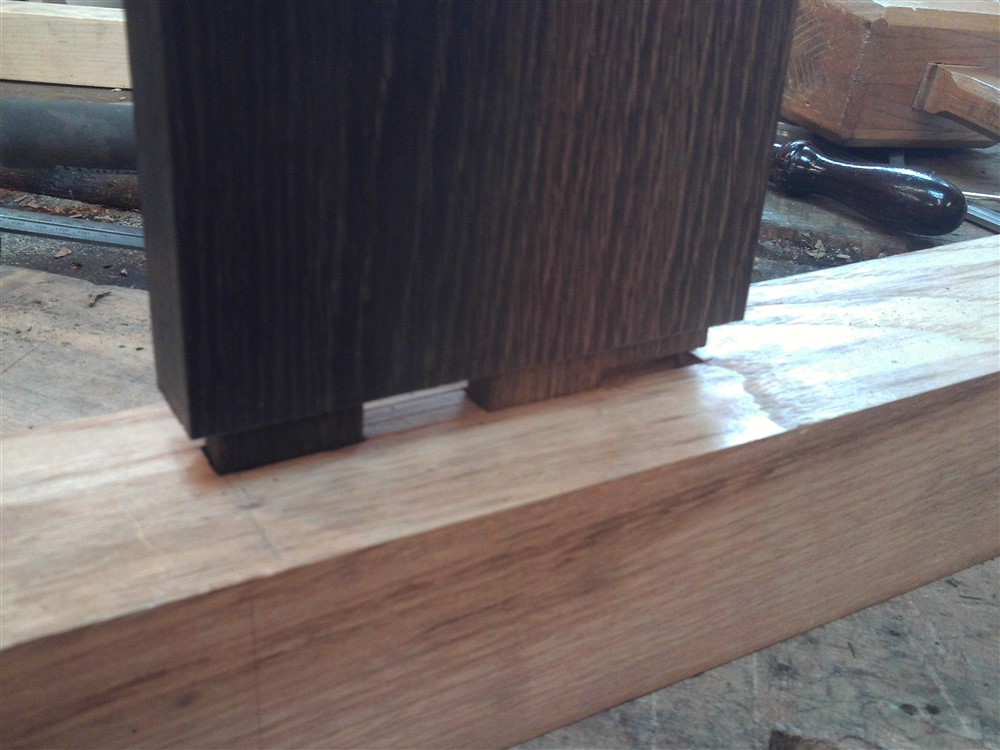
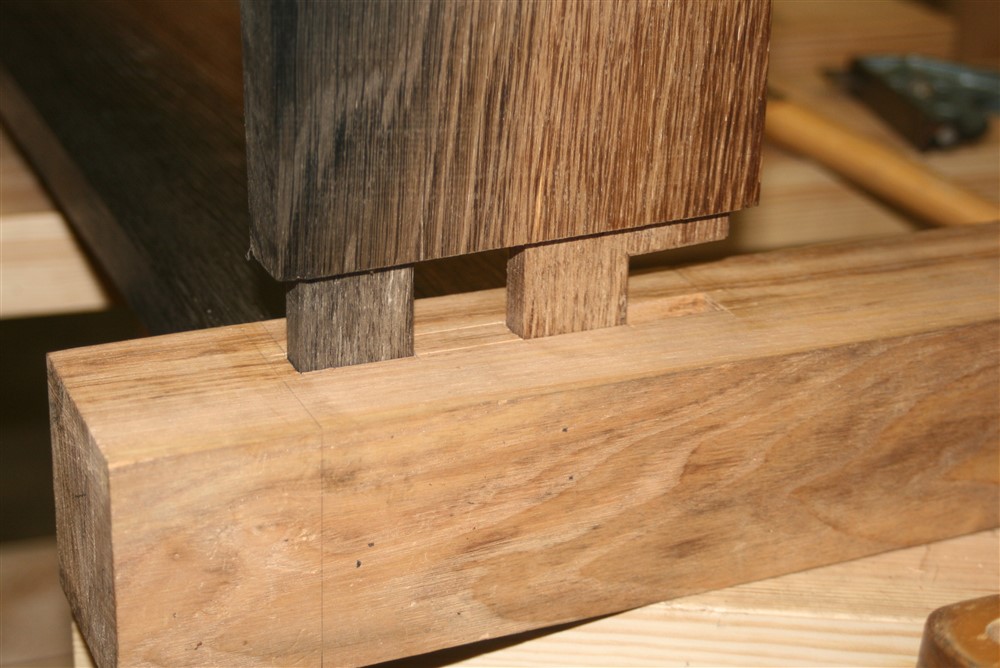
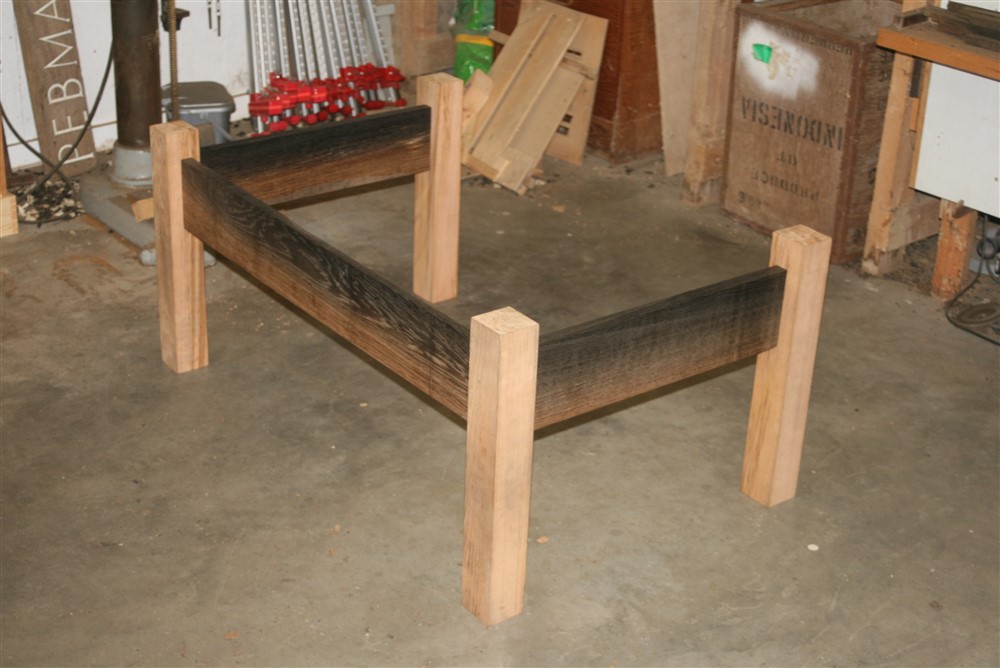
In the end, it all went together nicely:

OcoL4PA.jpg


They're really tight joints, and that feels really sturdy.

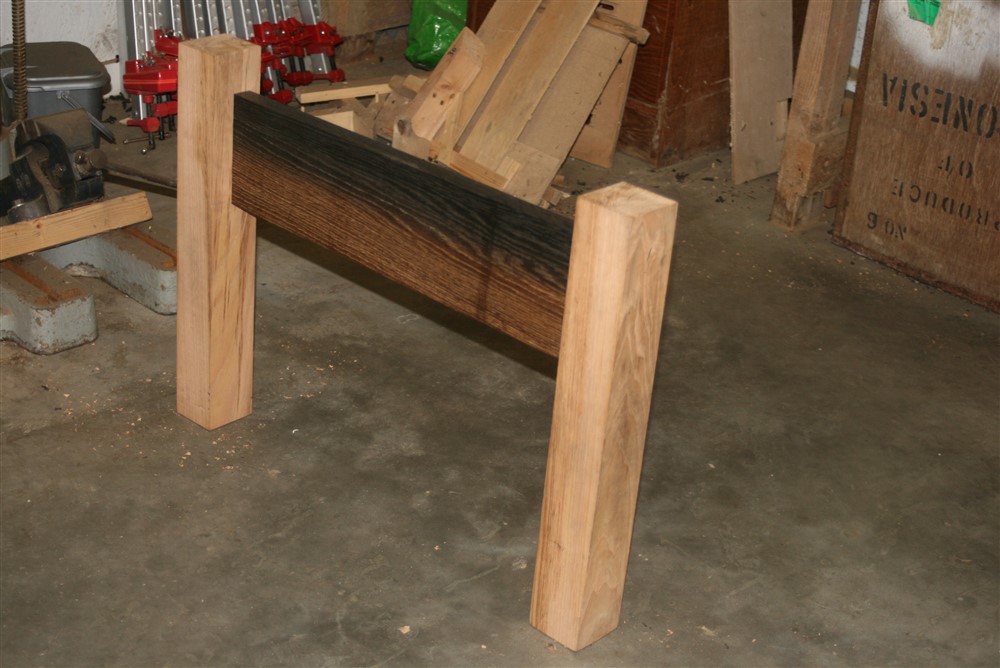
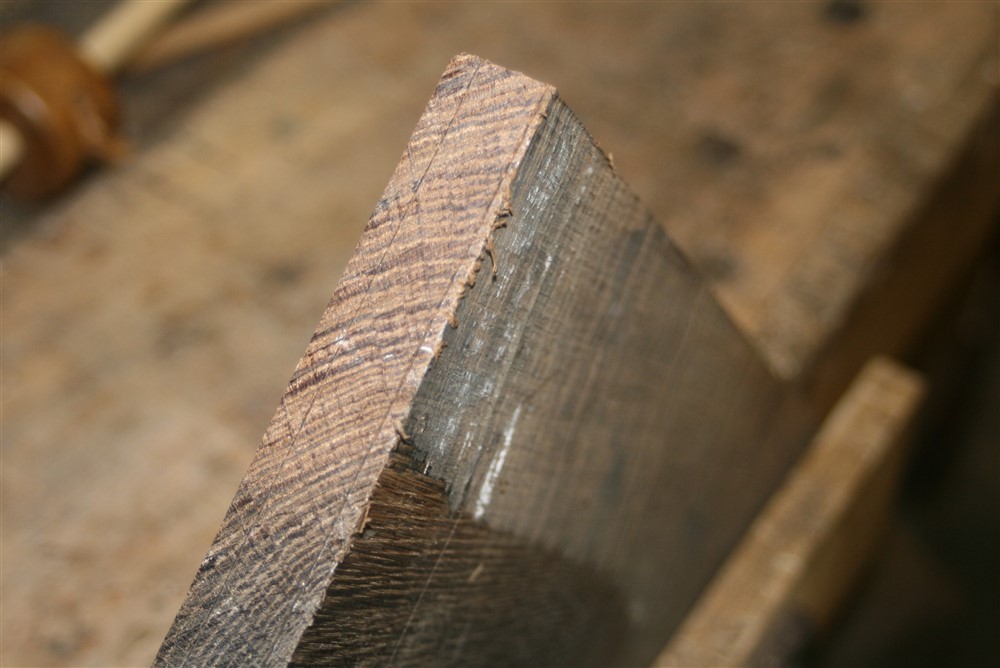
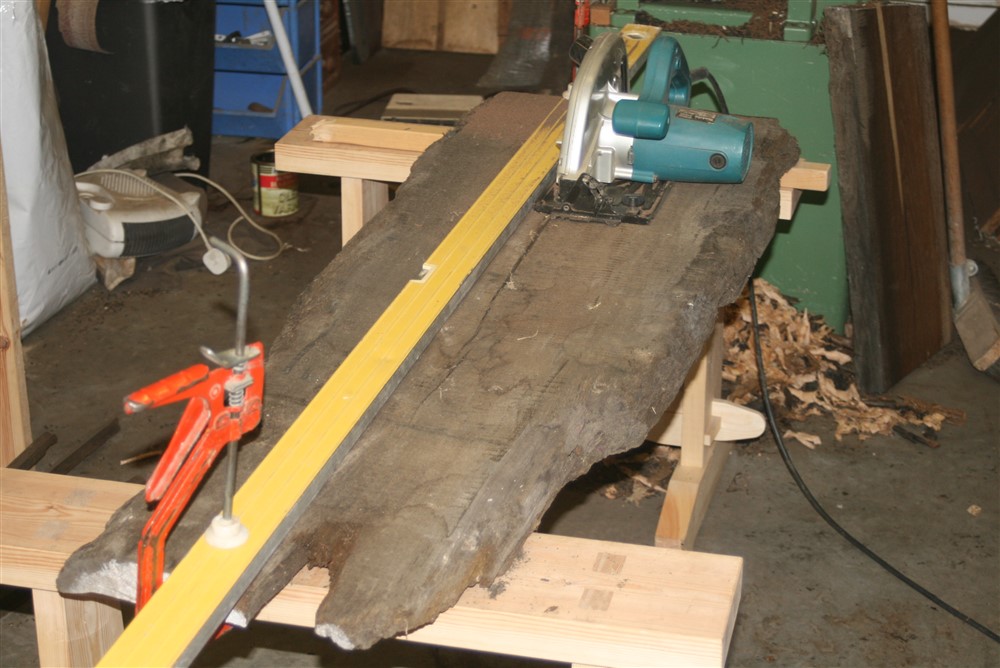
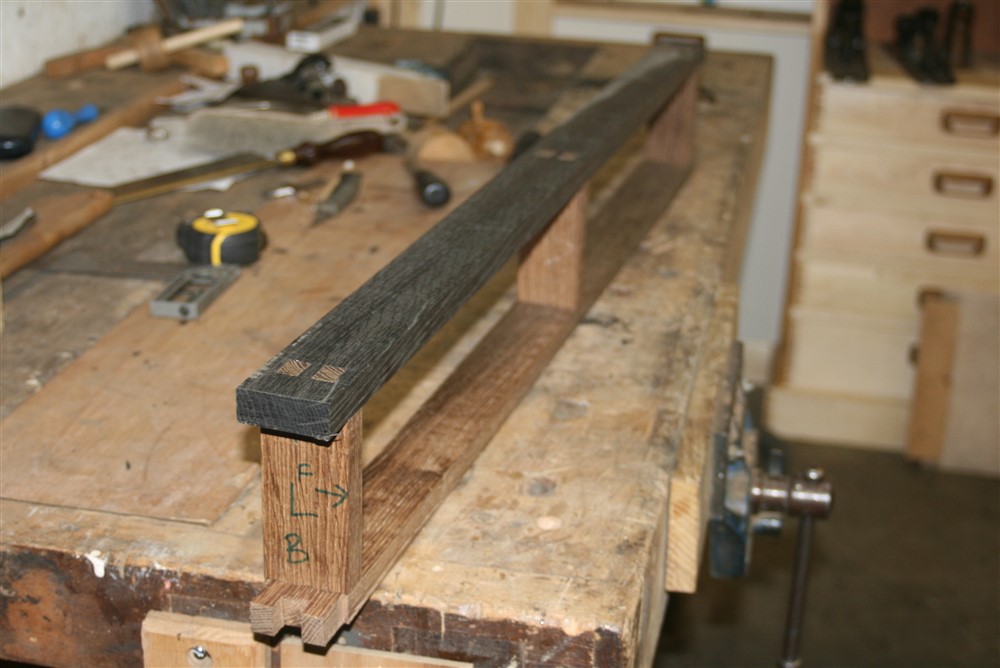
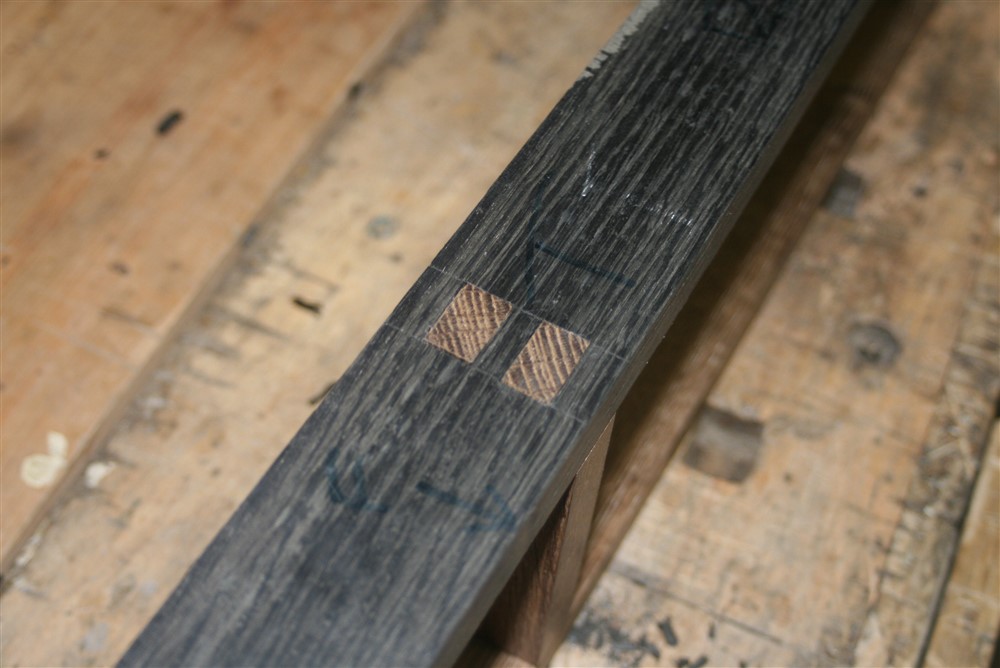
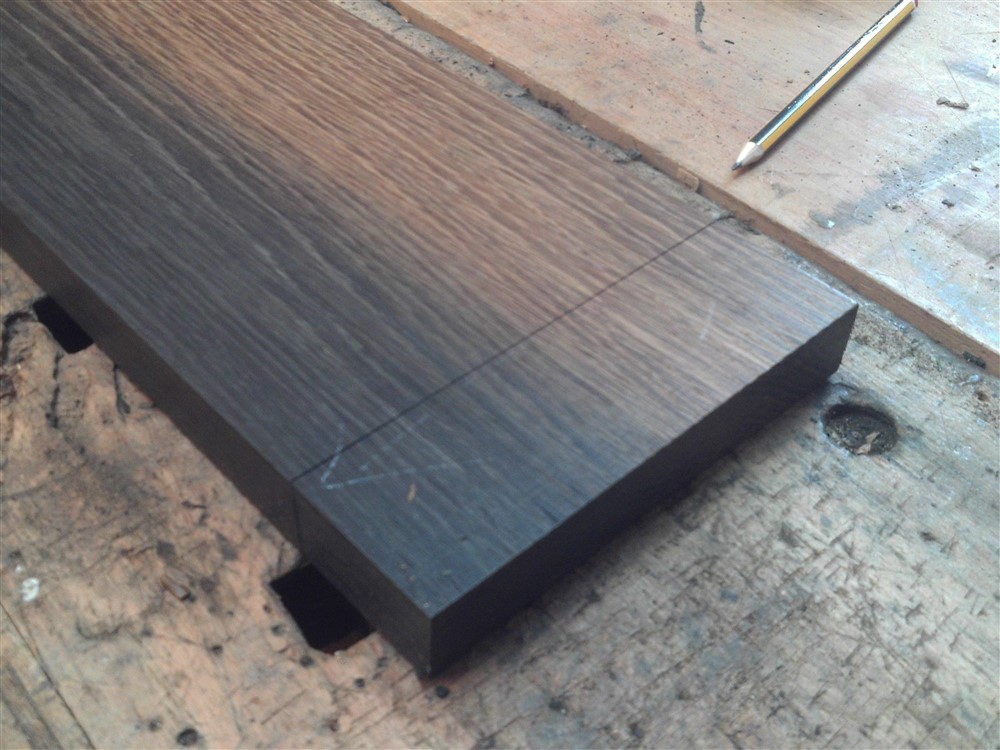
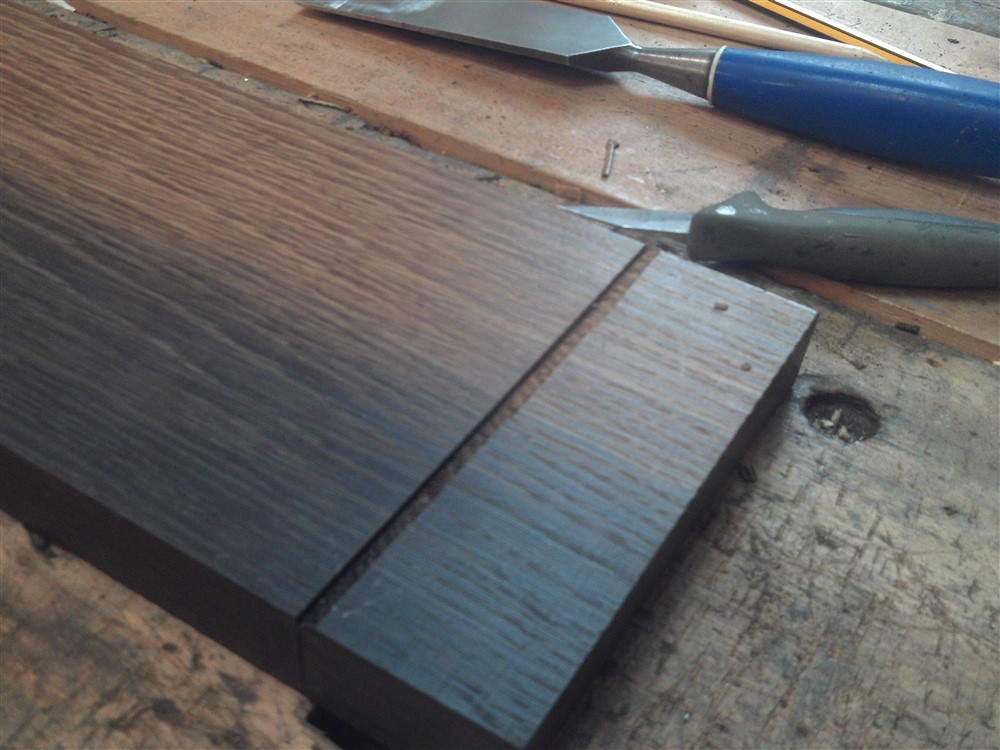
If you notice, I have the aprons arranged with black at the top graduating to brown at the bottom. The drawer fronts will also follow this. So, the drawer surround frame should also sensibly follow this pattern too. Problem was, I couldn't see a board anywhere in the accessible part of my stack which would let me get a piece of 25 x 50 brown stuff from it. I wasted 2 hours looking. In the end, I stumbled across this pretty grotty looking piece, and could just about see a way of getting what I wanted from it:

EBhVTOc.jpg


g6DFmQY.jpg


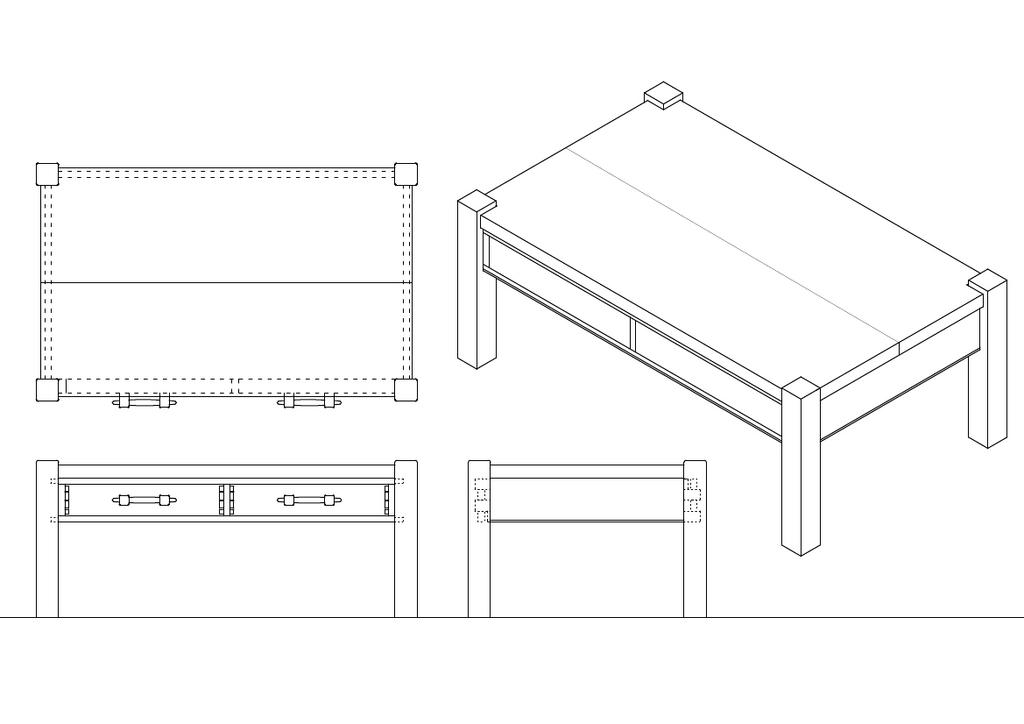
It's really important to understand that the drawer-surround framing is a vital part of the structure, taking the place of an apron but trying to provide the same strength and racking resistance. So, more joinery. Here is a pile of the three vertical elements set up for me to cut double tenons:

d1TjoW5.jpg


0Hp4gUg.jpg


foRBjdg.jpg


......and now the commensurate mortices:

eVjGtaw.jpg


YQqIJ0h.jpg


bLGnRHO.jpg


The tenons on the end of that piece were made without reference to the leg they were designed to attach to, and they weren't quite as well thought through as they should have been.

we2oHBc.jpg


iCnSm8K.jpg


iEspKiP.jpg


As you can see here, the drawer surround projects inside the inner face of the leg, so the second tenon has only a housing rather than a mortice into which it fits:

hfbcuE7.jpg


EcJZyEB.jpg


It all goes together rather nicely, and even dry fitted it feels plenty strong enough:

2tvr00Q.jpg


azrqo1E.jpg


I've a design question for you now. I am thinking of having a staff bead around the bottom edge of the apron (and the drawer frame). What do you think?
 
Looking grand there Mike. The graduation on the bog oak ties in very nicely with the plain oak of the legs. Picking a finish will be fun.

As for a bead... it's all pretty square faced at the moment, so a wee bead would make a nice detail in my book.
 
Very nice work there Mike!

My personal preference would be no to the staff bead. The feature of the table is the wood, and that colour graduation. Why distract away from that in any way? Hence I think keep the design as clean as possible, letting the eyes take only the wood in.

Sent from my SM-G973F using Tapatalk
 
Nelsun":z2jbkej3 said:
..... Picking a finish will be fun.......

I've been experimenting with finishing on some saw handles, and I've made my decision. It's a mix of oil, white spirit, and a coloured varnish....but not in the same ratio as is usually done. Slap on, wipe off ten minutes later, and leave to dry for 24 hours. Build up 5, 6,7 maybe 8 layers.
 
MikeG.":9ck5dpea said:
Nelsun":9ck5dpea said:
..... Picking a finish will be fun.......

I've been experimenting with finishing on some saw handles, and I've made my decision. It's a mix of oil, white spirit, and a coloured varnish....but not in the same ratio as is usually done. Slap on, wipe off ten minutes later, and leave to dry for 24 hours. Build up 5, 6,7 maybe 8 layers.
Ooh, I'm surprised at the coloured varnish. Won't that detract from the wood's natural colour?

Sent from my SM-G973F using Tapatalk
 

Latest posts

Back
Top