Blanket Chest - Finished!! (Photo's on page 8)

UKworkshop.co.uk

Help Support UKworkshop.co.uk:

This site may earn a commission from merchant affiliate links, including eBay, Amazon, and others.
Well BSM,

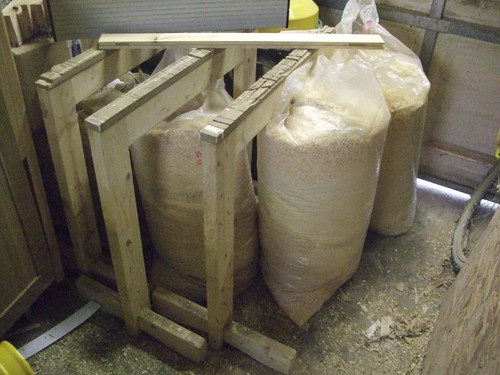
I don't have a lotta workspace, but a fair amount of storage for timber. (I find the nefarious among the local residents don't find sawn timber attractive, so I can leave it in the garden on trestles! ) Suitably protected of course.
:wink:
 
Hi Derek,

It's probably because I used to work in a timber yard while I was doing my A-levels at school (...and then for the next five-years after that!!). Even when they went "metric", we were still talking in feet and inches with the customers and staff! :D :wink:

Mike, I admit I had to look that word up :roll: but, I do agree with you! :wink:
 
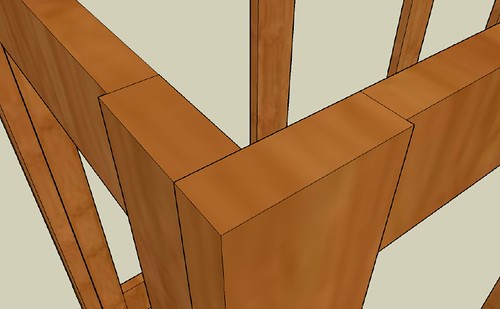
Okay. I'm looking to start making this on Monday but, I'm having "last-minute" doubts over my choice of corner jointing...

This is how I have it planned out at the moment, having taken in to consideration Mike's idea of emphasising the "legs" slightly.

3216278332_52dbe953dd.jpg


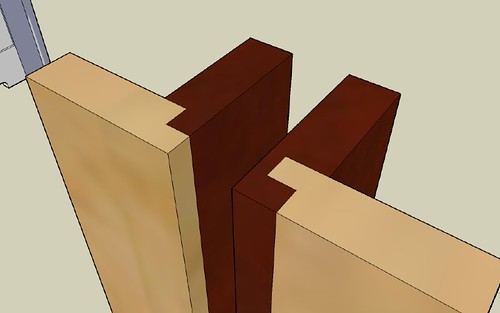
I was gonna go with a rebated joint, as per below but, the grain is running the wrong way (short grain!) and there are no overlapping fibres.

3150759602_639c250937.jpg


I may simply go with biscuit-jointing at 90º... But then, I'm concerned the mating edges will appear too obvious, even if I add a large chamfer...

I have considering offsetting the joint slightly, like the "legs" but, I feel it would be too much with a double-step on the ends, if you get what I mean.

I'd appreciate any thoughts on this - what would you do in this situation? :)
 
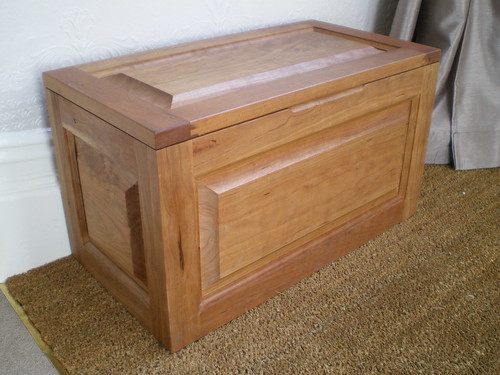
This is jointed with biscuits at 90 degrees and worked fine;

3162407281_934149a82f.jpg


My son sits on it several times a day to put his shoes on and its holding up so far...

Cheers, Ed
 
Hi Ed and thanks for your reassurance, I think I know what I'm going to do now! :D

It wasn't so much the strength I was concerned about (what, with modern glues and all), I was a little worried it might look a bit odd, that's all... You appear to have a very good grain match for the two mating pieces on your piece (very, very nice, by the way! :wink:). I'll have to look closely at the boards I have once they're planed up. :)

I'm also thinking of using cascamite/urea formaldehyde (for the corners), due to its creep resistance over PVA.
 
Hi Olly,
I used to work in a timber yard too. I must say it is a lot warmer indoors at this time of year, but I miss driving the big side-loaders :lol:

Malc :D
 
OPJ":1ny0bzp2 said:
Okay. I'm looking to start making this on Monday but, I'm having "last-minute" doubts over my choice of corner jointing...

This is how I have it planned out at the moment, having taken in to consideration Mike's idea of emphasising the "legs" slightly.

3216278332_52dbe953dd.jpg


I was gonna go with a rebated joint, as per below but, the grain is running the wrong way (short grain!) and there are no overlapping fibres.

3150759602_639c250937.jpg


I may simply go with biscuit-jointing at 90º... But then, I'm concerned the mating edges will appear too obvious, even if I add a large chamfer...

I have considering offsetting the joint slightly, like the "legs" but, I feel it would be too much with a double-step on the ends, if you get what I mean.

I'd appreciate any thoughts on this - what would you do in this situation? :)

Hi mate,

I don't quite understand you saying to much short grain in the bottom picture, surely its long grain and much more surface area so a better gluing surface. Thats assuming i haven't misread your drawing on page 1.

FWIW i don't see any improvement in the step in the leg either. This is a panel box construction and your still making it in that style. The step is something i would do if i was making a leg of a bigger square section and either having framed panels attatched to these legs, or just a standard leg and rail construction.

Ed's chest shows how good a flush rail and leg joint looks in a panel style box.

Thanks for posting your project, it's great getting the opportunity to discuss the details.
 
Thanks for your thoughts, Matty. :)

Yeah, "short grain" wasn't really the term I was looking for, was it... :roll: :oops: I'd still prefer to have a joint where there is some overlap of fibres so, I'll go ahead and biscuit-joint it. :wink: I might do a mock-up of this joint actually... Just to see whether or not a stop chamfer would expose the biscuits holding it together! :shock:

I'm sticking with the idea of making the "legs" thicker and slightly proud. If I don't like the way it looks later, I can always plane it flush! :D :wink:
 
I decided to make a start on the blanket chest proper today, as I noticed several days ago that the timber had already begun to show signs of movement and cupping. If 'felt' a lot drier too; it didn't seem as sticky as it was when I bought it in! :)

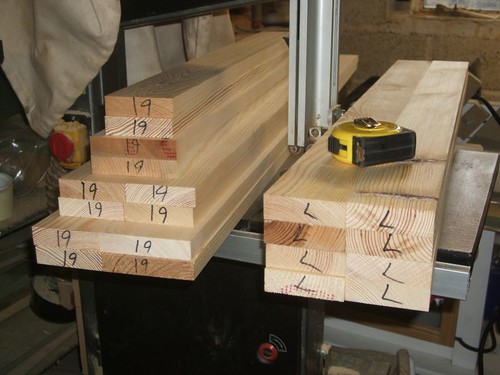
Here are the frame components all planed up. I'm pleased I was able to get a finished thickness of 22mm for the "legs", finishing the rest at 19mm (I still had to make a note on the end-grain, just to stop me from putting the wrong boards through the thicknesser! :wink:). One thing I don't like about my AW106PT is the dust extraction. Because of its 'inefficiency', some of the timber had dents from where shavings built up around the rollers (I only ever take light cuts). This normally doesn't bother me much, when I'm working with hardwoods. Softwoods do mark much easily though. :(

3229356650_c28ec62809.jpg


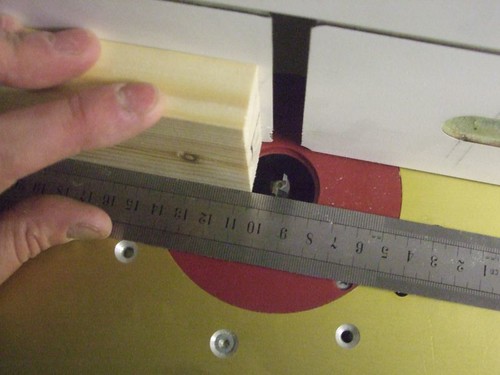
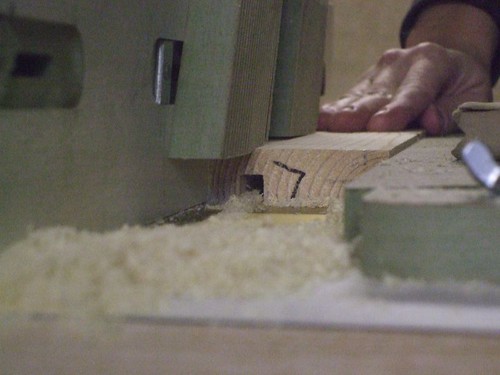
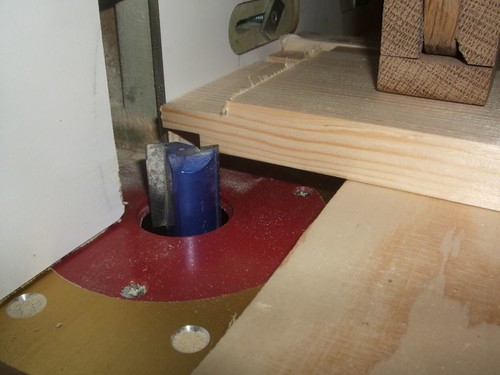
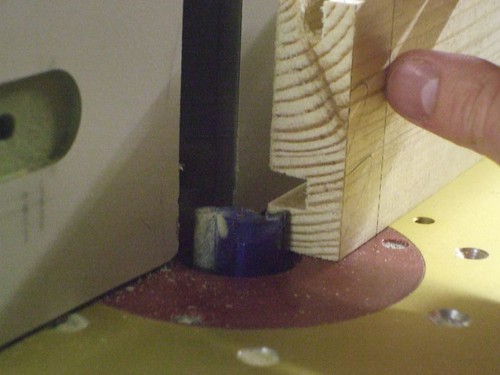
I'm going with the 'tongue and groove' joint idea where the leg/corner pieces meet at 90º. It's not quite something I've done before so, I'm looking forward to it. I don't think it will be much more hassle than getting out the biscuit jointer, to be honest. Here, I'm setting the cutter and fence in line with one of the 22mm components.

3229356562_b762d2cf52.jpg


In the end, I chose a 3/8" straight cutter, which would leave a good 12mm of timber outside the groove. I made the cut 12mm deep (just over half-thickness) in several shallow passes.

3229365892_1479c3f632.jpg


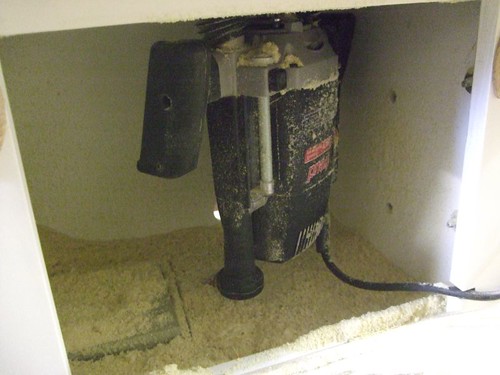
...And it made a lovely mess inside my newly-'shop-made router table!! :shock: :D

3228507587_61f4f1f97c.jpg


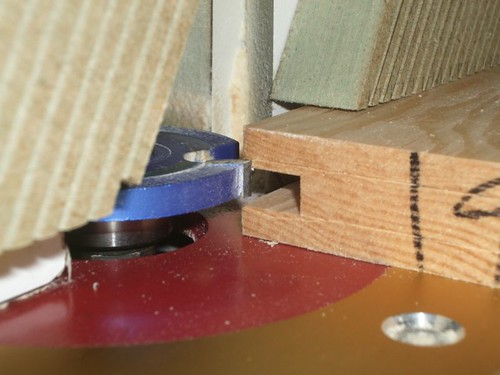
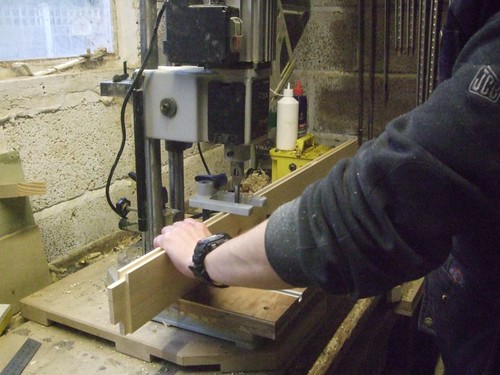
It wasn't entirely necessary for me to cut these grooves first... But, there was little chance I'd be able to chop my mortises too deep this way! :wink: Back to the router table, I fitted a ¼" slot cutter to cut the 11mm deep grooves which will eventually house the boards/panelling. I decided 8mm thick boards would be best (just over one-third the 19mm thickness). So, I set my mortise gauge to the width of my 5/16" hollow chisel and scribed a groove on the timber. In order to complete the cut, I had to raise it slightly, making sure I was always working off the same face. Normally, if all components were the same thickness, I'd centralise the groove by setting the cutter once and working off both faces.

3229356292_80decf8250.jpg


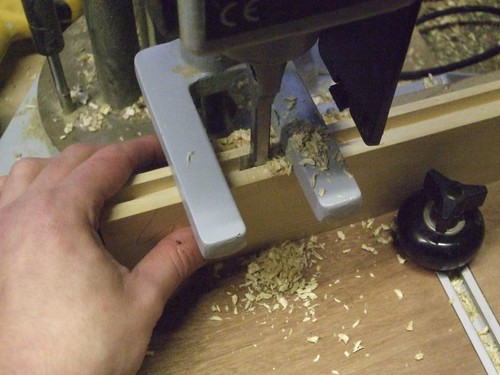
These grooves would now give me somewhere to set the 5/16" chisel on my mortiser. The depth would already give me enough for a haunch at either end. Had I cut these joints before routing the grooves (as I have done once before... :oops: ), then I would've probably ended up with tenons that are 11mm narrower than their mortises!! :shock: :)

3229365802_2e6e47a985.jpg


Looking good. That trick with the mortise gauge payed off really well! :wink: There's a couple of inches waste at either end that I'll saw off after the glue-up. Otherwise, I know I'm gonna drop something on the floor and break it! :)

3228507241_9dc977c9bb.jpg


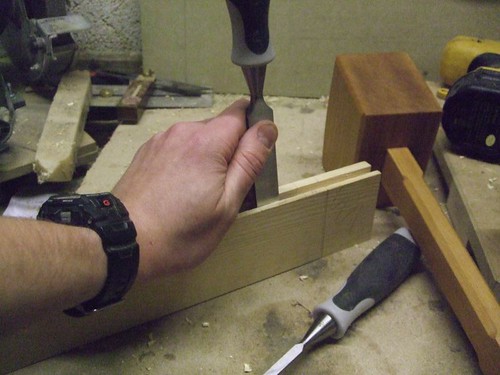
And finally for today, cleaning up the mortises by hand, using a set of cheap chisels and the awesome mallet I made at college last year. :)

3229356436_a294803ae1.jpg


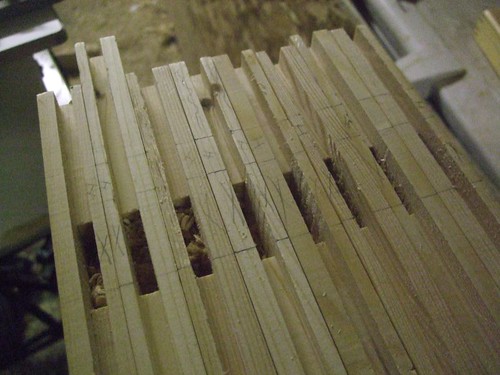
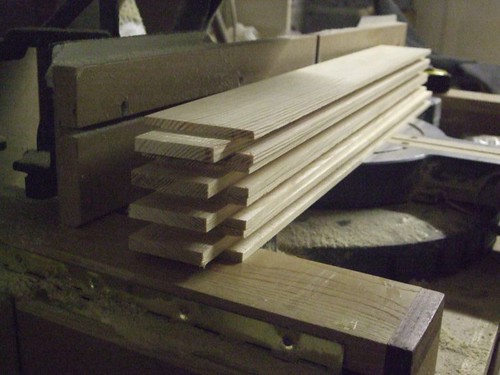
Tomorrow then - tenons, cutting things to length and, hopefully, I'll also have time to look at shaping the bottom rails (provided the dry-fit goes well). I was planning on planing up the boards for the panelling tomorrow but, looking at the size of that stack again (forty boards...!! :shock:), it can wait 'til the weekend!! :D
 
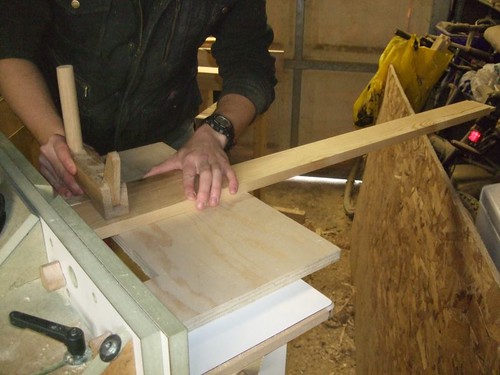
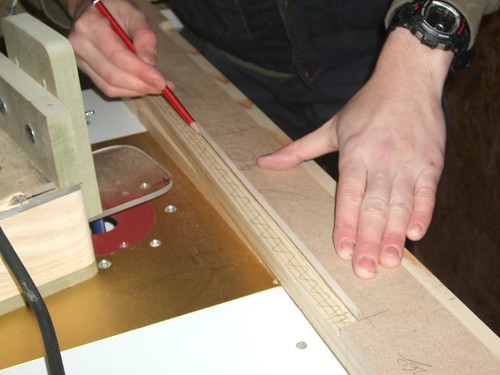
Another day of good progress today. With all the mortises cut, I was ready to tackle the tenons. Steve Maskery's router table jig is still my preferred method for ex. 1" timber. This should give you some idea of how it works, in case you haven't seen it before...

3231284061_92b30a5d12.jpg


It was more awkward than usual, having to cut rails that were almost 1200mm long. They just about cleared the freezer and that sheet of OSB, though I had to run them over the cutter again when I realised I wasn't applying enough downward pressure to compensate for the overhanging length (in short, the tenons came out too thick). :roll: :)

3232135292_cb78cd767e.jpg


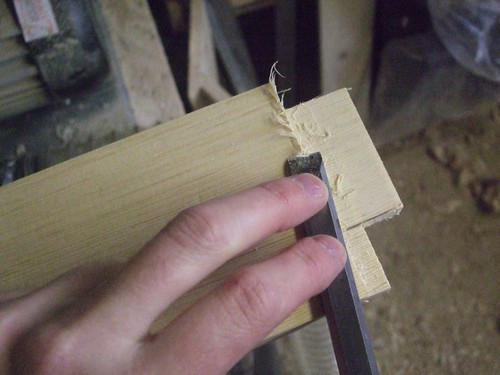
I used a 25mm twin-flute straight cutter for this, which isn't bad... Except, it always leaves this 'fluffy' edges on the shoulders. It's nothing that can't be cleaned off with a sharp chisel but, I reckon I should one day invest in one of those cutters from Wealden, which are designed for this sort of work! :wink:

3232135376_64f11312a9.jpg


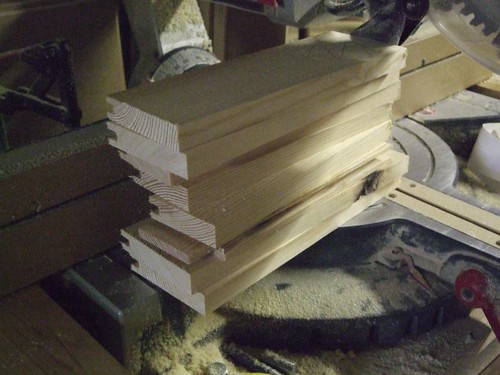
Once I'd cut all the rails to length, I realised I'd probably made too much of an allowance for waste... Oh well, these will come in handy when it comes to staining! :D

3231283967_0e64009e03.jpg


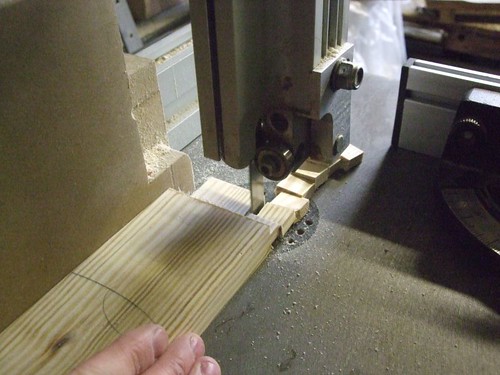
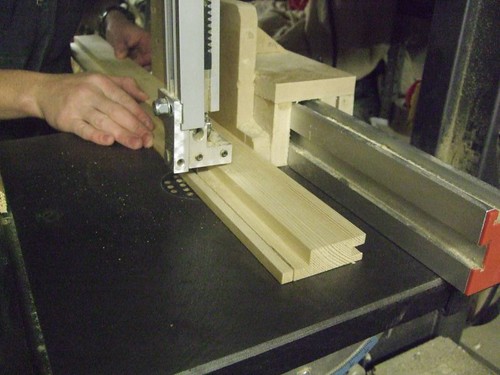
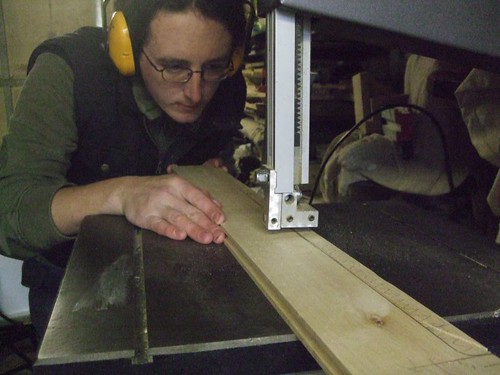
Haunches were all done on the bandsaw, using the mitre guide and then rip fence.

3232135206_48375b5be8.jpg


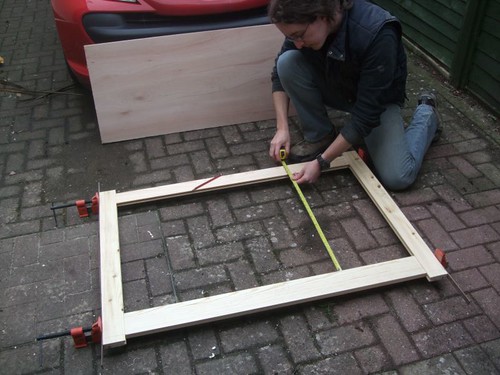
I was ready to assemble the frames and take a measurement for the shoulder lengths of the vertical rails (Muntins? Mullions? I forget!)... Until I realised (again!!) just how little room I have to work in. I managed to get it all done on the drive before the rain came over! :D :wink:

3231283773_2f927b322d.jpg


Tenons were cut the same as before.

3231284481_96da0482d8.jpg


And then, I was ready to chop the mortises in the longer rails. Thankfully, both router table and mortiser were already set for these last two operations. :)

3232135630_cc17567b82.jpg


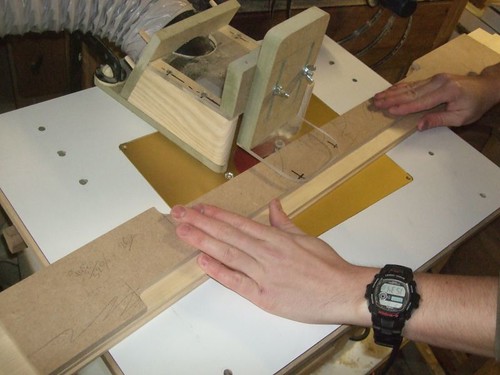
I still need to shape the bottom rails but, I decided to finish off the joint where each frame will meet at the corners. To start with I used one of the female components of the joint to set the cutter height.

3232135454_0ee6cfb5b1.jpg


I completed the width of this cut in two passes, leaving the cutter set at about 12mm... :? In an ideal workshop (lots of space!), I'd have trimmed these boards by sticking them back through the thicknesser. In my small space though, it's a real PITA to have to go back to the planer thicknesser for a five-minute operation.

3231284985_fa6e7812cc.jpg


I knew I was chancing it with that depth of cut and it was all going fine, until the last one, where this happened... :shock:

3231285243_6fa4c01a2e.jpg


Unfortunately, this will be visible on the outside. Looks like I'll have to machine up another one in the morning! :( You can't really see it in this photo' but, the grain was a bit gnarly on this one length.

The rest were trimmed on the bandsaw.

3232136308_09d810a8d8.jpg


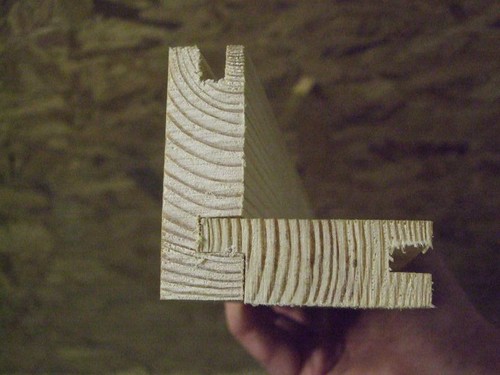
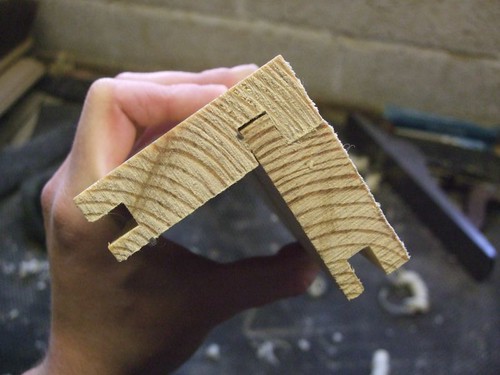
This is how the joint goes together, in case you weren't sure. I still need to trim the tongue a bit but, it's looking good. :)

3231284899_f23cedbb54.jpg


I was hoping to crack on with the shaping in the morning but, it would be best to get this extra leg out of the way while some of my machines are still set up. I knew I should've planed up a spare one!! :roll: :wink: After that, I won't be starting on the panels until the weekend, due to college.
 
So, I decided to crack on with making this replacement corner-leg-thing before going any further. Although I was able to work around the pith by planing the board to finish width (as you'll see in the photo' below), it wasn't long before I cocked things up on the router table! :x

3234696390_41bf803280.jpg


Basically, I left the fence set to cut a 22mm wide rebate, as I was doing the previous day, with the timber still over-width. I started cutting before I realised what I was doing but, the damage was already done and it would again be visible on the outside! :roll: So, I had to drag the router table out of the way, bring out the planer thicknesser again, etc, etc...

But, I got there in the end and was able to make a start on the templates for the relief detail on the lower edges of the bottom rails.

3234696470_273679848a.jpg


3234696222_cde6c94db3.jpg


I was gonna attempt to cut these with a router but, as the material is removed (and it's a pretty big cut, which has to be done in one!), there wouldn't be anything left to which I could rest the side fence. I did think about doing it on the router table but, again, it's a bit hairy using a ¾" cutter in one bite... :?

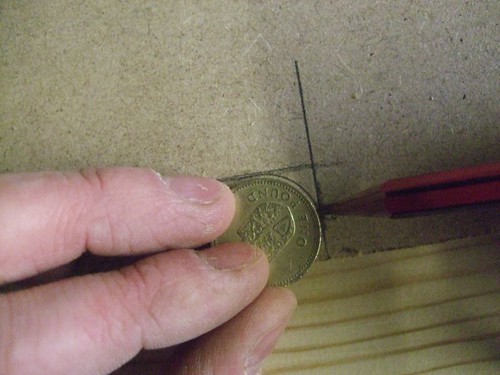
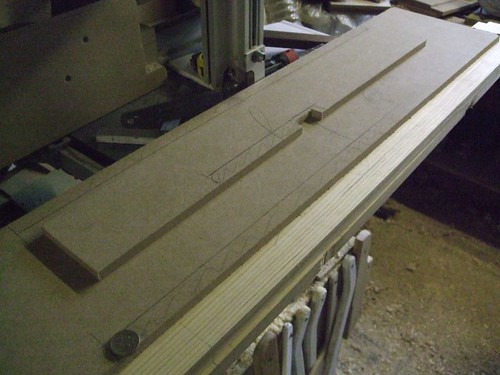
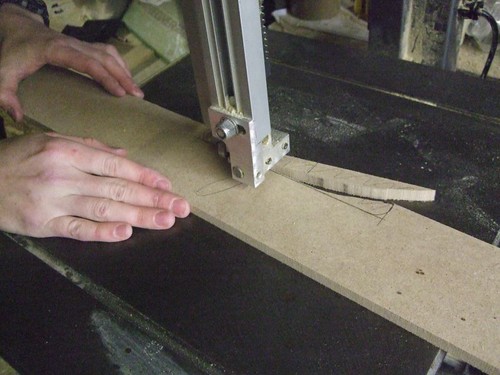
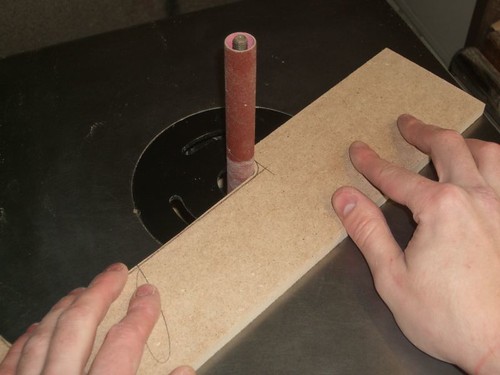
So, I cut the waste away on the bandsaw and began cleaning the corners up with my bobbin sander. I'll do the rest of the work with spokeshaves, giving me a consistently clean edge for a bearing-guided router cutter.

3234696144_a5dcea7caa.jpg


3234696290_59a44b6fd5.jpg


This is sadly as far as I got today as I've been out since lunchtime. I won't be able to resume until the weekend, due to college. :( :wink:
 
I haven't made much progress over the weekend but it's left me ready to start working on those forty boards in the morning (weather permitting! :shock:).

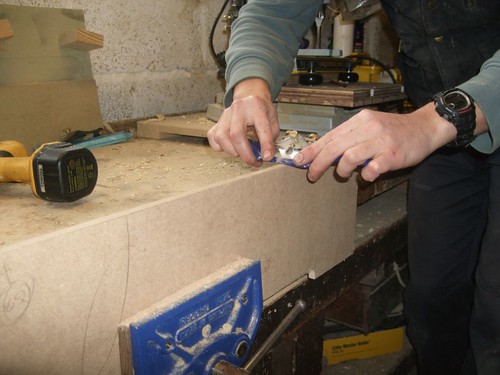
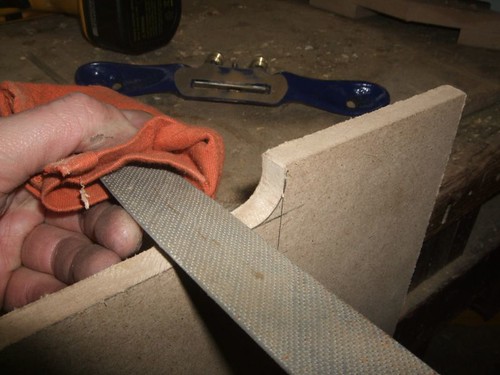
I started by cleaning up the two templates, using a combination of flat spoksehave and, ahem... Auriou rasps (more on these in a future issue of BWW!). :wink:

3243951663_63452b6d4c.jpg


3243951385_bc14282913.jpg


Once I was happy with the shape, I used each templates to mark out the cuts on the rails and removed most of the waste on the bandsaw, which should save my router cutter a lot of work.

3243951085_45f4a87a97.jpg


3244779116_e3493a5220.jpg


Here, I'm trimming the rails against the template using a Tornado bearing-guided cutter from Rutlands. It was nice and sharp so, no hint of breakout going against the grain! :) I stuck the templates on with double-sided tape, which worked okay... It did move slightly when shaping one of the smaller rails but, it's barely noticeable and, it's not like they'll be anywhere near each other in the finish piece anyway. :wink: I'm also pleased to say my 'shop-made guard works really well.

3243951977_5876d25027.jpg


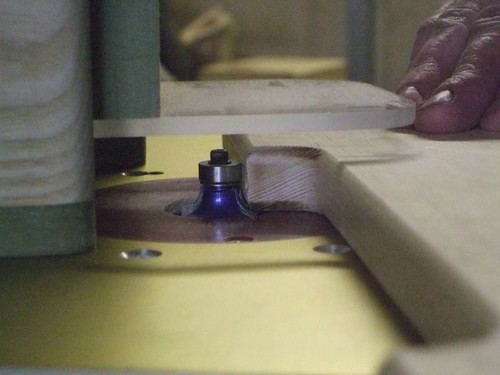
Just to ease off the bottom edges, I decided to use "a portion of a ¼in. round-over cutter", to quote Norm!! :norm: :D I didn't want the full round-over effect as I thought it might look a bit out of place. A 1/8" cutter would've been ideal otherwise.

3243951815_829ecc7fa7.jpg


I've had my oil-filled radiator on for the first time today and it does make a bit of a difference. Although you need to stand near it, it's much more effective than my old halogen heater as it also vents/radiates upwards. :)
 
I haven't had as much time in the 'shop this week as I'd have liked. Not so much because of the weather but mainly because I'm operating almost as an unlicensed taxi driver right now, with people breaking their feet and being unable to drive themselves! :roll:

I found some time yesterday to plane up those forty boards for the panelling on all four sides of the blanket chest. I'm pleased to say it only took my about two hours - planing a face and edge, ripping the waste away on the bandsaw, thicknessing to 90mm wide and then finishing at 8mm thick - and I was done just in time for lunch! :wink: I have run out of bags for my extractor though... :shock:

3250526934_d05049f206.jpg


The one currently in place is now full and it's started overflowing in to the top filter bag! :oops:

This morning, I've managed to rebate all the edges on the router table as well. After sorting through everything I've got though, I calculate that I am now twelve boards short, because of all the crap timber (most of which can be ripped down and used on the outsides)! :x

Here are the ones I definitely can't use (they did come in handy for setting up the machine):

3249699041_d62e4143ea.jpg


And these are the ones where I should be able to rip them down and work around any splits and dead knots:

3250527002_02b3b609ed.jpg


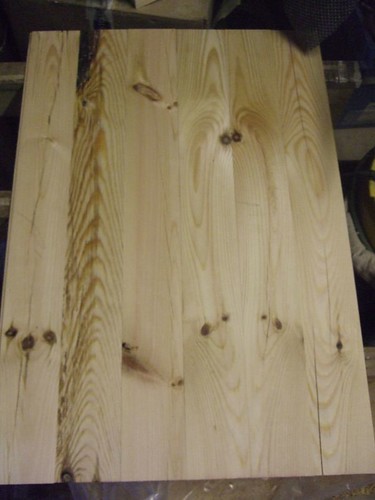
So, I'm gonna have to buy some more timber. :( While I'm there, I think I'll also change over some of the boards I'm saving for the top. I try to avoid using pith in joinery work so, I won't even consider using these in a piece of furniture! There is a chance it may plane out... But, you can never be too sure of what lies beneath the surface and I probably wouldn't be able to return it if I did any more to these.

3250527214_5c00a2f8a8.jpg
 
Right, where was I? :)

I tried to exchange some of the timber back at BCT last week, they got really funny with me and, to cut a long story short, I ended up going somewhere else to get what I needed. The quality of the stuff I picked up from Staddons was excellent, although they are slightly dearer... They cut the boards for me there and then while I waited, even 1¼" thick so, I didn't have to buy 1½" and lose all that waste! :wink: One other thing I noticed was that their timber was a lot drier and it barely moved in the eight days I had it stacked indoors. Didn't stick to my router table like the other stuff either! :wink:

3295568724_b3ccc5d259.jpg


3295567120_1ee383c3ae.jpg


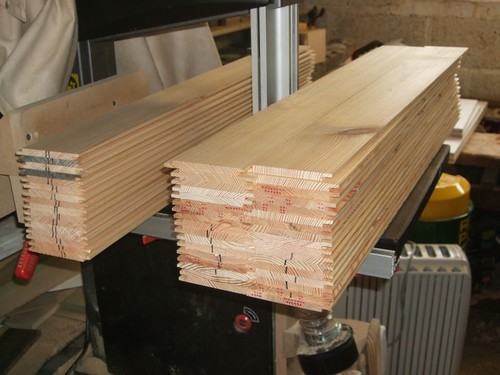
Spent some time in the workshop yesterday machining the stack of boards on the left. Fortunately, they came out of the thicknesser at PRECISELY the same thicknesser as the first batch so, I didn't need to touch my router table! 8)

3295537796_575ccd31e7.jpg


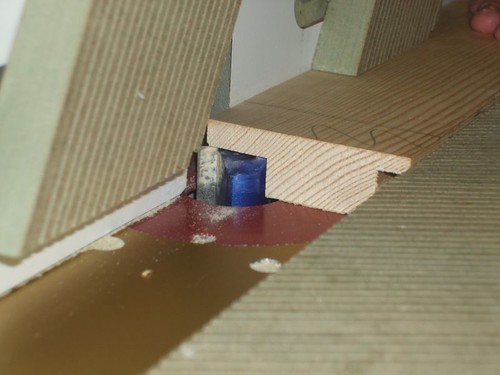
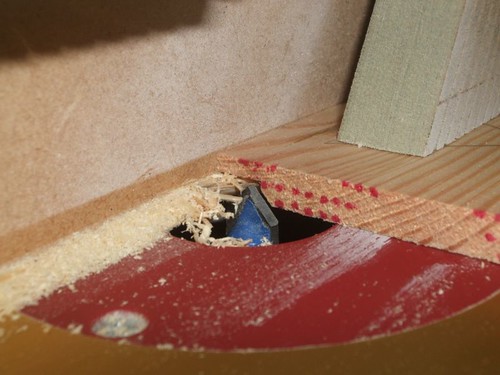
Chamfers were also cut on the table. I have just re-ordered a V-groove cutter from Wealden (and a tenon cutter to try out). As I didn't want to wait for it to arrive, I had to use one from my cheap Charnwood set... It's okay. I didn't get some bad breakout down some of the edges but, that's probably got more to do with the timber (and my feed-rate... :oops: :)). First cut is made as below. Second is with the bit just inside the fence to cut the opposite edge.

3295537966_d085010a39.jpg


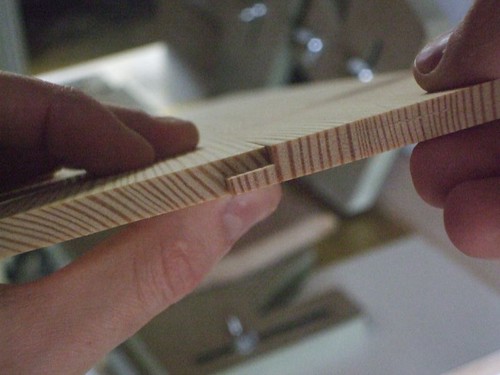
Here's how the join between two boards will work. I haven't yet take a photo' of this with the chamfers on. :roll: :)
3294713777_6217d52703.jpg


I've spent some time today trying out different stains. Mailee's tip of applying a thinned sealer coat seems to work really well (thanks, Alan! :wink:). I'll have some photo's soon - and, just for Pete, some samples in the post to see which looks best. :wink:

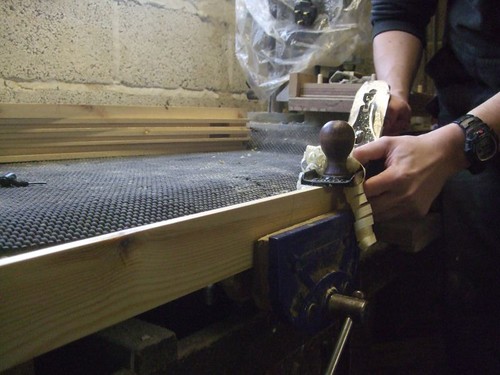
I noticed the other day that some of my tenon shoulders weren't perfectly straight. When routing them on my table, something kept interfering with the fence and caused a kind of 'bump' along the shoulder's length. :x I don't put this down to the design of Steve's jig at all; it's probably down to my fence being out of true, particularly where the two sliding fences meet (this is why I've used an MDF false fence for the rebates and tenons).

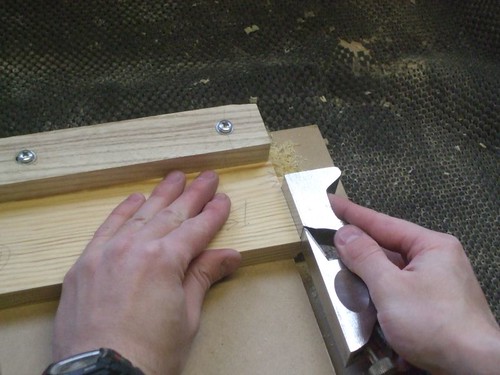
So, I had to spend some time with my small Stanley shoulder plane to clean them up again. :( Just to ensure they pull up tight on the outside, I undercut the inside shoulders slightly. :wink:

3294713517_902933095c.jpg


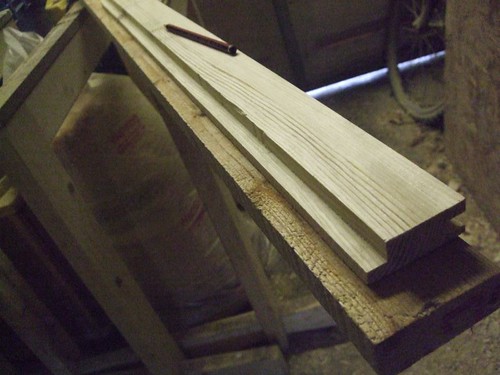
Tongues for the corner joints were trimmed - I do love these never-ending, curly shavings you get from pine! :D

3294713941_fe070c85aa.jpg


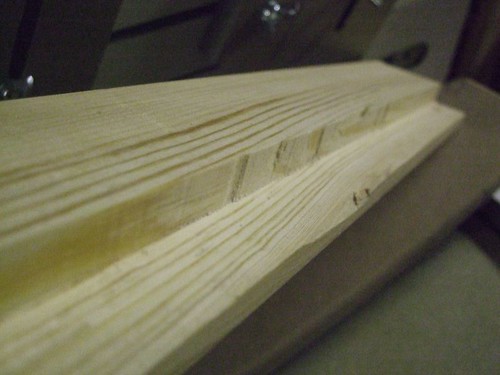
And finally, this is how the corner joints will go together, with a 1mm gap to allow for glue and expansion.

3295537692_892f2a3798.jpg


I've now got to get myself ready for staining. There's an awful lot of sanding to be done... Which is why I've just bought myself a Bosch palm sander!! :roll: :D I thought about going for a ½ Sheet Sander but this is a good compromise with greater versatility.
 
OPJ":1u7e2l30 said:
So, I had to spend some time with my small Stanley shoulder plane to clean them up again. :( Just to ensure they pull up tight on the outside, I undercut the inside shoulders slightly. :wink:

3294713517_902933095c.jpg

I have neither a shoulder plane nor a shooting board (or whatever you call this posh bench-hook)........so this observation is out of curiosity and ignorance, rather than because I know anything about it!

Surely a shoulder plane is the wrong plane to use here because you will be removing the guide edge of the shooting board just as quickly as you are removing wood from your workpiece? Don't these things only work because of the distance between the edge of the blade and the edge of the sole on a normal plane.......this being the bit that leaves the guide edge un-planed and therefore straight?

Does any of that make sense?

Mike
 
What did I miss, Paul? I can't see any tenons, or shoulders.....are you saying that the plane is only a little narrow thing....an inch or so? I can't find my glasses...!

Mike
 
Mike Garnham":31hezrrn said:
What did I miss, Paul? I can't see any tenons, or shoulders.....are you saying that the plane is only a little narrow thing....an inch or so? I can't find my glasses...!

Mike

Its all going pearshaped!

Nice work Olly. Great photos of your project, I will have to post the fat stack off timber + designs I just got for this shelving job. I'm sure ill be coming here for some advice soon!
 
Back
Top