Awkward clamping problem

UKworkshop.co.uk

Help Support UKworkshop.co.uk:

This site may earn a commission from merchant affiliate links, including eBay, Amazon, and others.
MarkDennehy":3bl60vx7 said:
Starting to get a better picture in my head, and starting to agree with the sliding dovetail idea, even if I have to add a peg through from the outside as well to belt-and-braces it.
Looking at the dimensions that seem to be indicated by your sketching on the timber sat up there in your garden, I still think it might be a better option to go for the tapered sliding dovetail rather than a simple sliding dovetail. Here's the reasoning.

With the standard simpler to execute sliding dovetail the order of assembly is, for example:
1. slide the right hand end of one shelf into the side.
2. Slide the right hand end of the other shelf(ves) into the right hand side.
3. Slide the left hand end of all the shelves simultaneously into the left hand side.
Here's the catch; if all the joints are well executed, i.e., nice and tight, you might have trouble with stage 3 of the assembly process, i.e., one or both (more)shelves could lock out part way through assembly through racking and you can't get the thing together.

Contrastingly, the tapered sliding dovetail only tightens and locks solidly in place as the shelf approaches the last 12 - 20 mm of assembly. This makes stage 3 as described above pretty much stress free. You could, for example execute a standard sliding dovetail on the same end of all your shelves, i.e., left or right end, your choice, and only execute the tapered version on the other end. I don't see much benefit in this dual joinery approach because if you determine the tapered sliding dovetail version is the right one, you may as well just do it on all the shelf ends for all the difference it makes to your execution time once you've worked out the technical requirements.

Lastly, working on the KISS principle, the simple tongue and housing nailed together is still a realistic option in my opinion. Executed neatly with fine pins or brads, very few people would even notice the filled holes above the nail's head, assuming they're not hidden anyway by a wall or something similar. Slainte.
 
I'd assumed they'd be sliding tapered dovetails right off the bat to be honest, the straight ones that I've seen used for floating tables and the like, I'd just assumed they weren't what was being suggested for the reasons you mentioned. That was why I was considering the pegs - in effect, they'd be almost drawboring the joint home (I know it's not true drawboring, it's more a locating pin sort of affair because without the two support points for the peg to be anchored by, the deformation around the other piece in the joint would just break it rather than being locked in; but nonetheless, it might help with that last little bit of force needed over the last mm or two of travel).

The dimensions of the thing have me constantly second-guessing my numbers - it's for a six-year-old and should really only be usable till he's nine, so the correct sizings are waaaaay off from adult sizes, but my brain keeps seeing "shelves" and not "children's shelves" because this is a little bit bigger (the bottom shelf is a half-desk-half-play-area sort of thing; think training wheels for sitting at a desk doing homework :D )

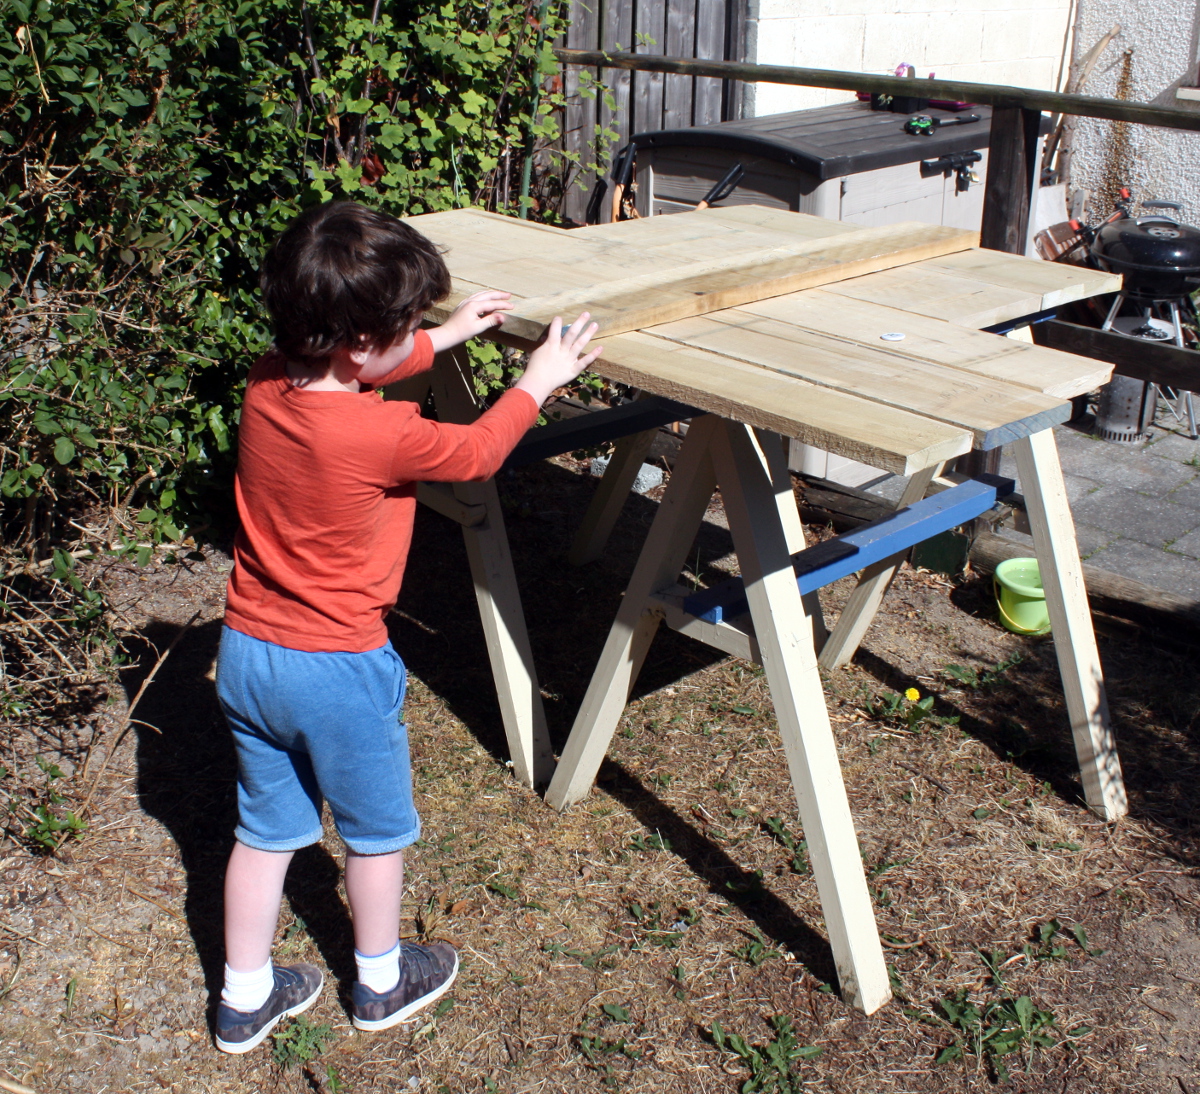
IMG_3260a.jpg


But hey, at least he's helping out :D
 
MarkDennehy":36n50kko said:
I'd assumed they'd be sliding tapered dovetails right off the bat to be honest, the straight ones that I've seen used for floating tables and the like, I'd just assumed they weren't what was being suggested for the reasons you mentioned. That was why I was considering the pegs - in effect, they'd be almost drawboring the joint home (I know it's not true drawboring, it's more a locating pin sort of affair because without the two support points for the peg to be anchored by, the deformation around the other piece in the joint would just break it rather than being locked in; but nonetheless, it might help with that last little bit of force needed over the last mm or two of travel).
I recently did a couple of long tapered sliding dovetails, never having tackled that joint before, so maybe I can give you the benefit of that vast experience :wink: . I cut some test joints on scrap first and that was well worth doing. I cut my joints with a very fine taper and this made it easier to get a good fit without having the joint too loose, but made it much harder to get the joint together as the friction starts earlier. During dry fit it was a struggle with clamps to get the joints fully home. For final assembly I coated the joints with wax (I wasn't using glue) and was amazed how much difference it made. I was able to push the joints together by hand with no clamping needed. So try some wax and you may not need much force, especially on your joints which are shorter than mine were.

When I did my joints I asked on here about the amount of taper to use and got some interesting advice. When you do your joints, could you post here the dimensions you use? In particular the length of the joint and the amount of taper you use would be interesting, together with some comment on how the assembly went.
 
Hm. So I ordered a dovetail bit from Wealden, their T1013, and looking at it I'm getting that annoying niggling feeling I get when I think something's off. This looks like it's not going to create enough of a dovetail for the joint. It's a 98 degree dovetail and if it's not deep enough it's not by more than a mm or so (the sides I expect to be between 3/4 and 7/8 when finished), but the angle seems off, like it wouldn't have enough material to hang on to the shelves. Is 98 degrees too shallow for sliding dovetails? Should I go for something more pronounced, like 105 degrees? What do people normally use in joints like this?
 
I used about 1:7, same as for ordinary dovetails. This was one sided only, with the opposite side square. (It was cut by hand though, so surfaces may have varied a tiny bit here and there!)
It's surprising how strong a tiny bit of angled wood can be, especially in decent hardwood.
 
MarkDennehy":341o52yw said:
Is 98 degrees too shallow for sliding dovetails? Should I go for something more pronounced, like 105 degrees? What do people normally use in joints like this?

Like Andy I also tend to use 1:7 for dovetails, which comes in at a whisker over 8 degrees. You'll be fine with that.

Incidentally, also like Andy, I've cut sliding "dovetails" with a straight side and a dovetailed side. That used to be very common back when these joints were cut by hand.

One last point, with a 1/4" shank router bit you really should hog out most of the waste first with a straight router bit, if you don't there's a high chance of the bit snapping, especially as the waste can't be cleanly evacuated in this job, which in turn will heat up the bit enormously .
 
Well, it does seem small but I guess my sense of how much stress the wood can take isn't properly bedded in anyway so it's not trustworthy yet :D I mean, it can get down by 10mm, and the sides themselves will only be somewhere around 20mm thick; removing more than half the width of the board doesn't fit with the whole "build it like a brick outhouse" approach the six-year-old client demands :D

And I definitely will be removing the bulk of the waste before bringing in the router; I plan to cut undersized dados by hand the way I would for housing joints and then use the router bit to cut that last sloped part at the end, and then fit the shelf to the joint using the router table and sneak-up-on-it approach you were talking about earlier Custard.
 

Latest posts

Back
Top