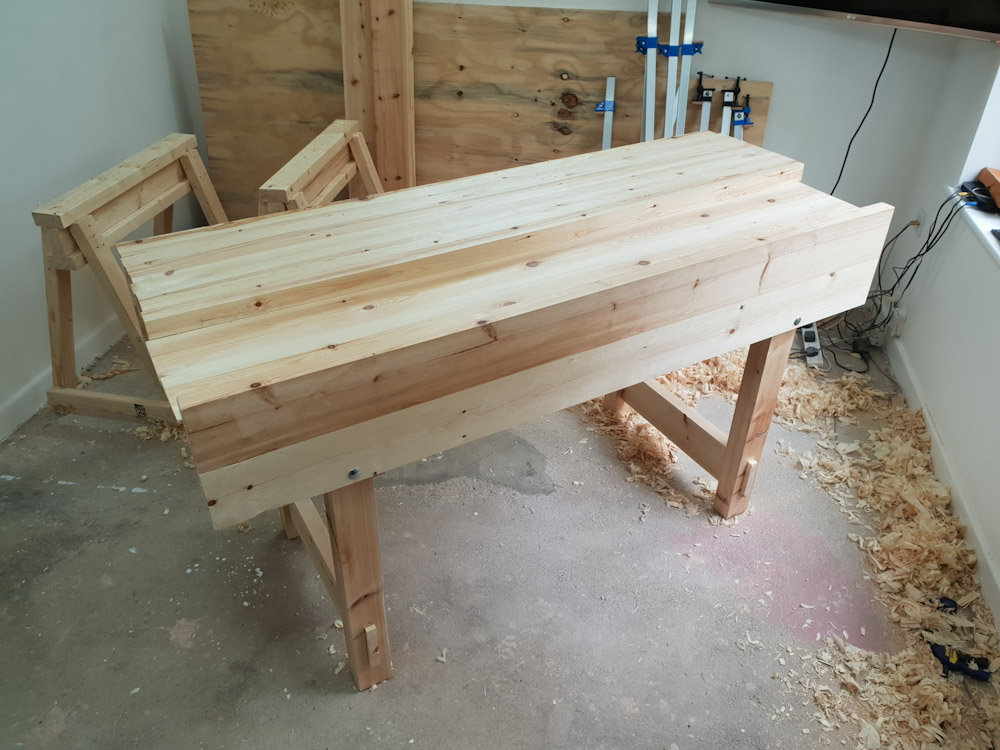
Another Sellers MkII bench build & new workshop! Project #2

UKworkshop.co.uk

Help Support UKworkshop.co.uk:

This site may earn a commission from merchant affiliate links, including eBay, Amazon, and others.
DBT85":7tnwj0xg said:
Then I got my first wedge cut from an old bed slat and marked up for the recess. A few pencil lines to help me see my knife marks and remind me which way to put the wedge lol!
Remember to mark up which leg and which wedge goes in each recess!!
I've been using Roman numerals, myself. Technically it shouldn't matter, as 'of course' your work is good enough that everything is the same size, right...? But since I already had some wedge-shaped offcuts from some previous work, I'm using them.
Do also have a quick go at test-fitting with the wedges in and wiggling the legs - I'm still enthralled by how something so simple is so effective. Even my wife was suitable impressed!!
 
Tasky":lkrh5t87 said:
Technically it shouldn't matter, as 'of course' your work is good enough that everything is the same size, right...?

Ha. I have to admit that it is not. It shouldn't matter mostly because the wedge would move to take up any slack or even move up if needed if one leg was thicker than the others.

I got impatient with my dimensioning so there are some definite "could do better" marks on my report card. This will still be the best thing I've made (we'll exclude the baby lol) and I can already see where I can do better on later work.

Didn't manage to cut the recess this weekend, might manage it Thursday or Friday but I've family visiting so possibly not. Shouldn't take long though.

Can't wait just to get the aprons on the legs and wedged on.
 
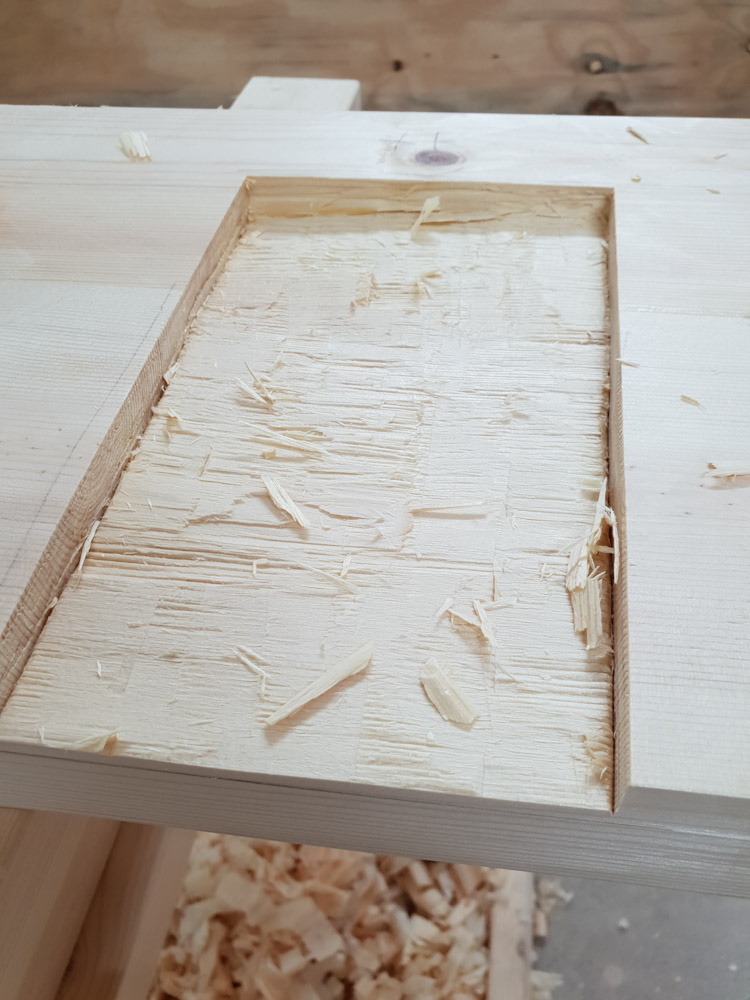
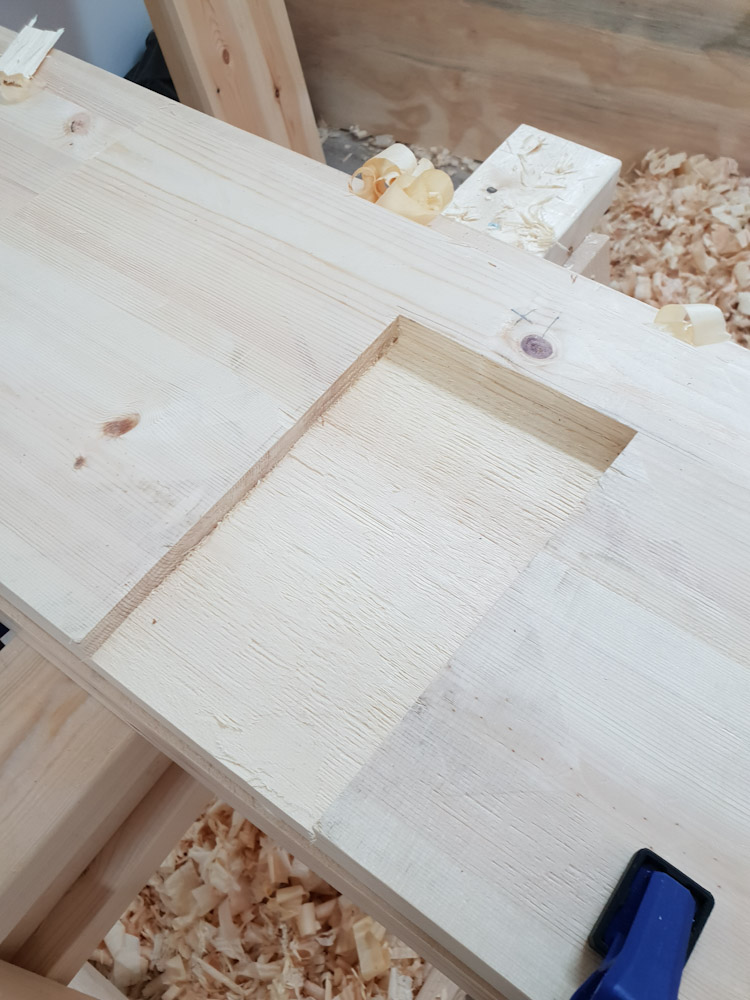
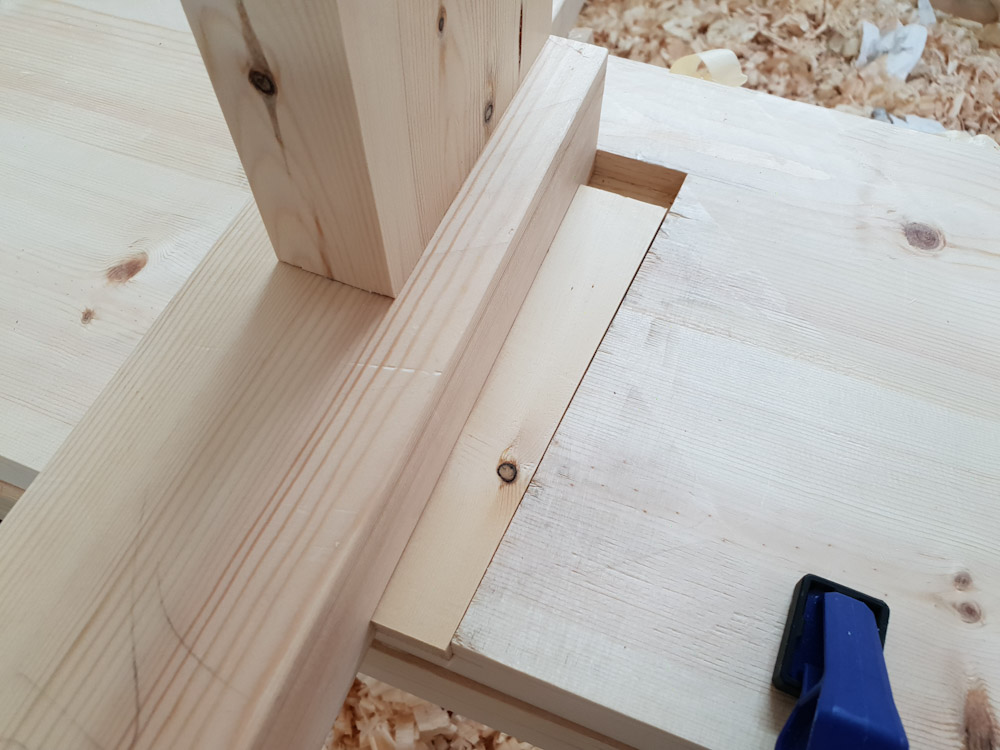
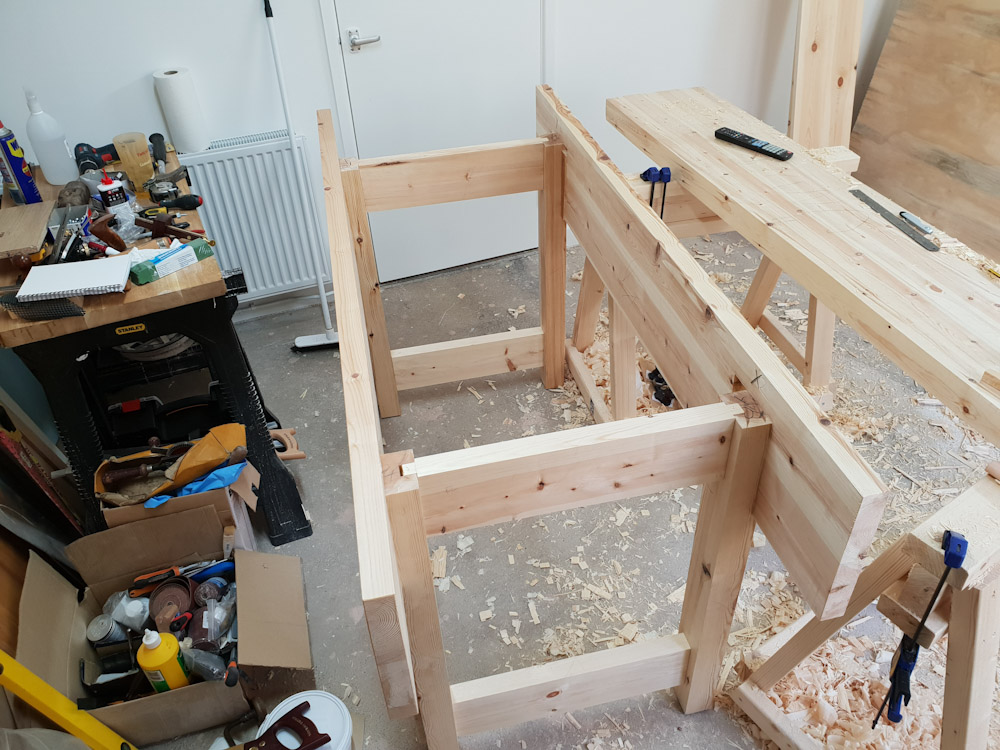
Got 2 of my recesses cut yesterday in the first apron, fair simple with the toughest bit being the depth. With the sole I had on my router I couldn't go to full depth, so for the first one just about managed without, but for the second one I added a bit of mdf. Far from ideal but thin enough to do the job and I wasn't going to flex too much given the gap I was operating in.

Starting
PSX20180413064408.jpg


Done
PSX20180413064454.jpg


It fits
PSX20180413064547.jpg


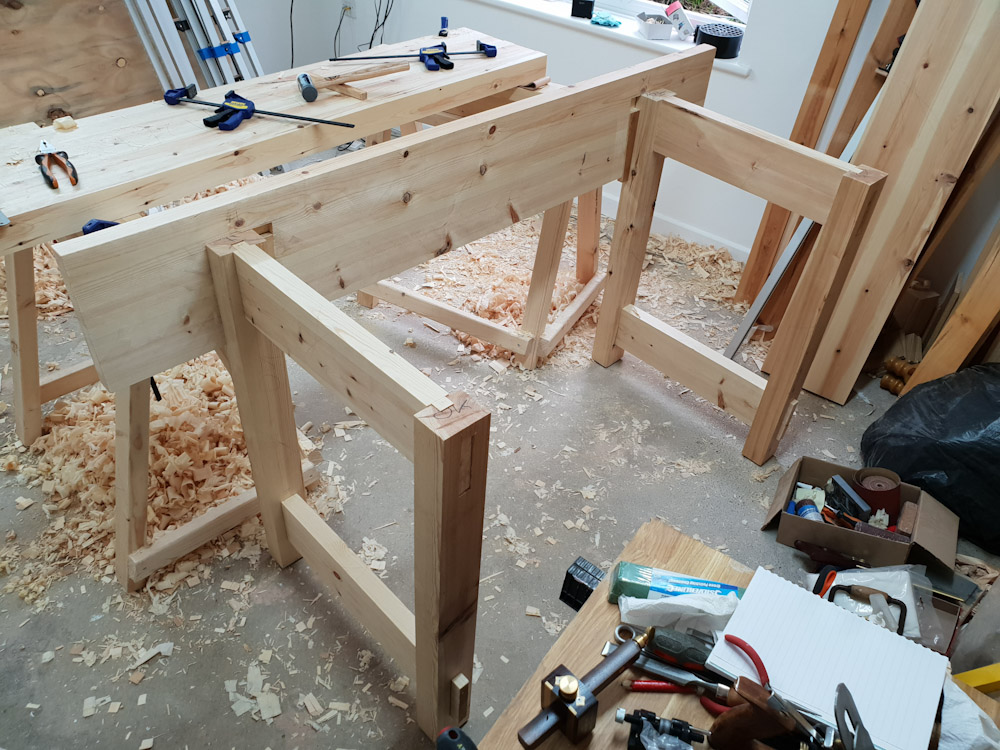
Huzzah
PSX20180413064710.jpg


I still need to fit the bearer to the top of the legs, don't worry I've not forgotten haha.

Second apron is marked up ready to go but that won't be till Monday now.

It's remarkable how quickly rigidity is achieved as soon as that wedge goes in. Even with just 1 apron on there's no racking at all.
 
custard":tsvanxij said:
Gap free joinery, tight glue lines, all square and true.
You're doing great!
I agree - FAR better than my efforts!!
I'm rather jelly... :mrgreen:

DBT85":tsvanxij said:
I still need to fit the bearer to the top of the legs, don't worry I've not forgotten haha.
Before you drill the bolt holes, yeh!!!
I must remember to cut and fit mine this weekend, as I've every intention of getting my aprons on this time - I bet you I forget in the excitement of test-fitting!
Last weekend got completely stolen from me and I still have one recess left...

DBT85":tsvanxij said:
Even with just 1 apron on there's no racking at all.
To me, this is the genius part of woodworking!

How long is your bench, again?
Looks to be about 6½'...?
 
Been a bit busy recently on things other than woodworking, but stopped by and see that you're making really excellent progress!

And completely agree that the moment the first apron gets fitted, with wedges, is a real eye-opener as to just how stable the whole setup becomes. The bolt through the apron and leg is almost a luxury, but it does help straighten it all up.

I've been using my workbench for... er... painting tractor parts... :lol:
 
Tasky":16uby2dr said:
DBT85":16uby2dr said:
I still need to fit the bearer to the top of the legs, don't worry I've not forgotten haha.
Before you drill the bolt holes, yeh!!!
I must remember to cut and fit mine this weekend, as I've every intention of getting my aprons on this time - I bet you I forget in the excitement of test-fitting!
Last weekend got completely stolen from me and I still have one recess left...

DBT85":16uby2dr said:
Even with just 1 apron on there's no racking at all.
To me, this is the genius part of woodworking!

How long is your bench, again?
Looks to be about 6½'...?

It's very easy to forget when you get a bit excited about a bit. I have the same issue when I'm building Lego lol.

My bench is precisely about some long :p :p

I simply checked that my aprons/wellboard/top were all the same length, then arbitrarily marked of the ends square and cut them.

The 3.6m lengths were all cut in the middle for glueup, so should be 1800mm, minus maybe 20mm once I trim the ends. Ish. Give or take.

NickN":16uby2dr said:
Been a bit busy recently on things other than woodworking, but stopped by and see that you're making really excellent progress!

And completely agree that the moment the first apron gets fitted, with wedges, is a real eye-opener as to just how stable the whole setup becomes. The bolt through the apron and leg is almost a luxury, but it does help straighten it all up.

I've been using my workbench for... er... painting tractor parts... :lol:

Ha, what you use it for is part of it. Mines going to get stuff painted on it, stuff made on it, some repaired on it, dismantled on it. Everything!
 
your on the home straight! I think you have done a really nice job and I am looking forward to seeing the final result - I am sure you will be delighted with it
 
DBT85":2oht8655 said:
Workbench done.
Sort of. lol. Plenty to do, but the big work is done.
Feels good to get to this point, dunnit!!!
I'm exactly level with you, but the rest is on hold until I can sort my vice out.

Did you glue the aprons on, or are they bolted? I can't see any bolts in that pic...
 
Tasky":2iz4evs8 said:
DBT85":2iz4evs8 said:
Workbench done.
Sort of. lol. Plenty to do, but the big work is done.
Feels good to get to this point, dunnit!!!
I'm exactly level with you, but the rest is on hold until I can sort my vice out.

Did you glue the aprons on, or are they bolted? I can't see any bolts in that pic...

Ahh congrats!

It does feel good. As of right now it's only the joinery holding it all together. No glue anywhere yet. Wanted to make sure it all lined up OK first haha. It's plenty sturdy as its the is though.

Sorted the bearers out today and got it reassembled. Next job is some light planing on the wellboard and then a bunch of work on the worktop.

Once I'm happy I'll dismantle and glue/bolt everything. Might drill the bolt holes while I have it together at the moment.
 
How's it going, DB? Any progress?

Mine's all together and being planed flat. SOOOOOOO much easier planing stuff up at this level!!
Even 'using the cap iron' seems to be working quite well - Ya gotta try it!!
 
Tasky":13ntht58 said:
How's it going, DB? Any progress?

Mine's all together and being planed flat. SOOOOOOO much easier planing stuff up at this level!!
Even 'using the cap iron' seems to be working quite well - Ya gotta try it!!

None yet mate. Had no time since the last update as I've been at work.

Off now till May so hopefully I can get it done!
 
Managed a few hours in there today.

Got my bolt holes drilled using my brace and bit. Not used it before so happy to find a bit in the bag the right size and sharp!

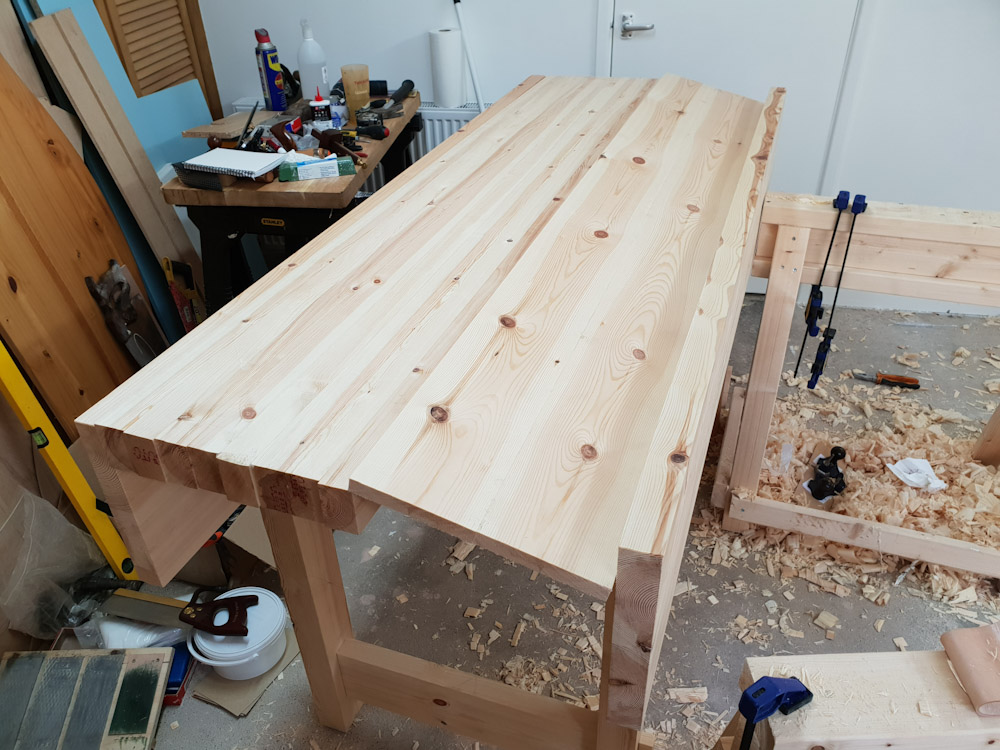
Then I set about getting the top out of twist, I'd obviously not finished it last time, though it had quite a bit in it as I recall!

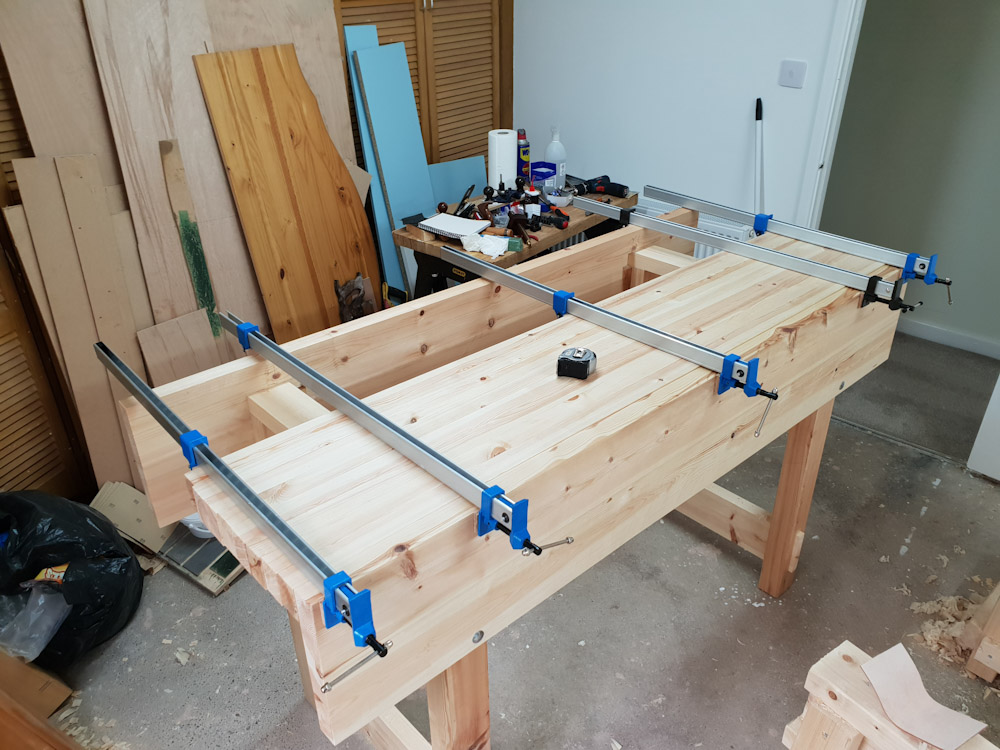
Then popped onto the bench to check and clamp it up to check measurements once it's all secure. So nice to see it sitting there, and flat on the frame!

PSX20180427193157.jpg


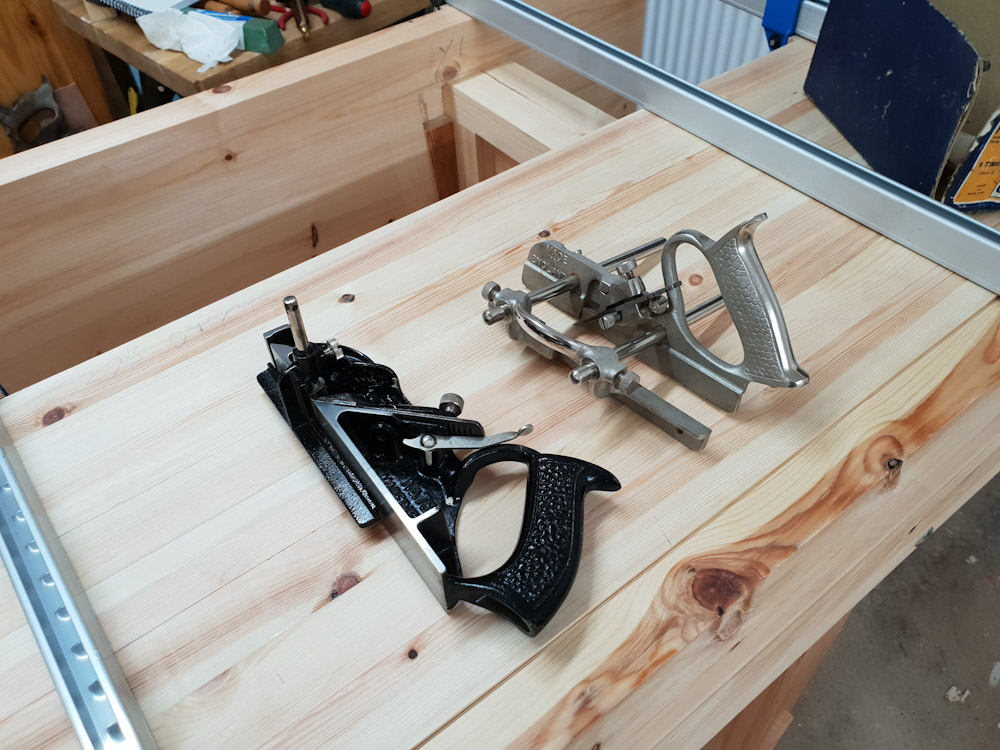
Then it was time to set up my #78 and #44 planes and sharpen up.

PSX20180427193221.jpg


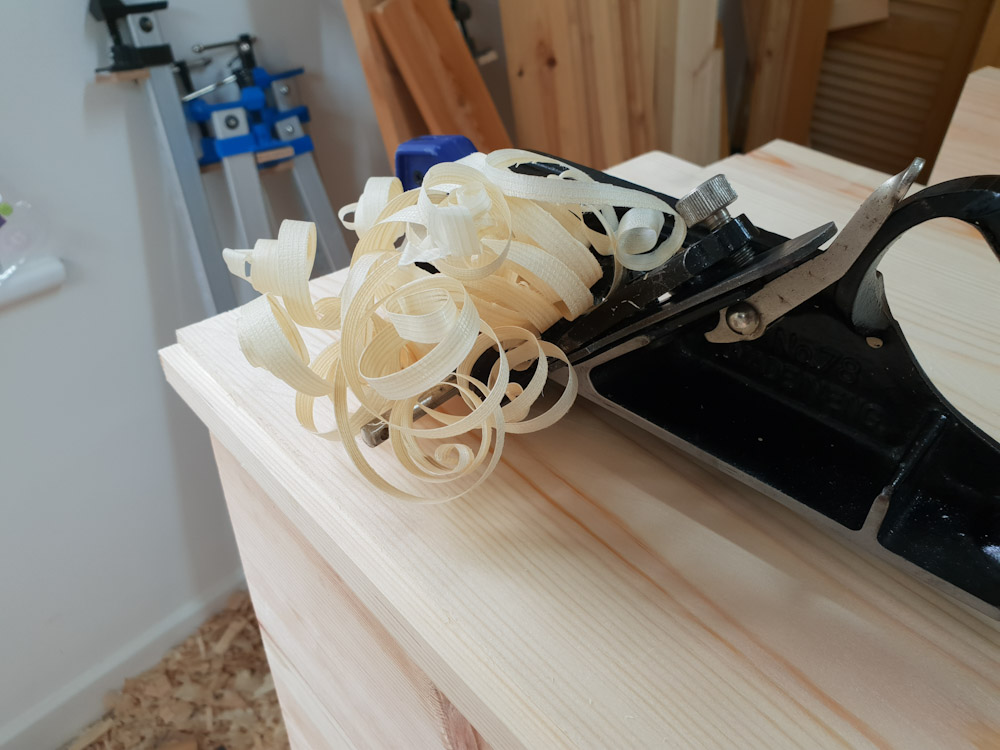
Finally get some shavings!
PSX20180427193243.jpg


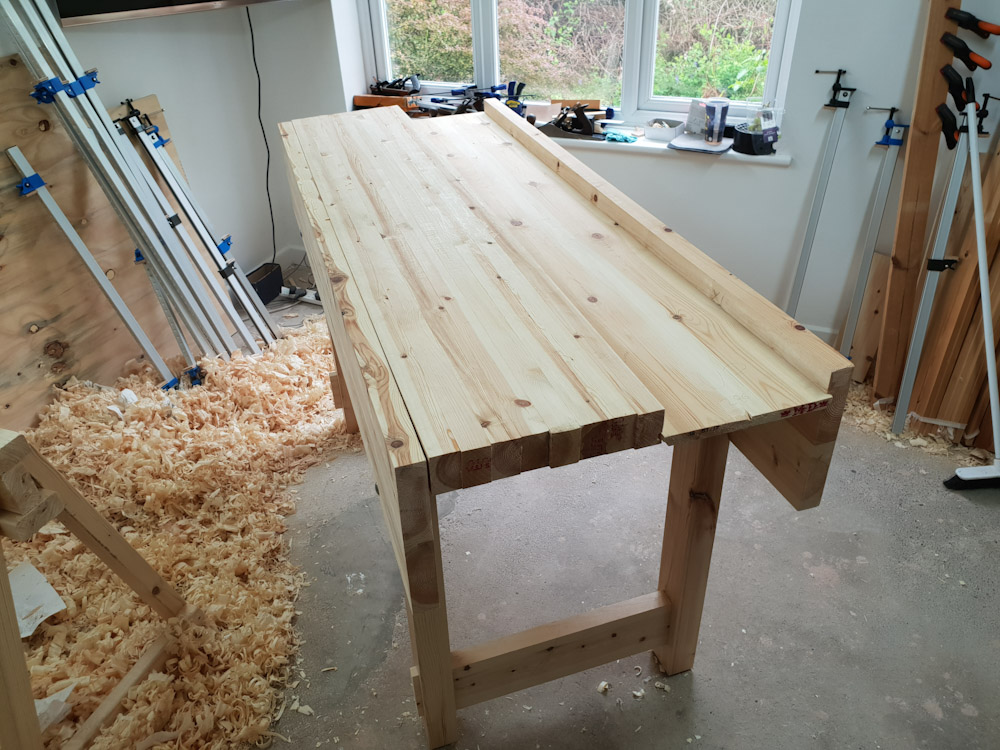
The wellboard is now all done as is the the top. I was halfway through ploughing the apron when daddy duties intervened.

I have to say zusing the #78 was a joy. Worked easily and had no problems at all.

The #44 on the other hand kept wanting to pull to the left,toward the fence, and in so doing pull the fence away from the piece and so also mangle my groove.

I think maybe the shoe wasn't quite lined up with the blade correctly maybe. With much more effort I seemed to be able to control it.
 
Another big fan of the #78 here! I think it’s an awesome tool in that it just does what it sets out to with the minimum of fuss and complication. I used mine in my recent table build -> coffee-table-with-breadboard-ends-and-wedged-through-tenons-t111674.html and wondered why certain tools like router and shoulder planes seem to be considered sexy-retro-cool by journos and gurus while other, equally useful, tools like the #78 are not. Who cares I suppose? I wouldn’t want to be without mine.
 
Got the half hour I needed to finish off my apron groove and then complete the assembly for the first time.

Well board and top need to be cut to length still, legs need gluing together, then top to front apron then screws to hold both the top and board to the bearers. Will get some of that done tomorrow.

Then its vice fitting and planing the top down!

Feels really solid even with nothing hut joinery and weight holding it together. Looking forward to getting cracking on it!

PSX20180428161117.jpg

PSX20180428161059.jpg
 
I'm only following superficially, so apologies if this is a silly question. Is that a dry fit, or have you glued it up? Because that will be a bit of a pain to clean up to length in situ unless you're OK with a bit of breakout on the underside.
 
MikeG.":3n5fkud8 said:
I'm only following superficially, so apologies if this is a silly question. Is that a dry fit, or have you glued it up? Because that will be a bit of a pain to clean up to length in situ unless you're OK with a bit of breakout on the underside.

No problem Mike.

It's only held together at the moment with 4 bolts and joinery. Hopefully tomorrow I'll be dismantling the whole thing to start glue up and cutting to length.
 
Back
Top