MikeG.
Established Member
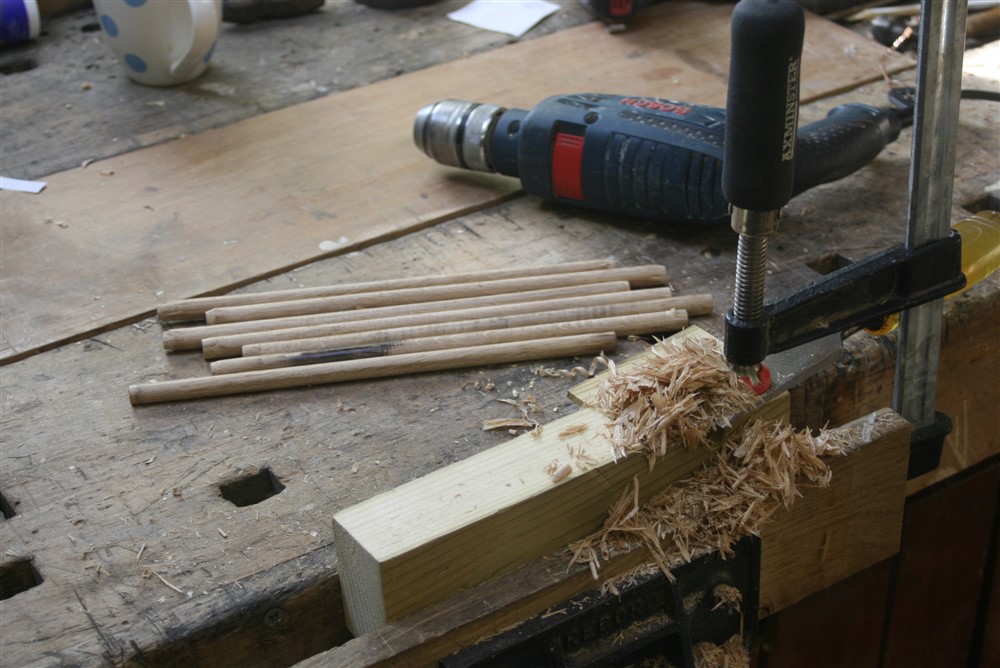
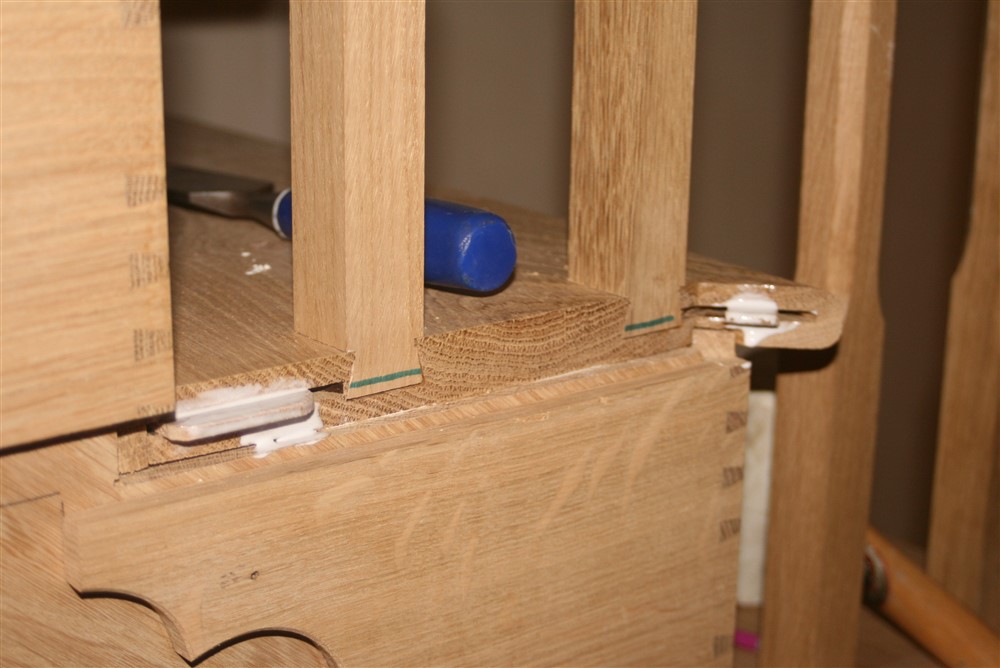
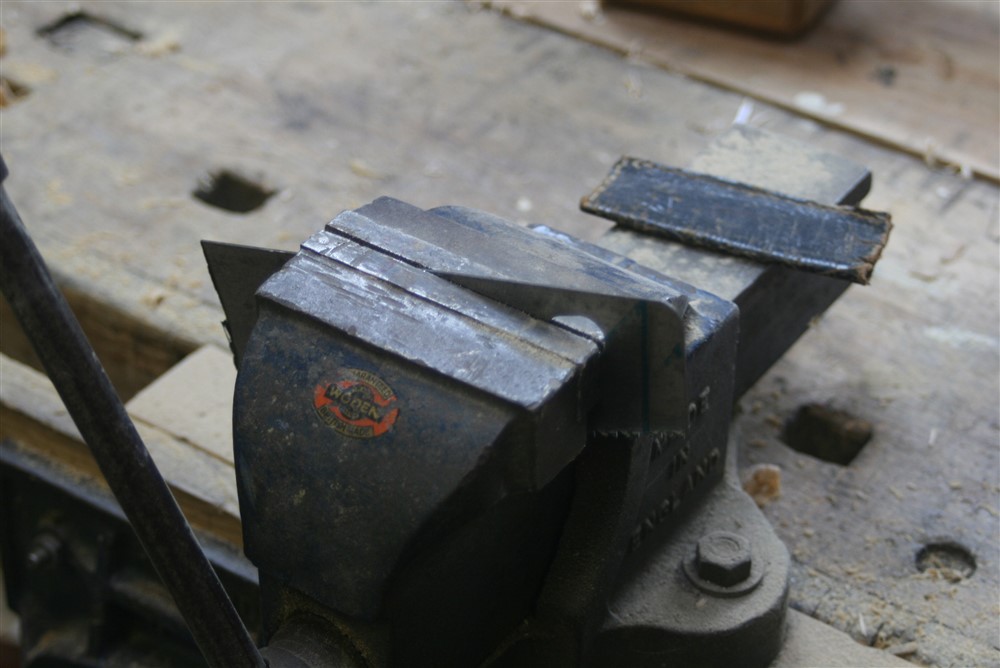
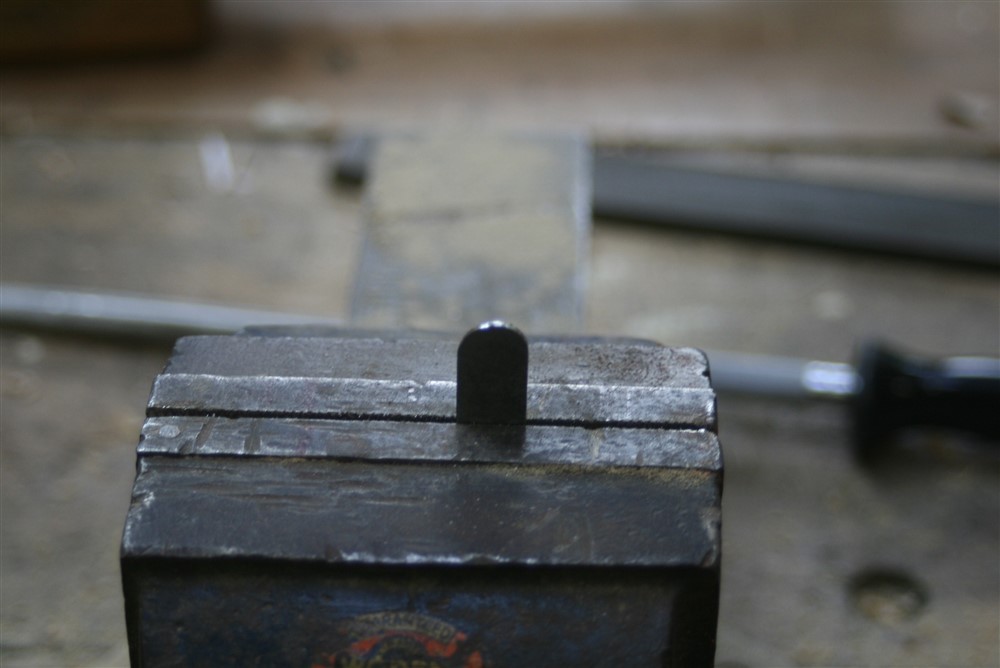
My first job on resumption was to cut up an old saw plate and make a mini scraper to clean up the burnt bits in the end of the cove cuts:
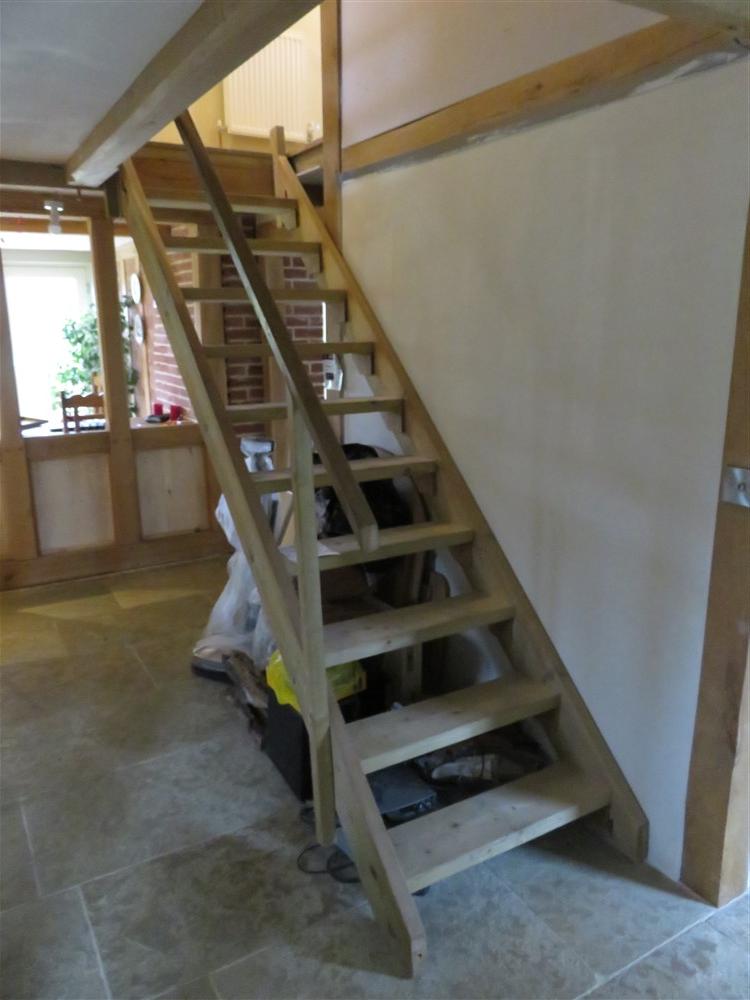
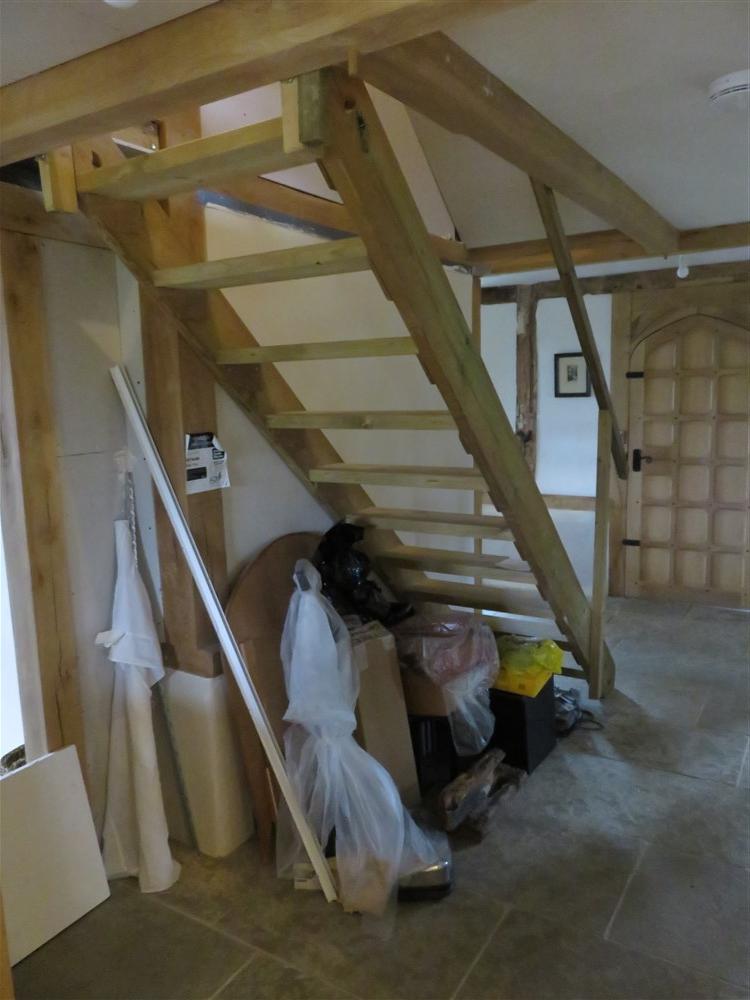
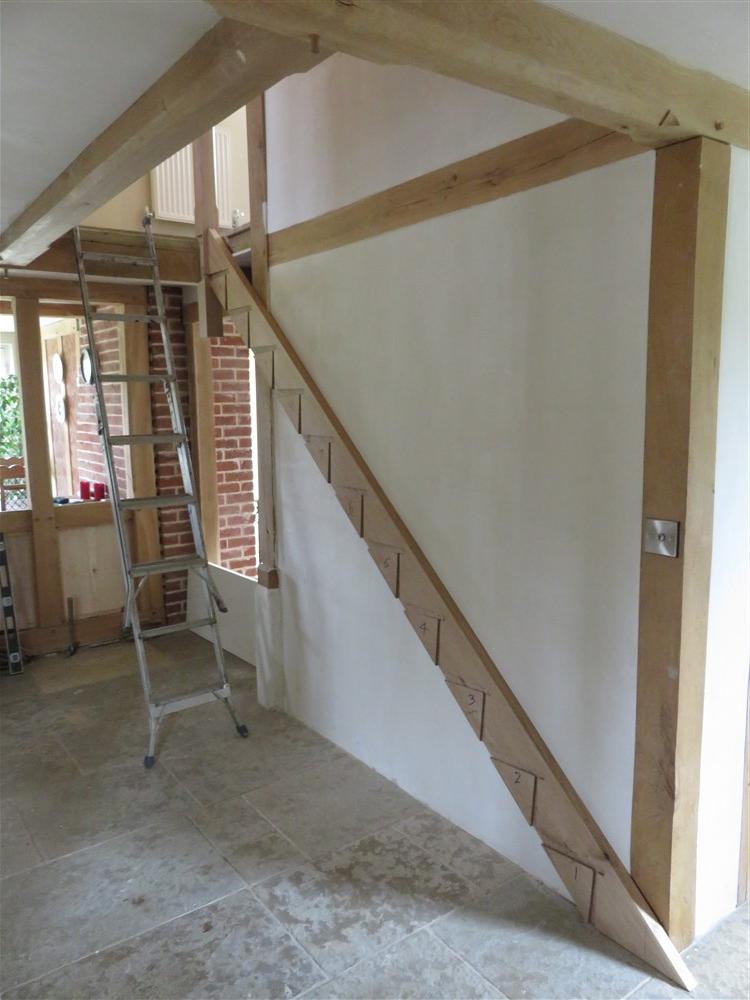
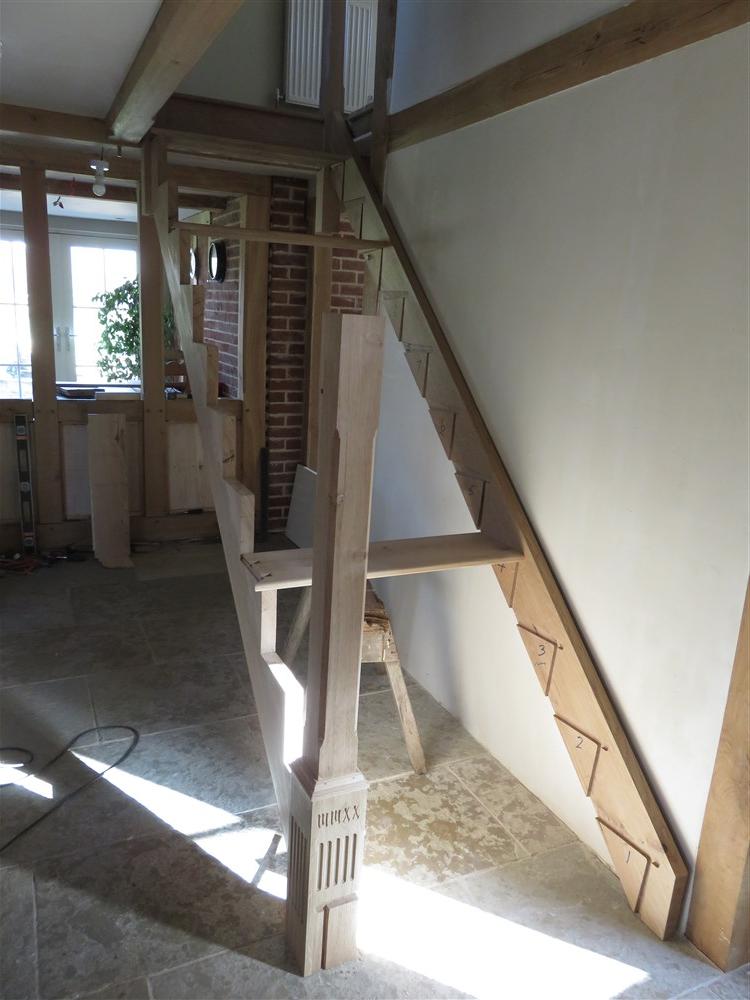
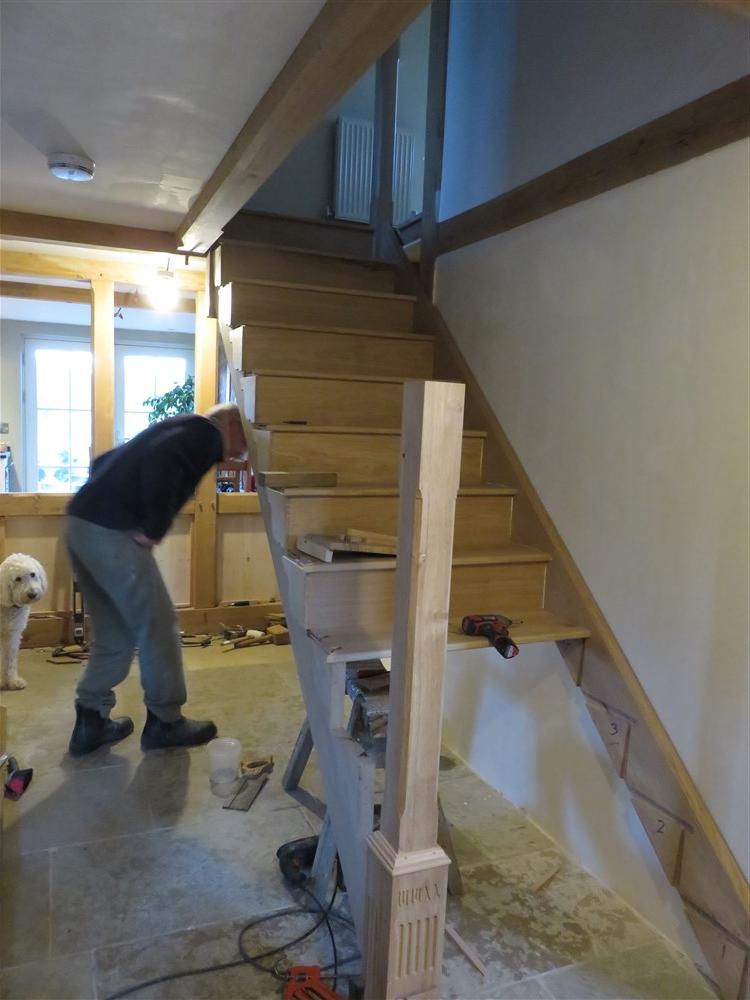
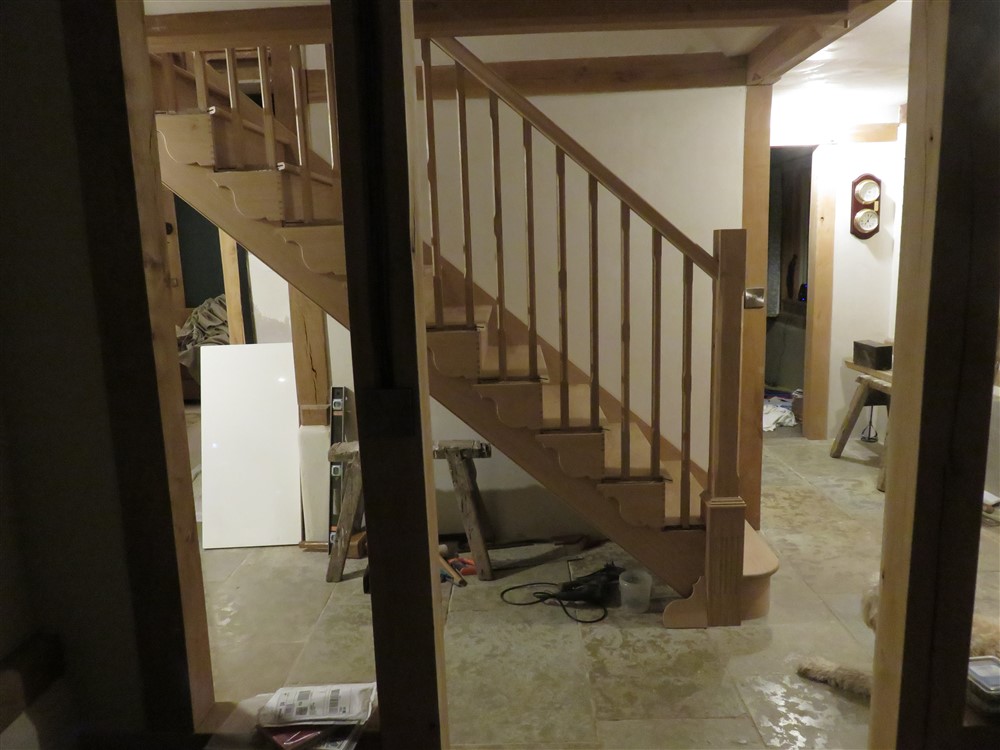
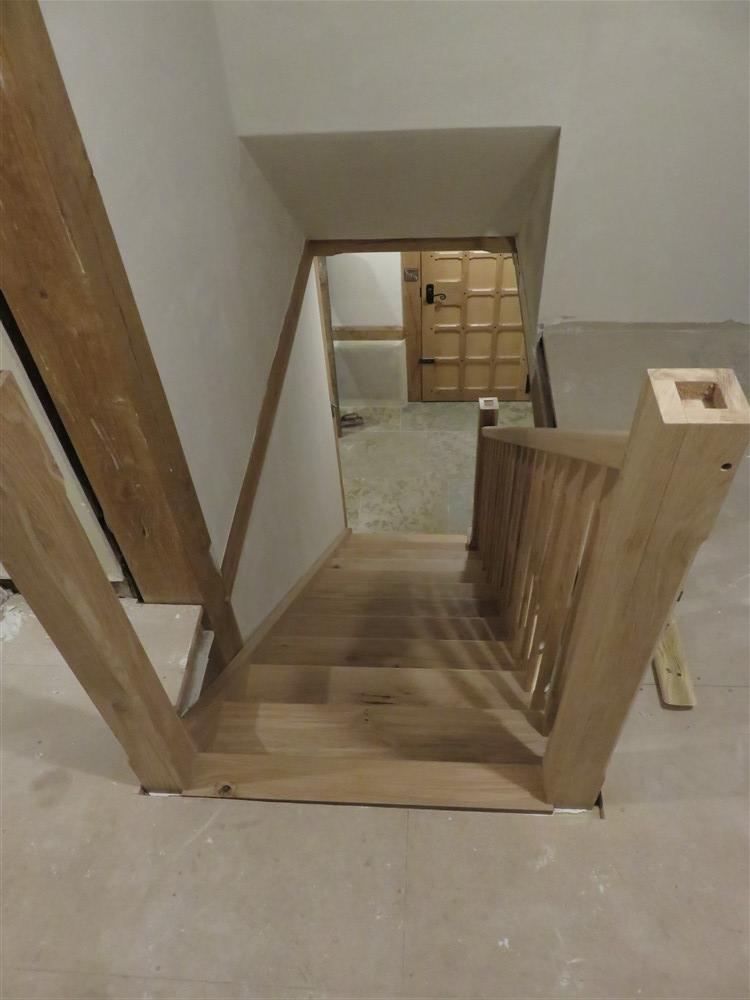
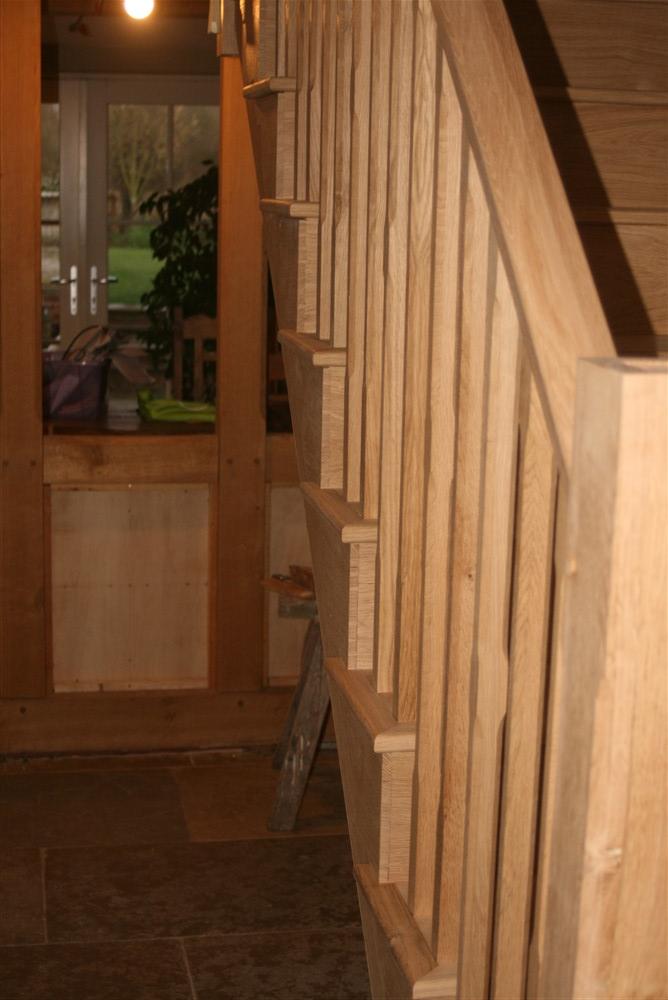
Contrast that with how it was previously:
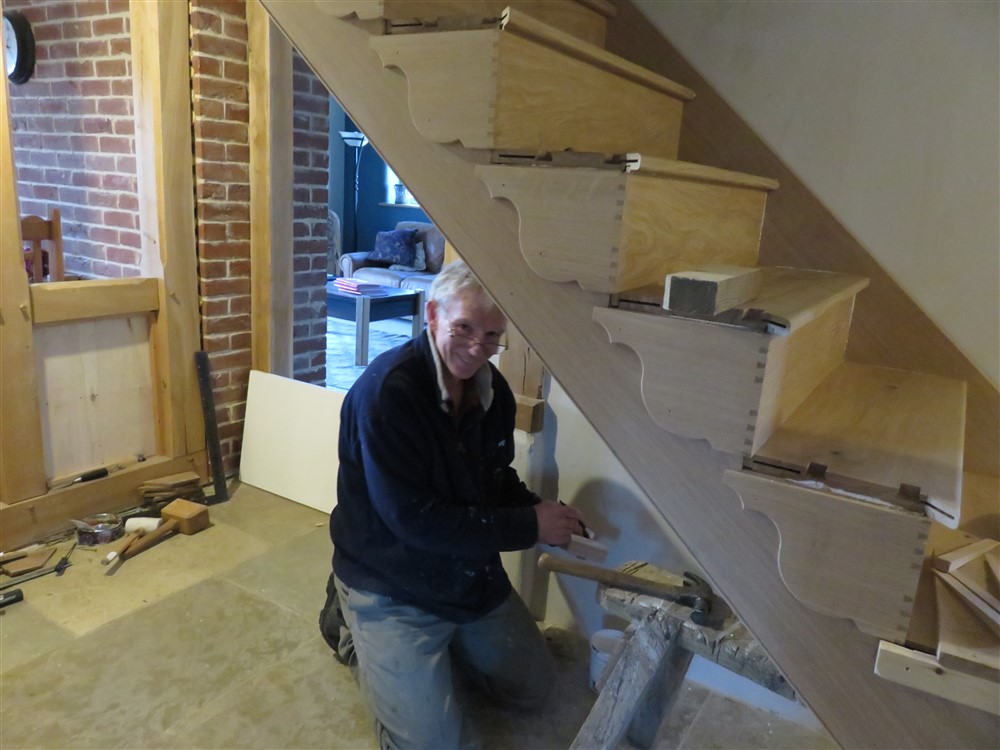
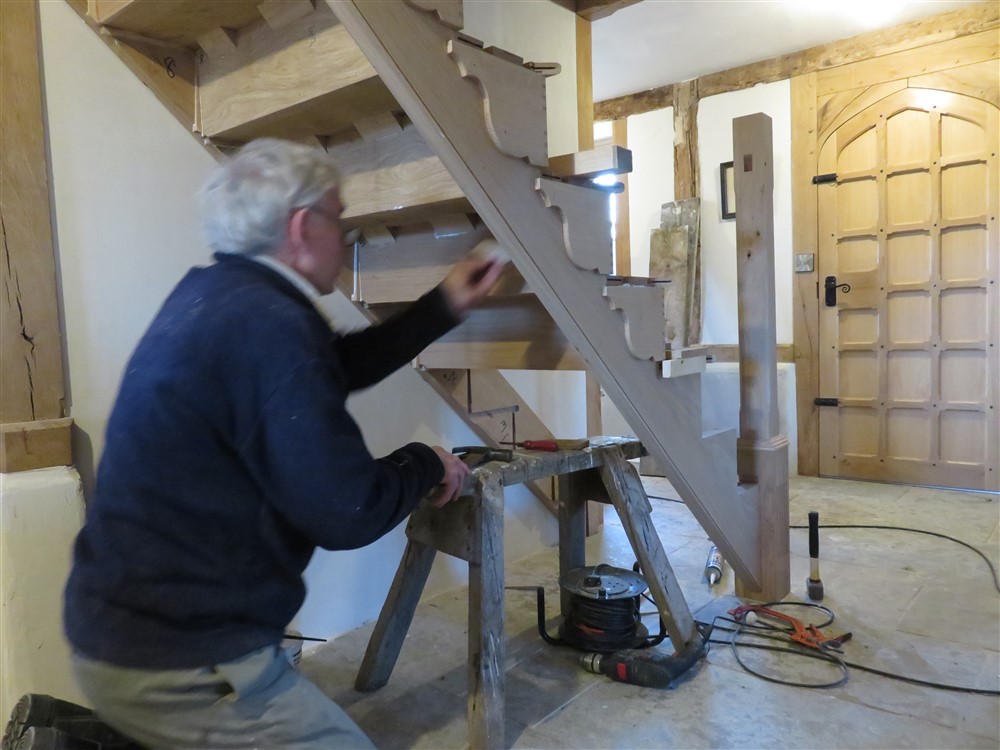
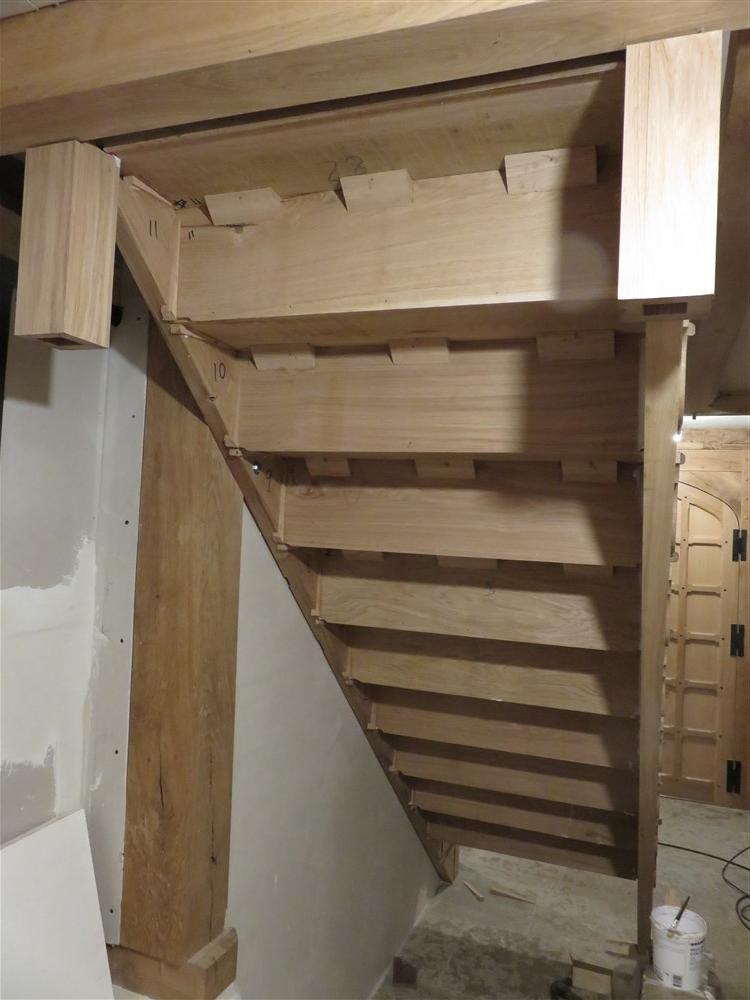
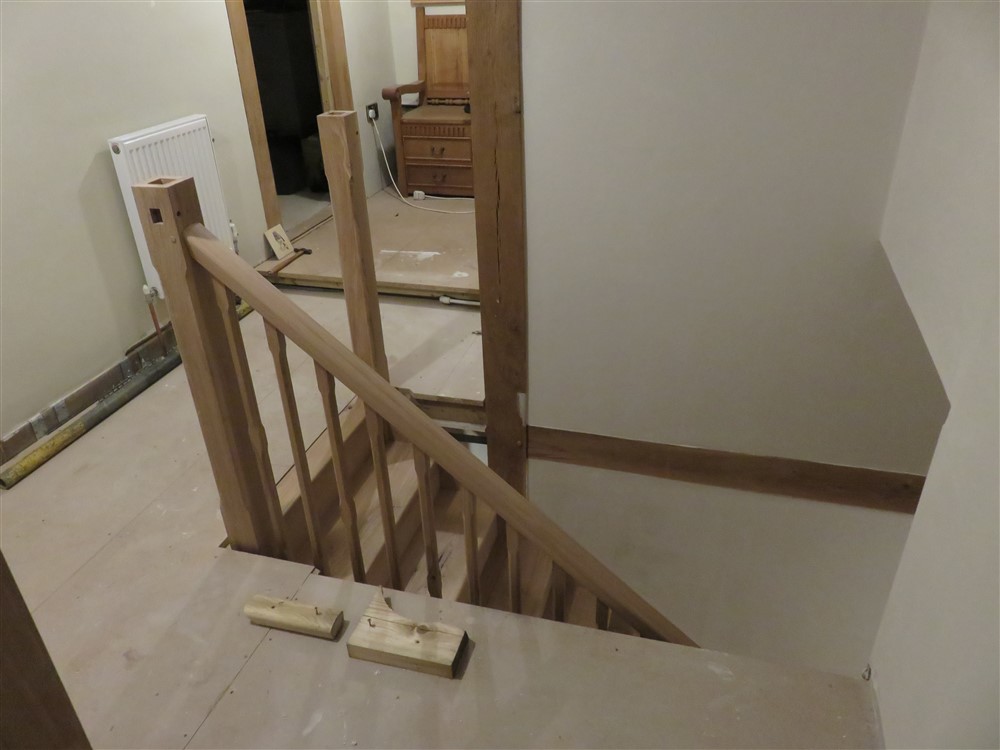
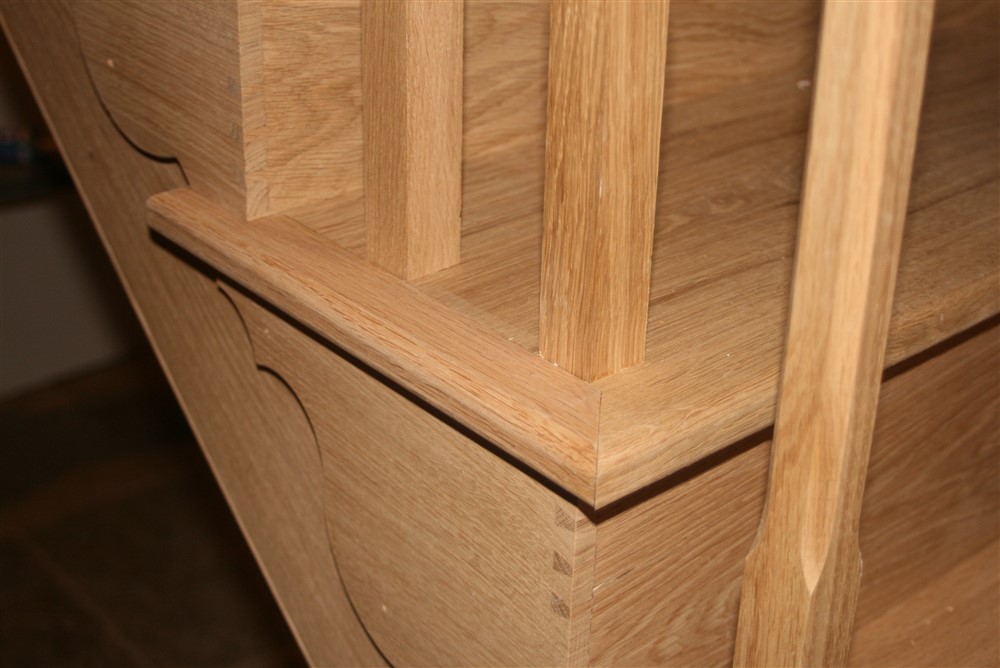
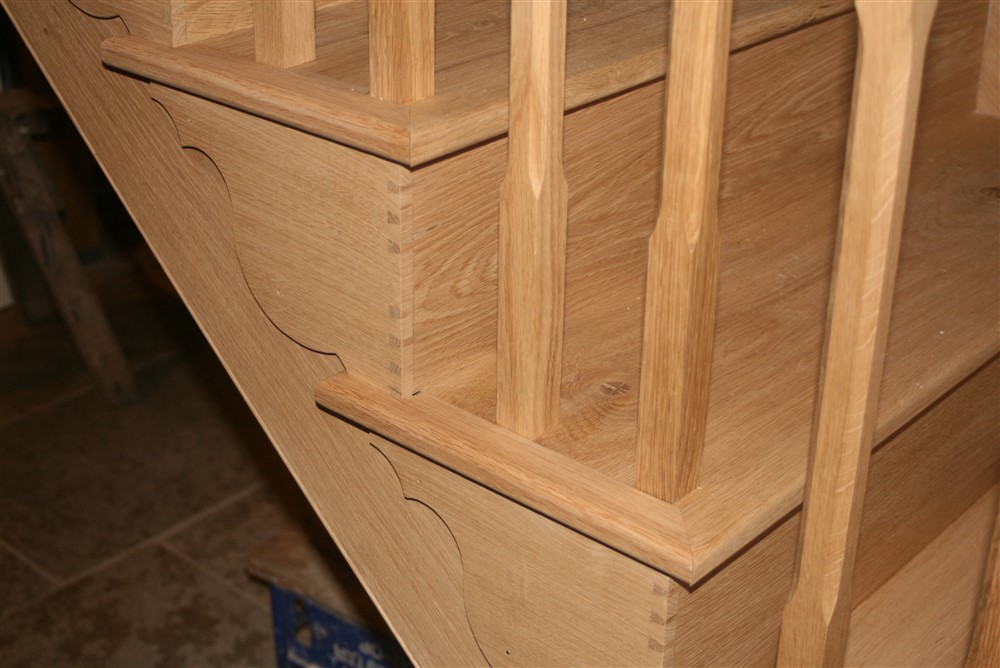
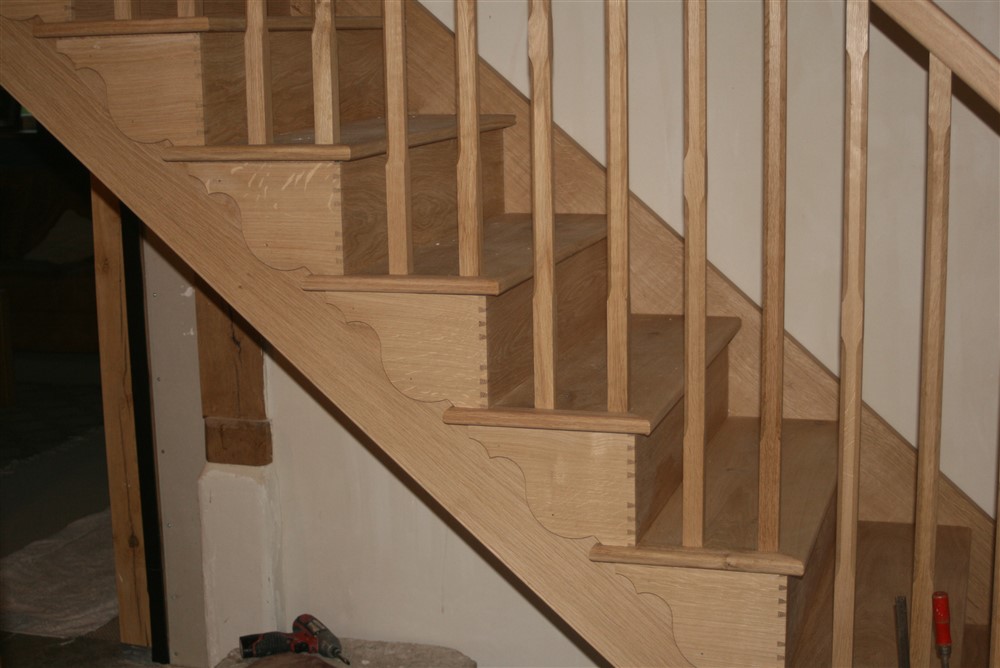
Next, I took everything apart and did a final sand and clean up:
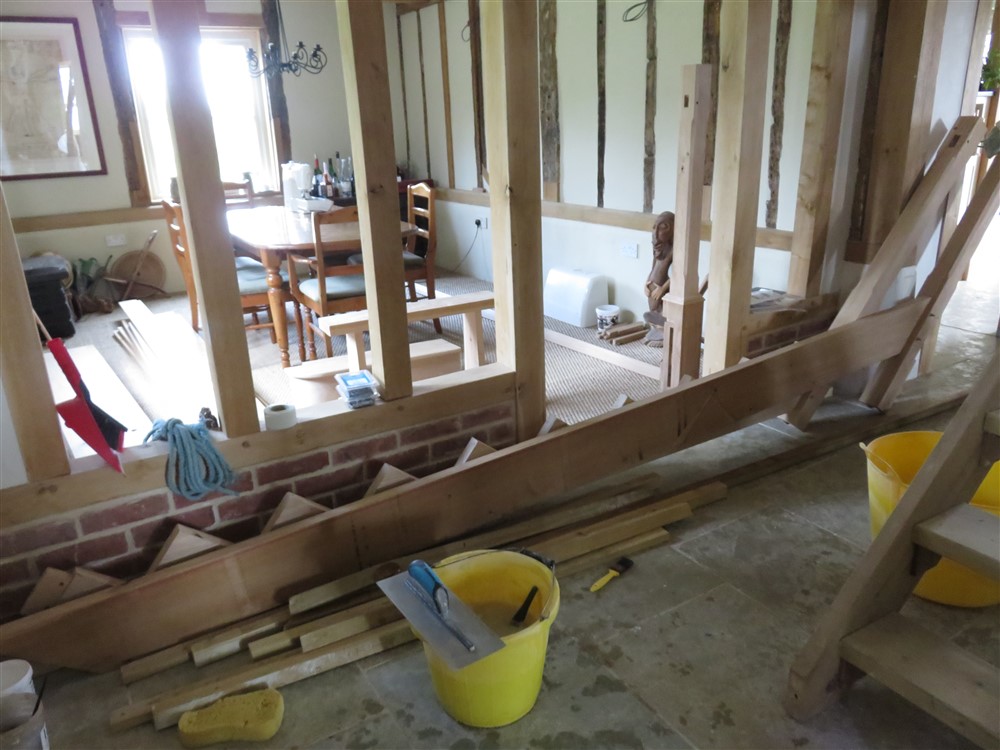
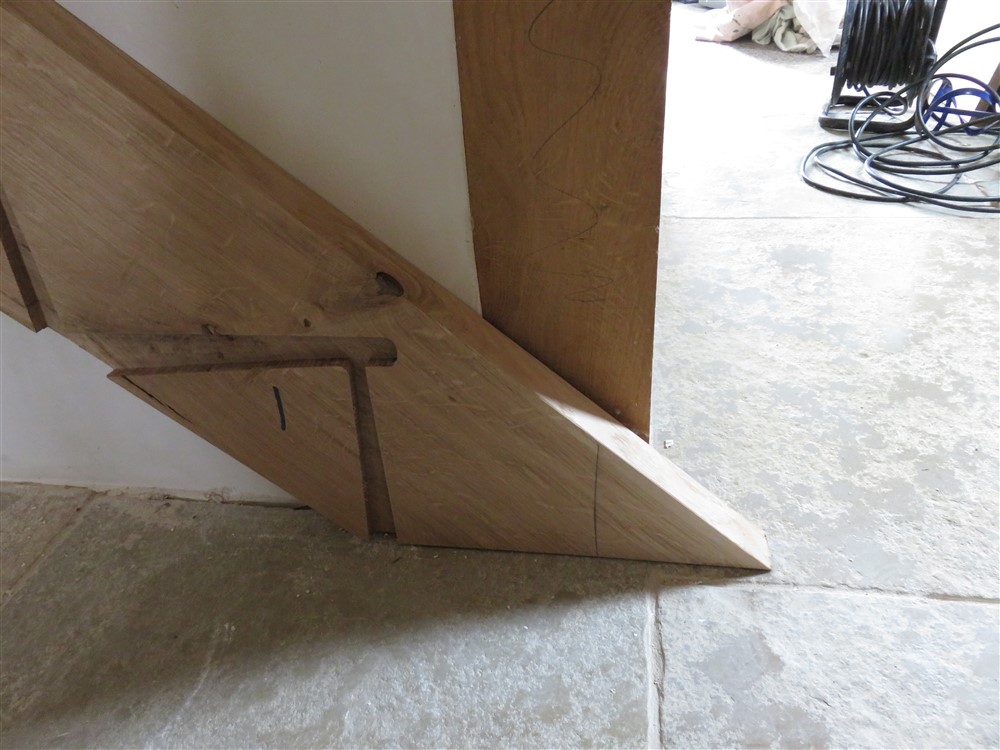
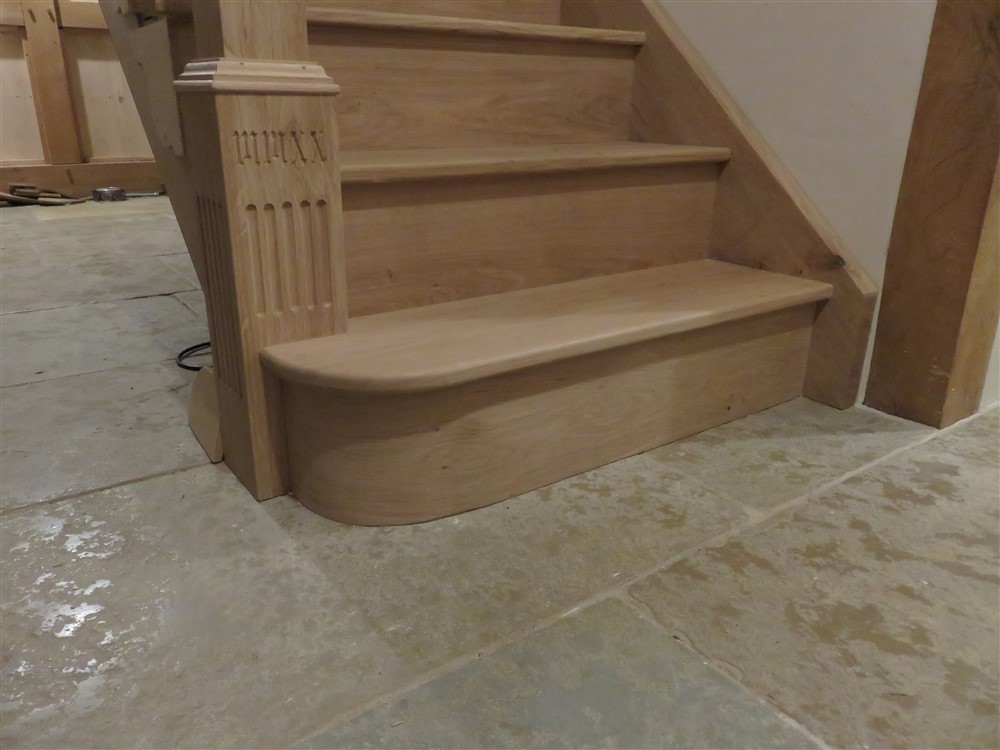
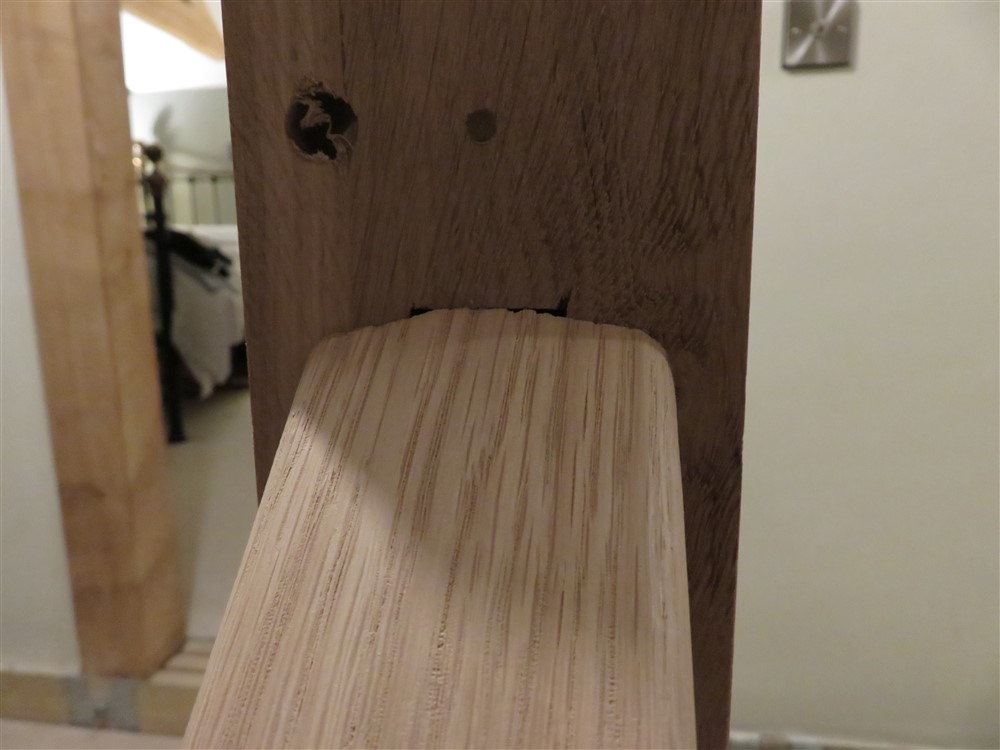
I put a bead on the under edge of the cut string:
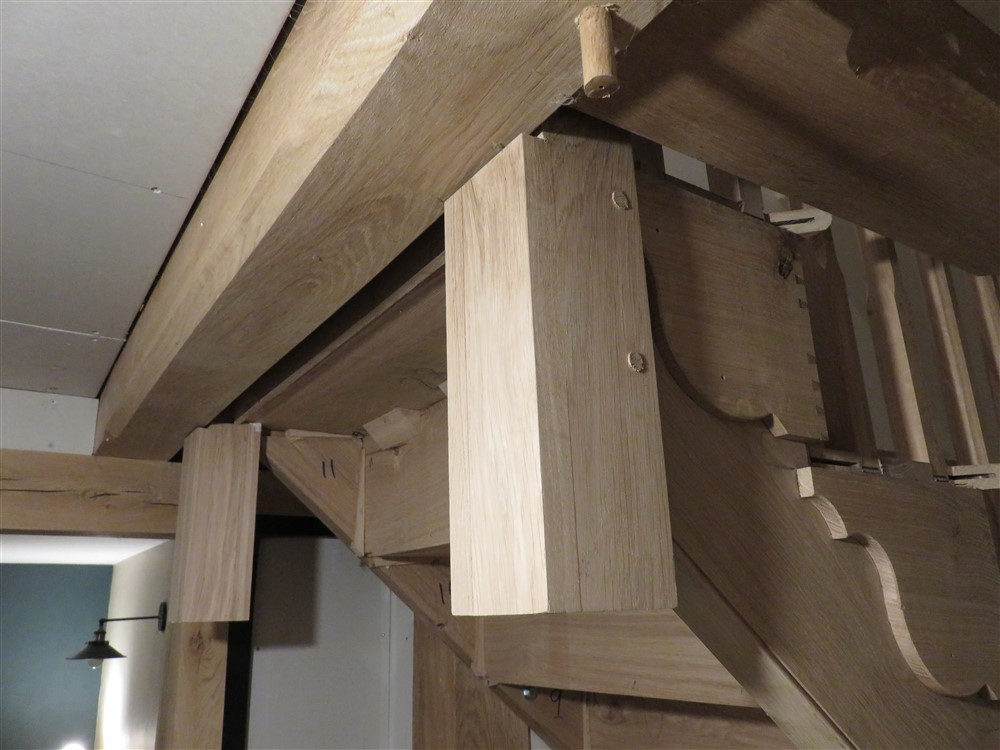
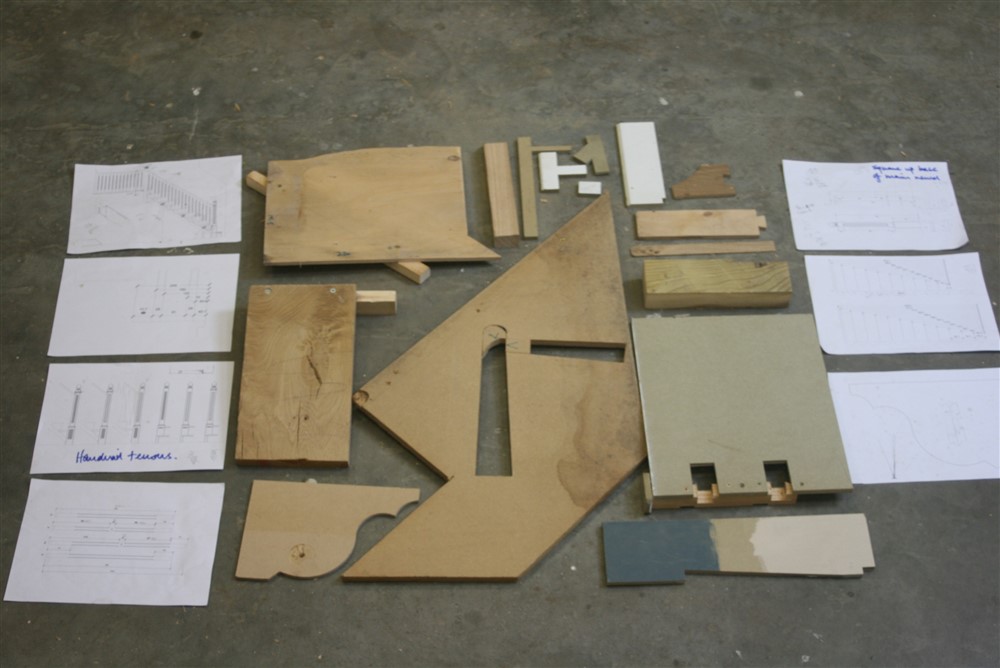
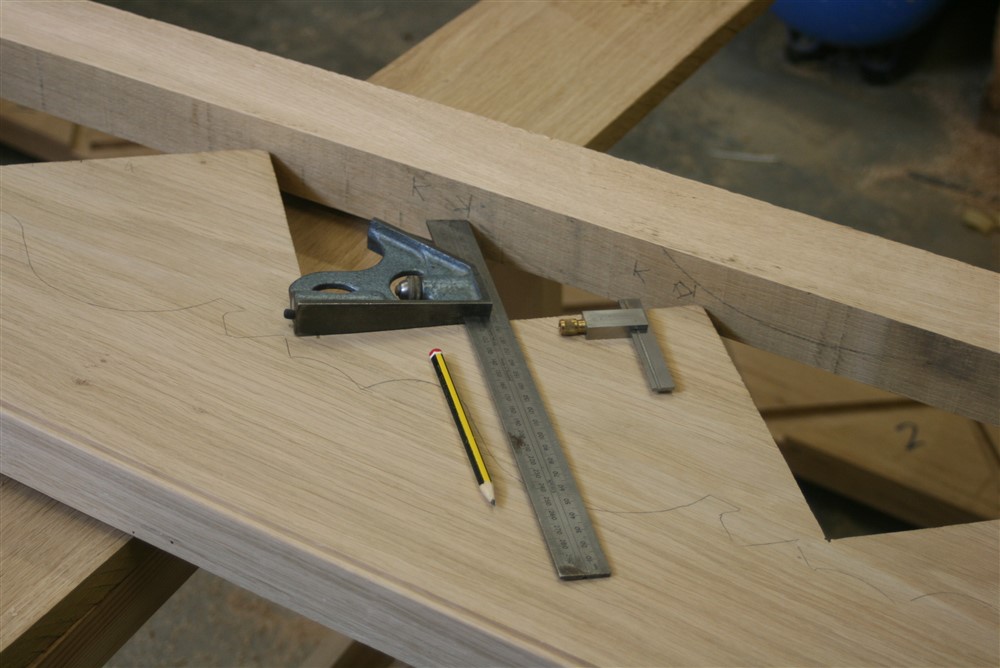
and made a rough template of the area on the string that is going to be covered by brackets and the step end piece:

That's the area where I won't be putting a coat of finish. I'll be doing a coat prior to reassembling.
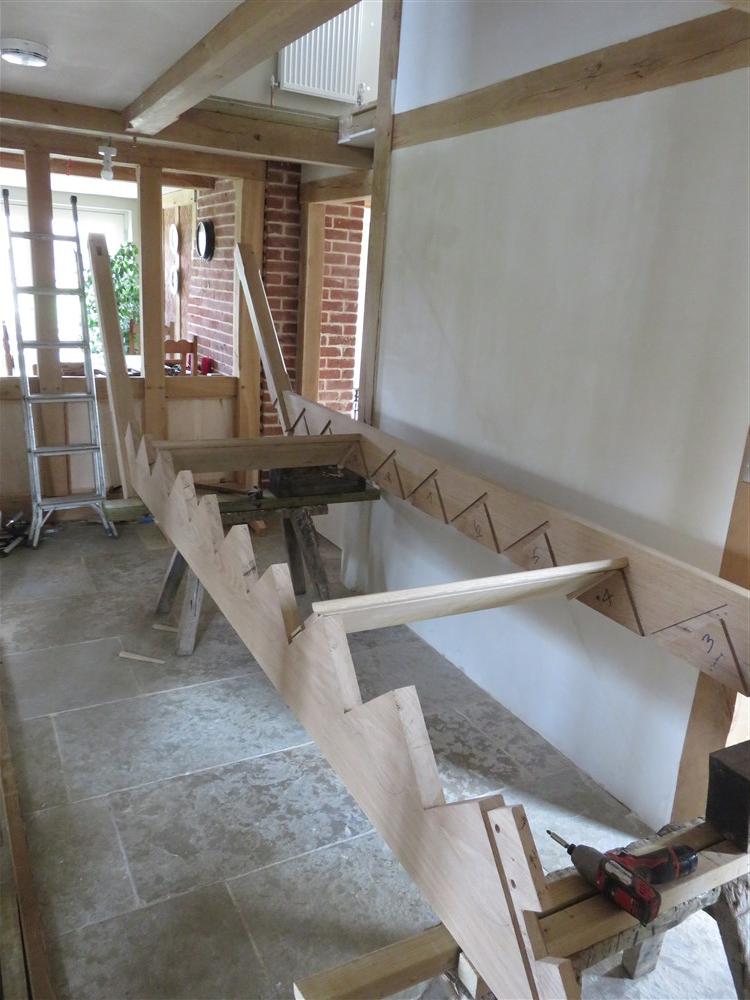
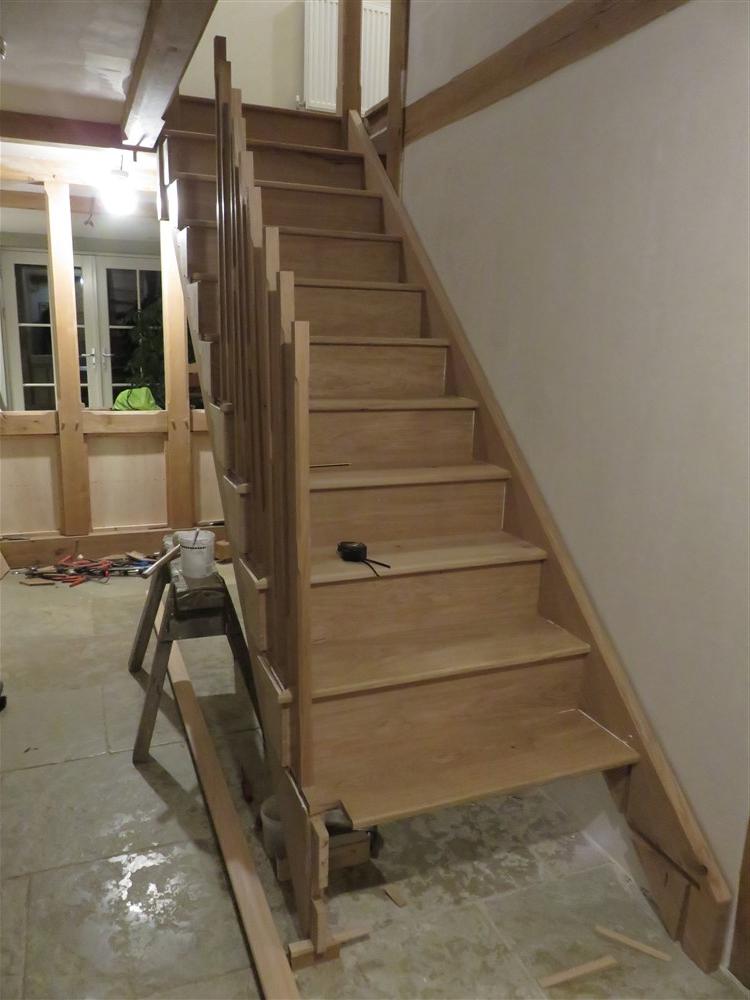
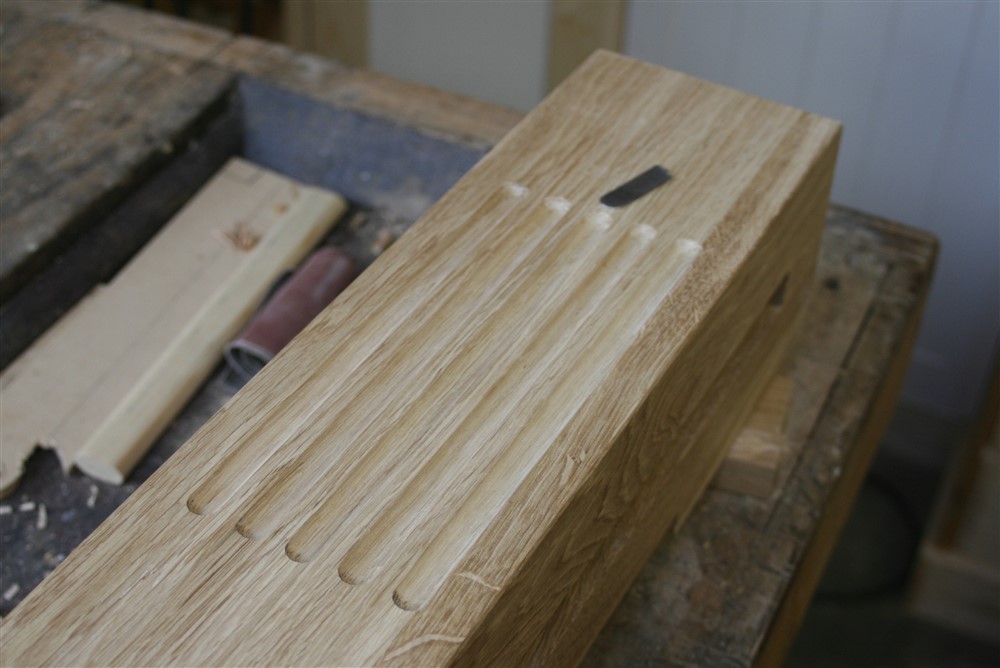
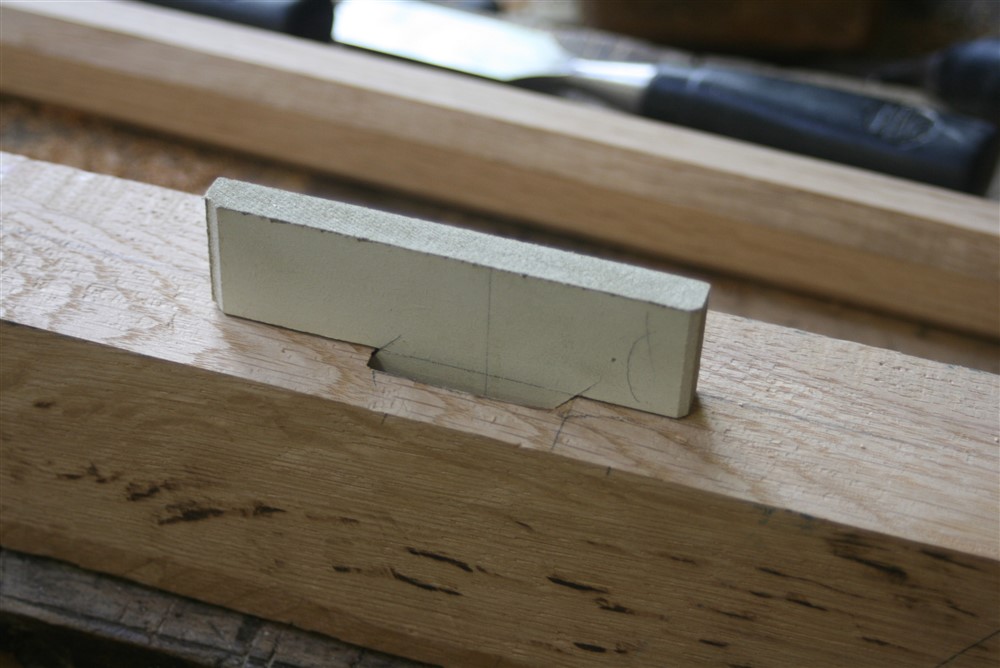
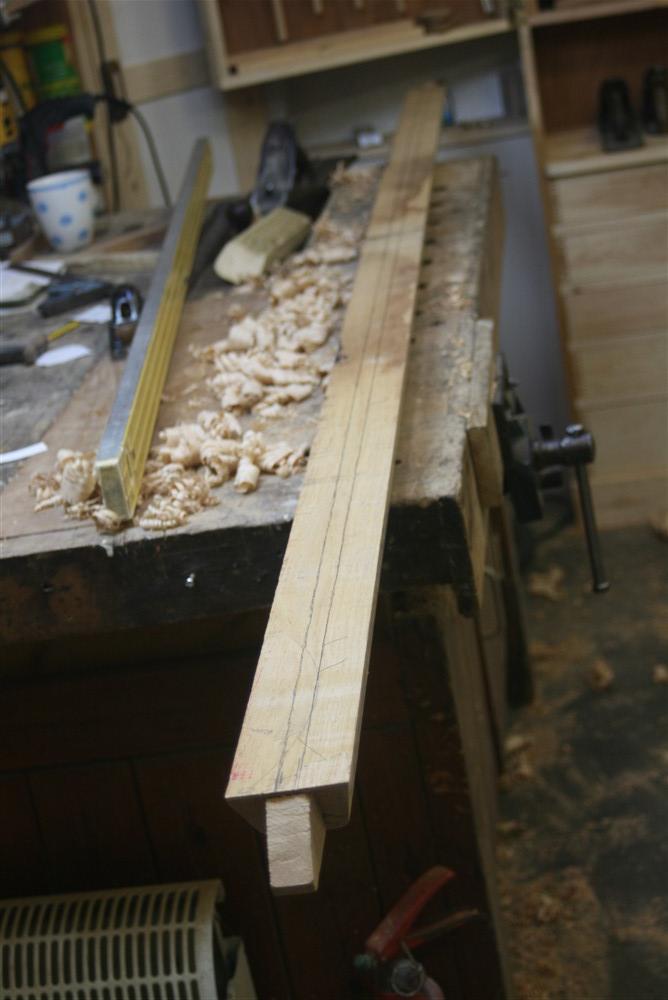
Here I am transferring the balluster locations to the handrail. I actually only did this for 3 ballusters, and calculated the spacing for the rest:
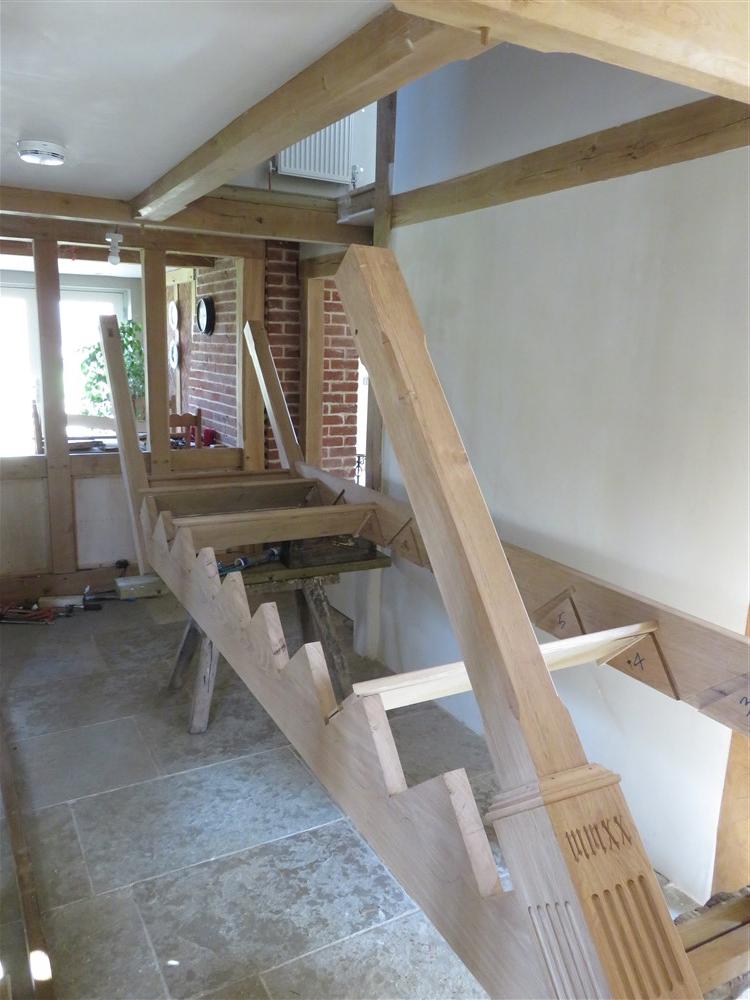
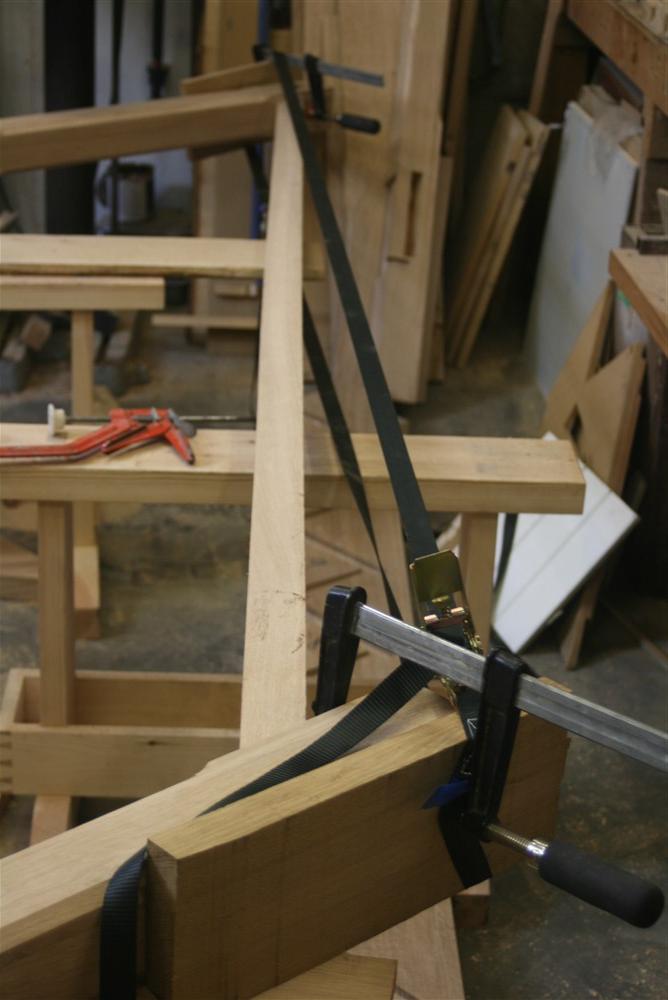
I messed about with the handrail joints for ages. Probably hours. I seldom get aggravated with woodwork, but this just didn't seem to cooperate at all, and the rail went in and out of place 5 or 6 times, which isn't an easy process in itself:
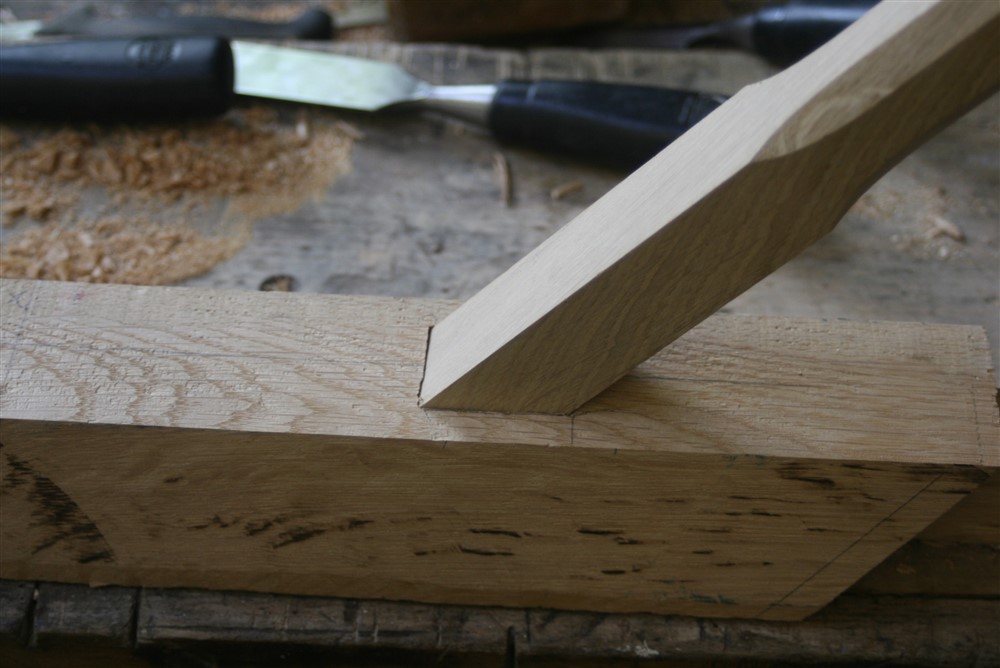
Having finally sorted the joints out, I could get on and chop out the mortises for the ballusters. I had decided to do it this way when I looked at a friend's staircase last week, and thought a wonderful stair had been spoiled by shoddy infill work between the ballusters under the handrail. I couldn't think of a good way of getting that detail absolutely spot on, so decided to do individual mortises instead. The implications of that decision took a while to sink in........
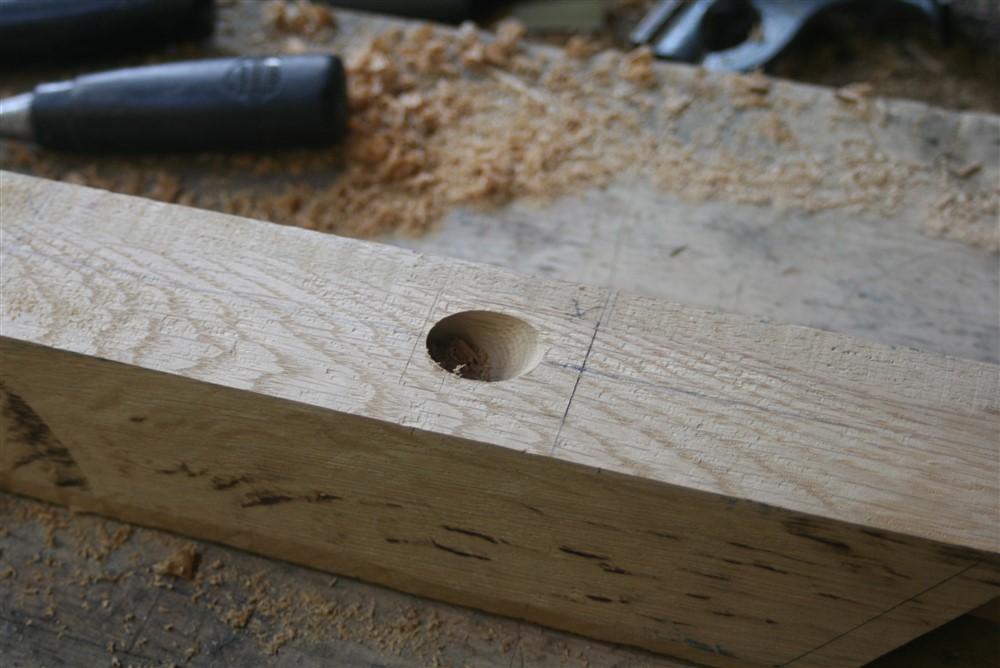
Obviously, the mortise is at an angle. Here is my little checking jig:
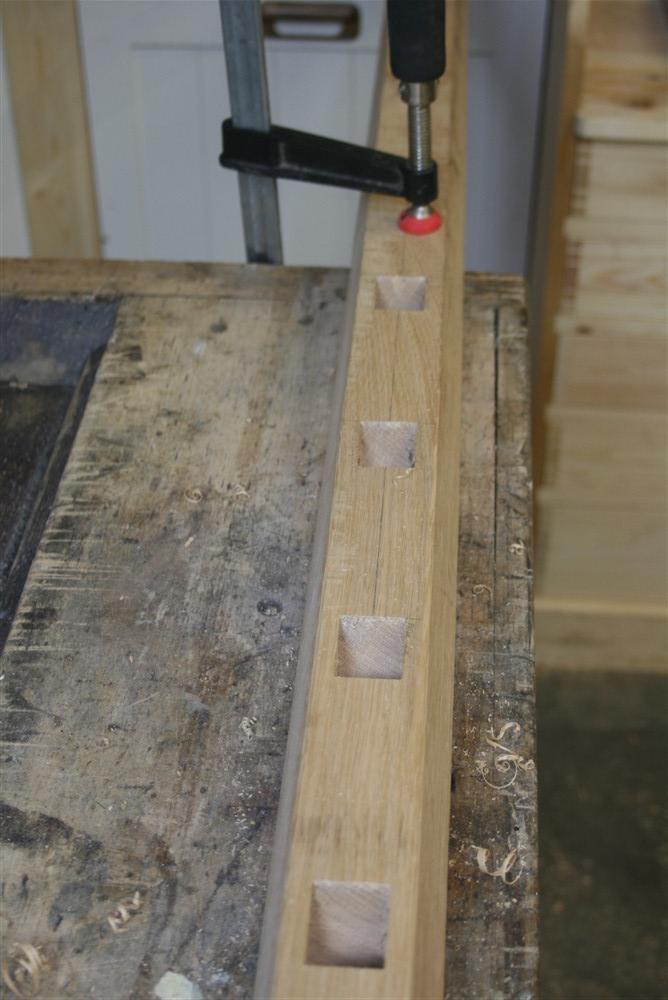
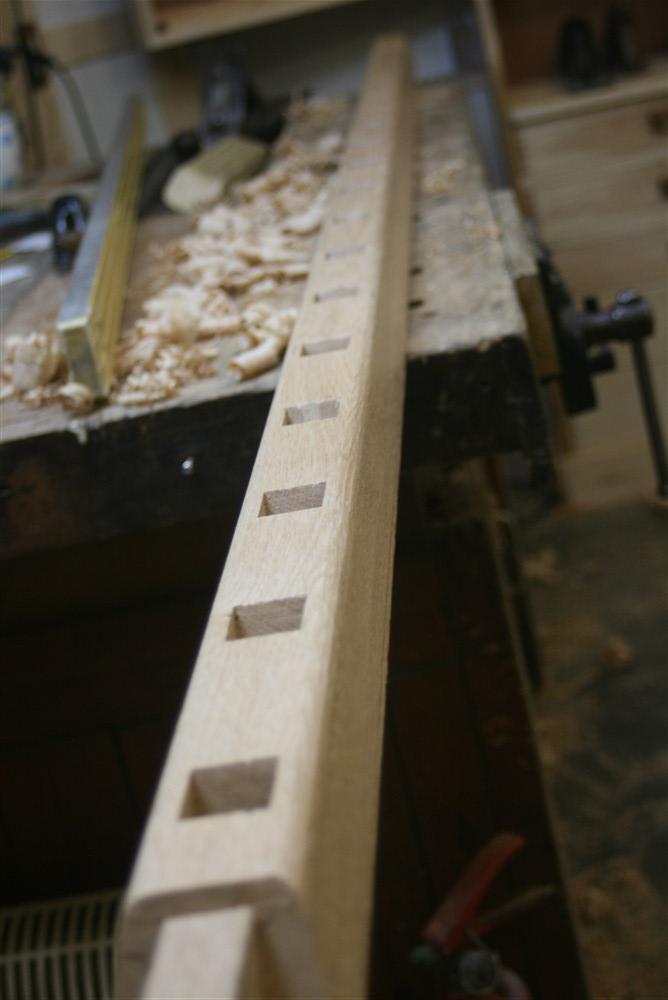
I made a setting out jig, a chiseling jig, and a checking jig. The first mortise took me an hour. There were 19 altogether:
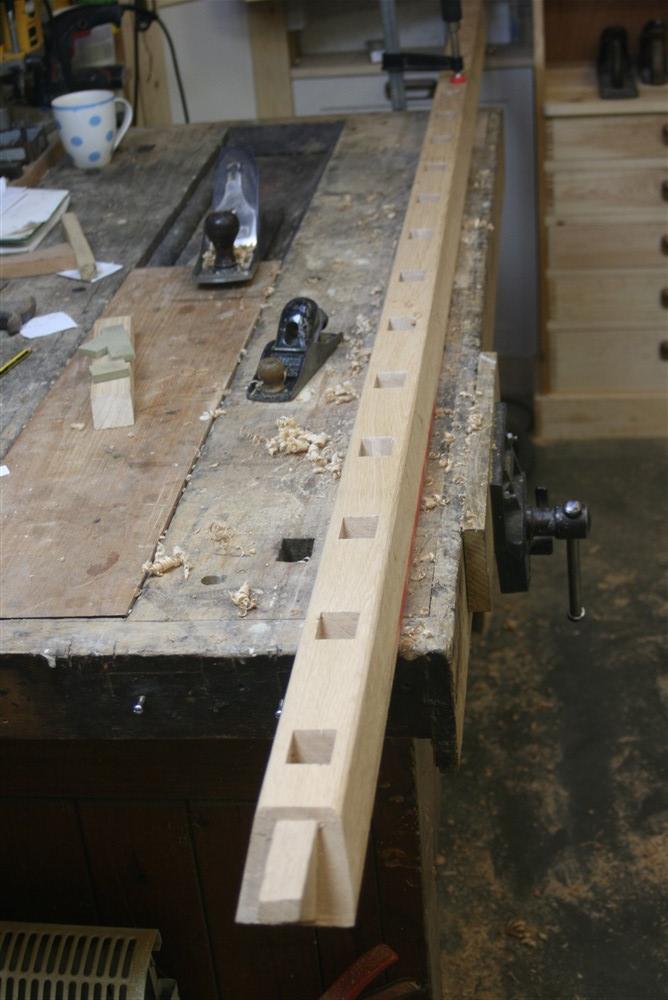
All told, I was chiseling for nearly 5 hours. Five bloody hours!!
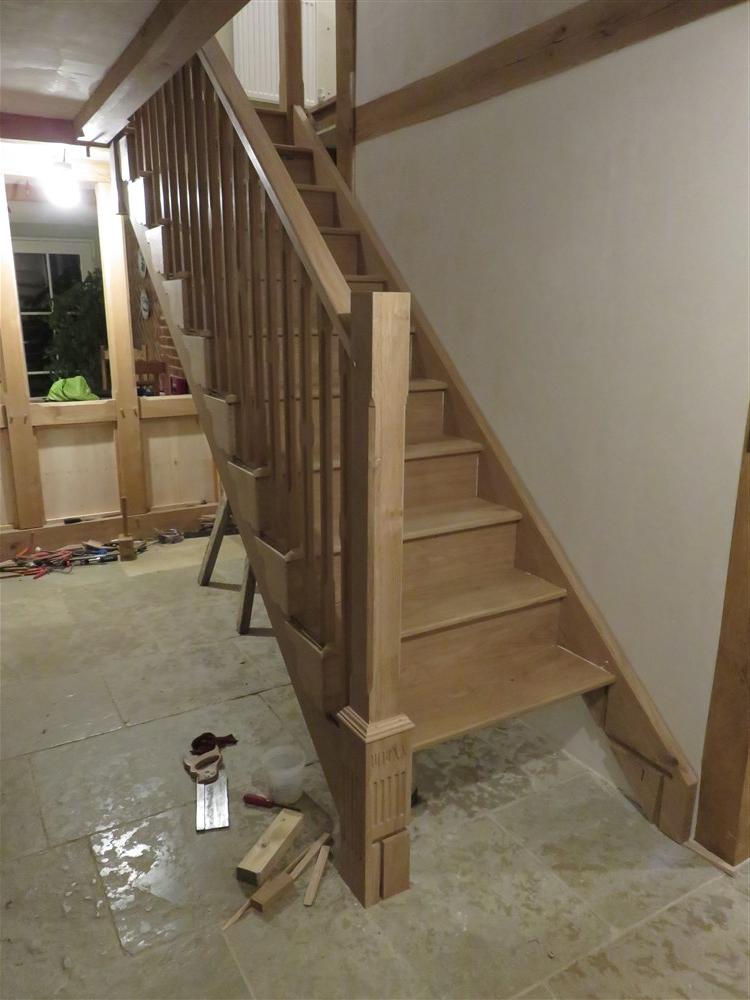
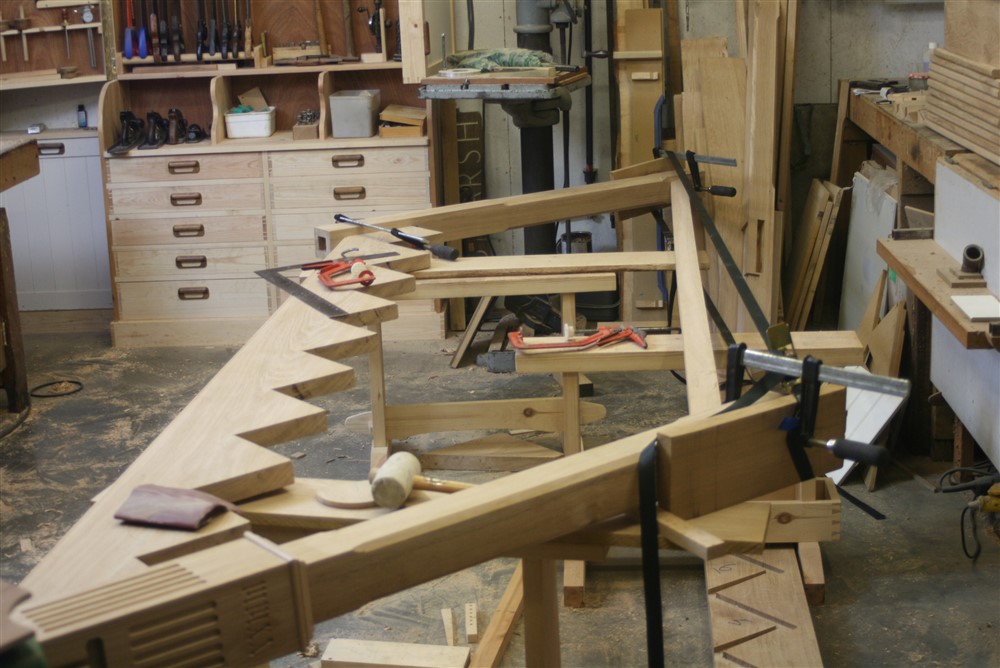
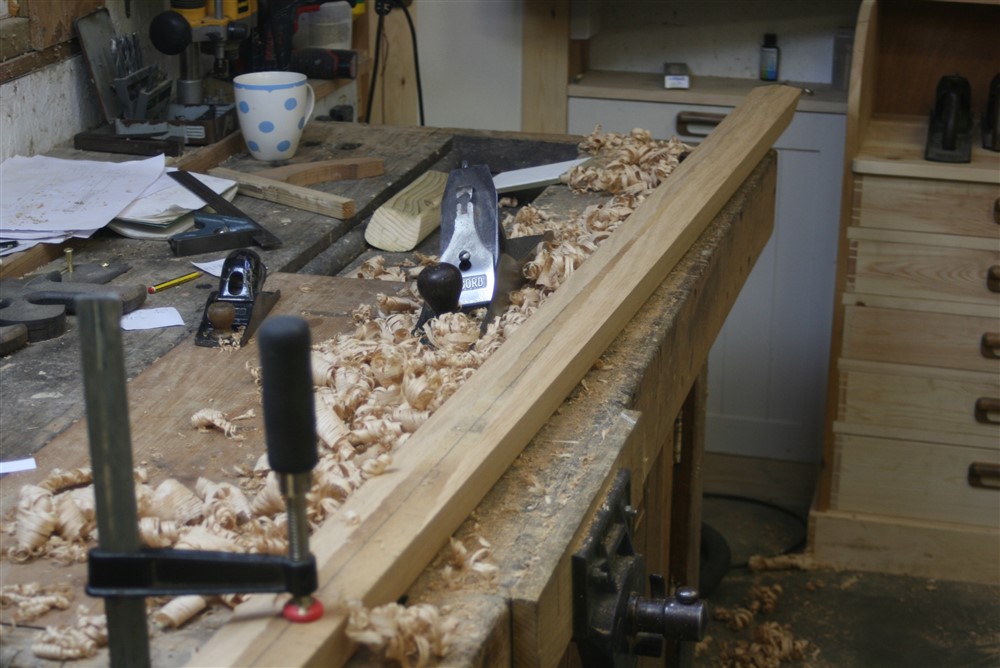
It was such a relief to finally finish and to be able to start planing a shape into the handrail:
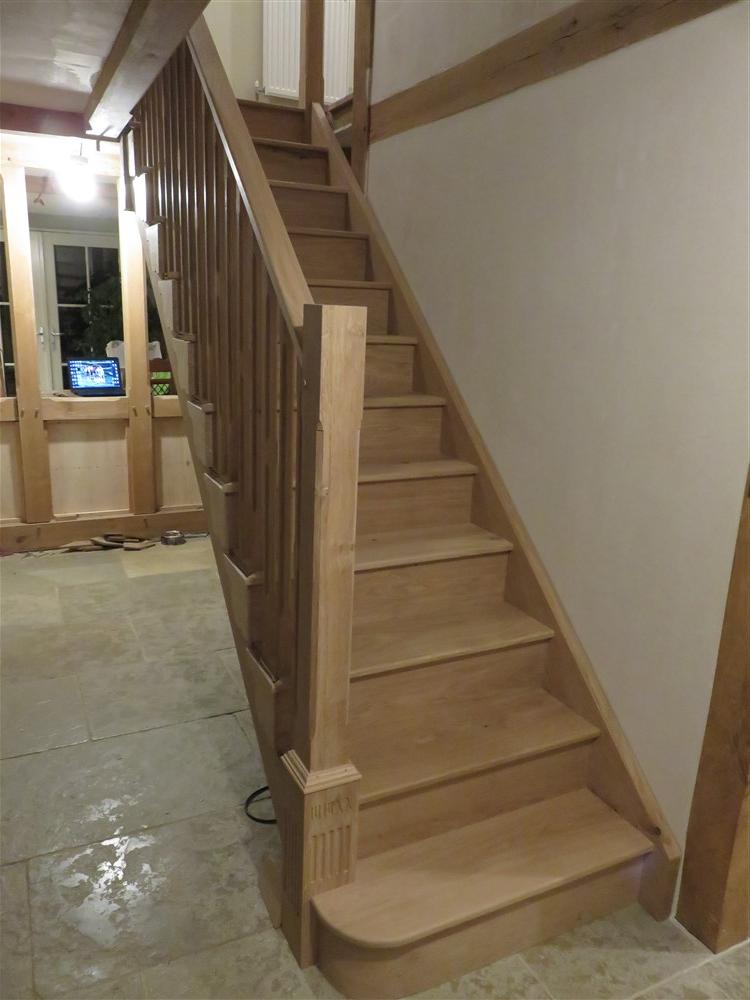
As it happens, I finished that and brought it in to the house for my wife to try out. She's happy.
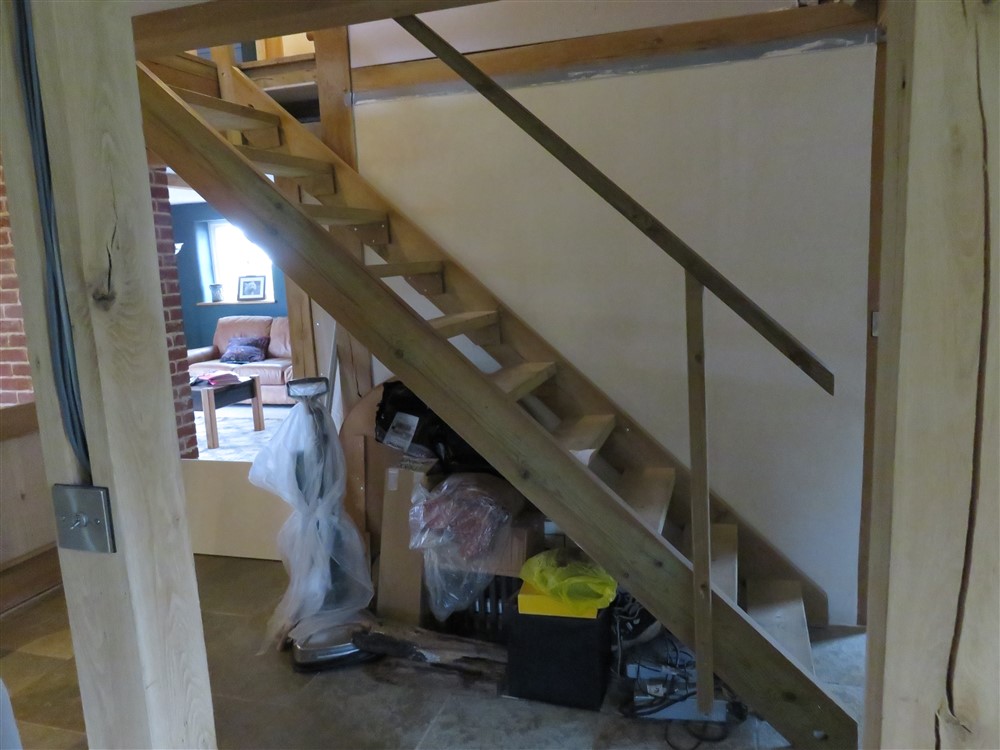
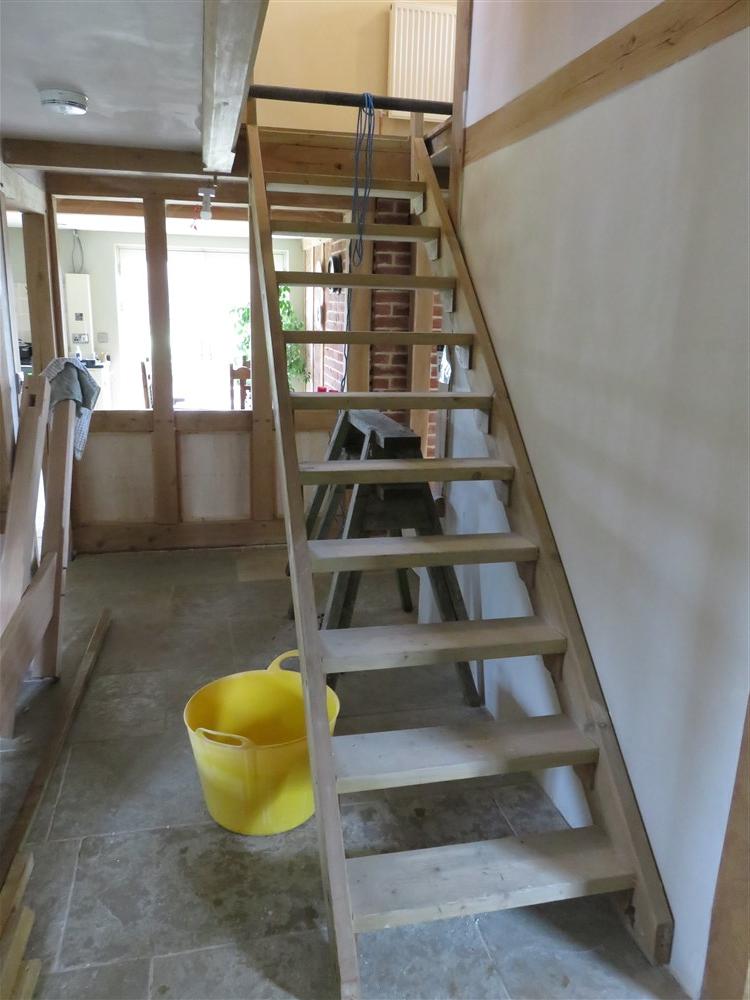
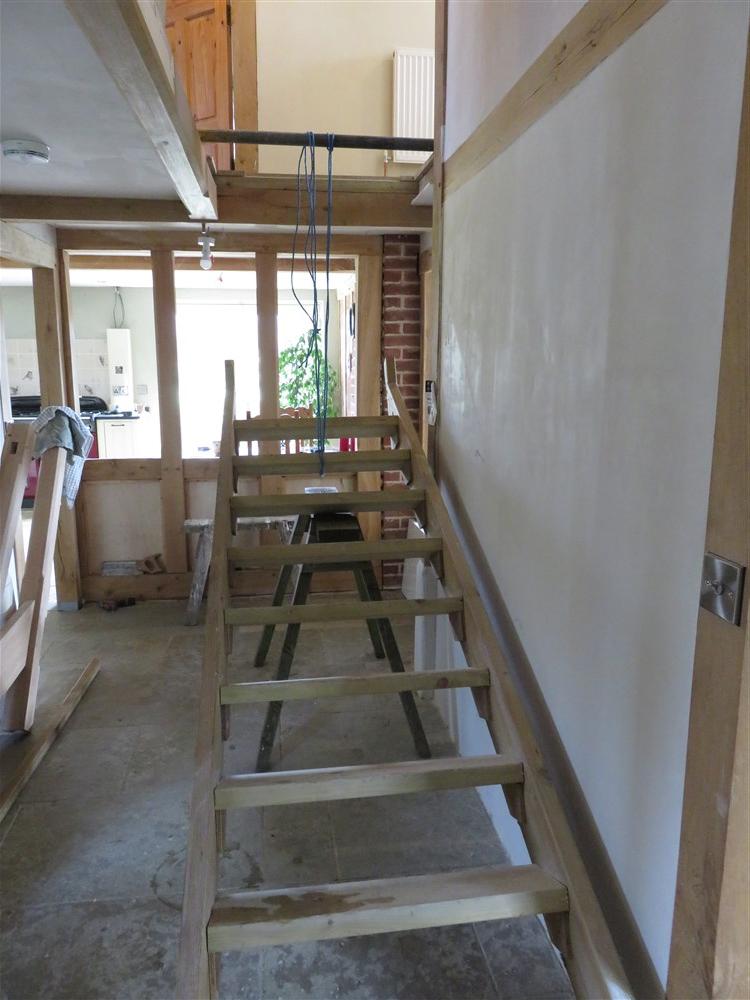
Contrast that with how it was previously:
Next, I took everything apart and did a final sand and clean up:
I put a bead on the under edge of the cut string:
and made a rough template of the area on the string that is going to be covered by brackets and the step end piece:
That's the area where I won't be putting a coat of finish. I'll be doing a coat prior to reassembling.
Here I am transferring the balluster locations to the handrail. I actually only did this for 3 ballusters, and calculated the spacing for the rest:
I messed about with the handrail joints for ages. Probably hours. I seldom get aggravated with woodwork, but this just didn't seem to cooperate at all, and the rail went in and out of place 5 or 6 times, which isn't an easy process in itself:
Having finally sorted the joints out, I could get on and chop out the mortises for the ballusters. I had decided to do it this way when I looked at a friend's staircase last week, and thought a wonderful stair had been spoiled by shoddy infill work between the ballusters under the handrail. I couldn't think of a good way of getting that detail absolutely spot on, so decided to do individual mortises instead. The implications of that decision took a while to sink in........
Obviously, the mortise is at an angle. Here is my little checking jig:
I made a setting out jig, a chiseling jig, and a checking jig. The first mortise took me an hour. There were 19 altogether:
All told, I was chiseling for nearly 5 hours. Five bloody hours!!
It was such a relief to finally finish and to be able to start planing a shape into the handrail:
As it happens, I finished that and brought it in to the house for my wife to try out. She's happy.