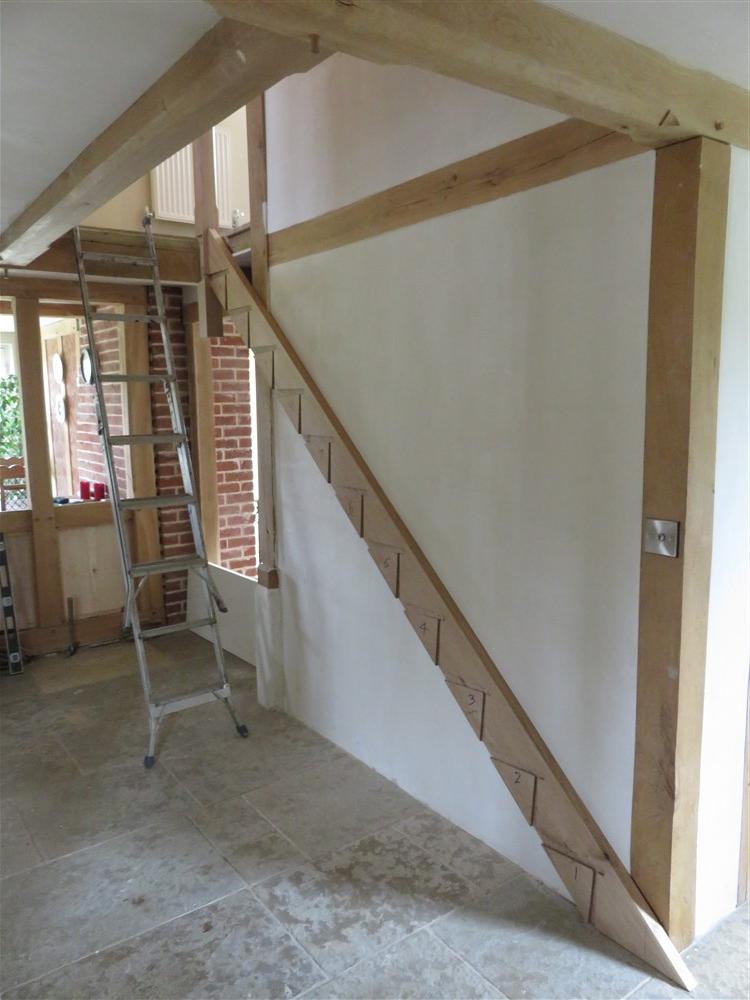
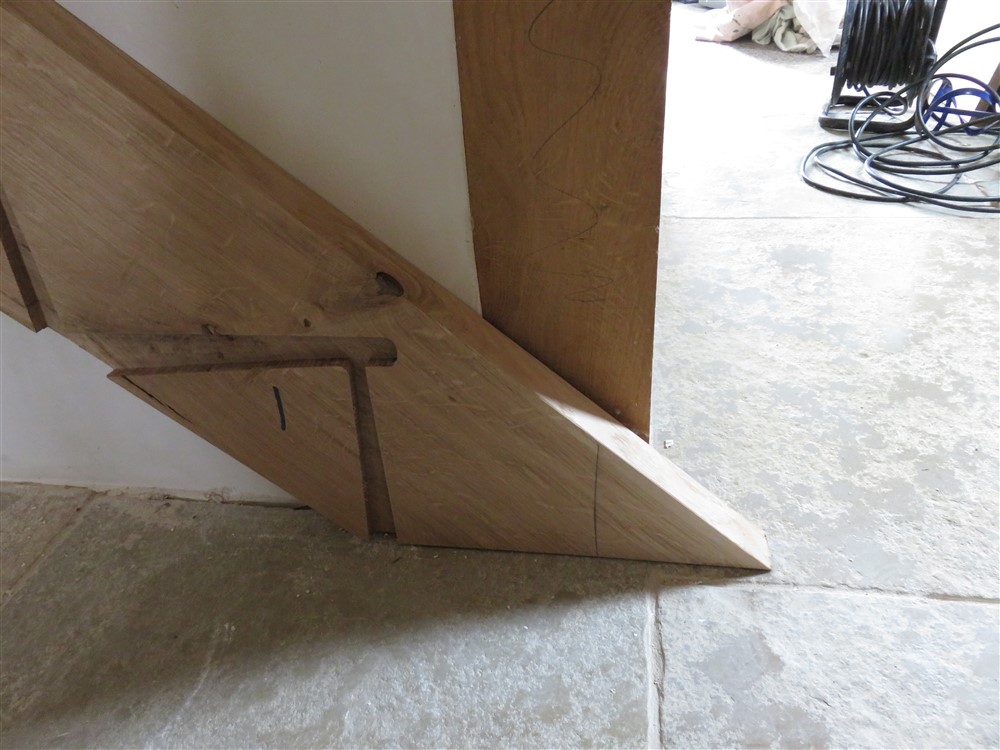
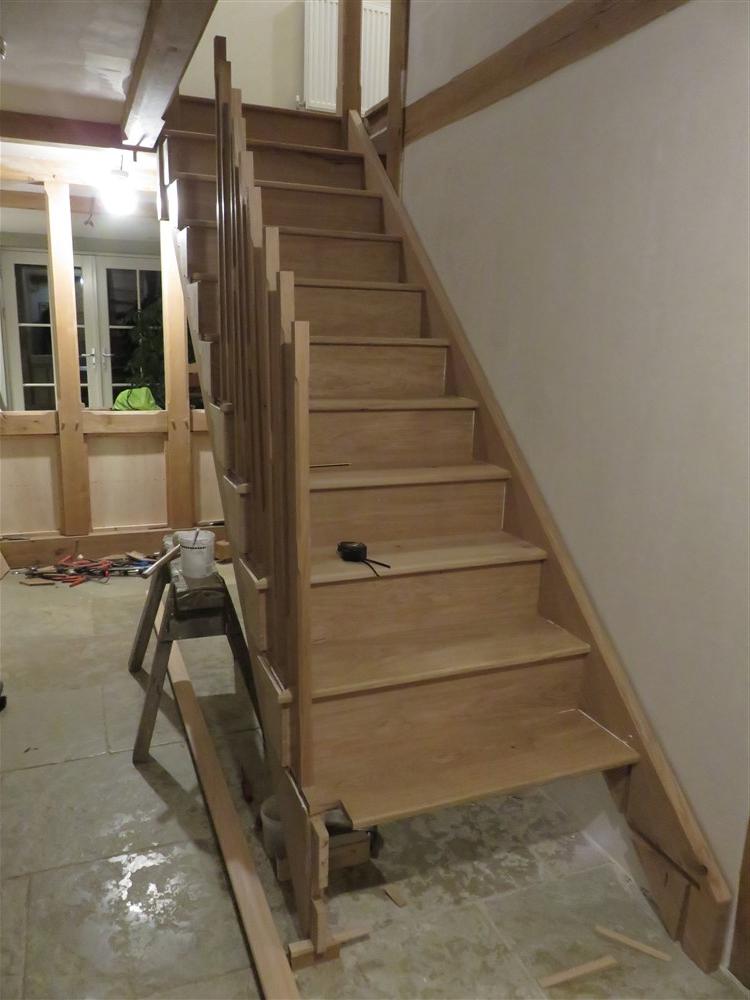
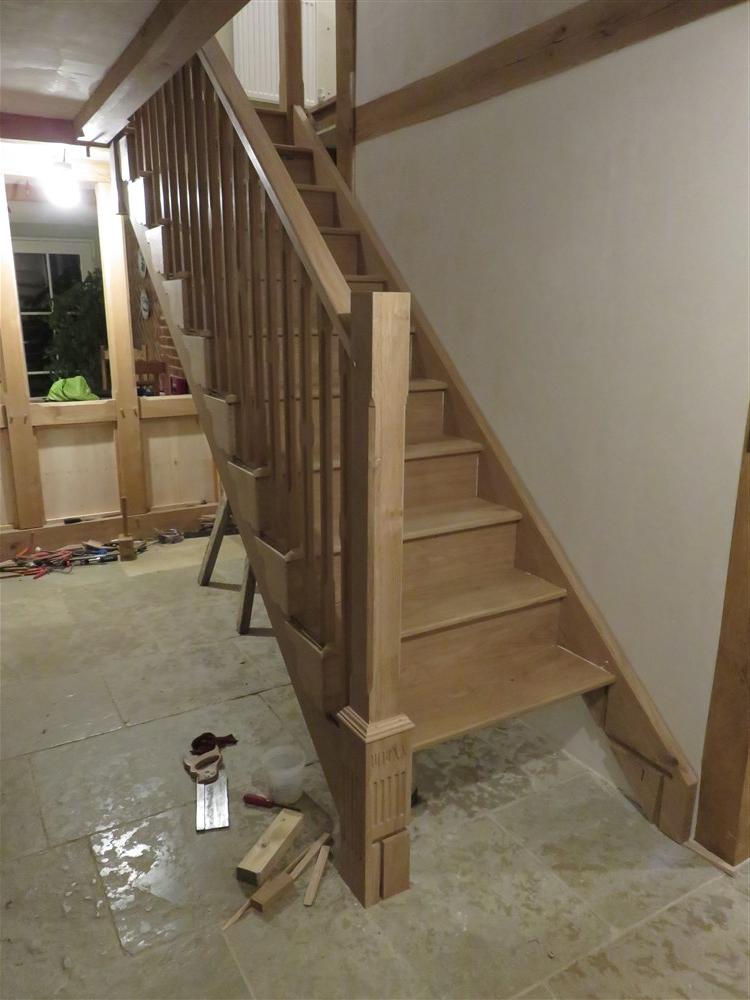
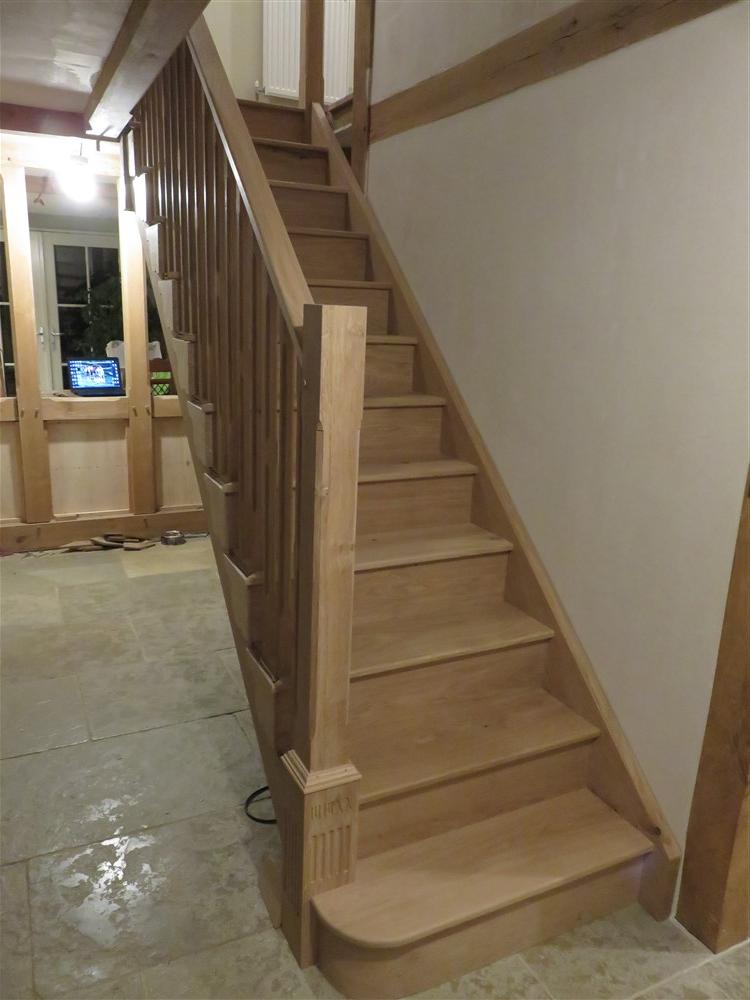
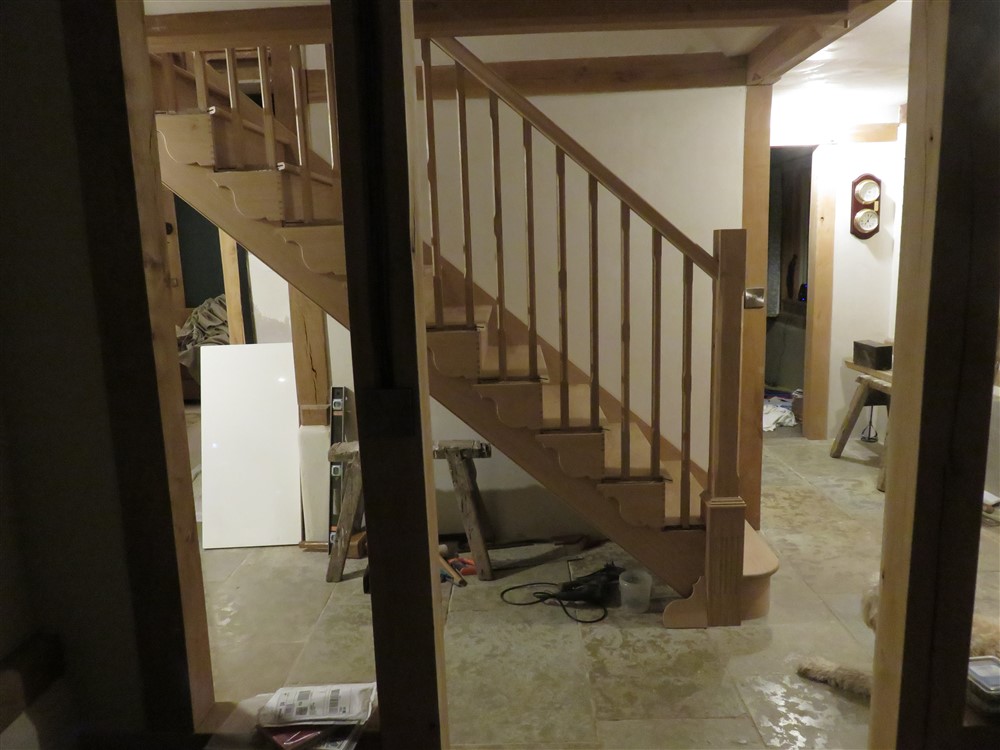
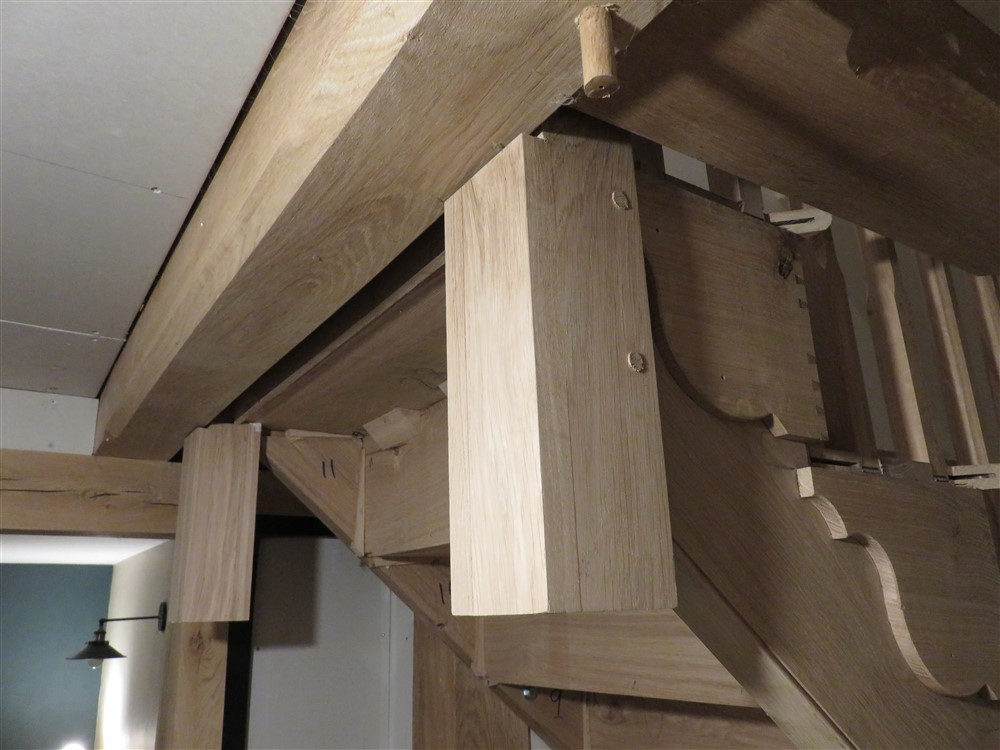
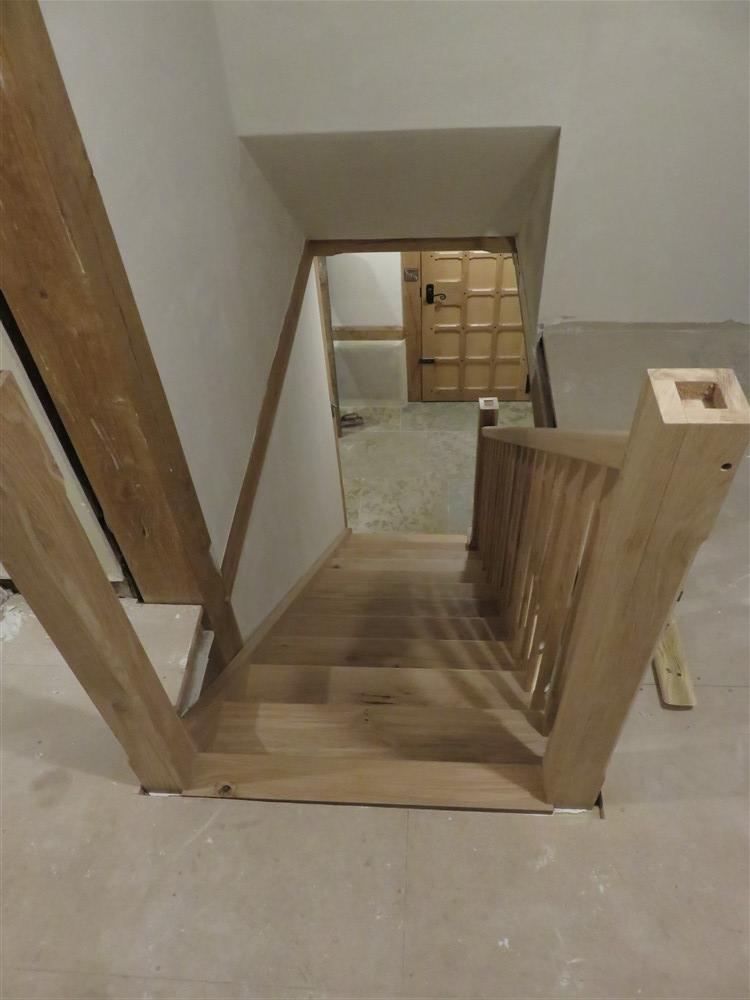
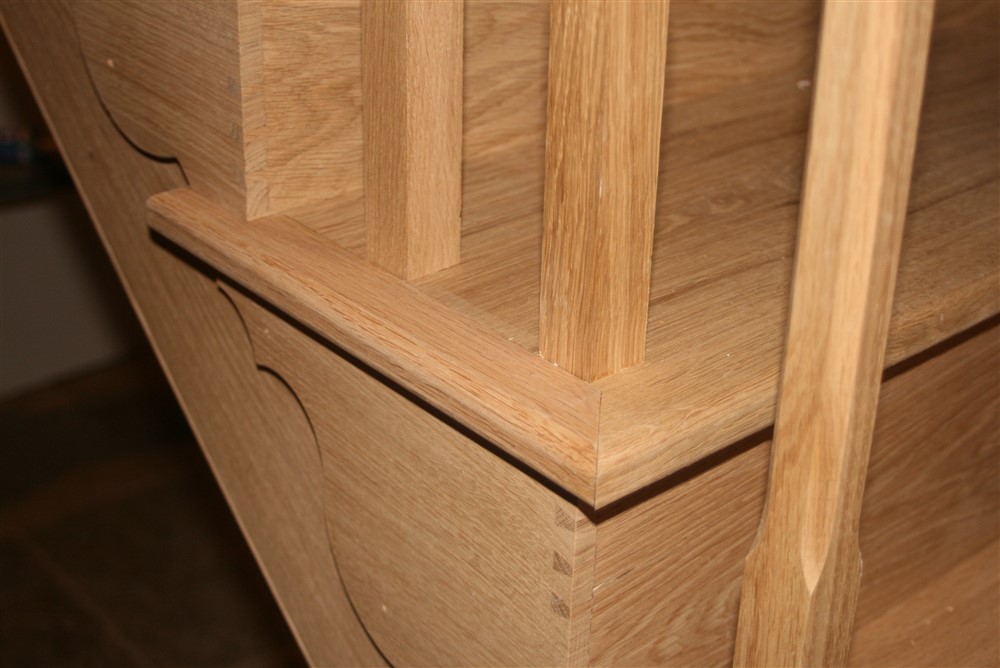
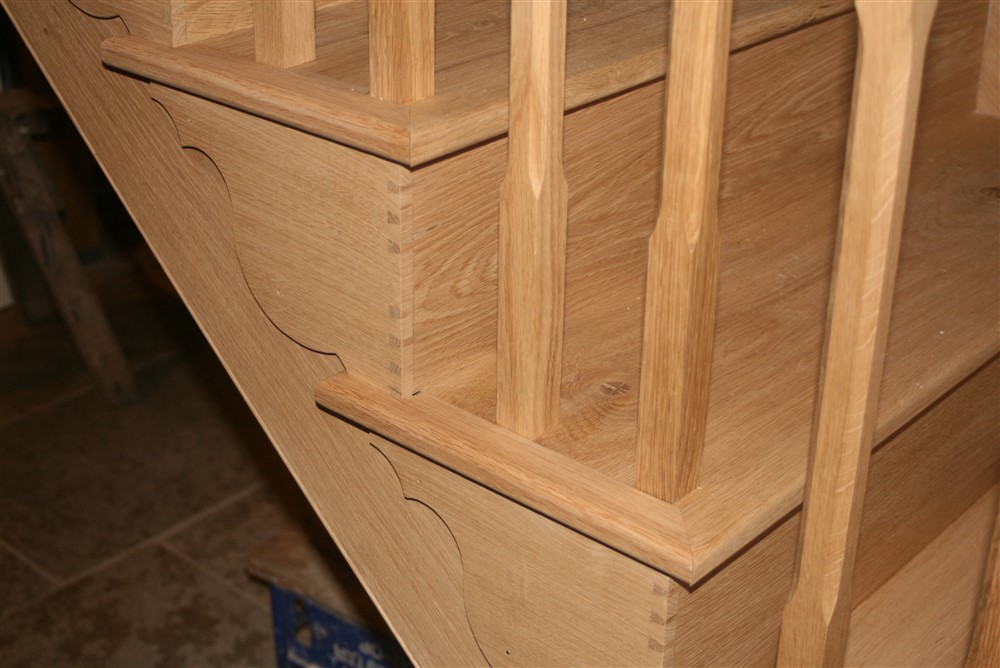
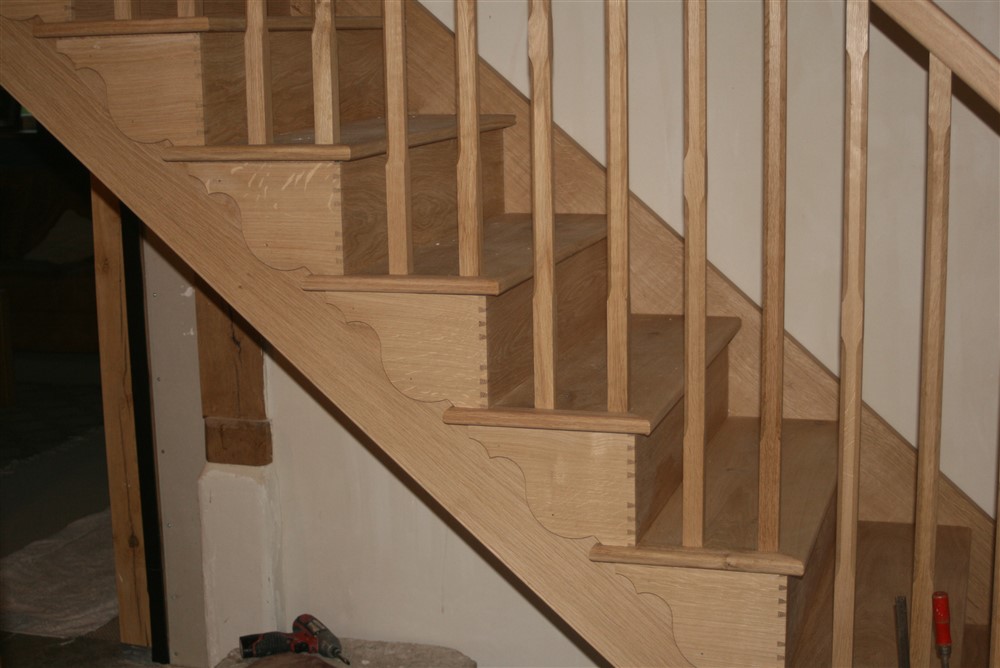
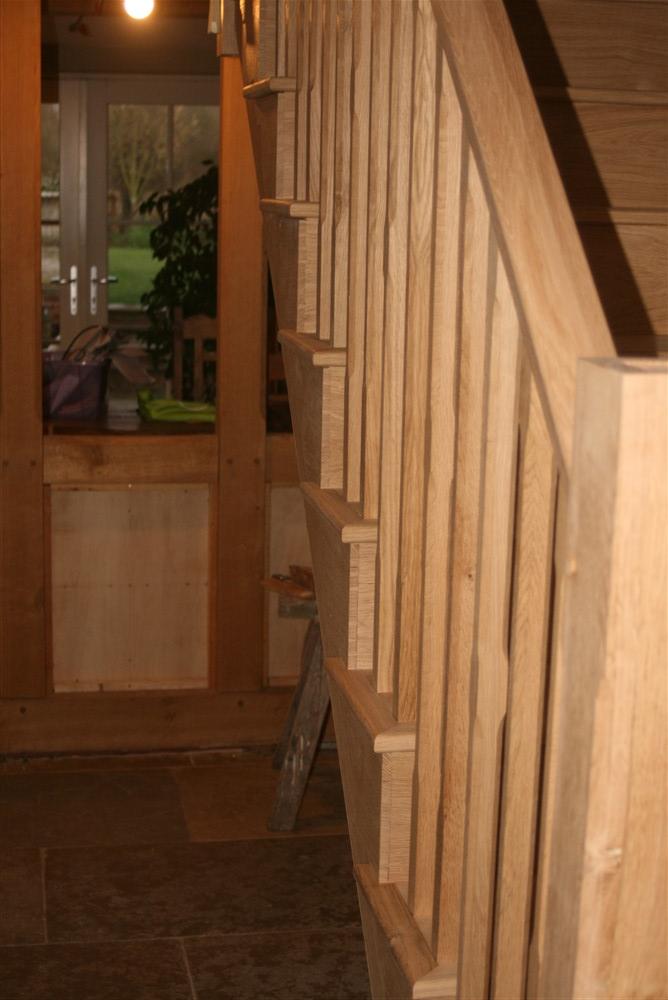
A cut string stair in oak, blow by blow.

UKworkshop.co.uk

Help Support UKworkshop.co.uk:

This site may earn a commission from merchant affiliate links, including eBay, Amazon, and others.
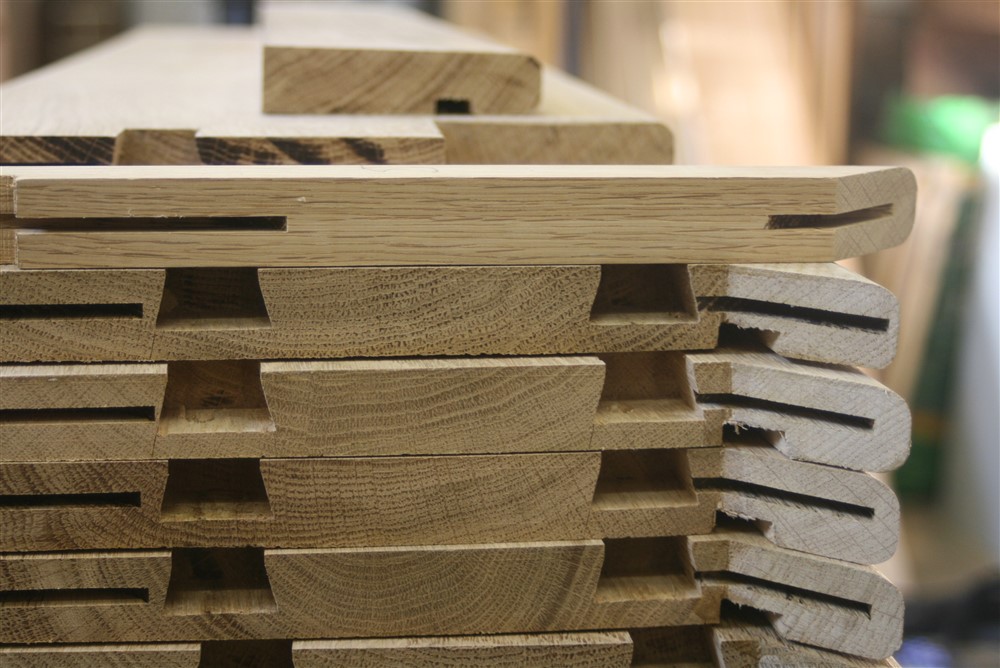
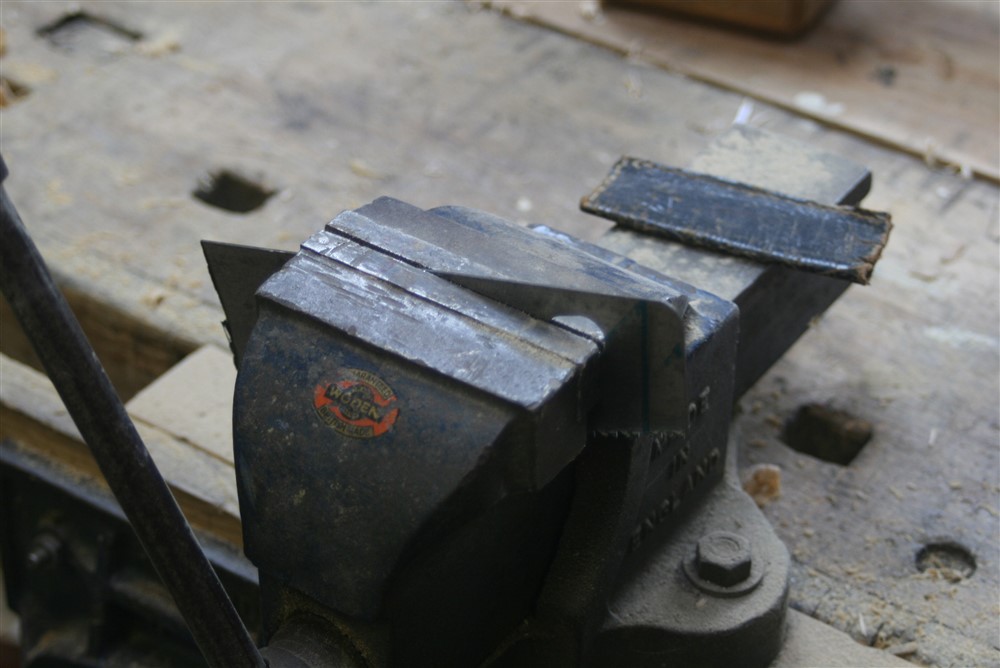
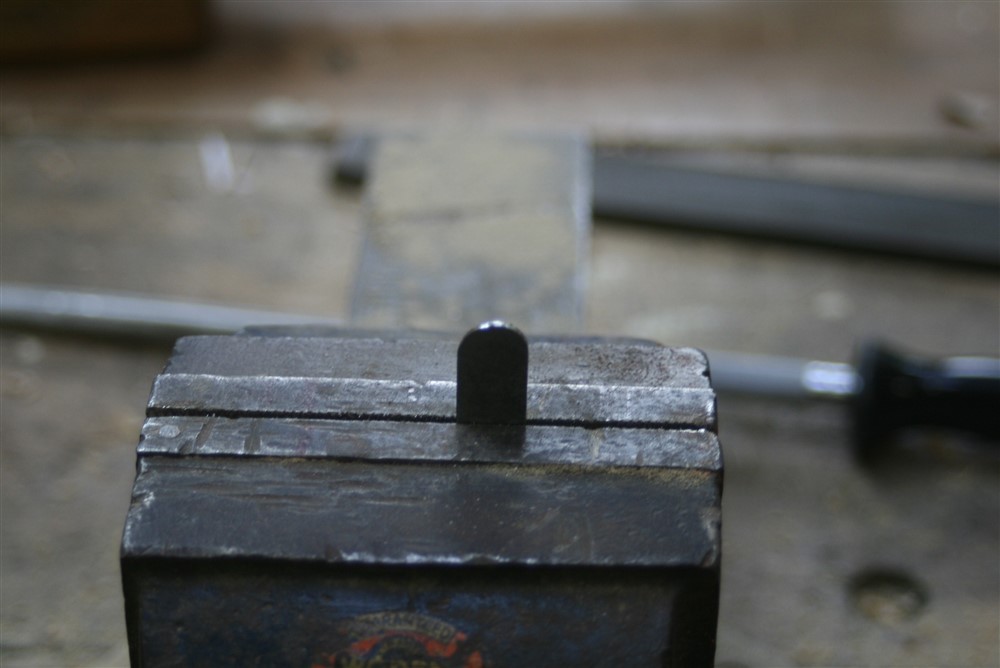
My first job on resumption was to cut up an old saw plate and make a mini scraper to clean up the burnt bits in the end of the cove cuts:
UFy8NY4.jpg


gGY4DRF.jpg


DCRyVgg.jpg


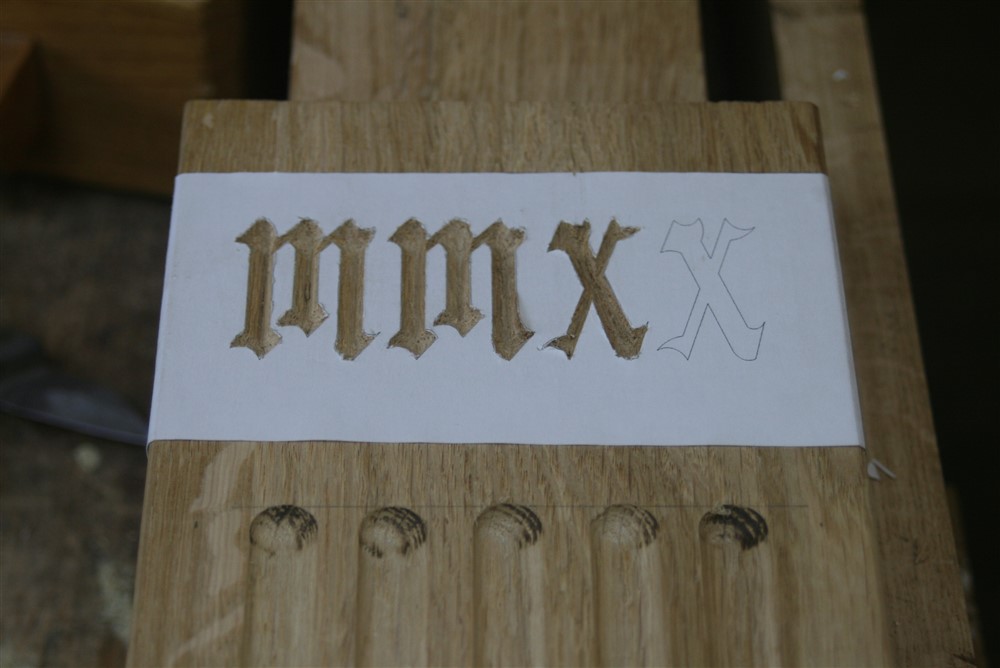
Contrast that with how it was previously:
WGMrEdn.jpg


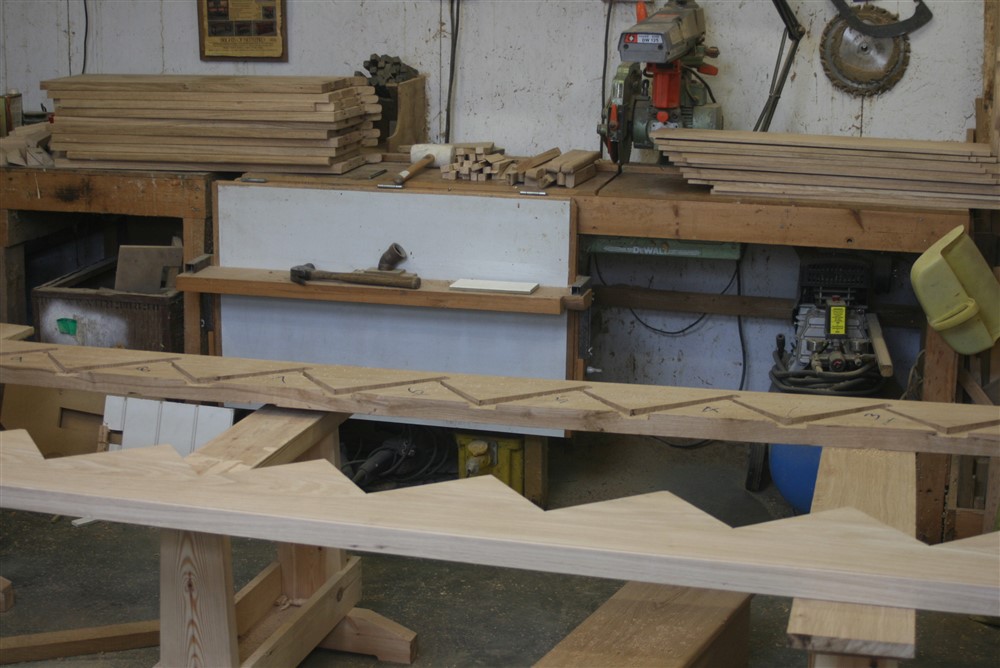
Next, I took everything apart and did a final sand and clean up:
bhrWInr.jpg


I put a bead on the under edge of the cut string:
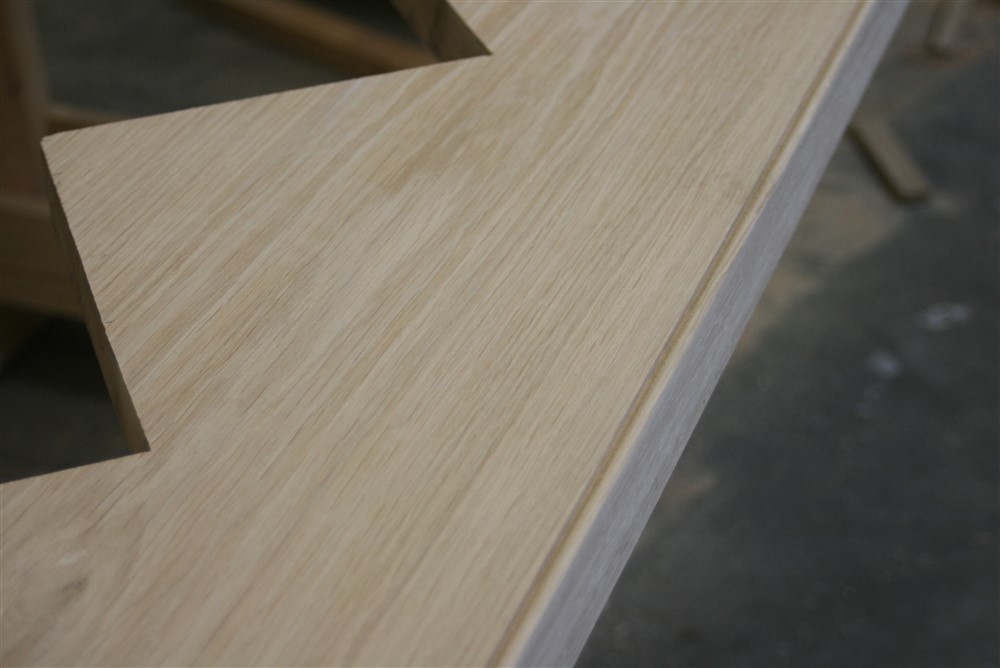
ZNvE4vN.jpg


and made a rough template of the area on the string that is going to be covered by brackets and the step end piece:
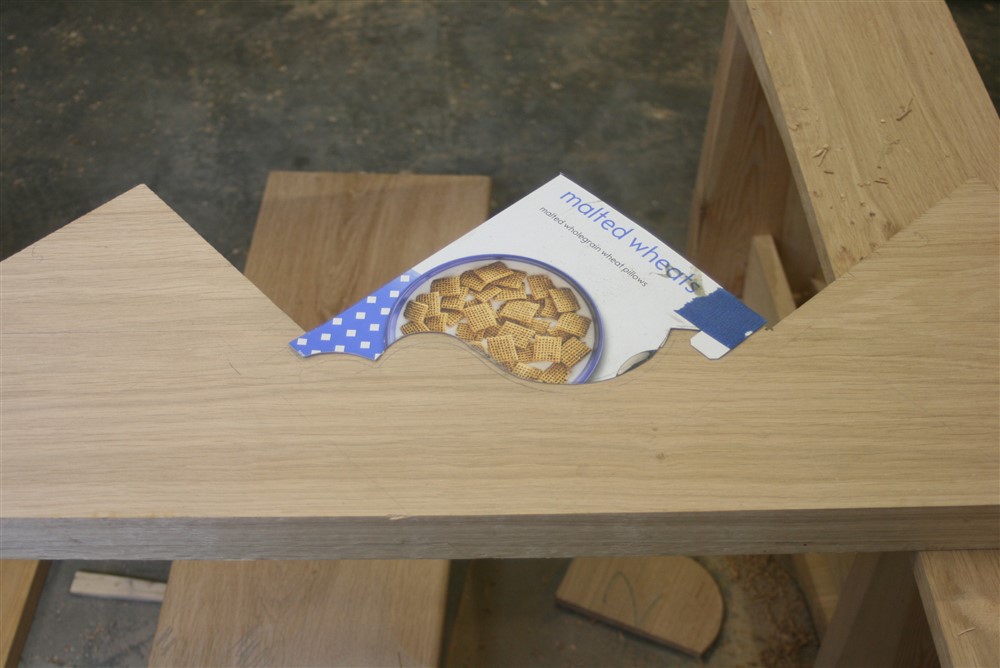
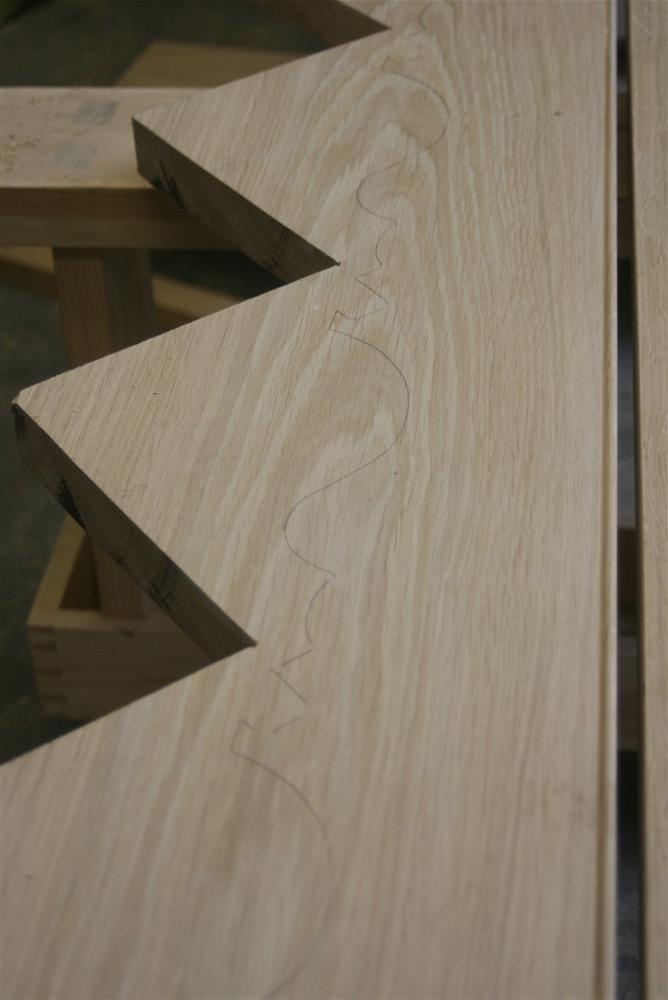
a0JbQIG.jpg


84xIonz.jpg


That's the area where I won't be putting a coat of finish. I'll be doing a coat prior to reassembling.

Here I am transferring the balluster locations to the handrail. I actually only did this for 3 ballusters, and calculated the spacing for the rest:
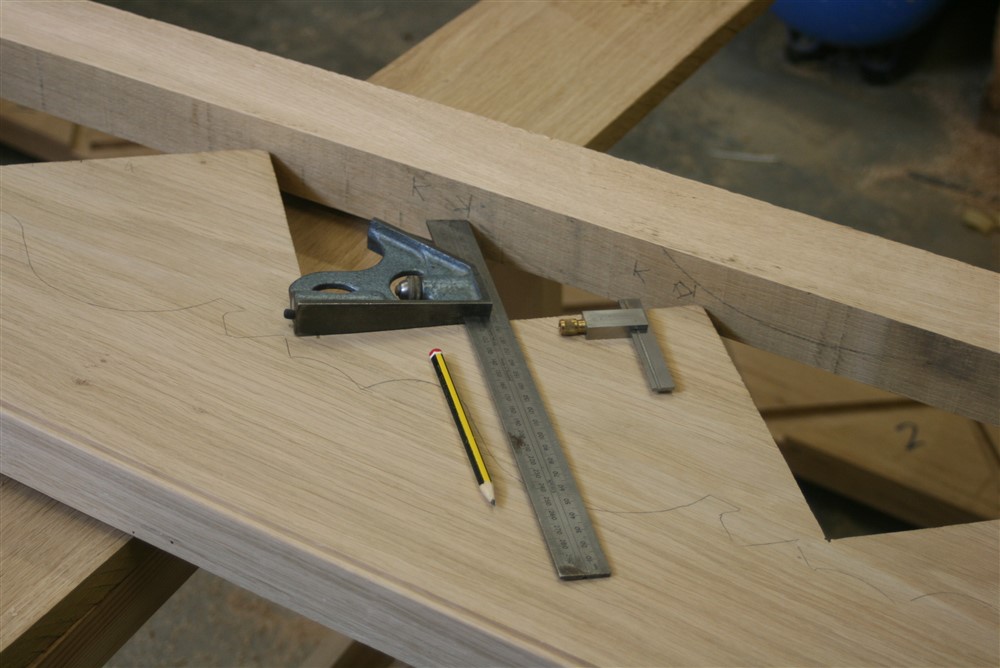
WMzIpS0.jpg


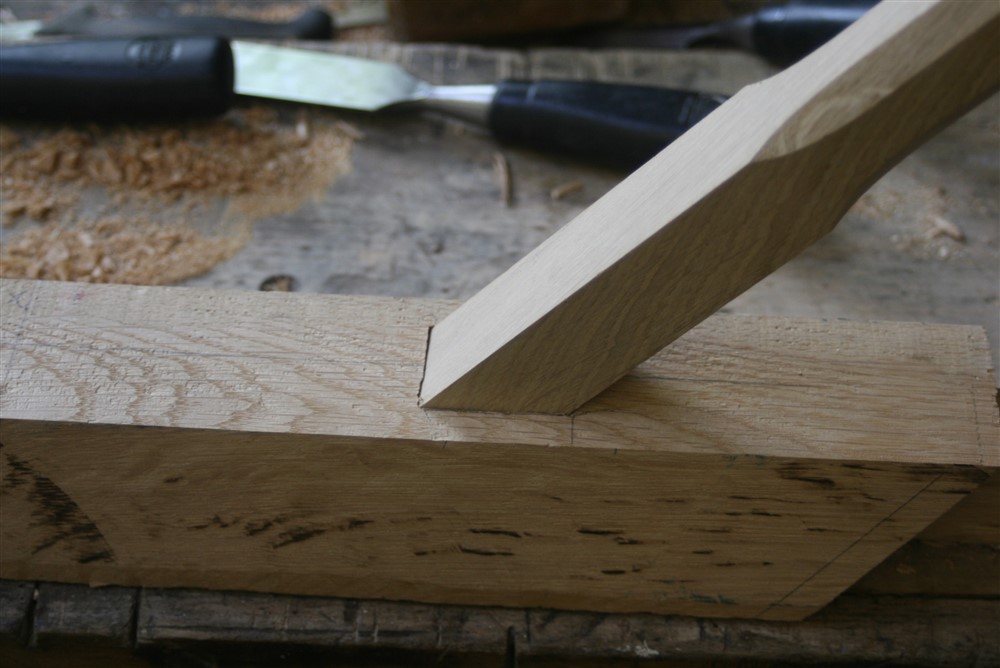
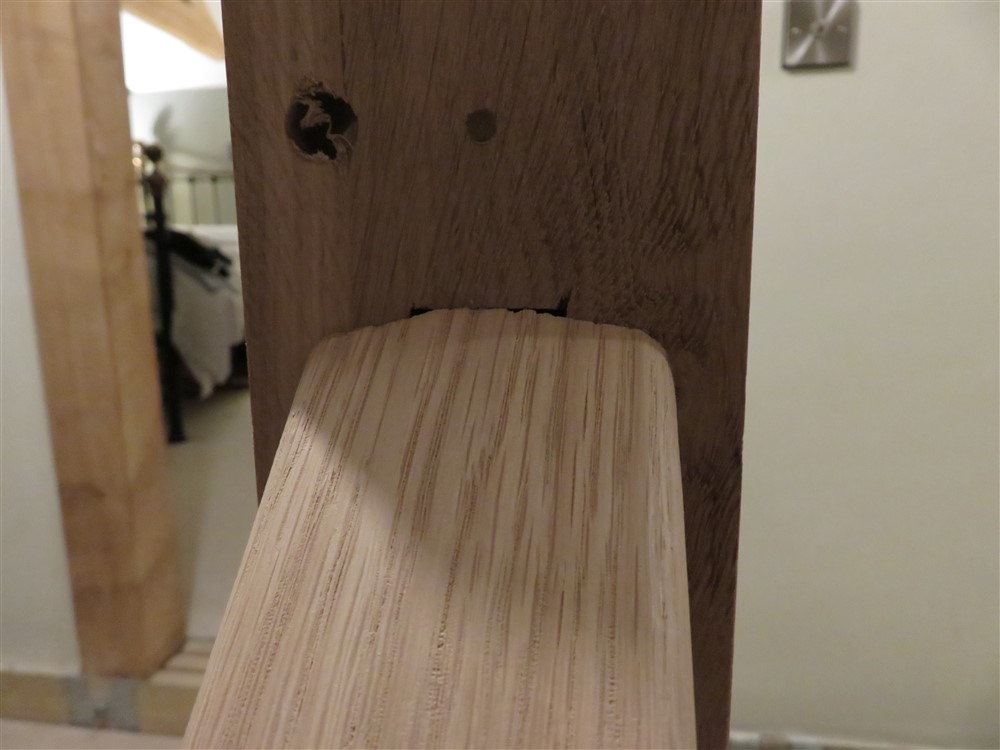
I messed about with the handrail joints for ages. Probably hours. I seldom get aggravated with woodwork, but this just didn't seem to cooperate at all, and the rail went in and out of place 5 or 6 times, which isn't an easy process in itself:
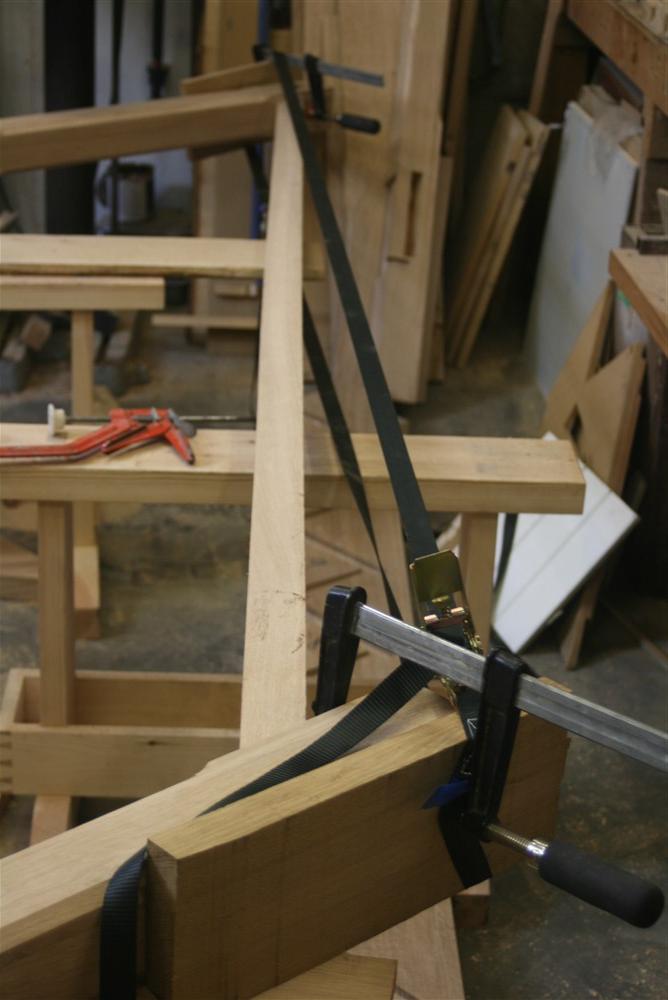
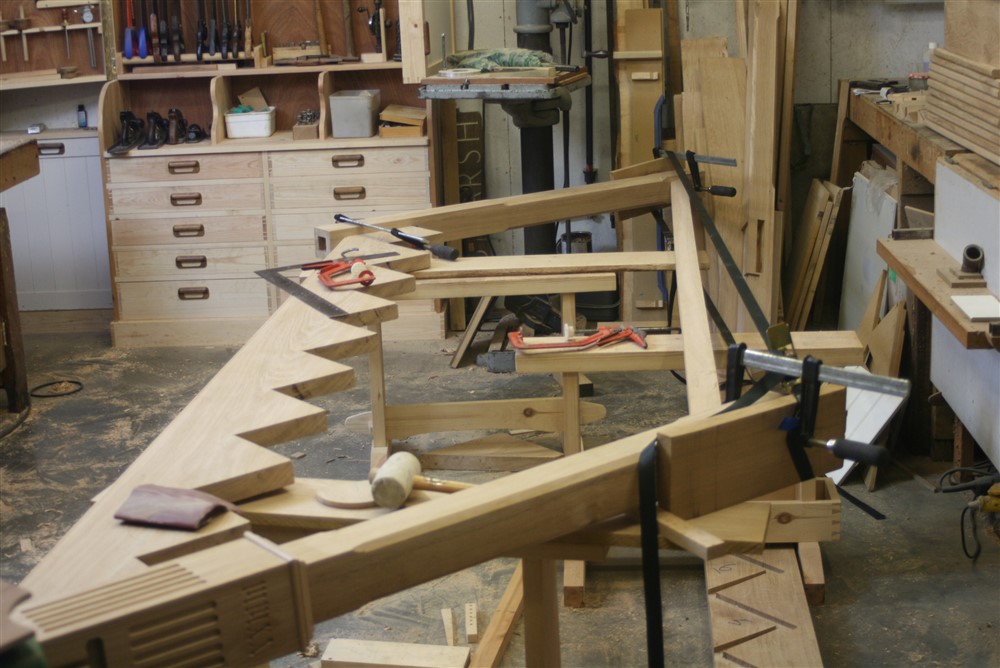
p4EcqI3.jpg


VJ140lU.jpg


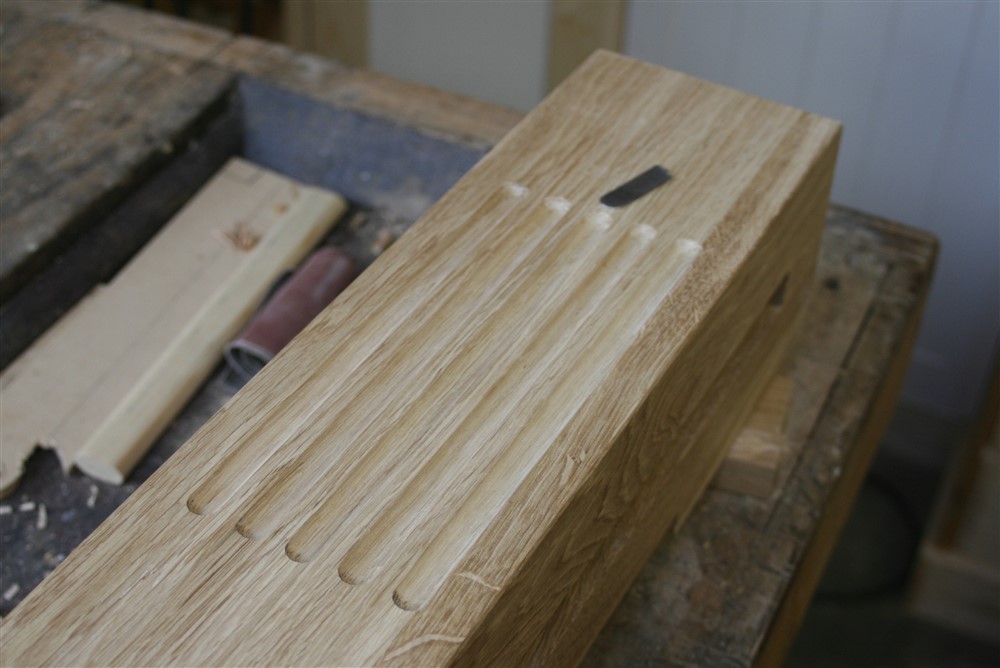
Having finally sorted the joints out, I could get on and chop out the mortises for the ballusters. I had decided to do it this way when I looked at a friend's staircase last week, and thought a wonderful stair had been spoiled by shoddy infill work between the ballusters under the handrail. I couldn't think of a good way of getting that detail absolutely spot on, so decided to do individual mortises instead. The implications of that decision took a while to sink in........
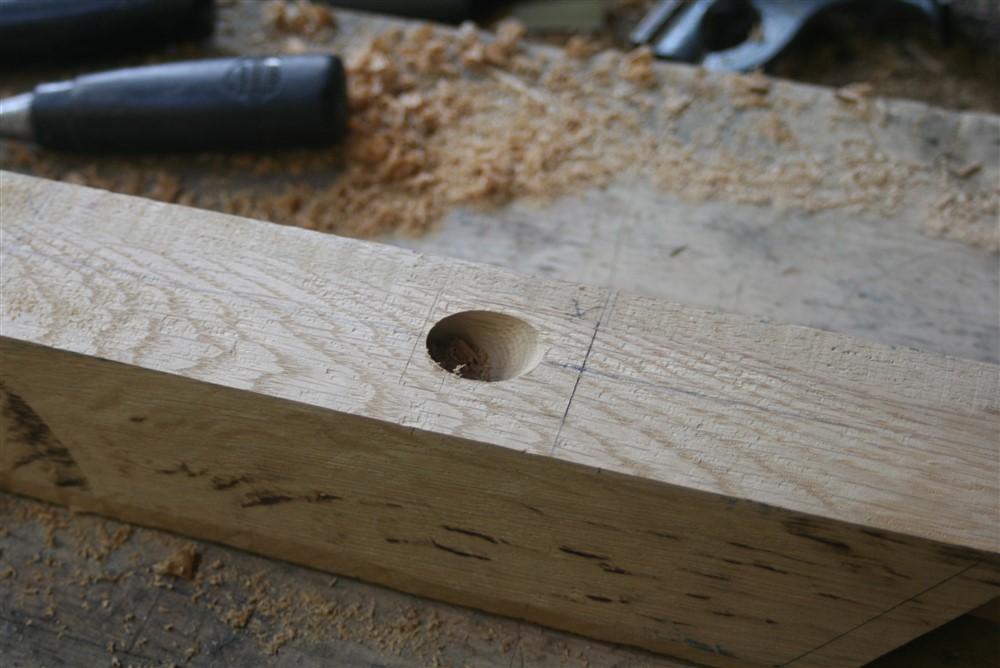
r4LF2t4.jpg


Obviously, the mortise is at an angle. Here is my little checking jig:
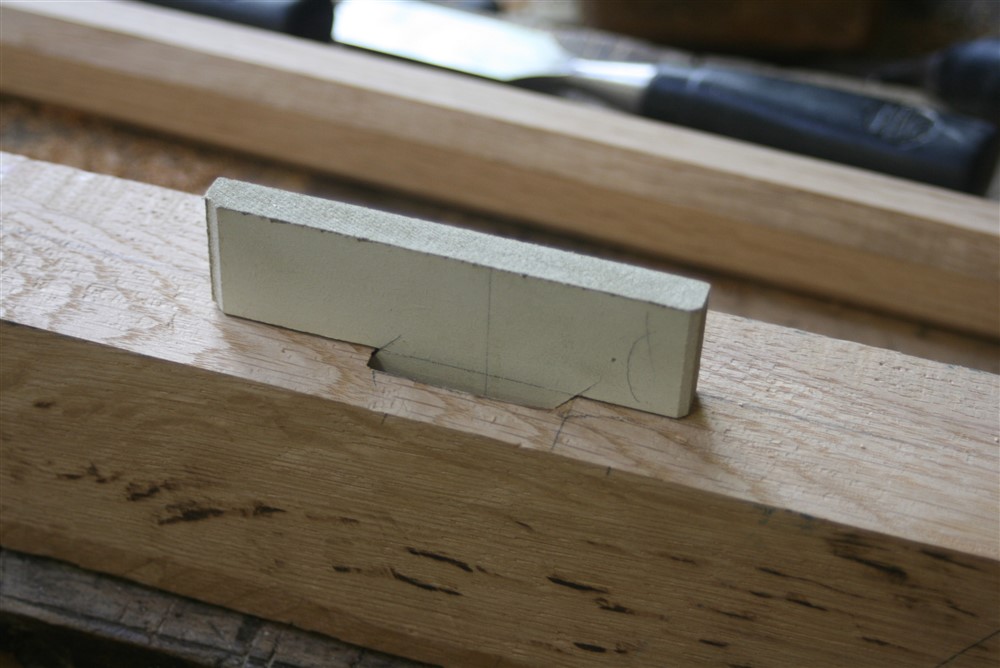
MfVkYHg.jpg


FgCwOaa.jpg


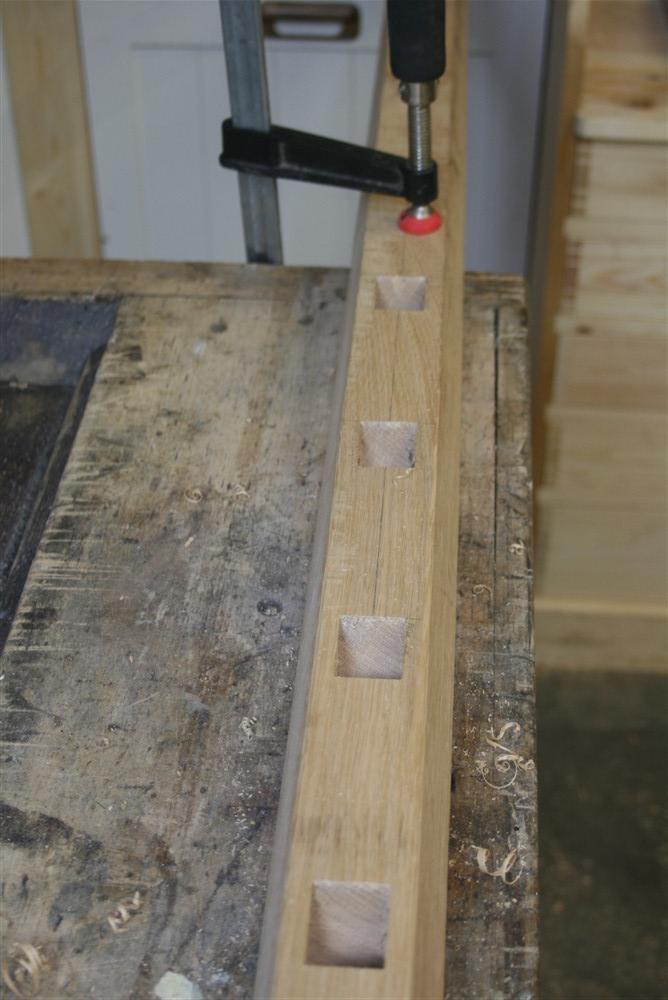
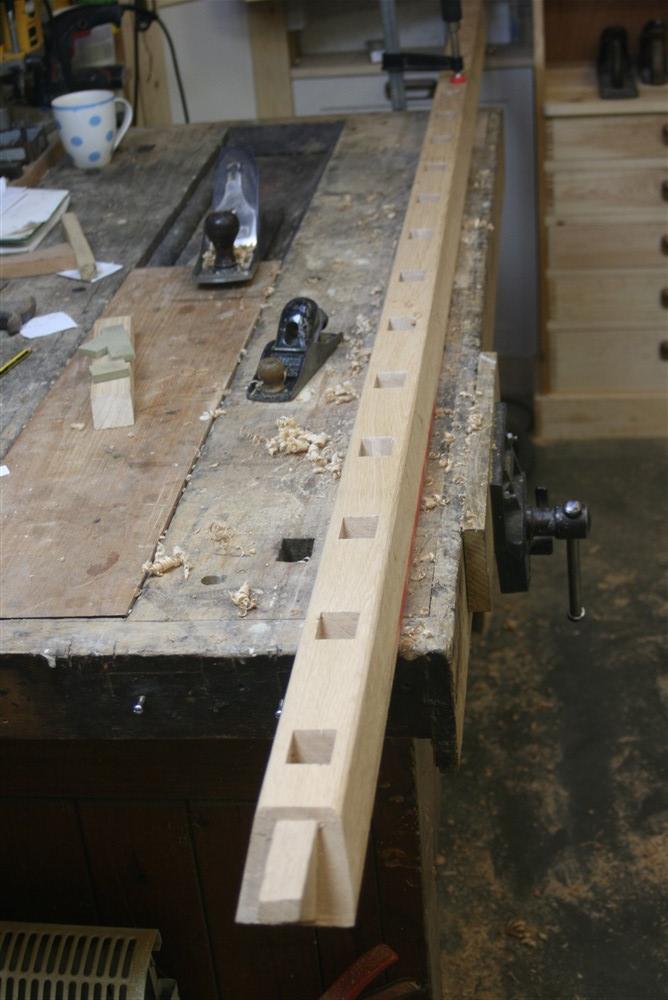
I made a setting out jig, a chiseling jig, and a checking jig. The first mortise took me an hour. There were 19 altogether:
IVsMi9H.jpg


wWil6wJ.jpg


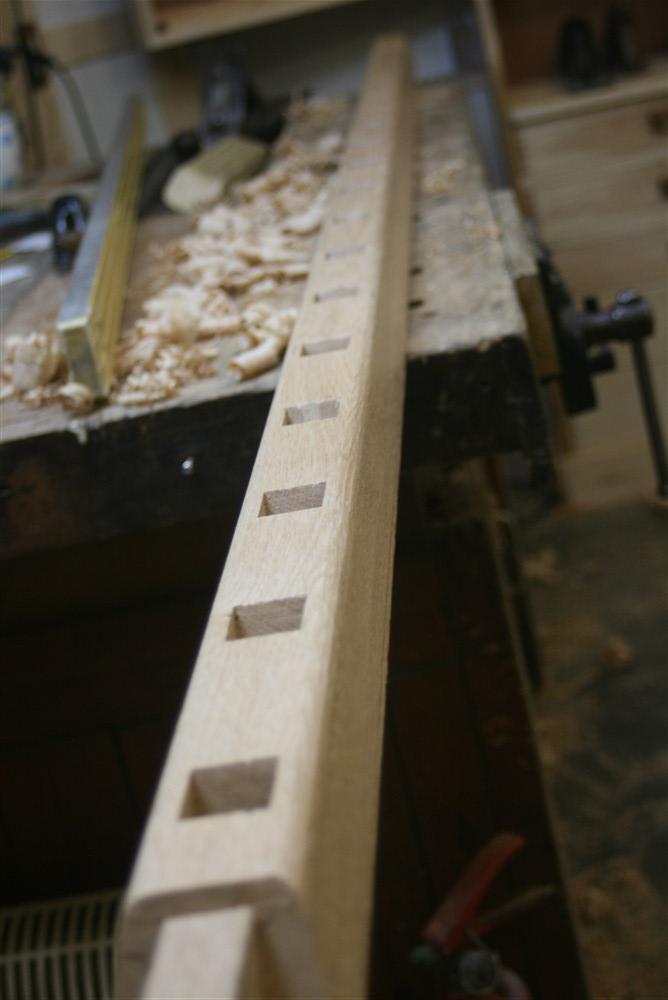
All told, I was chiseling for nearly 5 hours. Five bloody hours!!

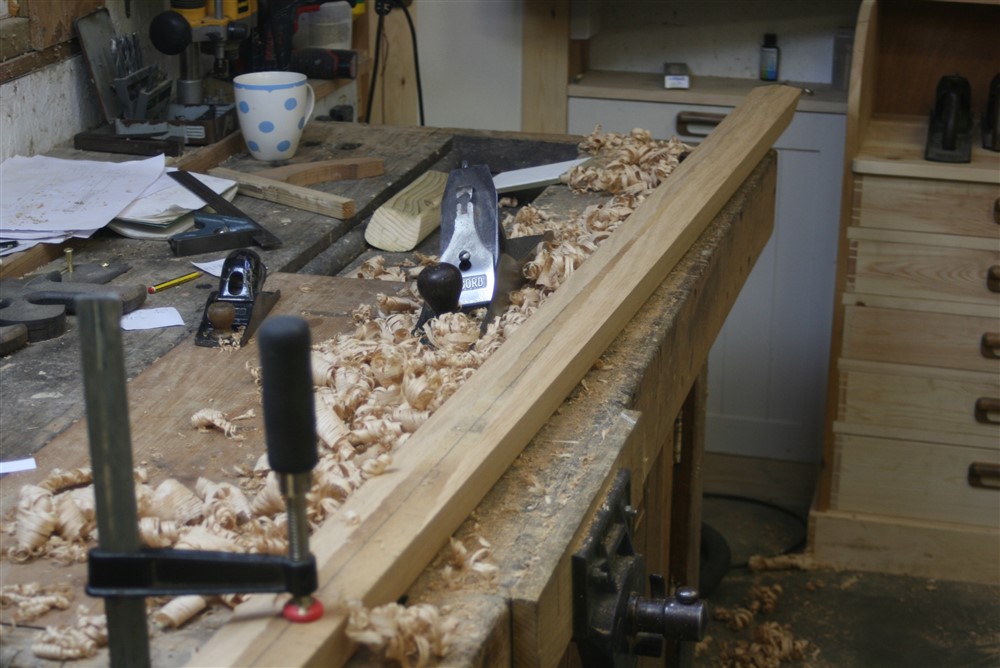
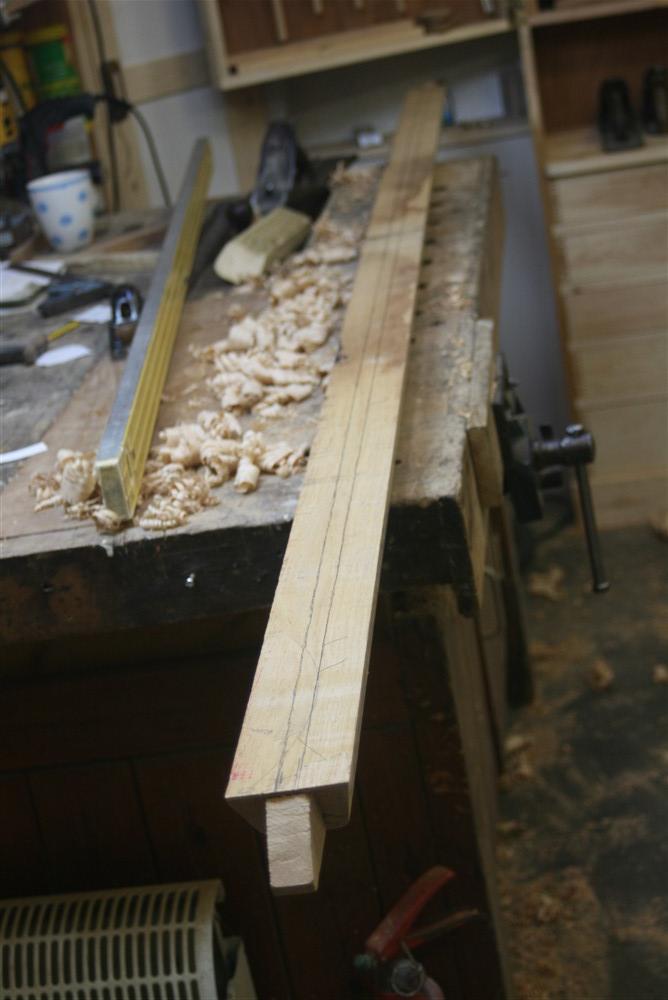
It was such a relief to finally finish and to be able to start planing a shape into the handrail:
ZrxFOsn.jpg


4iglrmG.jpg


6DWcjY4.jpg


As it happens, I finished that and brought it in to the house for my wife to try out. She's happy.
 
MikeG.":3d9pu47b said:
All told, I was chiseling for nearly 5 hours. Five bloody hours!!

That's why no one mortices the handrails and strings anymore! :lol: Unless you've got a tiltable bed morticer it's pretty much the most time-consuming way you could do it.

What was shoddy about your mate's staircase infill, Mike? Was it gappy on the corners of the spindles where they might have rounded off the sharp edges of them before fitting or was it something different?
 
The infills didn't sit flush with the surrounding handrail. They sat about a mm proud. Given that some of them are at eye level as you walk alongside the stair, you'd want to do better than that. You can't plane them to get them absolutely spot on. The one thing I struggle with in my workshop are big rebates as I don't have a spindle moulder or table saw, so running this groove nicely, believe it or not, would have been a challenge, particularly as I had already sloped the sides of the rail. Minor aside, but, nailing the pins home to hold infill pieces can be a pain because you are hammering upwards against a bouncy handrail.
 
Ah yes, I make mine 2-3mm or so proud and have a small chamfer on either side of infill strip because there’s just no way of hiding it. I’ll take a photo next time.

As you say though, since you don’t have kit to do that kind of groove it probably would’ve taken the same amount of time to do the groove and cut in the infills accurately as it did to mortice them. It’s still a higher class of work to mortice the spindles though!
 
I really appreciate the fact that your eye for detail had you chopping mortises for five hours. It shows true pride in your work and it is something that we should consider more often. Obviously people look for more efficient ways to do things once they have been created. But it doesn't mean that one size fits all. The finished piece being fit for purpose and a thing of beauty is why you started in the first place. Who is arranging the coach trip for us all to come see this stair when it is finally finished?
 
Gerard Scanlan":1k32l9jo said:
......... Who is arranging the coach trip for us all to come see this stair when it is finally finished?

Finished? What a strange concept. :lol: :lol: I've just finished fitting the stairs, and although knackered, all went extremely well. I'll post some photos tomorrow. And as for coach parties........you're more than welcome. I have cake. Lots of cake.
 
MikeG.":1rtq178u said:
Gerard Scanlan":1rtq178u said:
......... Who is arranging the coach trip for us all to come see this stair when it is finally finished?

Finished? What a strange concept. :lol: :lol: I've just finished fitting the stairs, and although knackered, all went extremely well. I'll post some photos tomorrow. And as for coach parties........you're more than welcome. I have cake. Lots of cake.

Make sure there's a large trailer on the bus as I've heard there are a few bits of bog oak around there somewhere. :wink:
 
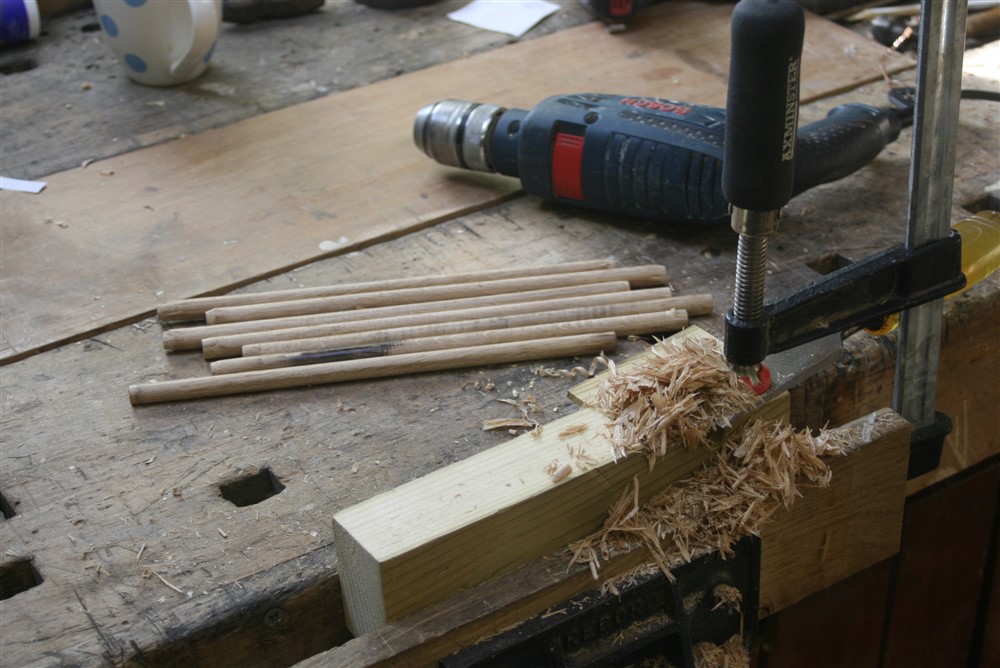
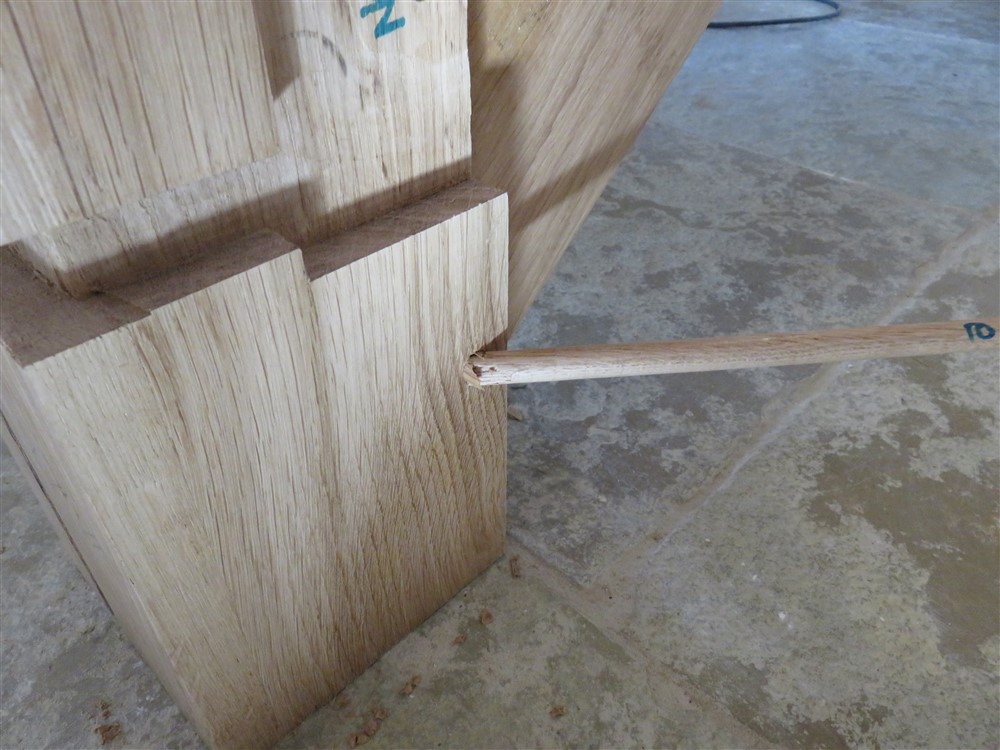
Final preparations for fitting the stairs included drilling for the draw-bore pegging, and making the dowels. I made a quick (10 minutes) dowel making jig with a chisel and a hole-in/ hole-out. This was just a proof of principle go in a piece of scrap, but it worked so well that I just went ahead and made the dowels (10mm diameter):

2So9zSG.jpg


I also routed some slots in the ends of the stairs and in the stair-end cap thingies for floating tongues:

jordEsD.jpg


I put a first coat of lacquer on the stair components so that glue squeeze out could be cleaned up nicely:

RG9PhJQ.jpg


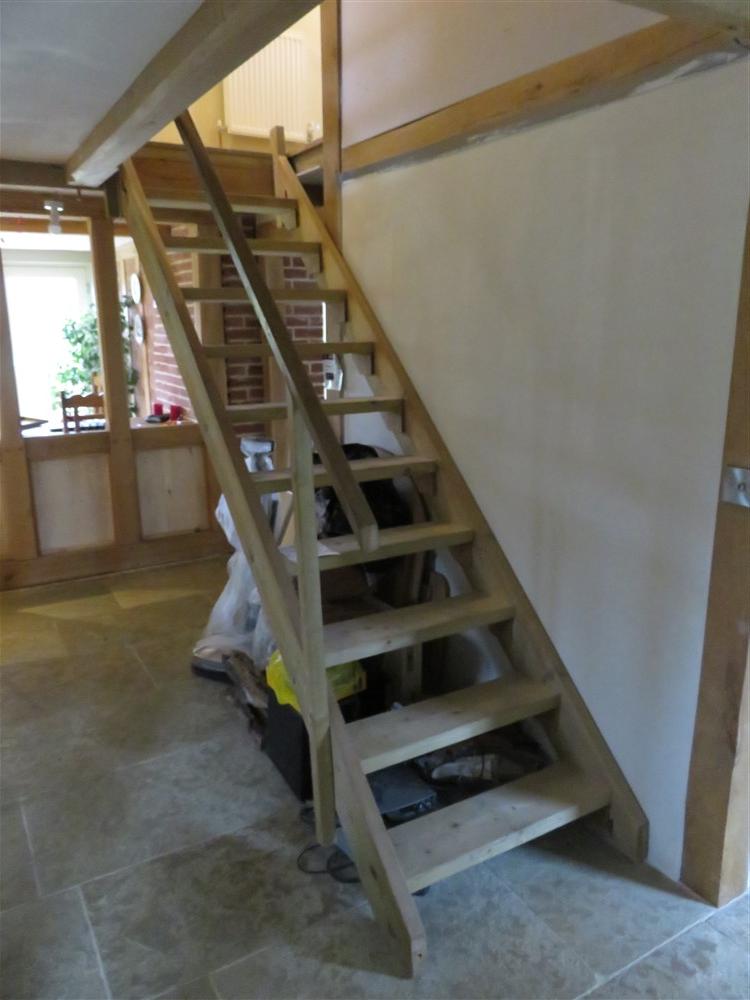
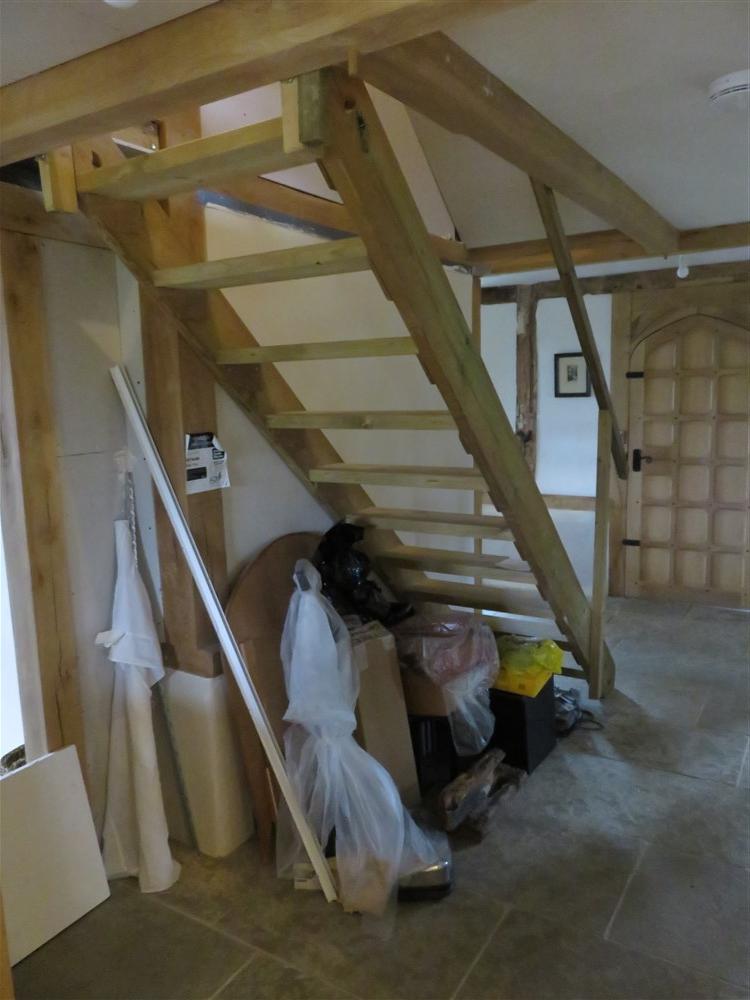
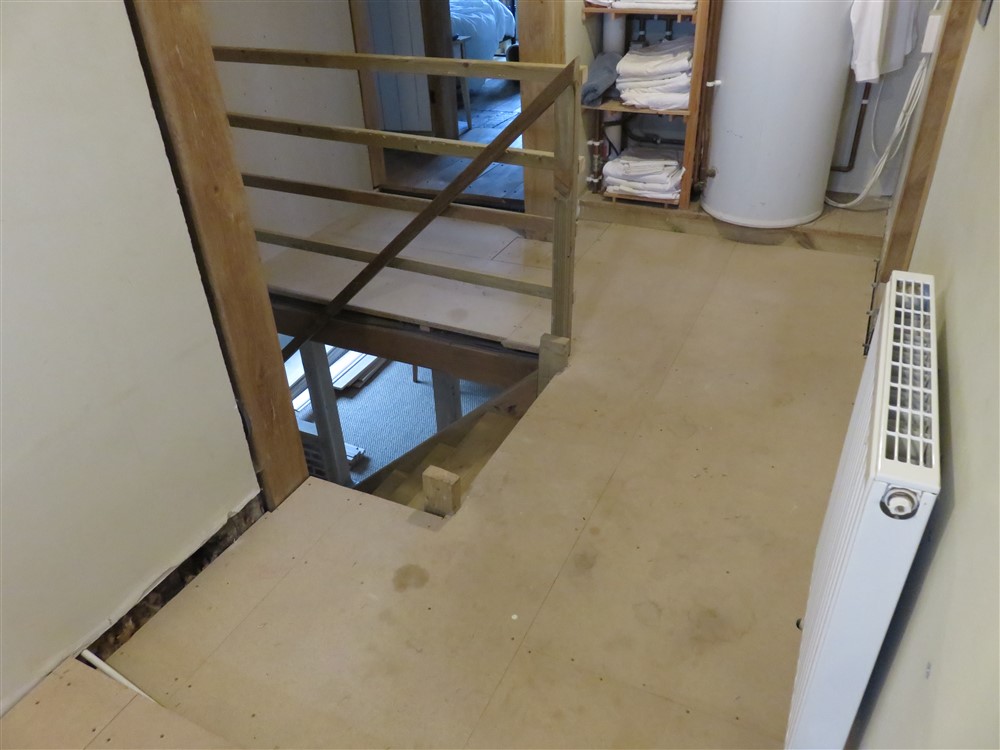
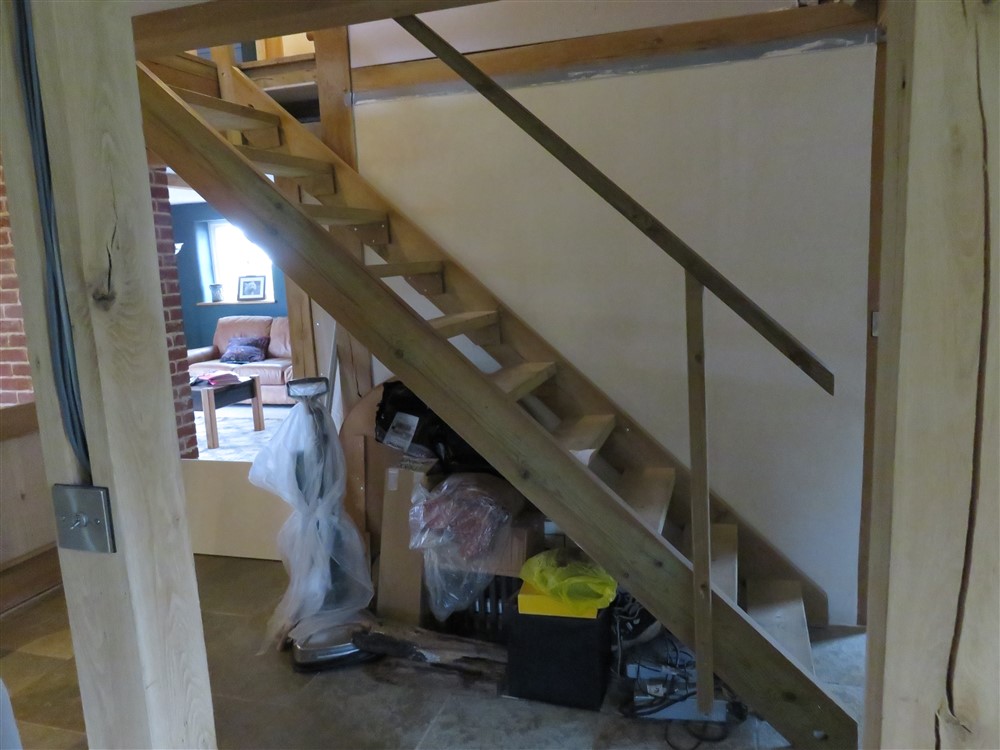
Here are a whole lot of "before" photos of the stair we have lived with for the last few years:

3MPq6Ow.jpg


q9dQOs6.jpg


ooqEz1A.jpg


KVNCYrE.jpg


yA4evn0.jpg


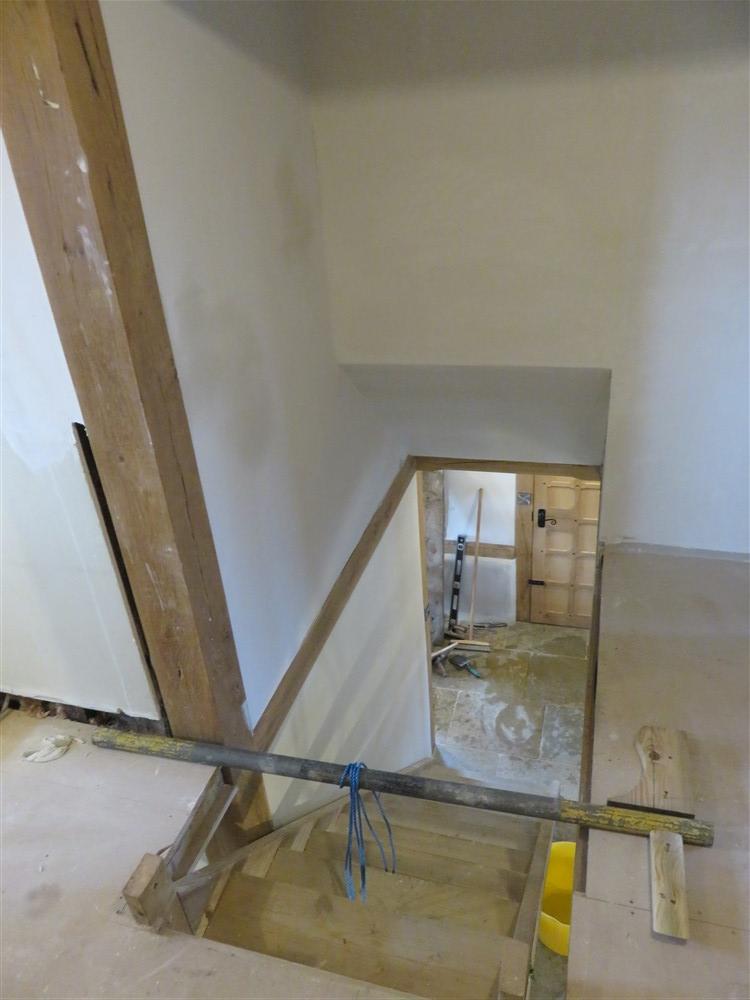
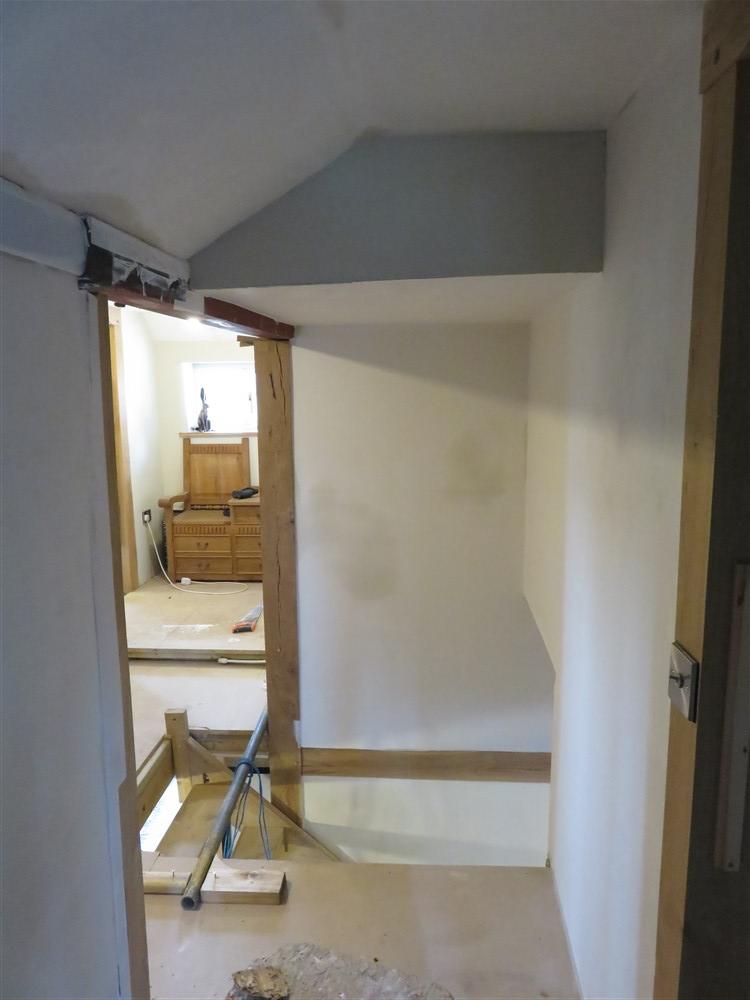
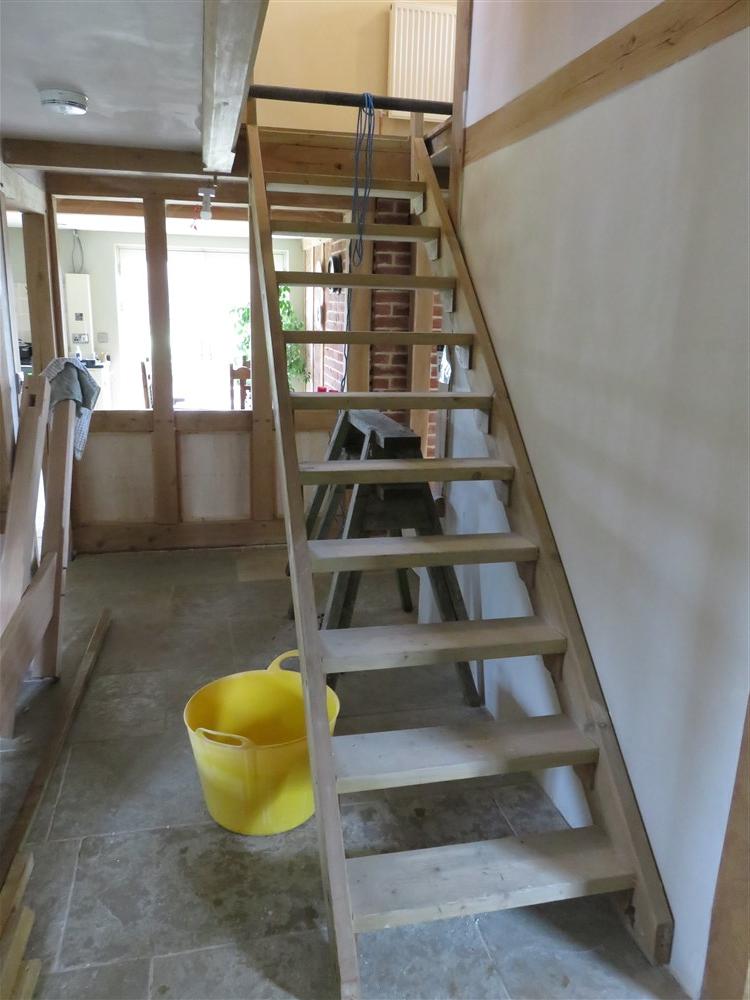
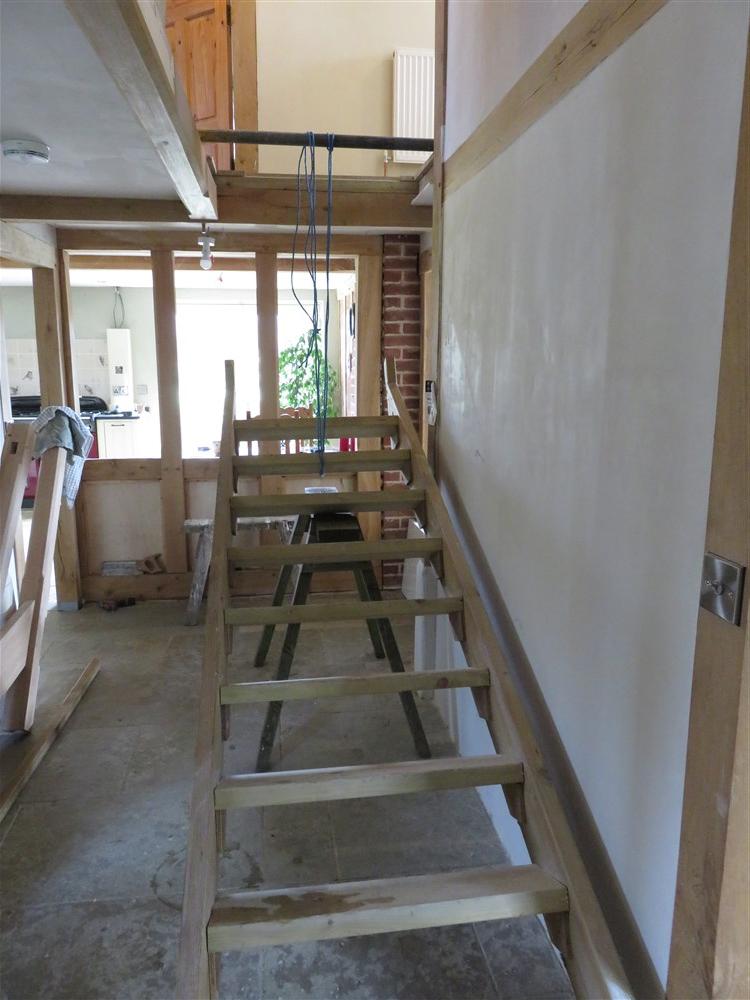
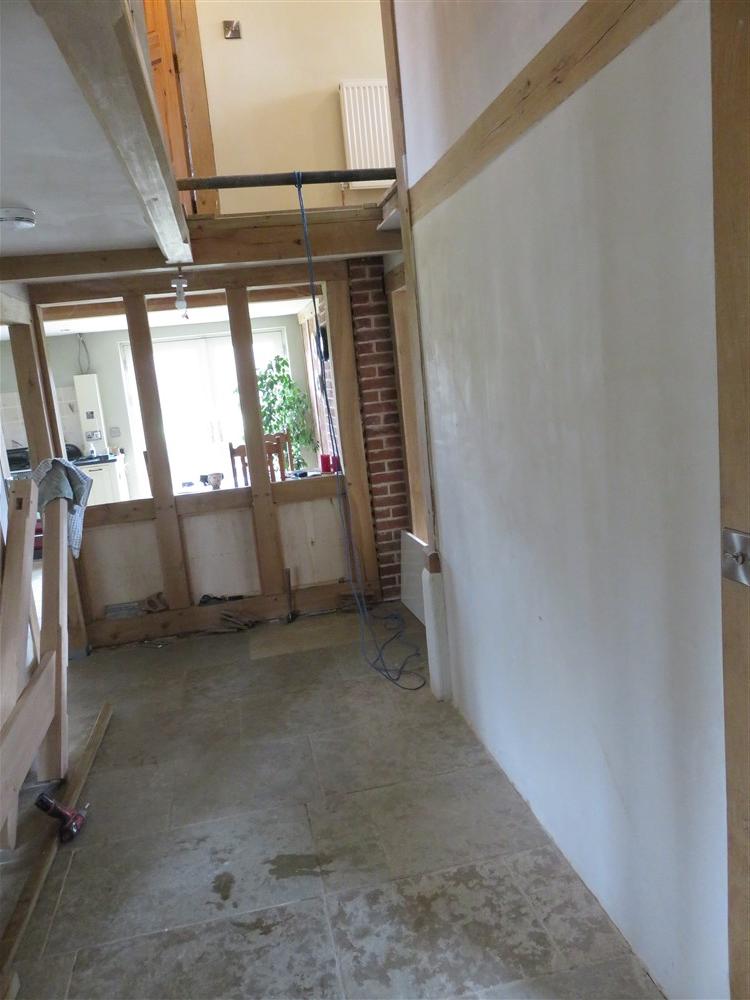
Before I could bring the new stairs in I wanted to plaster all the landing. Plastering is a messy job and it would have ruined the new staircase, so I spent a couple of days going from this:

FJLmSWg.jpg


Sq1XwdU.jpg


48KJwHe.jpg


To this:

uMMPHYm.jpg


O254MSd.jpg


I brought all the bits and pieces in, and glued and pegged the strings and top newels:

CNENOxP.jpg


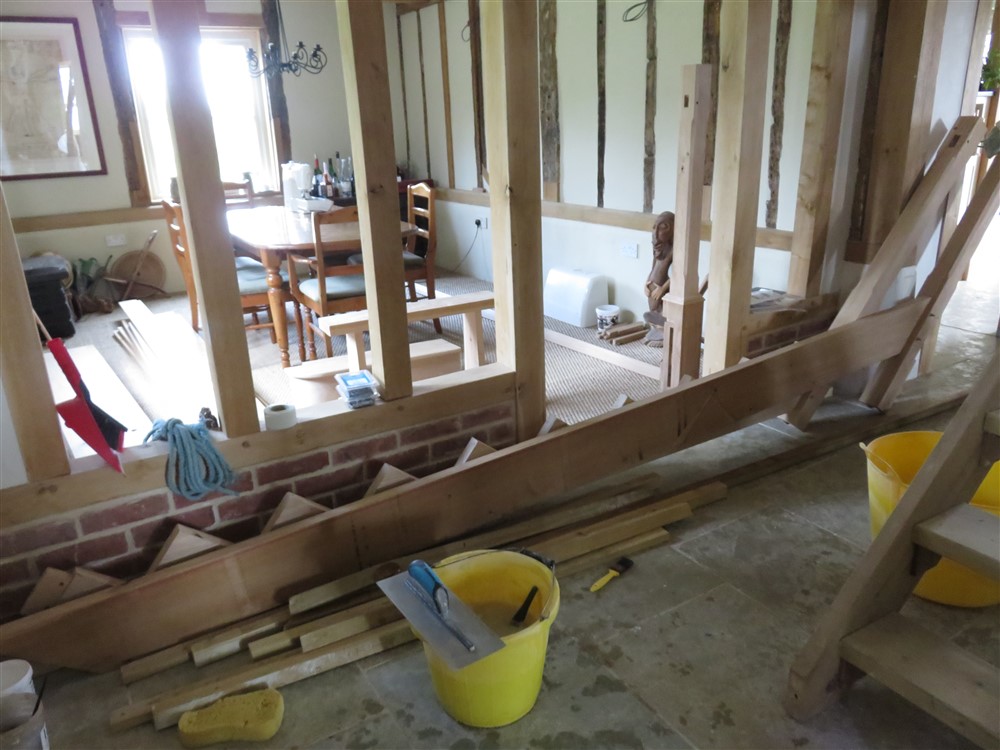
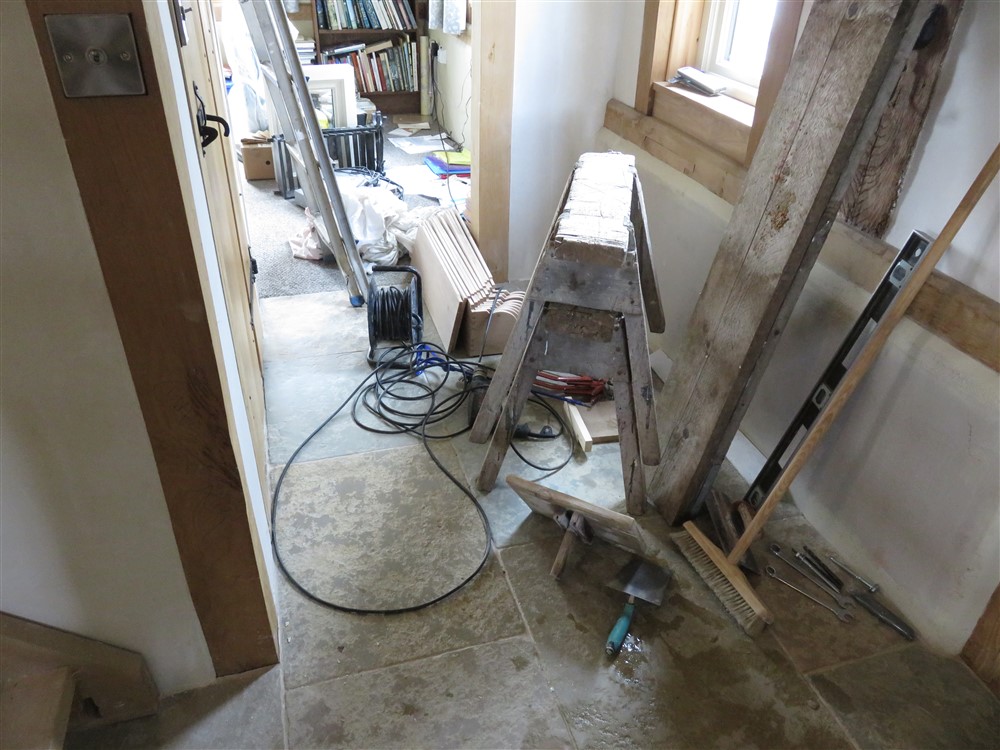
The house quickly turned back into a building site:

X1zIj55.jpg


Time to get rid of the old stairs. I secured a scaffold pole on the first floor and looped a rope around it and the stairs:

OtsymWh.jpg


I positioned one of my tall horses, undid all the securing screws, and pushed the stairs off the trimmer, lowering them safely and gently:

lSPskcs.jpg


wEpD0og.jpg


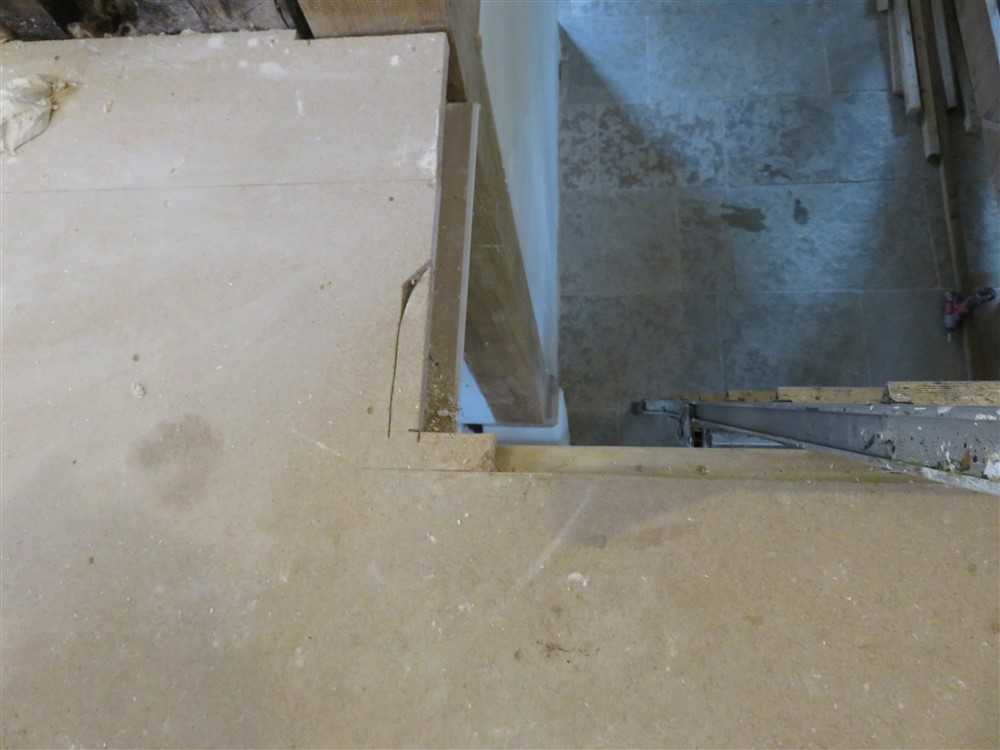
After breaking up the temporary stairs it was time to start work on getting the new ones in. Firstly, on the landing I cut back the flooring to expose the timbers below:

3J4yZat.jpg


ILQMfNr.jpg


RkVcFLh.jpg


I then offered up the wall string to check for fit, and to mark out where the toe end needed cutting to length and for some holes where it could be bolted to structure :

NLdT7VU.jpg


PwTLJva.jpg


pGbeCyI.jpg


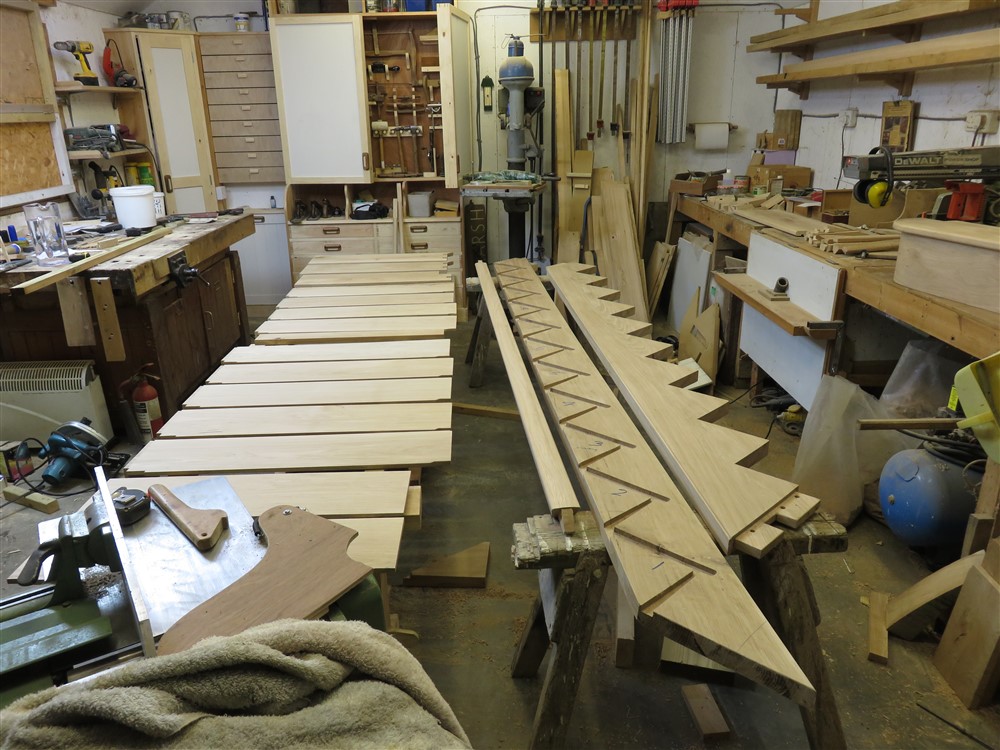
I am taking a very unusual approach. Generally a straight flight stair like this is delivered with the stair fully constructed bar the newels, handrails, ballusters, and and steps which house into the newels. You bring the flight into the vicinity of the stairwell, complete the construction, and then lift the whole thing into place. That can be damned heavy, especially in a solid oak stair like this, and it can take 3 or 4 people to lift it into place. With the luxury of constructing it only 30 or 40 metres from the stairwell, I decided to bring the components in and build the stair in situ.

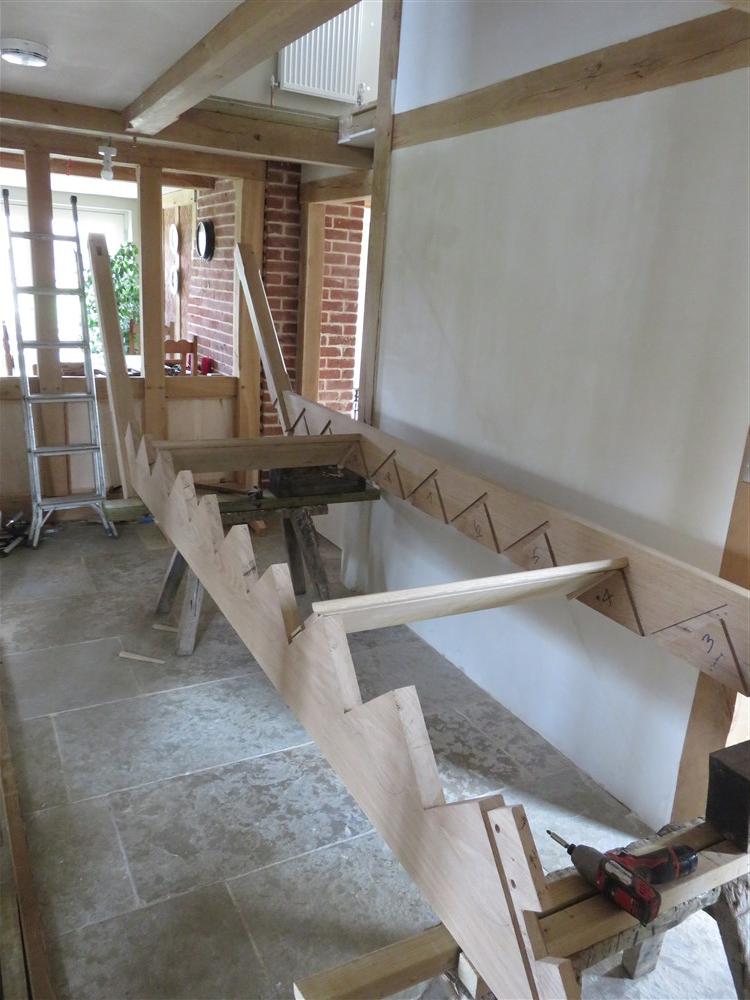
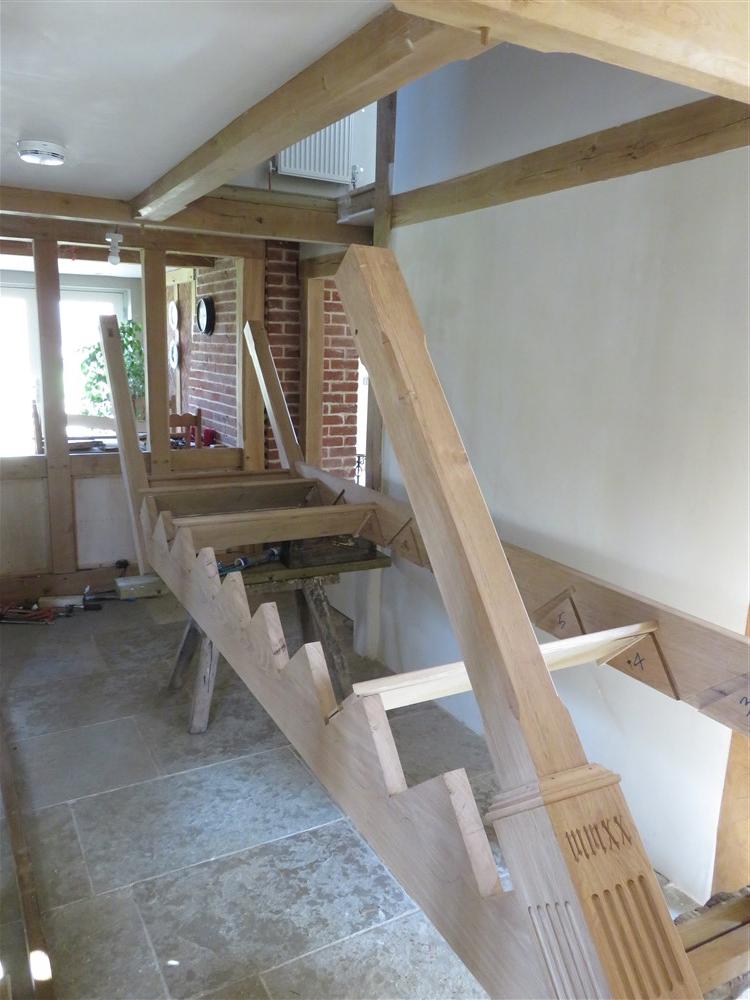
To establish the geometry (ie make sure everything was square) I made up the top couple of steps and temporarily fixed on of the lower ones in place, with the stair lying flat on some horses:

DClCH4d.jpg


The bottom newel is only dry-fitted, with an undersized peg to hold it tight in place:

P6ykRwQ.jpg


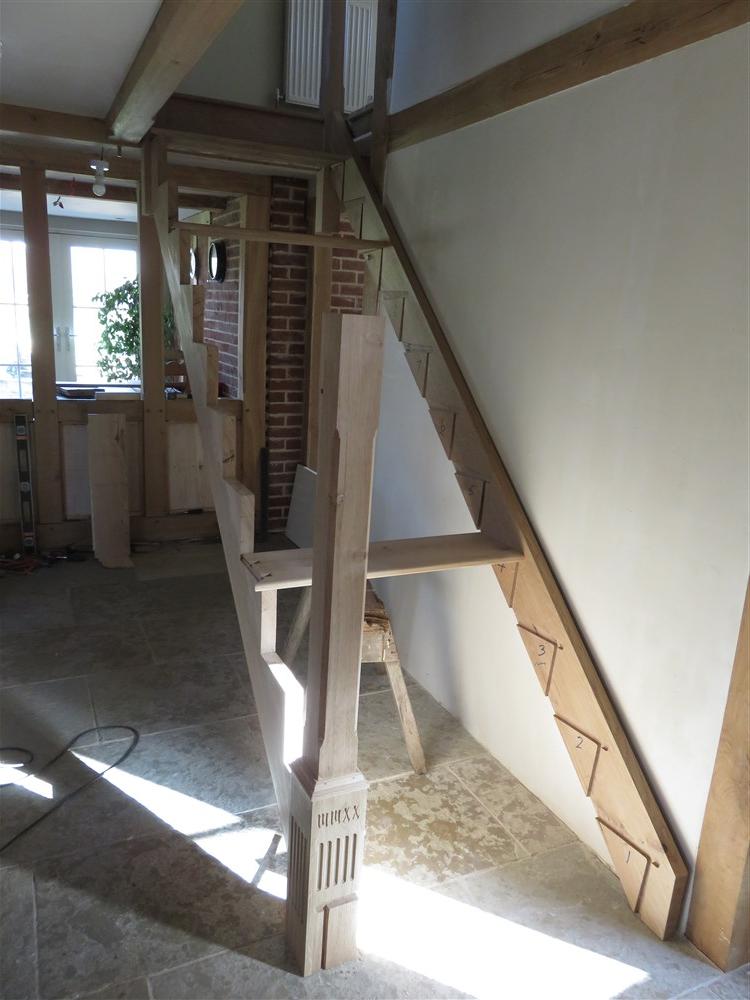
My buddy popped over for half an hour, and we lifted the start of the stair into place:

8kdqO00.jpg


I managed to kick the temporary dowel in the newel post and break it:

XIPsrdH.jpg


But luckily I managed to pull it out. That could have been a horror.

Then it was just a question of gluing and pinning for the next few hours:

QC15FQq.jpg


GPCm936.jpg


jPI4DcB.jpg


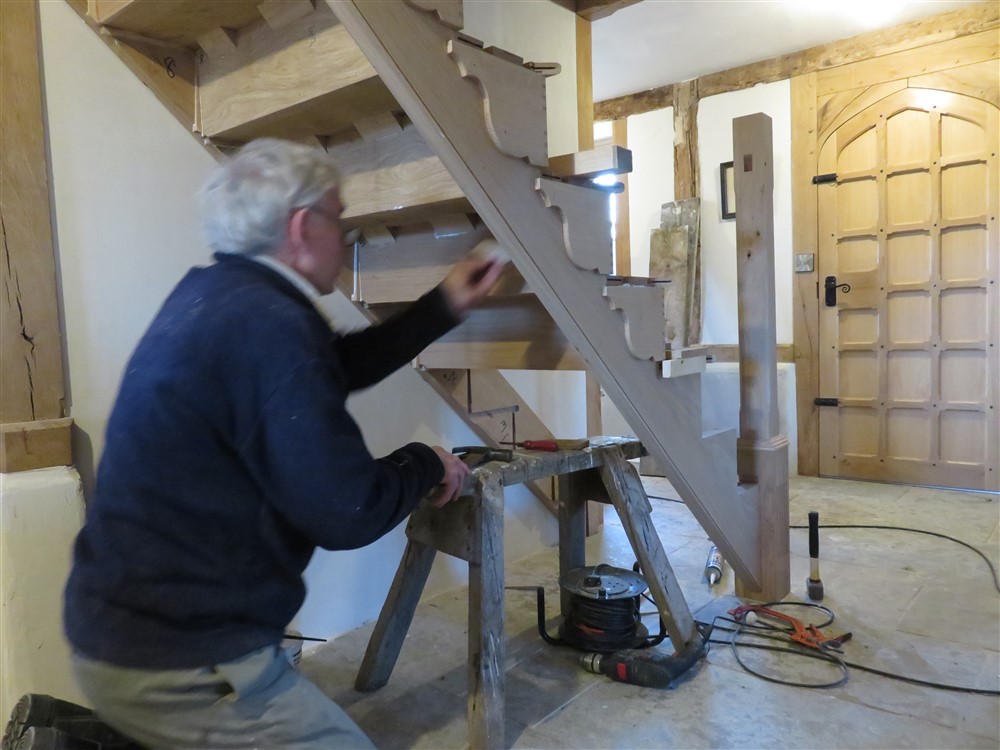
I used a construction adhesive for bedding the treads and risers into and onto the strings. This is to provide a slightly more flexible grip for those parts of the stair where long grain crosses short grain, and where shrinkage might lead to some squeaking. All the wedges and long grain joins were done with PVA. Normally I am pretty conservative with glue, aiming for the minimum squeeze out possible, but putting this lot together was a real fiddle, so I was constantly against the clock with glue going off. There was no time for niceties, and glue was slathered around everywhere. As I was working under the stair most of the time quite a lot of it dripped on me, and I'm still trying to get it out of my hair:

oZuGFUm.jpg


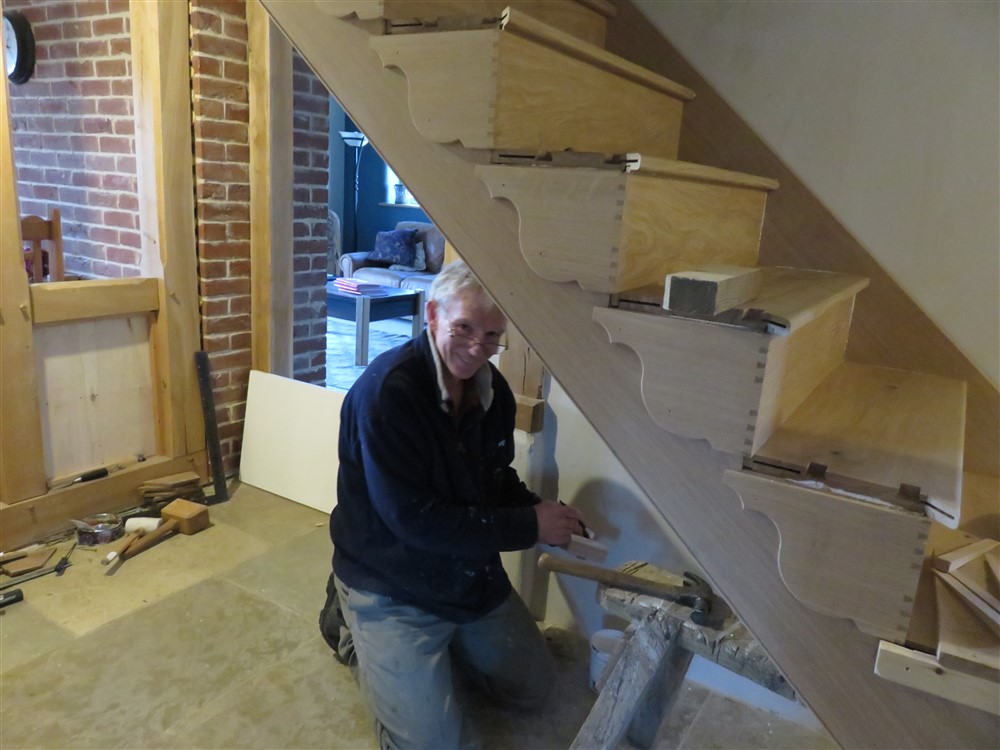
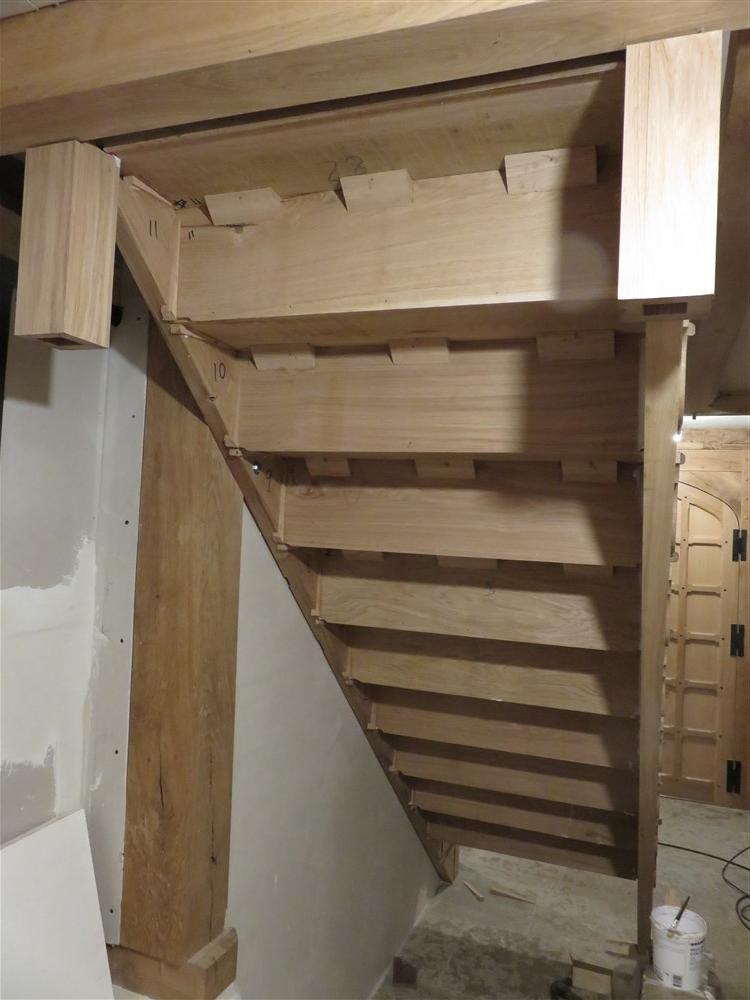
Before the bottom newel could be fitted, I had to put the handrail in. Because the ballusters are dovetailed into the ends of the treads and go into mortises in the rail, they had to be fitted before the handrail, and have the rail lowered onto them:

piVZZe0.jpg


x8Ka8hU.jpg


MvS3Qsm.jpg


XtyRZGp.jpg


Cwi6Yfx.jpg


pjgkB08.jpg


rn66JuK.jpg


aqOFDsC.jpg


Not my finest hour:

seZECLC.jpg


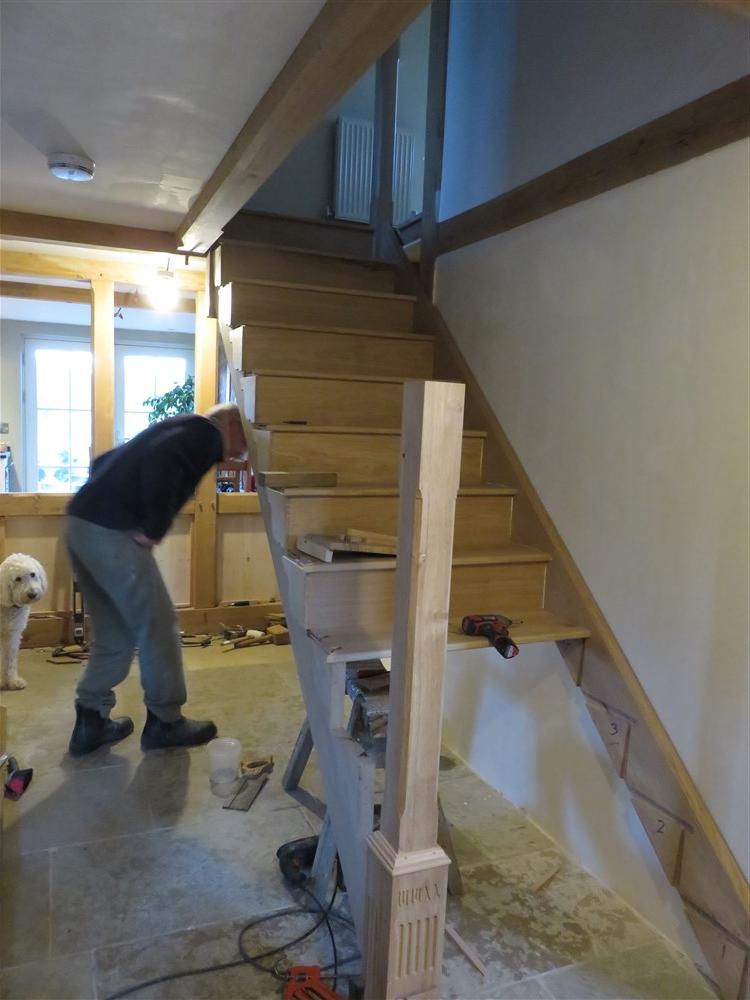
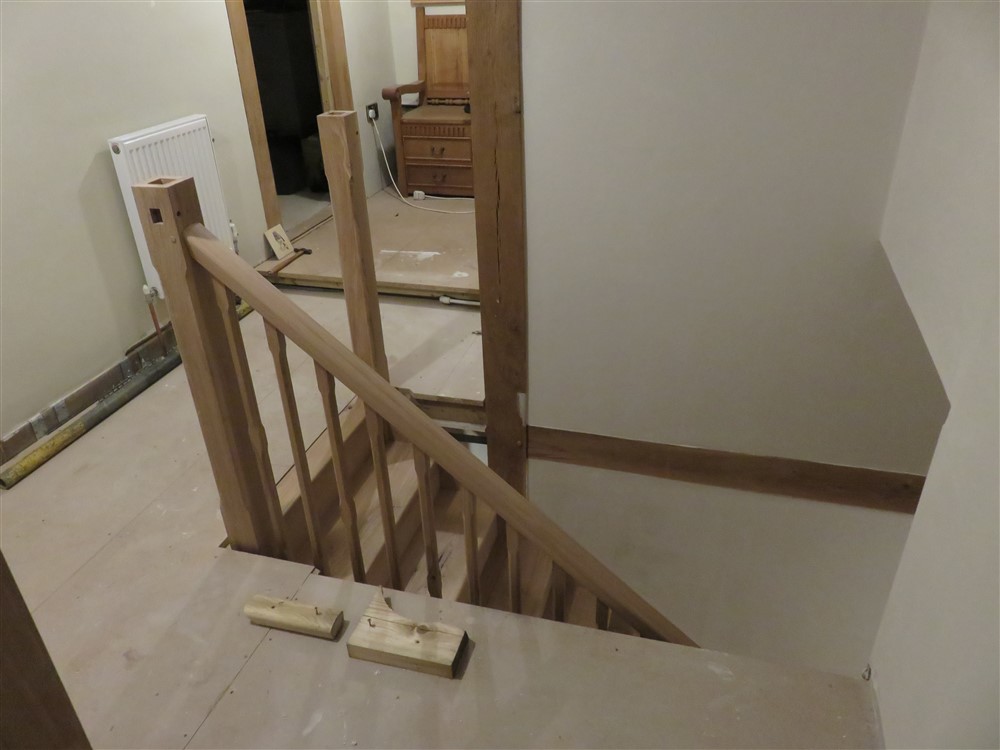
There's more to do, with the tread-end bits to fit, the landing rails and aprons to do, newel caps to make and fit (there's even some turning to do!!), and an understairs cupboard to build.
 
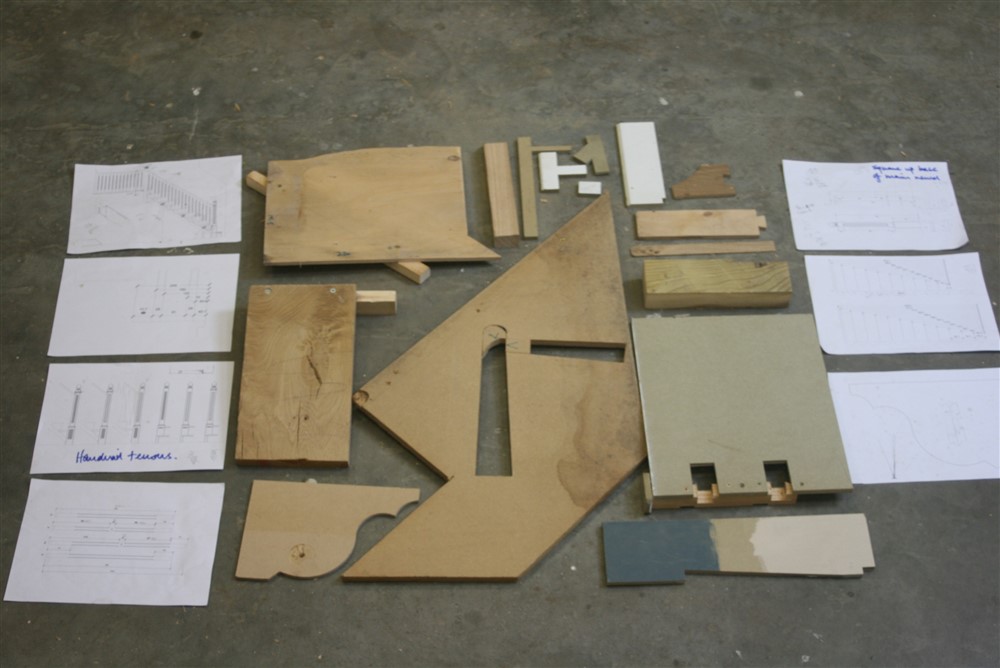
After a workshop tidy-up, I thought it would be fun to lay out all of the jigs and drawings I've made/ done for this staircase build:

Y9kAst7.jpg
 
I've often looked at old staircases to work out how they were put together. I've also skimmed through old textbooks to appreciate how some of the details go.

But this thread has been better, showing the thinking, the design decisions, the construction and the sheer volume of hard work required. Thanks again for taking on the extra effort of photographing and describing it all.
 
Thanks fellas.

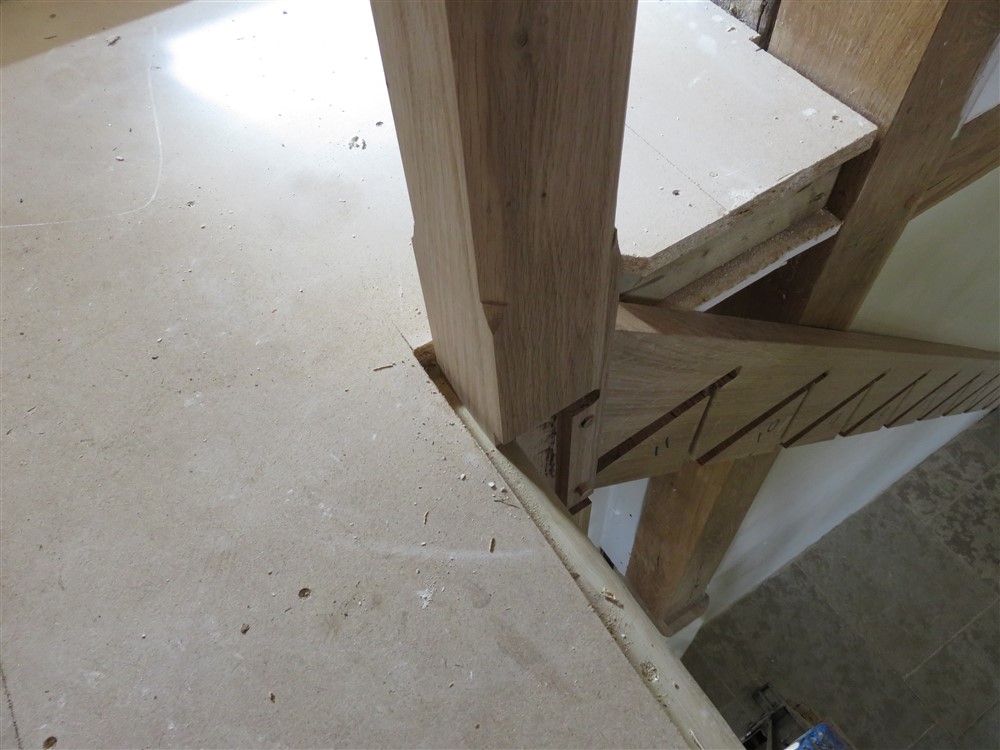
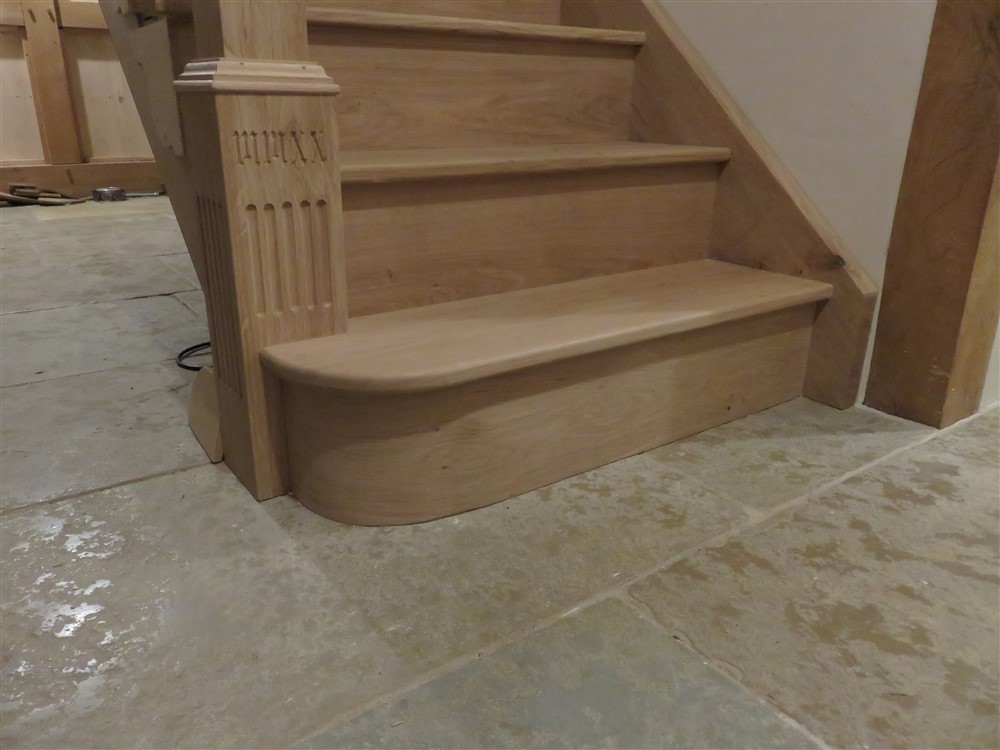
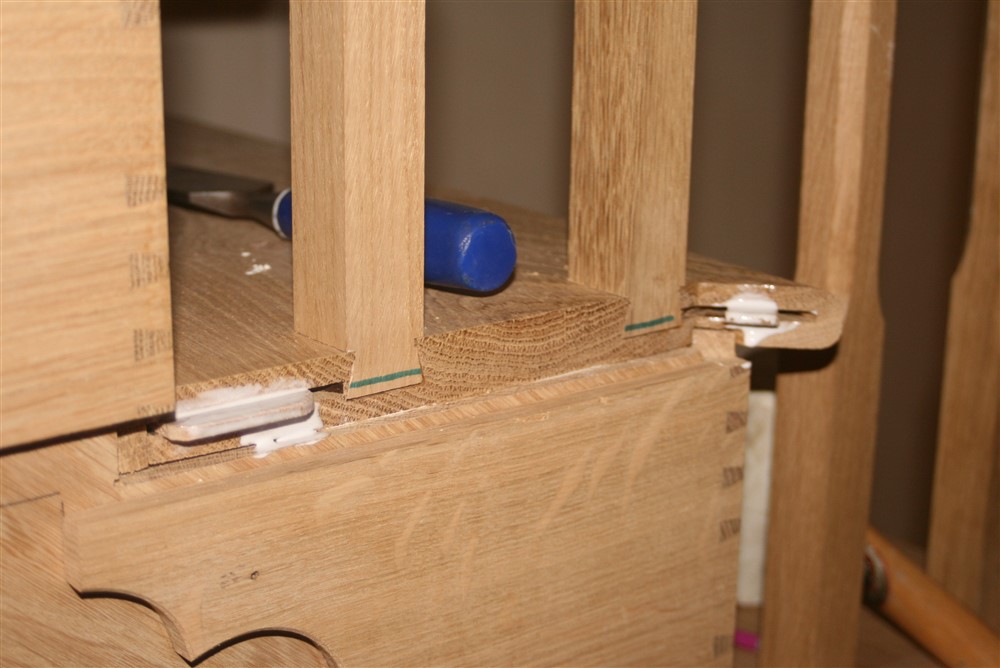
I did the tread end caps this afternoon:

cGj9ilE.jpg


zGz7vr0.jpg


g6kzf8Q.jpg


ozgw54G.jpg


oiDQMx4.jpg


It'll look better when the moulding goes under the stair nosing.
 
Steady on, TN. We've regular forum contributors for whom this is everyday stuff. They don't get a standing ovation despite probably doing a better job than me, and certainly doing a quicker one. I thank you nonetheless.
 
You're doing yourself a disservice, Mike.

To compare this with what I and many others make wouldn't be fair. What you've made is a labour of love and the attention to detail shows through everywhere, generally what I do is simply "just business". I certainly haven't seen dovetailed riser-bracket joints on any modern work as it's almost always a mitre cut, pin it a few times and push a bit of cascamite and dust into the joint or have some kind of trim pinned over the top of the joint with screws underneath fixing it together. Even the spindles are dovetailed into the treads, which again, you never see done anymore as it's always a square mortice either with a shoulder or not and a screw straight into the tread and then covered with the cover strip.

There's niggles, there are always niggles! To be frank, if a piece of work didn't have some kind of niggle somewhere and it was completely perfect you'd just assume it was completely machine-made. It seems everyone is always striving to perfection but once you actually see perfection you realise just how bland and boring it is.

It's an outstanding piece of classical craftsmanship Mike, I'm sure George Ellis would approve.
 
I've watched the progress of this with much interest, Mike. Congratulations on what looks to be a very fine end result.

I sometimes wish I was in a better position to post the results of my work. But most of what I've been up to on the making front over the last few years has been undertaken on a sub-contract freelance basis, and therefore not really mine to photograph and show. For instance, I'm getting towards the end of a custom veneering job for a large walk in wardrobe, plus additional cabinetry: roughly 60 square metres of walnut veneer and some plain backing veneer in places over MDF doors and other panels, plus four quarter round pilasters with a 100 mm radius, all slip matched, hand cut, and laid in a vac-bag. I'm veneering up the final parts this week, which will be installed later. I saw a snap of the partial assembly today undertaken by sub-contractors (and missing the bits I'm still working on), and although the image was fairly small and of low quality on a phone, it had the appearance of having come together rather nicely. It's one of those jobs I'd rather like to add to my portfolio, but I'm pretty sure that won't happen. Slainte.
 
And then there's the likes of me. How utterly amazing that I could be in written correspondence with you amateurs.
I hope you realise how lucky you all are.
 
Back
Top