jimi43
Established Member
Hello fellow whittlers.....
As the next phase of the UKW infill project....namely the actual woodie bits...approaches, I thought it might be a good idea if I practised on a less important one first...just to get my hands refined again....
It's been a while since I last did any infill.
So...I searched around my favourite auction site for some candidates where upon I found this advertised as "Buy-it-Now" for £40....
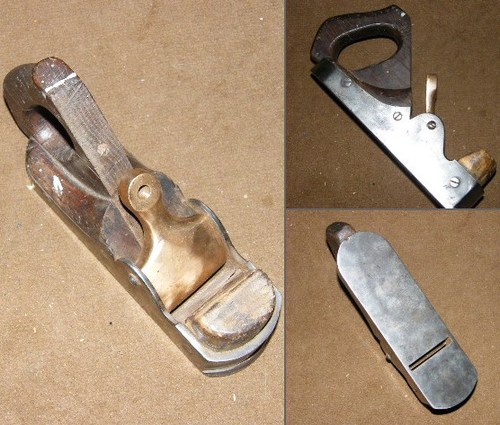
The auction had this good photograph....every angle to make a decision to buy...and a fairly accurate description to confirm the risk was small...particularly the lack of damage to the main casting.
As can be seen...the infills are so bad that there would be no question of destroying "originality"...something I always end up juggling with.....
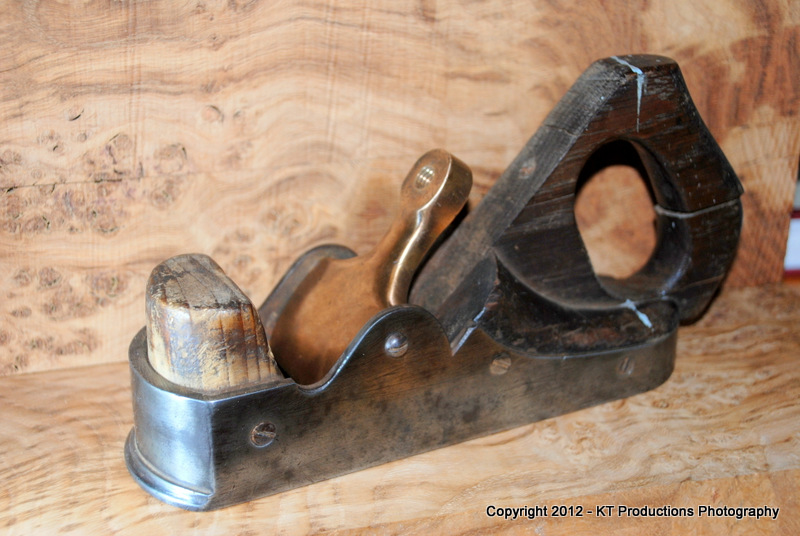
The front handle is badly made out of softwood...it doesn't even fit let alone have the stuffing correctly over the casting...and the rear handle made of oak looks to be user-made too...and not particularly well but probably original....
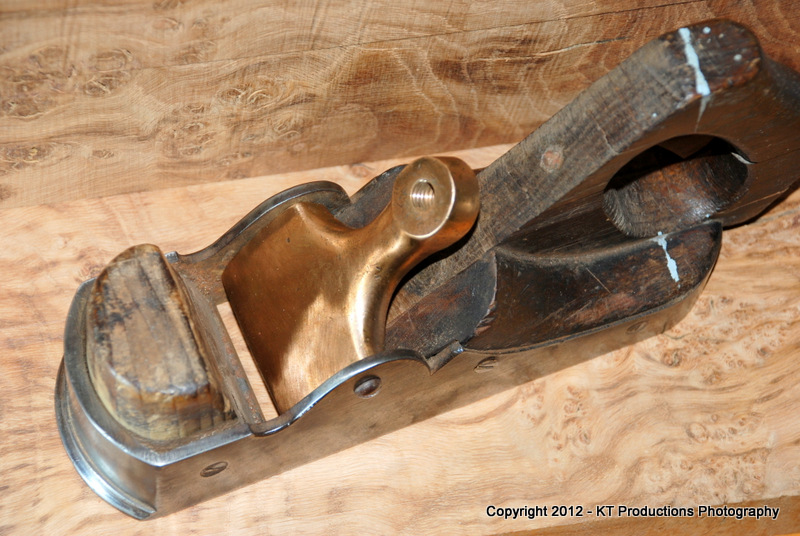
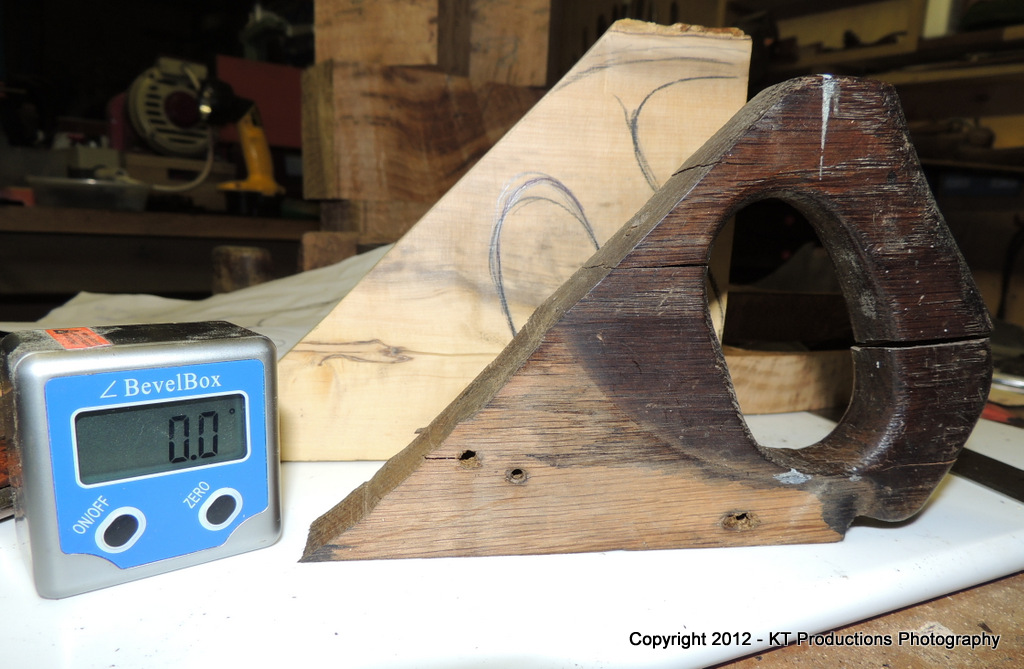
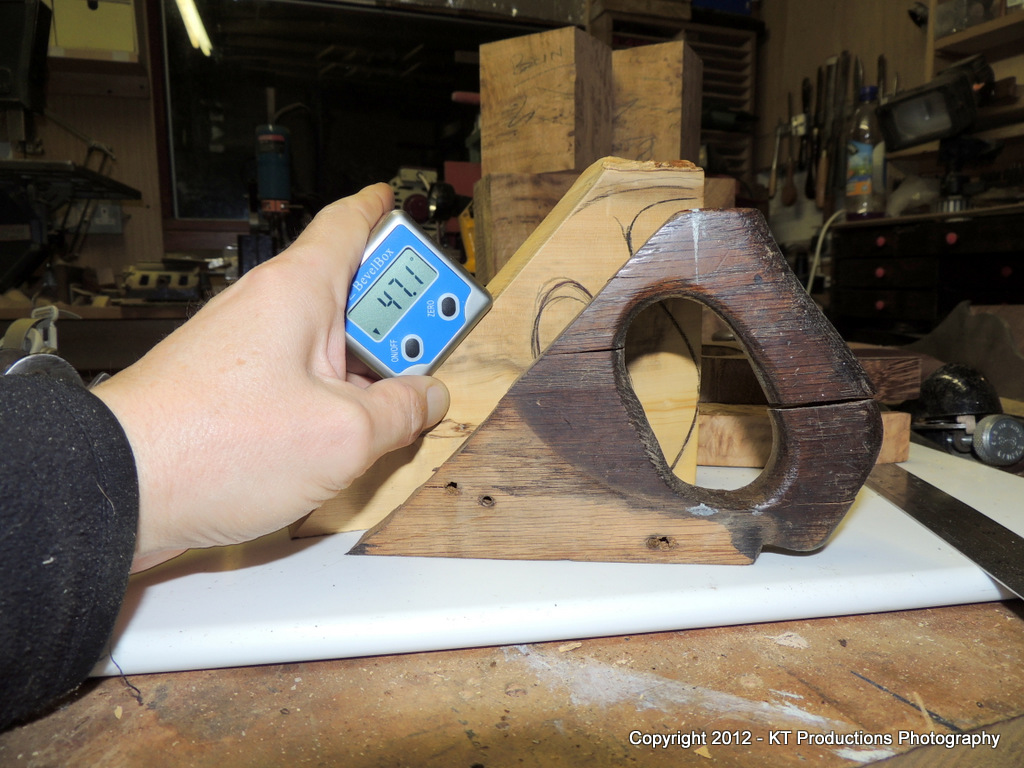
This was made of three parts...one horribly shaped centre handle and two nicely made wings...all screwed together with four brass screws inside....(in the wrong places as will be seen!)
But firstly and most importantly.....the screws came out (phew) and secondly how beautiful is that gunmetal lever cap casting!!!
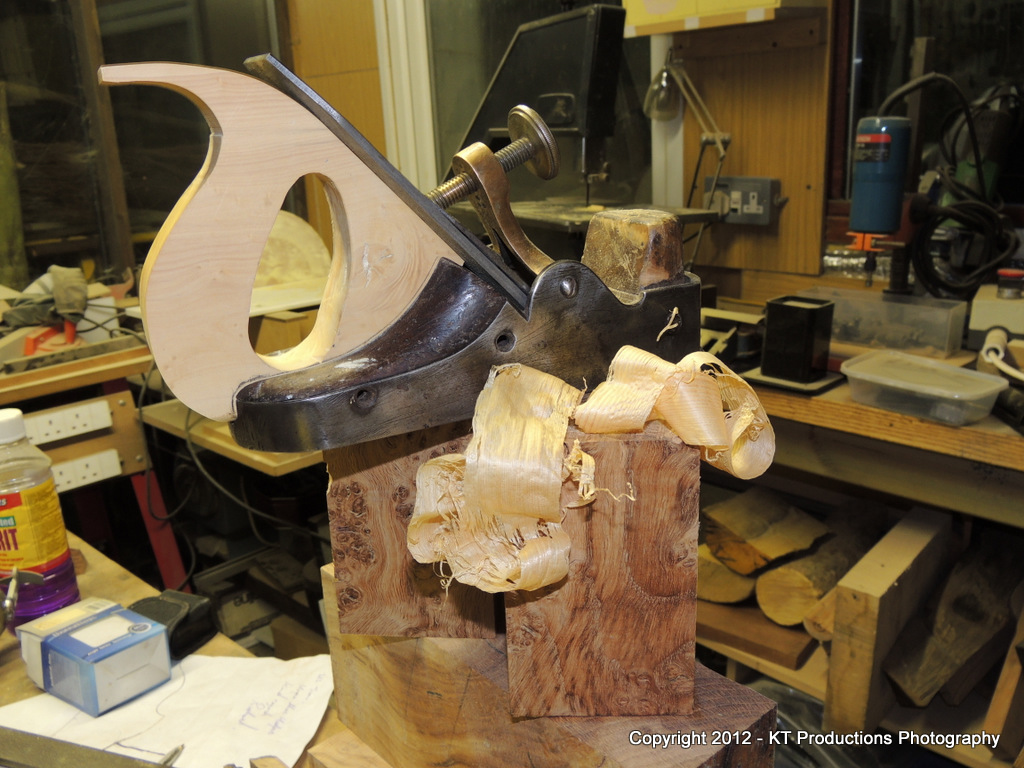
But before doing anything....I found a screw and an iron...just to test out the smoother on some wood...
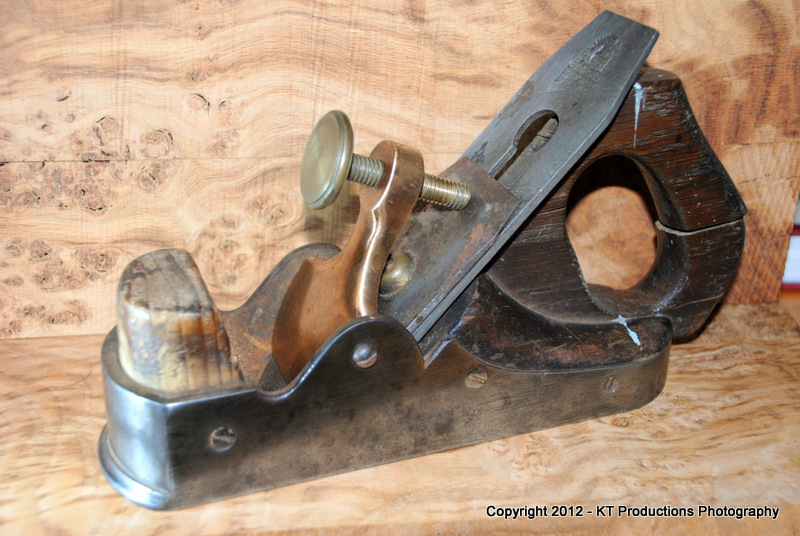
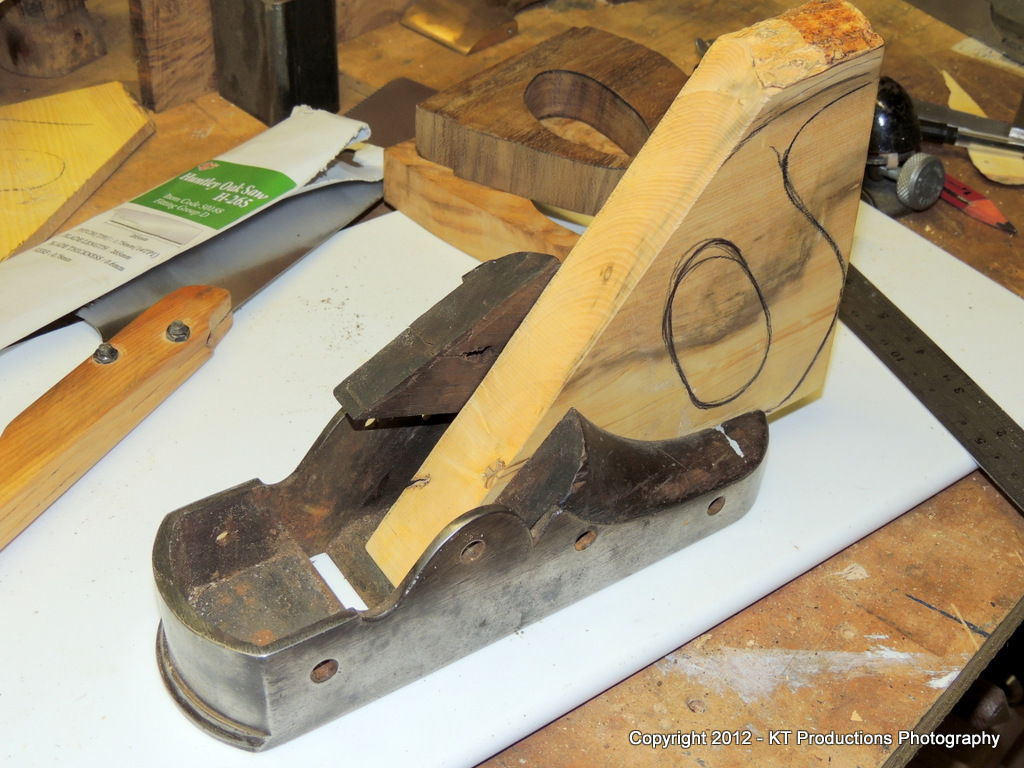
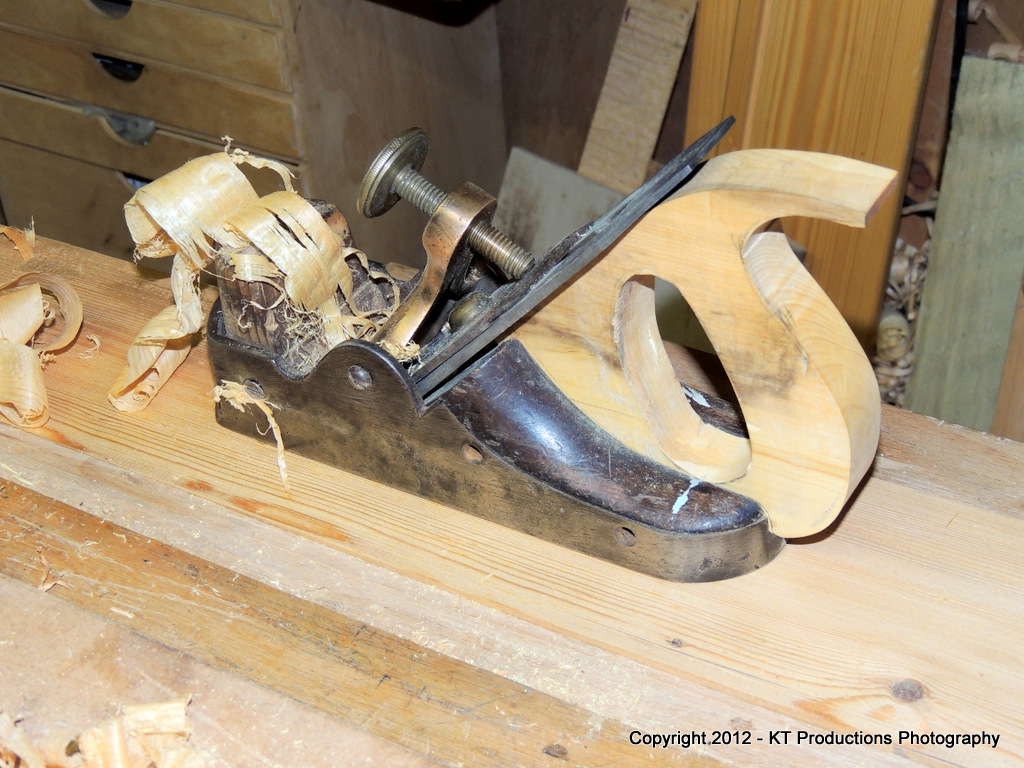
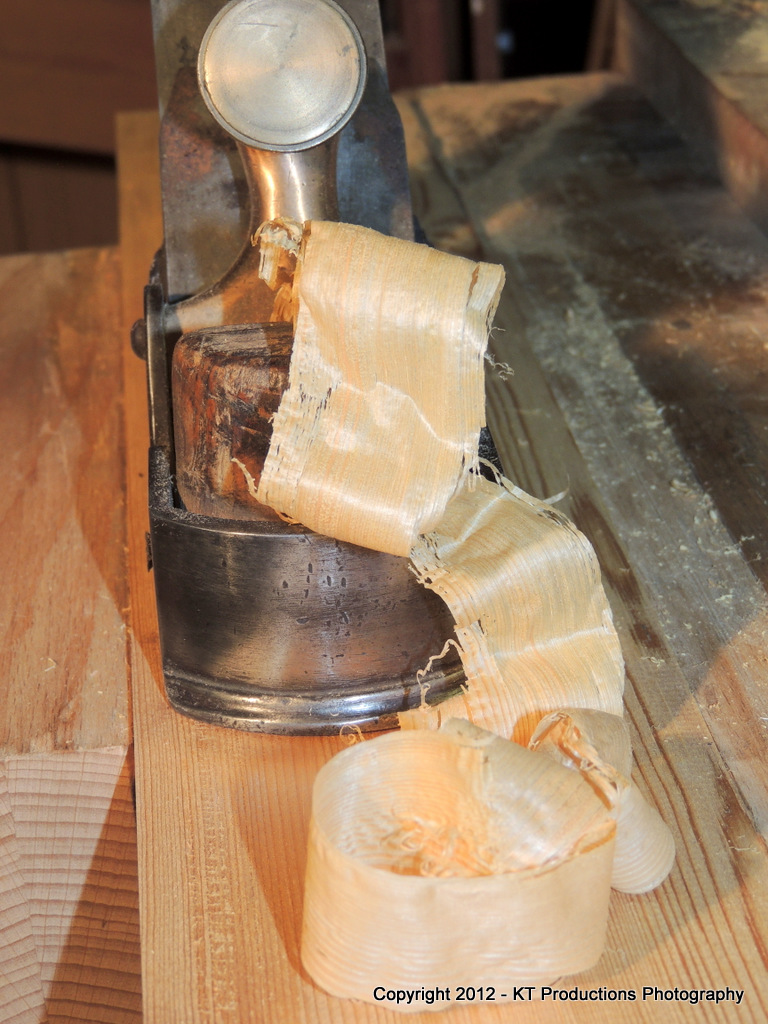
....and even though it doesn't look particularly pretty with this oversized knob (correct thread) and Sorby iron/cap iron fitted...it cut beautifully right out of the box!
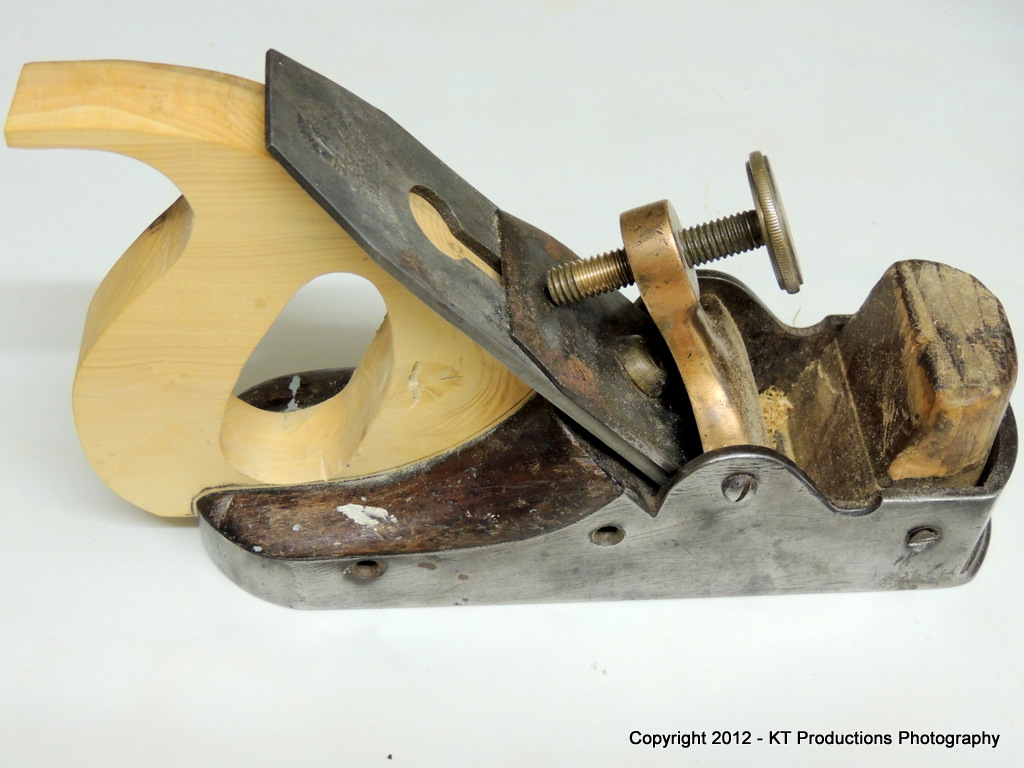
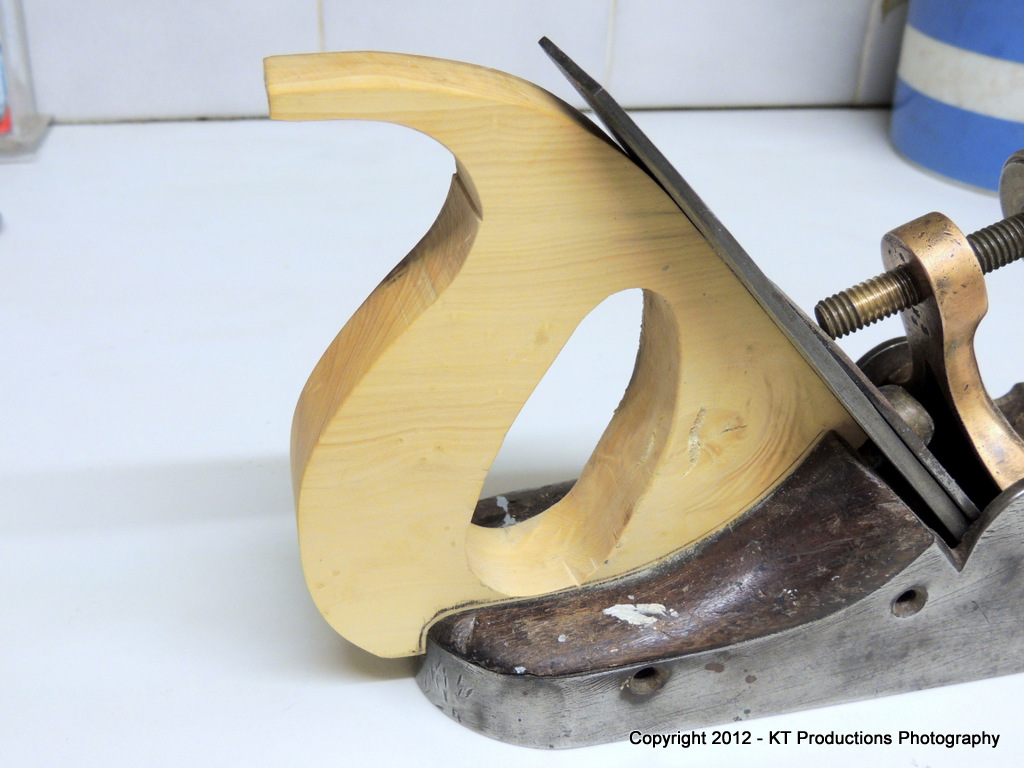
But check out the angle the lever cap sets to!!
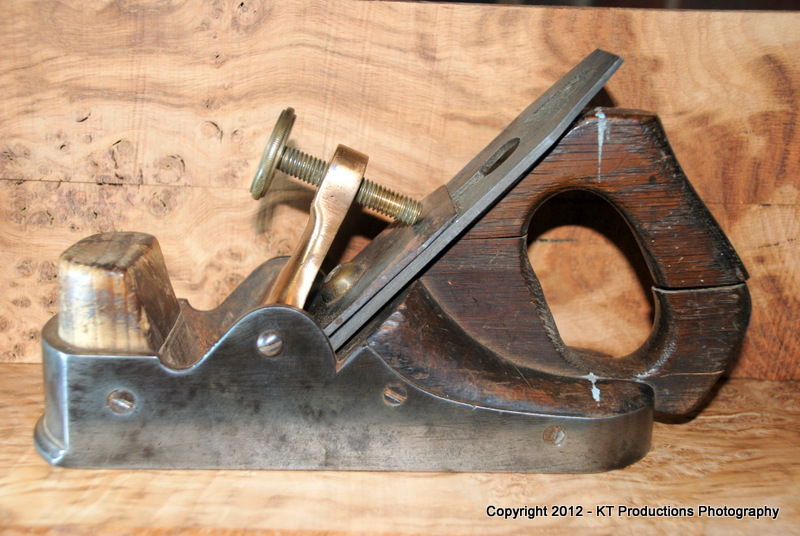
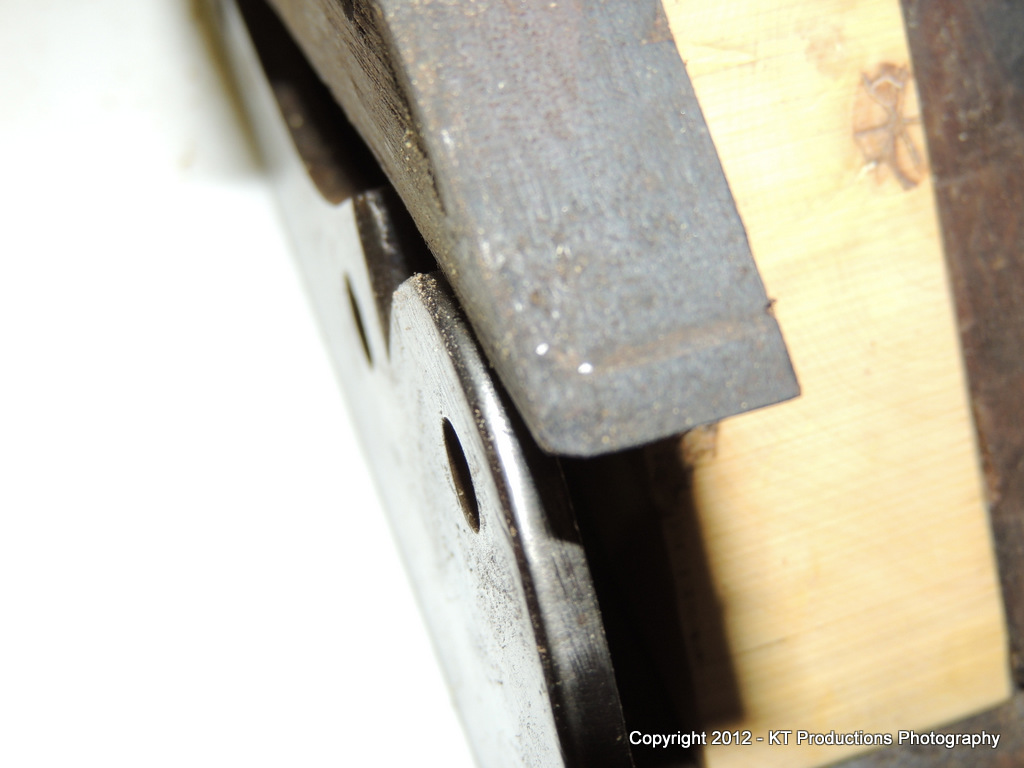
....and this is why....
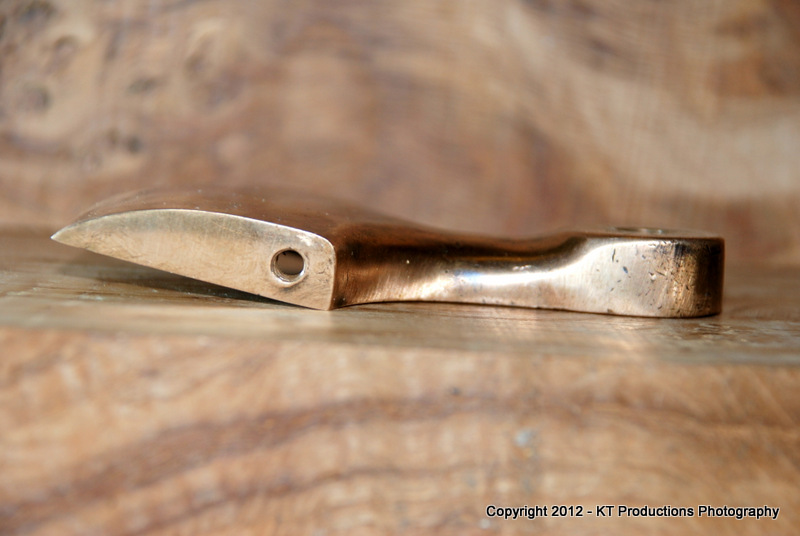
A bit of over-zealous tightening there in the past methinks or have I missed something here?
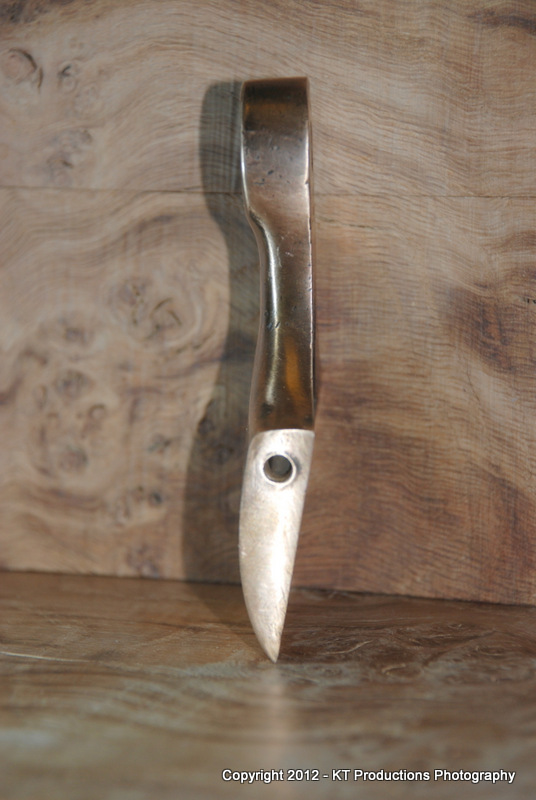
Gunmetal is fairly soft...but I have had no experience in straightening it...so does anyone have any idea if this will go back cold or will this need heating to straighten it? Richard? I think I might need your advice here!
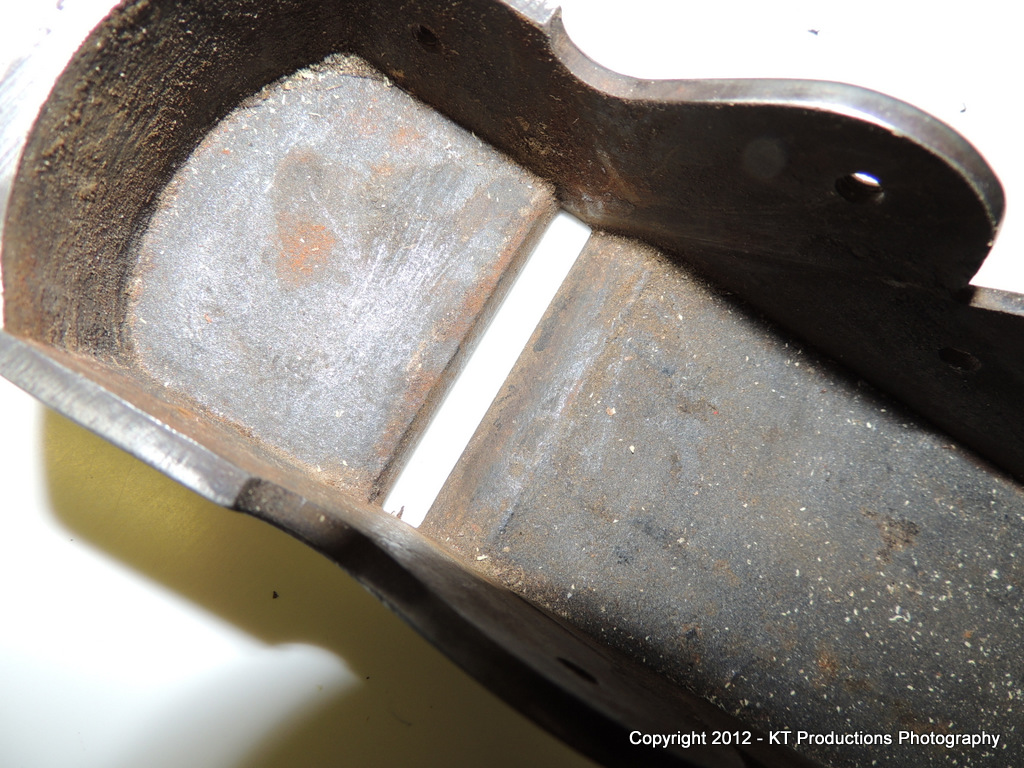
So...with all the screws removed...the infills simply lift out, along with decades of old sawdust to reveal a very clean and crack free casting indeed!
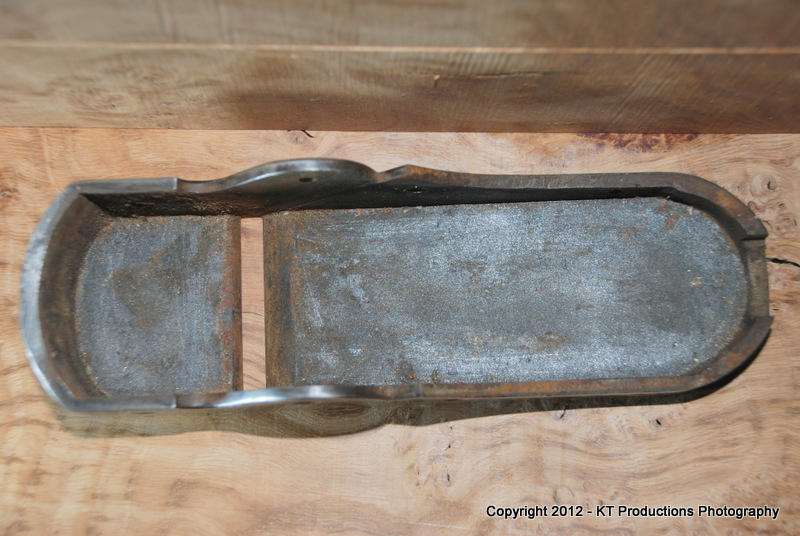
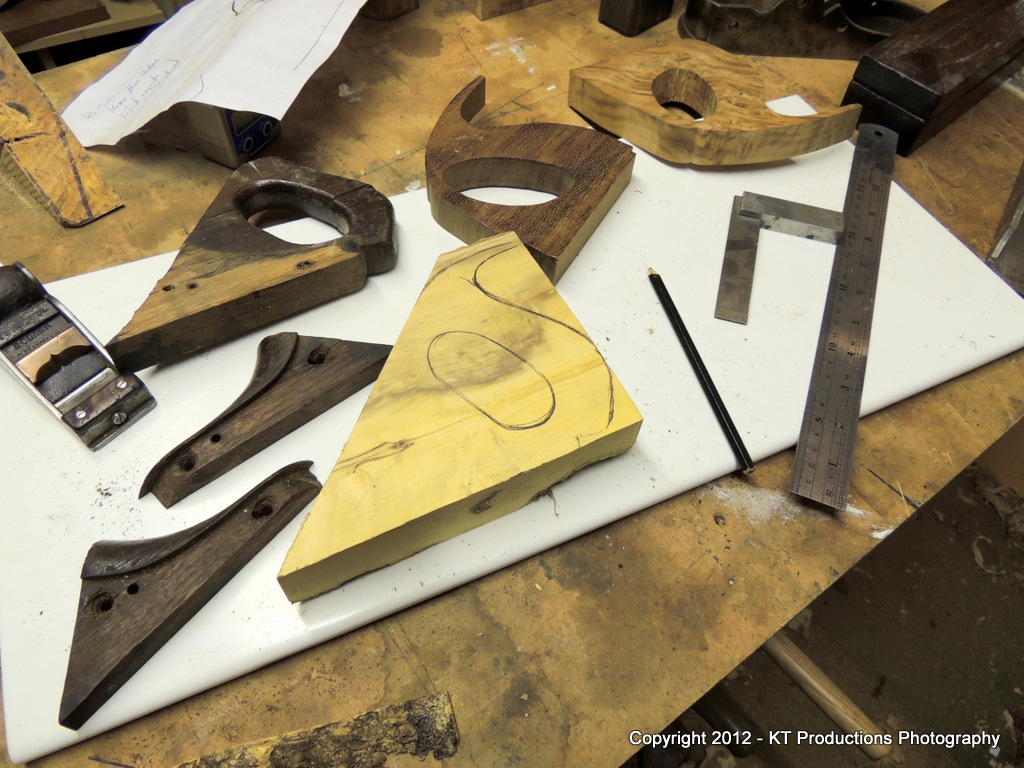
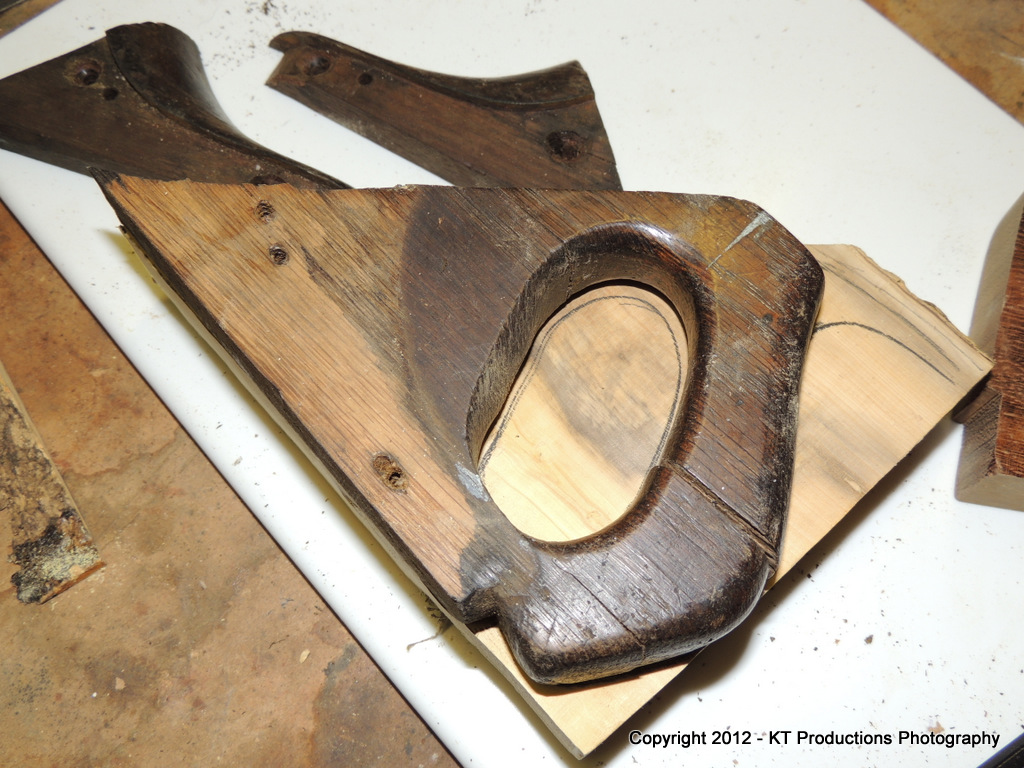
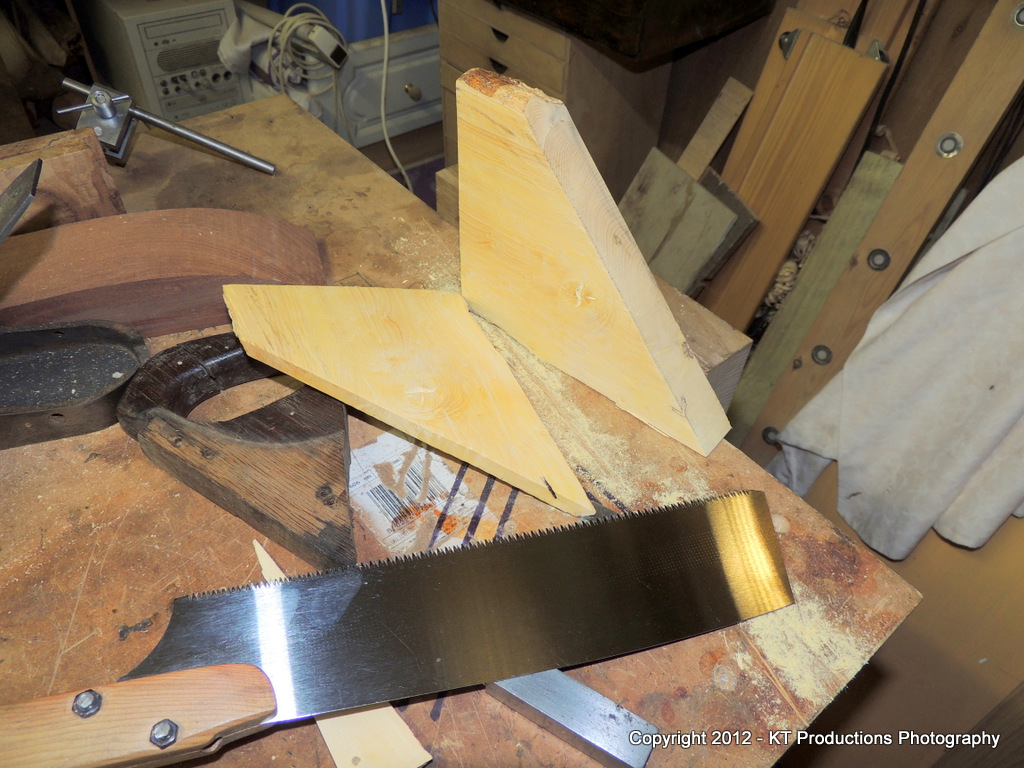
The old infills will act as a fairly rough template...handy for the overstuffing particularly but on both sides the rear fixing screws for the body actually line up with the brass screws holding the wings together...so run alongside them! The fact that the inside ones are brass probably made it easier to get the screws out...quite by luck!
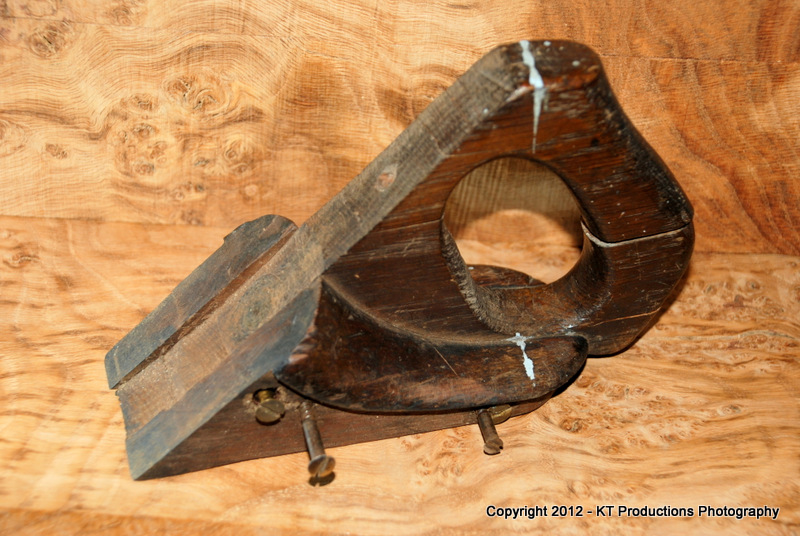
...but the front one is straight in the bin....
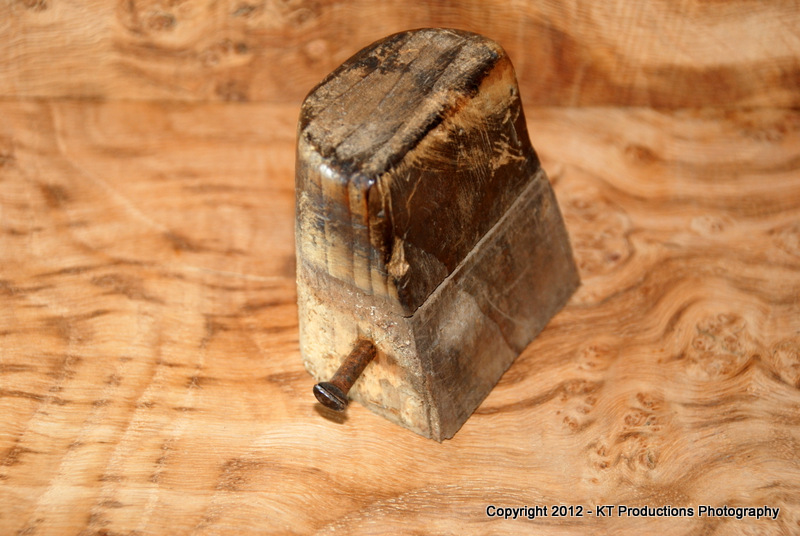
I fear it was a "temporary" fix for the original which ended up being more permanent that was planned!
This is small enough for burr oak offcuts to be used....so it will make a great test bed for Richard's panel project...and a great partner afterwards!
More later
Jimi
As the next phase of the UKW infill project....namely the actual woodie bits...approaches, I thought it might be a good idea if I practised on a less important one first...just to get my hands refined again....
It's been a while since I last did any infill.
So...I searched around my favourite auction site for some candidates where upon I found this advertised as "Buy-it-Now" for £40....

The auction had this good photograph....every angle to make a decision to buy...and a fairly accurate description to confirm the risk was small...particularly the lack of damage to the main casting.
As can be seen...the infills are so bad that there would be no question of destroying "originality"...something I always end up juggling with.....

The front handle is badly made out of softwood...it doesn't even fit let alone have the stuffing correctly over the casting...and the rear handle made of oak looks to be user-made too...and not particularly well but probably original....

This was made of three parts...one horribly shaped centre handle and two nicely made wings...all screwed together with four brass screws inside....(in the wrong places as will be seen!)
But firstly and most importantly.....the screws came out (phew) and secondly how beautiful is that gunmetal lever cap casting!!!
But before doing anything....I found a screw and an iron...just to test out the smoother on some wood...

....and even though it doesn't look particularly pretty with this oversized knob (correct thread) and Sorby iron/cap iron fitted...it cut beautifully right out of the box!
But check out the angle the lever cap sets to!!

....and this is why....

A bit of over-zealous tightening there in the past methinks or have I missed something here?

Gunmetal is fairly soft...but I have had no experience in straightening it...so does anyone have any idea if this will go back cold or will this need heating to straighten it? Richard? I think I might need your advice here!
So...with all the screws removed...the infills simply lift out, along with decades of old sawdust to reveal a very clean and crack free casting indeed!

The old infills will act as a fairly rough template...handy for the overstuffing particularly but on both sides the rear fixing screws for the body actually line up with the brass screws holding the wings together...so run alongside them! The fact that the inside ones are brass probably made it easier to get the screws out...quite by luck!

...but the front one is straight in the bin....

I fear it was a "temporary" fix for the original which ended up being more permanent that was planned!
This is small enough for burr oak offcuts to be used....so it will make a great test bed for Richard's panel project...and a great partner afterwards!
More later
Jimi


