jimi43
Established Member
Time for an update I think. Things have been busy around here lately and I haven't had the time I had hoped to get out to the workshop but I managed a bit more today..into the early hours!
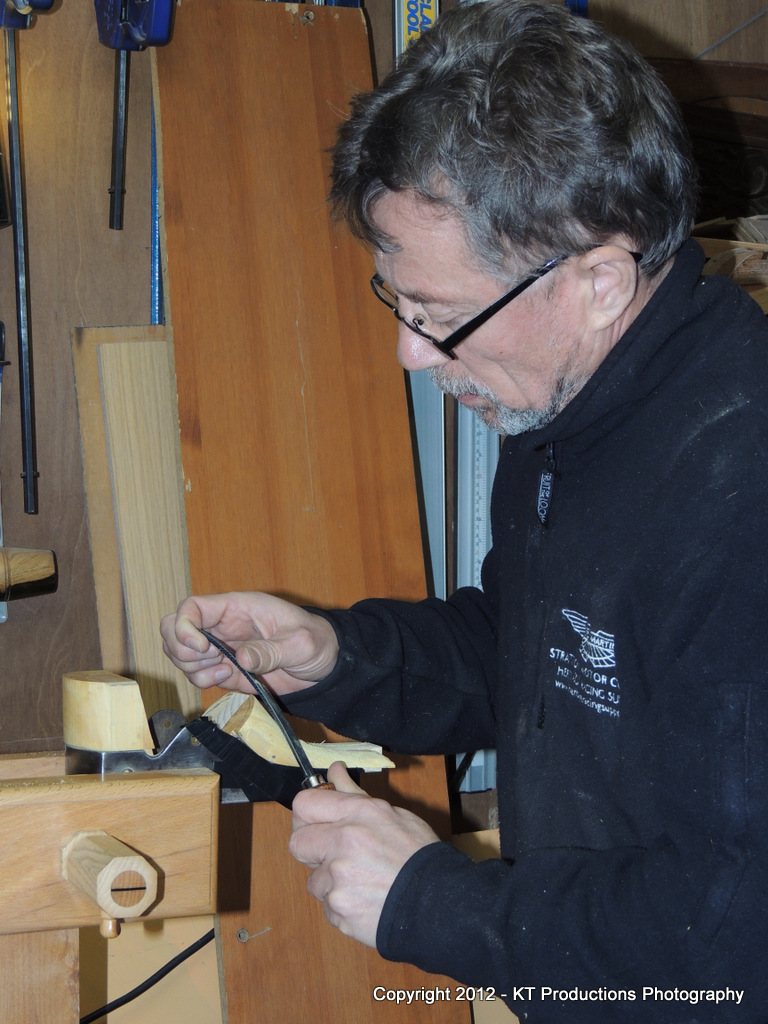
I thought I would try shaping the outside of the handle with the Millers Falls MF1 "cigar" shave...it is a rather versatile tool and I thought it might work...I was not wrong....
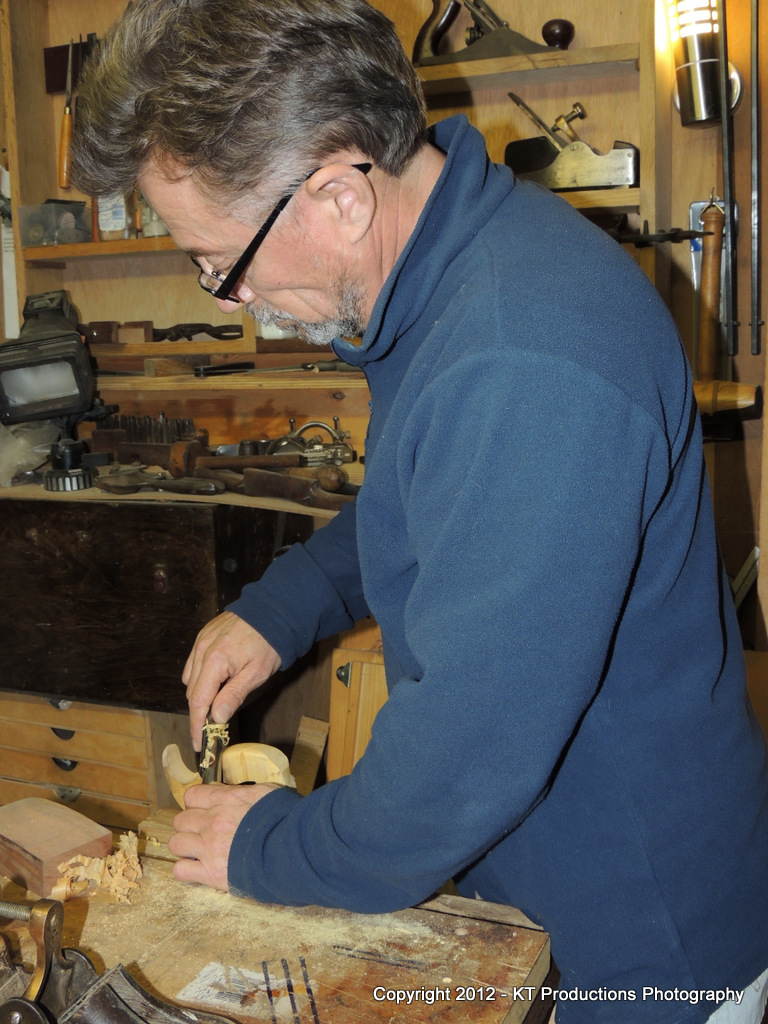
Getting the MF1 tuned is a black art but as long as the "flat" part of the curved cutter is totally flat it seems to do wonders....
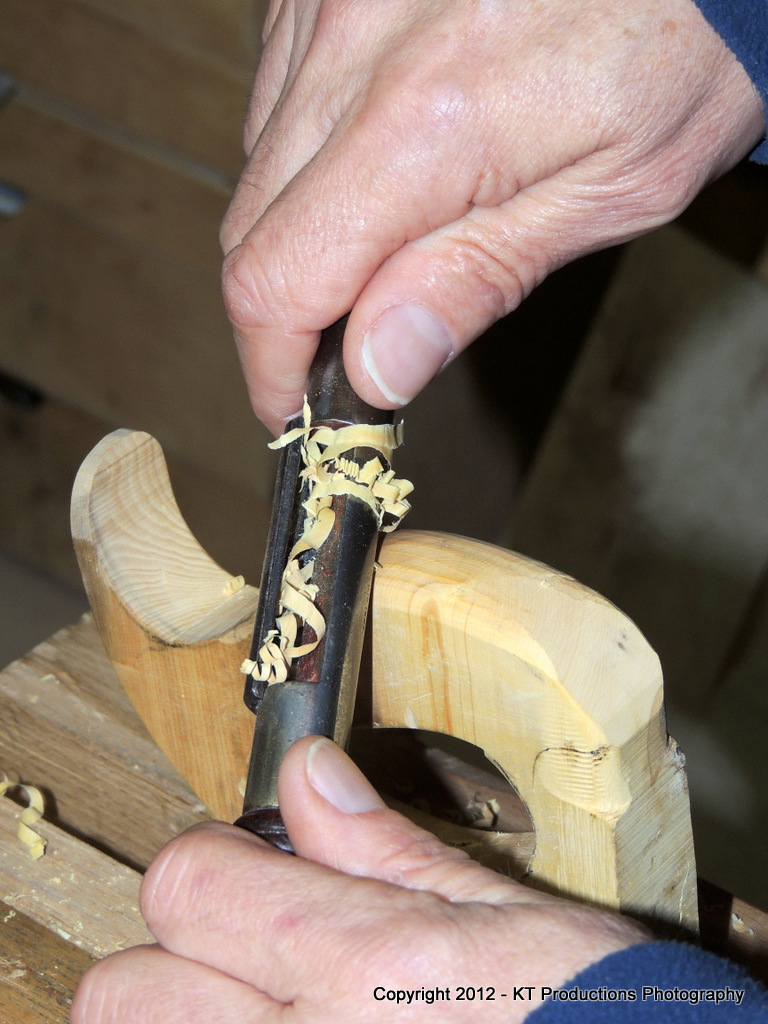
This really was accurate...fast and easy and only required some sanding to get the final profile....
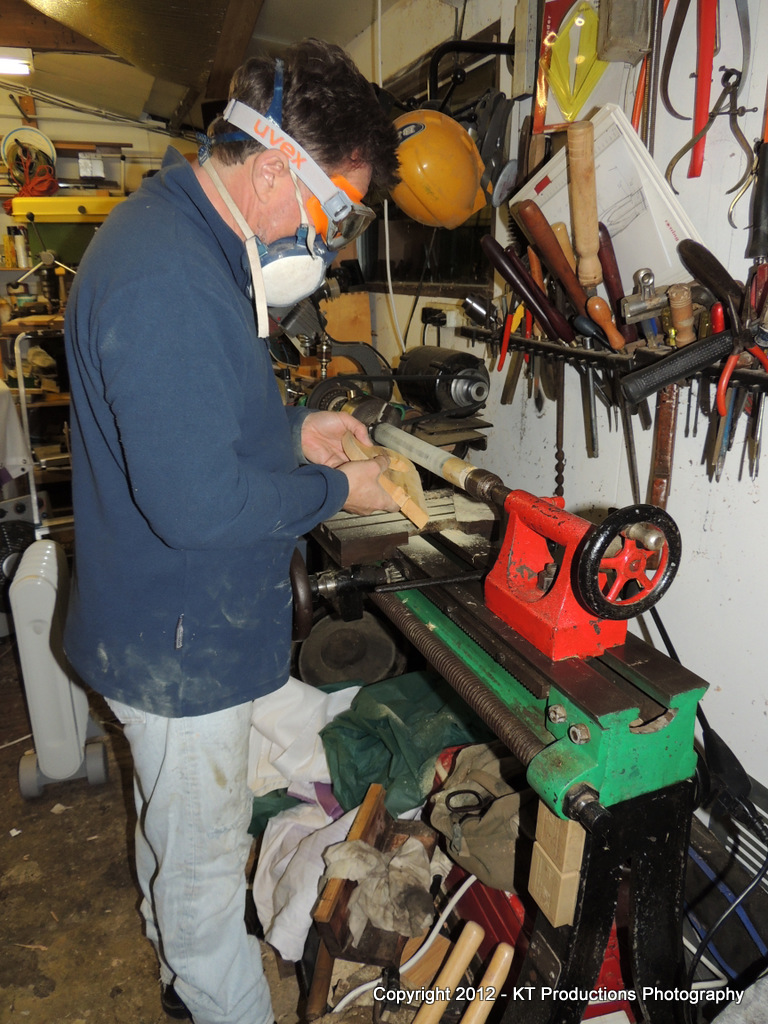
Not being able to afford a bobbin sander...I stole the LN idea I saw on their video and made a roller one for the lathe...the bobbin is then me!
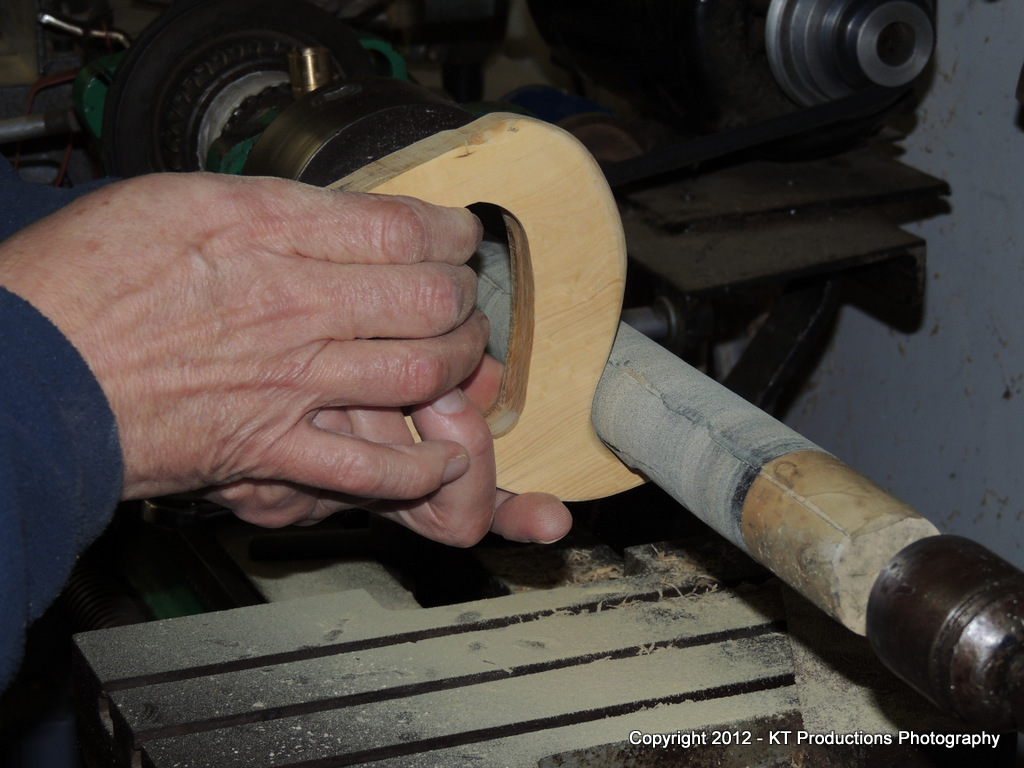
It works well as we shall see.
Next was the bit I thought would be "interesting" to get right...the cheeks.
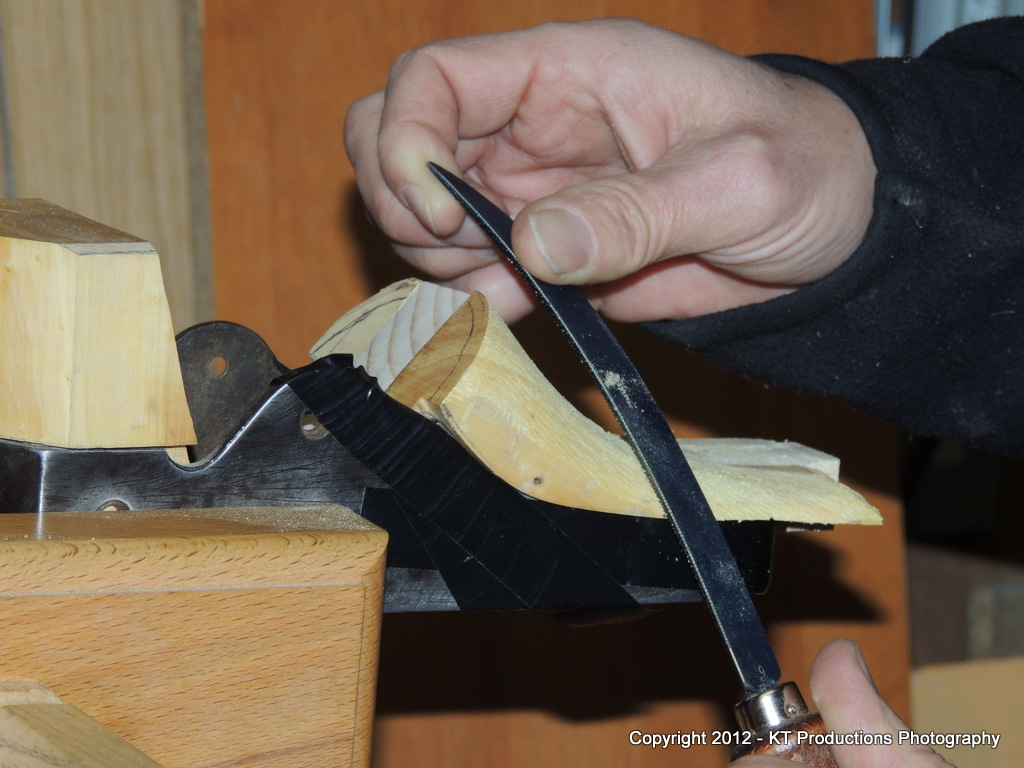
Using the original ones I sized two scales a bit over thick and cut the recess on the outside. It was then simply a case of refining this with a paring chisel...
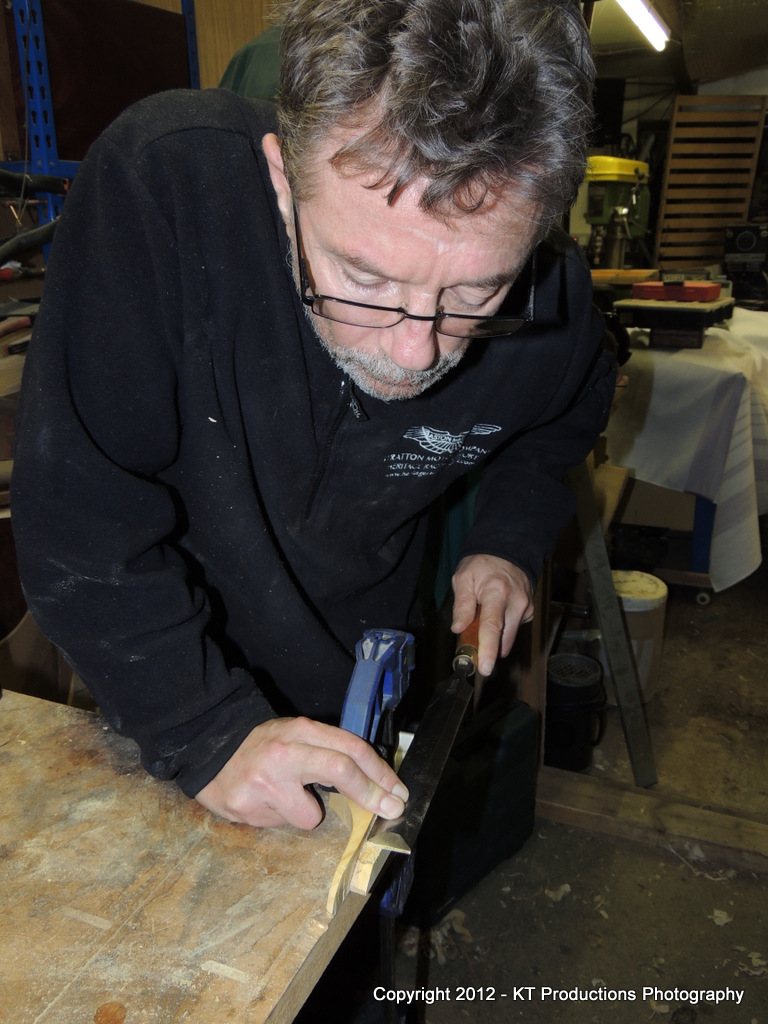
....not just any paring chisel but my beautiful I.Sorby "Punch" one...sharpened to dangerous levels by Douglas.....
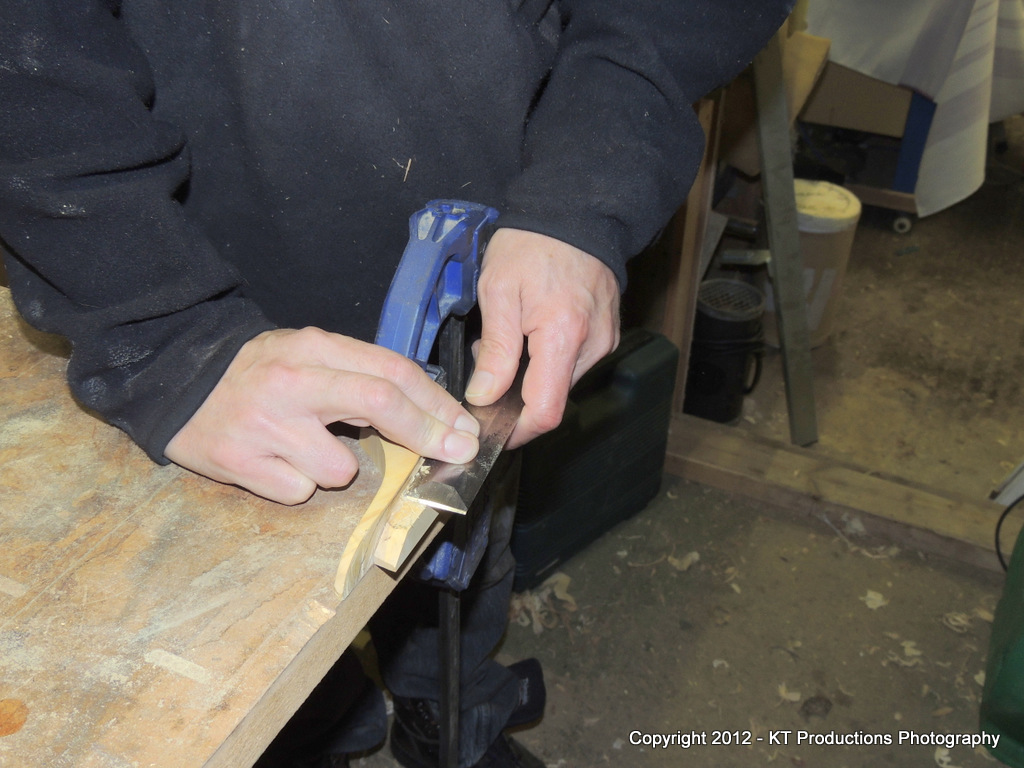
First time I have used it in anger and boy was it worth the wait. There is nothing like paring with a super-sharp old piece of steel...wonderful control! Thanks Douglas!
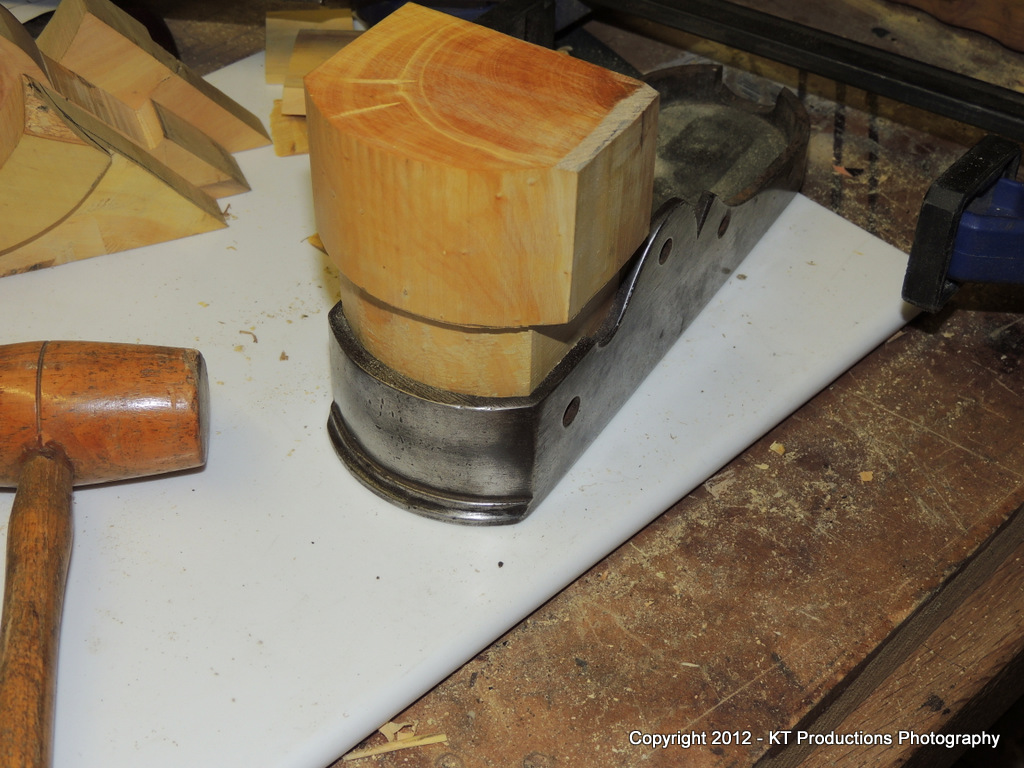
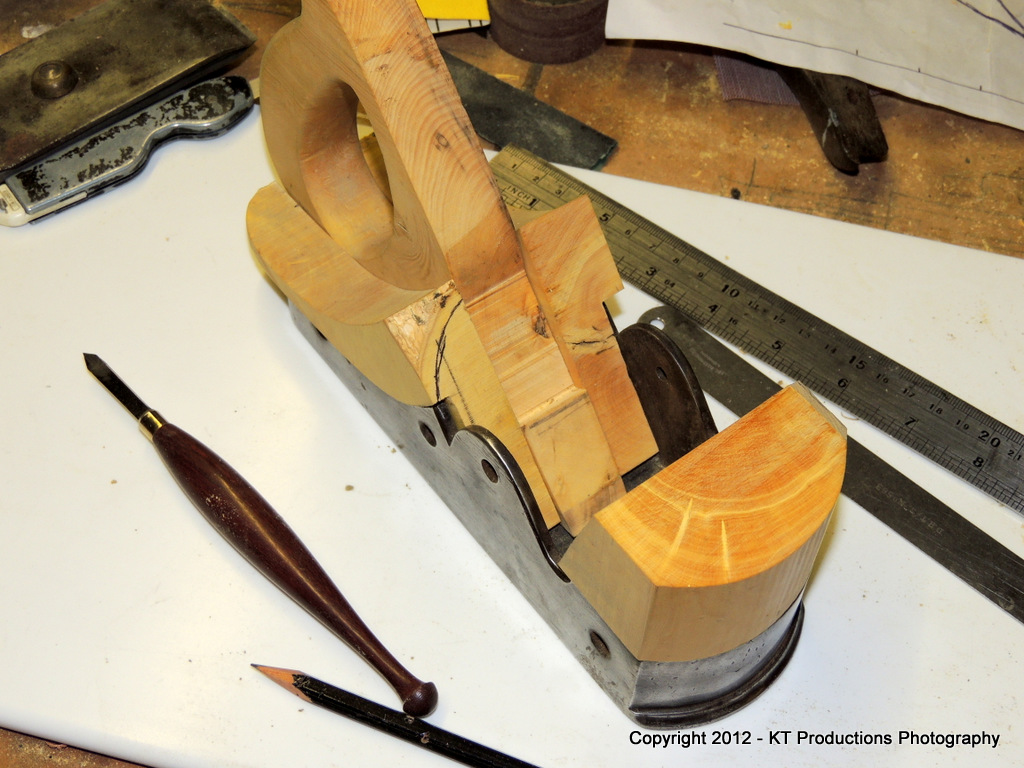
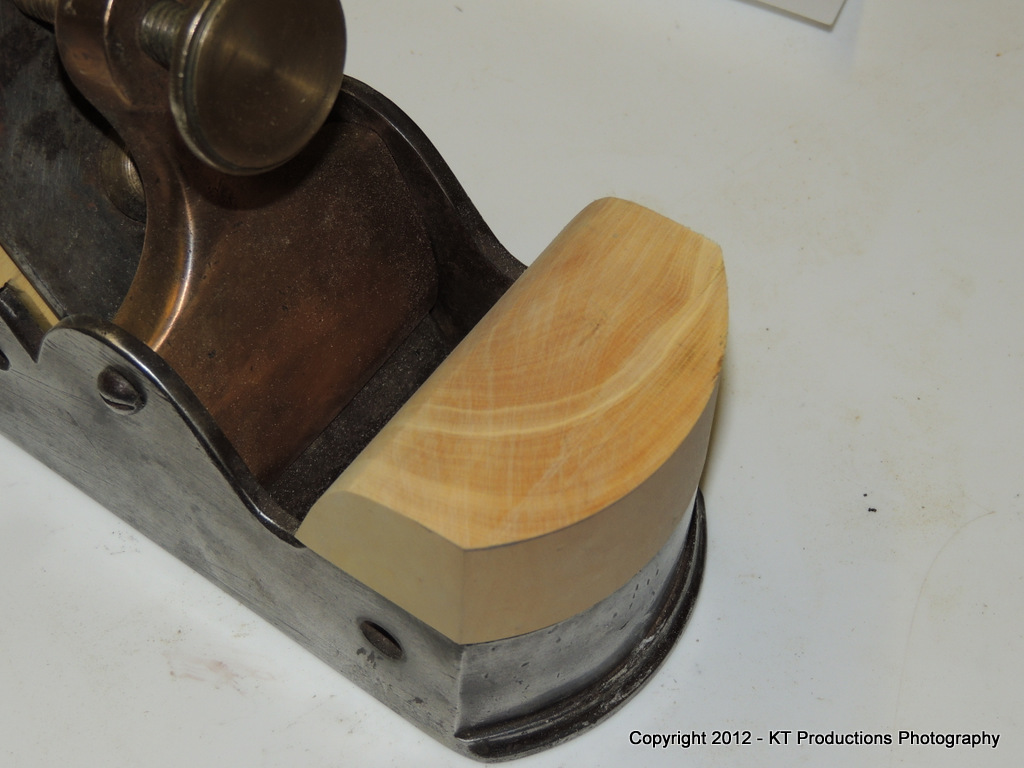
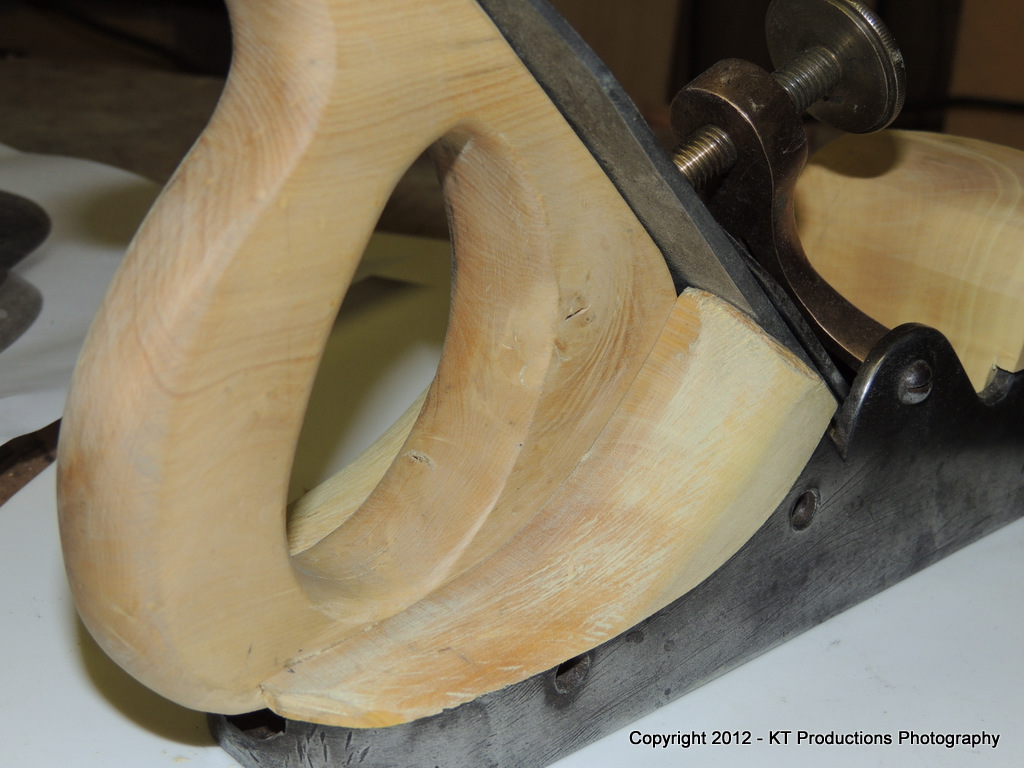
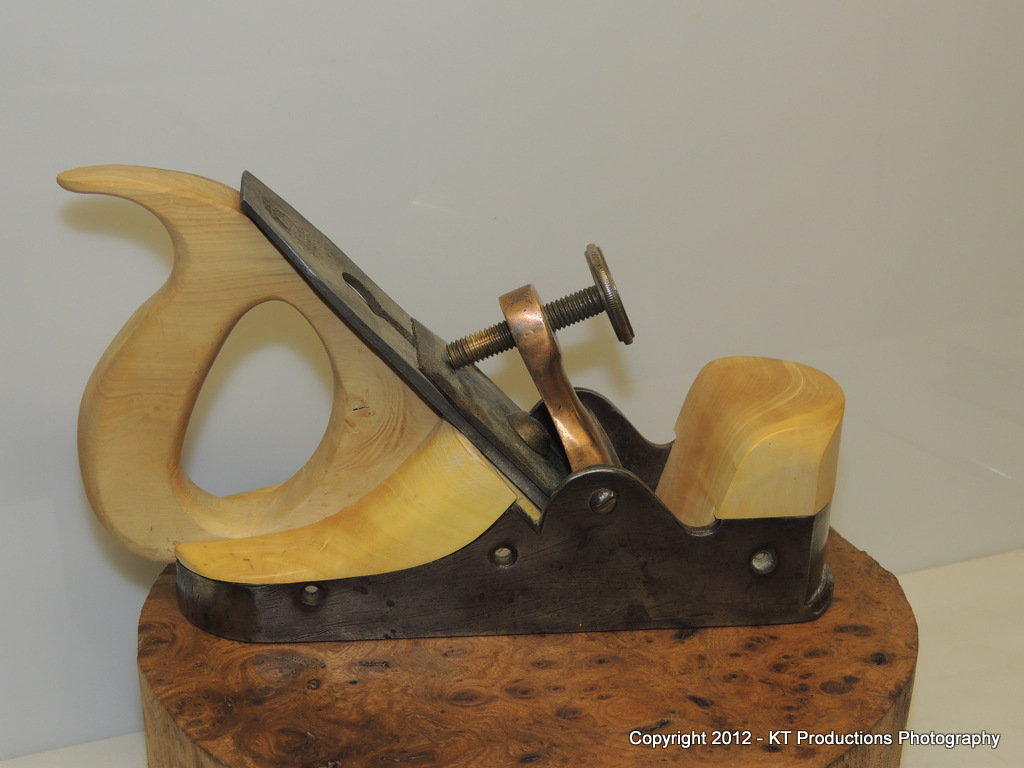
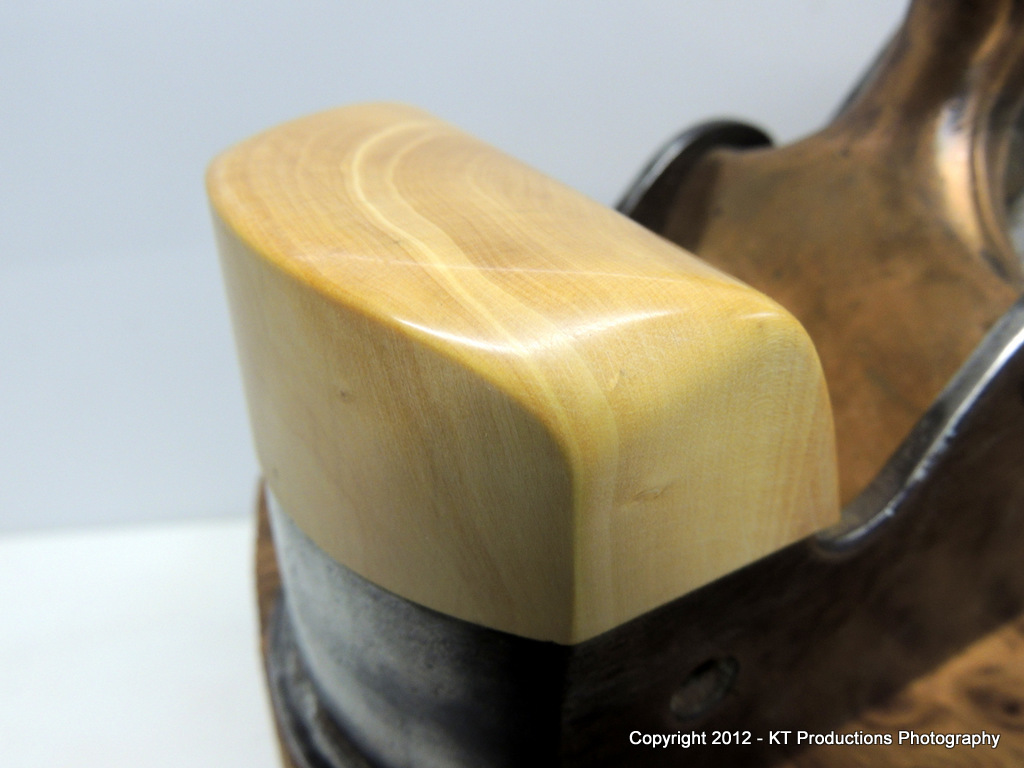
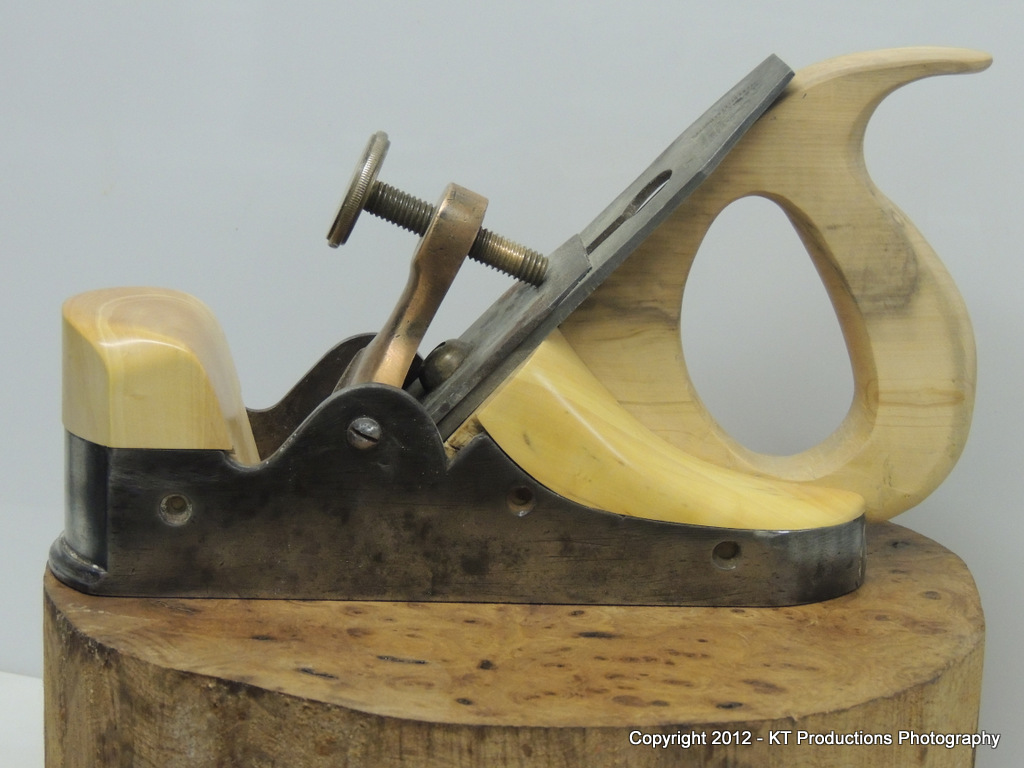
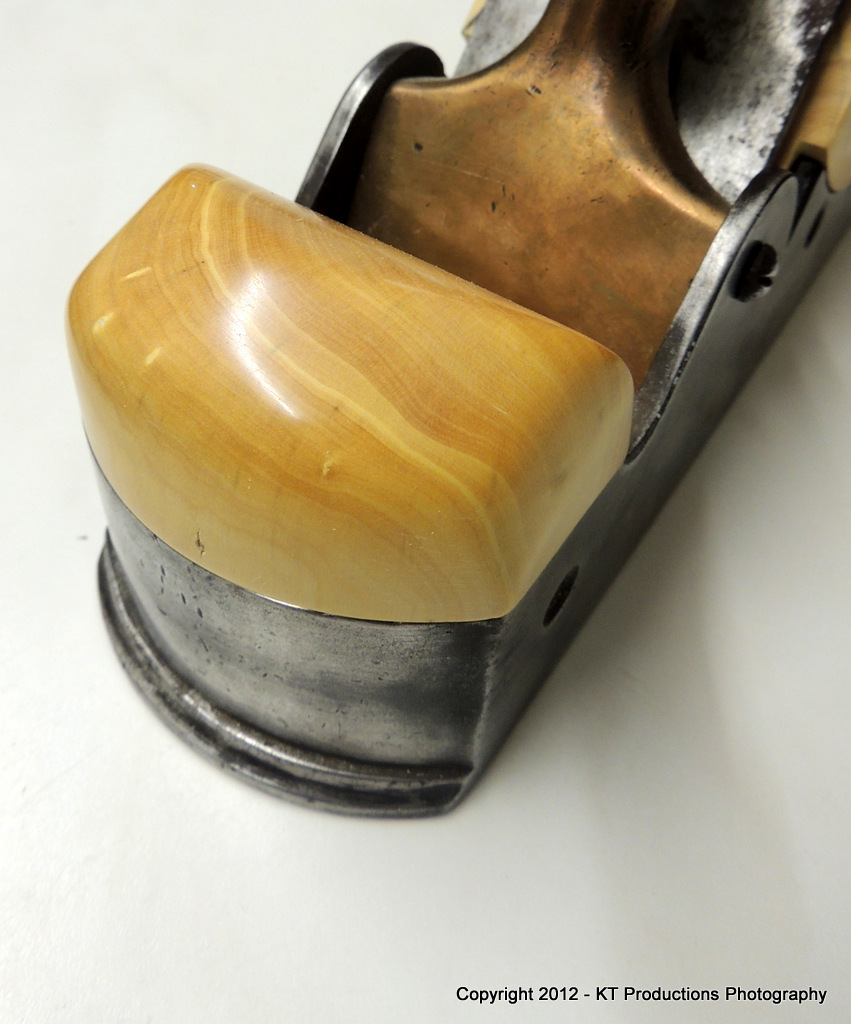
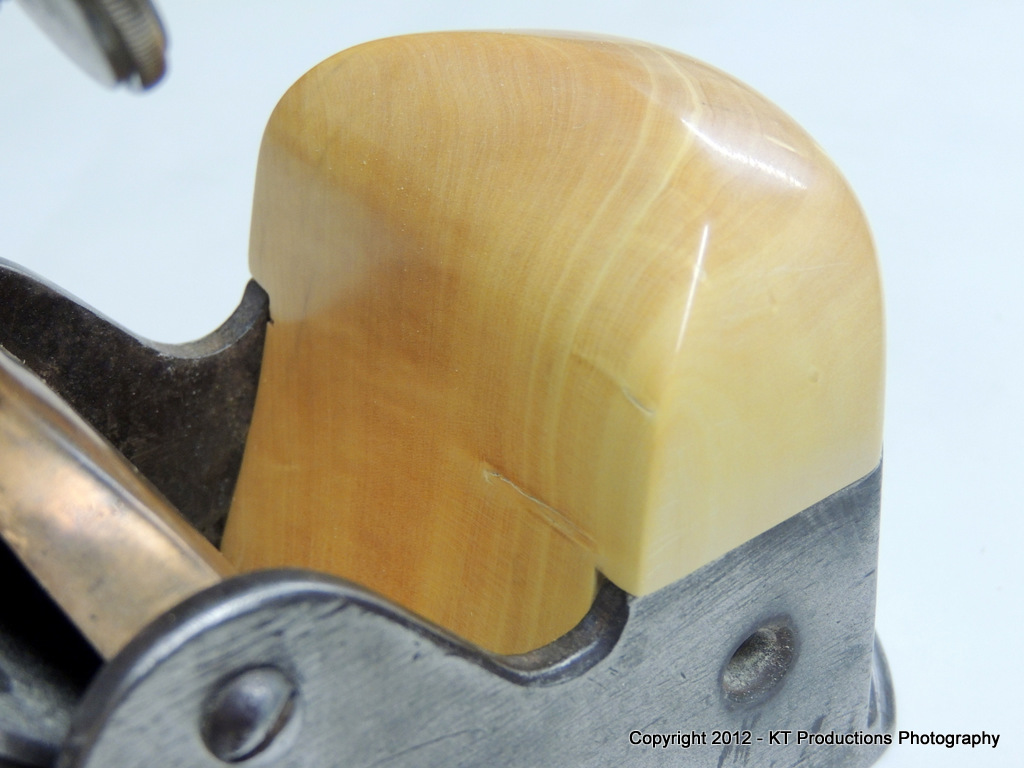
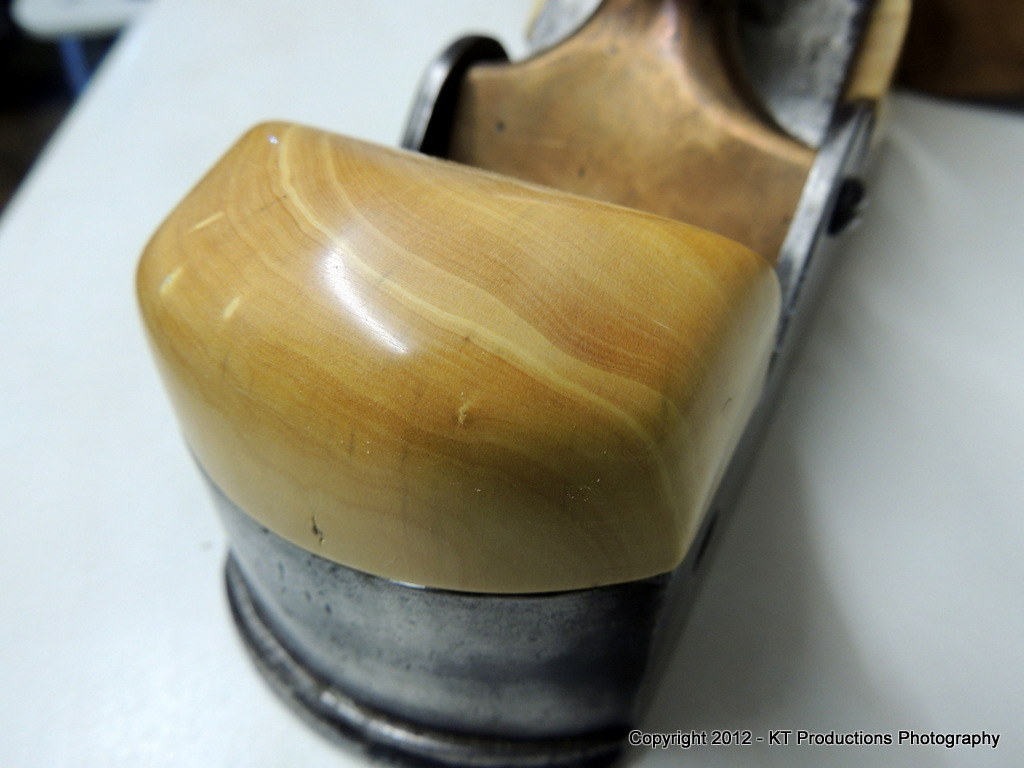
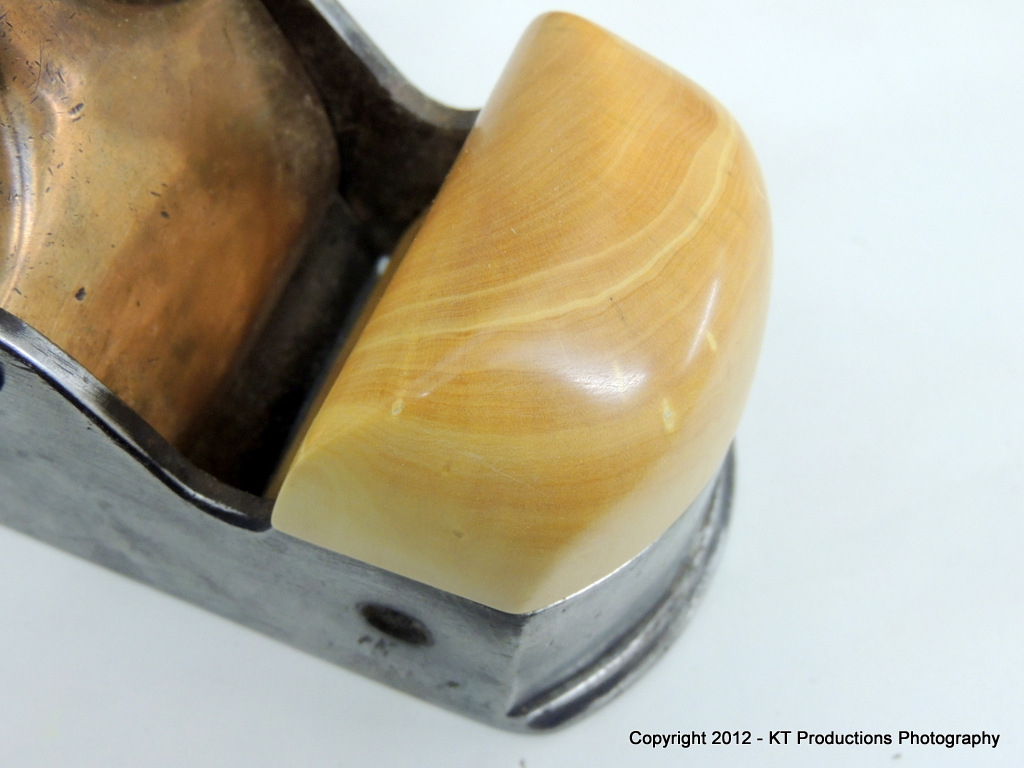
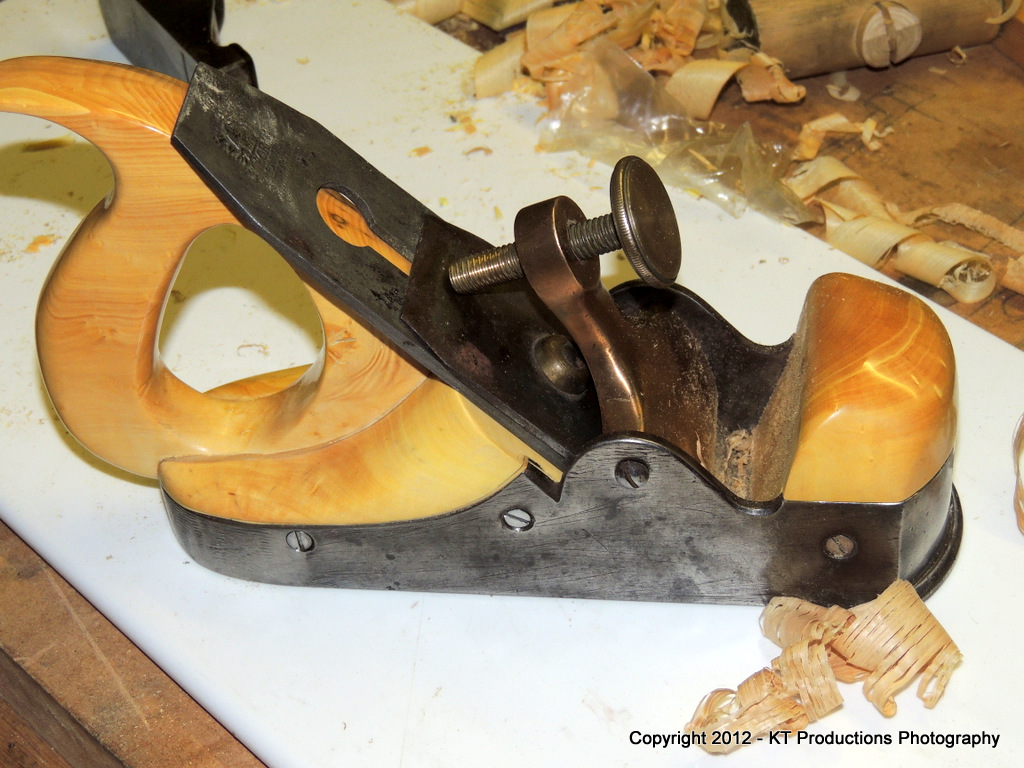
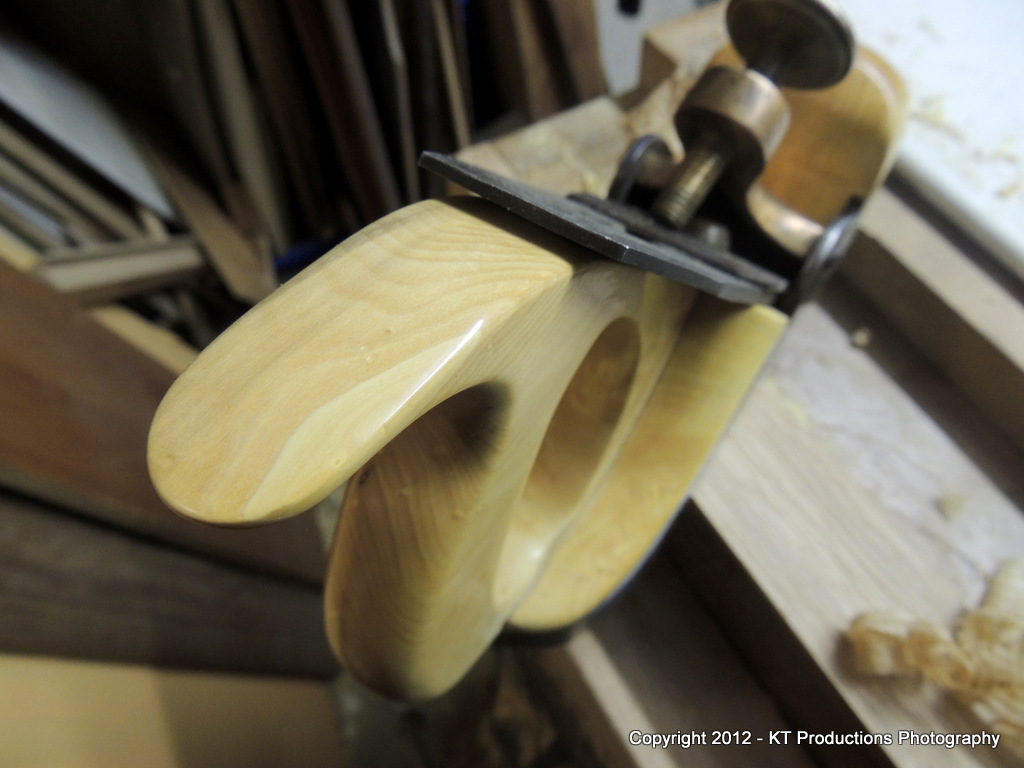
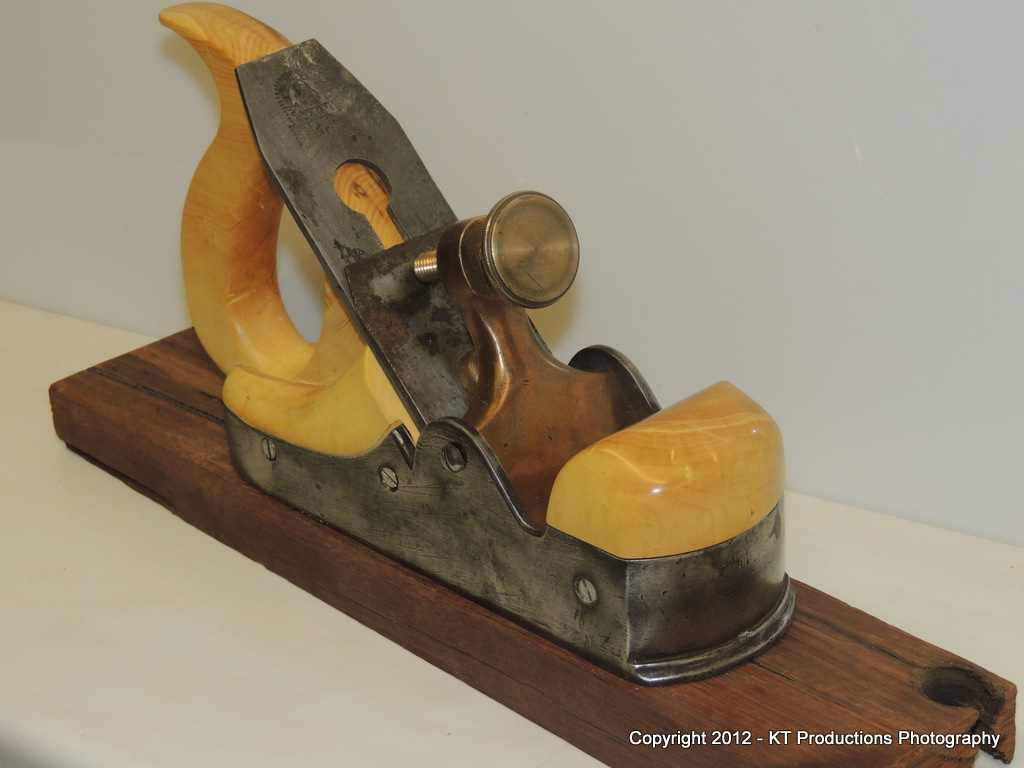
Note I have left the tail oversized and also the bed...both can be trimmed back precisely to the steel and iron when I have them fitted perfectly....
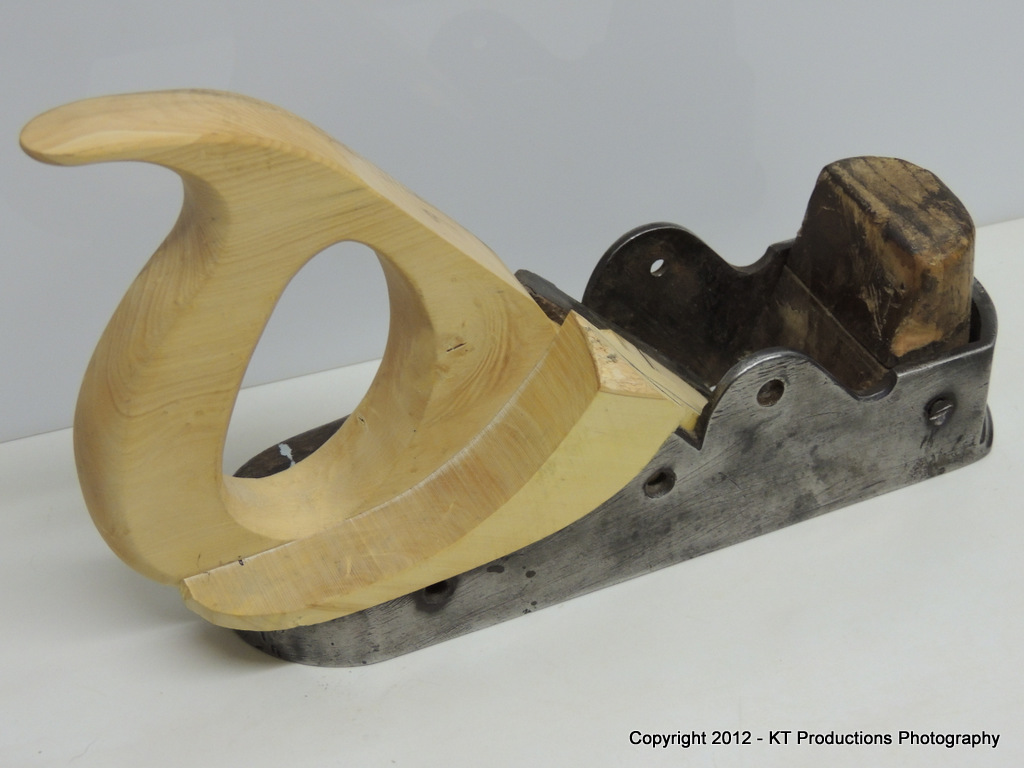
I used the other old cheek to size the thickness of the new one...this way the handle core will be central.
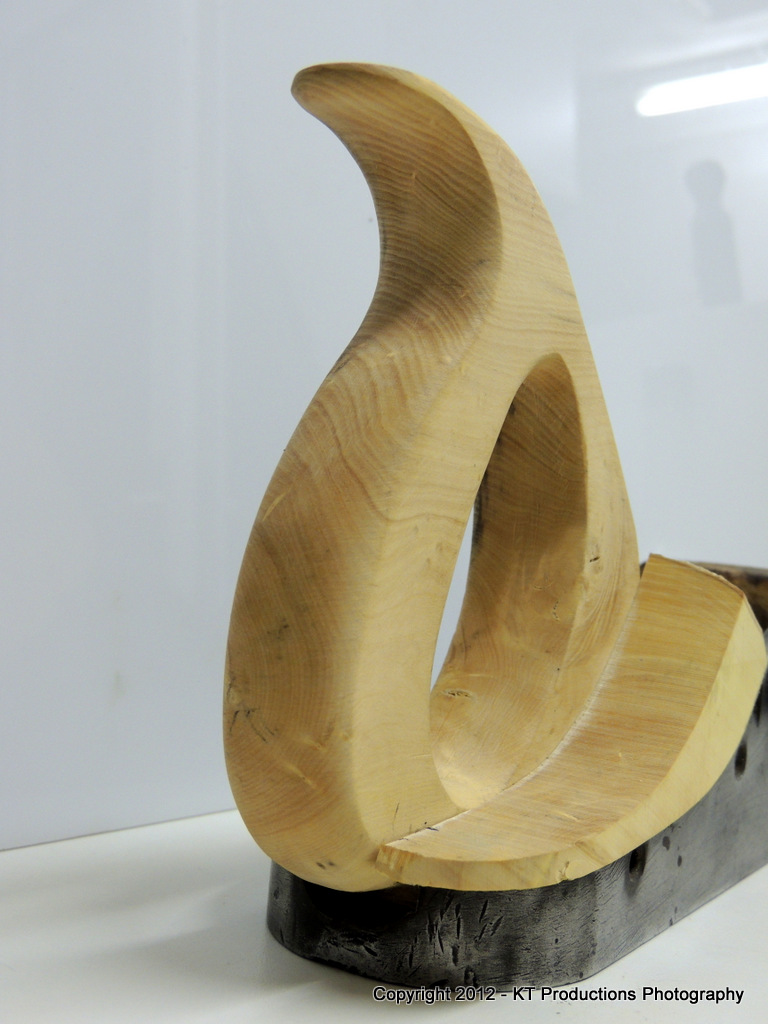
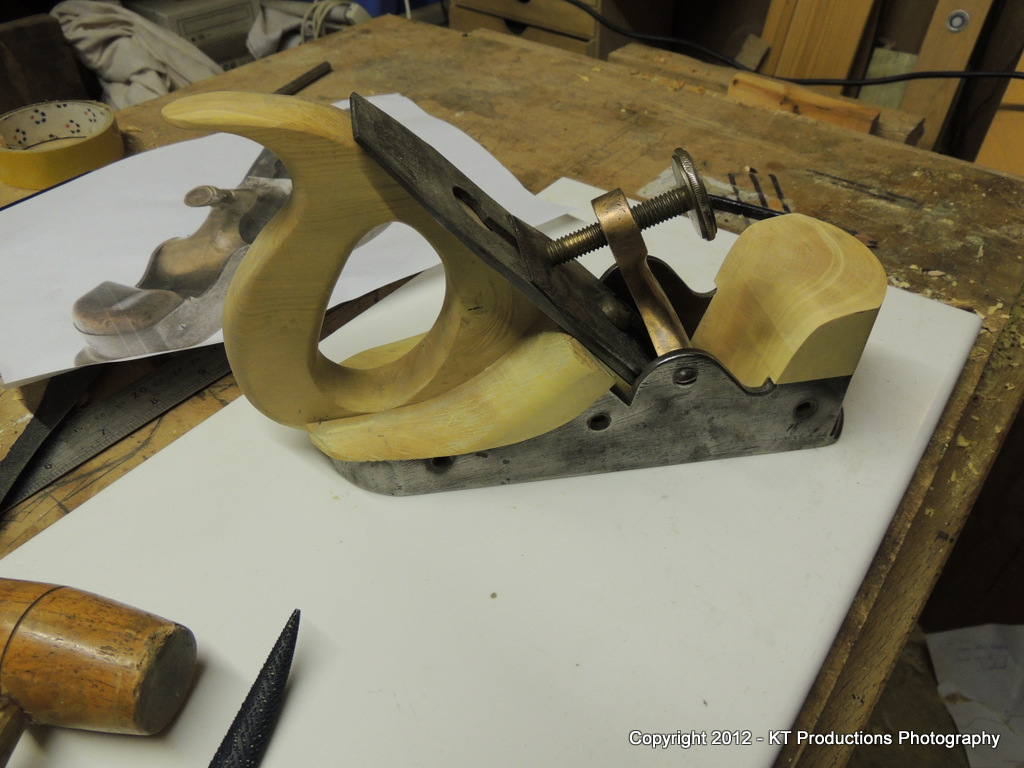
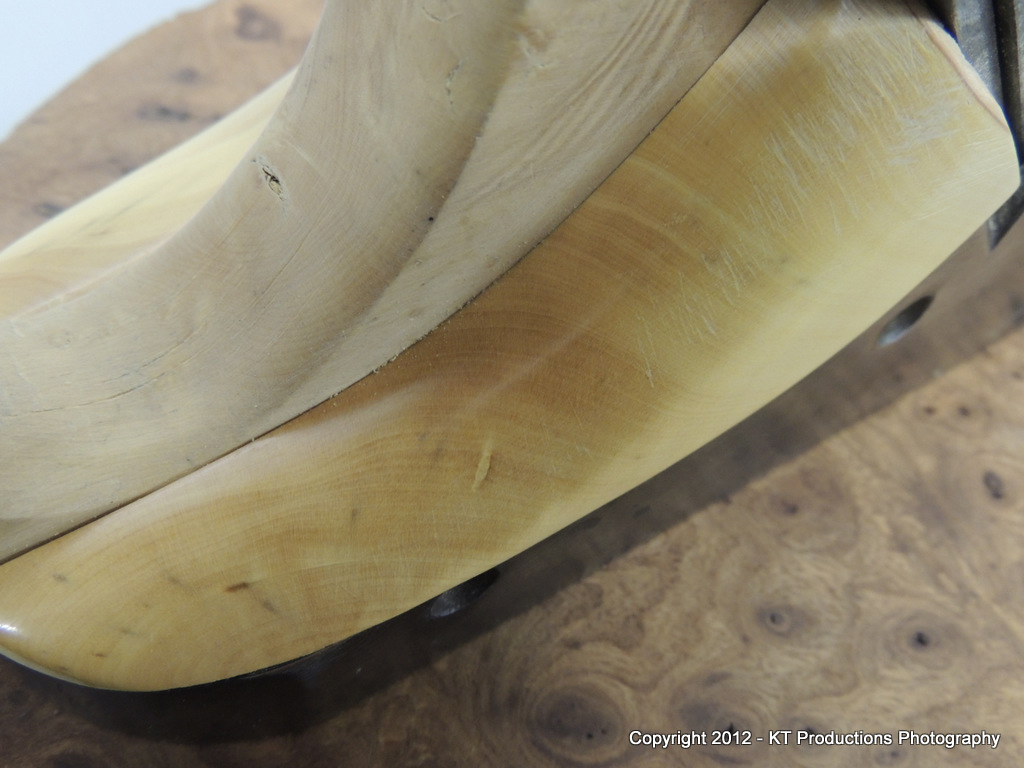
The cheek is also a perfect fit against the handle.
Then it was simply a case of making the other cheek....avoiding the obvious mistake that I always make when I forget this has to be a mirror of the other one! Not this time...but it was close!
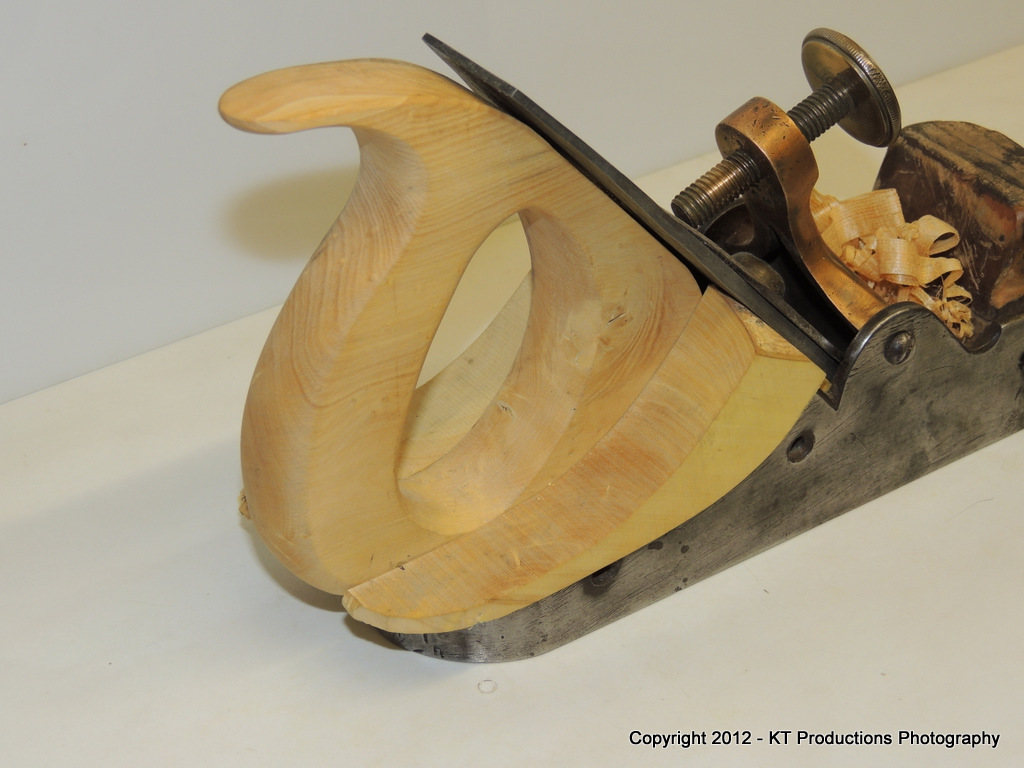
I'm scratching my head at the moment wondering how I can do the cheek roundovers perfectly...I will probably make a scratch which has the profile of the largest radius and use that...but the jury's out on that one at the moment.....any suggestions (apart from waiting for the rasp!!!)....?
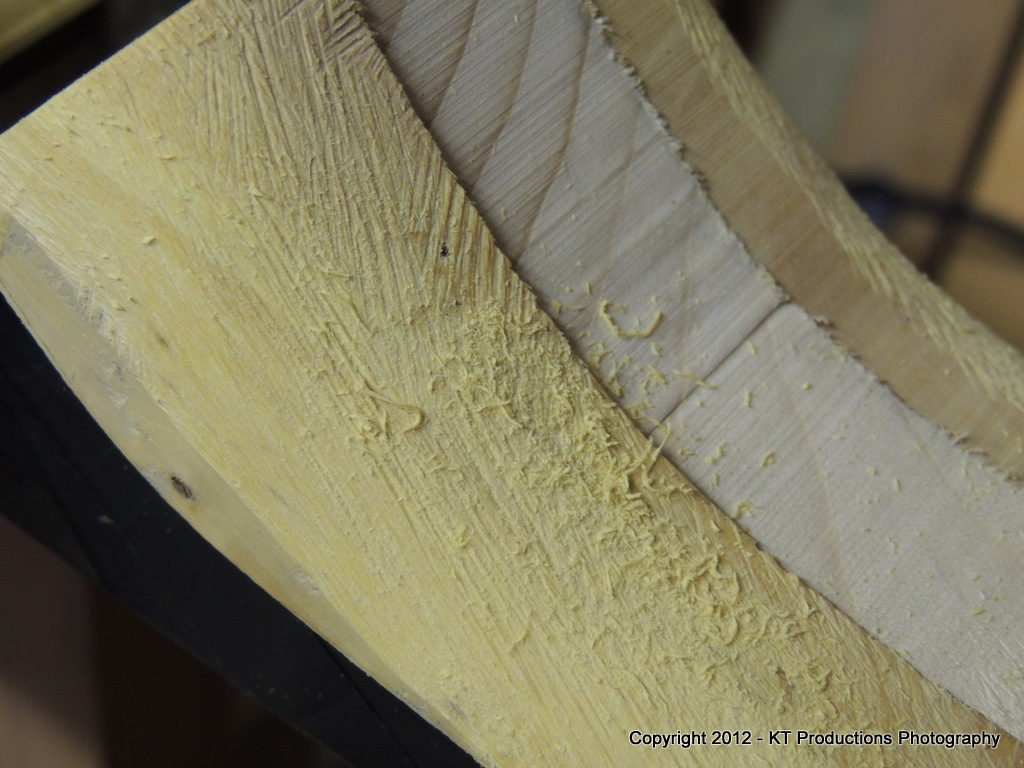
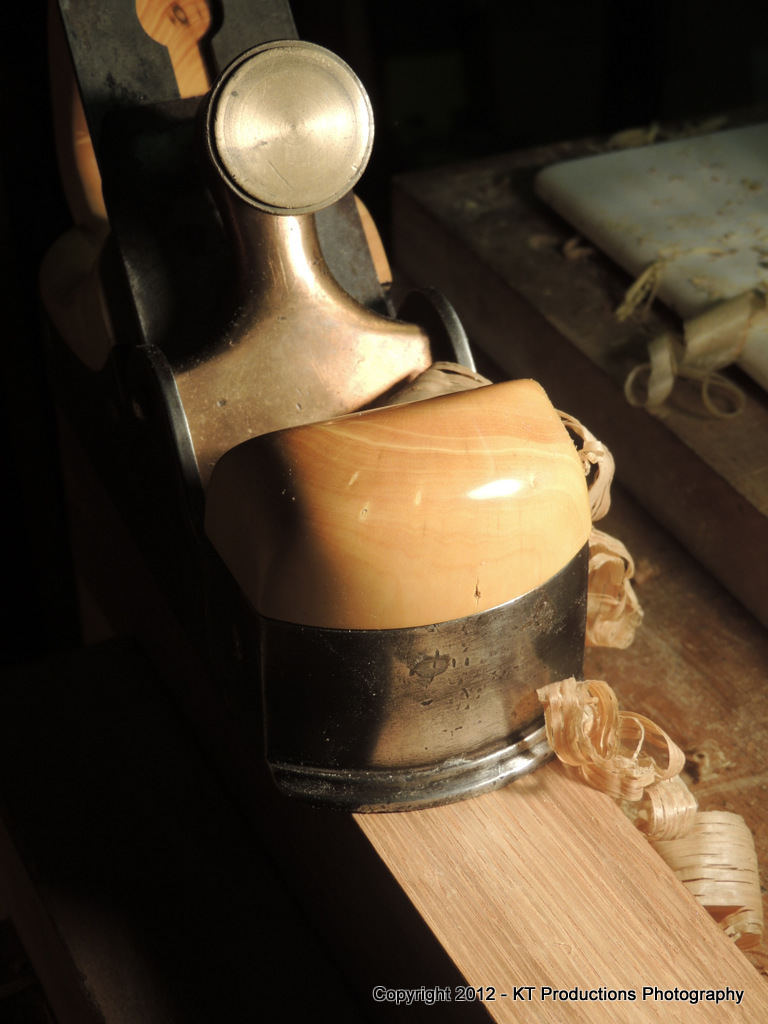
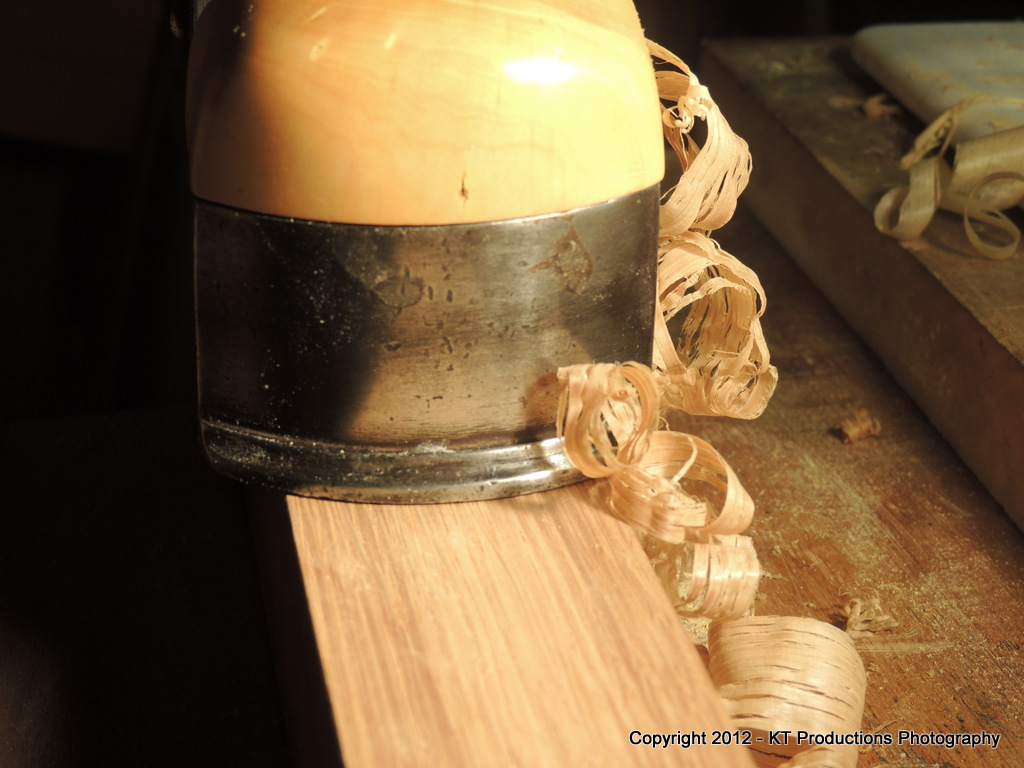
So...you may notice that I am constantly testing the iron in the plane...(the shavings!)....
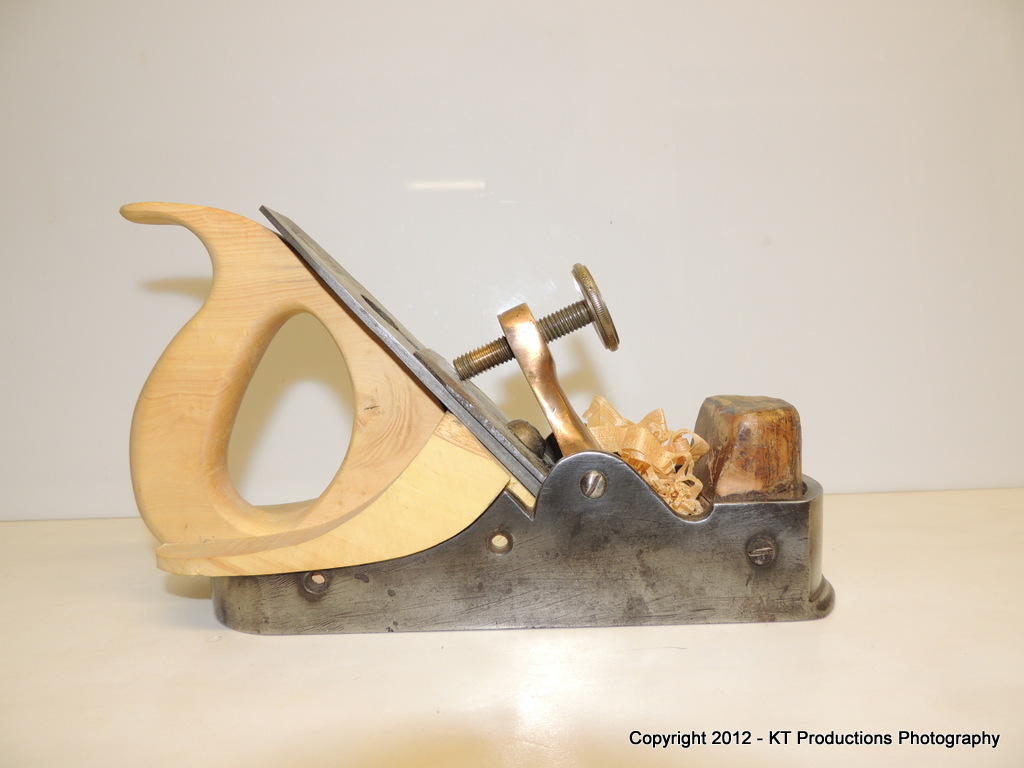
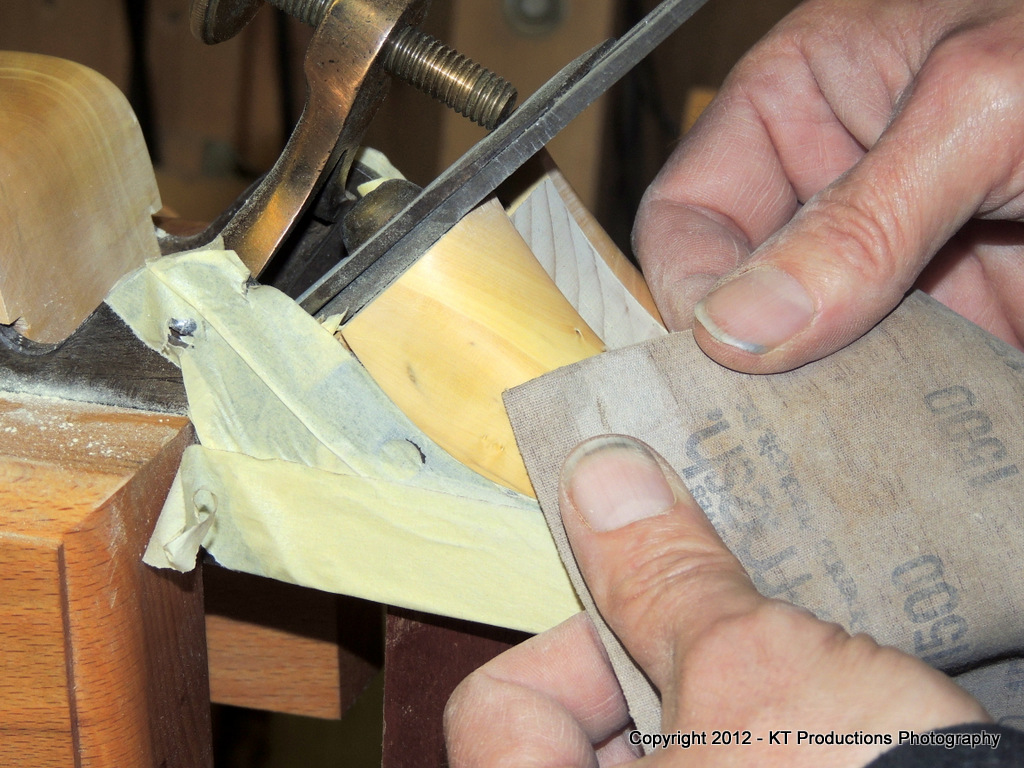
....and I need to make a slight tweak to the cheek on this side (a hairline gap is just visible) and, once the cheeks are glued to the handle...set the bed....but so far it's going quite well.
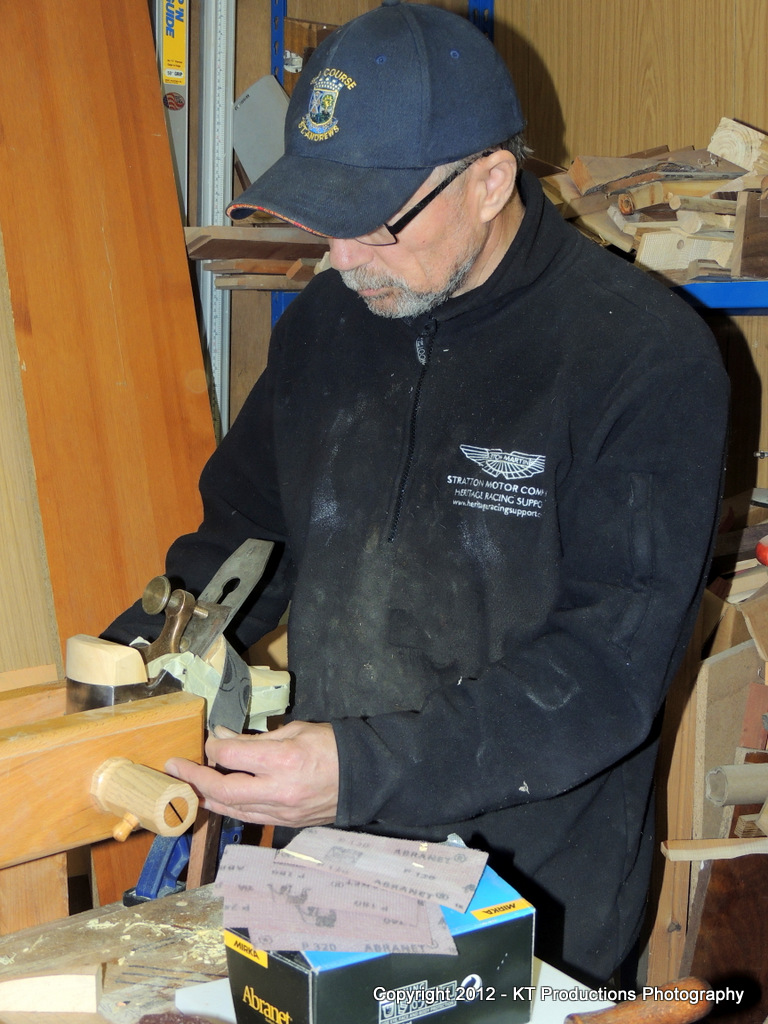
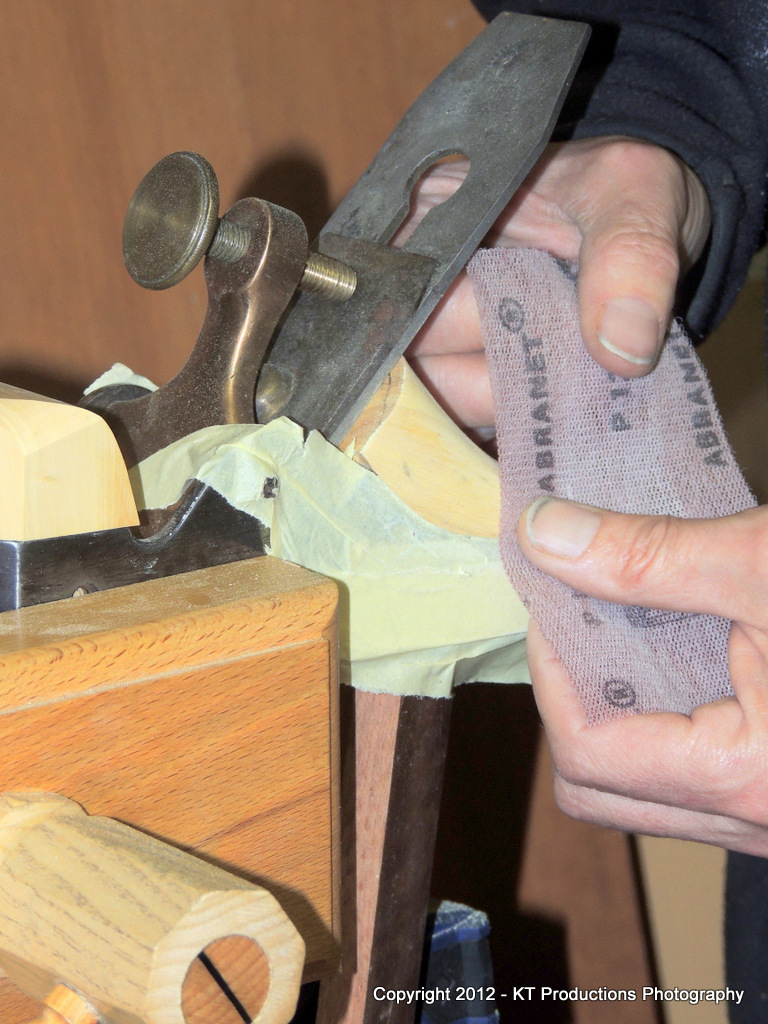
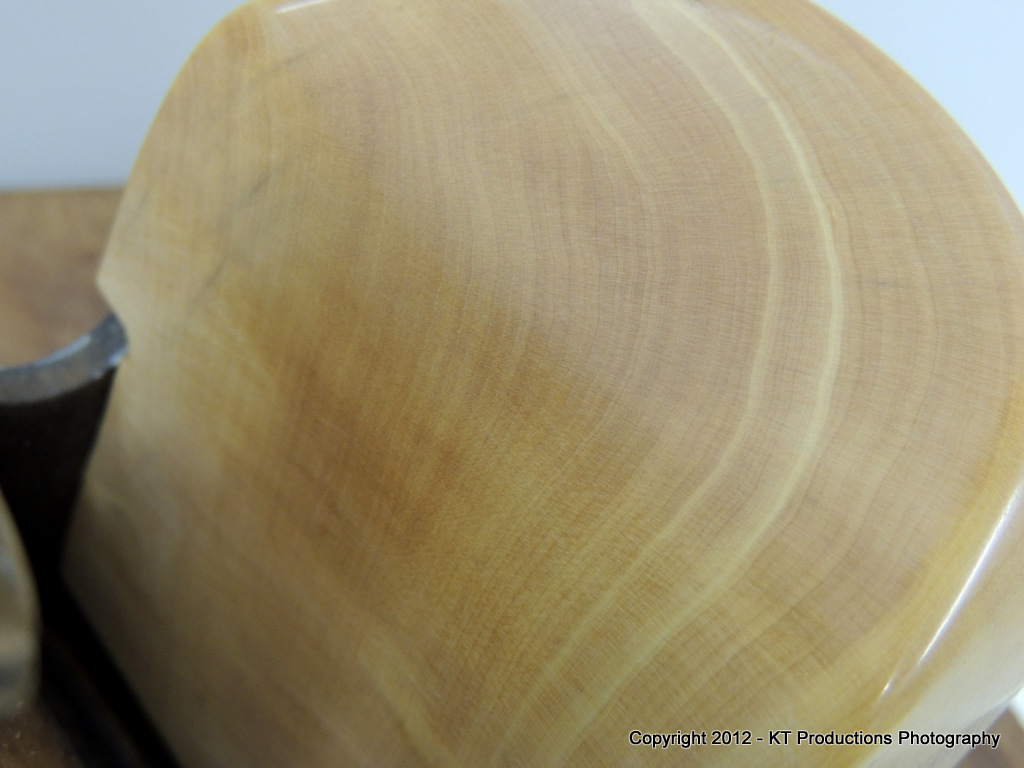
I can hardly wait to get out the Abranet and Micro-Mesh...that's when this wood will really come to life!
More later! Night all!
Jimi
I thought I would try shaping the outside of the handle with the Millers Falls MF1 "cigar" shave...it is a rather versatile tool and I thought it might work...I was not wrong....

Getting the MF1 tuned is a black art but as long as the "flat" part of the curved cutter is totally flat it seems to do wonders....

This really was accurate...fast and easy and only required some sanding to get the final profile....

Not being able to afford a bobbin sander...I stole the LN idea I saw on their video and made a roller one for the lathe...the bobbin is then me!

It works well as we shall see.
Next was the bit I thought would be "interesting" to get right...the cheeks.
Using the original ones I sized two scales a bit over thick and cut the recess on the outside. It was then simply a case of refining this with a paring chisel...

....not just any paring chisel but my beautiful I.Sorby "Punch" one...sharpened to dangerous levels by Douglas.....

First time I have used it in anger and boy was it worth the wait. There is nothing like paring with a super-sharp old piece of steel...wonderful control! Thanks Douglas!
Note I have left the tail oversized and also the bed...both can be trimmed back precisely to the steel and iron when I have them fitted perfectly....

I used the other old cheek to size the thickness of the new one...this way the handle core will be central.

The cheek is also a perfect fit against the handle.
Then it was simply a case of making the other cheek....avoiding the obvious mistake that I always make when I forget this has to be a mirror of the other one! Not this time...but it was close!

I'm scratching my head at the moment wondering how I can do the cheek roundovers perfectly...I will probably make a scratch which has the profile of the largest radius and use that...but the jury's out on that one at the moment.....any suggestions (apart from waiting for the rasp!!!)....?
So...you may notice that I am constantly testing the iron in the plane...(the shavings!)....

....and I need to make a slight tweak to the cheek on this side (a hairline gap is just visible) and, once the cheeks are glued to the handle...set the bed....but so far it's going quite well.
I can hardly wait to get out the Abranet and Micro-Mesh...that's when this wood will really come to life!
More later! Night all!
Jimi


