Post a photo of the last thing you made

UKworkshop.co.uk

Help Support UKworkshop.co.uk:

This site may earn a commission from merchant affiliate links, including eBay, Amazon, and others.
Shouldn't there be one with a red nose Doris?

PS, Or is Rudolph the one with a walnut nose? :D

They are kinda cute SWIMBO says. I agree![/quote][/quote][/quote]


The one with the walnut nose is actually Randolph the Brown Nosed Reindeer.
He's second in line to Rudolph and just as fast but he can't stop as quick.
 
Quick and dirty gouge block using 3M of plastic waste pipe and ply offcuts. Keeps the business ends protected :wink:
Just need some identifying marks now (homer)

DSCF6587.jpg


DSCF6588.jpg


I will probably extend a base from the front for stability with rack for a single line of palm tools.
 

Attachments

  • DSCF6587.jpg
    DSCF6587.jpg
    87.8 KB
  • DSCF6588.jpg
    DSCF6588.jpg
    84.9 KB
monkeybiter":bc768joo said:
Quick and dirty gouge block using 3M of plastic waste pipe and ply offcuts. Keeps the business ends protected :wink:
Just need some identifying marks now (homer)


I will probably extend a base from the front for stability with rack for a single line of palm tools.
Give 'em all names Biter! :lol:
 
Seeing as it's now December, here is a marble Christmas tree I made at the weekend out of some scrap ply, a few marbles & some battery led lights


And here it is lit up
 
Benchwayze":2ji5ezwk said:
lanemaux":2ji5ezwk said:
Sharp looking bit of work there Roger , would look at home in Q's toolchest.
Look after it better than JB would! :mrgreen:
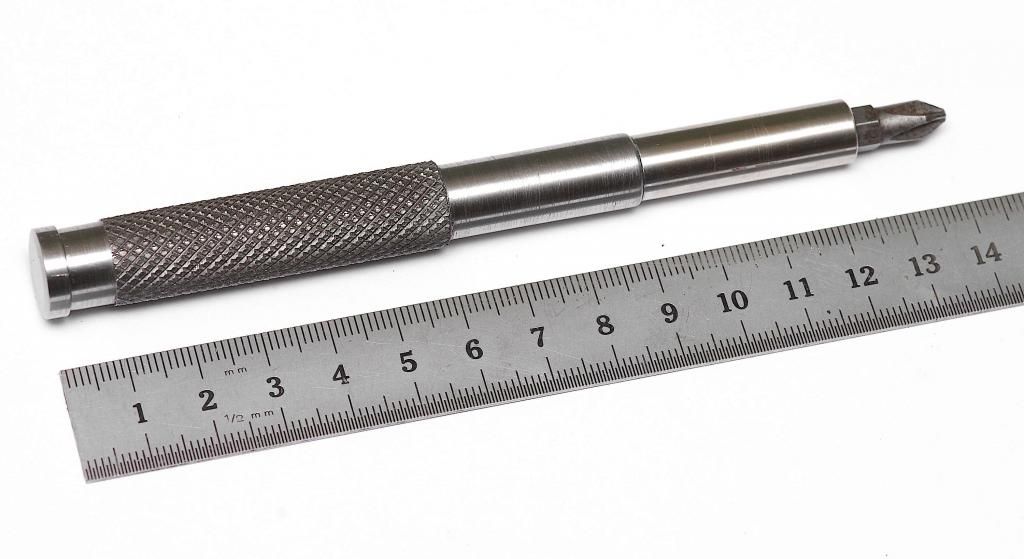
Very nice work. Someone has a Myford Super 7?
Thanks .... no out of my price bracket. :(

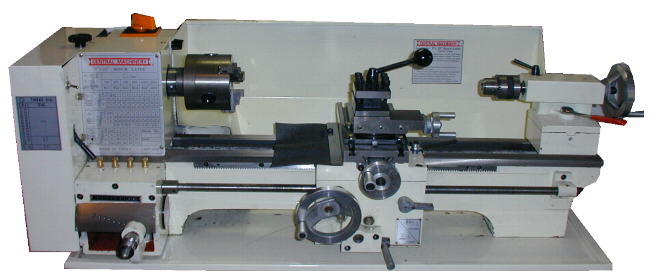
A genuine Chinese 9x20 by Shaoxing Machine Tool Works - before they sold stuff to the re-badgers.
Been modified/updated/tuned-up/original roughness removed etc.

Like this (which is the same thing re-badged by Harbour Freight). Mine is a delicate shade of green :)

9X20.JPG
 
pcb1962":e8bd48w6 said:
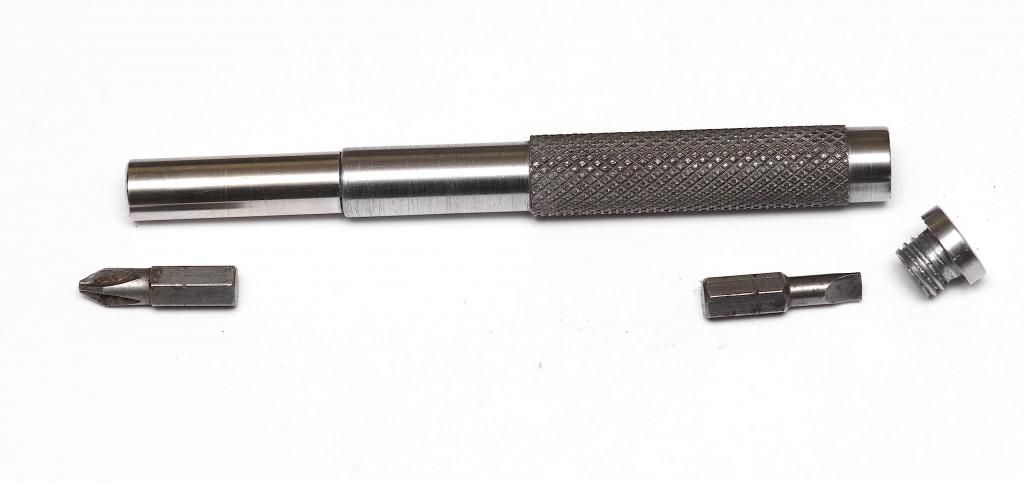
How did you make the hexagonal hole for the bits?
I used a piece oversized EN8 steel bar in the lathe and drilled out most of waste.
Then used a piece of sharp edged allen wrench held in the tailstock as a broach
(there is very little metal left to remove). Cleaned up the inside then ran the broach in again.
Finally I turned it down to finished size. Then I hardened and tempered the end.
 
You can do the same by tapering one end of the allen key offcut and hammering it into the pre-drilled hole, although pulling it back out can be a little difficult.
 
monkeybiter":39m82xax said:
You can do the same by tapering one end of the allen key offcut and hammering it into the pre-drilled hole, although pulling it back out can be a little difficult.
That's more or less what I did except I pushed a piece of untapered and end sharpened allen wrench in.

As the wall is so thin to avoid breakout it's best to start with a much thicker bar and then turn down to finished size.

Guess how I found this out? :oops:
 
RogerP":1mri2inx said:
As the wall is so thin to avoid breakout it's best to start with a much thicker bar and then turn down to finished size.

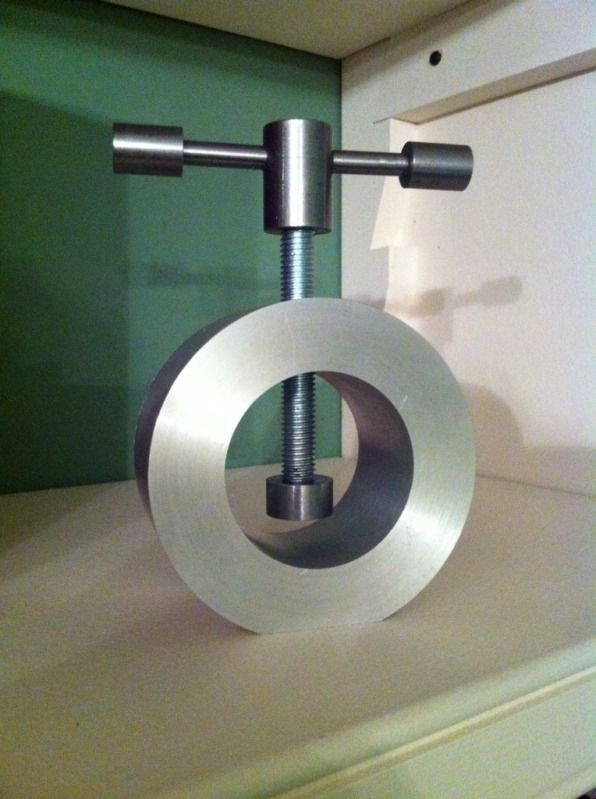
I was making a table side depth adjuster for the router so I had plenty to play with before finish turning. There was a swaged lip formed around the hole that had to be removed.
 
My latest makes... lots of Christmas tree ornaments...made from off cuts (thanks guys... you know who you are!)
Made for a table top sale and a Christmas fair.... unfortunately both were not advertised by the event organisers.... so no one came :cry:
 

Attachments

  • IMG_1979525273578.jpeg
    IMG_1979525273578.jpeg
    35.6 KB

Latest posts

Back
Top