Hi all,
Just wanted to start a thread for the workshop/shed I've started.
I have to admit this is the first time doing anything like this and no doubt I may have done/plan to do things incorrectly so please feel free to steer me in the right direction if you see any vital errors, I'd really appreciate any advice anyone can offer along the way.
So the story is we've just moved from a top floor flat to a lovely fully refurbished and extended ex-council end terrace 3 bed house and finally we have some outside space for us all to enjoy, my 4 year old son love having a garden and simple things like being able to wash our own cars, hang out washing, put on a BBQ and so on are just so nice, it's amazing what simple pleasures you miss living in a flat!
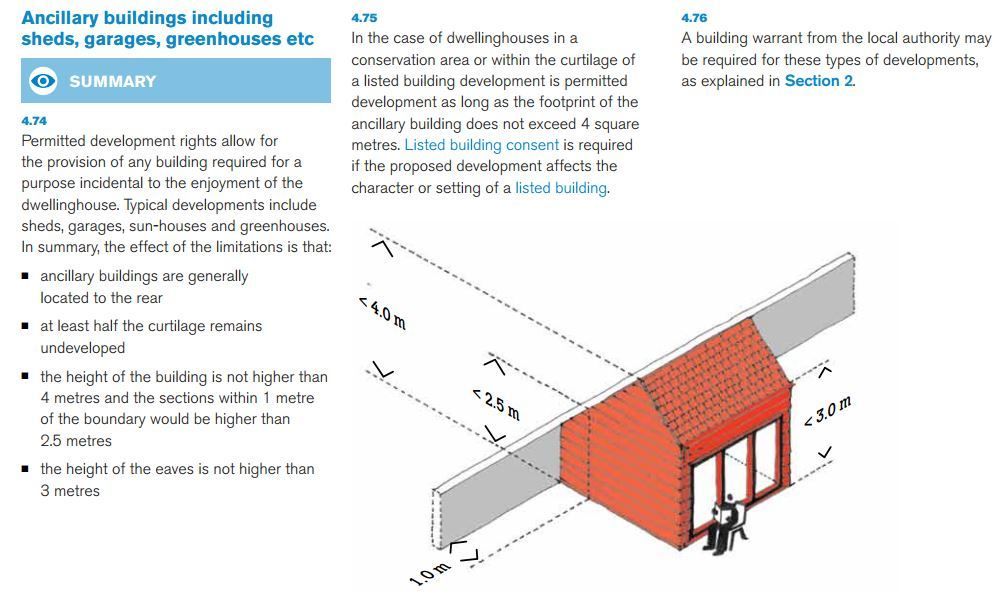
So, I really need a decent size outdoor building, the tin shed at the bottom of the garden is leakier than a leaky thing and has to go ASAP as all my camping gear, expensive bikes, power tools and so on are currently at the mercy of the weather and we want to utilise that space in a total revamp of the garden starting next year. Ideally the previous owners kept a caravan at the bottom of the drive, it's an area built up with sleepers and ideal for the 14x9 "workshop" I've started. Sadly I'm limited to 2.5m max height as the building will be within 2 foot of the neighbouring property.
I've looked at pre-fab "sheds" and have either been extremely unimpressed or blown away with the cost of some of them and I'm convinced I can do as good, or hopefully better than the offerings and for a lot less then some of the higher end stuff, I'm keen to keep it under £1500 (not including some tools I've purchased) and it's to be fully insulated with power and more than a shed, would be nice to have a proper little outdoor "room" that can house an iMac computer, all my tools, good workbench space and so on. I have amassed a fair amount of tools over the years, mostly car related as i work on my own and friends cars regularly but I have the essentials I need for doing this too I think.
Anyway, on to some pictures which I'll explain on the way:
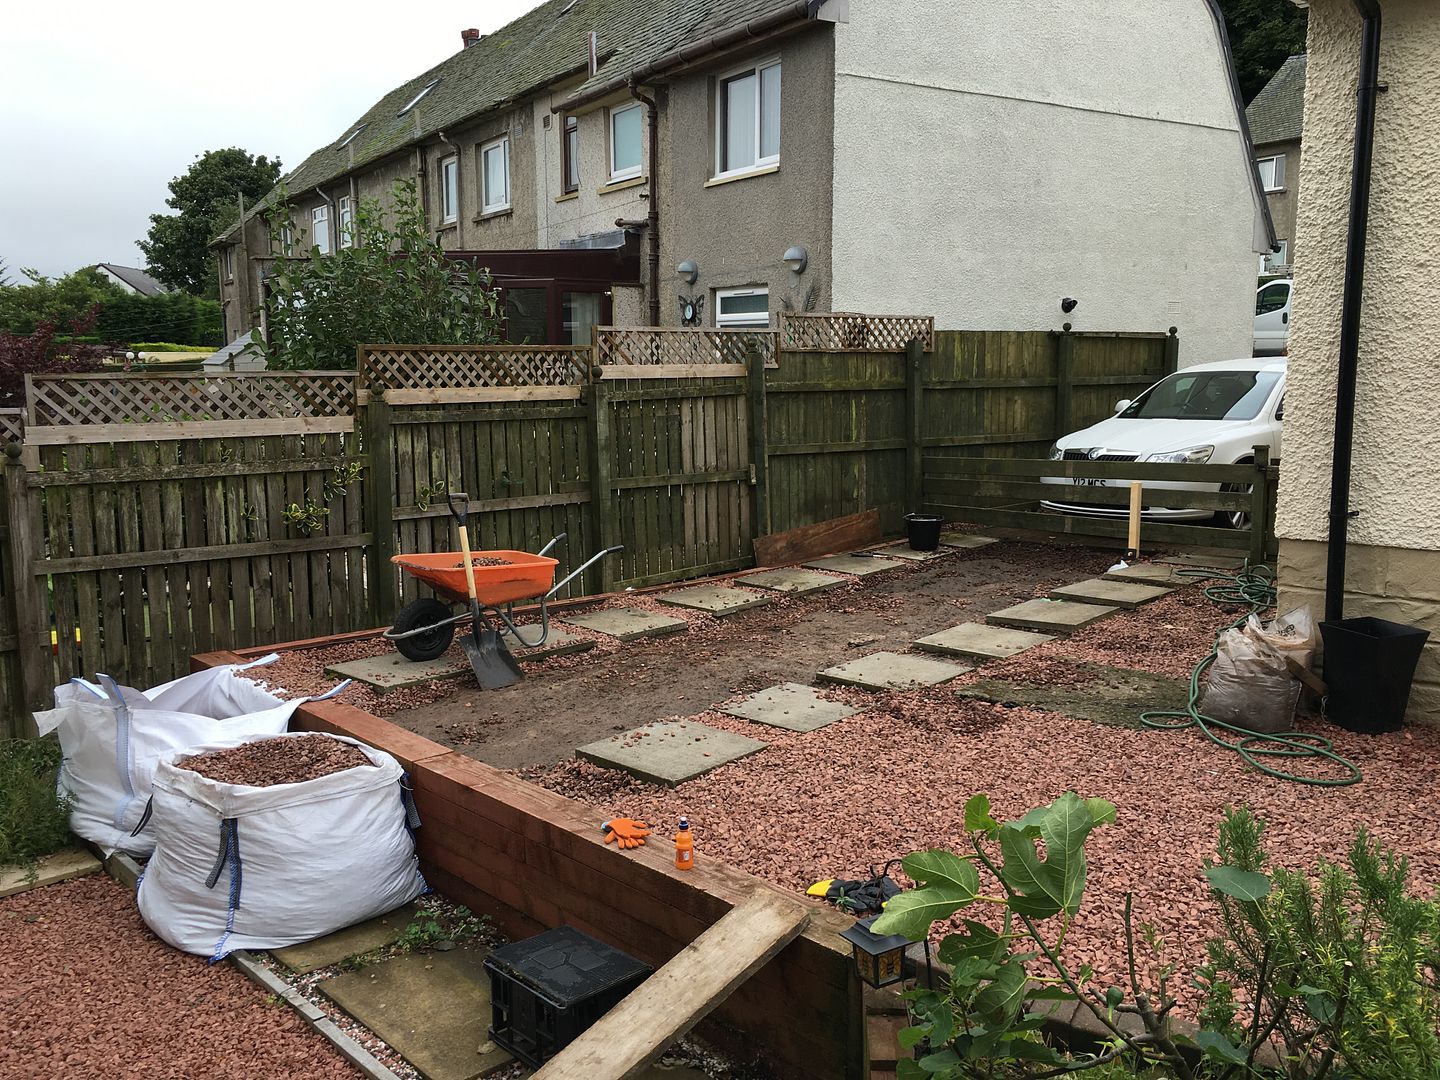
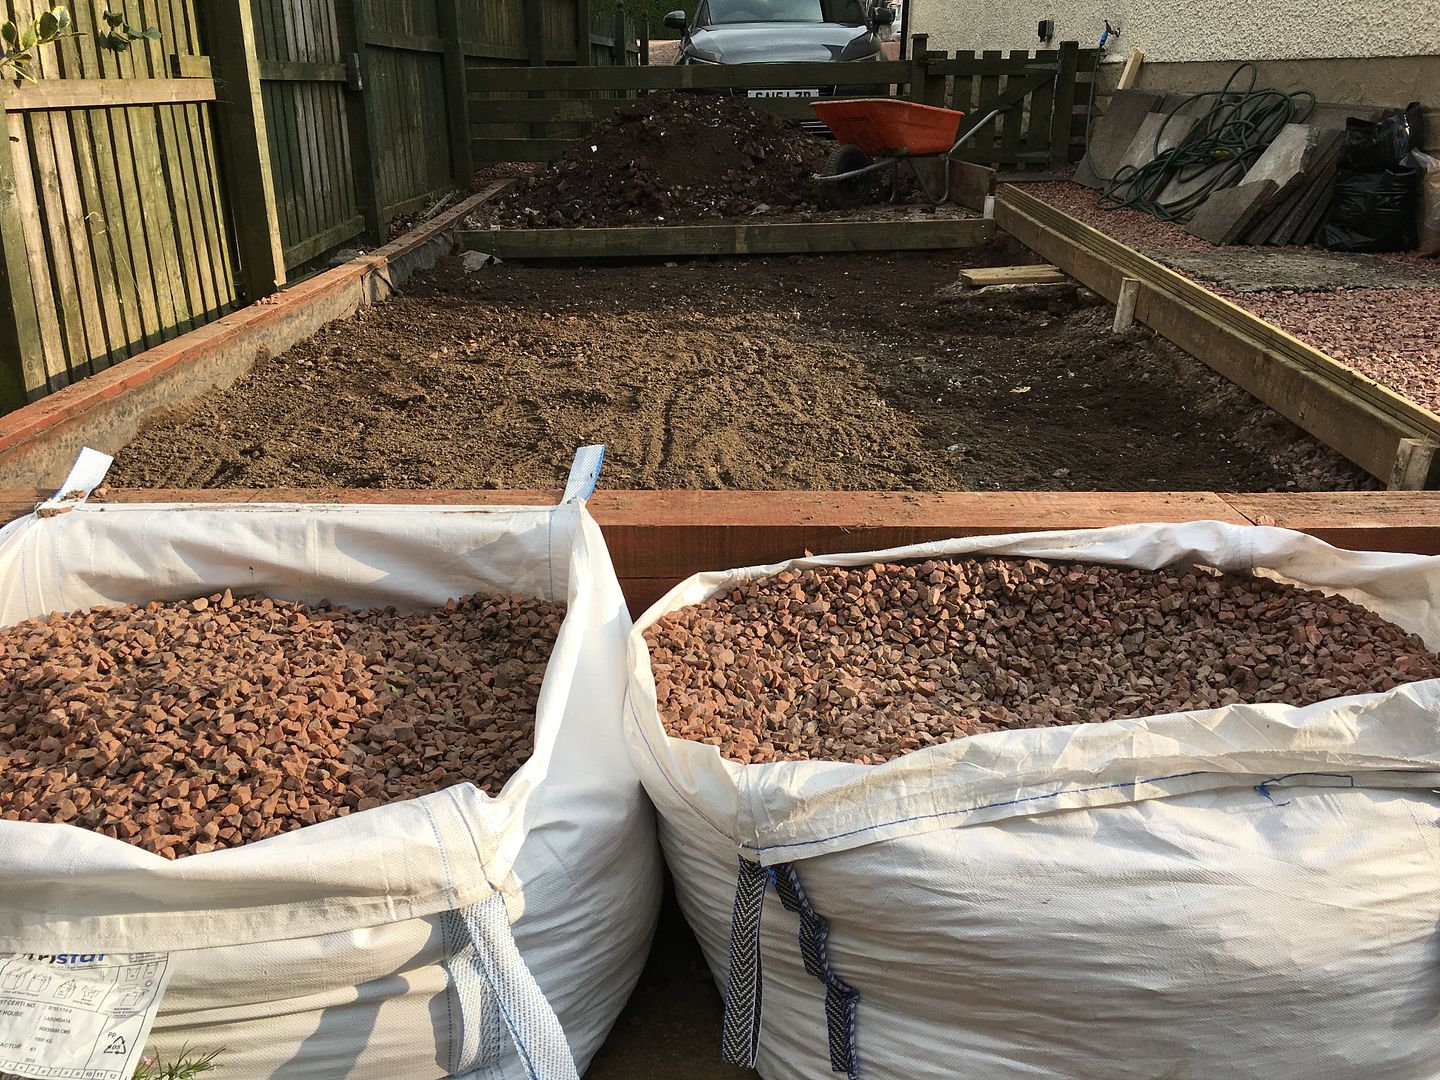
This is the area in question, picture does not show it very well here but essentially minimal slabbing, approximately 18 foot long by 9 and a bit foot wide (retaining sufficient space to access the cars and drive and get the bins out).

So the groundwork starts, removed nearly 2 tonnes of chips from the area alone, the ground under them was very uneven and they just threw as many chips as it took to level it out I think
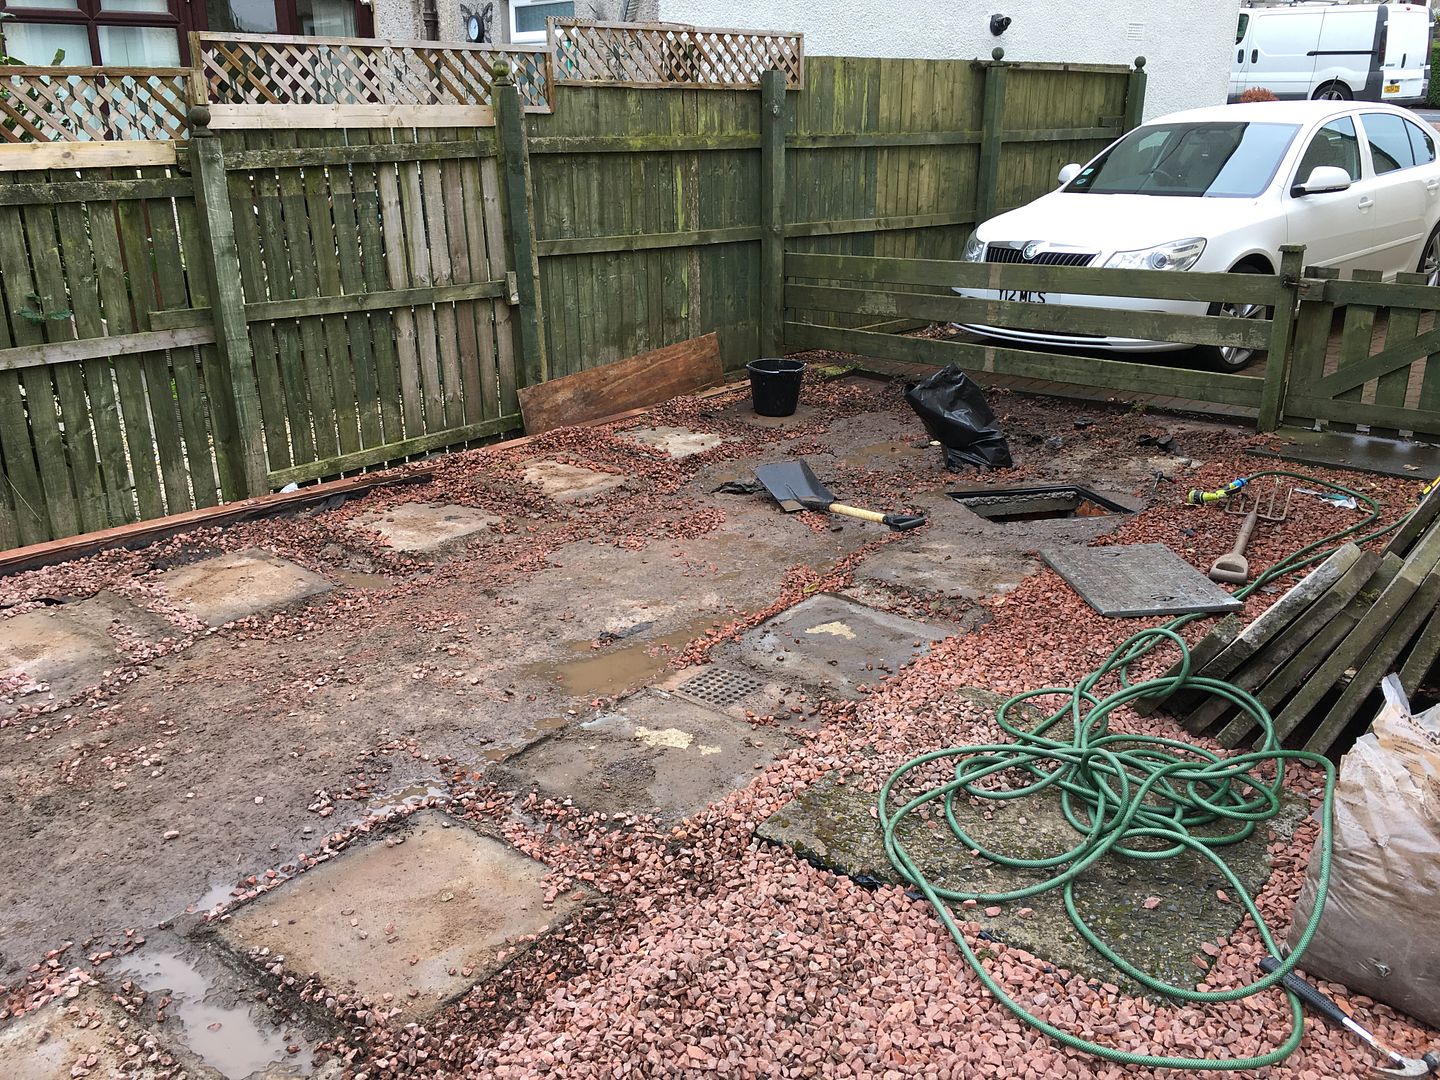
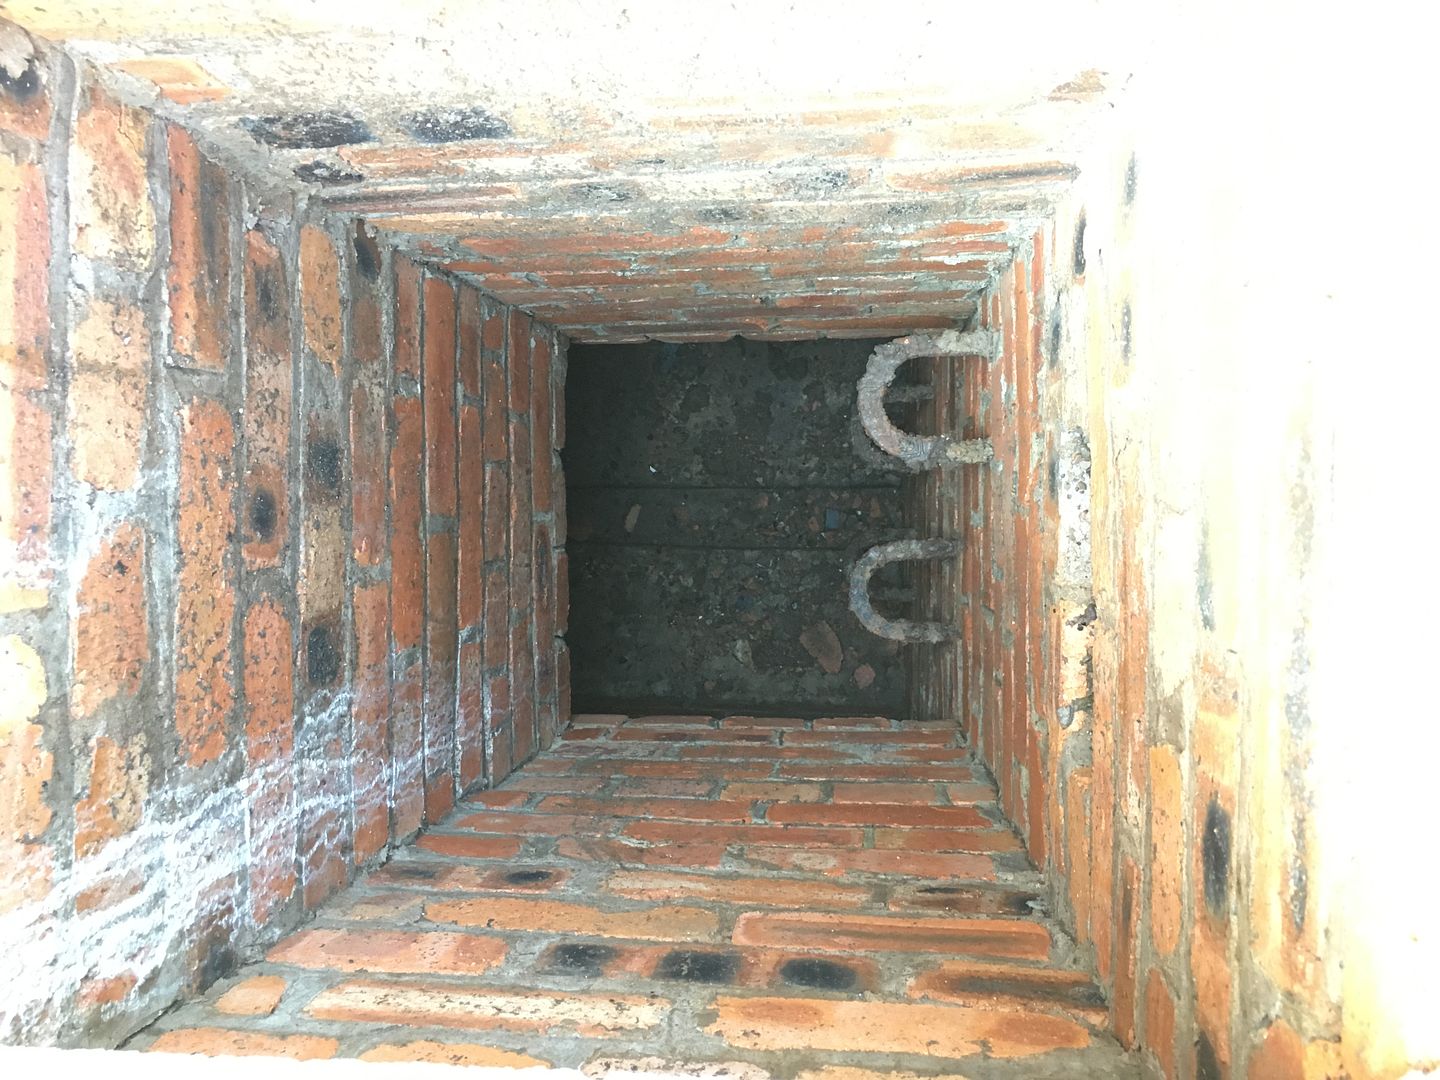
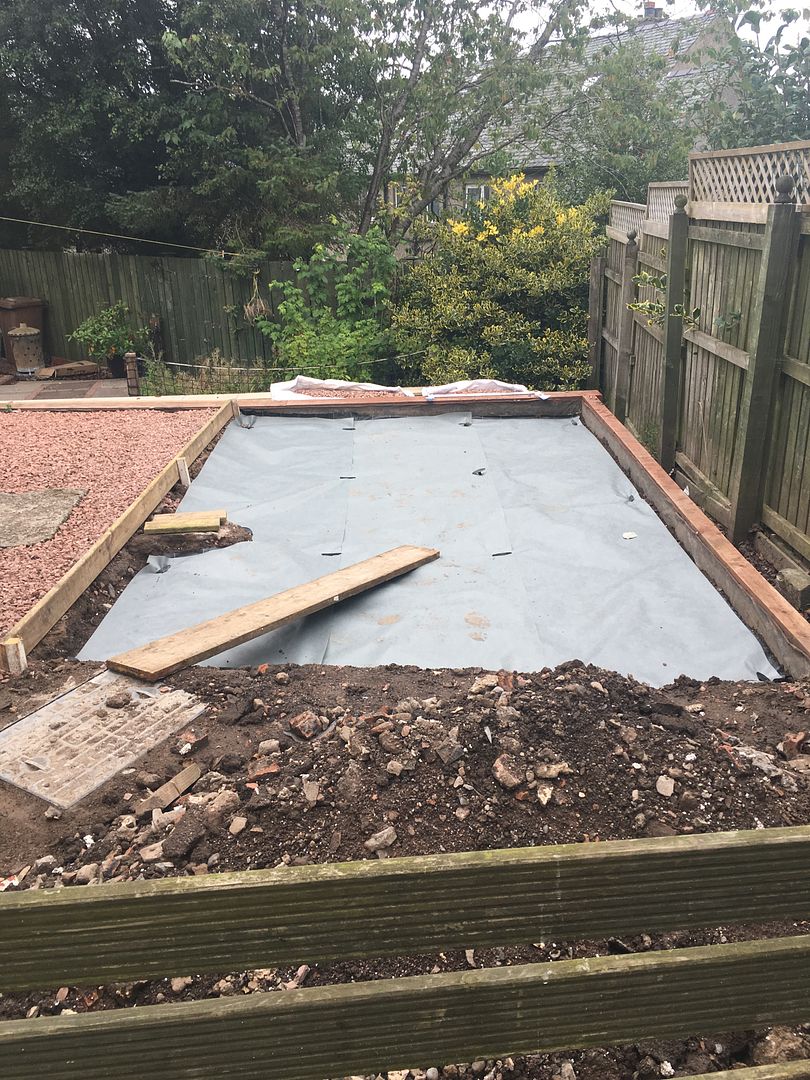
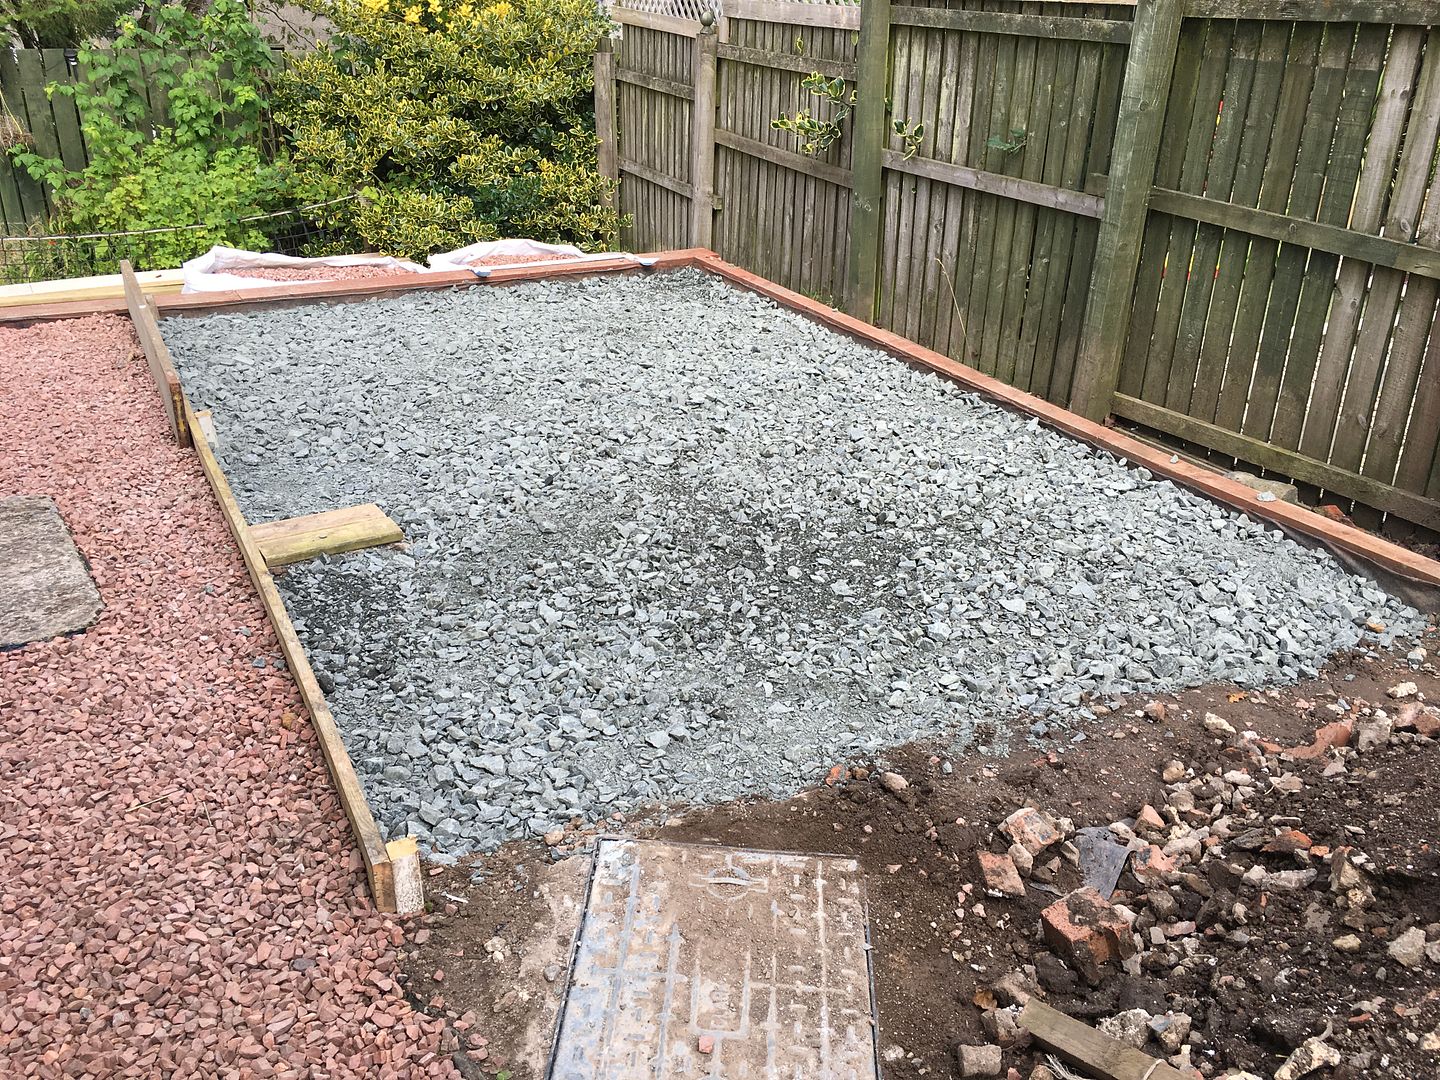
Originally I'd planned building it 16 x 9 and much closer to the monoblock drive and also having a wood store to the rear however upon lifting the existing slabs and breaking up the mortar pads they sat on I uncovered a bloody manhole cover, and a new one at that!?? Odd thing was that our drain is further down the garden and upon opening the manhole it was pretty obvious it had not been in use for a very long time, there was debris, bits of brick and all sorts in the channel where the waste would run, so why the new cover?? So a quick email to the previous owners and it was explained that many years ago the council re-routed the system and this had been "decommissioned", the reason for the new cover was that there was a very old, large and thick domed iron cover on it and they changed it to a low profile one simply to allow them to get their caravan in there and they simply fitted it and then slabbed on top of it!!?
Anyway, wouldn't be at all comfortable building on top of that, knowing my luck they would want in there at some point and the shed would have to be dismantled so now unfortunately it's got to be 14 x 9 and further down.
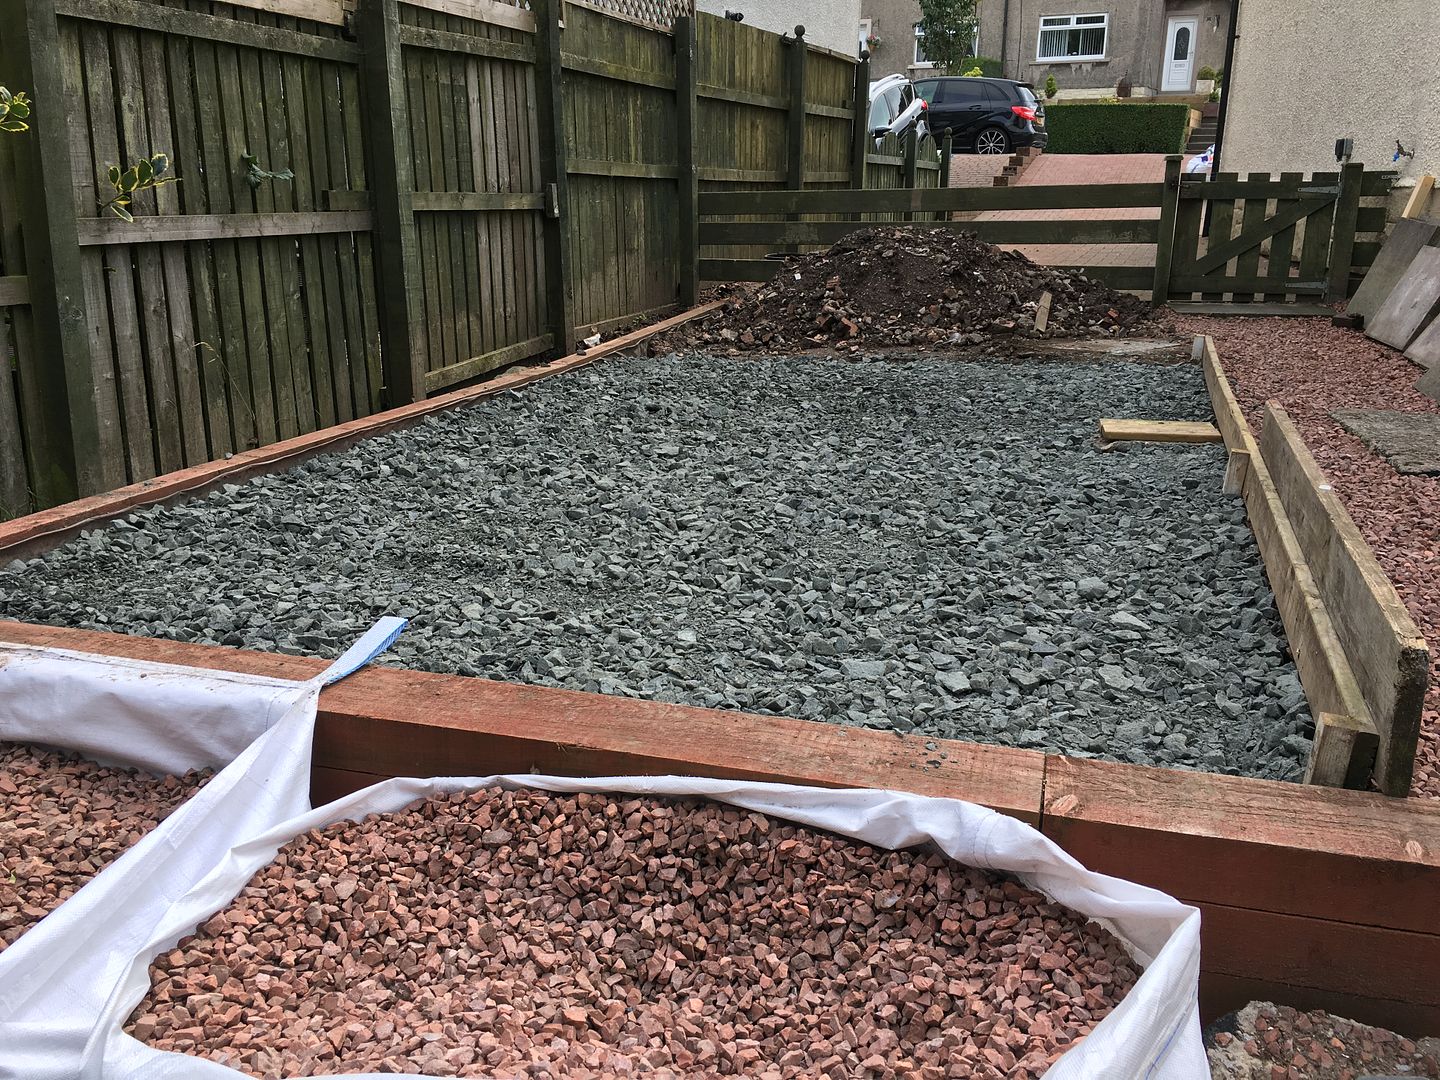
So I put up a little shuttering just to section off the area and keep the chips from collapsing in and ended up excavating down about 6 inches or so in total and made it as level as i could by eye, got 3 tonnes of type 1 sub base, lined the bottom with a layer of driveway fabric/weed control barrier and started barrowing in the sub base then borrowed a whacker from my neighbour and whacked it down. Took the full 3 tonnes to get it to the level I wanted too!

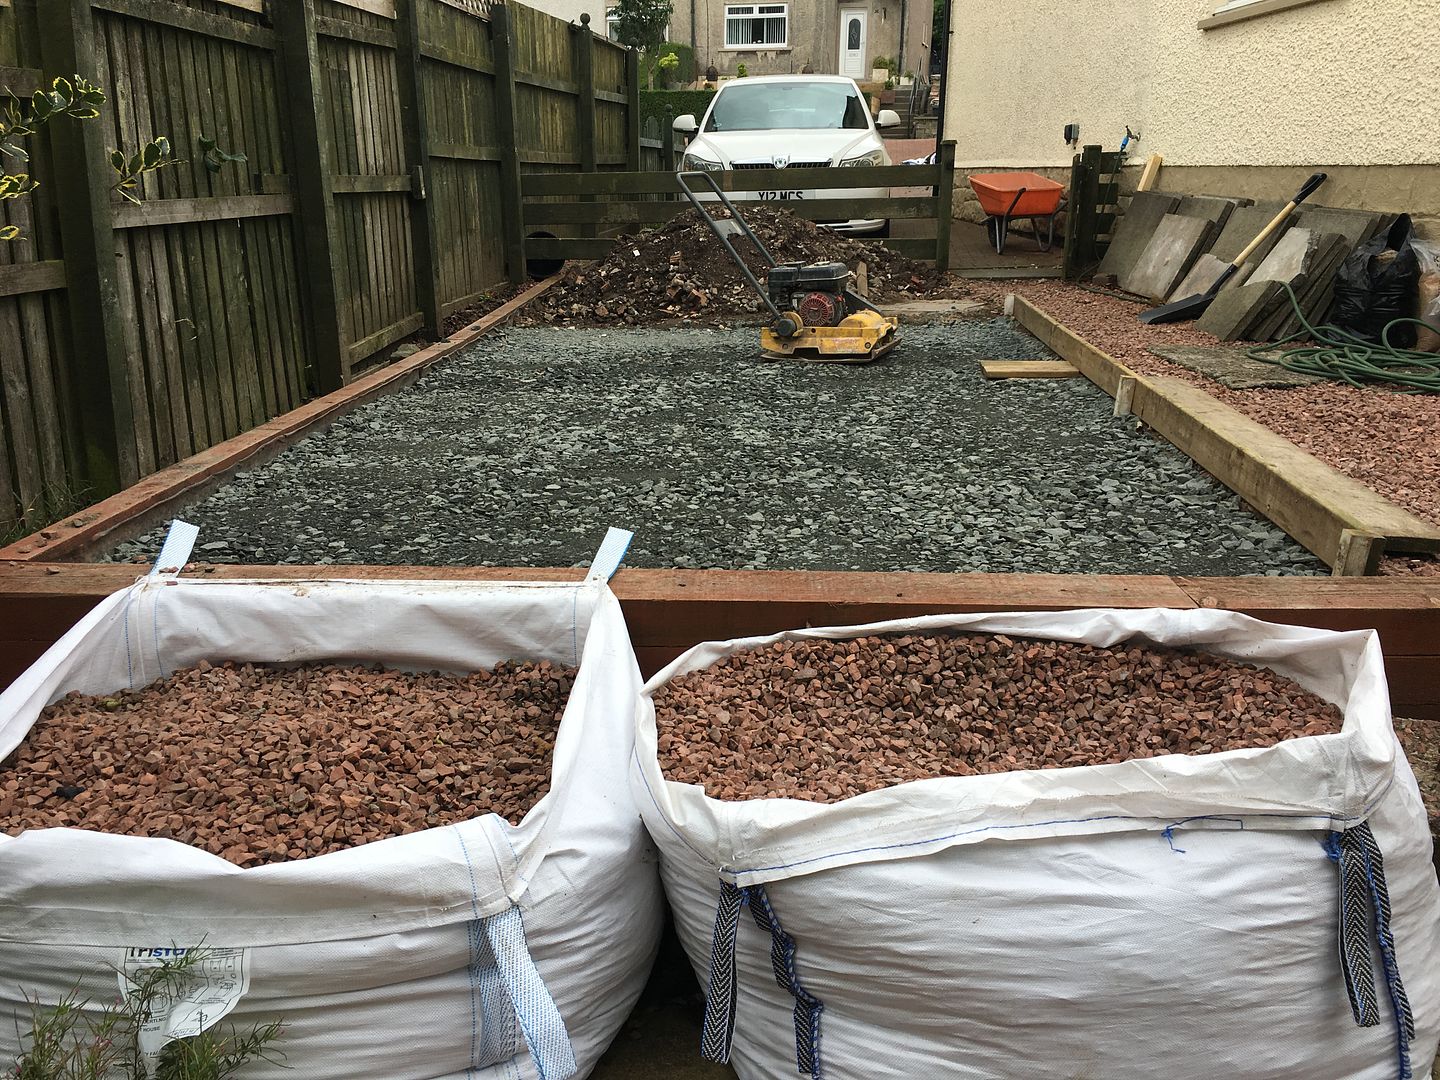
So, sub base sorted and i had to decide if I wanted to go the poured slab route or re-use all the 2x2 and 3x2 "council" concrete slabs I had dotted around all over the bottom of the garden, in the end for cost reasons I decided on the latter, may as well use them and save the £300ish I was quoted it would have cost in having concrete delivered. Also saved me the hassle of having to get rid of all these slabs at the same time.
So I ordered up a tonne of sharp sand and some bags of cement and laid the slabs on a 6/1 dry mortar mix, now this again was the first time doing this and a couple of the slabs were off level a bit, certainly not perfect but I have a plan for that which I'll explain in a bit but on the whole not awful for a first attempt I hope?
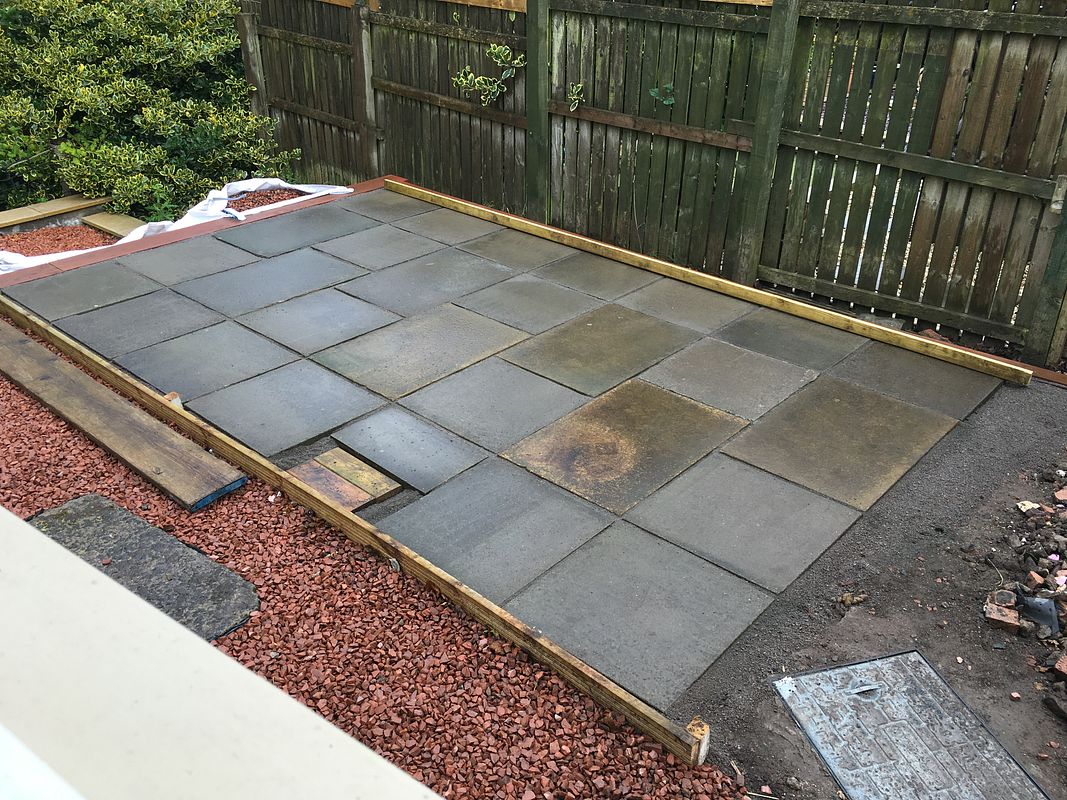
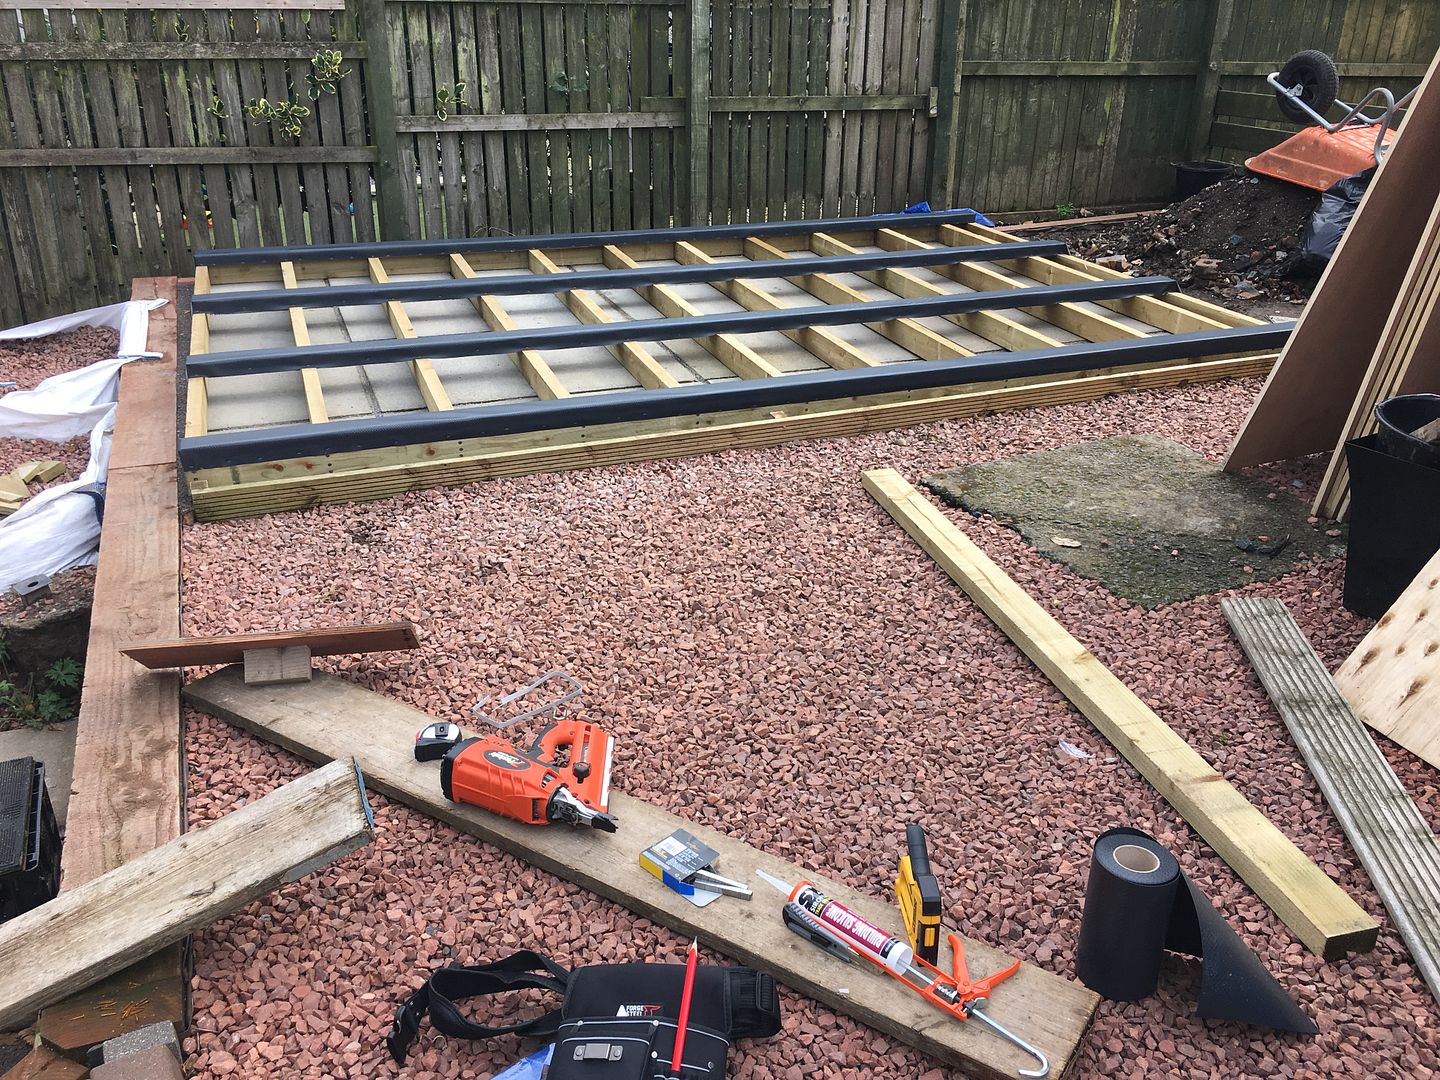
So next up was to get the timber for the base, gone for tanalised 4x2" framework which is sitting on 4 - 4x2" tanalised bearers laid flat to spread the load and support the joists whilst giving a clear 2 inches of ventilation space under the whole base, I'm hoping that is sufficcent?
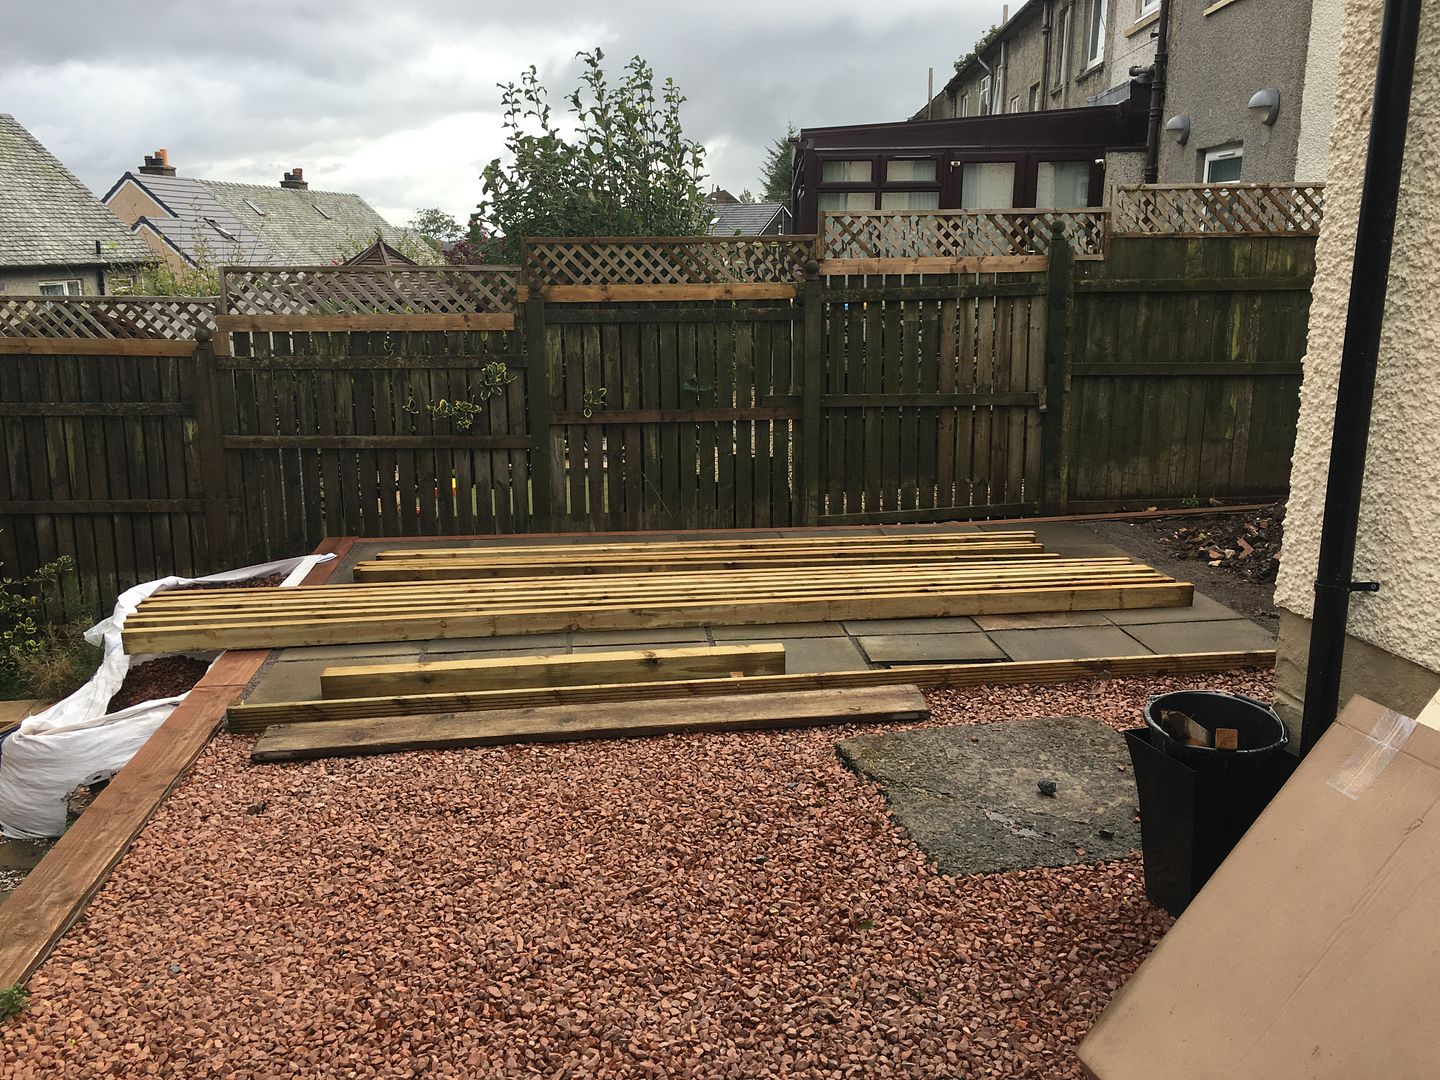
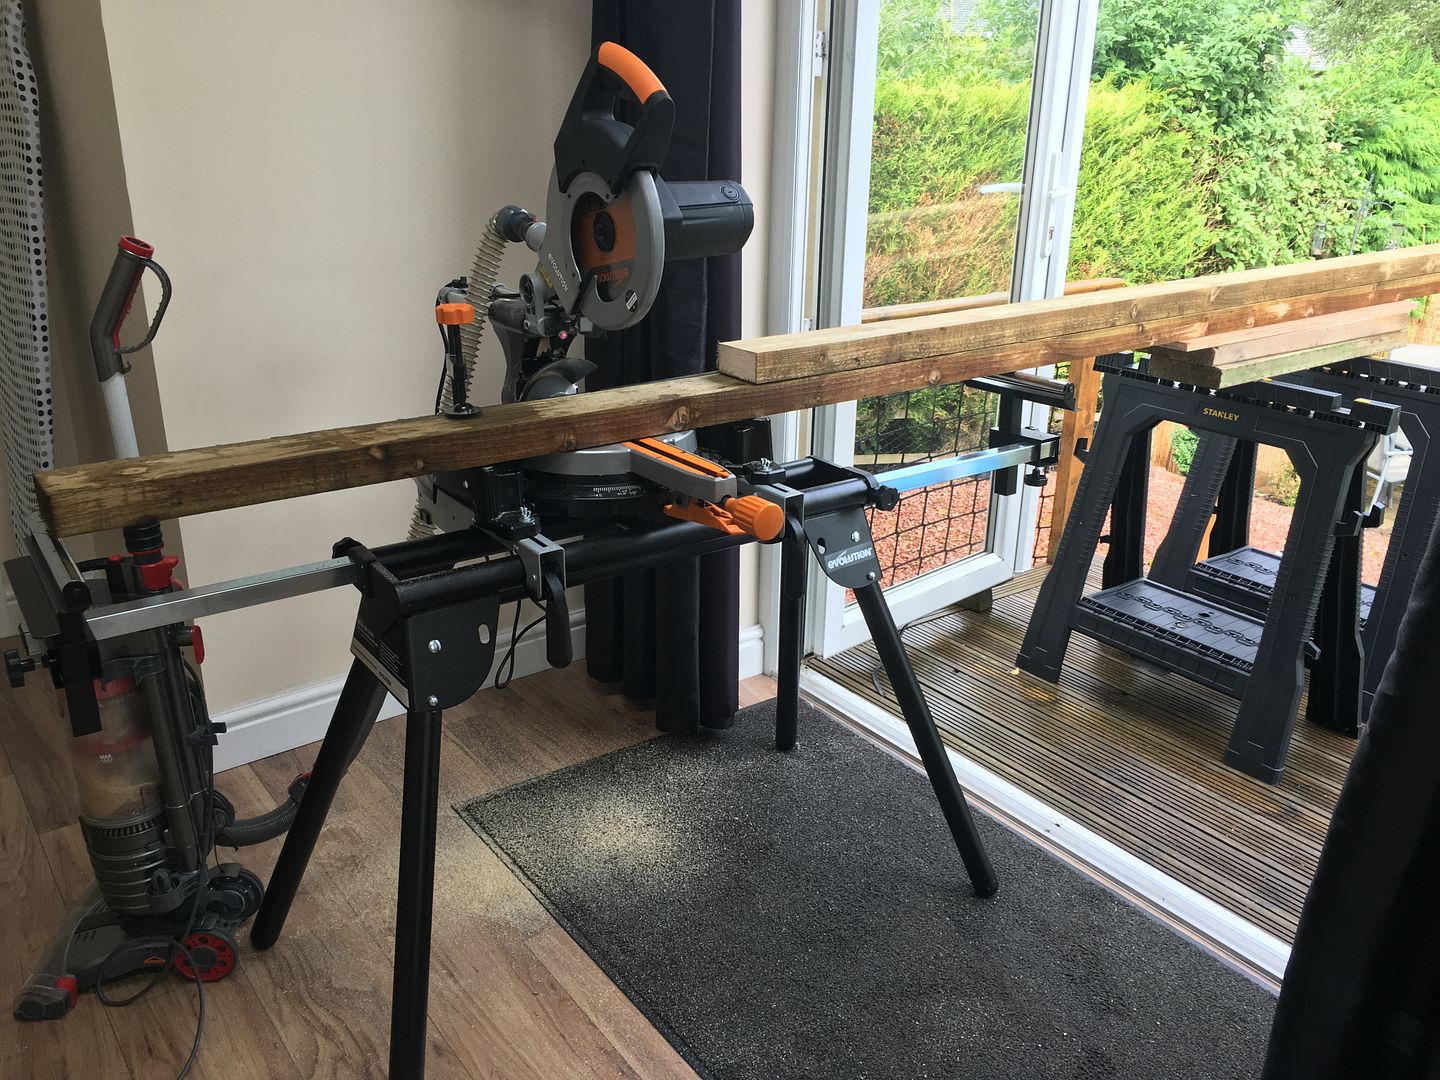
And here's the finished base framework, the joists are at 16" on centre spacing.
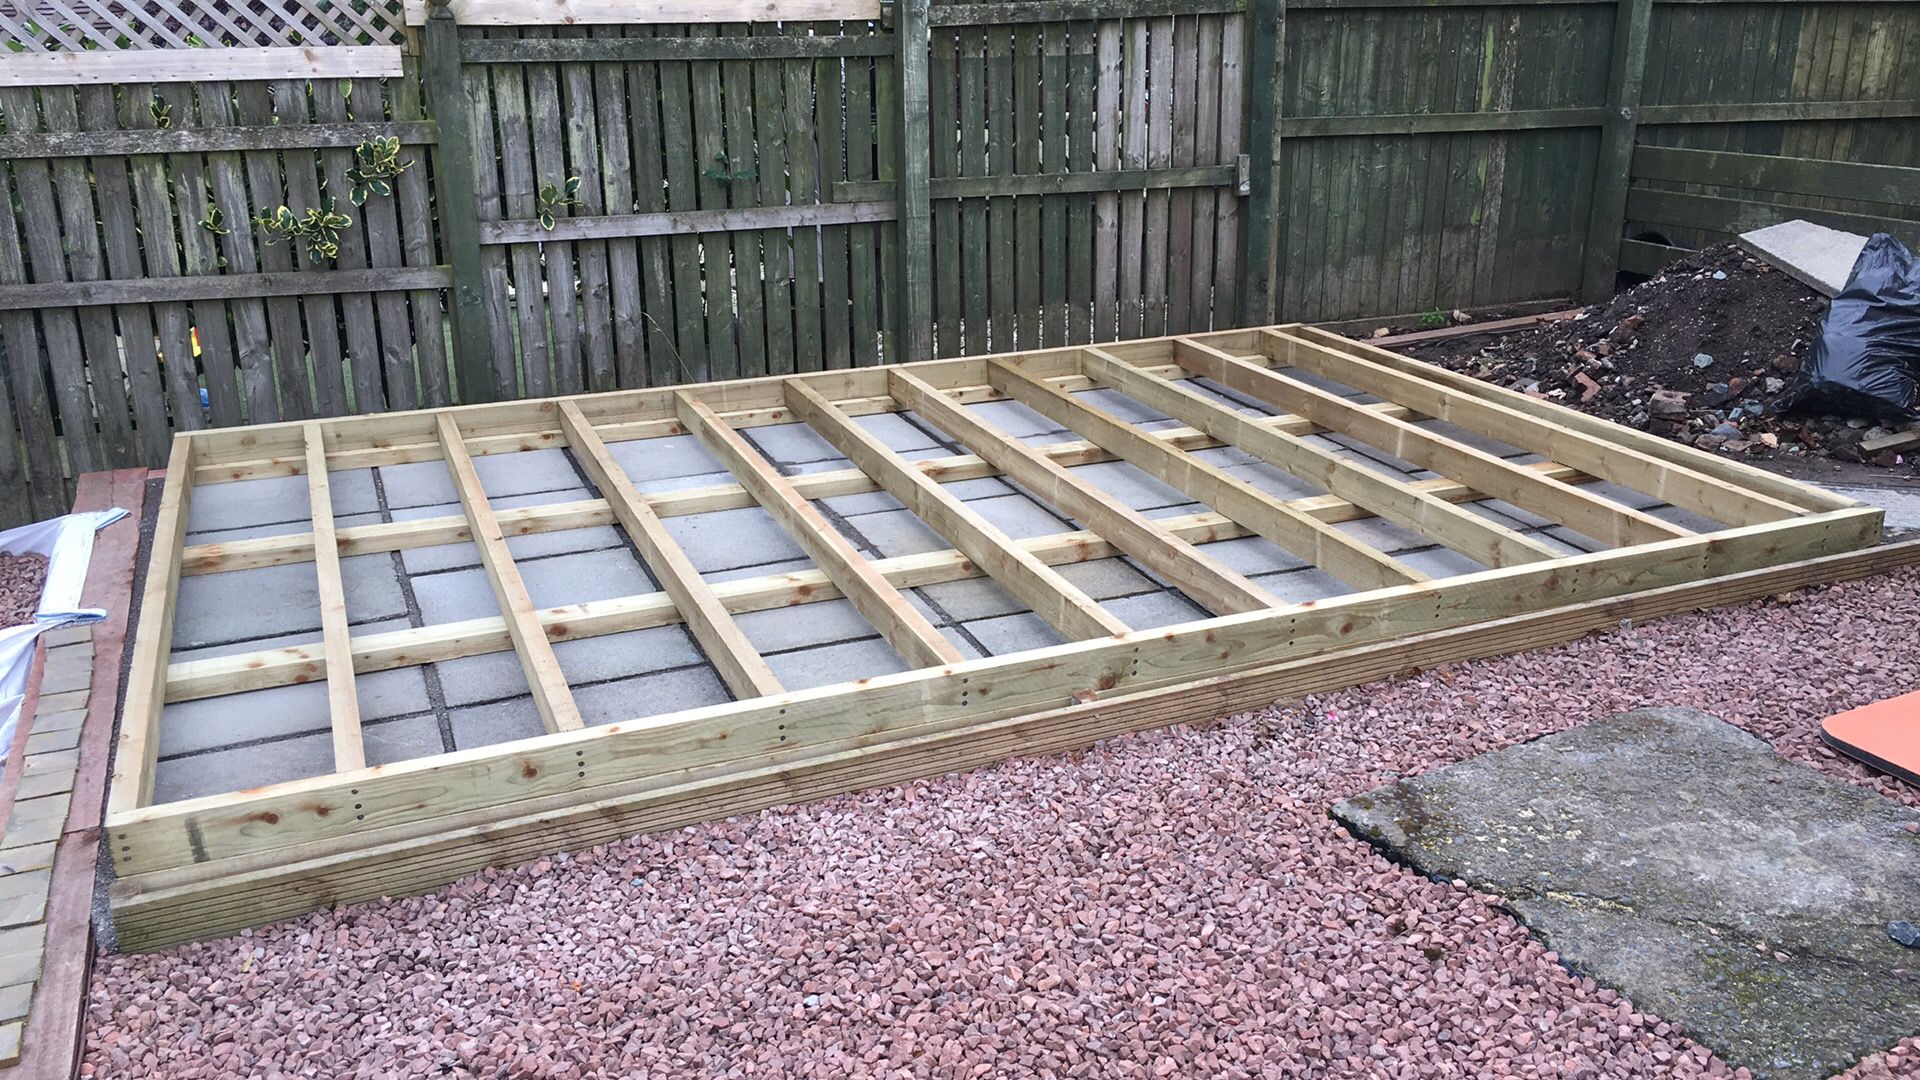
Now you can probably see that I've chosen to screw it together rather than nail. I've since been reading that possibly this is not ideal and nails are better however I wanted to be able to correct any errors I made easily and as I'm going to be doing this over a period as and when the weather allows the cost of hiring a Paslode for a day or two at a time, multiple times, was going to just be too expensive.
I've gone for TurboUltra A2 Stainless 90mm screws with pilot holes and used 3 per connection, I hope I'm not making a terrible mistake doing this, seem to be mixed opinions, plenty use them plenty say not to?
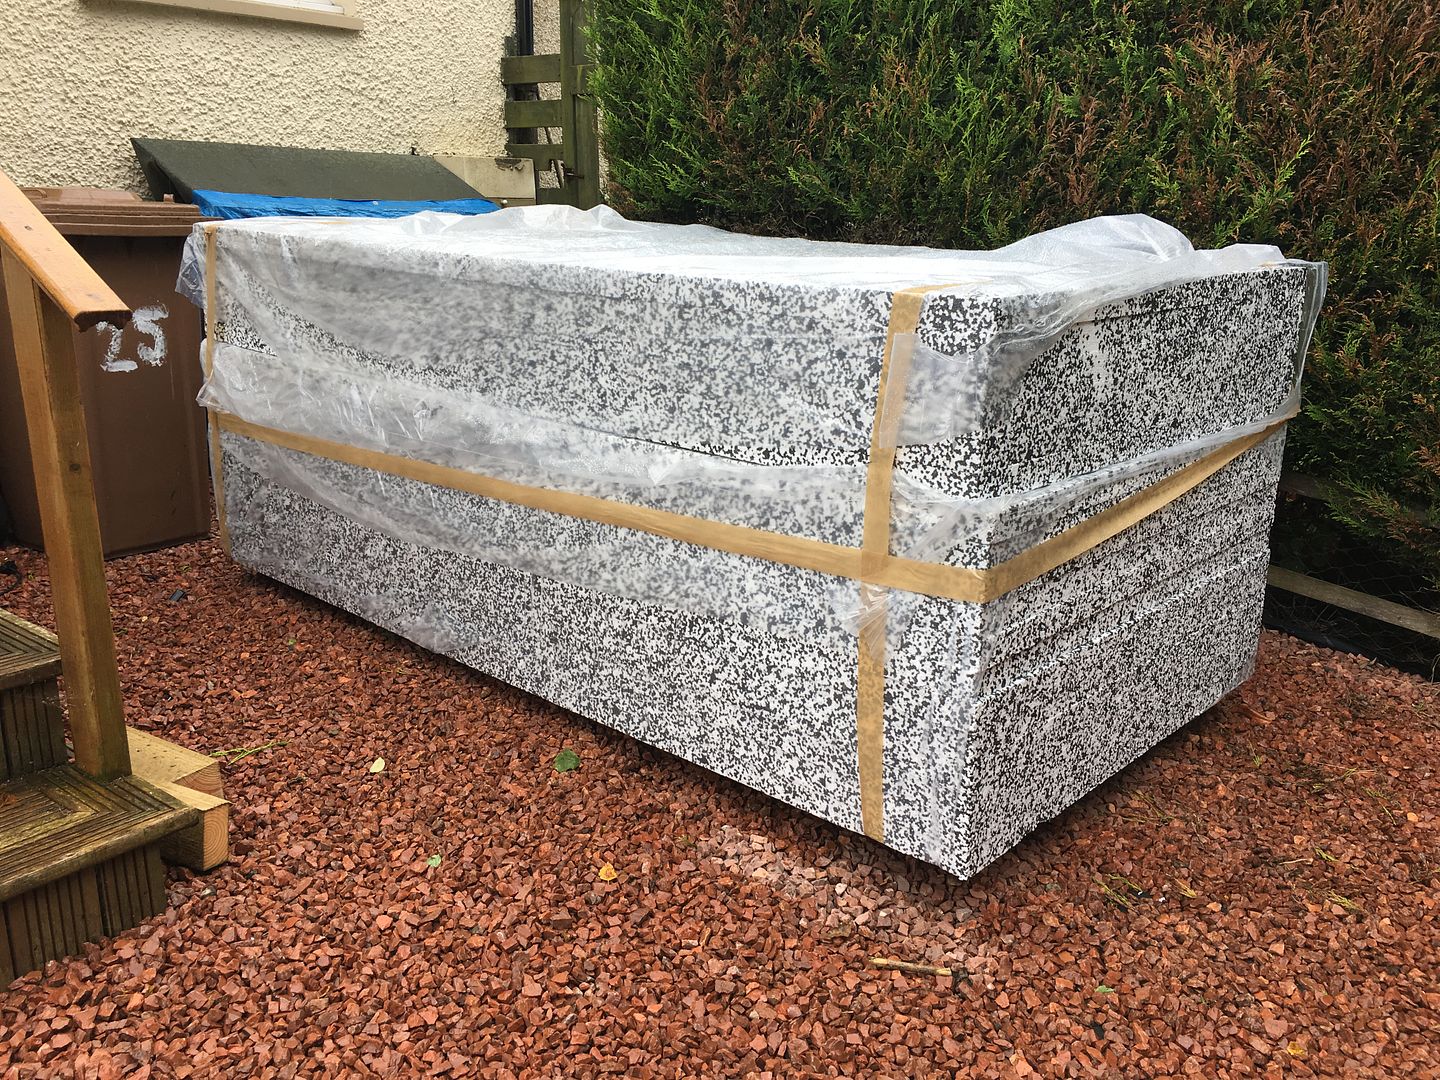
So that's where I'm at, I've 5 sheets of 18mm exterior plywood waiting to go on just as soon as my 50mm polystyrene insulation sheets arrive in the next couple of days and I can fit them.
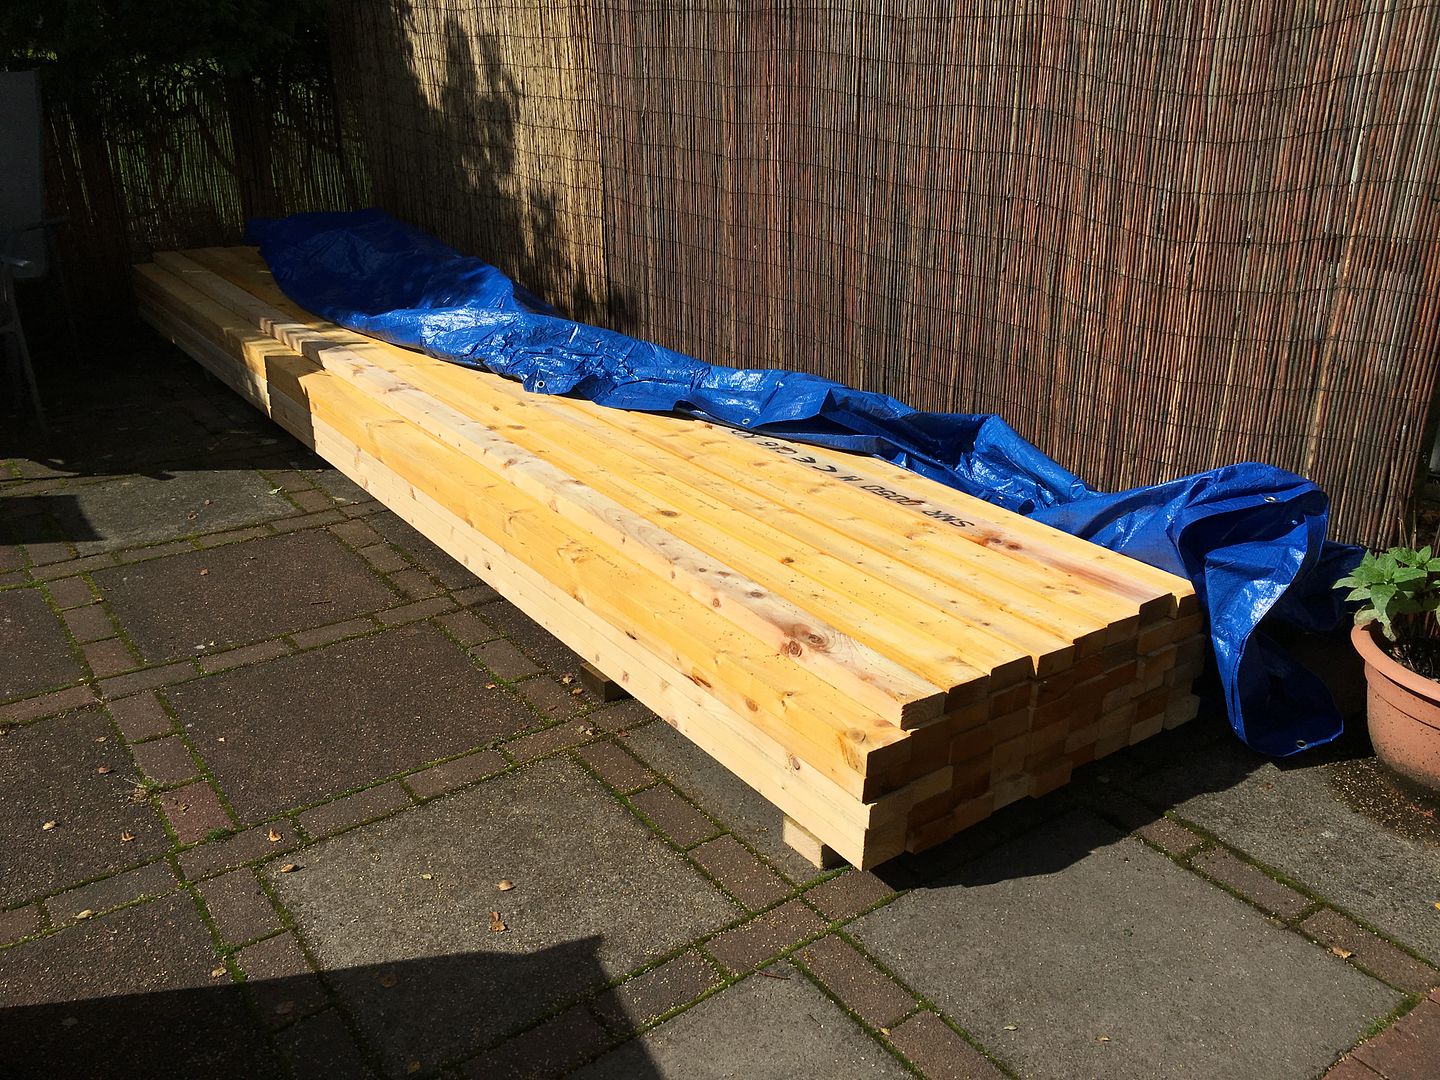
I've also got 250m of C16 treated 4x2 timber coming tomorrow for the rest of the framework and roof.
The plan is to fit 2 second hand UPVC windows door on the side and one UPVC window at the bottom end, thinking this should work nicely and pretty cheap to pick up on Gumtree and the likes, because of the height restrictions I'm limited to the roof will be pent sloping using 4x2 C16 but I'll double it up full length or use sister joists giving me the span strength and maximising internal head room as much as possible (I'm already going to be 8 inches to floor level with the ply on!) plus the C16 4x2" was a fantastic price on special from my local timber place. I'm hoping that doubling up is acceptable?
One question I do have.....
As I mentioned a couple of the pavers are a little lower than the others where the bearers run over them, I've taken some 4x4 slices from a tanslised fence post and I've treated them both sides with Ensele End Grain Preservative (same as I used on the cut ends of the tanslised framework), I was going to shim the areas that are a little low with these treated slices, it's just a few areas maybe 1cm or so, am I bonkers doing this or is that acceptable?
Anyway I'll update as I go, appreciate all comments good or bad and any advice would be greatly appreciated.
Thanks!
Just wanted to start a thread for the workshop/shed I've started.
I have to admit this is the first time doing anything like this and no doubt I may have done/plan to do things incorrectly so please feel free to steer me in the right direction if you see any vital errors, I'd really appreciate any advice anyone can offer along the way.
So the story is we've just moved from a top floor flat to a lovely fully refurbished and extended ex-council end terrace 3 bed house and finally we have some outside space for us all to enjoy, my 4 year old son love having a garden and simple things like being able to wash our own cars, hang out washing, put on a BBQ and so on are just so nice, it's amazing what simple pleasures you miss living in a flat!
So, I really need a decent size outdoor building, the tin shed at the bottom of the garden is leakier than a leaky thing and has to go ASAP as all my camping gear, expensive bikes, power tools and so on are currently at the mercy of the weather and we want to utilise that space in a total revamp of the garden starting next year. Ideally the previous owners kept a caravan at the bottom of the drive, it's an area built up with sleepers and ideal for the 14x9 "workshop" I've started. Sadly I'm limited to 2.5m max height as the building will be within 2 foot of the neighbouring property.
I've looked at pre-fab "sheds" and have either been extremely unimpressed or blown away with the cost of some of them and I'm convinced I can do as good, or hopefully better than the offerings and for a lot less then some of the higher end stuff, I'm keen to keep it under £1500 (not including some tools I've purchased) and it's to be fully insulated with power and more than a shed, would be nice to have a proper little outdoor "room" that can house an iMac computer, all my tools, good workbench space and so on. I have amassed a fair amount of tools over the years, mostly car related as i work on my own and friends cars regularly but I have the essentials I need for doing this too I think.
Anyway, on to some pictures which I'll explain on the way:
This is the area in question, picture does not show it very well here but essentially minimal slabbing, approximately 18 foot long by 9 and a bit foot wide (retaining sufficient space to access the cars and drive and get the bins out).

So the groundwork starts, removed nearly 2 tonnes of chips from the area alone, the ground under them was very uneven and they just threw as many chips as it took to level it out I think

Originally I'd planned building it 16 x 9 and much closer to the monoblock drive and also having a wood store to the rear however upon lifting the existing slabs and breaking up the mortar pads they sat on I uncovered a bloody manhole cover, and a new one at that!?? Odd thing was that our drain is further down the garden and upon opening the manhole it was pretty obvious it had not been in use for a very long time, there was debris, bits of brick and all sorts in the channel where the waste would run, so why the new cover?? So a quick email to the previous owners and it was explained that many years ago the council re-routed the system and this had been "decommissioned", the reason for the new cover was that there was a very old, large and thick domed iron cover on it and they changed it to a low profile one simply to allow them to get their caravan in there and they simply fitted it and then slabbed on top of it!!?


Anyway, wouldn't be at all comfortable building on top of that, knowing my luck they would want in there at some point and the shed would have to be dismantled so now unfortunately it's got to be 14 x 9 and further down.
So I put up a little shuttering just to section off the area and keep the chips from collapsing in and ended up excavating down about 6 inches or so in total and made it as level as i could by eye, got 3 tonnes of type 1 sub base, lined the bottom with a layer of driveway fabric/weed control barrier and started barrowing in the sub base then borrowed a whacker from my neighbour and whacked it down. Took the full 3 tonnes to get it to the level I wanted too!


So, sub base sorted and i had to decide if I wanted to go the poured slab route or re-use all the 2x2 and 3x2 "council" concrete slabs I had dotted around all over the bottom of the garden, in the end for cost reasons I decided on the latter, may as well use them and save the £300ish I was quoted it would have cost in having concrete delivered. Also saved me the hassle of having to get rid of all these slabs at the same time.
So I ordered up a tonne of sharp sand and some bags of cement and laid the slabs on a 6/1 dry mortar mix, now this again was the first time doing this and a couple of the slabs were off level a bit, certainly not perfect but I have a plan for that which I'll explain in a bit but on the whole not awful for a first attempt I hope?
So next up was to get the timber for the base, gone for tanalised 4x2" framework which is sitting on 4 - 4x2" tanalised bearers laid flat to spread the load and support the joists whilst giving a clear 2 inches of ventilation space under the whole base, I'm hoping that is sufficcent?


And here's the finished base framework, the joists are at 16" on centre spacing.

Now you can probably see that I've chosen to screw it together rather than nail. I've since been reading that possibly this is not ideal and nails are better however I wanted to be able to correct any errors I made easily and as I'm going to be doing this over a period as and when the weather allows the cost of hiring a Paslode for a day or two at a time, multiple times, was going to just be too expensive.
I've gone for TurboUltra A2 Stainless 90mm screws with pilot holes and used 3 per connection, I hope I'm not making a terrible mistake doing this, seem to be mixed opinions, plenty use them plenty say not to?
So that's where I'm at, I've 5 sheets of 18mm exterior plywood waiting to go on just as soon as my 50mm polystyrene insulation sheets arrive in the next couple of days and I can fit them.
I've also got 250m of C16 treated 4x2 timber coming tomorrow for the rest of the framework and roof.
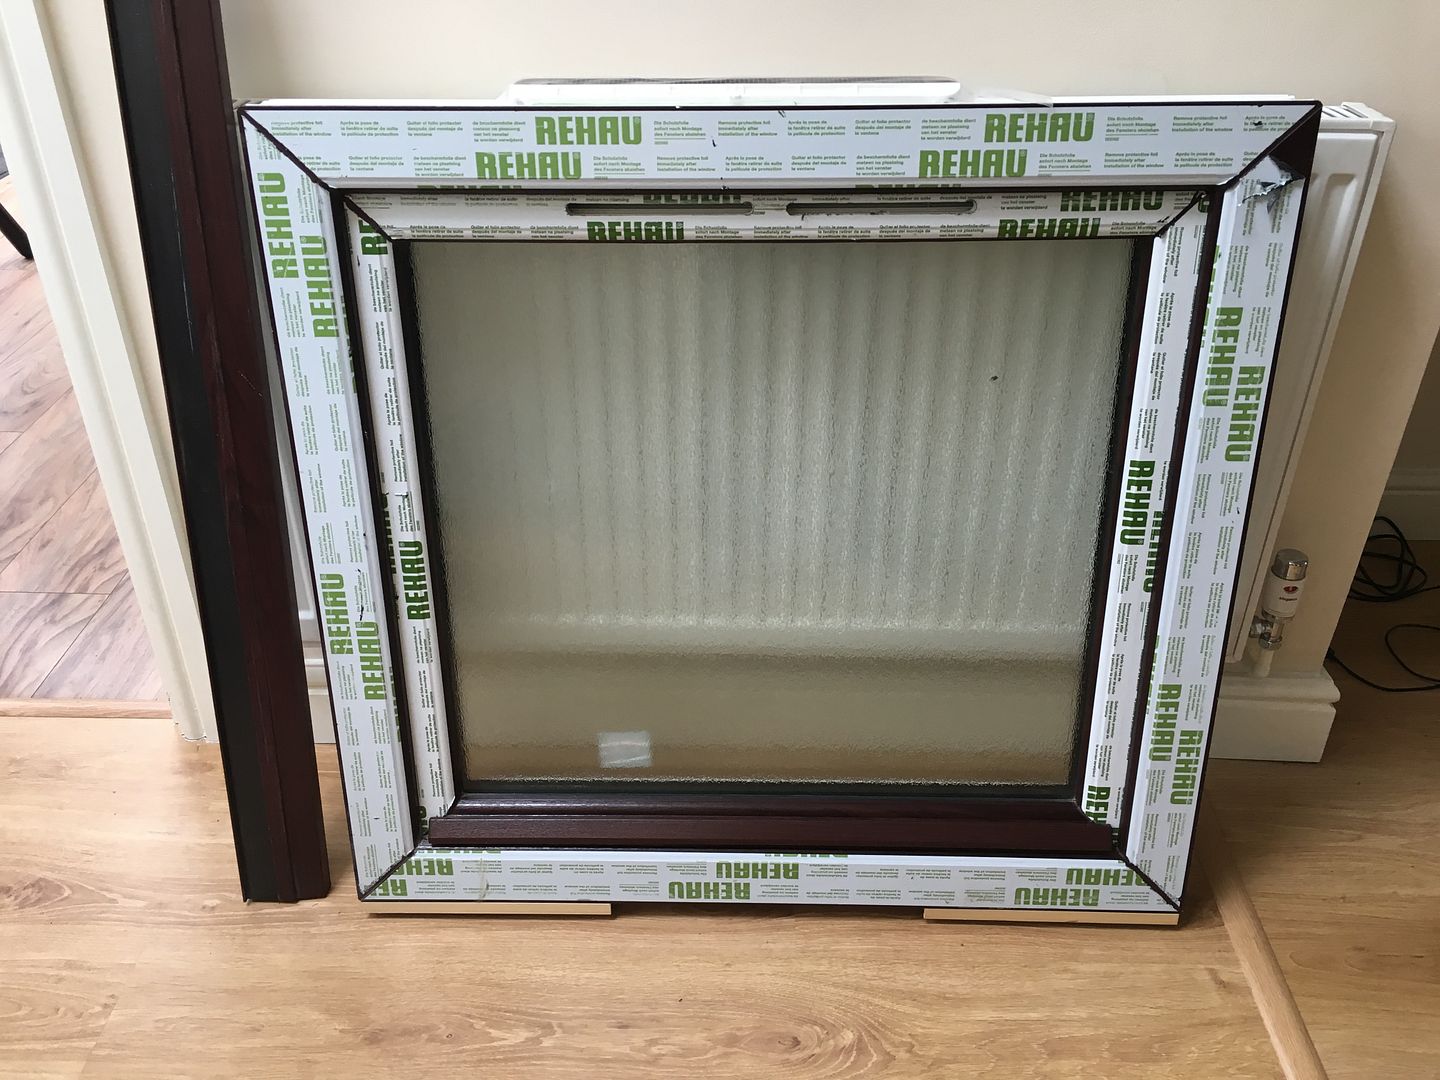
The plan is to fit 2 second hand UPVC windows door on the side and one UPVC window at the bottom end, thinking this should work nicely and pretty cheap to pick up on Gumtree and the likes, because of the height restrictions I'm limited to the roof will be pent sloping using 4x2 C16 but I'll double it up full length or use sister joists giving me the span strength and maximising internal head room as much as possible (I'm already going to be 8 inches to floor level with the ply on!) plus the C16 4x2" was a fantastic price on special from my local timber place. I'm hoping that doubling up is acceptable?
One question I do have.....
As I mentioned a couple of the pavers are a little lower than the others where the bearers run over them, I've taken some 4x4 slices from a tanslised fence post and I've treated them both sides with Ensele End Grain Preservative (same as I used on the cut ends of the tanslised framework), I was going to shim the areas that are a little low with these treated slices, it's just a few areas maybe 1cm or so, am I bonkers doing this or is that acceptable?
Anyway I'll update as I go, appreciate all comments good or bad and any advice would be greatly appreciated.
Thanks!


