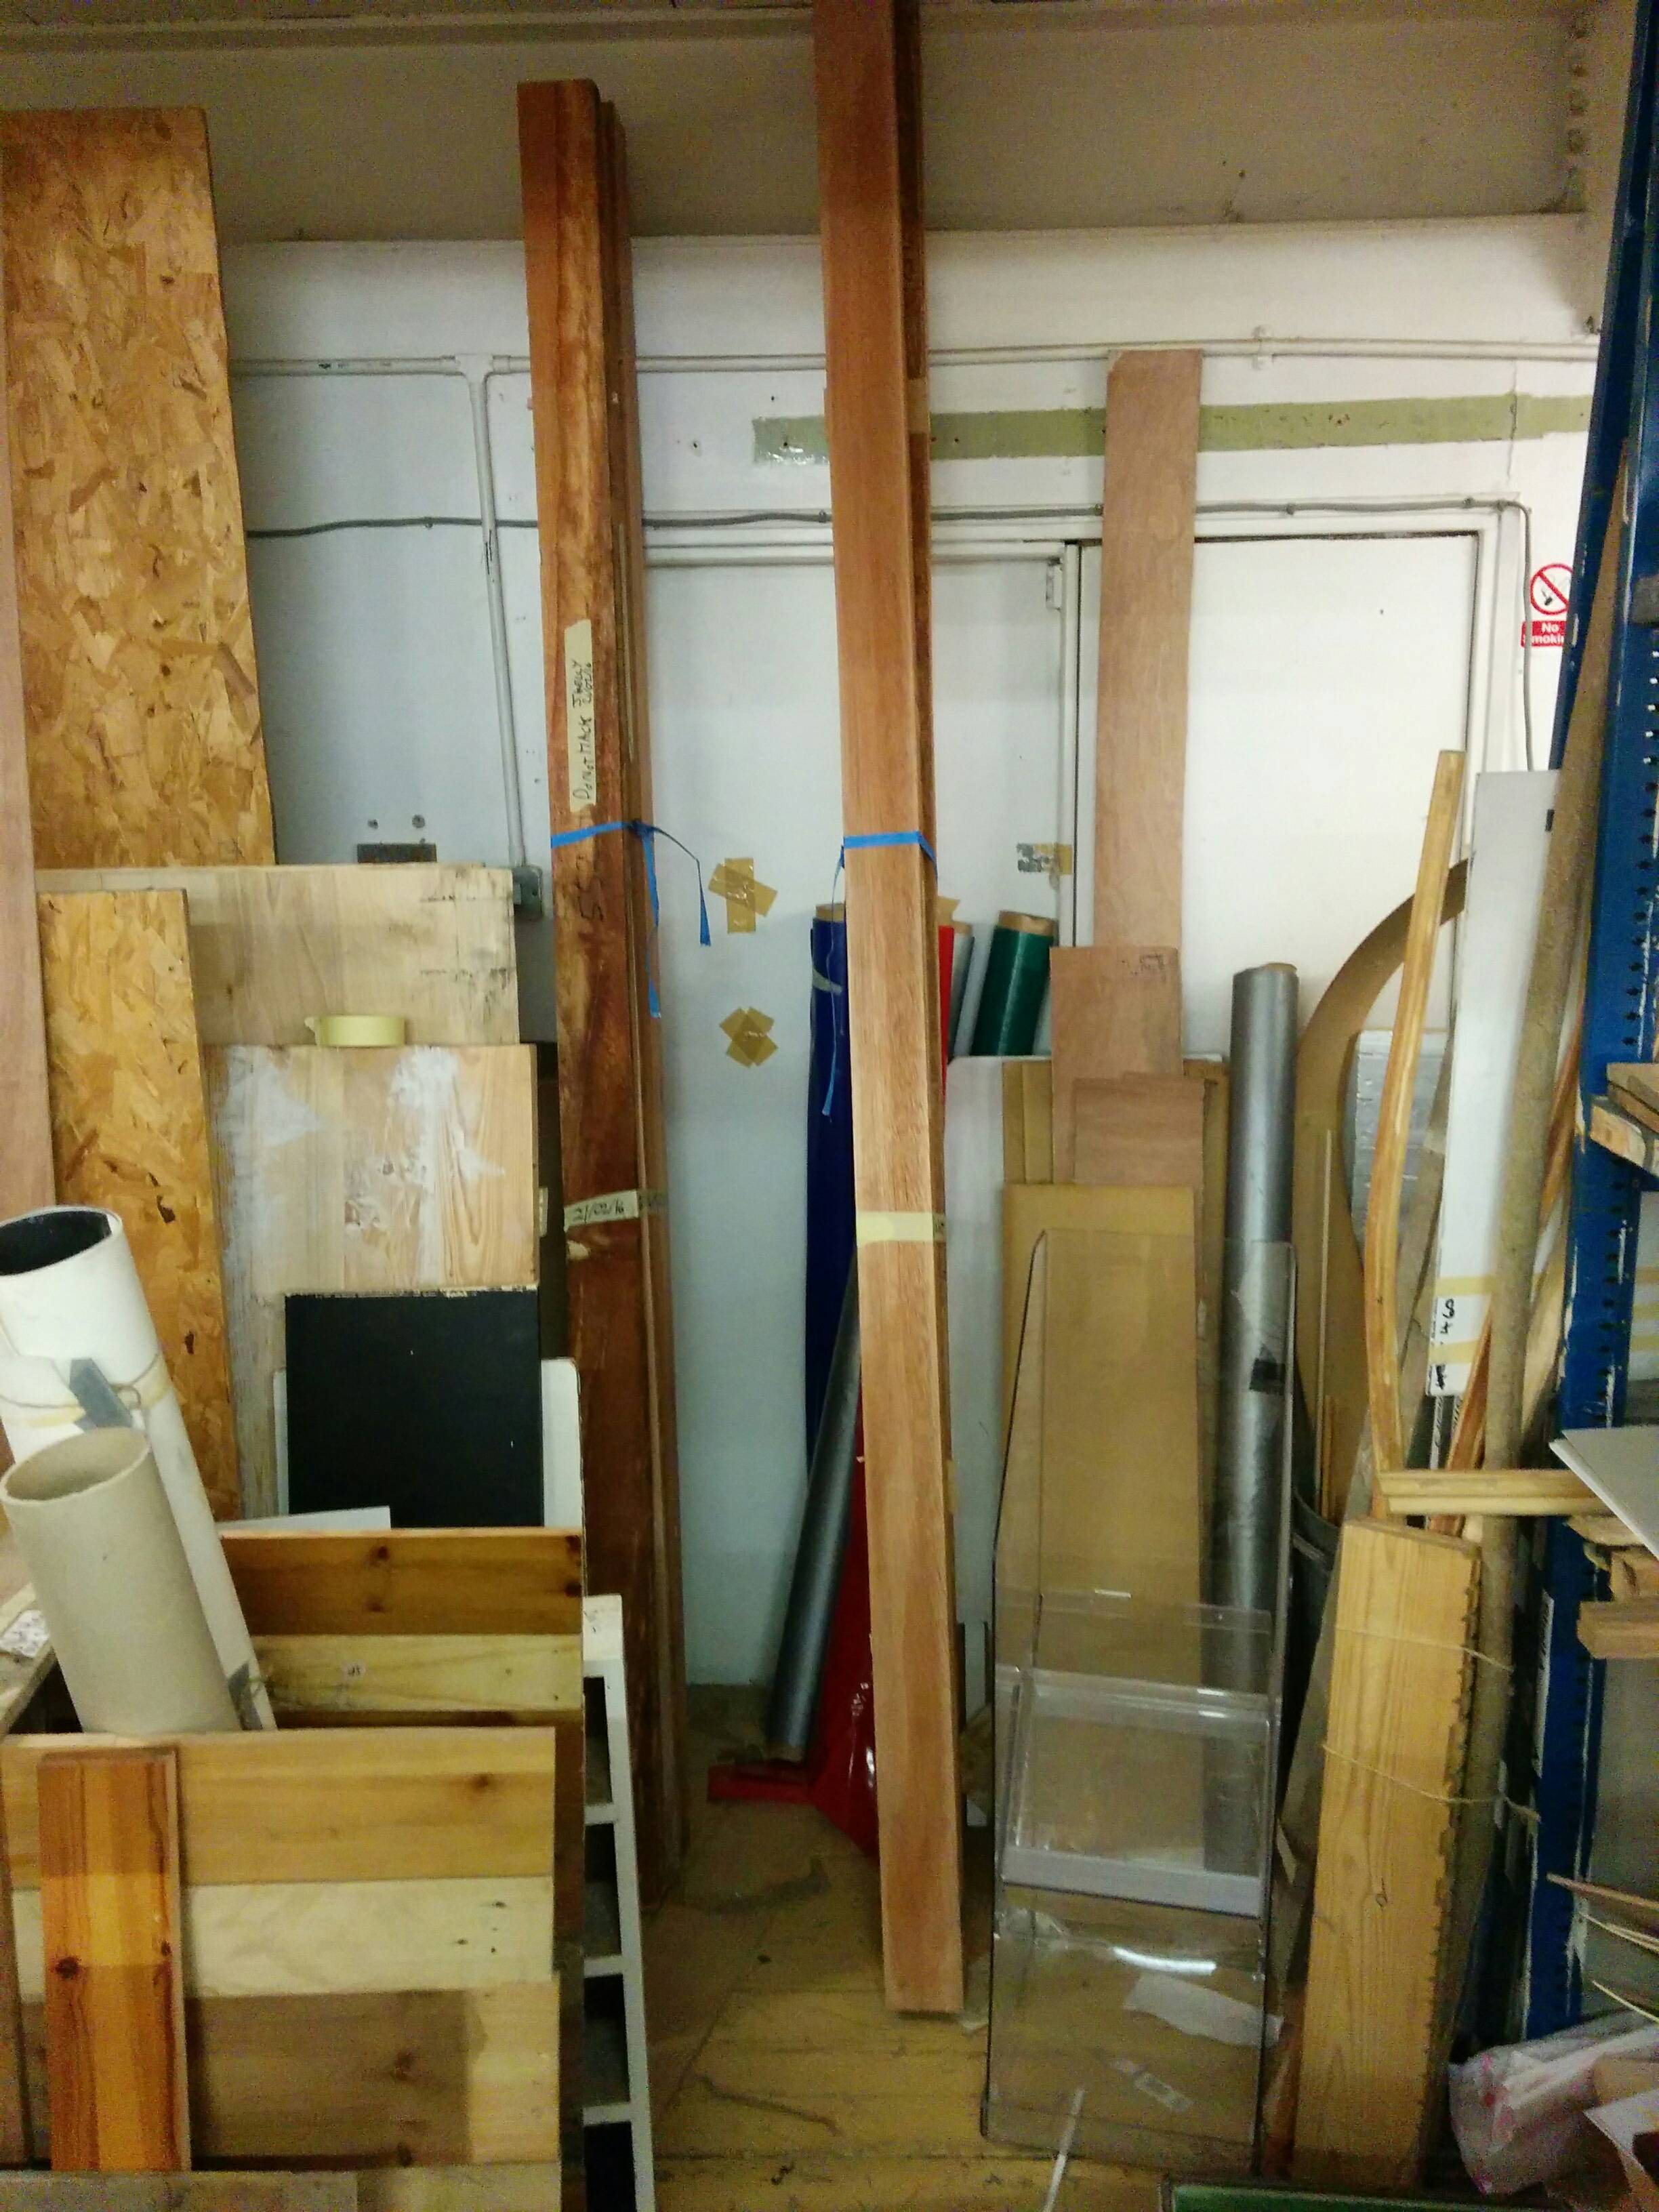
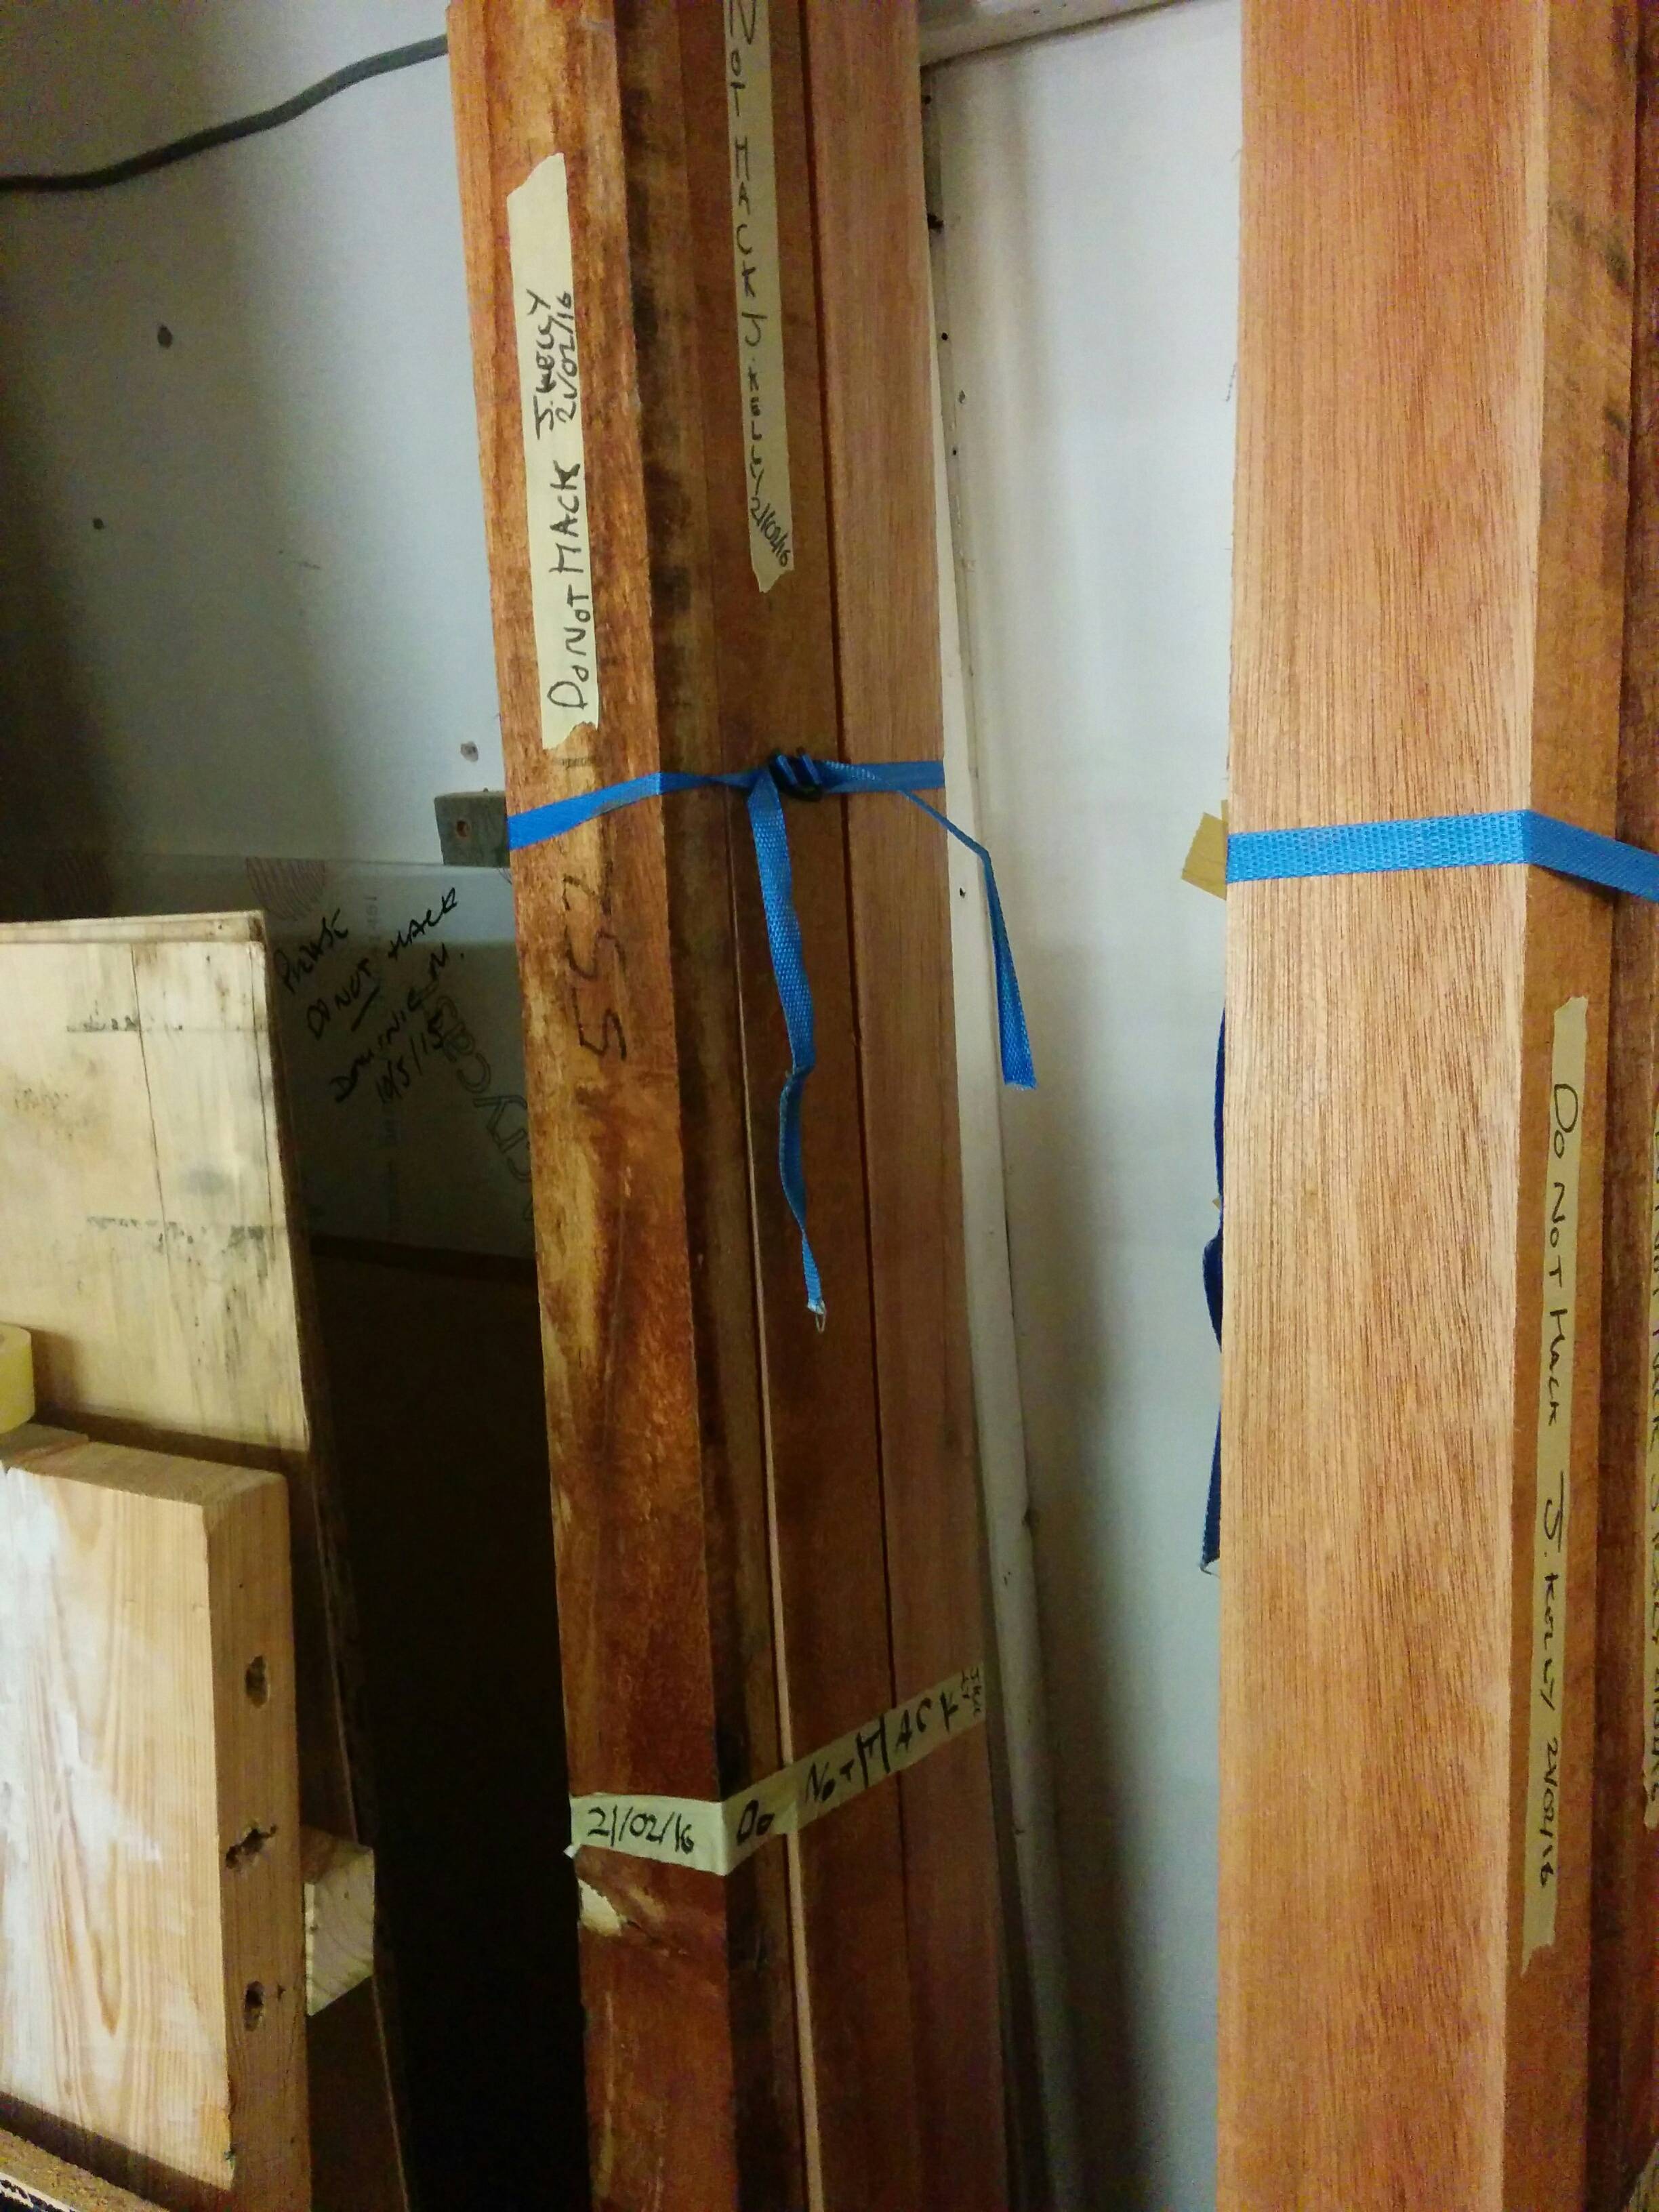
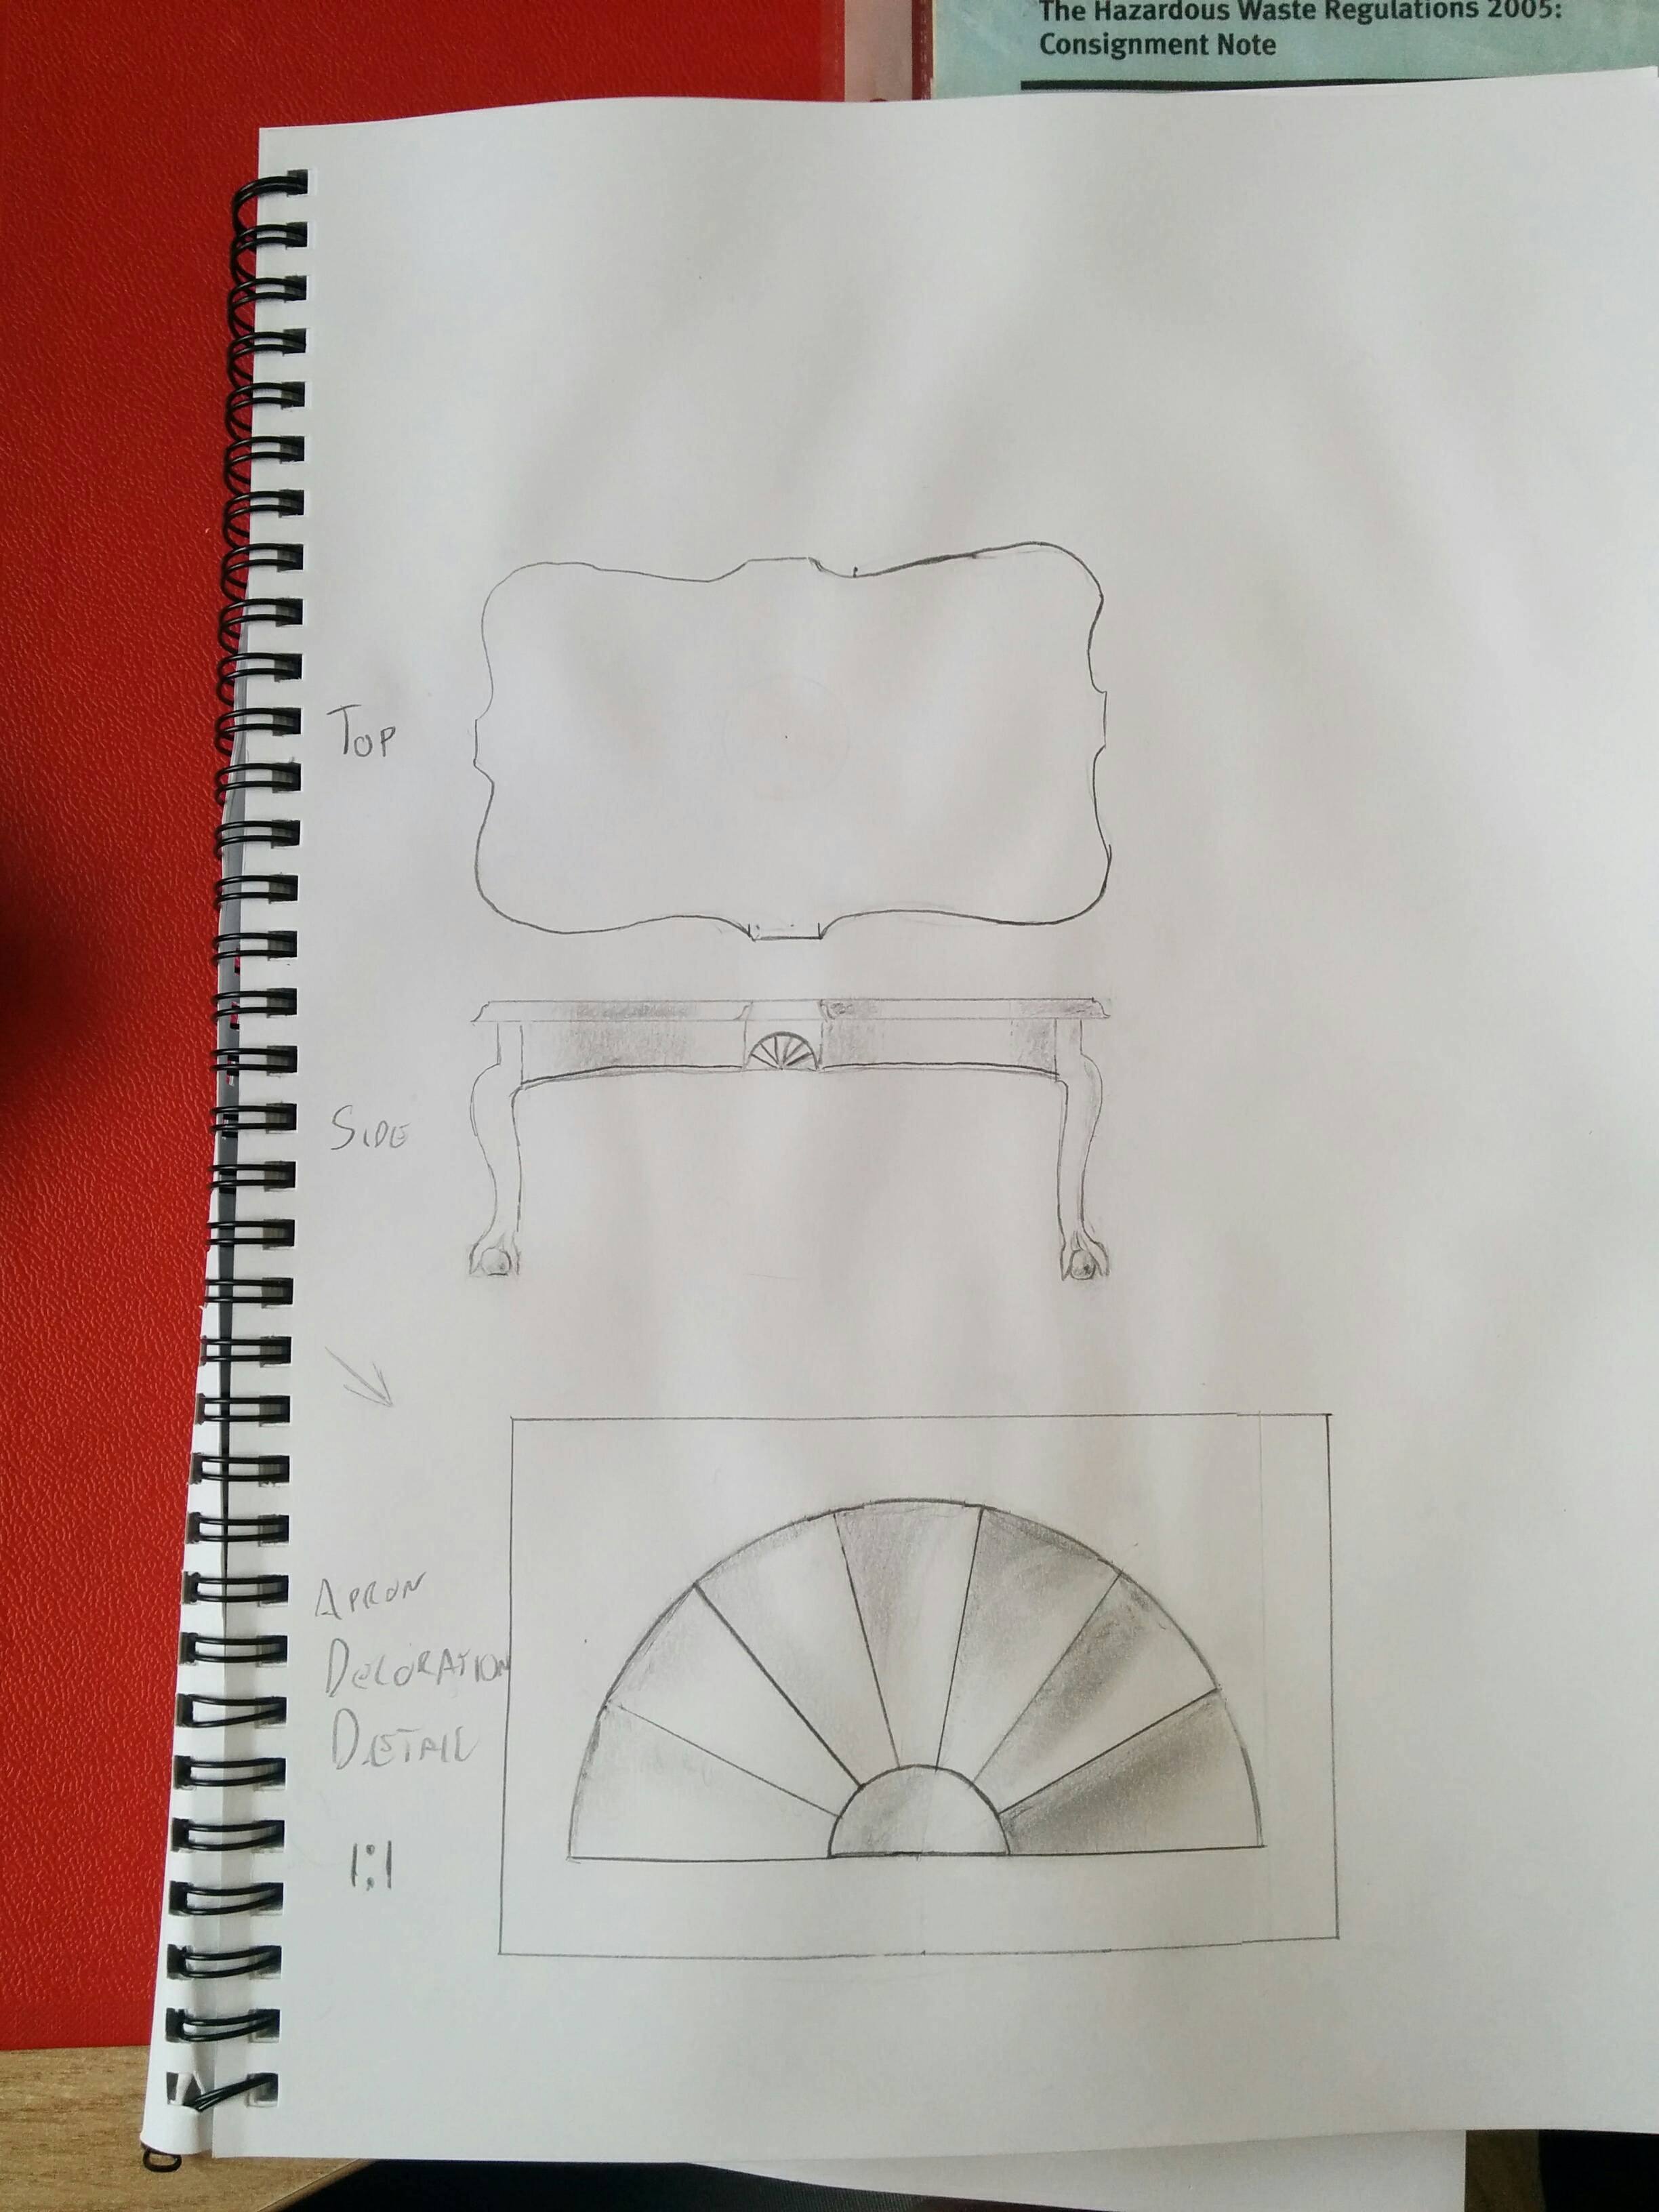
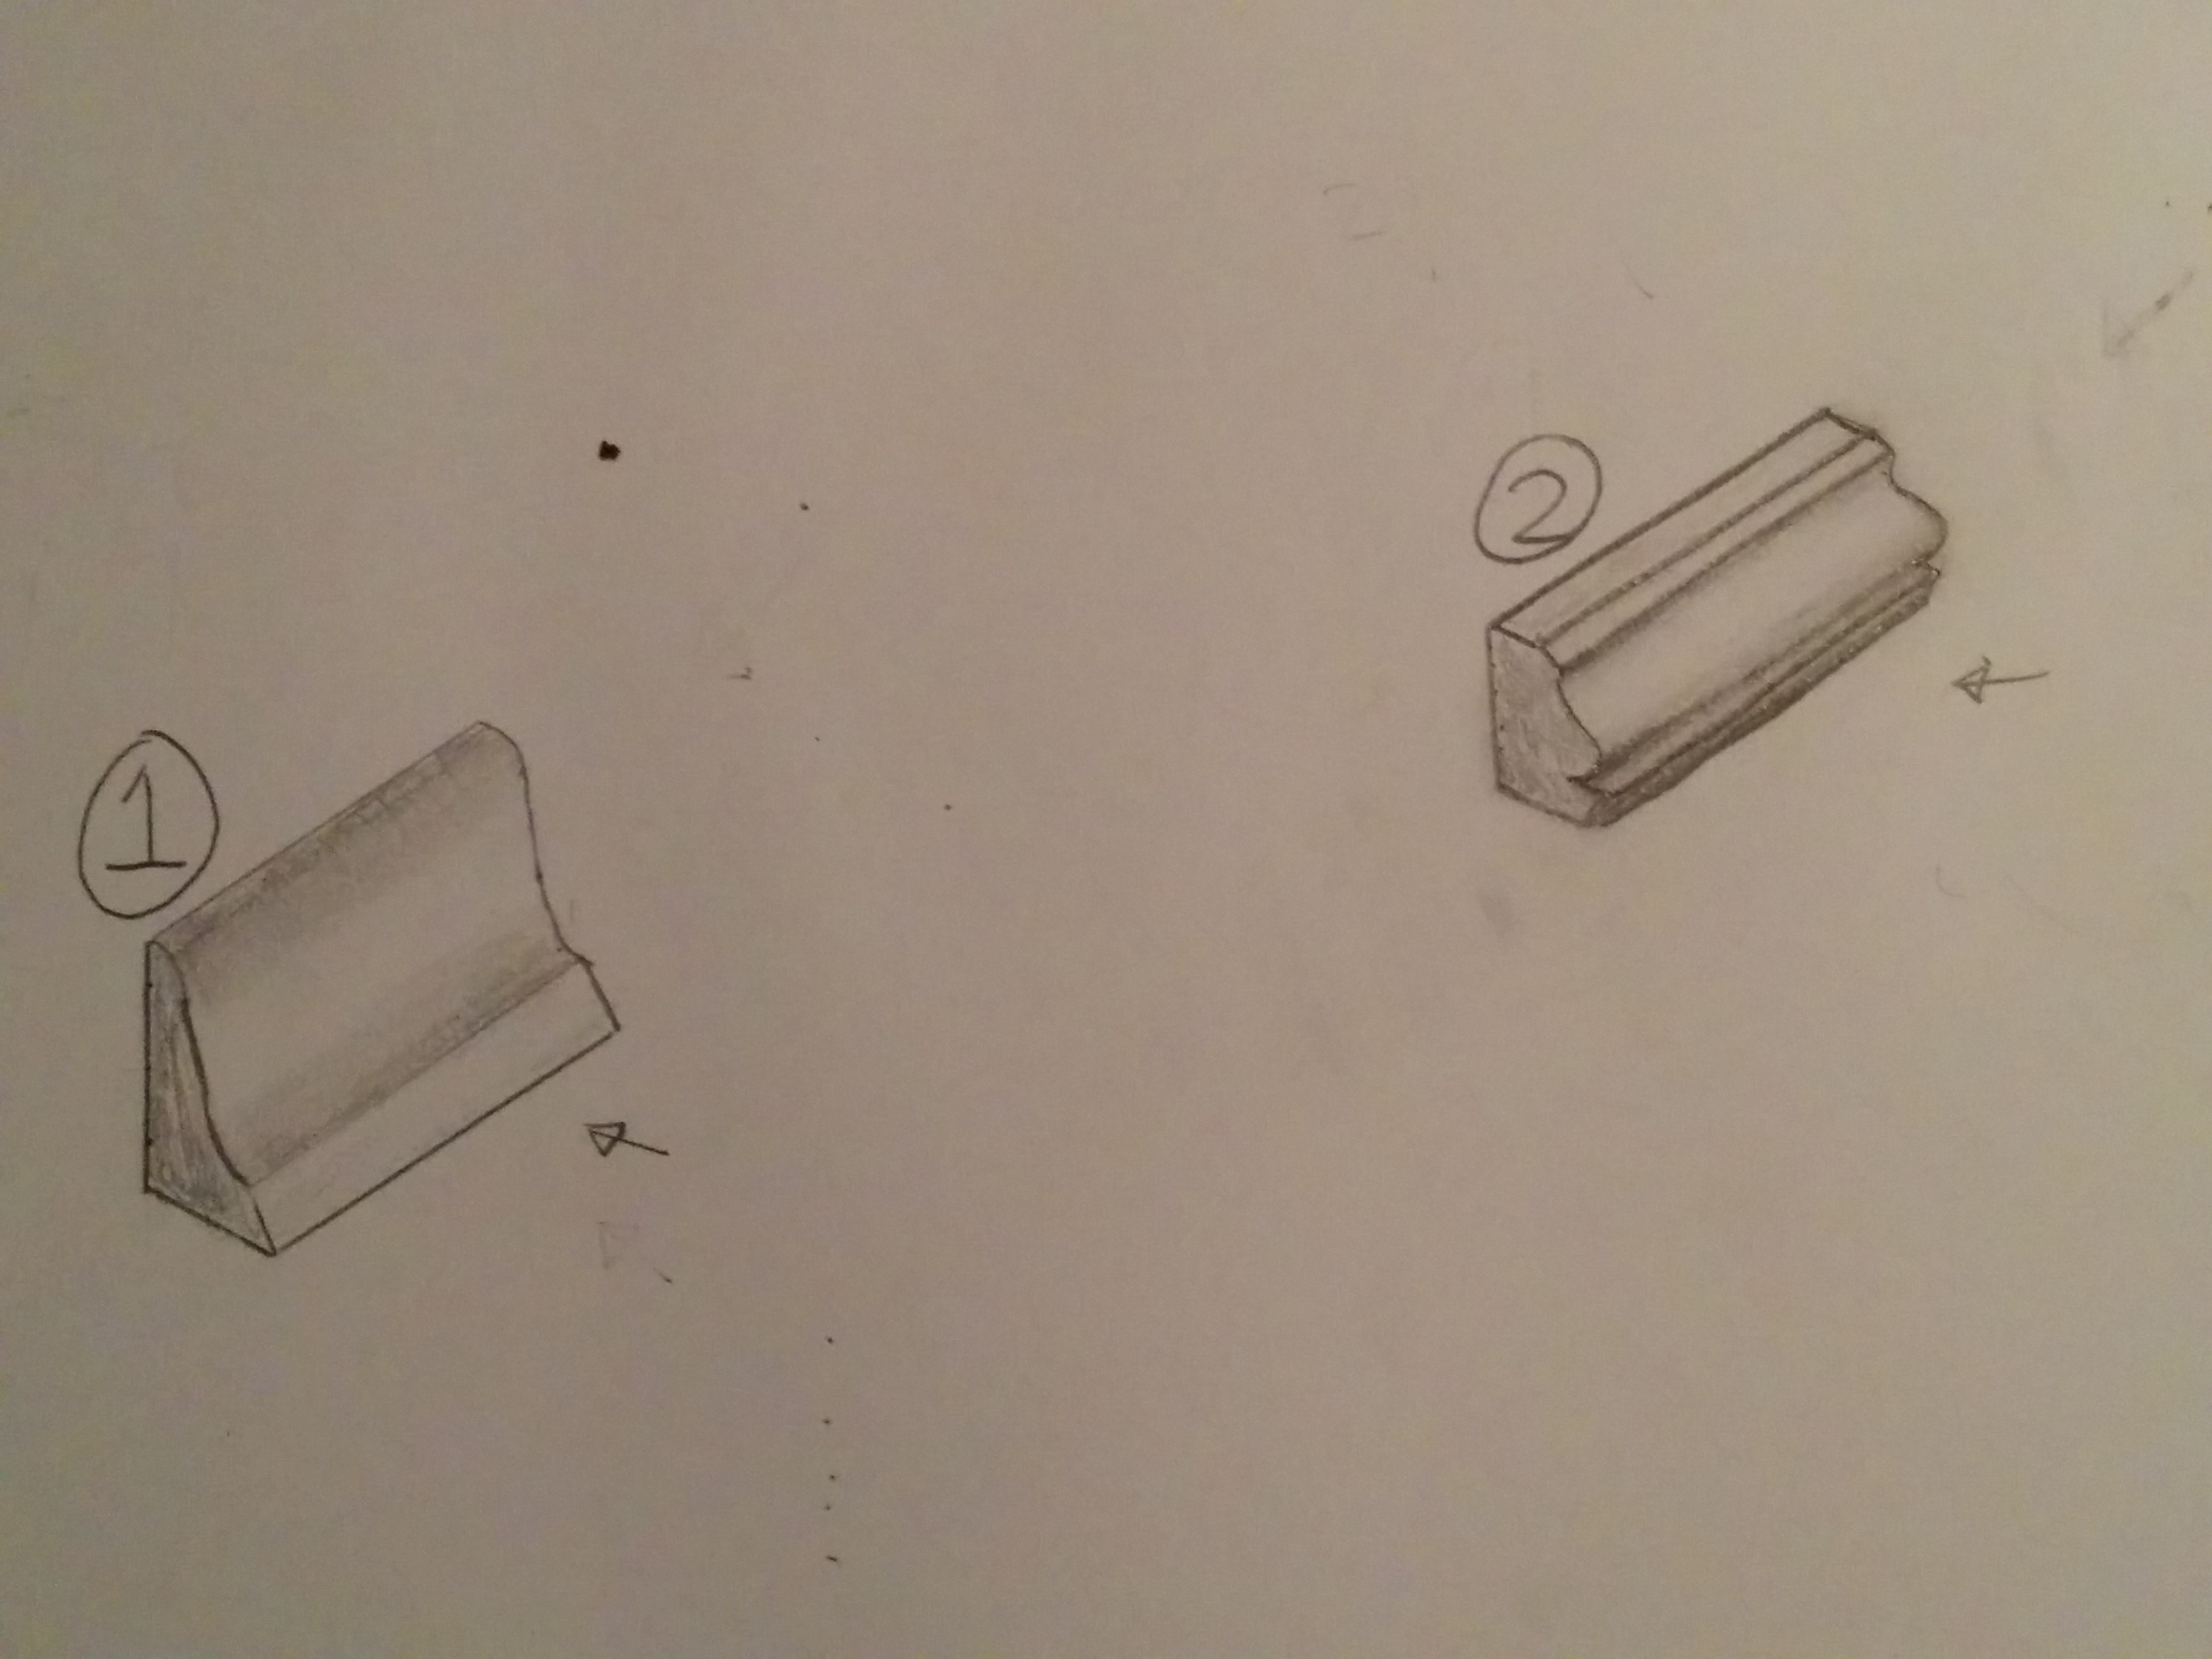
I've managed to squeeze some more work on this in, and a lot of progress has been made...
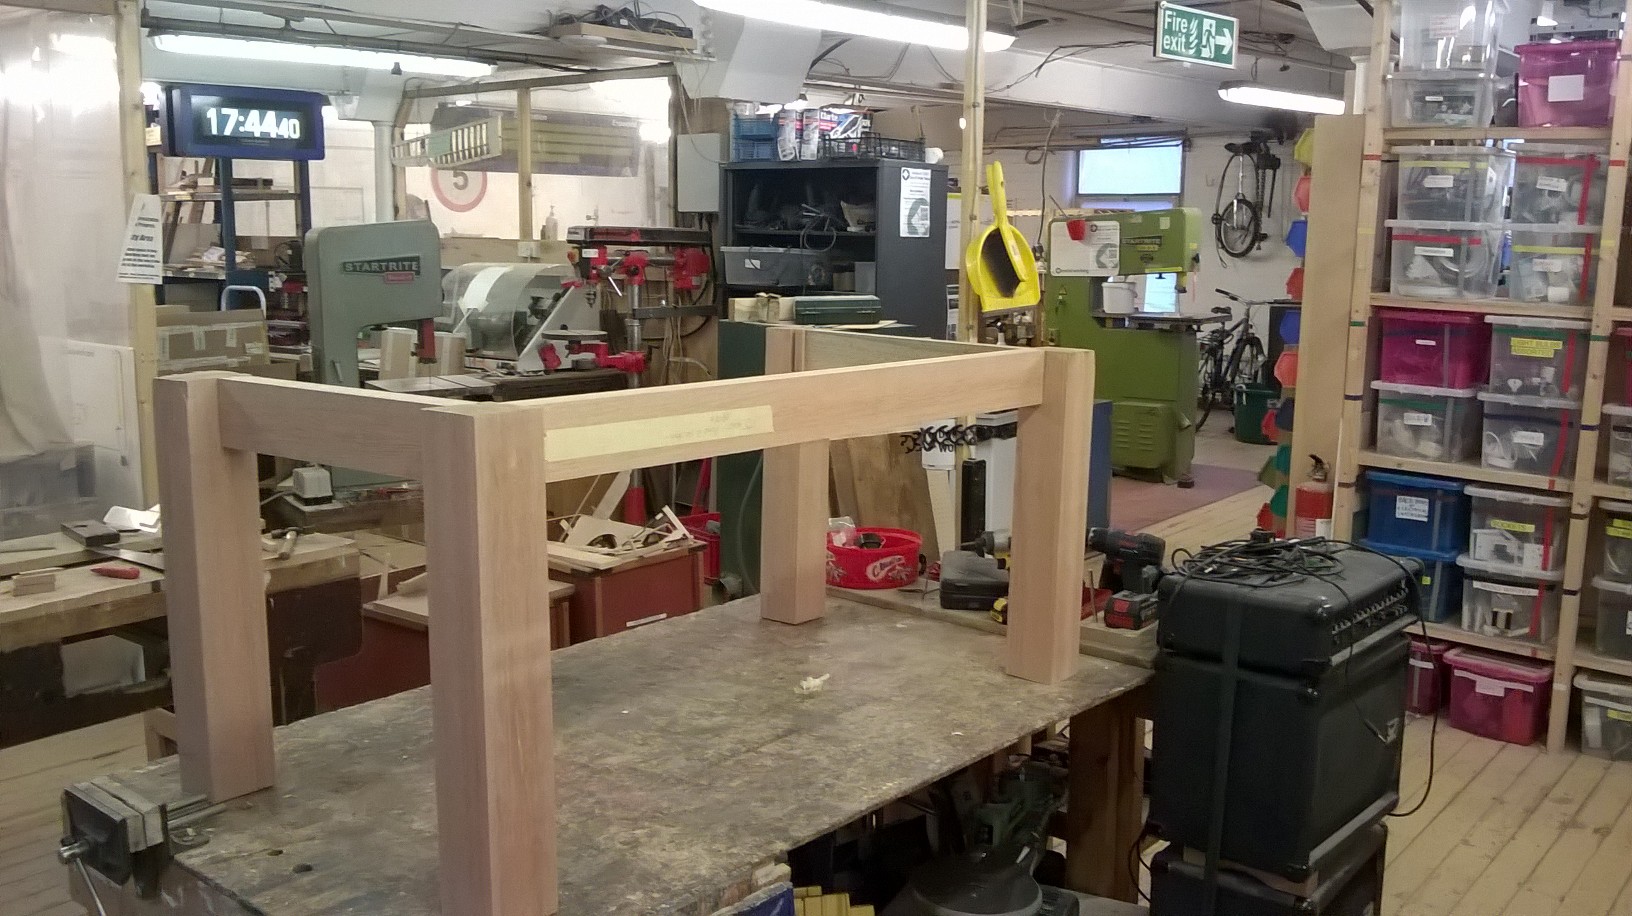
So that looks vaguely table like, no?
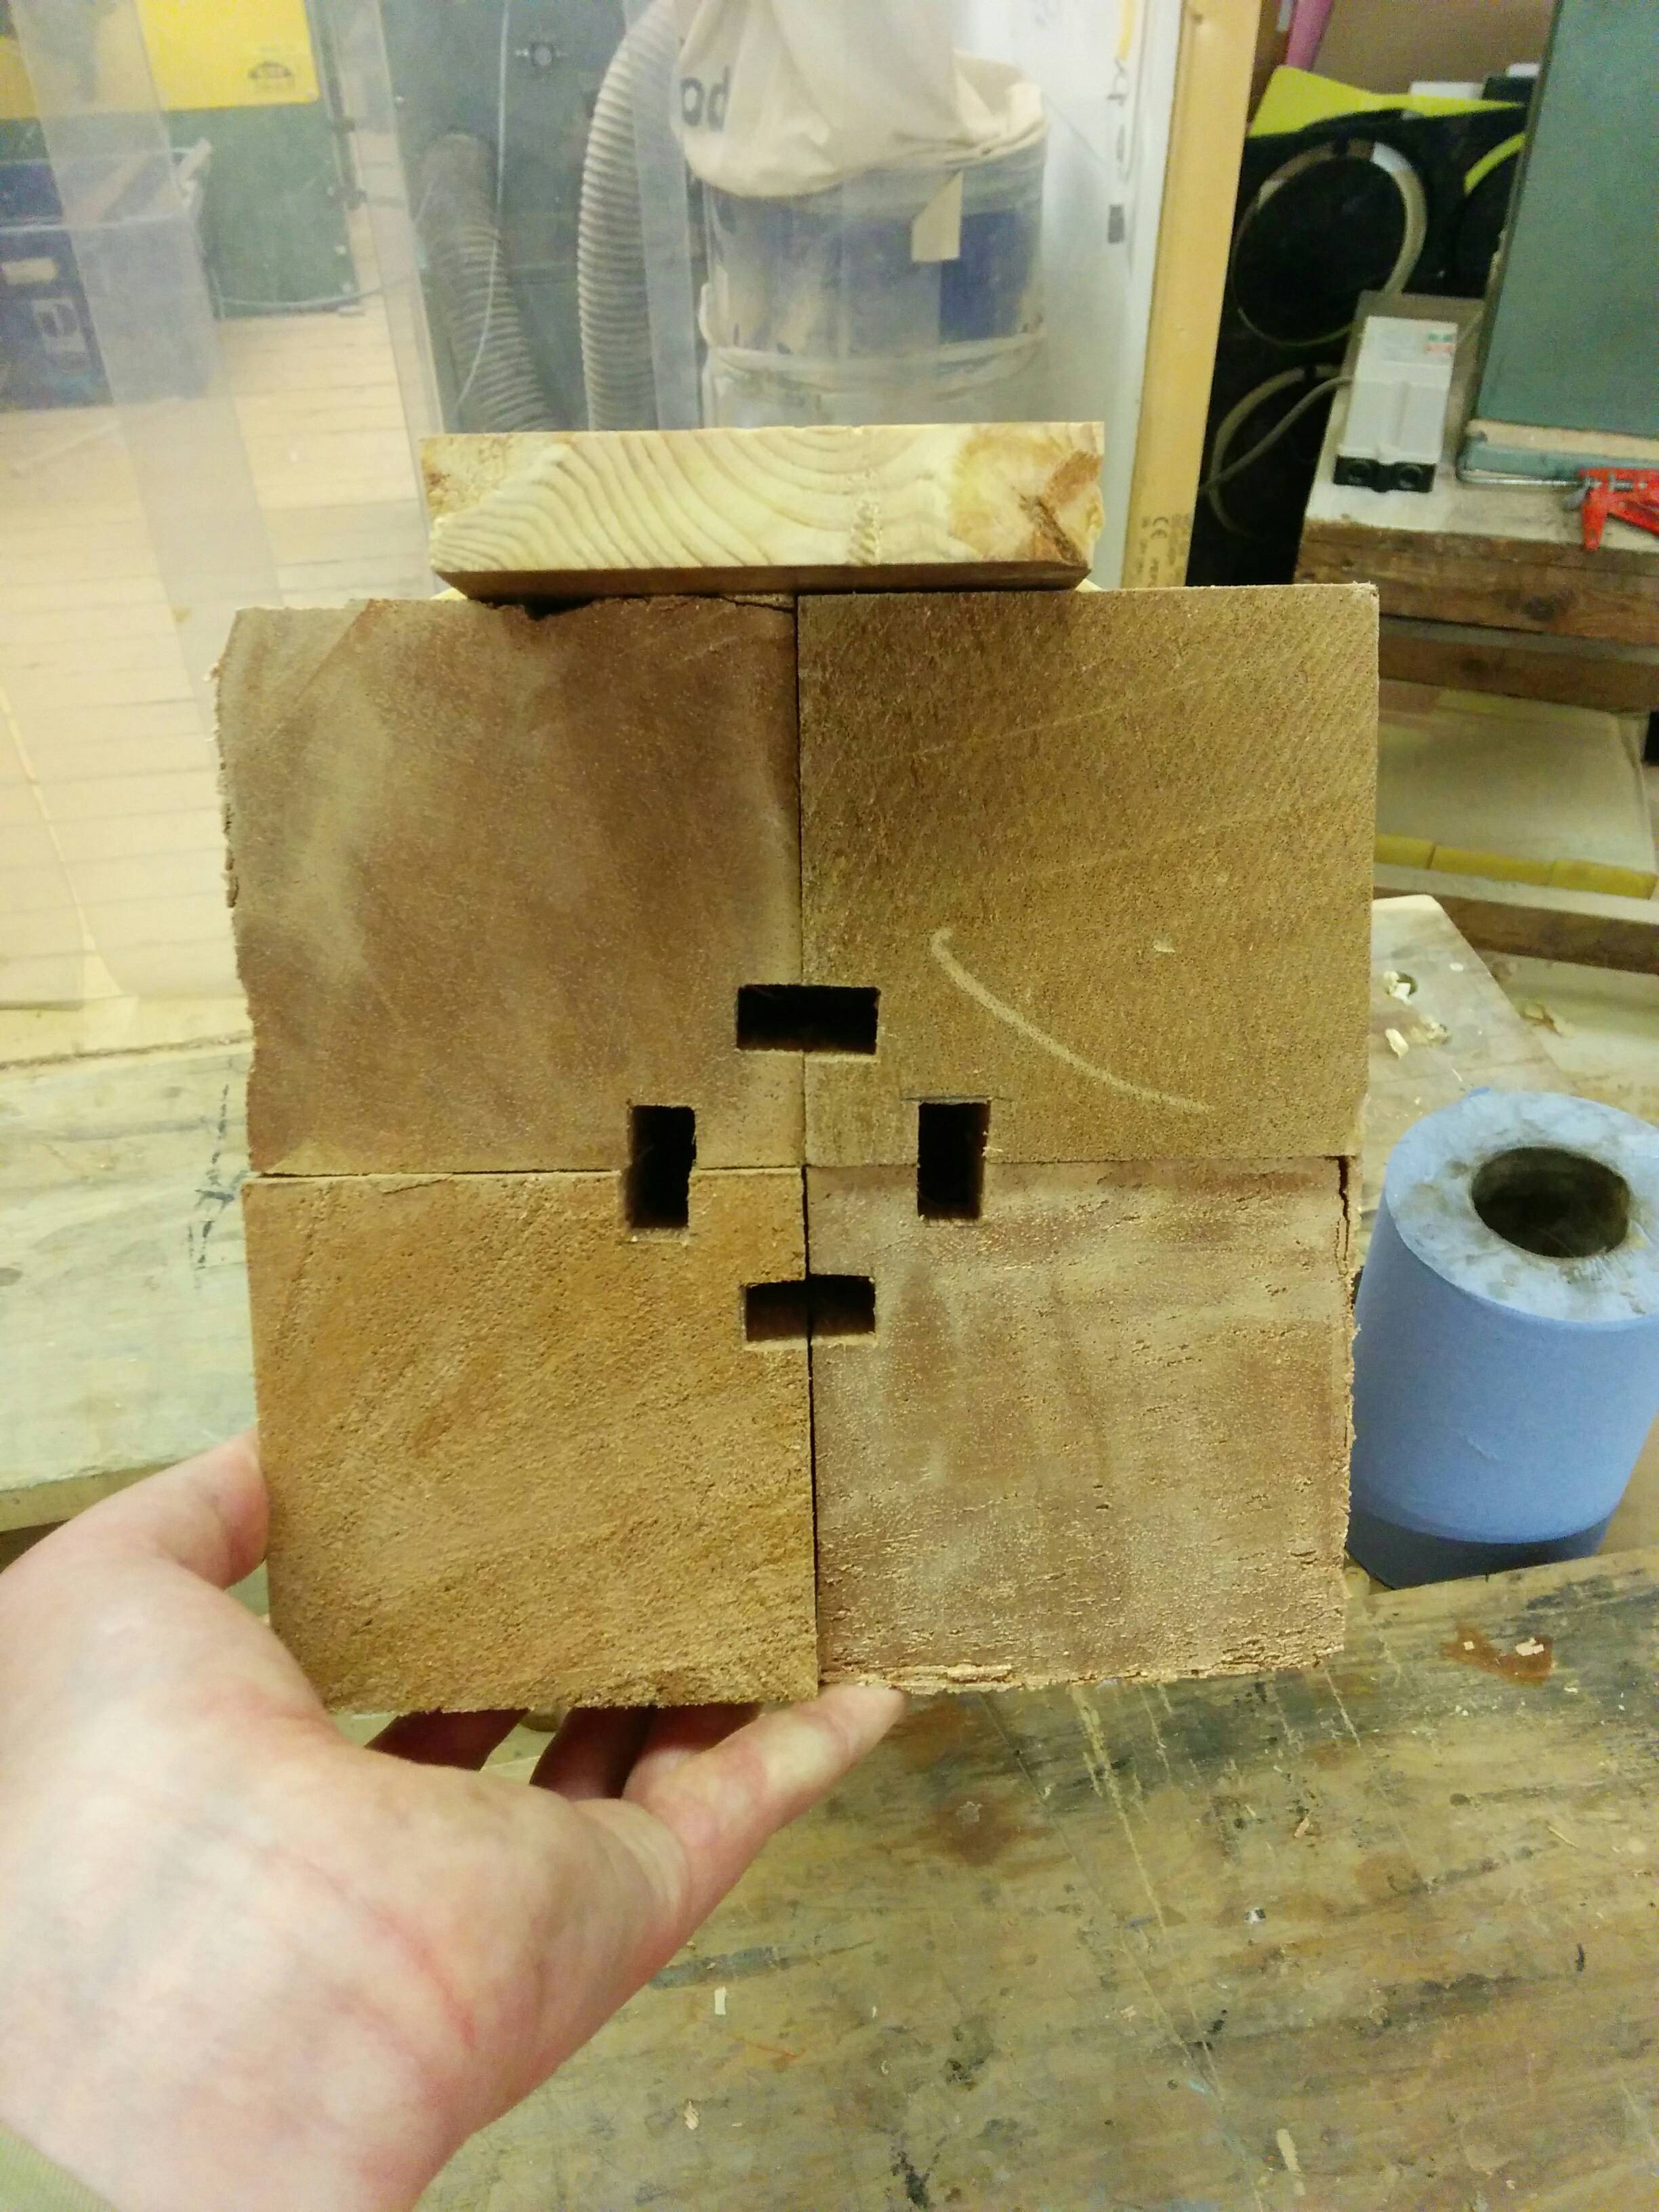
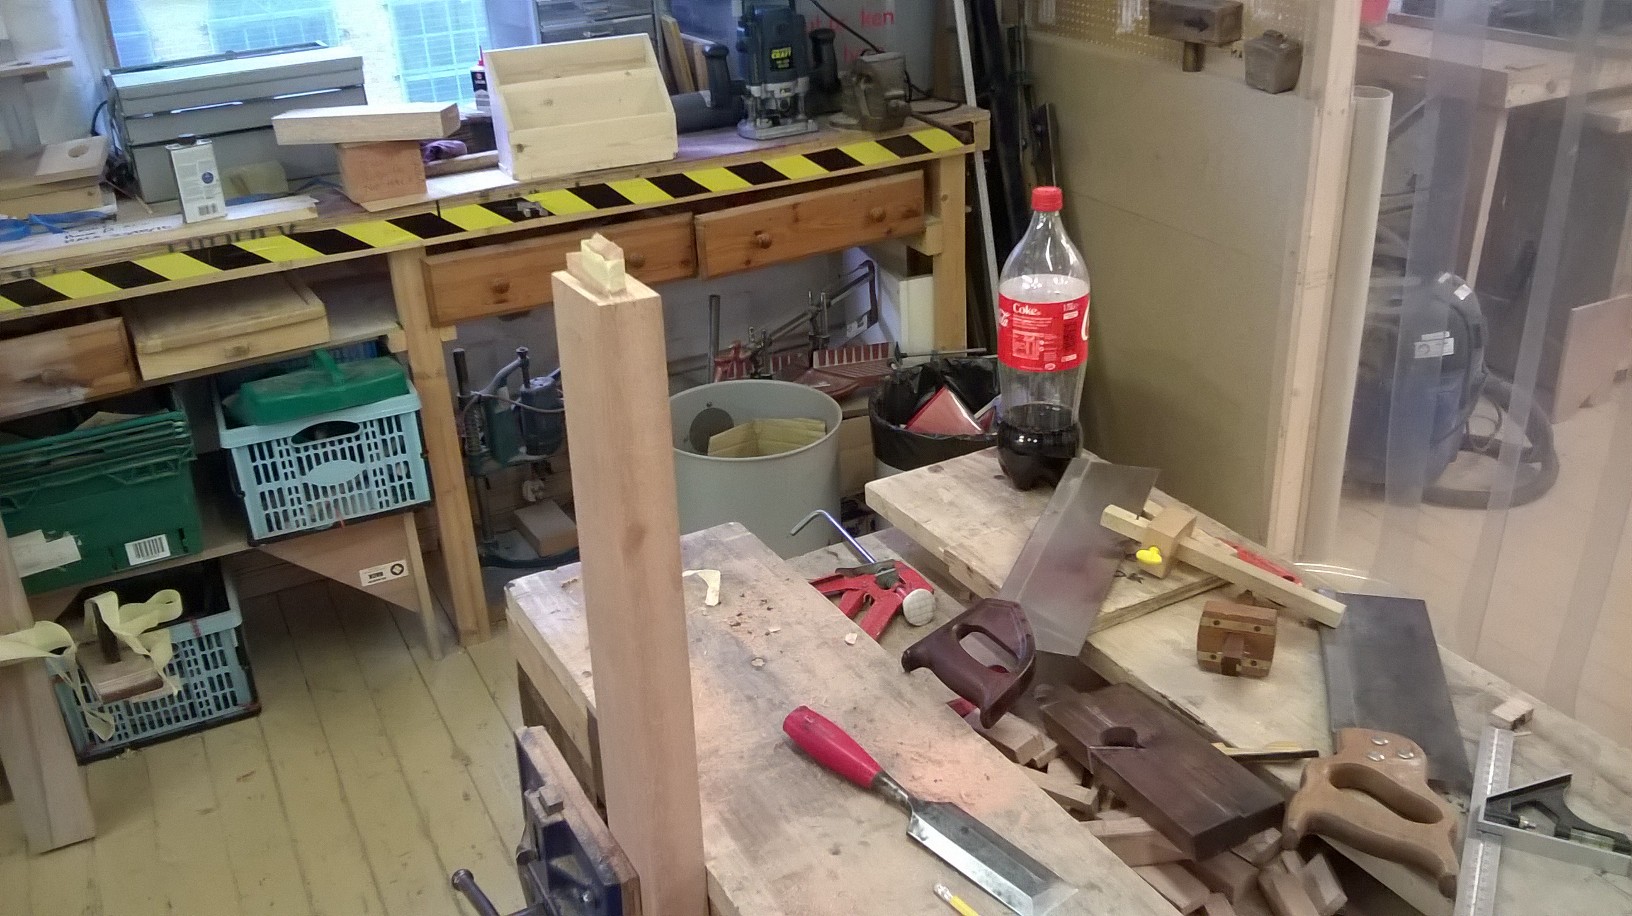
Apart from the missing apron... In adjusting the mitred tenons to fit as closely as possible, I caused some spelching on one of the tenons, (in spite of relieving the end with a chamfer first, paring across was all it took) so that had to be repaired, an inauspicious start.
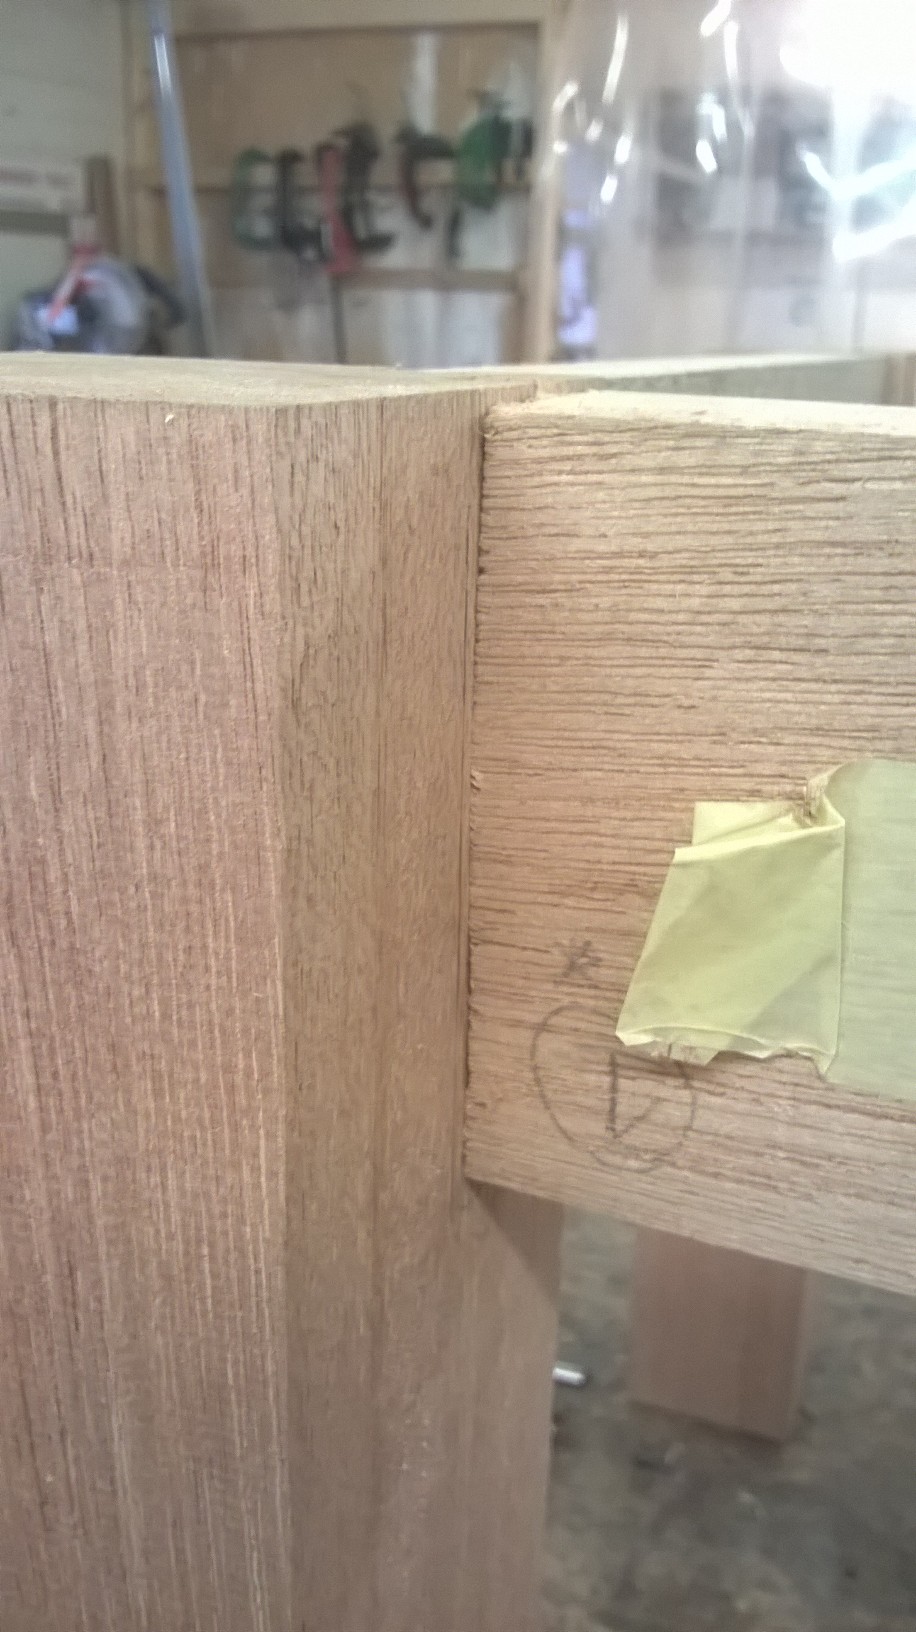
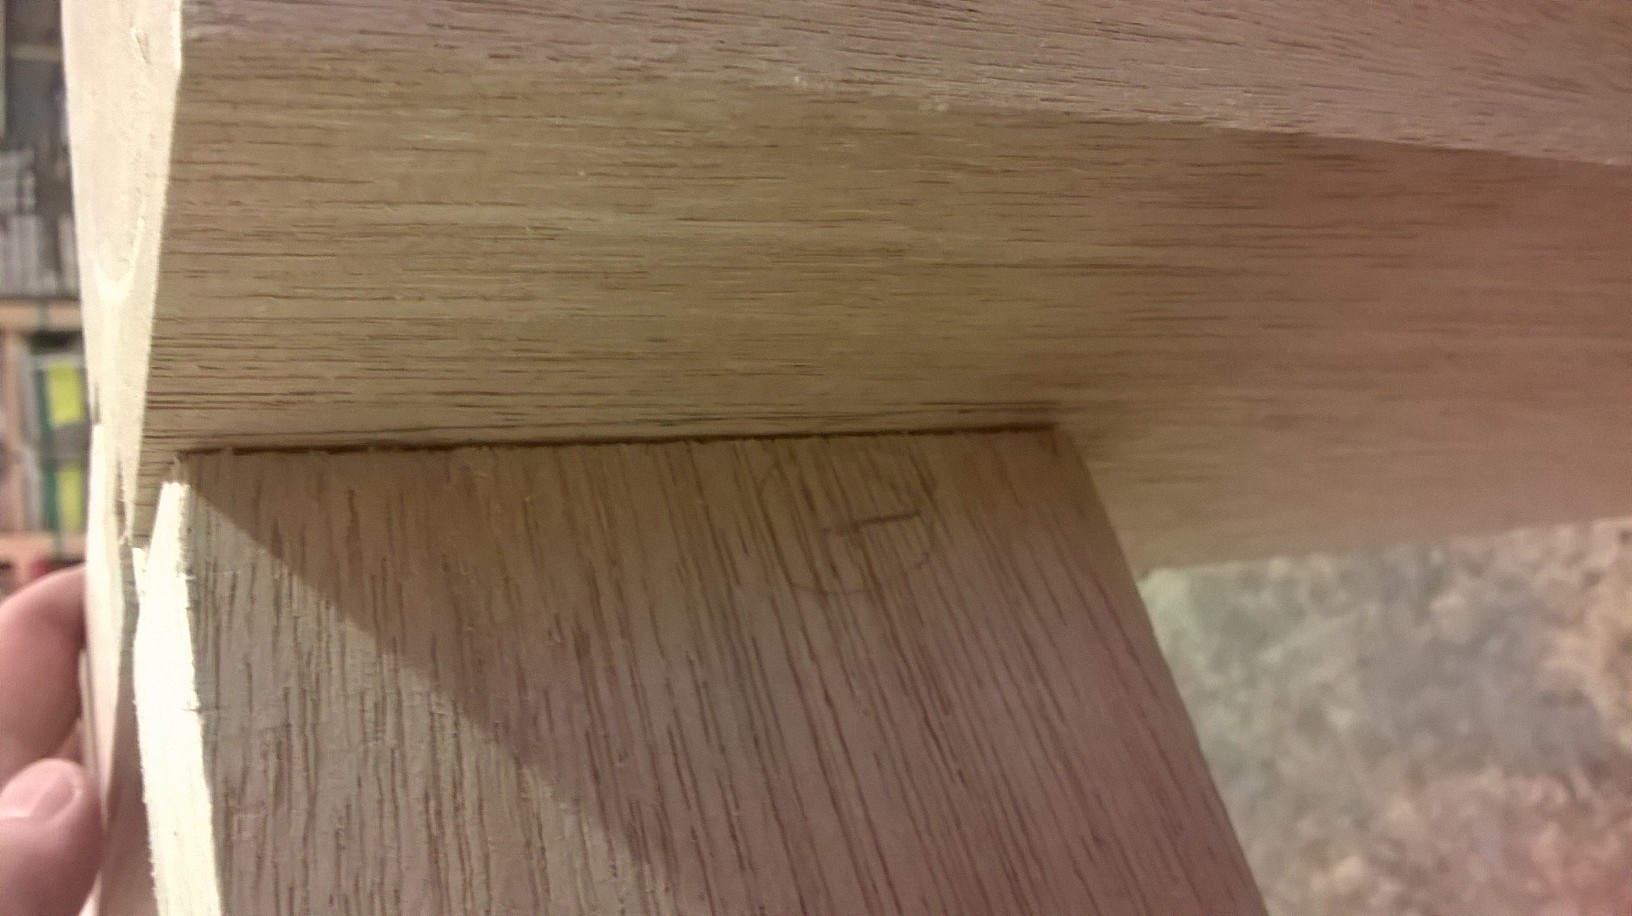
I then noticed a less pressing problem, when I established my "knifewall™" to cut the tennon shoulders, I worked the wrong way round leaving a little, inconsistent chamfer right at the glueline... It makes the workmanship look imperfect (because it is) right now, but as the actual shoulder is flat, in the right plane and perfectly fitted I'm inclined to leave it be rather than risk making an arse of it for the sake of perfectionism. I say this as, that part of the apron with the tiny chamfer on it will be removed when the curves are shaped, leaving (in theory) a nice tight glueline... Were it something which would remain in place, I'd have gone ahead and taken 1-1.5mm off each shoulder with a shoulder plane (also, found the shoulder plane which has disappeared to the bottom of assorted tool bags).
That was one session in the workshop completed.
Next came the 'fun bit', shaping the legs; I'm not even going to attempt to describe it in how to detail, there are far more competent methods and explanations on both UKW and the internet at large than I could hope to achieve (indeed they taught me how)...
I have gone into a bit more detail however, more as a way of showing that it's easier than you might think (by which I mean not wholly impossible).
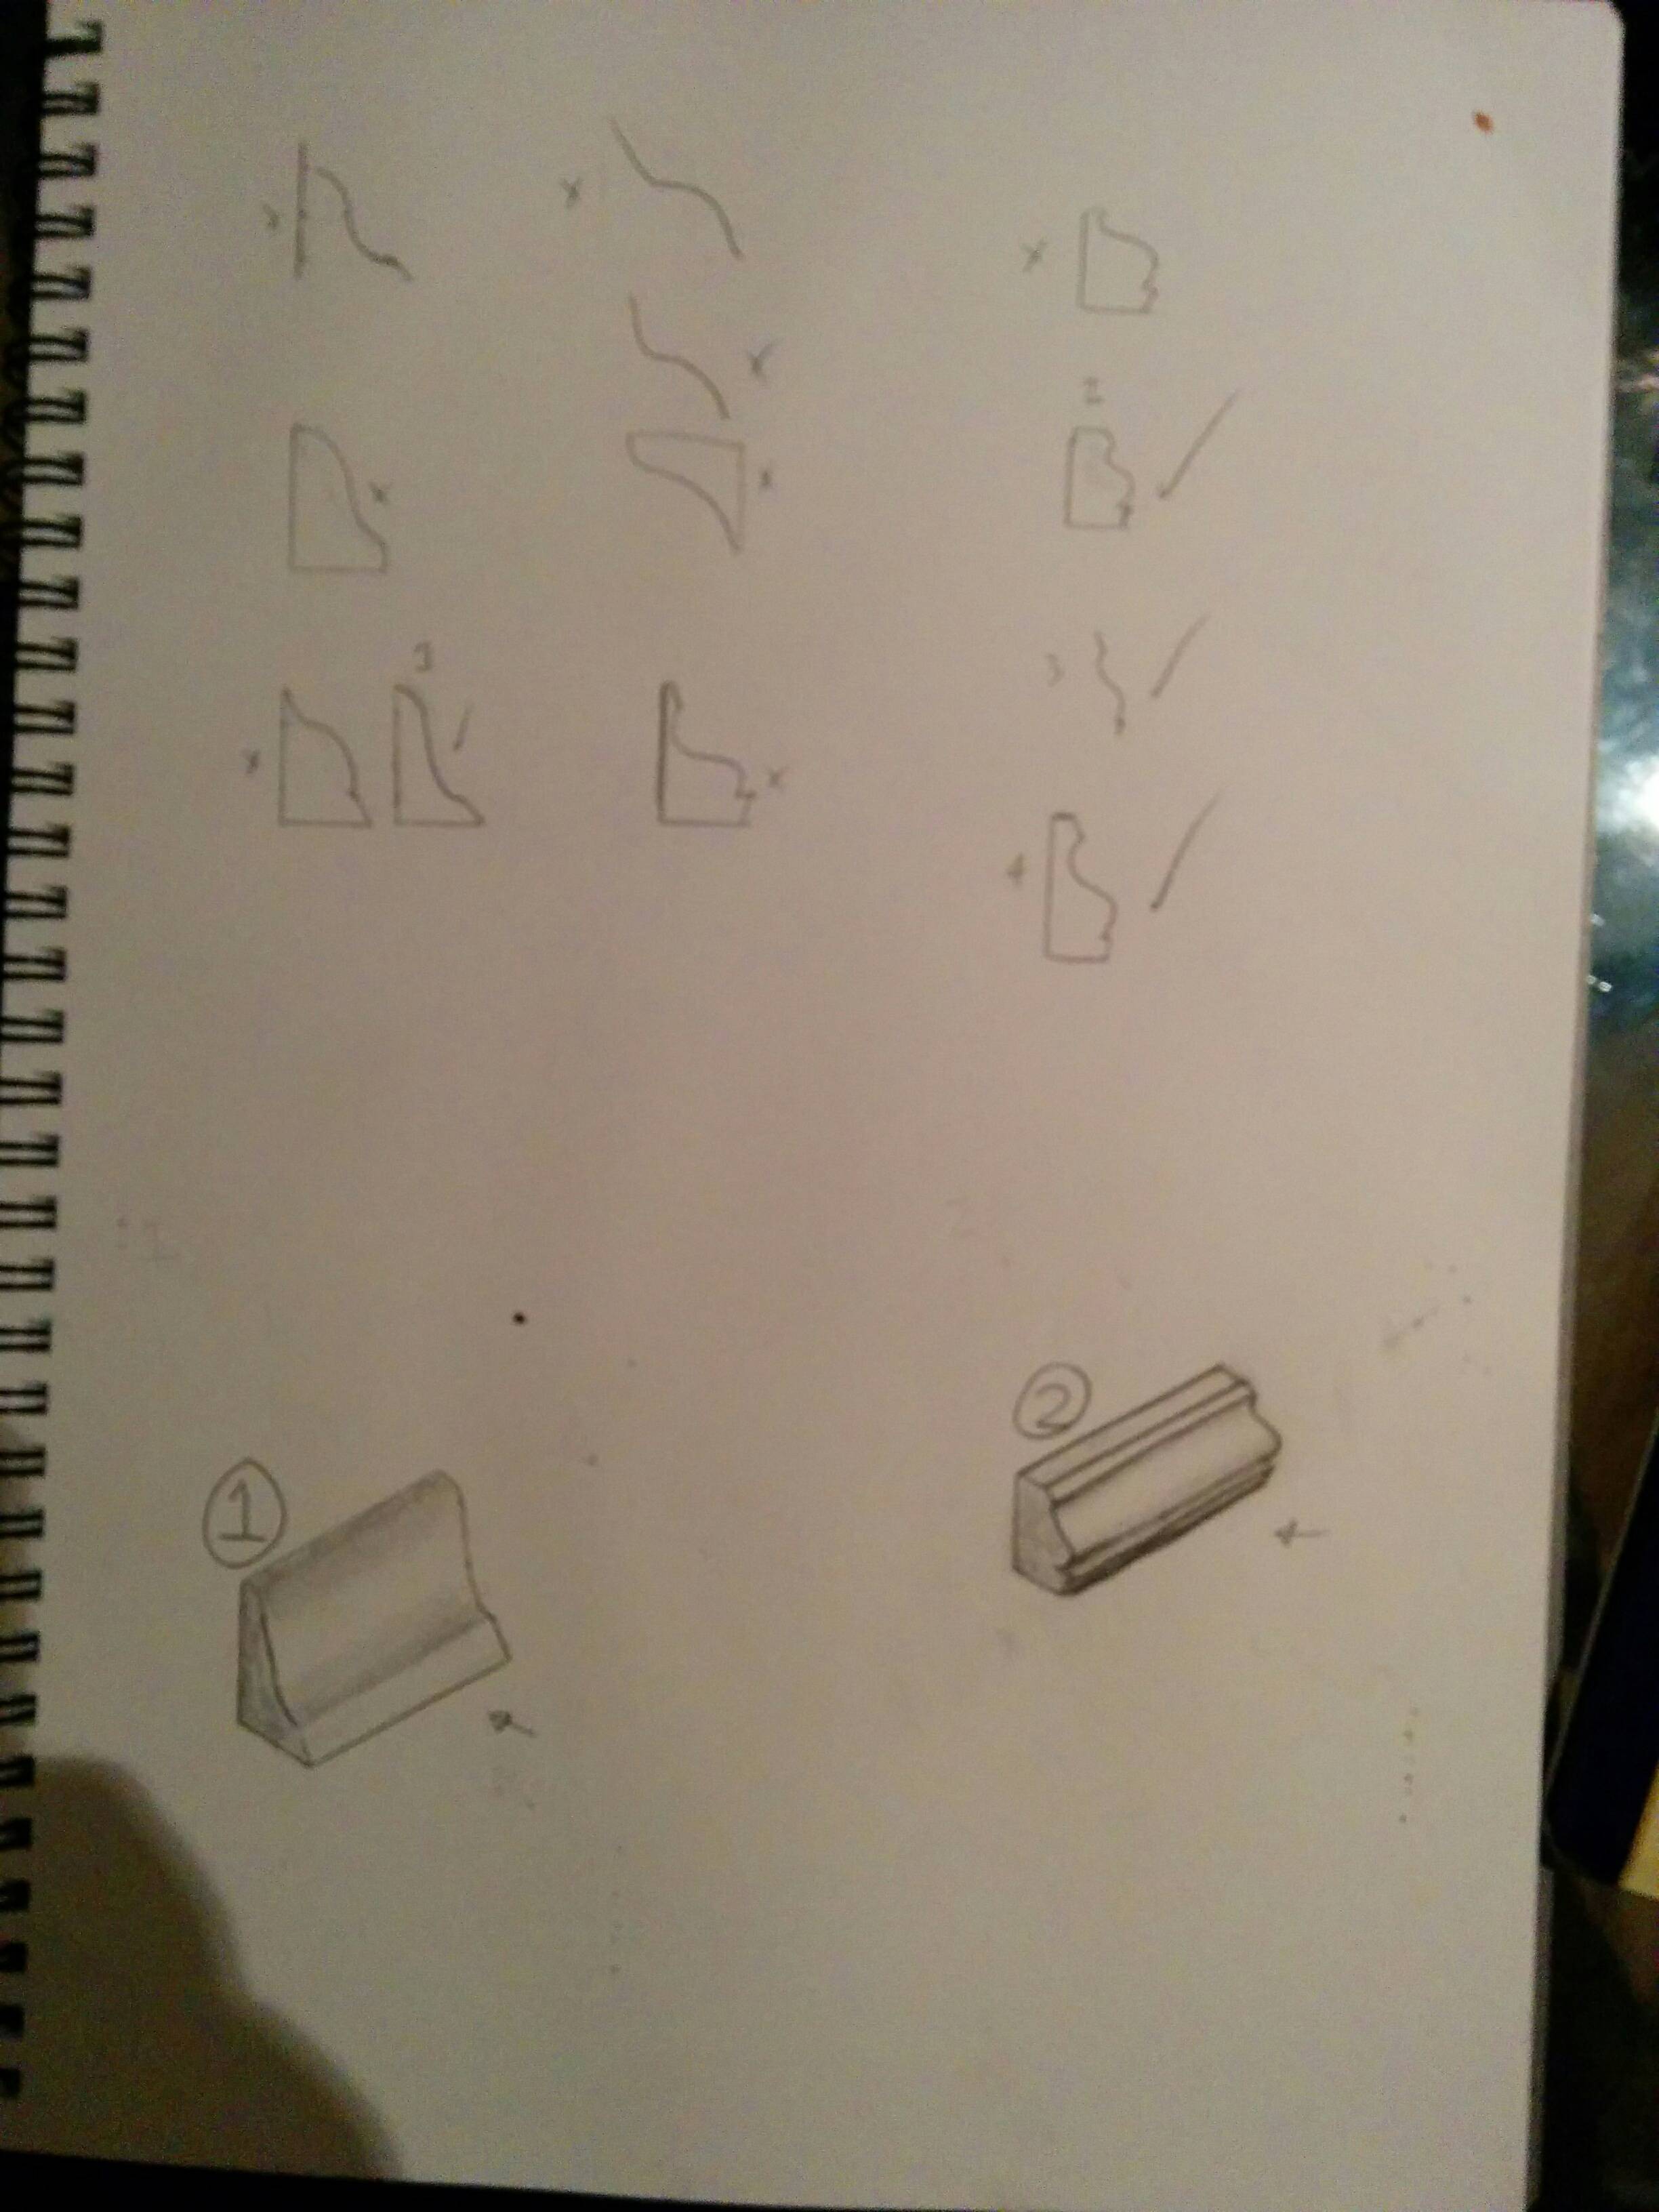
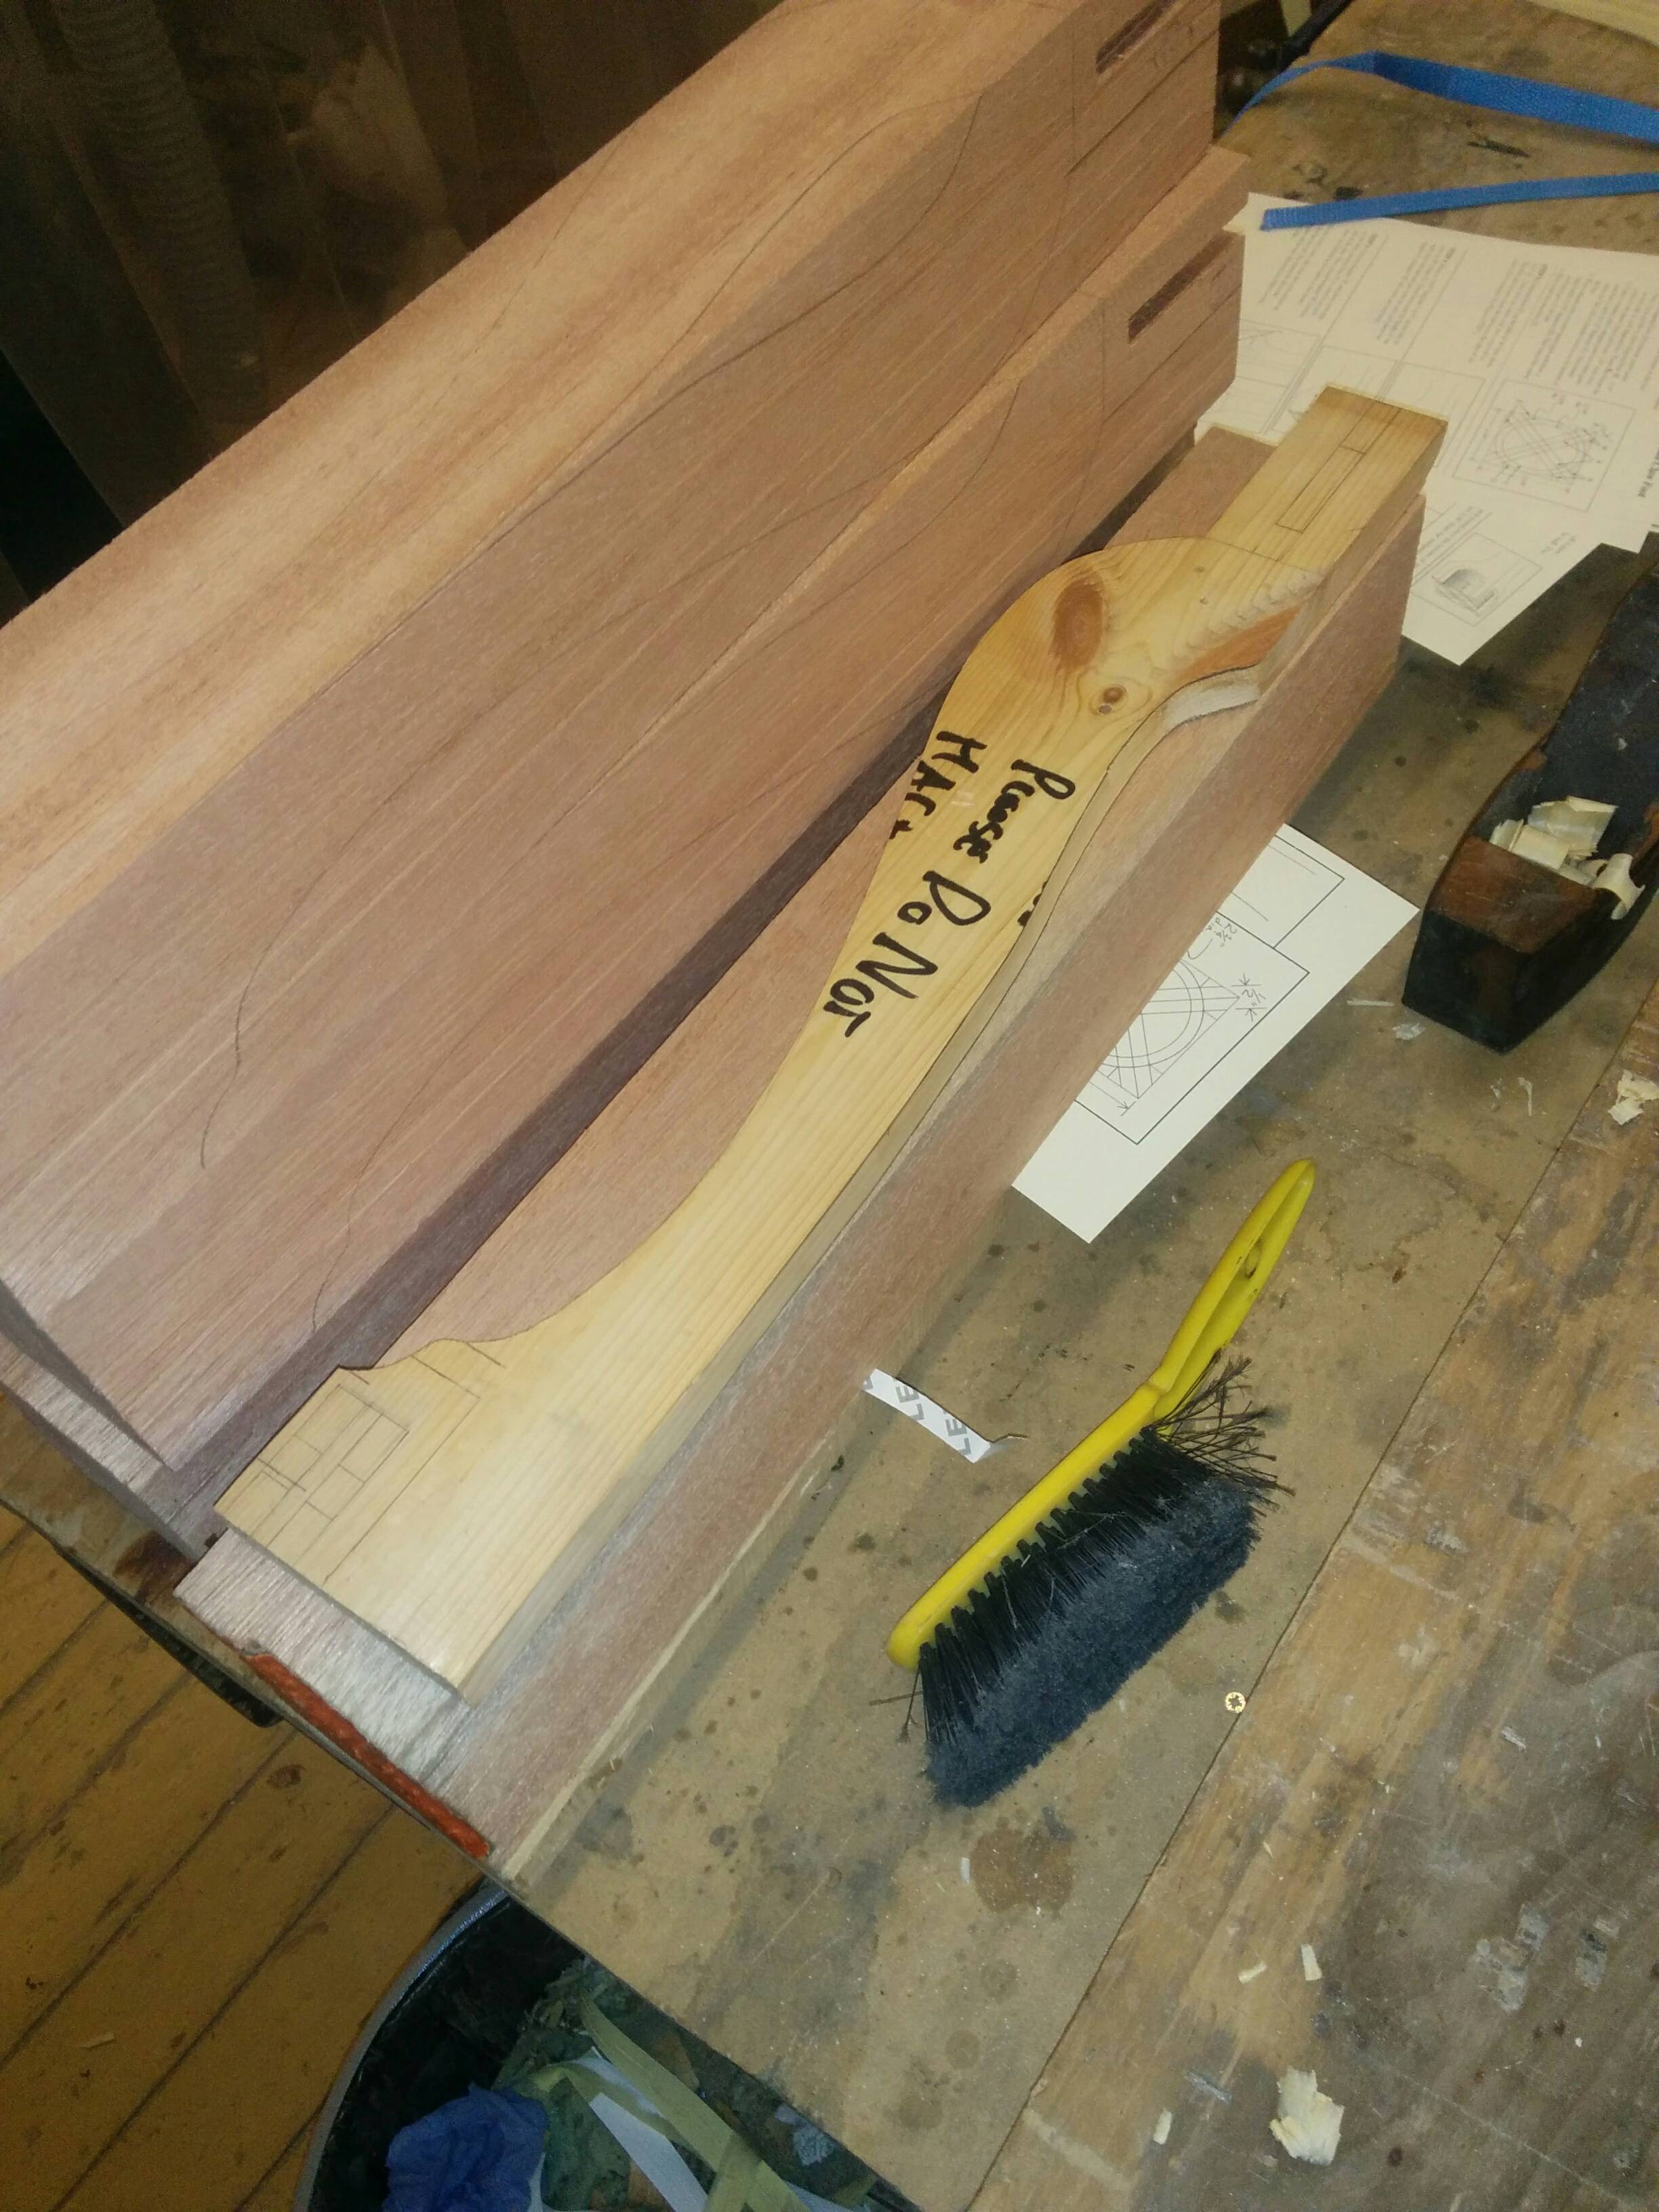
First things first, wooden template. I laid out the important points which needed to be correct, working off my scale drawing then drew freehand curves which joined the important points up; the same process on the bandsaw, establish the bits that need to be just so right up to the line on the bandsaw, then cut a tad outside the line on the curves and take it to the line with a spokeshave.
End result:
TBC.
Edit: Cont.
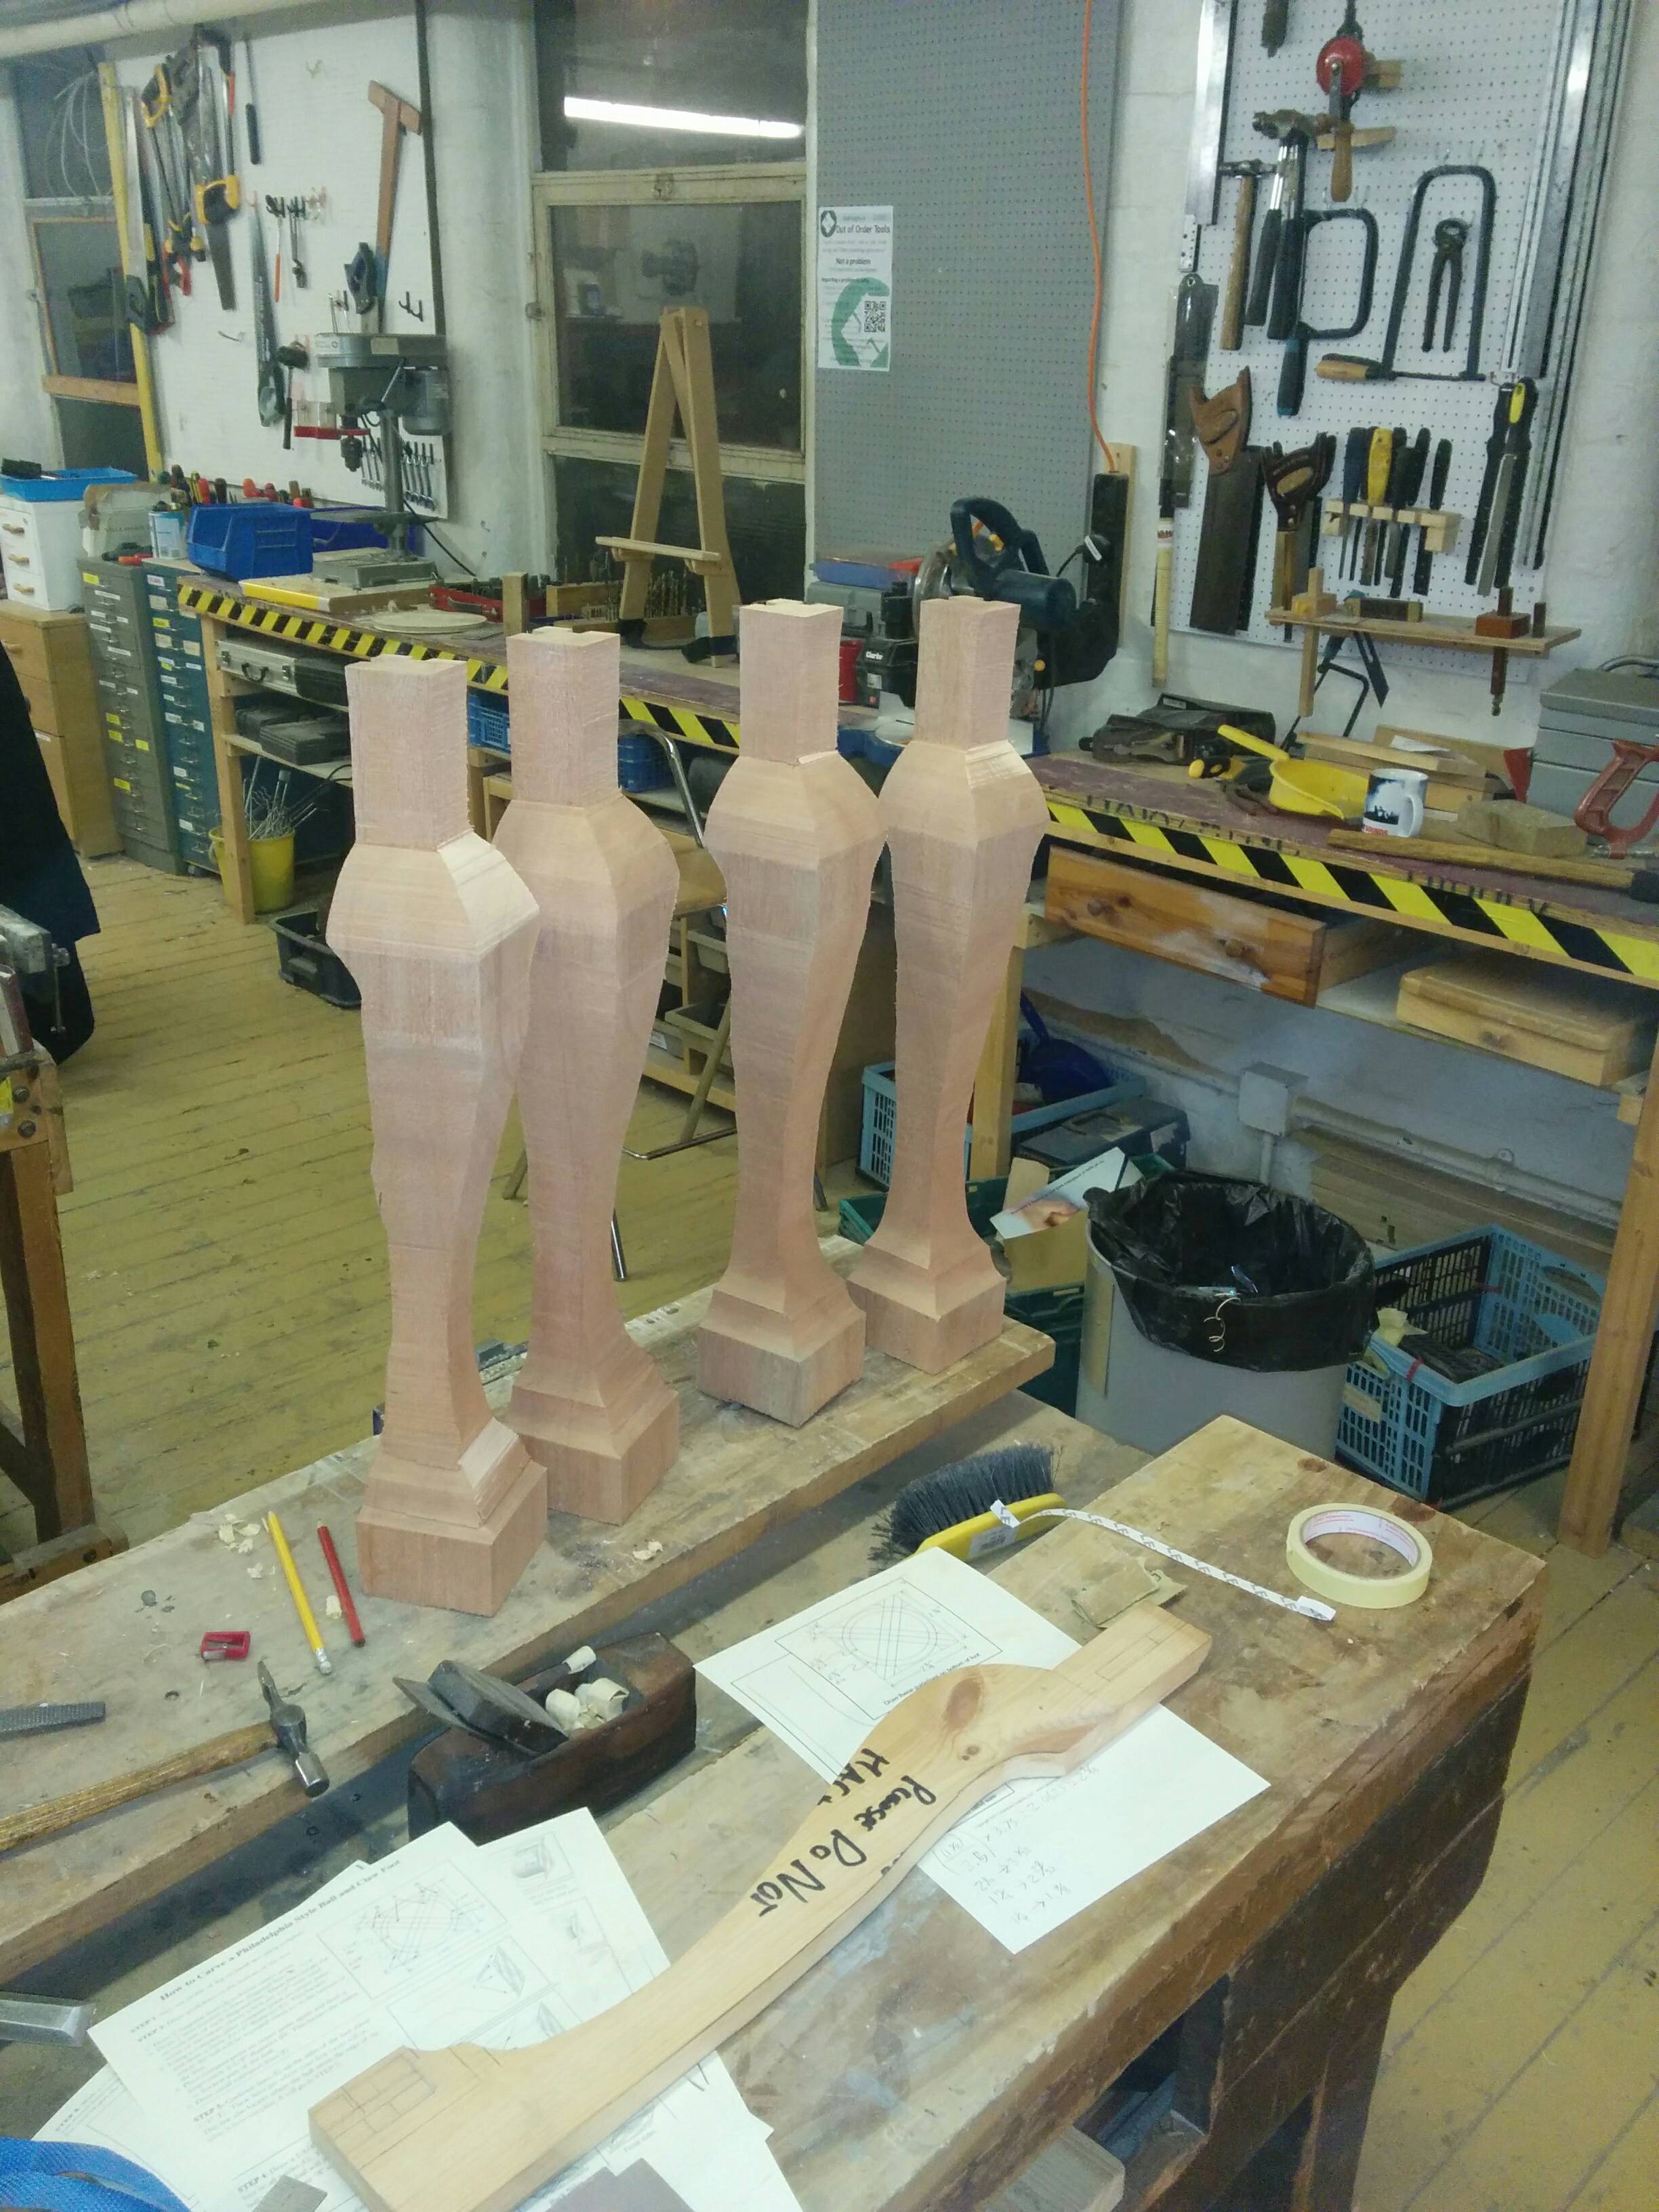
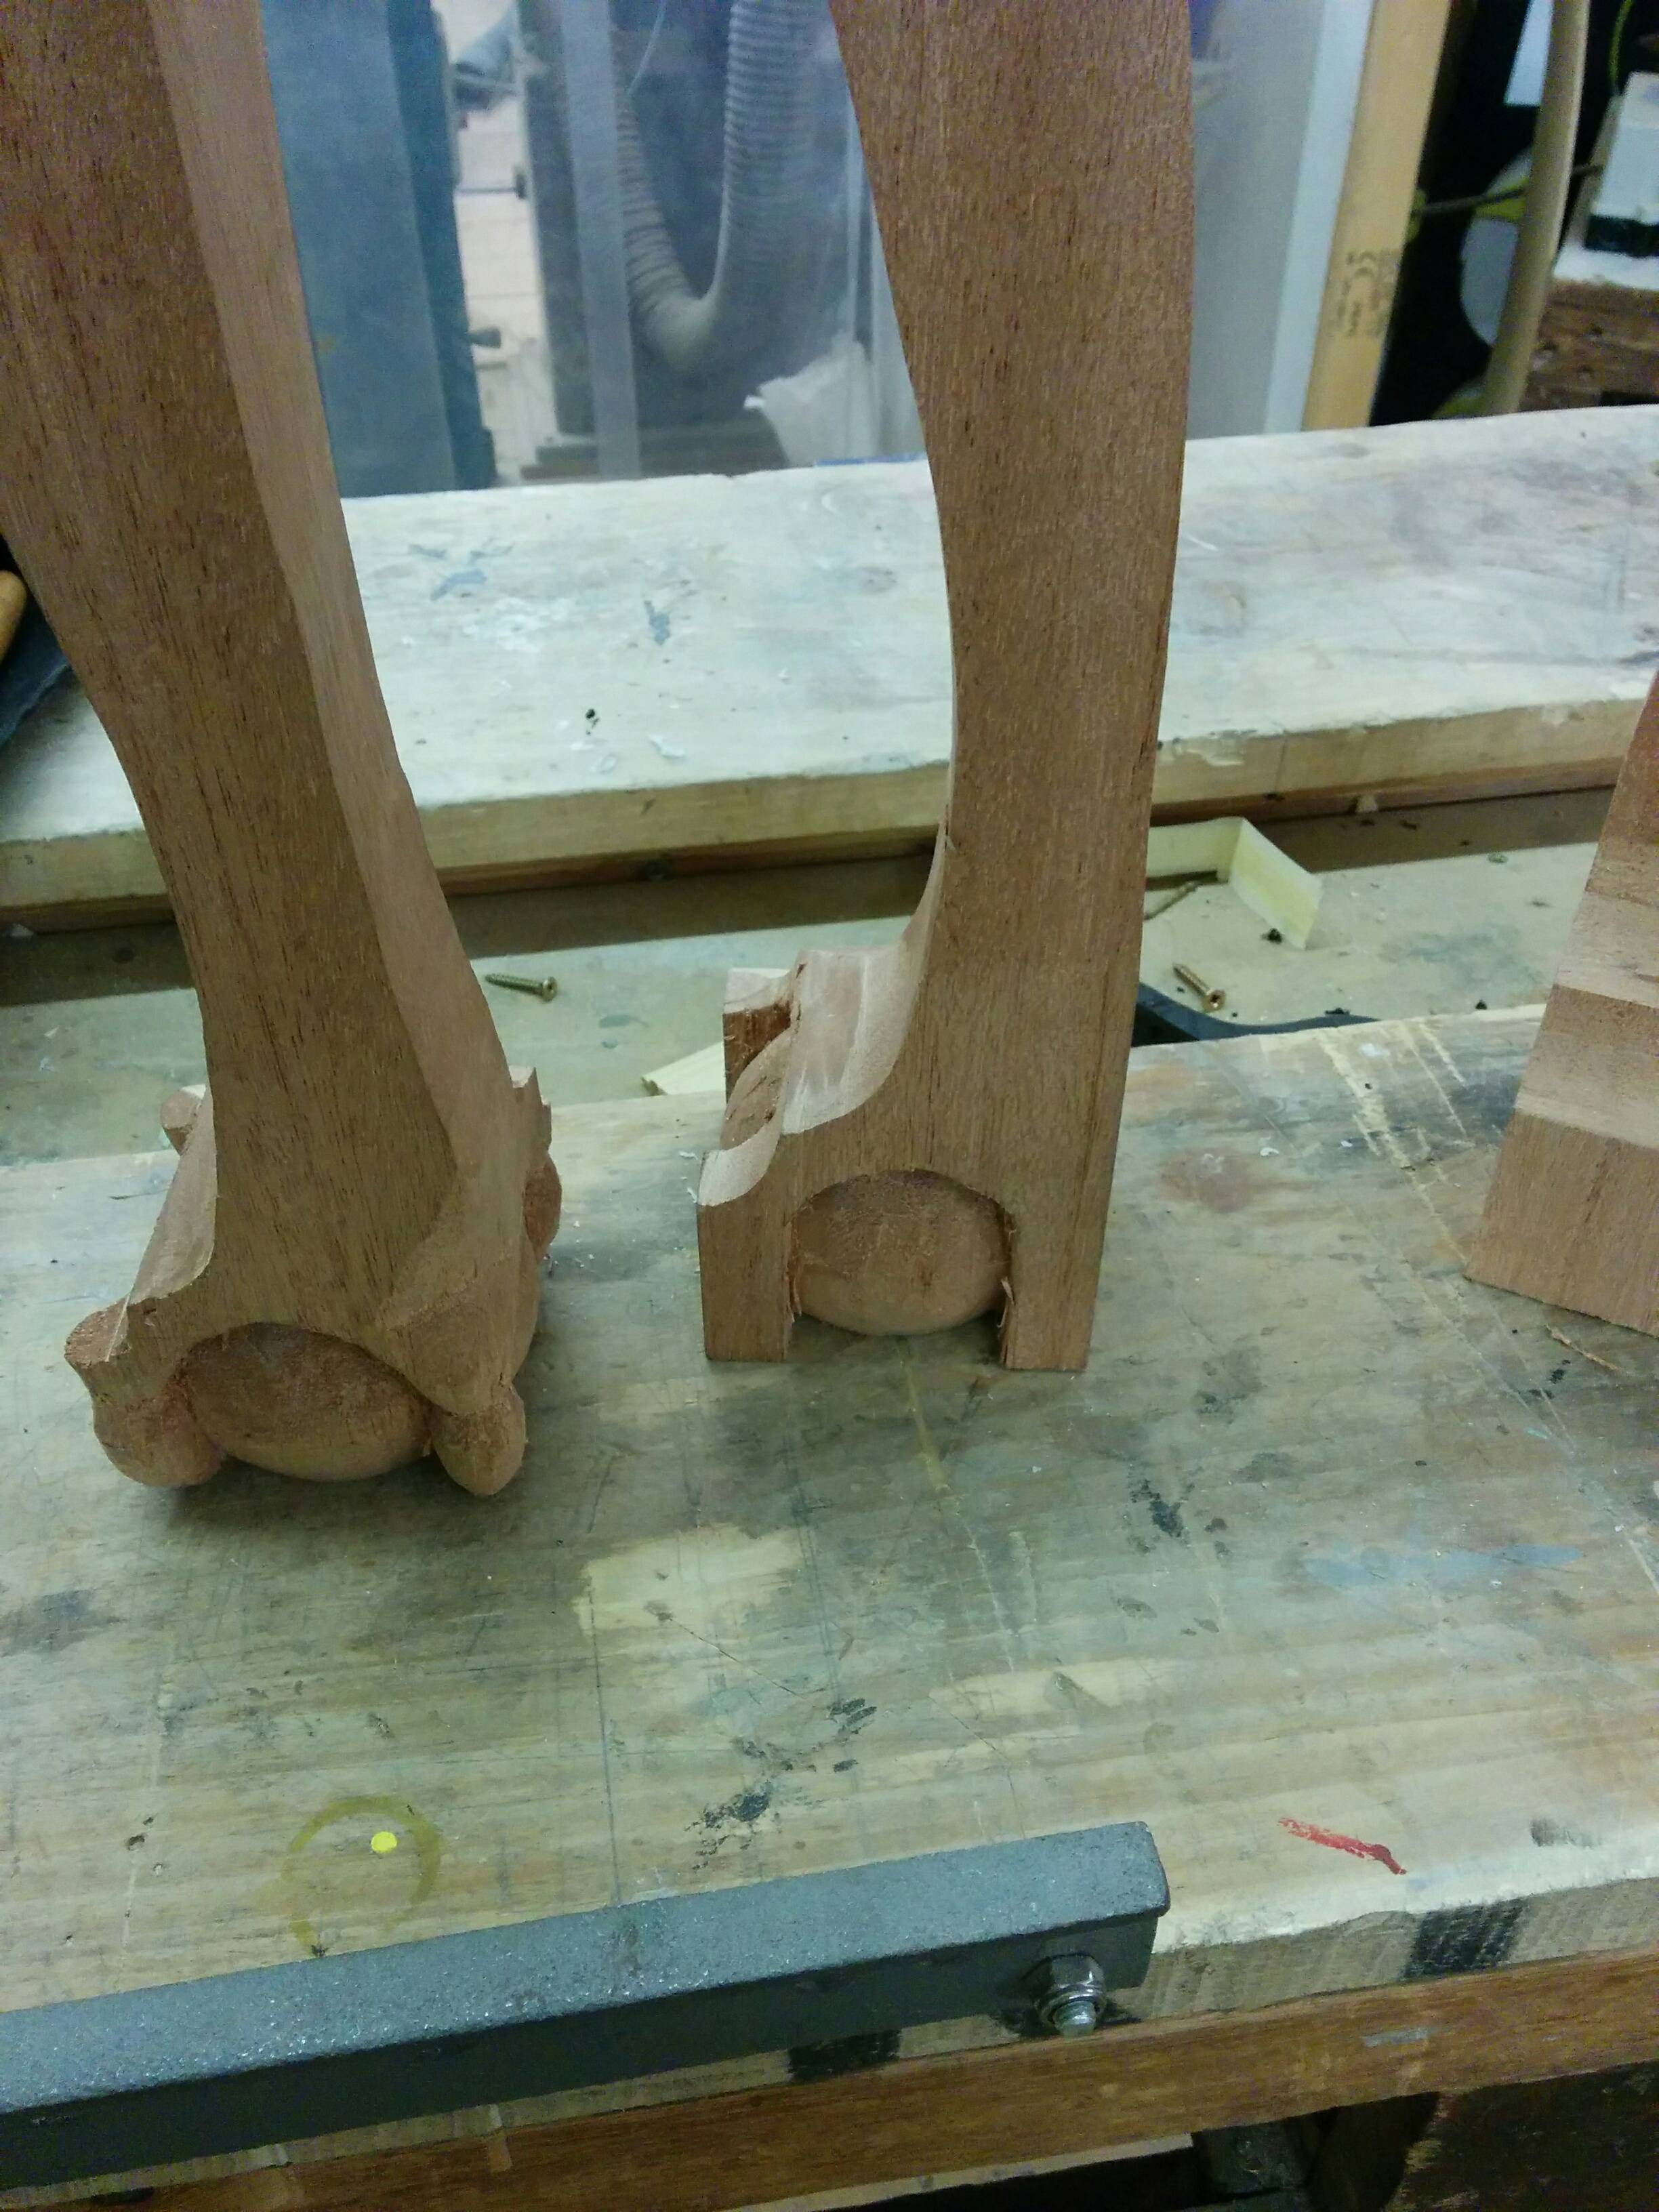
Shaping the legs did not go smoothly, if you look at the picture below, you'll see two things:
- The leftmost leg is not a nice continuous curve.
- The second left leg has thebandsaw exiting the knee at different points on each side.
That leg in 2) was the first one cut, and I could feel the blade pulling away a bit to do its own thing, but with persistence got an OK result which could easily be standardised using a coarse rasp & a spokeshave. So I redoubled my efforts with the next (leftmost one), taking extra time and care but it just got worse...
This time the blade is really moving about, worrying me it would come out of the guides or snap... So I stopped, backed the stationary blade out and went to think, and then I saw it... Another workshop user trying to adjust the height of the top guide/guard, twiddling the tension knob, then the knurled locking screws on the guide, and finally getting the right knob to release the guard. So I waited for him to cut his ply shape out, and re-adjusted everything until it was just so... Which I should really have done at the start; finished my second one, and the third and fourth cut like a dream by comparison.
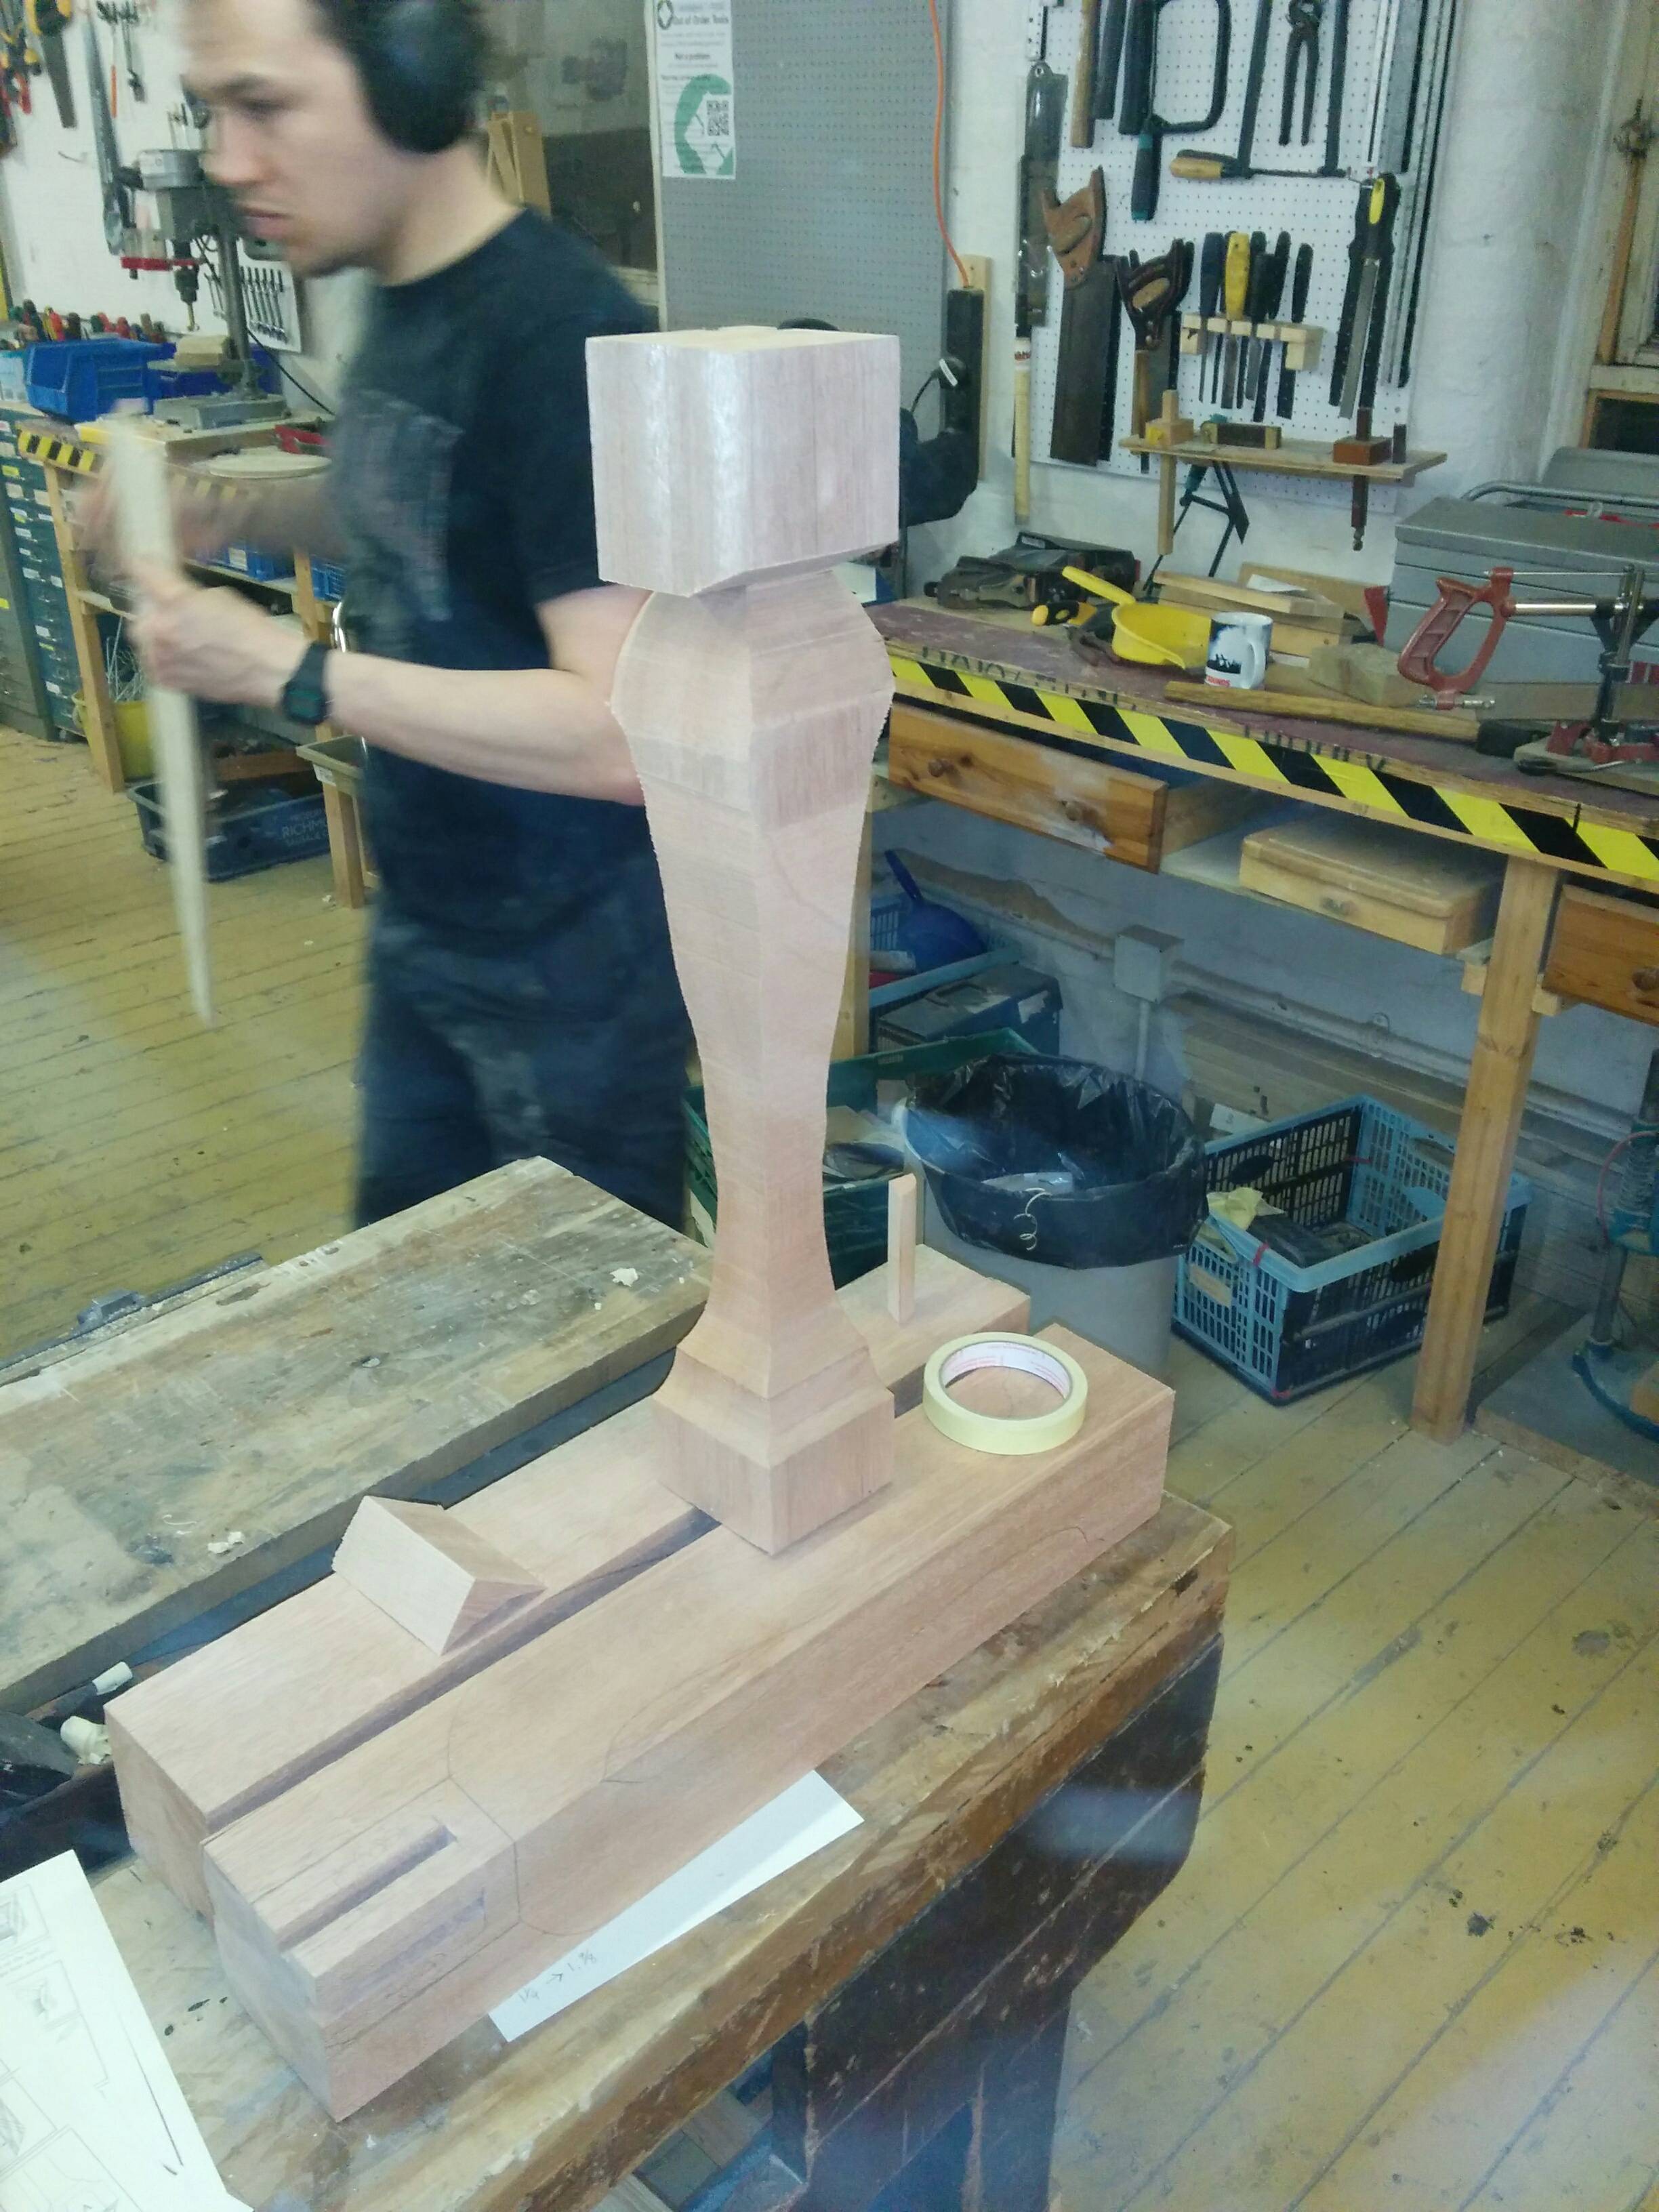
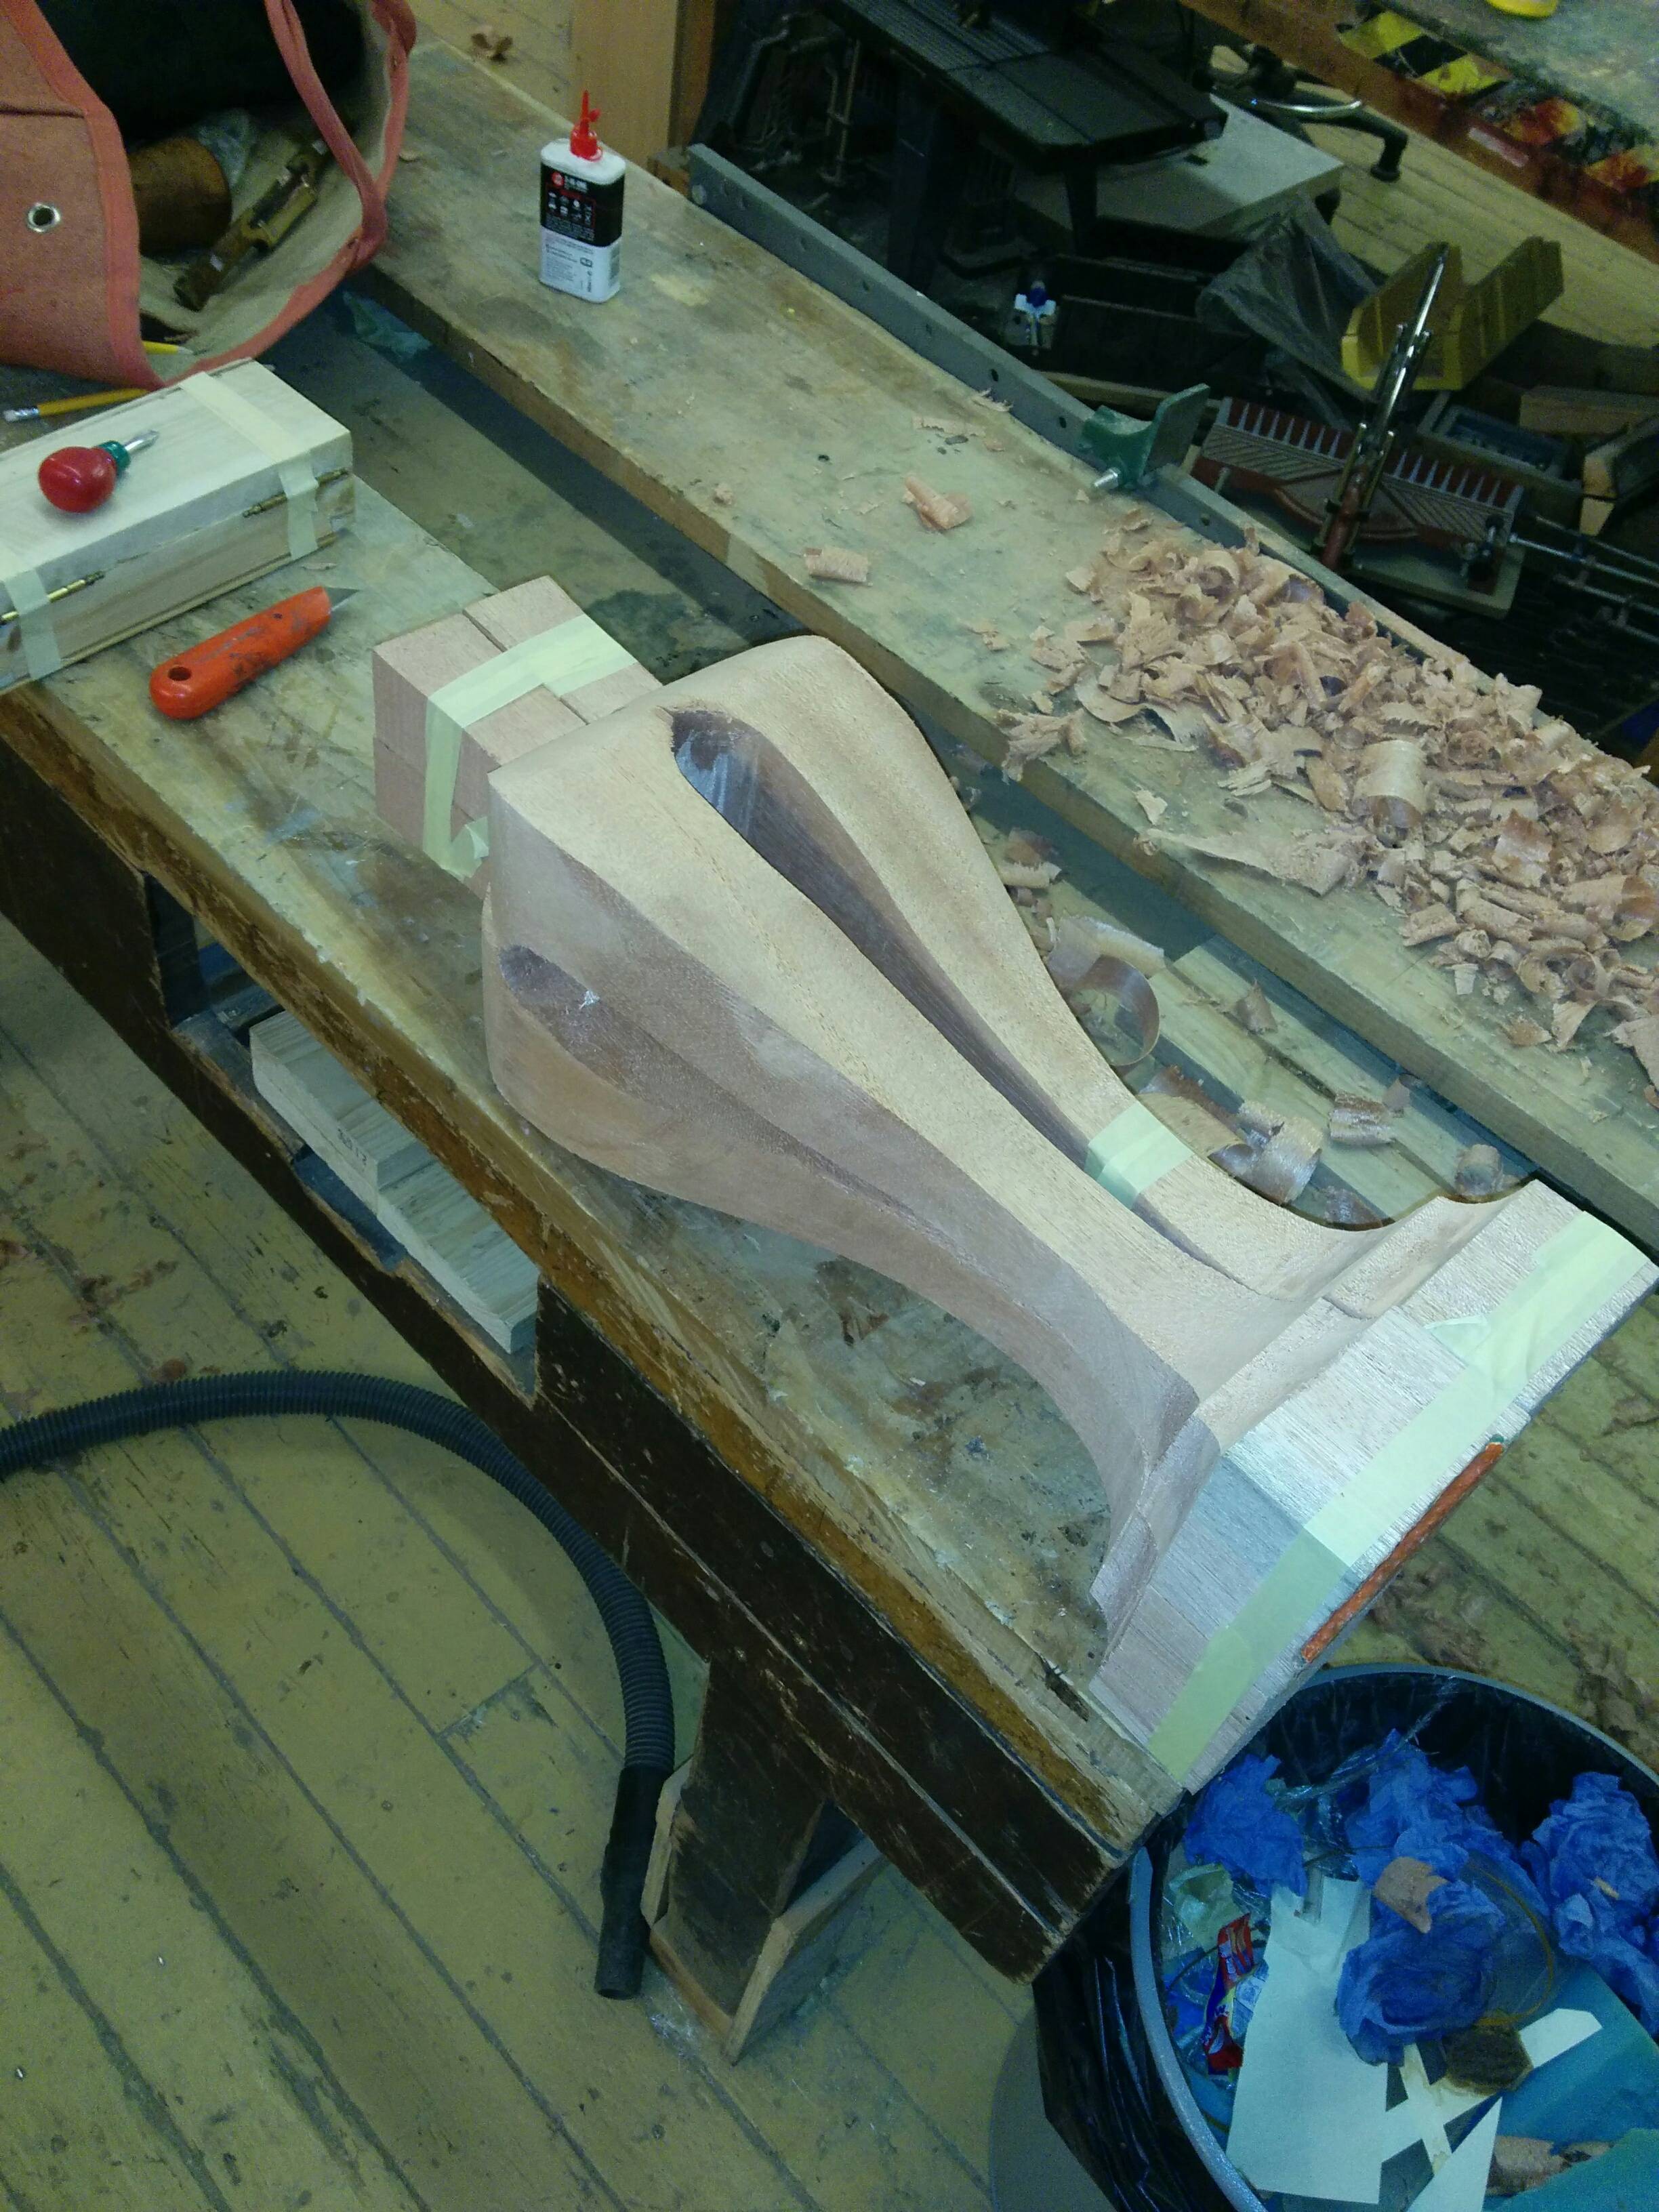
Back to shaping then:
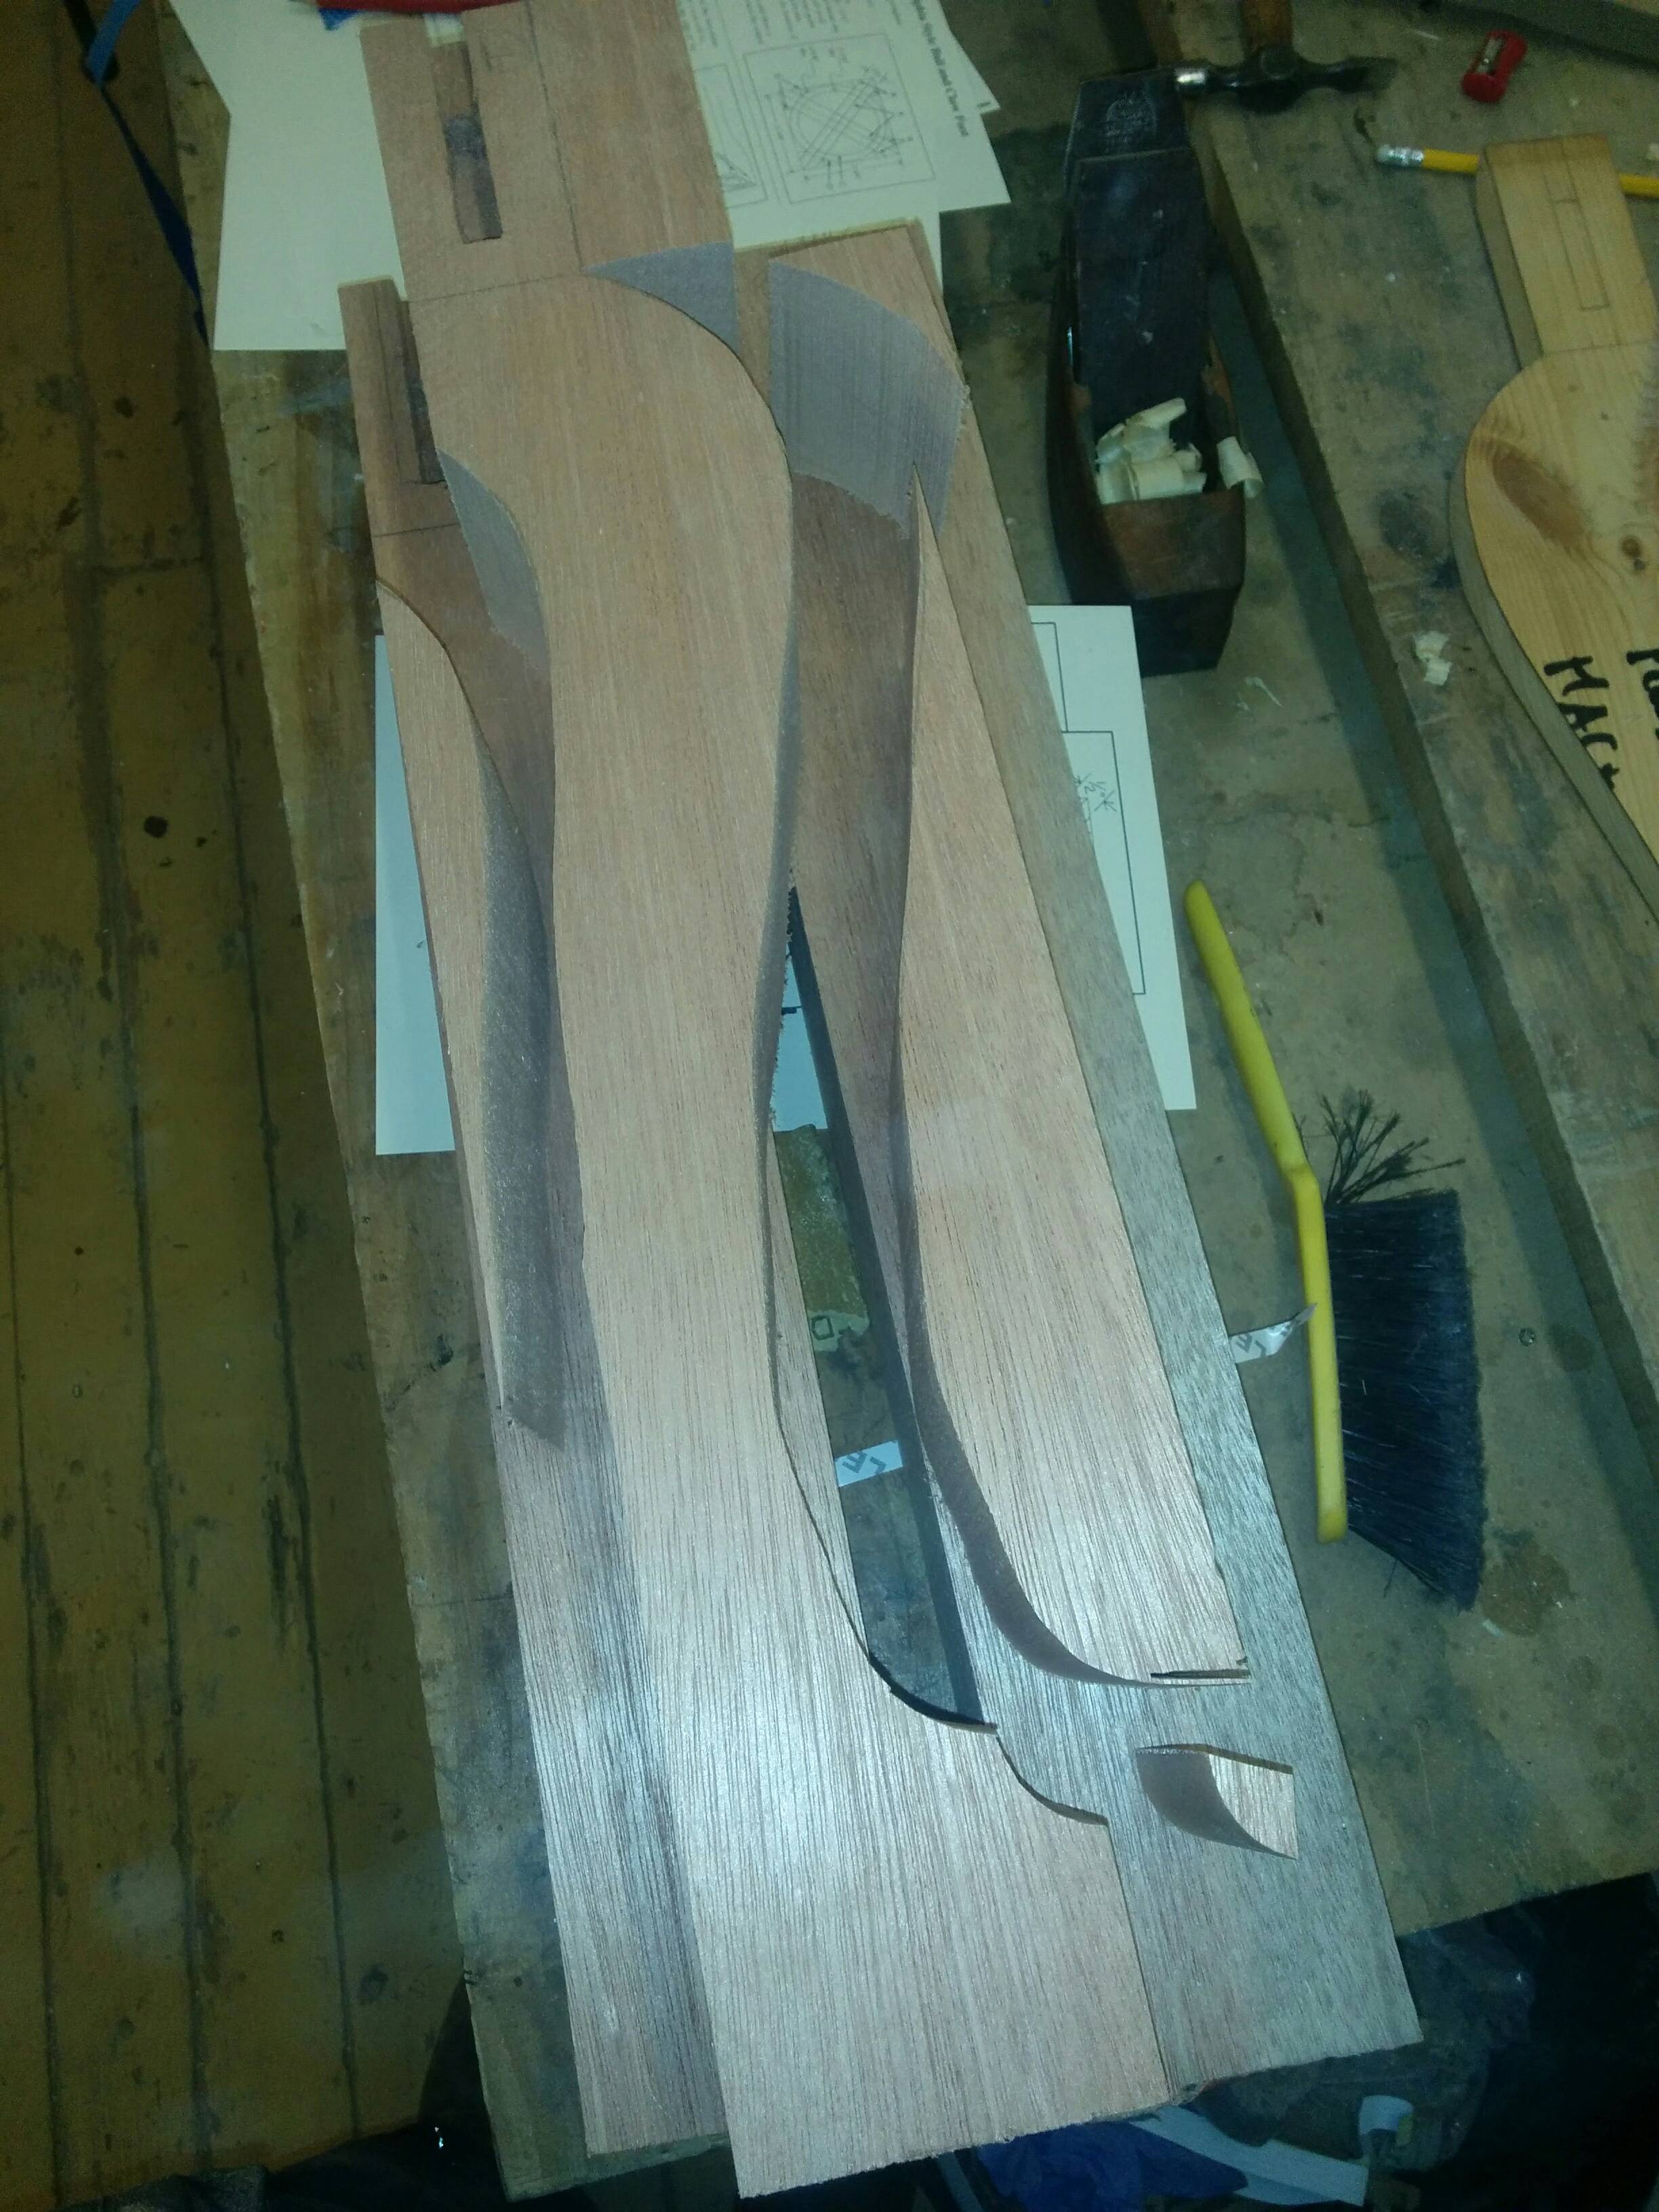
That's the first side cutout, with all the bits arranged round it, not all of them need to be taped back on to do the next side, only enough to give a stable bearing surface at the bottom, and to show the marked shape on the top.
And blurrily cutting the second side, to yield this:
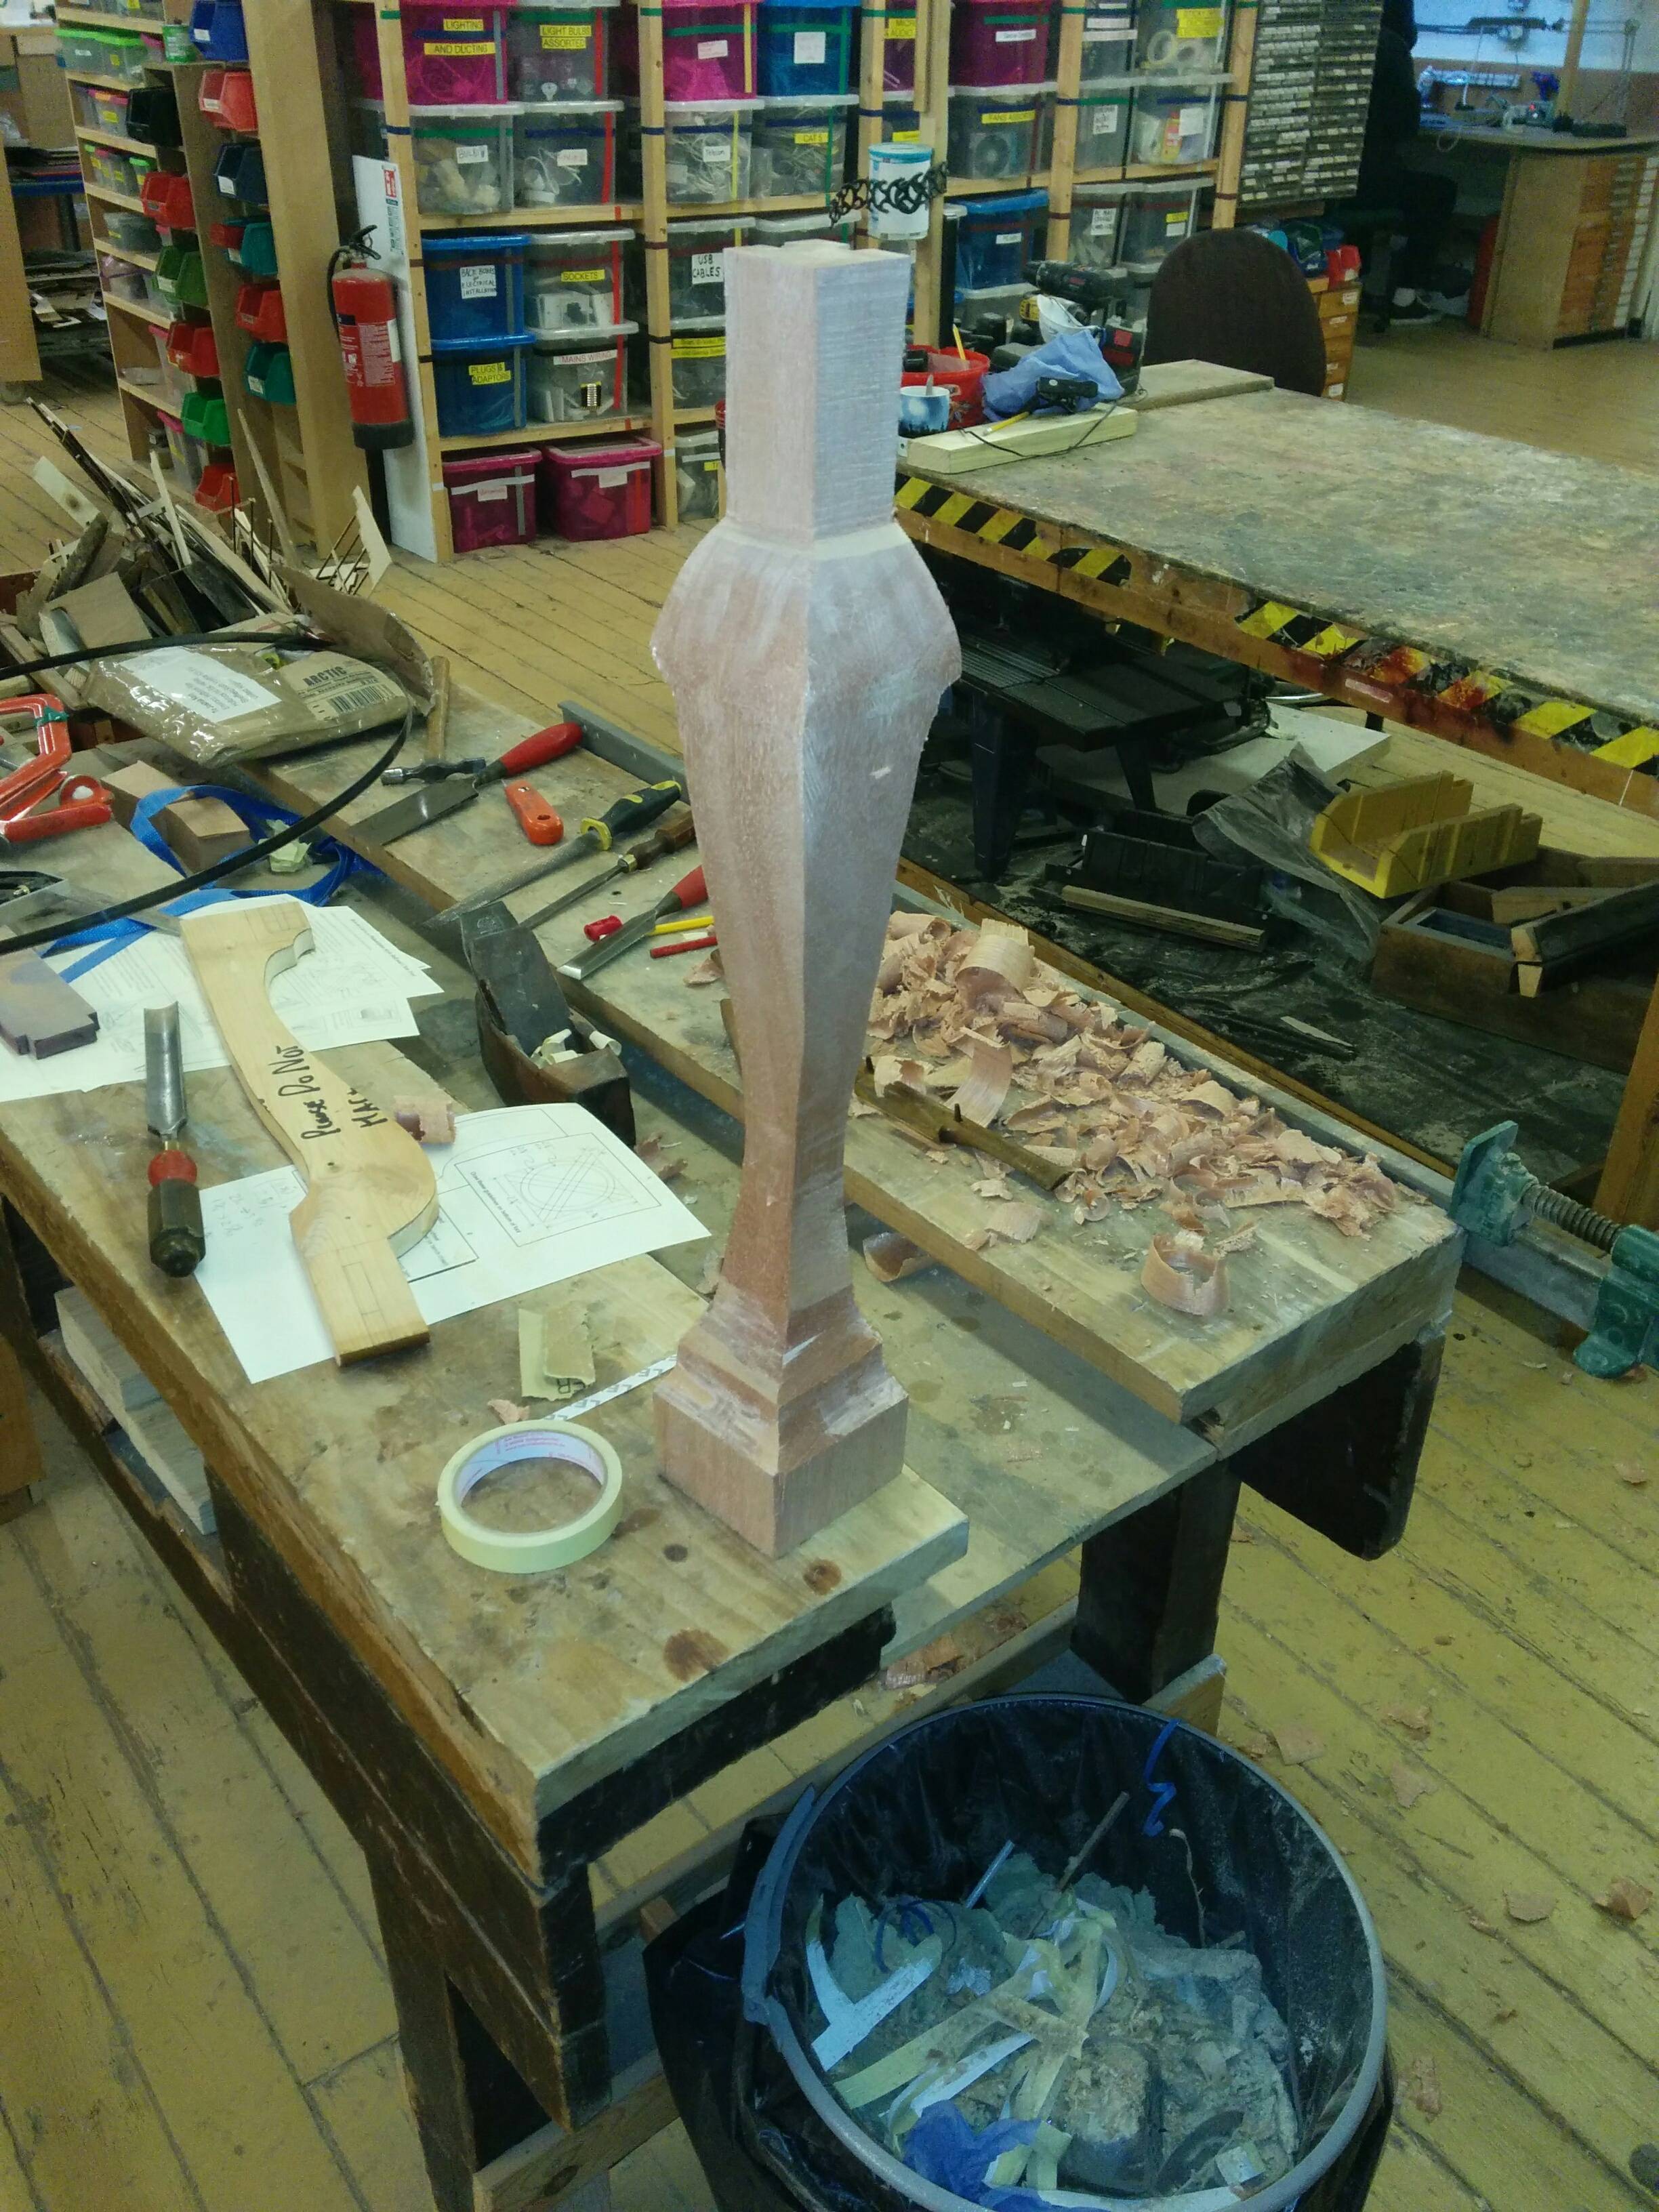
It's approximately the shape I'm after, which will do for me right now.
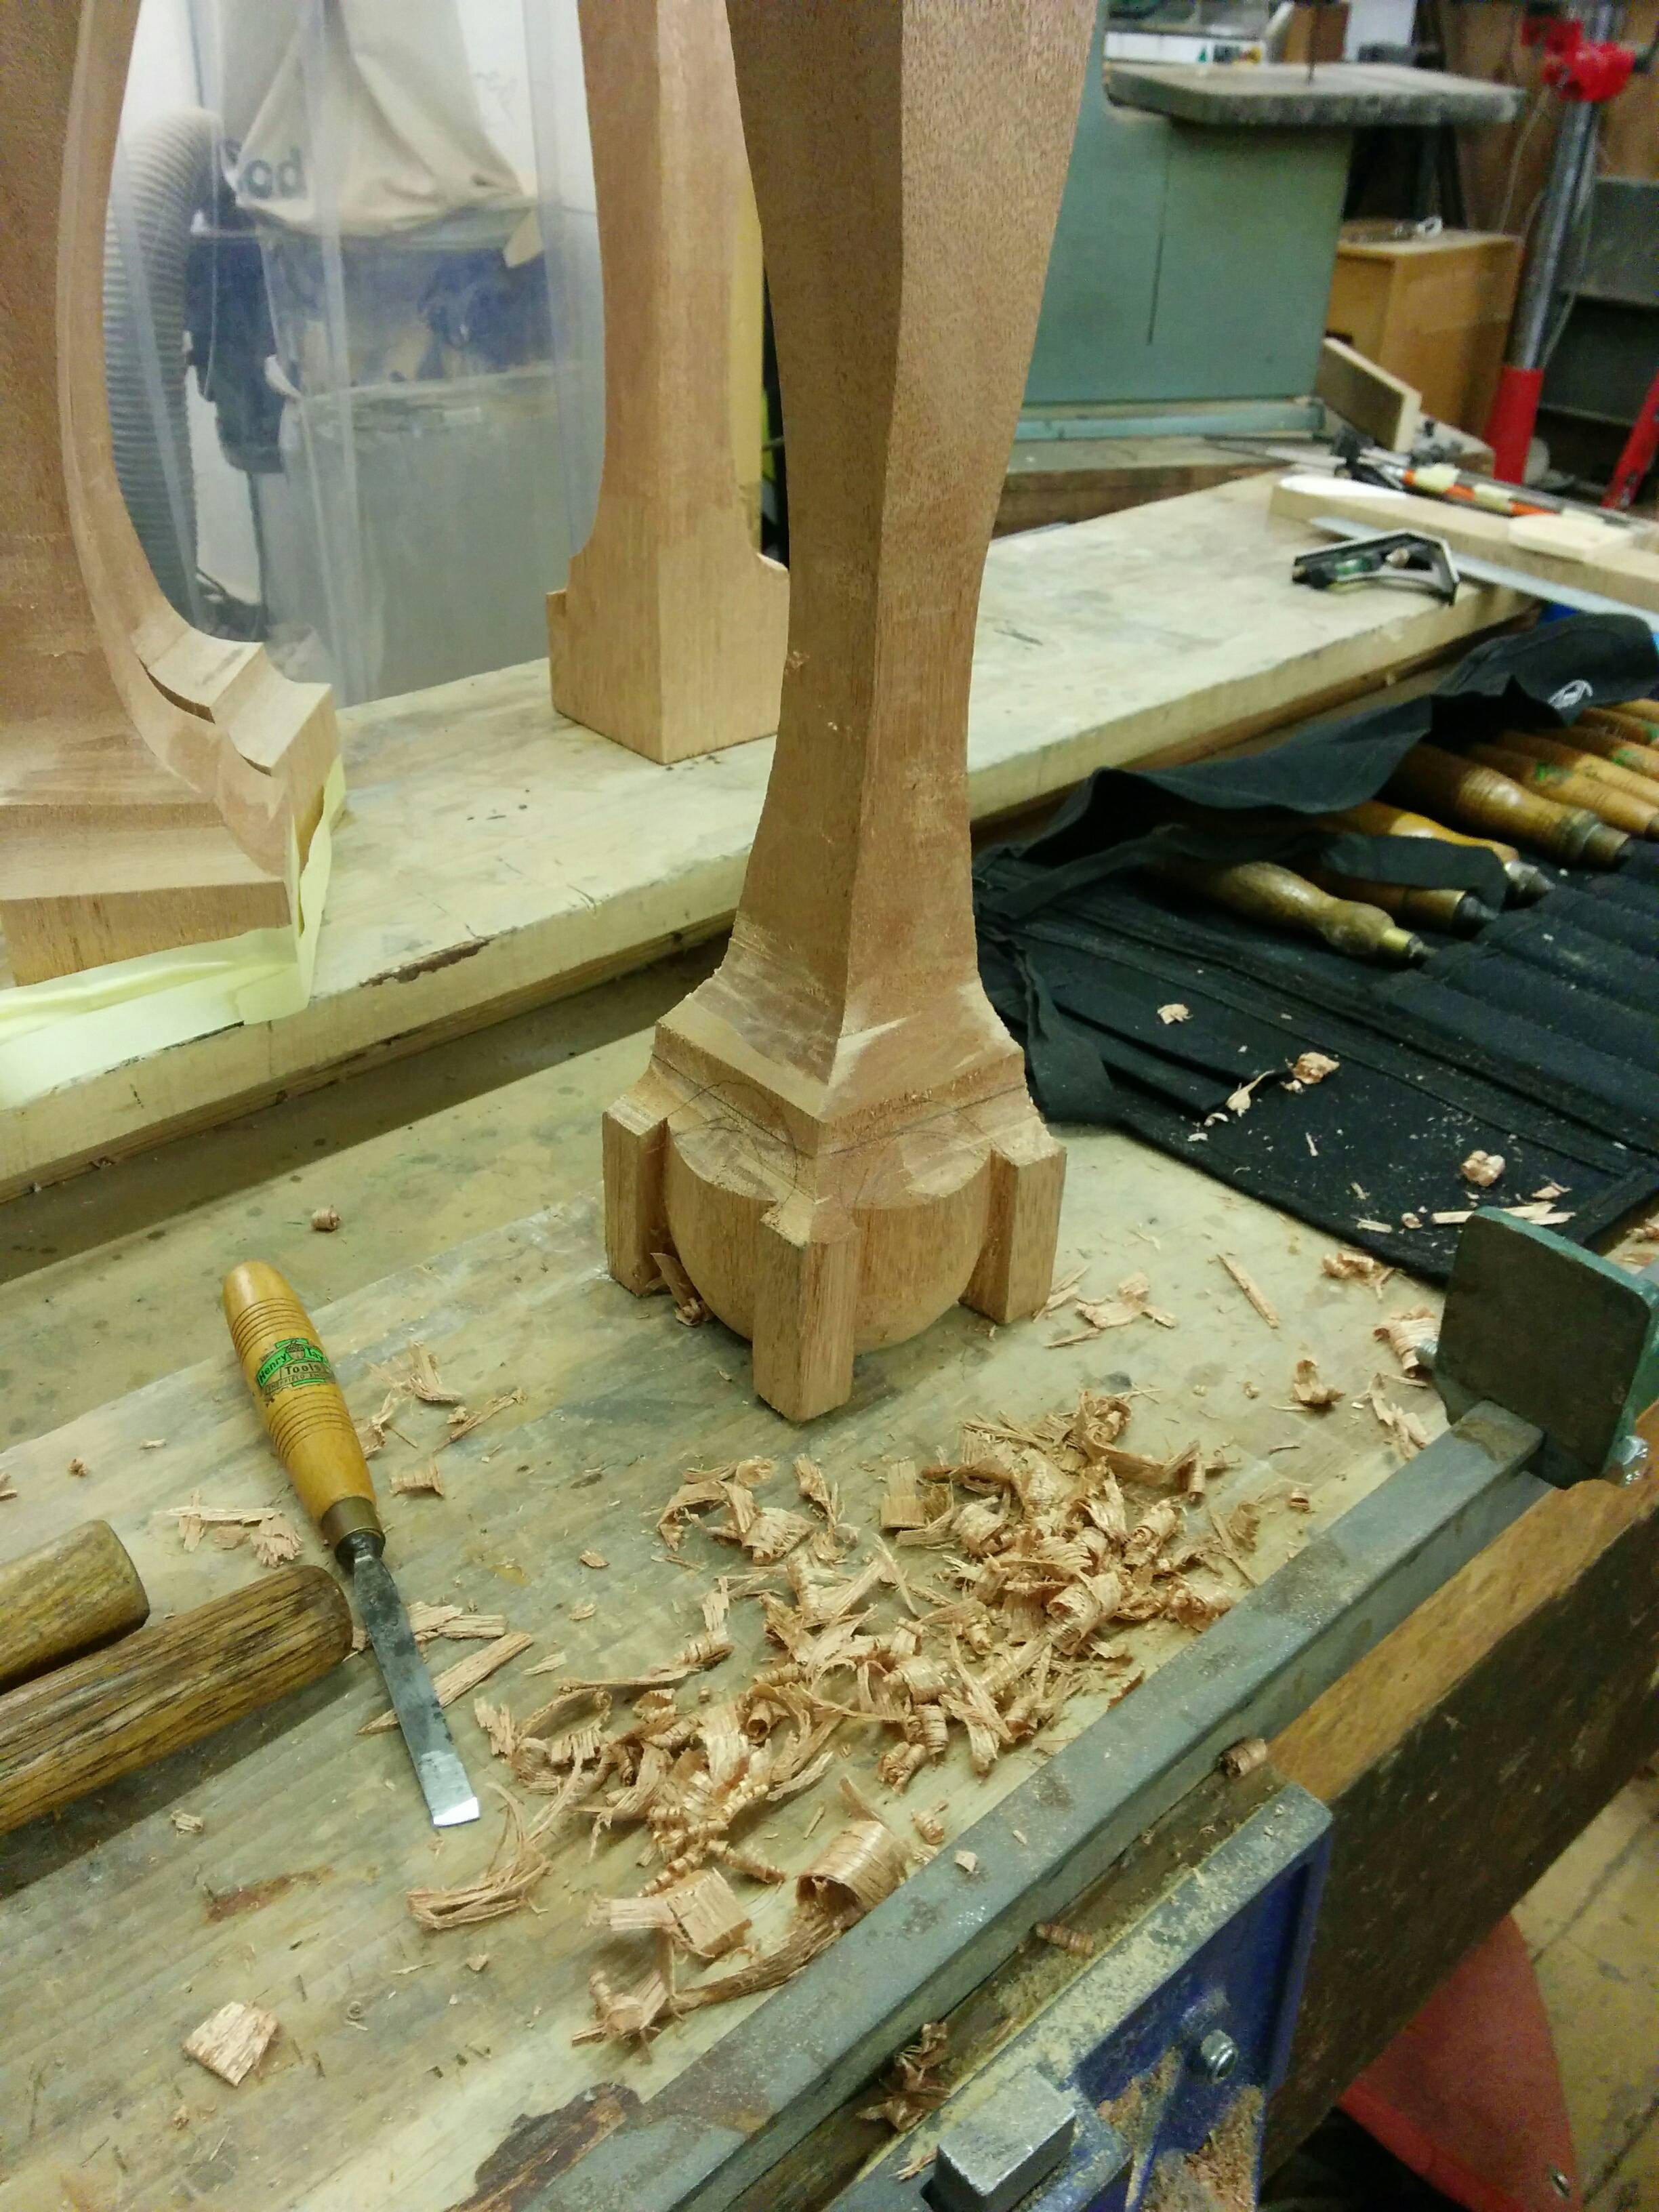
Which takes us back to tidying up the second one which went awry...
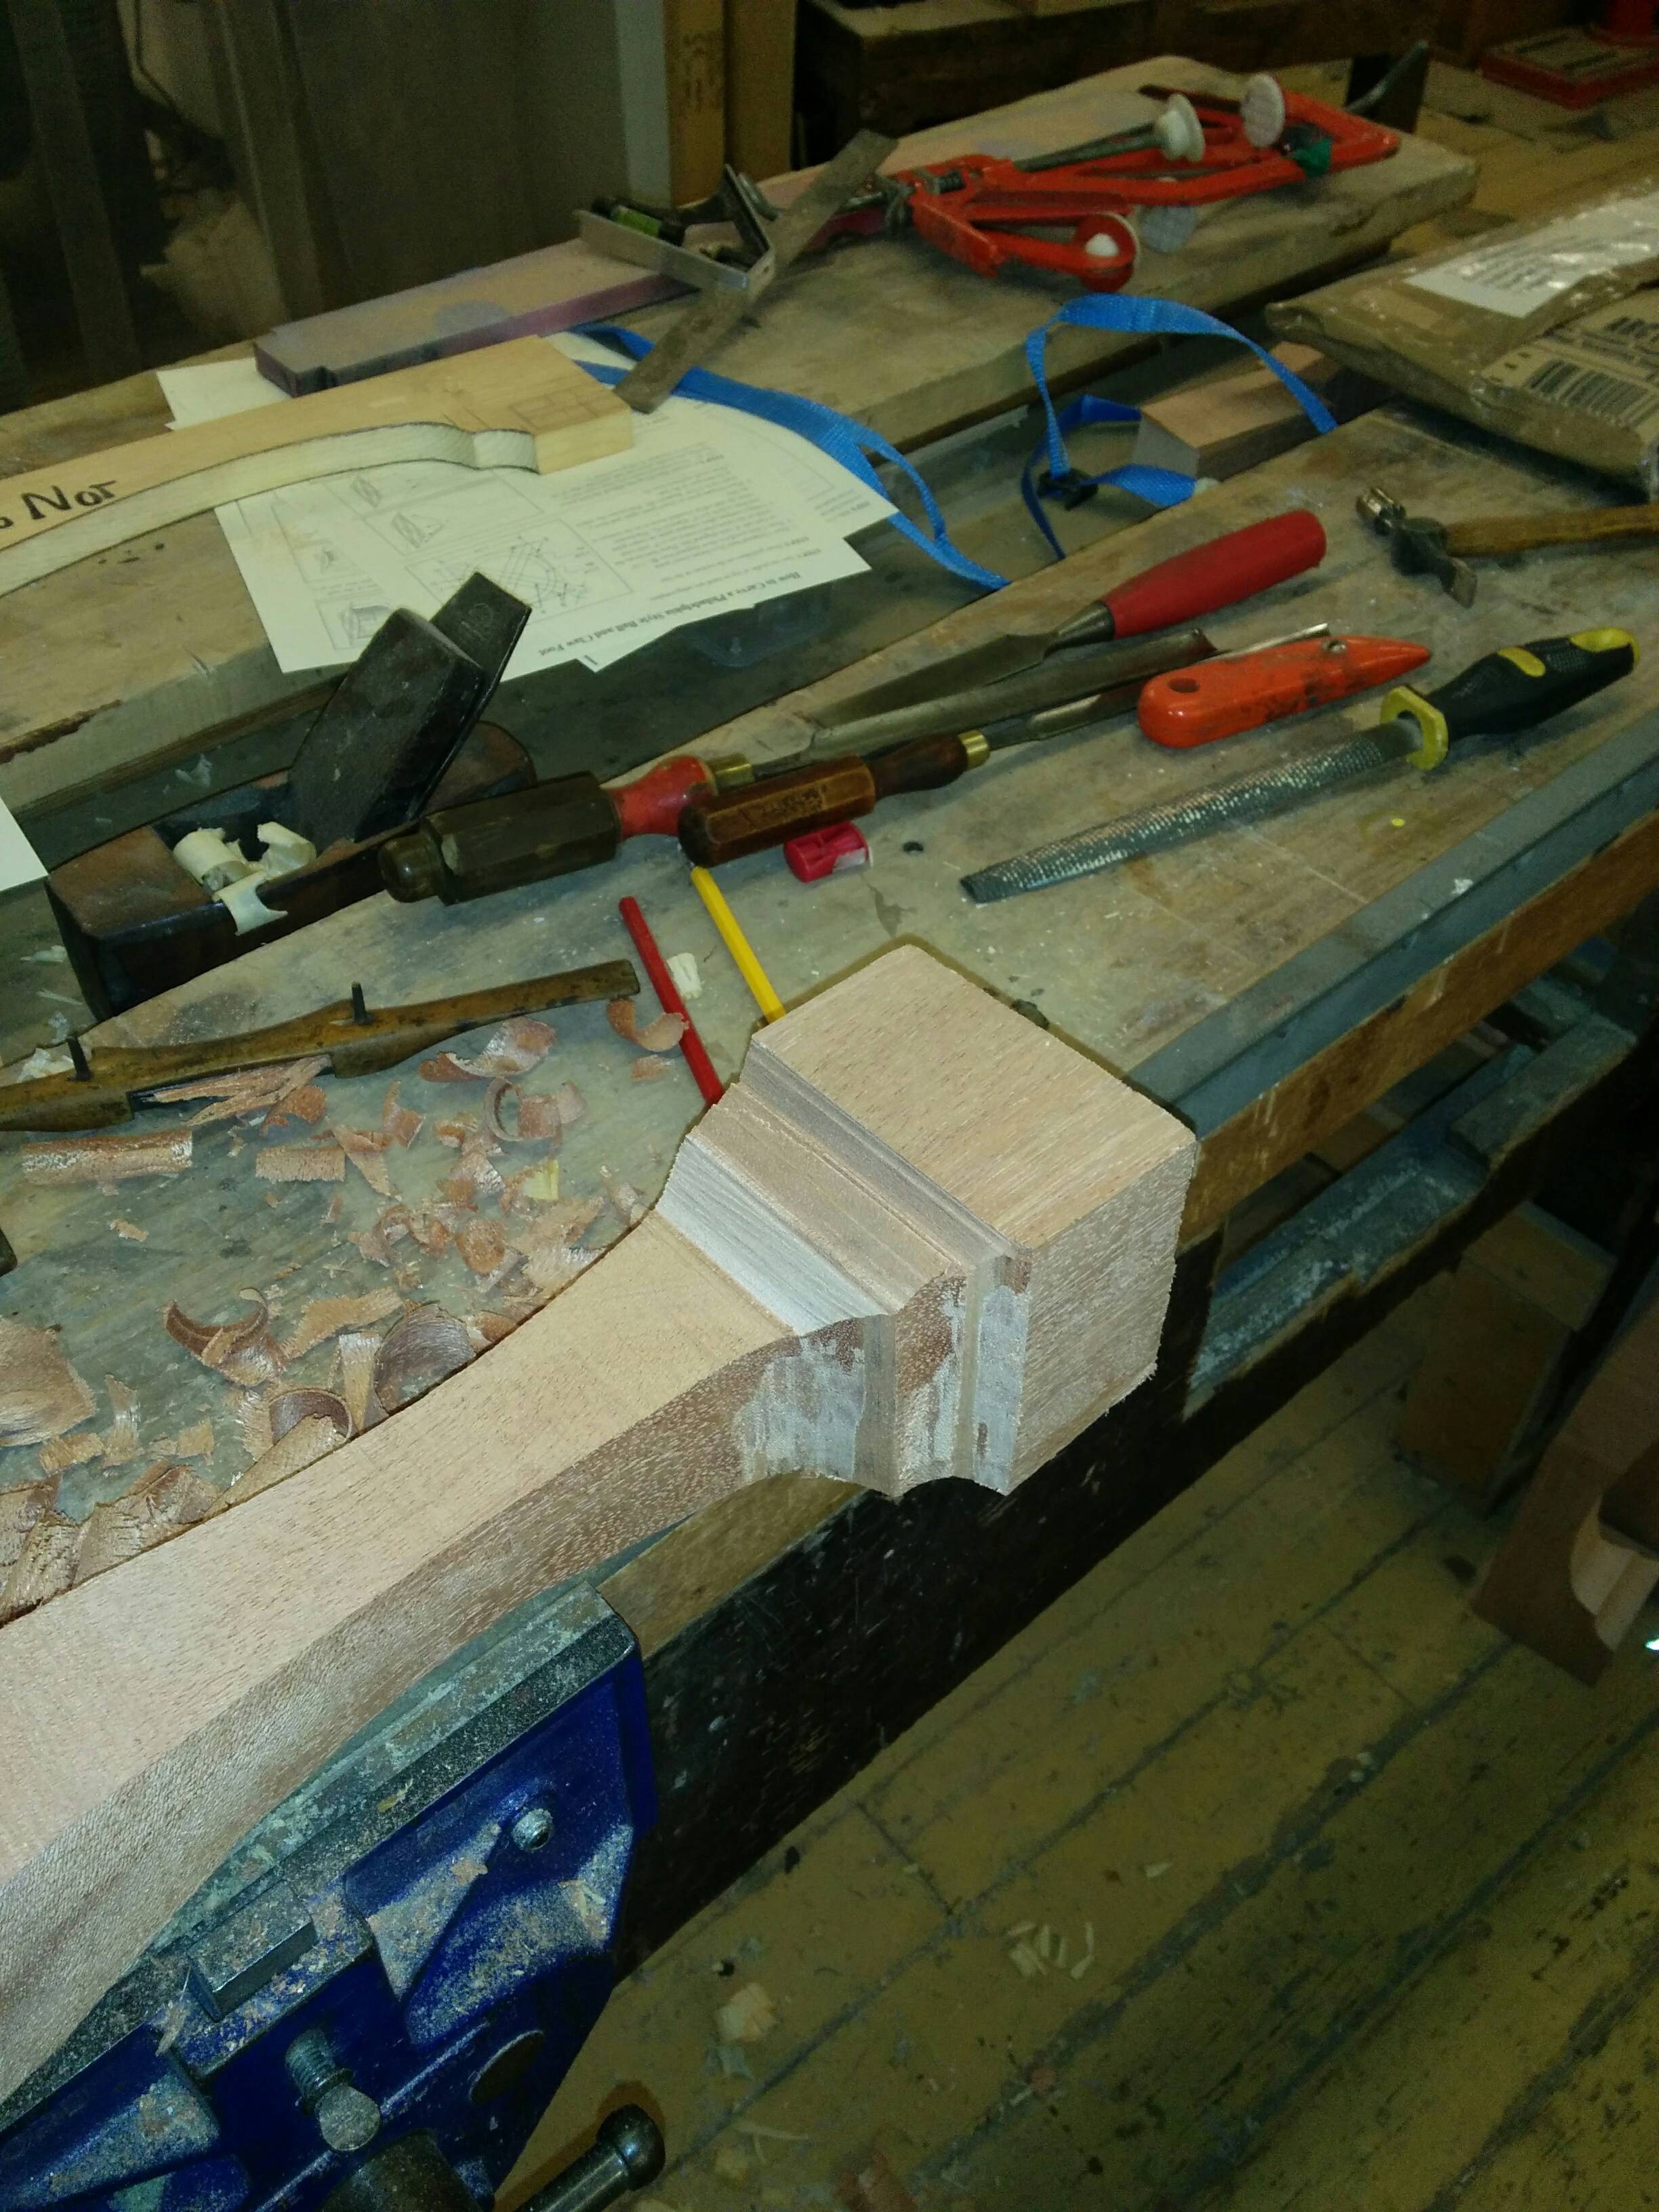
The big swept curves were pretty simple... Take off any big bumps with the big (4⅜" wide mouth) spokeshave, blend the curves together with a rasp paying attention to keep both sides equal, tidy up with the smaller, tight mouthed spokeshave for a reasonable finish.
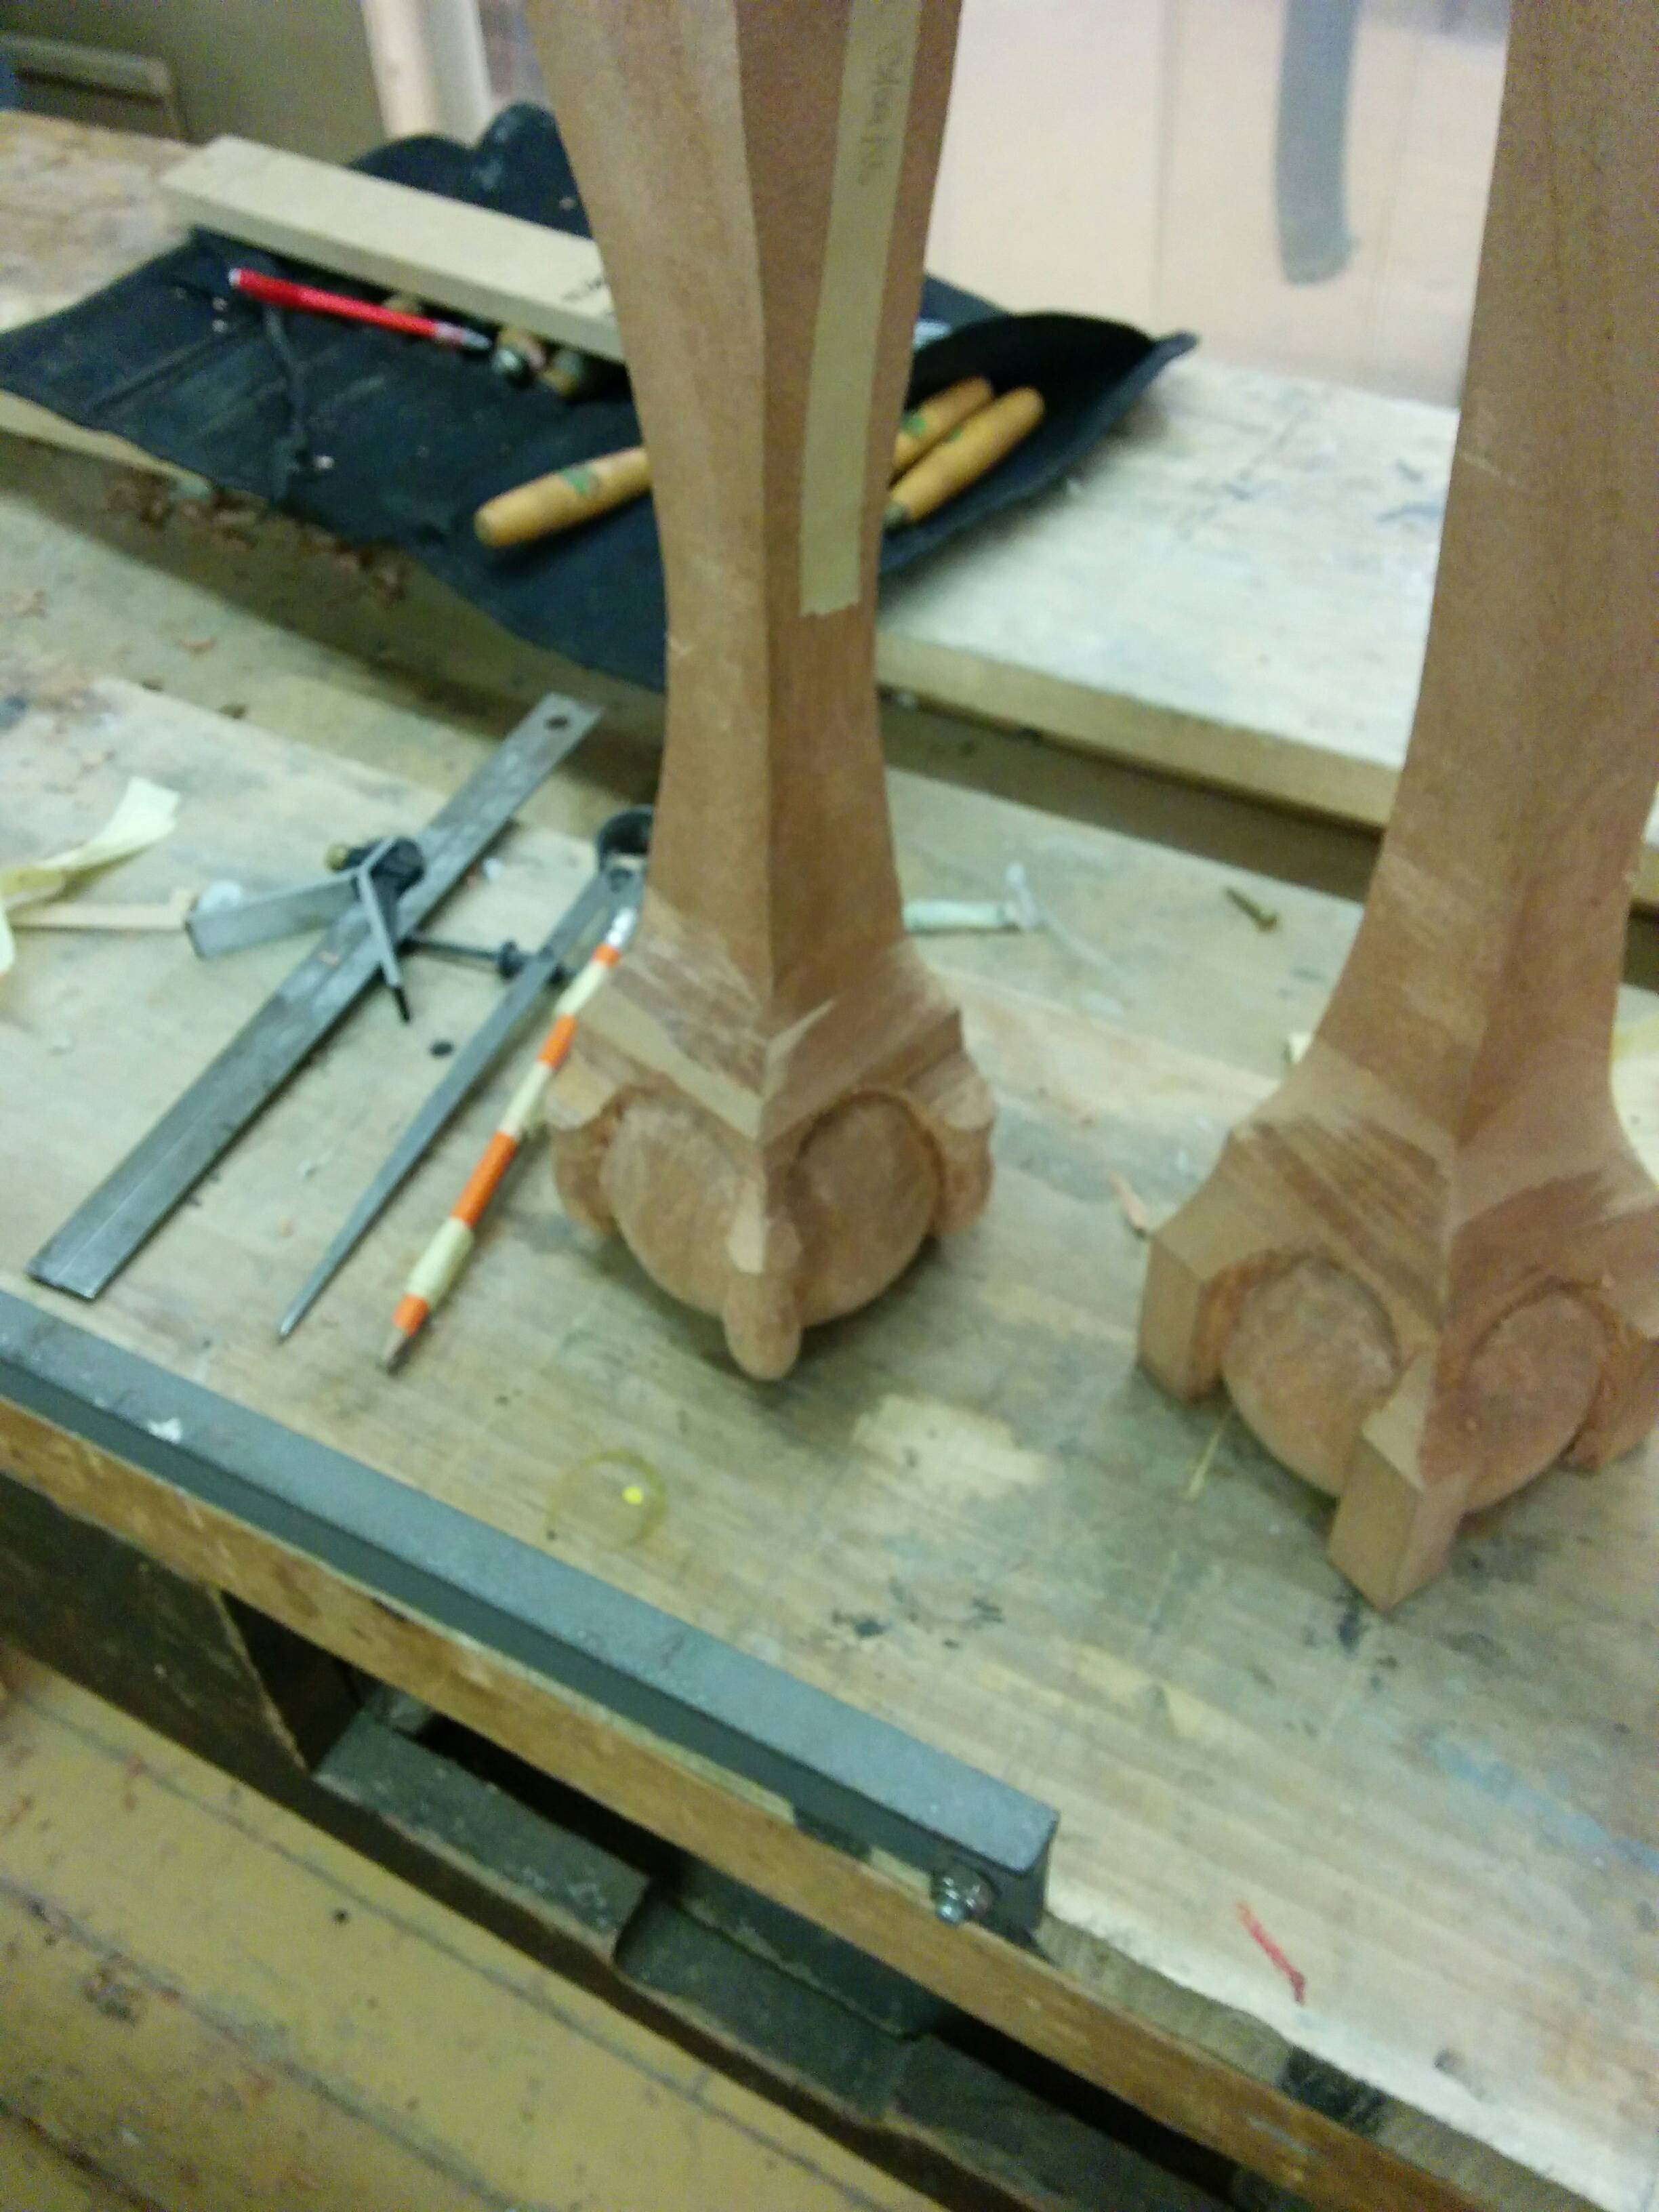
The small curves which will define the top of the foot and the knuckles of the claws, were a mess though, and not one I was keen to rasp out... Fortunately The curve I'd picked matched the curve of one of my paring gouges exactly... So I paired out the waste, blended the paring to the big curve with a few quick strokes from the rasp, then rolled the small spokeshave down the surface of the curve, letting it take thin shavings near the bottom to remove the marks from the coarse rasp.
Much improved (but still not yet totally sorted in that pic).
More to follow at an unspecified date in the future!
