So my little workshop has been getting more and more crammed over the year since I first opened it. Lots of bottles of glues and wax, hand tools, screws, fittings, cloths, books, clamps, jigs, wood samples e.t.c e.t.c. e.t.c. All jammed into corners, piled on top of each other and so on. Worst point of this being that the workbench was the easiest place to store stuff, so became unusable.
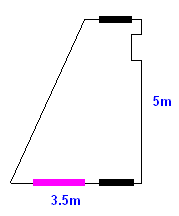
As a reminder its layout is like this :
pink is a window, black are the two door entrances
Problem was that apart from one wall unit that must have come out of the kitchen at some point there was no spare cupboard space, and that wall unit had started to sag badly under the weight :
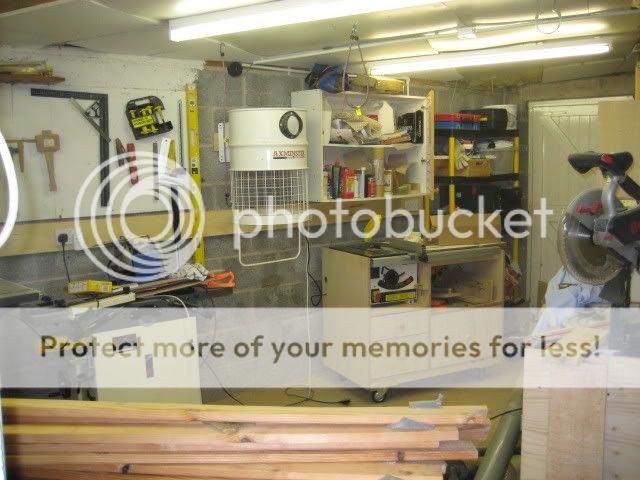
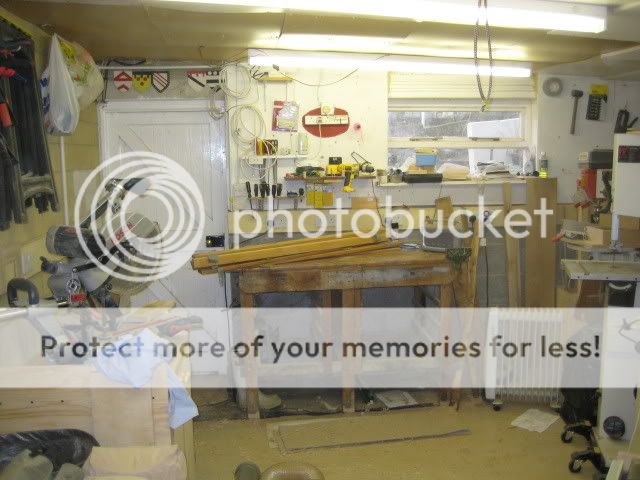
and there was a lot of wall space taken up by a fairly small amount of tools and the big dust extractor :
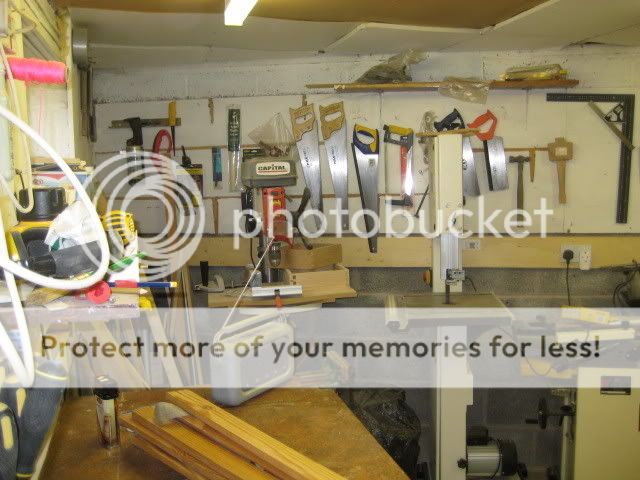
therefore as I've now been tasked with replacing the old kitchen (we moved into here just over a year ago now) thought that ideal time to add cupboard space to the workshop. So I copied a technique I saw somewhere with a rail attached to the wall :
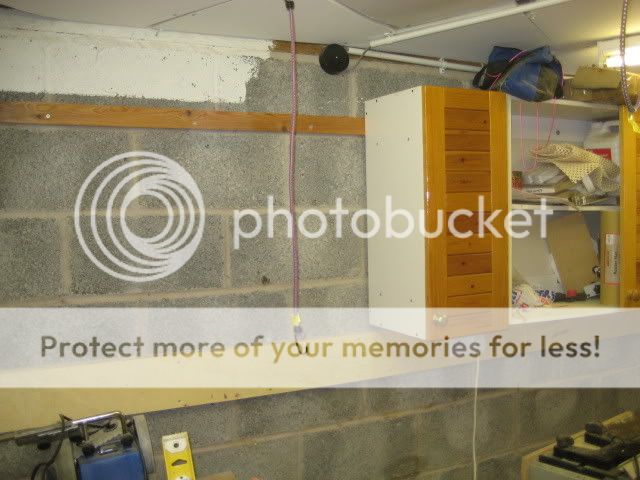
that rail has its top cut at 45 degrees, then an opposing piece cut and attached to the cupboards as they've come out of the kitchen :
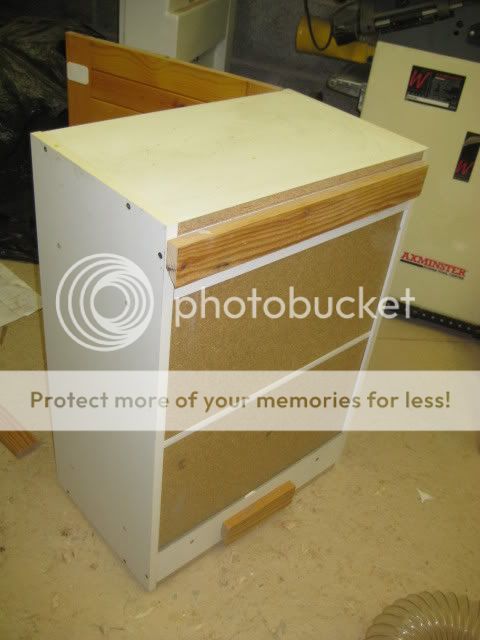
so this is as far as I've gotten so far :
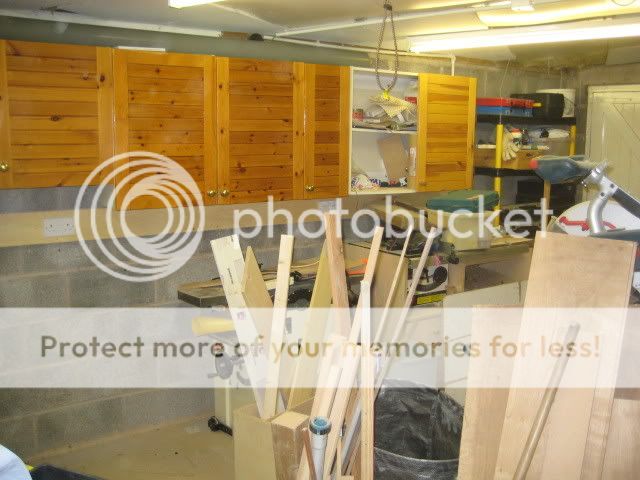
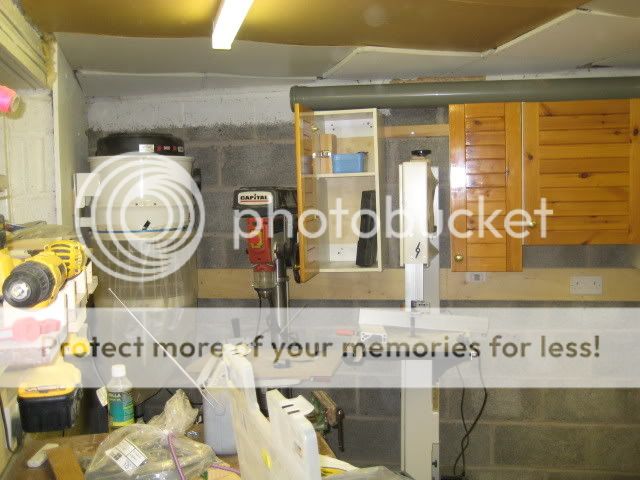
as you can see I have also moved the extractor into the corner. Plan is to run some solid pipe from it to the different points its needed round the workshop rather than my old solution of a flexible pipe draped along the floor. Also will be painting the cupboard doors white to try and keep as much light as possible.
Also plan is to dedicate each cupboard to a specific type of activity, to save me spending half my time hunting round the shop !
As a reminder its layout is like this :
pink is a window, black are the two door entrances

Problem was that apart from one wall unit that must have come out of the kitchen at some point there was no spare cupboard space, and that wall unit had started to sag badly under the weight :


and there was a lot of wall space taken up by a fairly small amount of tools and the big dust extractor :

therefore as I've now been tasked with replacing the old kitchen (we moved into here just over a year ago now) thought that ideal time to add cupboard space to the workshop. So I copied a technique I saw somewhere with a rail attached to the wall :

that rail has its top cut at 45 degrees, then an opposing piece cut and attached to the cupboards as they've come out of the kitchen :

so this is as far as I've gotten so far :


as you can see I have also moved the extractor into the corner. Plan is to run some solid pipe from it to the different points its needed round the workshop rather than my old solution of a flexible pipe draped along the floor. Also will be painting the cupboard doors white to try and keep as much light as possible.
Also plan is to dedicate each cupboard to a specific type of activity, to save me spending half my time hunting round the shop !


