memzey
Established Member
Thanks for the positive comments everyone!
I do have a morticer Phil, and that's a good idea, a good idea I read a few minutes too late as I've just drilled the dog holes out! Not to worry though, my plan for stuff like that is to use the gap between the tops for clamps to fit through and fix the item down. Here's the progress I've made today:
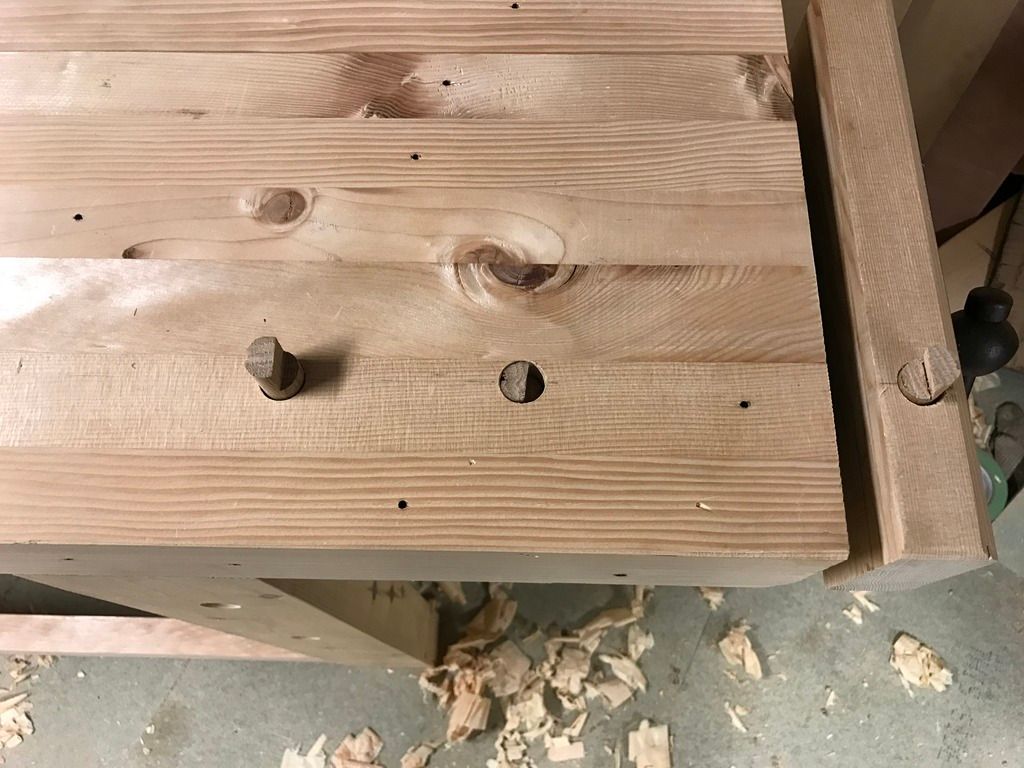
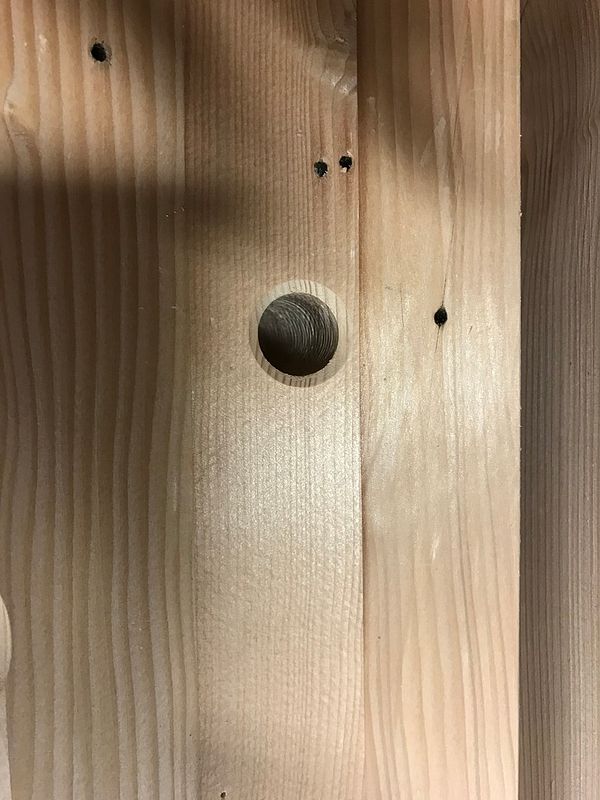
I started by fitting the wooden jaws to the vices. I did this by using threaded inserts in the wood for the bolts to bite into. For the end vice these were just the ones you screw in with an Alan key for M6 bolts. The face vice needed M8 so I used T nuts. I started by clenching the wooden jaw in place in the vice and marked the locations of the t nuts with a brad point bit tapped through the holes in the jaws. I then used those marks to centre a forstner bit to countersink the heads:

Once that was done, I drilled out the centre hole for the threads and the bolt and bolted them into place. Lovely.
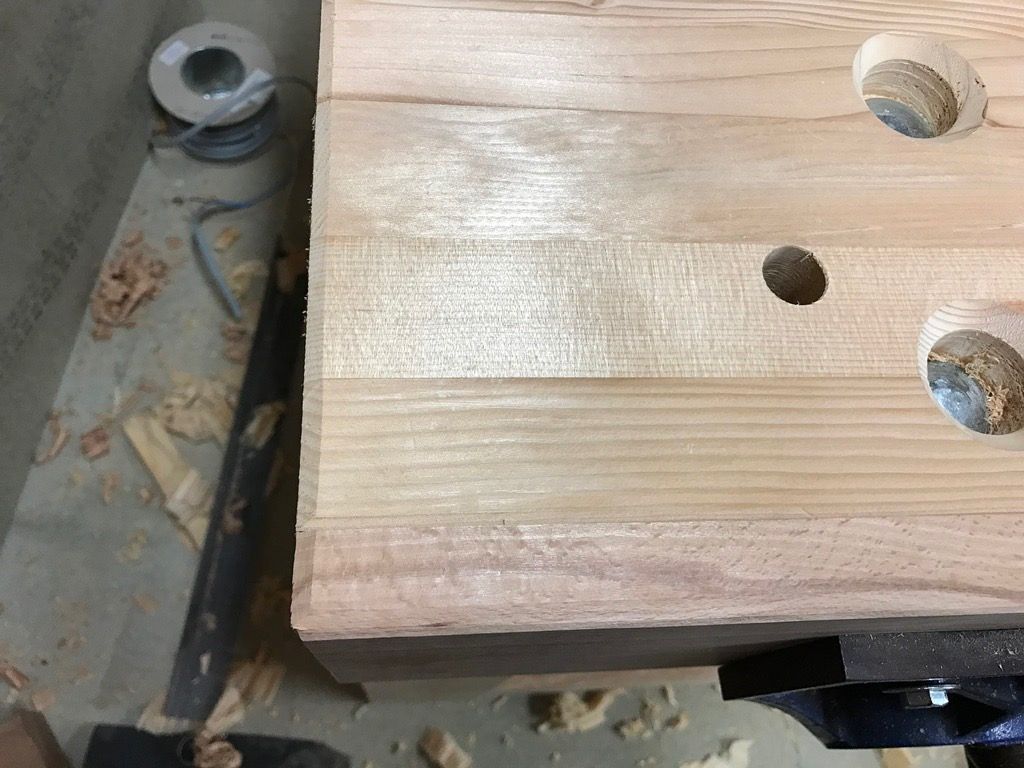
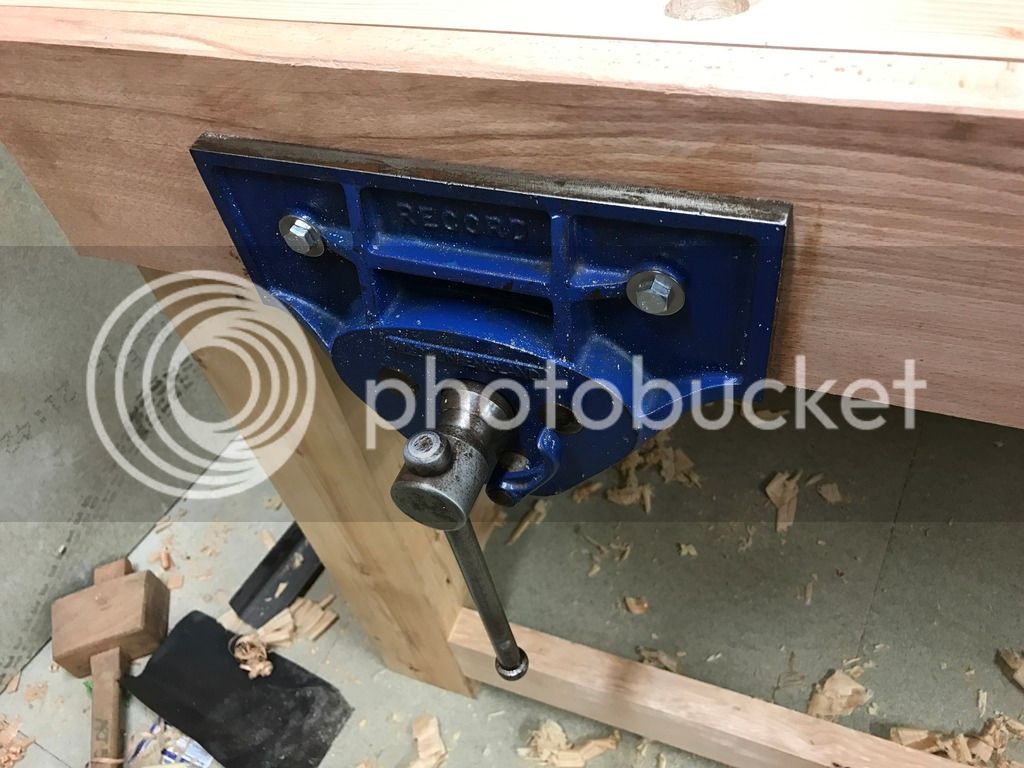
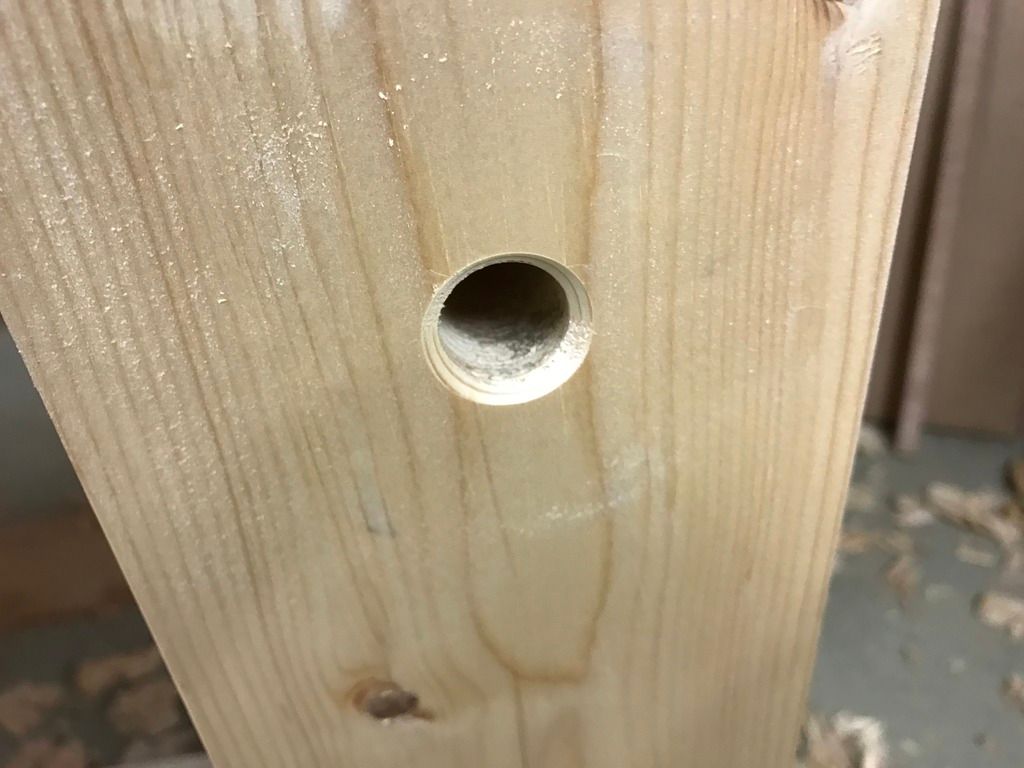
One thing I wasn't very pleased with was the mess I'd made of the holes in the top for the bolts that mount the face vice. I used a large forstner bit freehand and it didn't go well on all of them so I decided to address this by chamfering their edges:

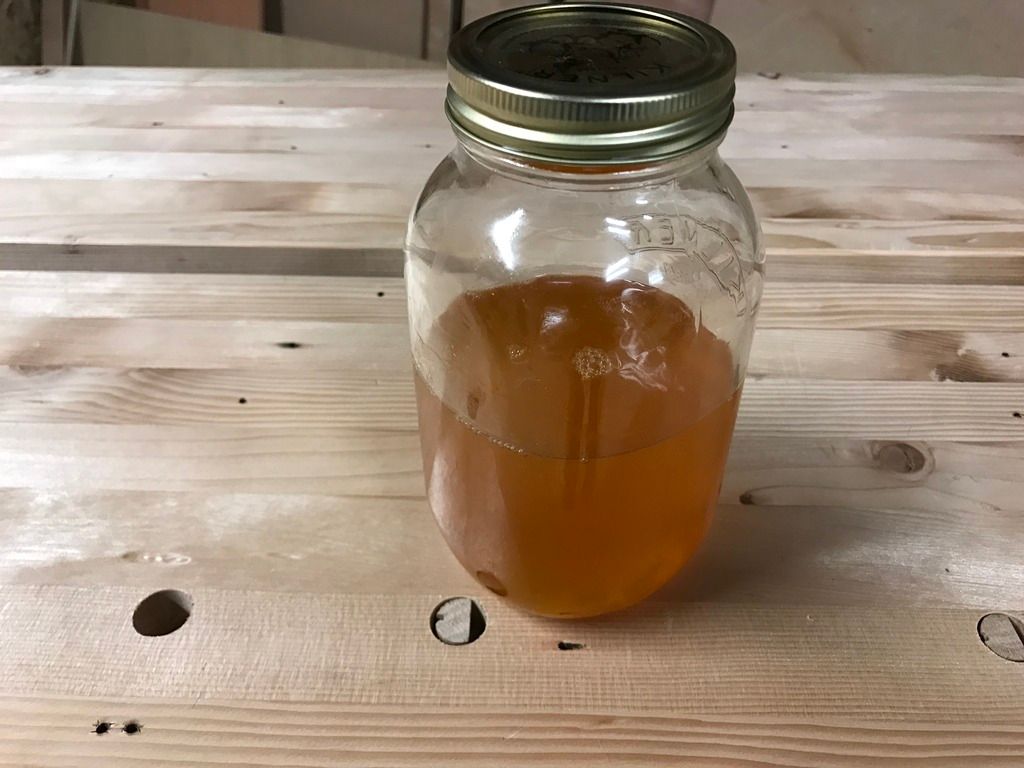
Although I appreciate the usefulness and versatility of electric routers I'm not a huge fan of them but it must be said I'm very pleased with how that turned out. With that mess fixed I turned my attention to the dog holes. I wanted these to be as close to perpendicular to the top as possible so I drilled myself a guide block at the drill press and measured out the spacing (4" on centre, 2 1/2" from the edge). I used the excellent auger bit that came with my holdfasts from WH:

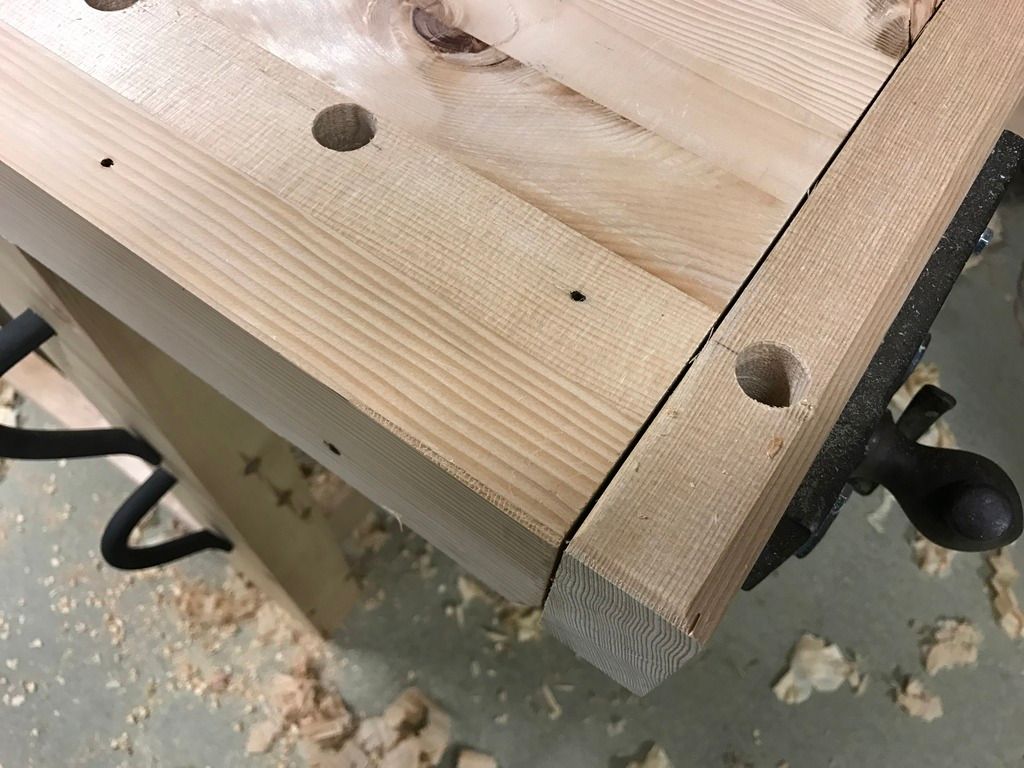
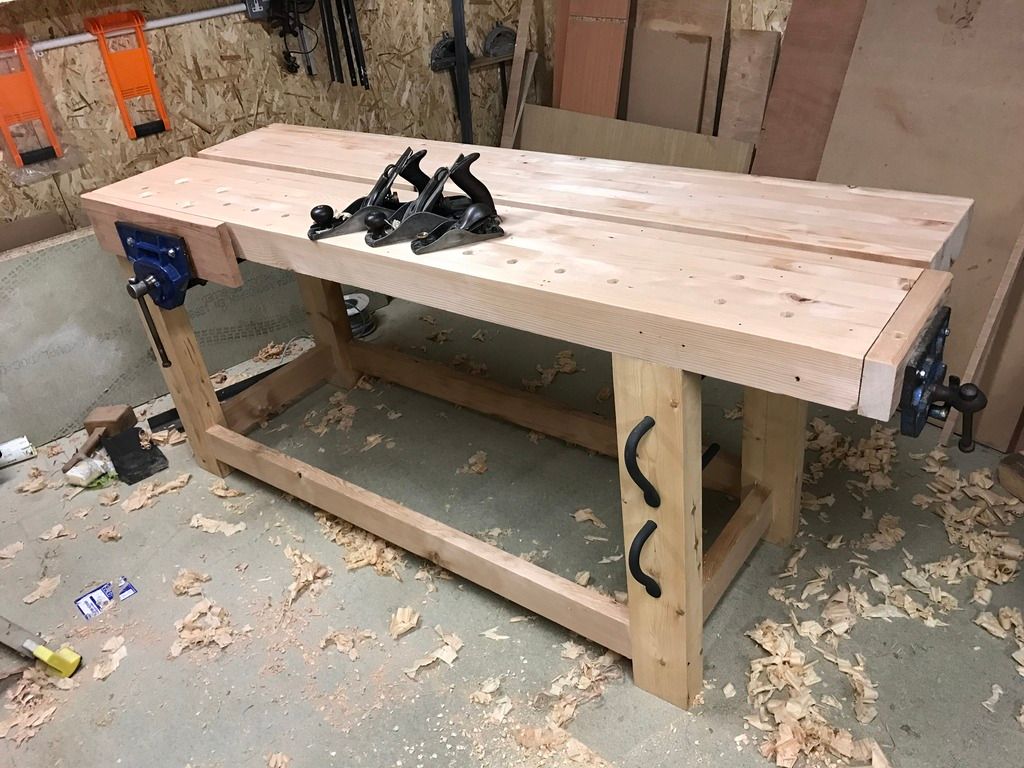
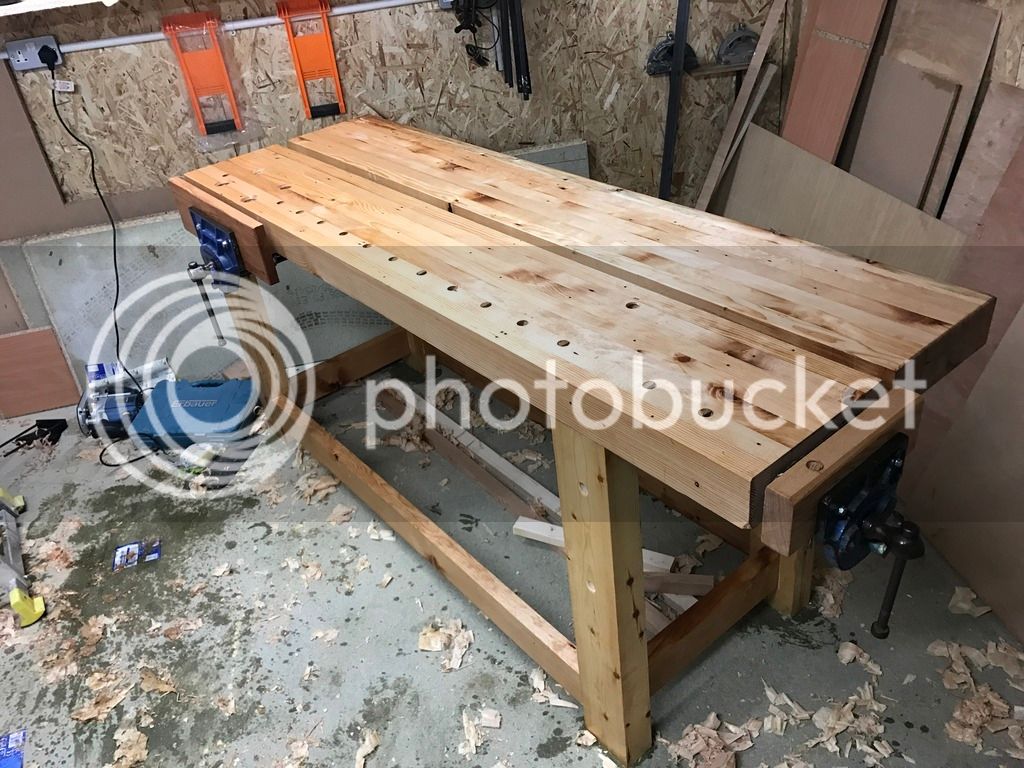
With the dog holes drilled out here is where I am now:


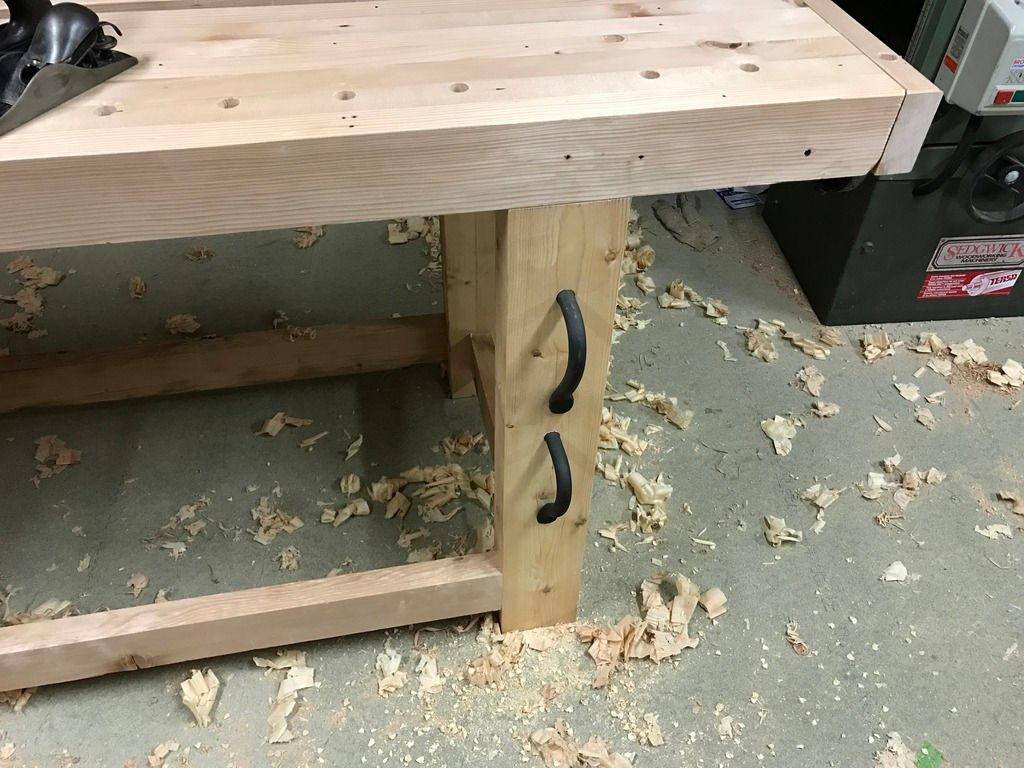
I just need to drill some holes for the holdfasts, go over all the surfaces with a smoother, break the arrises, put in the shelf and apply a finish. Nearly there!
I do have a morticer Phil, and that's a good idea, a good idea I read a few minutes too late as I've just drilled the dog holes out! Not to worry though, my plan for stuff like that is to use the gap between the tops for clamps to fit through and fix the item down. Here's the progress I've made today:
I started by fitting the wooden jaws to the vices. I did this by using threaded inserts in the wood for the bolts to bite into. For the end vice these were just the ones you screw in with an Alan key for M6 bolts. The face vice needed M8 so I used T nuts. I started by clenching the wooden jaw in place in the vice and marked the locations of the t nuts with a brad point bit tapped through the holes in the jaws. I then used those marks to centre a forstner bit to countersink the heads:

Once that was done, I drilled out the centre hole for the threads and the bolt and bolted them into place. Lovely.
One thing I wasn't very pleased with was the mess I'd made of the holes in the top for the bolts that mount the face vice. I used a large forstner bit freehand and it didn't go well on all of them so I decided to address this by chamfering their edges:

Although I appreciate the usefulness and versatility of electric routers I'm not a huge fan of them but it must be said I'm very pleased with how that turned out. With that mess fixed I turned my attention to the dog holes. I wanted these to be as close to perpendicular to the top as possible so I drilled myself a guide block at the drill press and measured out the spacing (4" on centre, 2 1/2" from the edge). I used the excellent auger bit that came with my holdfasts from WH:

With the dog holes drilled out here is where I am now:


I just need to drill some holes for the holdfasts, go over all the surfaces with a smoother, break the arrises, put in the shelf and apply a finish. Nearly there!


