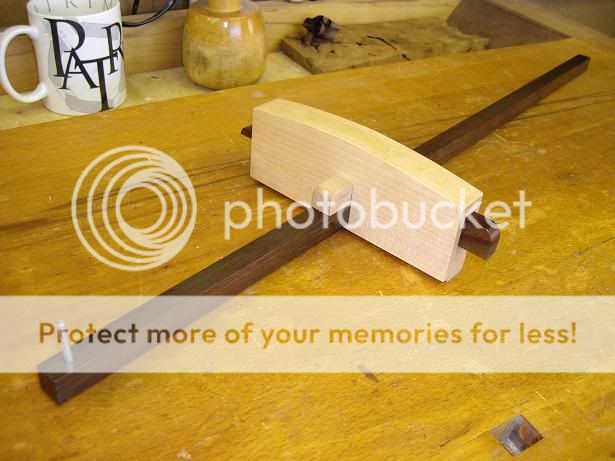
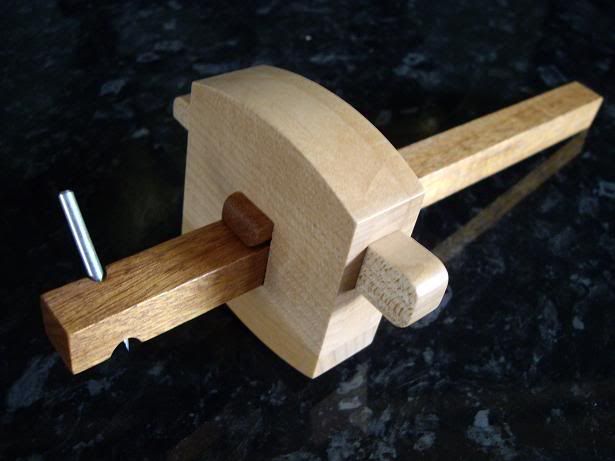
I love this gauge but have a few questions about the stock before I tackle making my own. Am I right in thinking that the stock is made from three pieces – it looks like it from the pictures. My attempt to describe what I think I see might be a bit convoluted, but here goes: the main part of the stock has the mortise cut through it for the stem and also has a slot cut in it for the wedge to go through; there is a separate piece stuck to the bottom of the stock which encloses the slot for the wedge; finally there is third piece glued to the side which closes the mortise that the stem goes through. Is this right? I assume that the slot for the wedge must be cut right up to the mortice so that the wedge will be able to push the saddle against the stem?
Also, is the slot for the wedge cut with parallel sides or are they angled. What is the angle of the wedge?
Last question (for now, anyway!): is the thin central part of the saddle about ¼’’ thick?
Sorry for the lengthy questions but I want to get it right! Sorry, too, if some of them are rather obvious!!


")