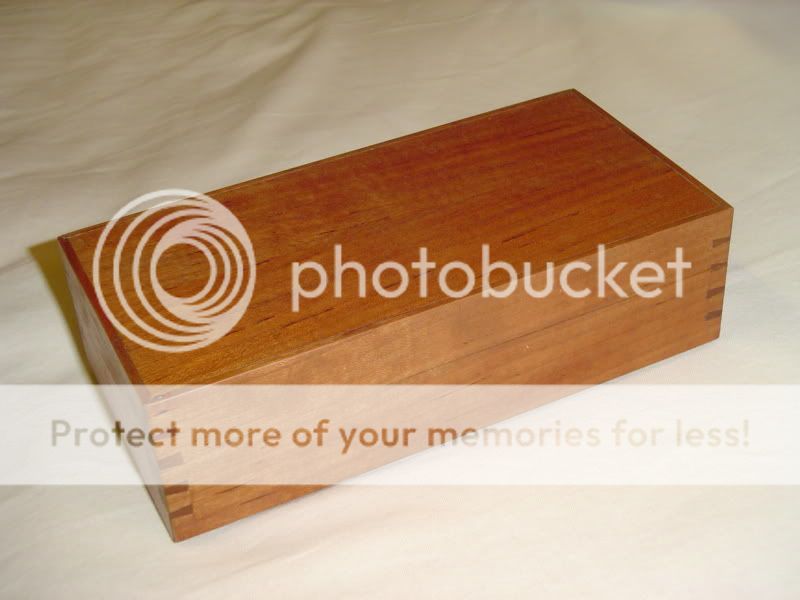
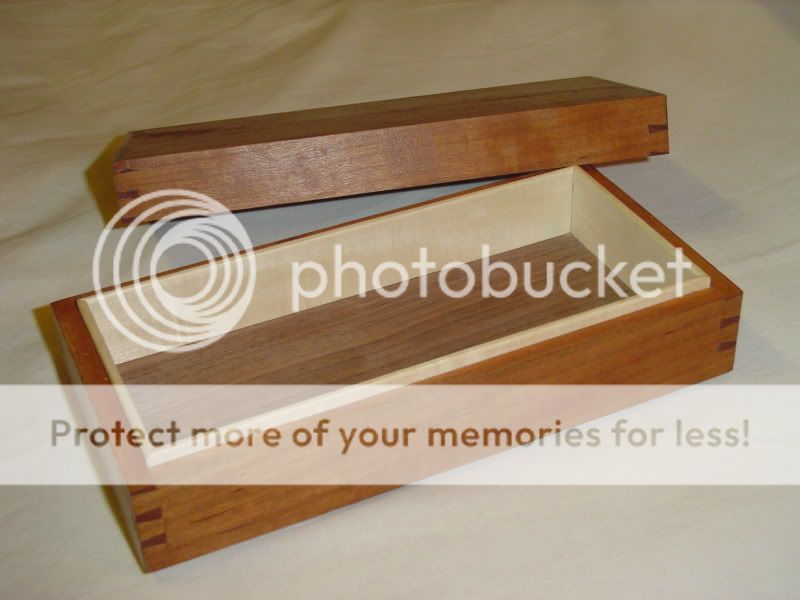
WIP: Dovetailed Box (Completed)

UKworkshop.co.uk

Help Support UKworkshop.co.uk:

This site may earn a commission from merchant affiliate links, including eBay, Amazon, and others.

joiner_sim

Established Member
Joined
7 Jun 2007
Messages
1,751
Reaction score
0
Location
Staffordshire
This project wasn't really planned at all. It has started from me practising how to cut dovetails by hand. Here's my first attempt on friday, which you can see went dreadfully wrong! However, it did teach me the basics and with a little bit of help from some of the guys off UK Workshop Forums, the rest of the project came alive today.

dovetails7.jpg


Following the advice, I am working with African Cedar which is a hardwood, which are apparently better to work with when cutting dovetails, and it was so true! Here's my first attempt:

DSCF0355.jpg


As you can see, I think it's an immediate improvement over the first attempt in softwood. Having the hardwood to spare I decided to have a go at doing another 3 joints to try and make a box. So here's the second joint I cut. This time I nearly cut out the wrong part of the dovetails, as you can see, luckily I stopped cutting before I did the damage though!

DSCF0356.jpg


My third attempt, getting better, and faster!

DSCF0360.jpg


The fourth and final joint is cut and I actually have got a box!

DSCF0363.jpg


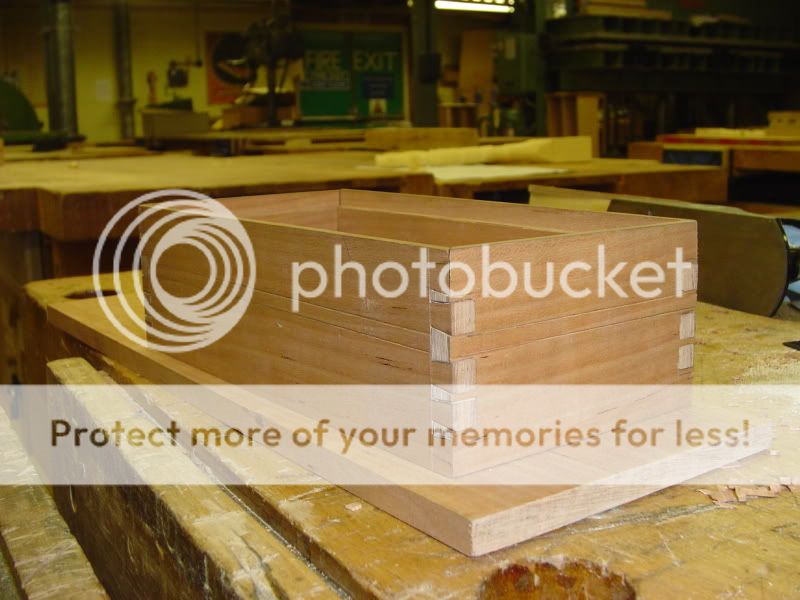
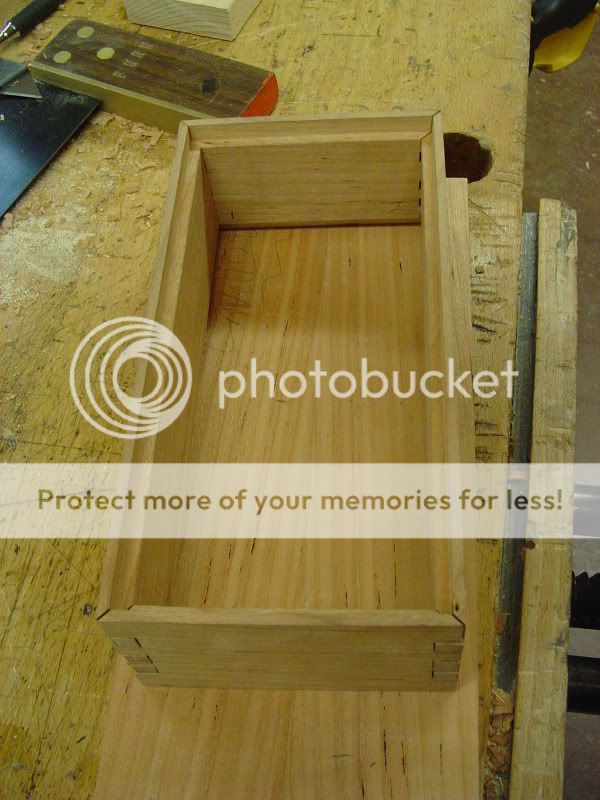
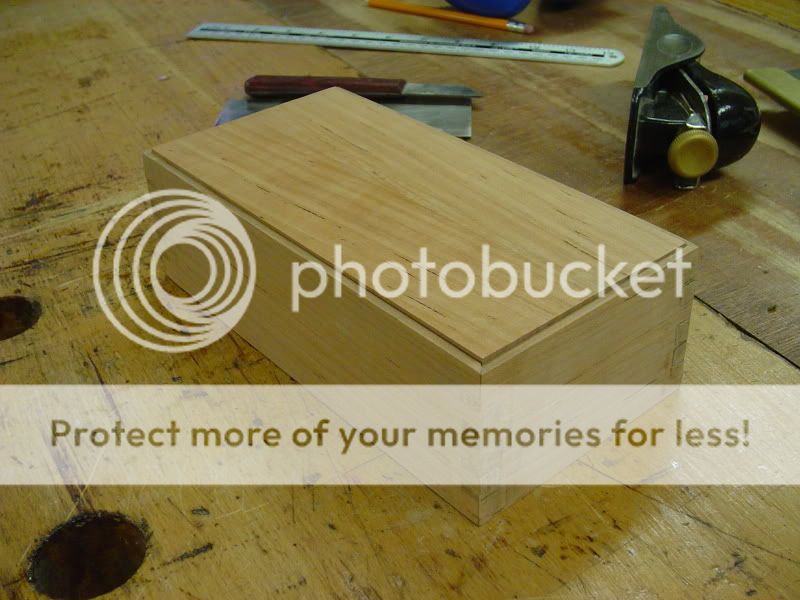
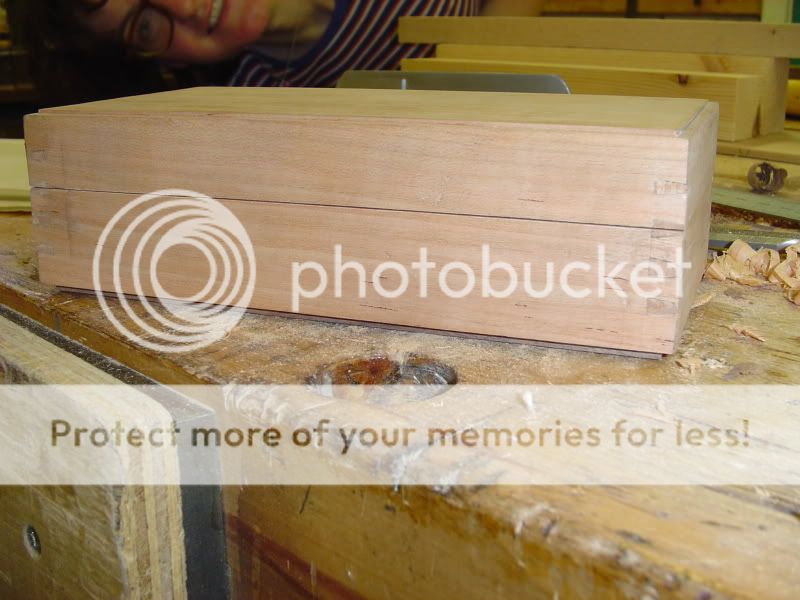
And here is it dry assembled!

DSCF0364.jpg


DSCF0366.jpg


DSCF0368.jpg


Being fairly pleased with myself, I got to work on planning out a lid and base. I routered the bottom edges of the box so I can fit a base after it has been glued up. As you can see in the photo, it is routered and cramped up.

DSCF0369.jpg


Below, is the lid and base. The base is the same timber as the box, african cedar. The lid is sapele. The main reason for the change of timber is down to the fact it's all I had left lying around, but I think it will give a nice contrast between the two timbers. As you can see I'm dowel joint the two pieces together.

DSCF0371.jpg


I finished off todays work by glueing and sash clamping the lid and base parts together.

DSCF0372.jpg


I hope you have enjoyed reading the progress so far, this was more of an experiment in my hand skills and I think it's paid off, I never thought I'd of even contemplated putting a base and lid on the thing. Please let me know what you think of it so far, thankyou, -Simon.
 
That is really good considering how few you have cut in your time.

What you can do is to allow a bit more length on the tails and pins so that they protrude a little on assembly. That allows you to plane them off when glued.

We do a simple dovetail box as a first project for the first year students. the differnece from yours is that we mitre the part of the box that the rebate is in so that when the lid and base has been fitted the corners show a nice mitre before the dovetails run down the edges.

Also, if you decide in advance where you are going to cut the box open to form the base and lid then you allow a wider pin through which you cut.
My students usually add 2-4mm to the width of box through a line of pins depending on their confidence in cutting straight. When the box is finished, the cut pin should be the same size as the other pins.
Once the box is open and the cut faces planed smooth a thin 2-3mm lining is mitred and tight fitted in the base. The lid, if the box is parallel and squared true, should fit both ways round.
 
Oh, another tip.

The angle of the dovetail is different for hardwood compared to softwood.
With softwood the angle is usually around 1:6 and for hardwood around 1:7 or 1:8 so it is much less steep.
 
You must be very pleased with yourself, you have come along way in a very short time.
The point about the angles (above) is a good one, next time.
Fairplay you stuck to your guns and got on with it.
Are you marking out with a knife yet. When I was a college they showed us that you can use an old hack saw blade sharped on a grinder (save you some cash :D )
 
Here are some images of the first box I made when I was a student:

You can just about make out the scribe lines on the overly wide pin, I wasn't confident then and hadn't discovered Japanese saws.
Box04.jpg


Here you can see the mitred corners of the rebate.
Box05.jpg


This is glued up and ready to cut.
Box06.jpg


This is cut and planed. You can see how the wide pin gets to (almost) the same width as the other pins.
Box10.jpg


The finished box in cherry with a walnut base and sycamore lining finished with tung oil.
DSC02750.jpg


The finished box inside showing the mitred lining.
DSC02752.jpg


I hope this gives you some useful tips.
The cherry was also cut so that the grain runs all the way around the box.
To do this you need to resaw a plank as if book matching. The two leaves are then cut long side, short side on piece and short side, long side on the other piece. When turned inside out the grain runs all the way around the box.
 
I wanted to leave more on the tails and pins, however didn't knw how to, but thinking about it, I'd mark out for 12mm timber instead of the 10mm timber and the job would be sorted.

For the dovetail angles, on the first one I done I setup a sliding bevel and just marked it out, after that I used my cuts as a template for the rest.

I have got the marking out knife sorted yet, but definatley going to get one as I found the pencil was rubbish, needed re-sharpening all the time and it even snapped on me once. :roll:
 
Thanks for posting the pictures. I like the idea of your lid. I wish I'd thought of that :roll:

My lid idea is going to be with the grain running diagonally. And I'm going to attach mitred beading the the underneath of the lid.
 
How your box is made is really up to you and there are many ways to make nice boxes.
The method I described is just the one we use at college because it incorporates a lot of technical knowledge and ability that we can mark in the one piece.

You could say it is a tick box!


I'll get my coat! :oops:
 
Hi Simon,
Nice first attempt, look forward to seeing the finished product.
There are many ways to mark your dovetail angles, and as you so rightly say, using a sliding bevel is one of them.
I invested in a pair of veritas dovetail markers (product 610131 at axminster) which at £8.99 for the pair are the dogs danglies. One for softwood, another for hardwood in the angles described by Night Train, they are cheap and functional.
Hope this helps

Malc :D
 
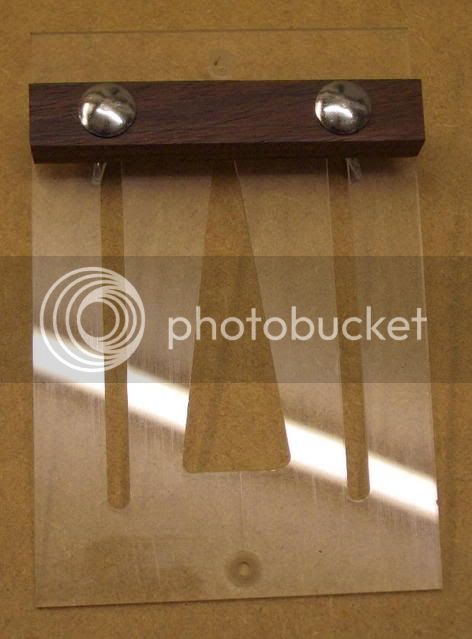
If you can find a piece of perspex, it's very easy to make a nice dovetail marker for virtually nothing

Dovetailmarker.jpg


Just screw it to a piece of MDF and do the cut-outs with a router on a slow speed.

Hope this helps.

Cheers :wink:

Paul
 
Today, I got some more spare time to carry on with this box. So, taking the base and lid out of the cramps I marked out what size they needed to be, directly off the box. I cut them out on the bandsaw.

DSCF0377.jpg


I then cleaned up the rough bandsawn edges with a hand plane.

DSCF0379.jpg


I then mitred in some 10x10mm strips to the underside of the lid, to fit the box.

DSCF0382.jpg


Then I fitted in the base into the rebated box. A few gaps as you can see, but nothing too bad, it's a tight fit into the rebates.

DSCF0383.jpg


I then used a spare block of the african sapele which is the same as the sides and base of the box, and I cut a handle for the lid.

DSCF0380.jpg


And here's a close-up of the box....

DSCF0381.jpg


And a look inside the box.....

DSCF0384.jpg


At the moment the box has had two coats of clear varnish, and I'm just letting it dry, but the final "finished" photo will be online soon! I hope you have enjoyed reading about my first forray into dovetailing, and hopefully many more are to come now! Please let me know what you think of how I've got on, Thankyou, Simon.
 
Paul Chapman":29m5x8yq said:
If you can find a piece of perspex, it's very easy to make a nice dovetail marker for virtually nothing

Dovetailmarker.jpg


Just screw it to a piece of MDF and do the cut-outs with a router on a slow speed.

Hope this helps.

Cheers :wink:

Paul
:-k :-k ...I've seen that design of marker before somewhere :wink: :whistle: :lol: :lol: - Rob
 
Simon, I think ou've done a really good job on the dovetail, beter than I ever have. However the finish is a lot to be desired for and lets the box down somewhat. I might consider planing the sides and applying another finish.
 
The finish is a tad sloppy :oops: , but it only was a practice piece really, so didn't want to spend more time on it then I had to really, it's only going to be kept under the bed now or something anyway....
So onto the competition project now, and I'll bare in mind that my finish needs to be better than this one.
 
Back
Top