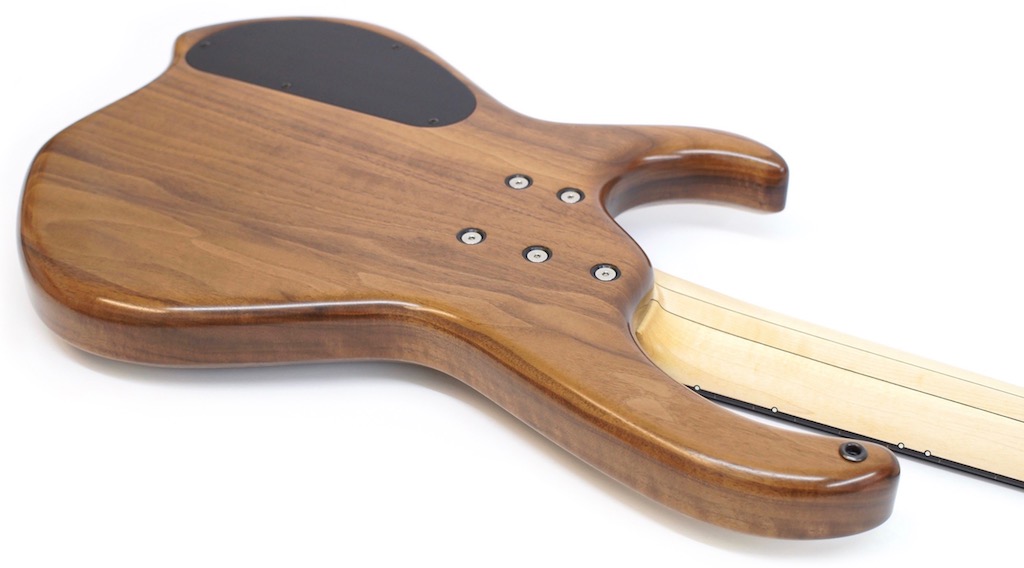
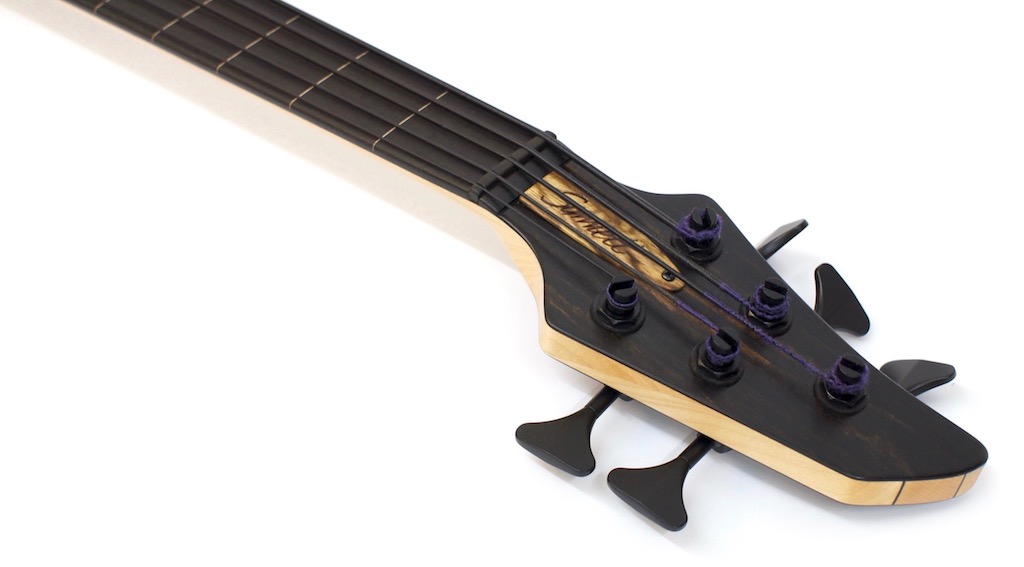
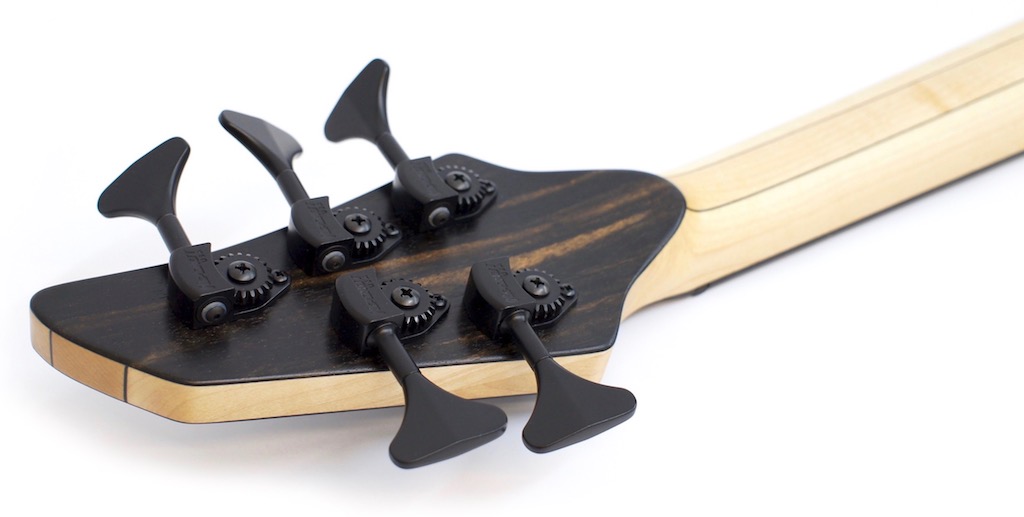
Simo":2nj8gvvx said:The next step is to radius the fingerboard and shape the neck. I begin by using a hand plane to rough out the radius (20''), and then switch to a sanding block. Radius sanding wide Ebony fretboards can be hard work.. attaching plane handles to the radius block provides a better grip, and helps speed things up.
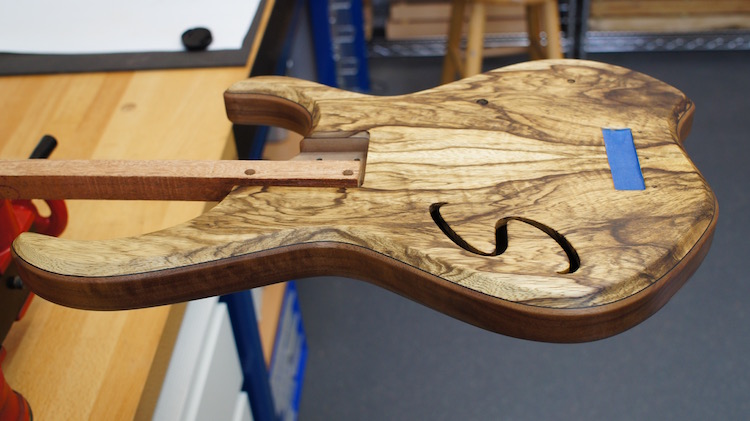
Next, the threaded inserts are fitted, and I'm then ready to make a start on the shaping process. To begin, the heel, and the area behind the nut are roughly carved out, using a Microplane rasp, and a small Iwasaki carving file. The shaft of the neck is then shaped with a spokeshave, followed by a Shinto saw rasp.
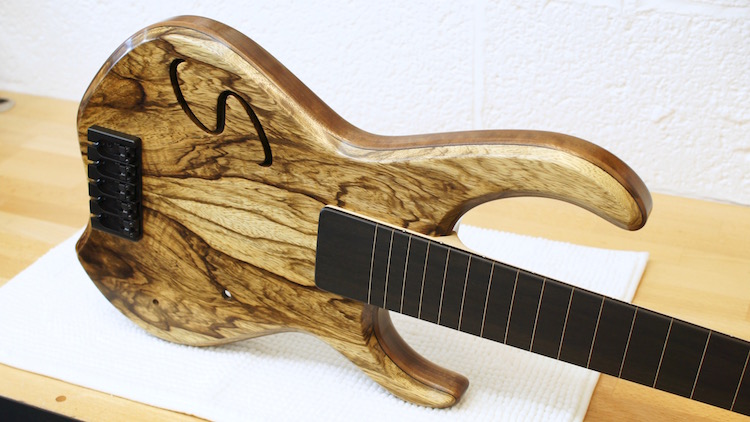
I down tools once I get close to the final thickness, in order complete work on the fingerboard. As shown earlier, the fingerboard has been sanded flat with a radius block, but there's an extra step to ensure a really good setup.
Without getting too technical.. the radius block produces a cylindrical surface, so if you place a straightedge on the center line, it will be flat. However, the width of a neck tapers along it's length, therefore if you tilt the straightedge at a slight angle (to mimic the path of the outer strings), you'll see that there's a high spot in the center. This can potentially cause the outer strings to buzz in the middle of the neck, as if the neck had a slight back bow.
Using a levelling beam, I sand along the paths of the strings (blending in the surface in between them). When completed, each string will have a perfectly flat surface underneath it, along the entire length of the neck.
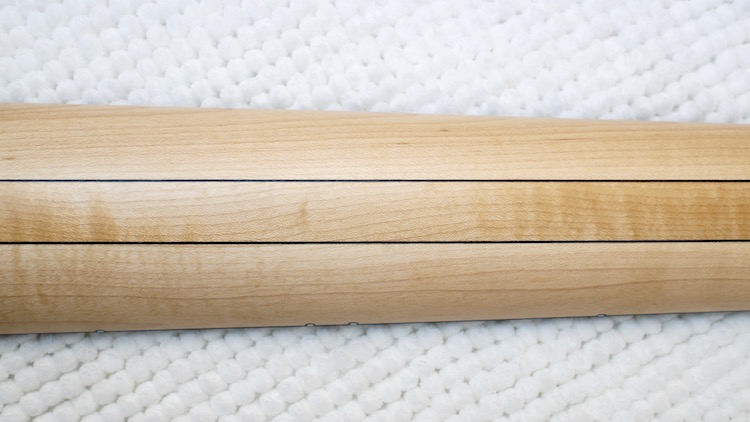
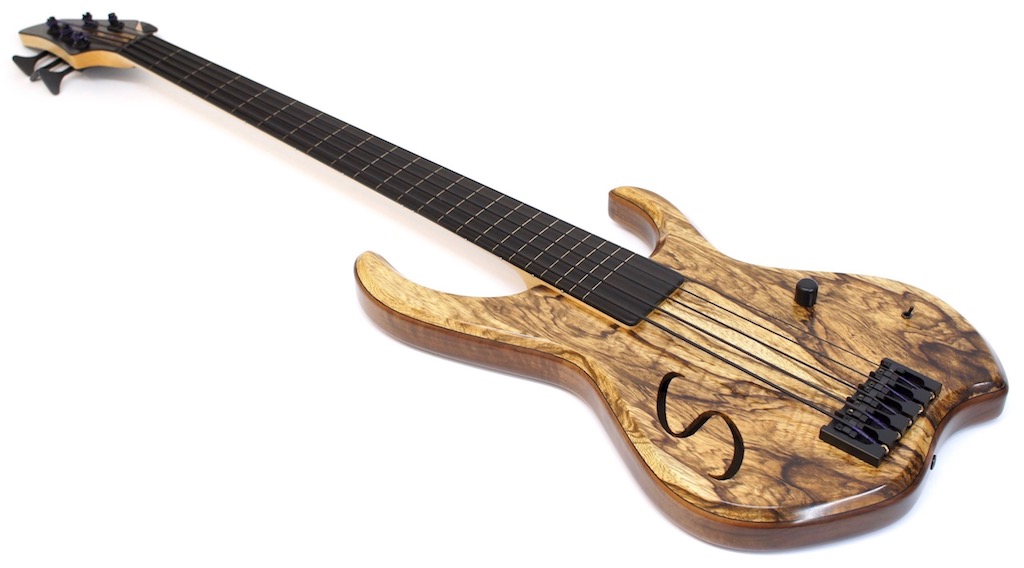
With the fingerboard now at it's final thickness, I can finish sanding the neck..
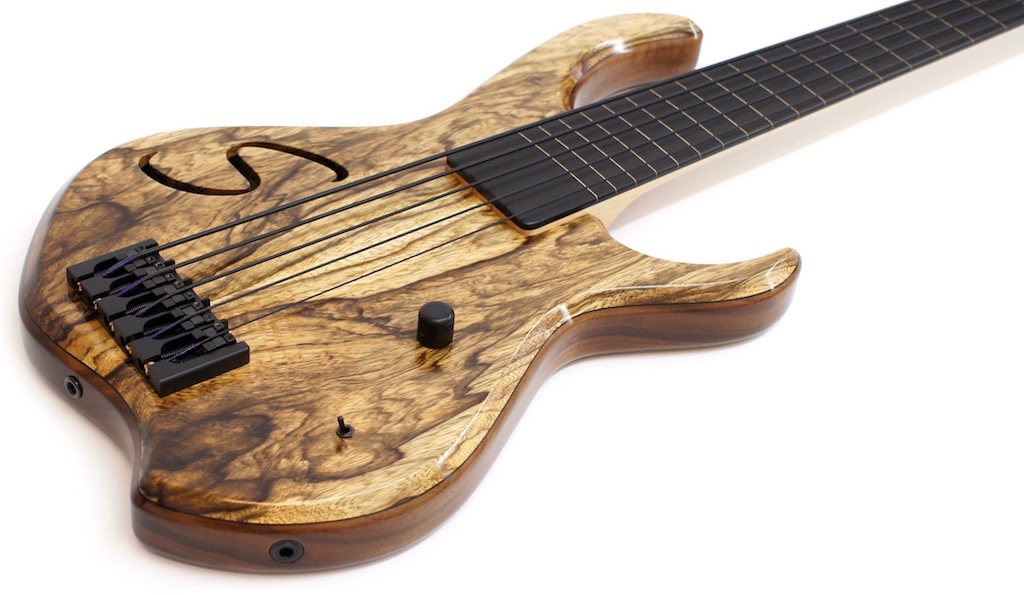
Beautiful work Simo, especially the detail on the neck. The neck would be perfect if it didn't have the markers (a personal preference) ;-)
I am seriously tempted to start my own. I need a new 4 string fretted and a 5 string fretless.


