pulleyt
Established Member
This is the last of my projects I'd like to share with you. We've had a 'glory hole' under our stairs for longer than I care to remember. I'd even asked a couple of companies to come and quote to build something from my sketch plans but they never came back to me after their initial visit.
Nothing for it but to have a go myself. I was very nervous about this one given the 'fitted' nature of the project. As ever, I trawled the internet for inspiration and eventually came up with a design that used a lot more plywood than I thought possible.
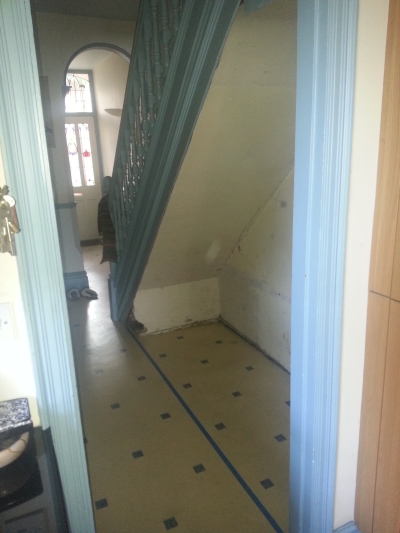
The starting point.
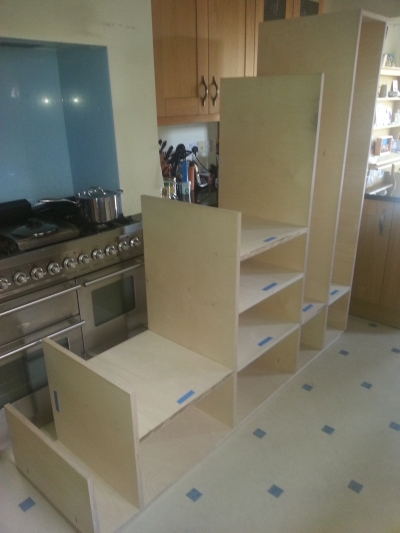
After very many measuring, re-measuring and just-to-make-sure measurings I ended up with the carcass below. This was cut out with a track saw which proved very accurate. The assembly used domino alignment and pocket hole screws to hold it all together - the dominoes for strength and stability and the pocket hole screws instead of using glue, just in case it went pear-shaped.
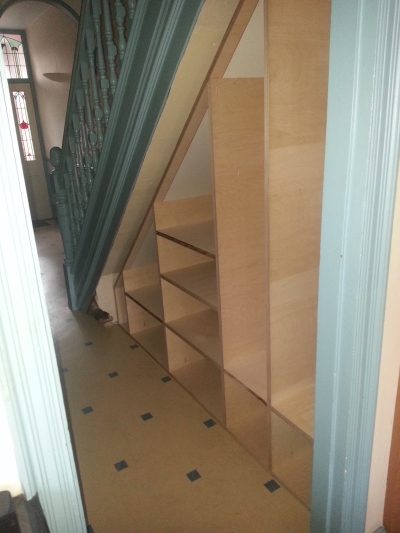
After, trying it in position, I added two rails along the top and use white faced hardboard to finish the back and top for rigidity and set it in place. Gravity seemed to be enough to keep the base in place as it was pretty heavy by now.
I added a strip of softwood to the face of the stair string? that sat flush on top of the carcass to complete the built-in look and painted it to match the existing woodwork. I also added three LED lights to help view the contents of the drawers when opened as it is quite dingy in the hallway of an evening.
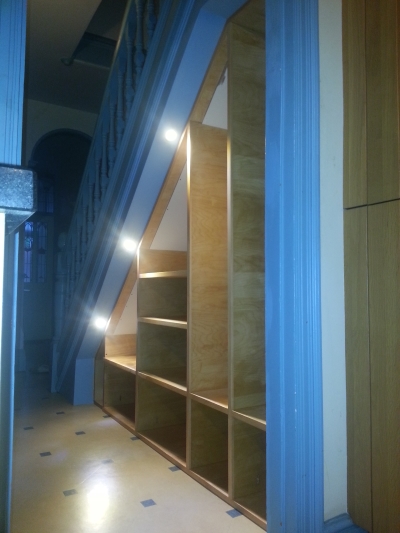
I made all the drawers using dominoes to add strength to the joints and pocket hole screws to 'clamp' the components of the larger drawers when gluing them up. the pocket holes would all be hidden eventually.
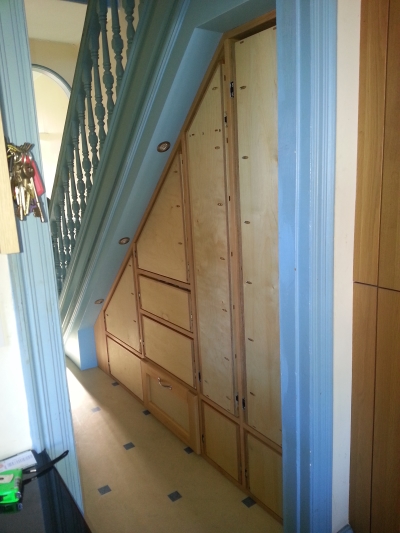
And finally, the drawer fronts were fitted.
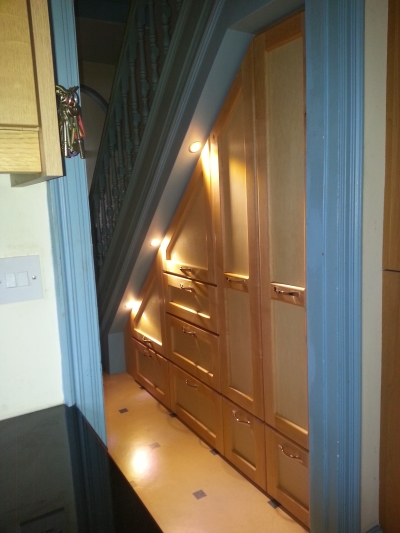
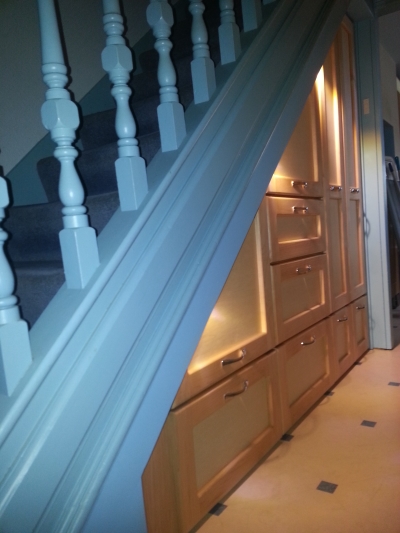
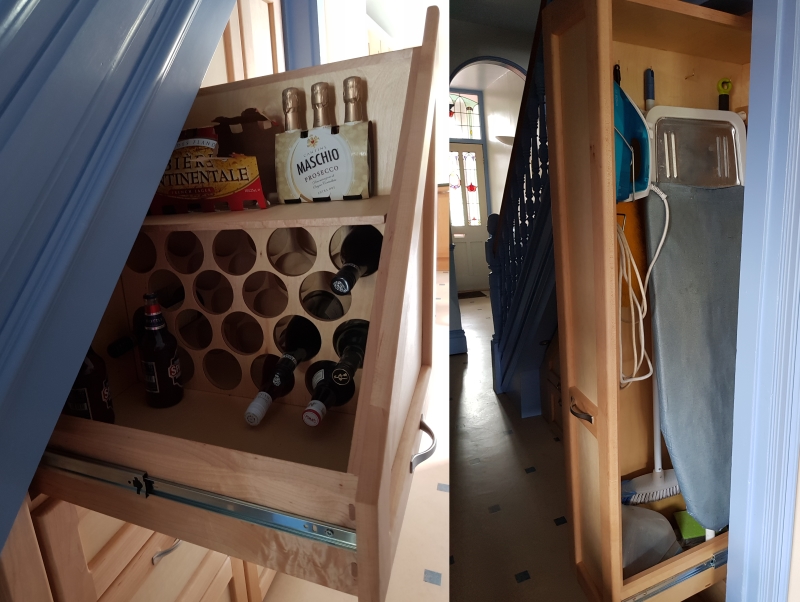
Of course, all the drawers were filled very quickly and we could do with the same amount of storage again
I was very pleased with the way this turned out but I wouldn't want to rush into a similar project again. I do prefer to work on smaller, stand-alone items.
Thanks for looking at my projects and I'd love to hear your comments/advice.
trevor
Nothing for it but to have a go myself. I was very nervous about this one given the 'fitted' nature of the project. As ever, I trawled the internet for inspiration and eventually came up with a design that used a lot more plywood than I thought possible.
The starting point.

After very many measuring, re-measuring and just-to-make-sure measurings I ended up with the carcass below. This was cut out with a track saw which proved very accurate. The assembly used domino alignment and pocket hole screws to hold it all together - the dominoes for strength and stability and the pocket hole screws instead of using glue, just in case it went pear-shaped.

After, trying it in position, I added two rails along the top and use white faced hardboard to finish the back and top for rigidity and set it in place. Gravity seemed to be enough to keep the base in place as it was pretty heavy by now.

I added a strip of softwood to the face of the stair string? that sat flush on top of the carcass to complete the built-in look and painted it to match the existing woodwork. I also added three LED lights to help view the contents of the drawers when opened as it is quite dingy in the hallway of an evening.

I made all the drawers using dominoes to add strength to the joints and pocket hole screws to 'clamp' the components of the larger drawers when gluing them up. the pocket holes would all be hidden eventually.

And finally, the drawer fronts were fitted.


Of course, all the drawers were filled very quickly and we could do with the same amount of storage again
I was very pleased with the way this turned out but I wouldn't want to rush into a similar project again. I do prefer to work on smaller, stand-alone items.
Thanks for looking at my projects and I'd love to hear your comments/advice.
trevor


