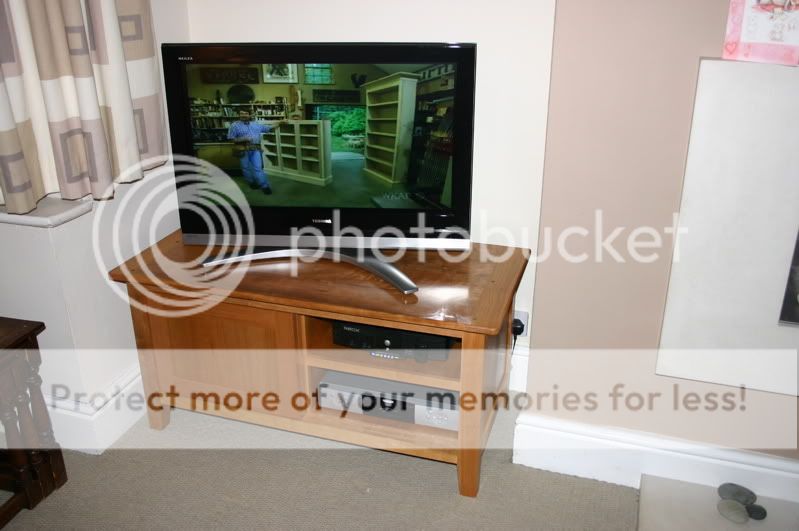
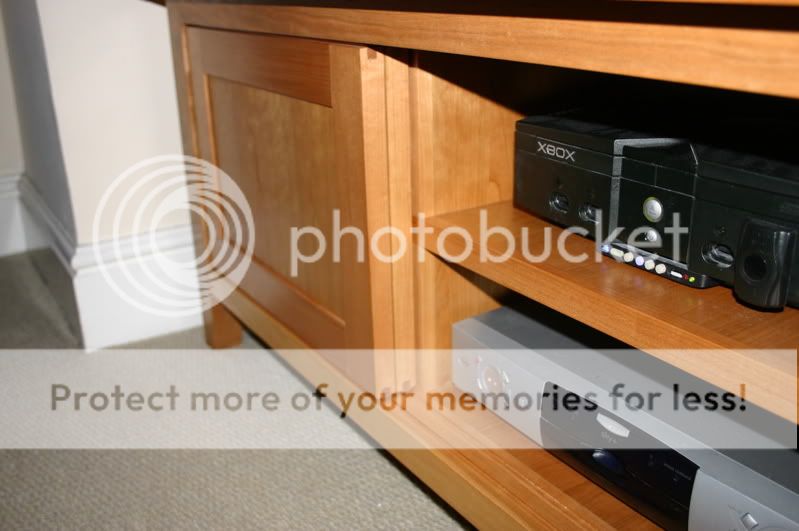
tv stand WIP

UKworkshop.co.uk

Help Support UKworkshop.co.uk:

This site may earn a commission from merchant affiliate links, including eBay, Amazon, and others.
Tombo.

I do like WIP thingies with pics. It's nice to see what people are talking about.

I would fix the top using buttons.

This is just a query. Would it have been better to use dovetails to join the top rails to the legs?

Just one other thing. I noticed that you cut everything to length before you cut the joints. I was taught to cut over size. That way if one makes a mistake, (like slipping whilst cutting a tenon shoulder), you still have spare at the other end to cut your stock to the corect length, (shoulder to shoulder. Which is the critical measurement, not end of tenon to the other end of tenon). I hope this makes sense.

Good luck with the rest of the project.
 
tombo":299udm5q said:
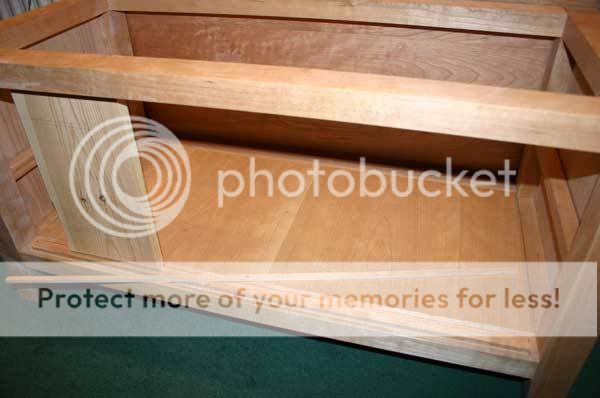
any suggestions for attaching the top? I was thinking pocket screws Though with the width of the rails i could just screw straight up.

Looking good Tombo. I just love WIP posts - best part of the forum!

I think you need to allow for shrinkage, particularly as the cabinet will contain electrical items that will generate a bit of heat. I'd use toggles that locate either into slots cut into the top rails with a router, or underneath slightly tapered blocks screwed (brass for oak) to the inside of the top rails.
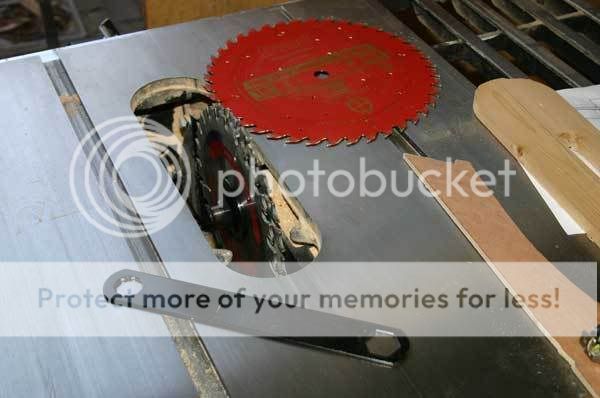
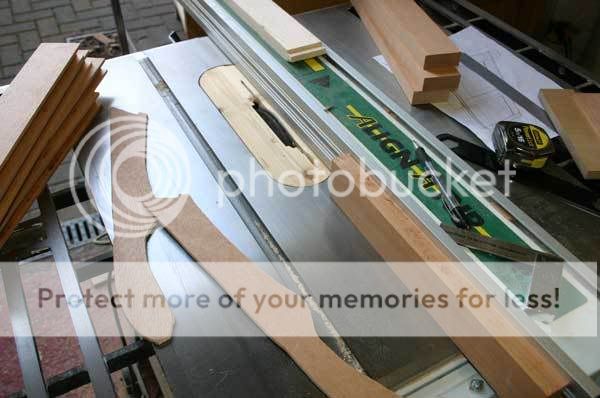
HTH
 
ok guys, so pocket screws are out any one got links to examples of

buttons
toggles
and stretcher plates

Tom
 
It's looking good Tom.

I'd never realised that there was a digital equivalent to taking pictures without having film in the camera :lol:

Andy
 
well back in the workshop and the mistakes continue, not really disasterous but just wasted precious time.
Sliding doors turn out to be more complicated than i thought :?, my test mdf door was just a model of the tenon for the runner and did not have a the shoulder on it.
Before i ripped into the cherry i made another mock up door in pine (which i should have done at the start) and tried it in the cabinet. Needless to say it would not go in :oops:
I gradually shortened the lower runner till it would fit, once i had the right size i had to fill the lower grooves to get the door to run properly.

fillers.jpg


The test door was actually useful in another way i could draw onto it showing the relative size of the styles and rails. I realised at this point my design for the doors was too chunky so i could scale down a bit.

door-flatten.jpg


As the rails and styles will be narrower i did not have to flatten right across the board, so i ripped off the spare at fullish thickness for another project

if you're squeamish look away now.... out withe the dado :twisted:

look-away.jpg


grooving the door parts :roll:

groovy.jpg


and tenons, but before any one else says it i'm asking for kickback here i got away with it this time and i will do it differently next time....promise

andtenons.jpg


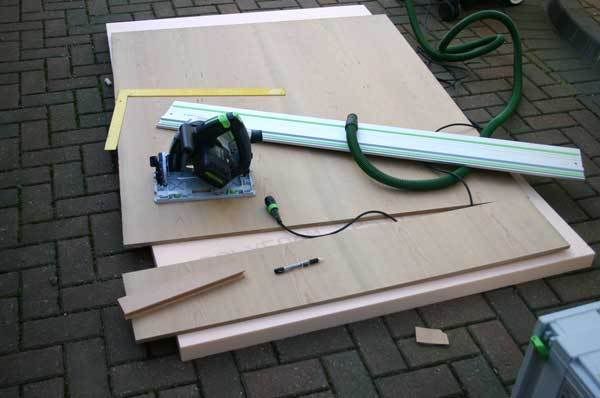
festool saw is great but an absolute upgrade for me were these foam insulation blocks to support the cut. No more struggling with saw horses and parts hitting the pavement DAMHIKT :roll:

breakup.jpg


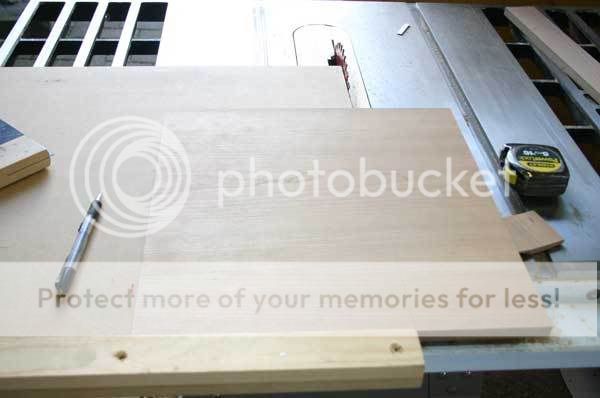
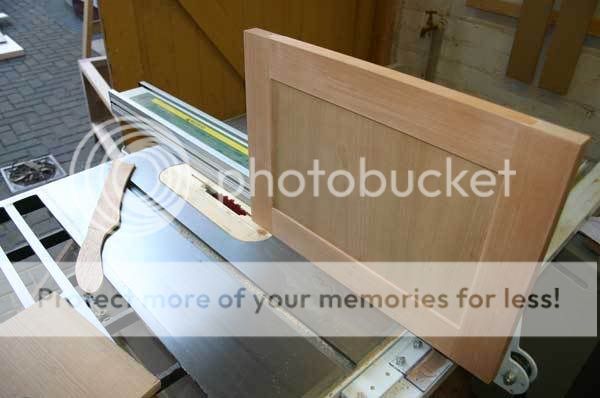
final sizing panel on TS sled

sled.jpg


keep saying it, keep saying it

  • make the top and bottom wider so you have some material for the runners

    make the top and bottom wider so you have some material for the runners

    make the top and bottom wider so you have some material for the runners

needless to say i forgot...:evil: this is what it should have looked like

door-image.jpg


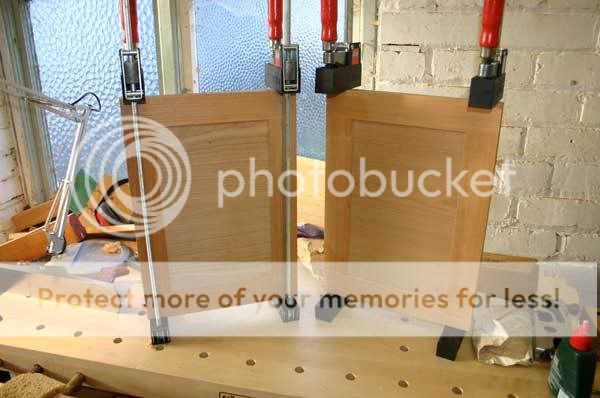
one caffein break later i glue up the doors anyway..
doors-1.jpg


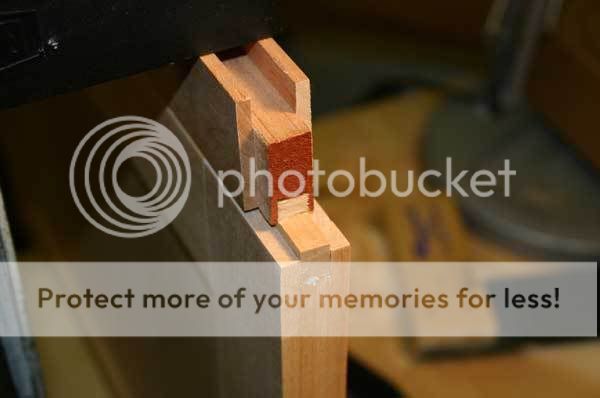
Groove doors to take separate runners, just with the saw blade this time. Not the end of the world as it was one of my original design ideas anyway

fix.jpg


fit runners

runners.jpg


and trim ends with test piece as a guide

trim.jpg


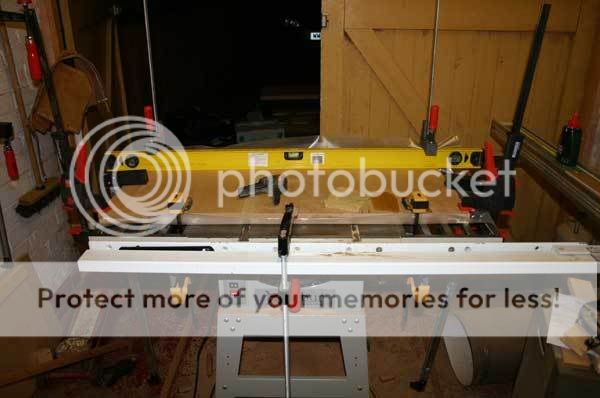
To get the thickness i want for the center shelf i had to glueup two pieces. The table saw is the flattest area i have and is just about the right size.

shelf.jpg


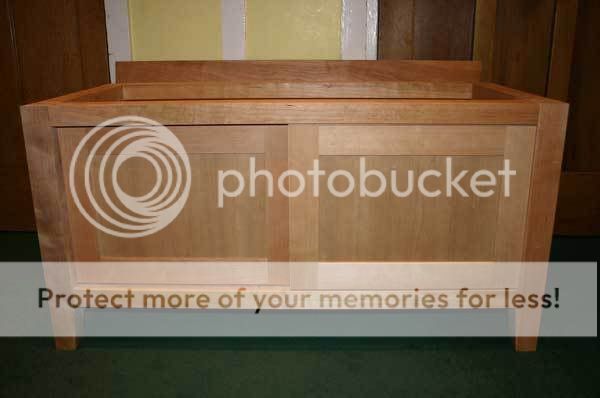
Finally test fit doors, and despite all the messing around they work really well :D

doors-on.jpg


still quite a bit to do but i may get it finished next week

Tom
 
Looking really nice Tom. Thanks for taking so much trouble to take the WIP photos - definitely worth while, and interesting to see how you resolve the problems that every project raises. Nice creative use for a spirit level too - I must remember that one.
 
Tom

That looks very nice
Well done to you for the warts and WIP pic's =D>

One day I may good that brave :whistle:
 
Tom, excellant and thanks for showing the warts and all WIP images. Great stuff.

Can you tell me more about that insulation block? I've been wrestling with how I can cut 8x4 sheets easily on my own in a timber yard car park & I was thinking along similar lines last night. What exactly are they? Where did you get them from? I was concerned that if I use the wrong product that I might get foam stuck all over the saw.

I know John Lucas uses a similar product on his woodshop demos site.

Andy
 
very nice..
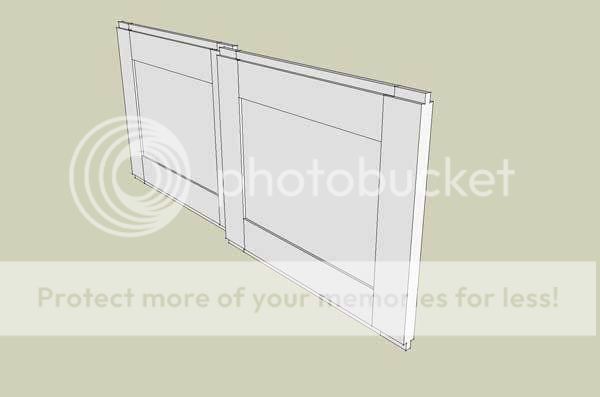
can you publish the link of your google sketch plans ?
i would be interested to see how it works.. (i have used the non-google sketchup in the past)
 
dedee

i must admit i did not think too hard about the foam blocks being a problem i just bought them and gave it a shot. Works realy well, i got them from B & Q, expensive for what they are. They come in a pack of 4 for £30, but when you pay £60 for a sheet of veneer mdf and a couple hundred invested in the saw it was a no brainer.

Stef

i drew the plan myself its nothing special if you want a copy send me a PM with your email address.

Tom
 
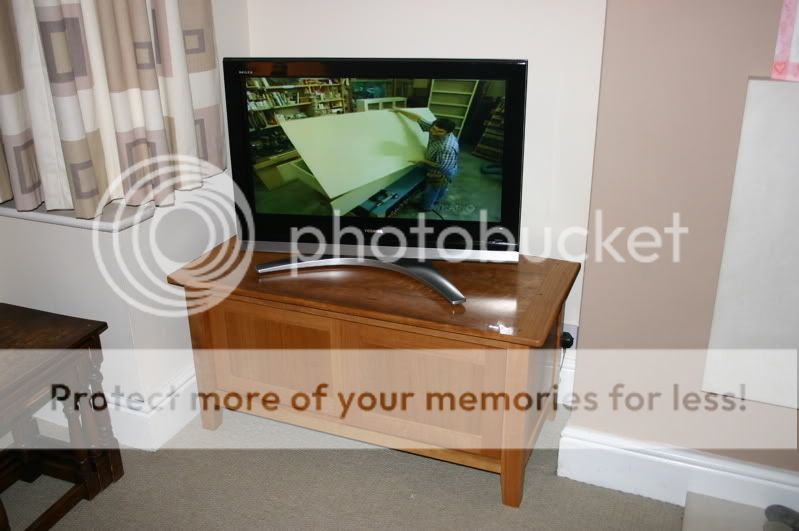
finished my tv stand last week but i have waited till now to get it in the house cause i was waiting for my new telly and it came today woohoo!! :D

Did'nt take any pictures of the final steps as there was not a lot else to see c'ept maybe the breadboard edges on the top. I used my sample kit of Miller dowels to get the conrast for the pegs i think they are walnut. I have had them 4 years and this is the only thing i used them for :roll:

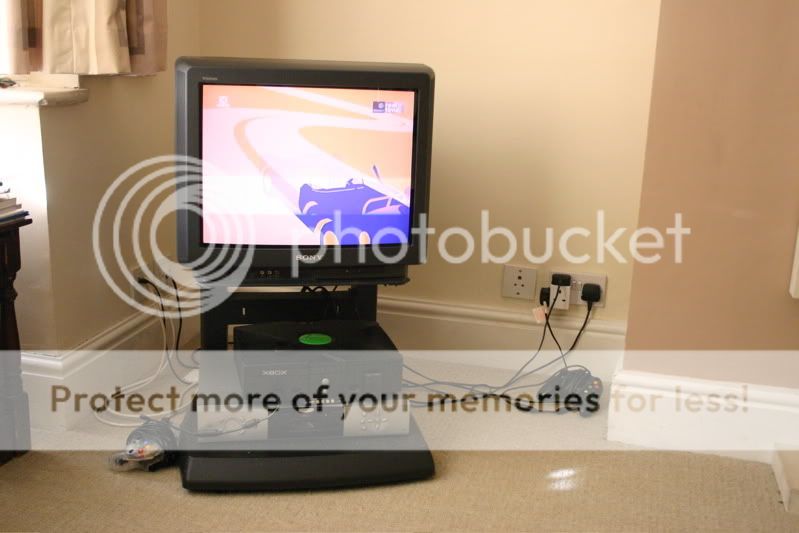
any way here is what i looked like before and after (obligitory woodwork on the screen :D extra points if you guess the episode)

before.jpg


closed.jpg


open.jpg


There is a lot of cabling going on satelite, aerial, cat5 power etc so leaving the back completely open has worked out very well.

doordetail.jpg


I am also realy pleased with how well the doors work you have to be extra gentle sliding them as the friction is so low that they can realy slam into the sides :shock: i guess it has a lot to do with the finish which is a first for me just oil and wax over the top. Looks great and was dead easy to do.

Thanks for looking

Tom
 
Tombo

What a difference. Lovely cabinet. I like the idea with the sliding doors. Thanks for all the WIP pictures, I, for one, really enjoyed them.

Bob
 
dedee":hxllhk9e said:
Tom, excellant and thanks for showing the warts and all WIP images. Great stuff.

Can you tell me more about that insulation block? I've been wrestling with how I can cut 8x4 sheets easily on my own in a timber yard car park & I was thinking along similar lines last night. What exactly are they? Where did you get them from? I was concerned that if I use the wrong product that I might get foam stuck all over the saw.

I know John Lucas uses a similar product on his woodshop demos site.

Andy

Andy

You can also use fibre board...stops all those polystyrene bits flying around but you have to be more careful on cutting depth. I also use a sheet of kingspan insulation in preference to the white polystyrene stuff.
 
Looks great.
Thanks for the WIP pics and report, it was really instructive. You (and swmbo) must be well chuffed.
 
Looks great. Looks like you've got some nice figure on the top but i can't see a photo without the TV on.

Well done for stopping when the mistakes pile up. I have a rule that if I make two mistakes in a day I stop for at least half a day because it means my mind's not on the job and the next mistake could be my thumb.

You need to learn design based justification for your decisions eg have separate runners for the doors means that they could be replaced in the unlikely event of excessive wear :wink:

Cheers

Tim
 

Latest posts

Back
Top