Toolbox - WIP

UKworkshop.co.uk

Help Support UKworkshop.co.uk:

This site may earn a commission from merchant affiliate links, including eBay, Amazon, and others.
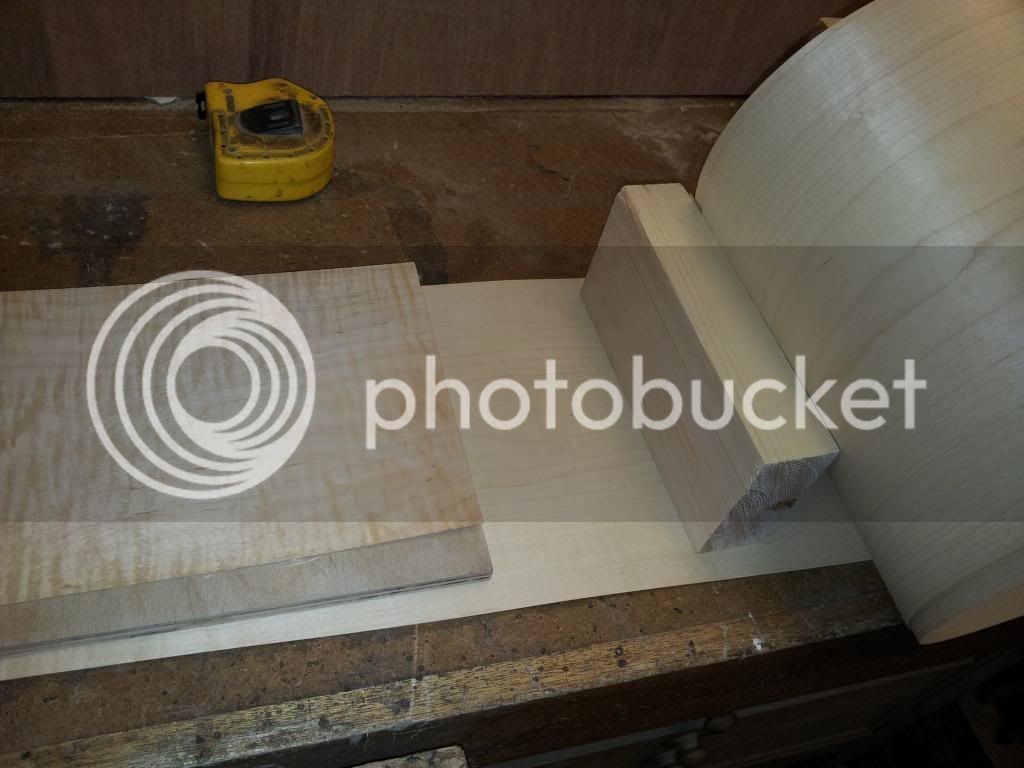
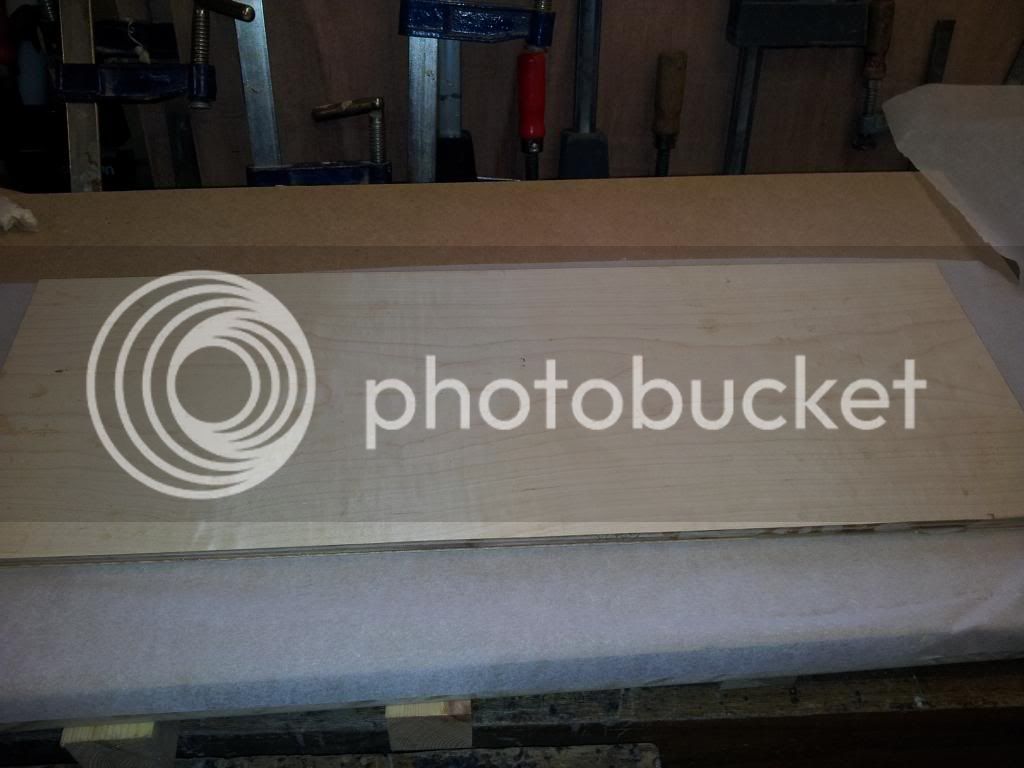
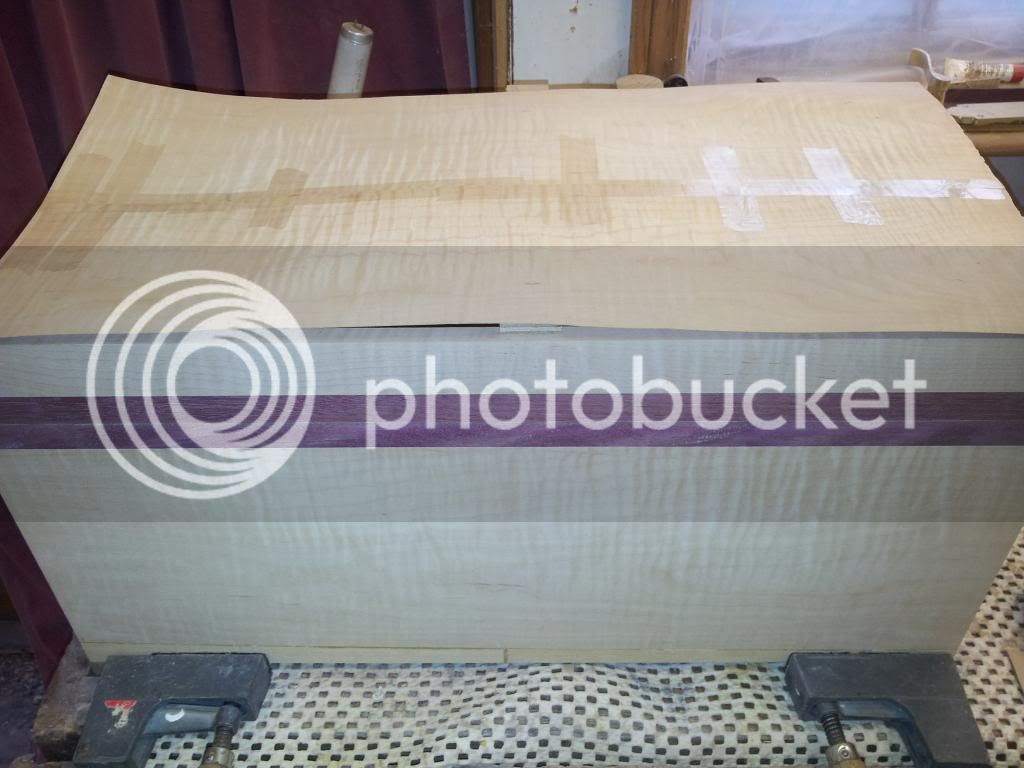
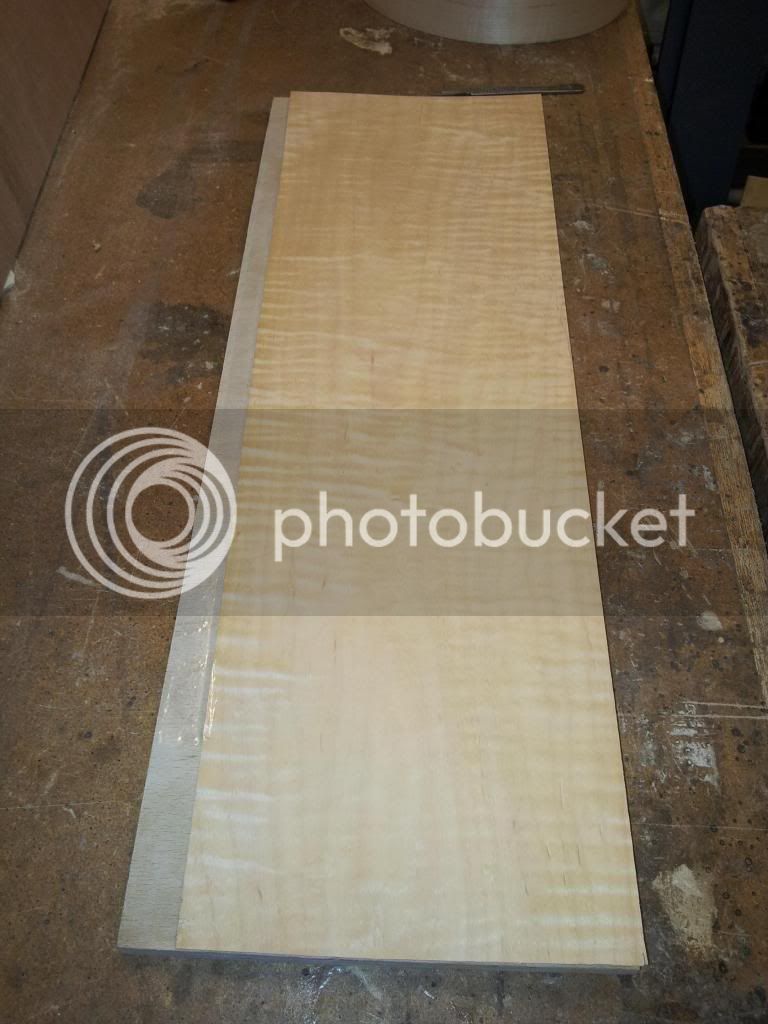
Sooo onto today. I have started on what will be the front panel of the box. First up was the ply panel, which was actually prepped last week. I taped the veneer into place to form a hinge. Flip it up, apply glue, pop down. Done :)
While getting ready though, i removed it, put some selotape along the length where there is no veneer - so the glue doesn't stick to it. Then taped the veneer back into place.
20140120_154925.jpg


As some might notice the veneer looks a bit short. That's because it is :lol: That is the bottom and i will probably add a piece in later. It won't be seen as the skirt will cover it. :)

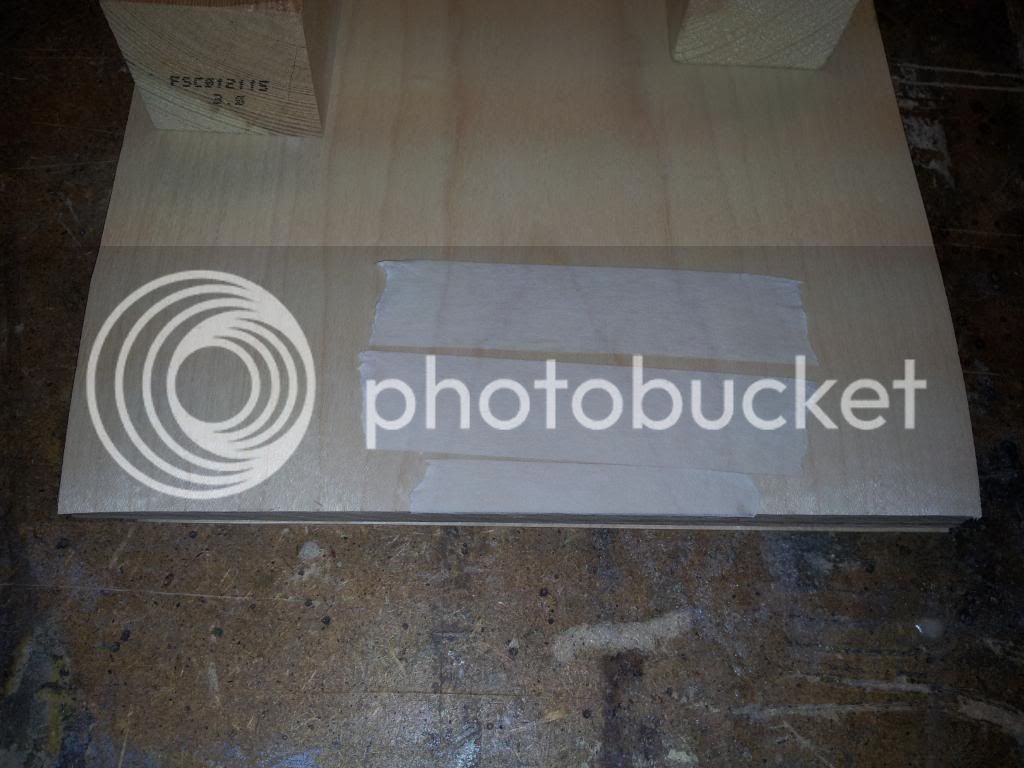
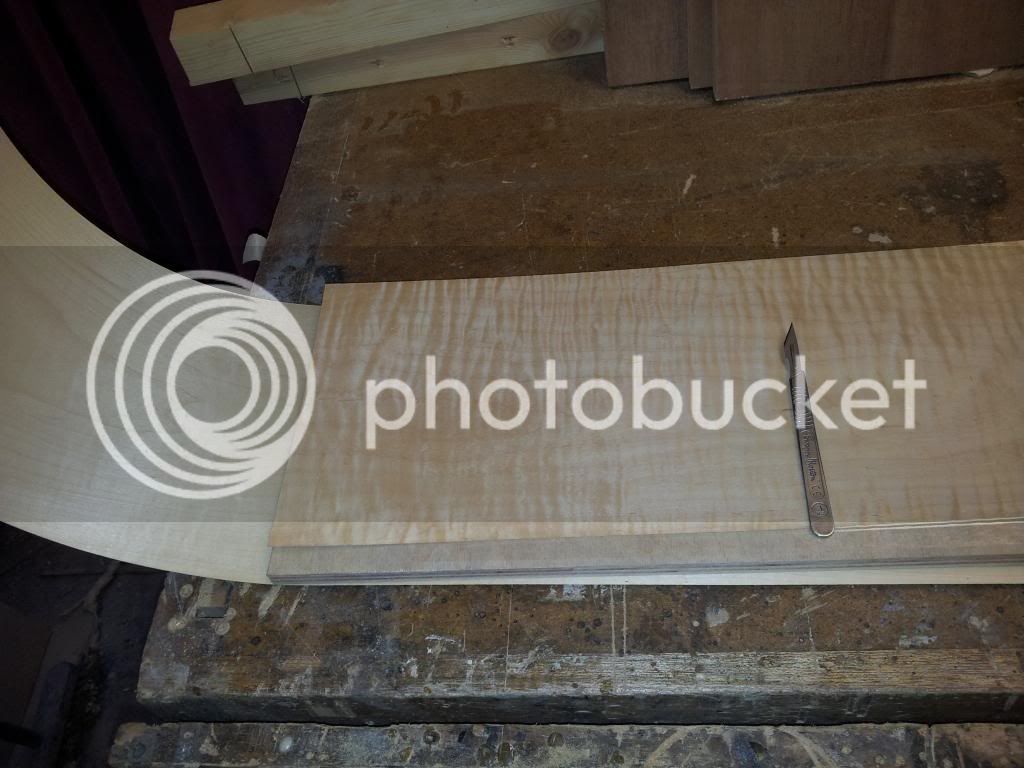
Next up was cutting the inner veneer to size.
20140120_155357.jpg


20140120_155402.jpg


Then i noticed a small split, it must have happened after i cut it. :oops: So some first aid was applied :D

20140120_155843.jpg


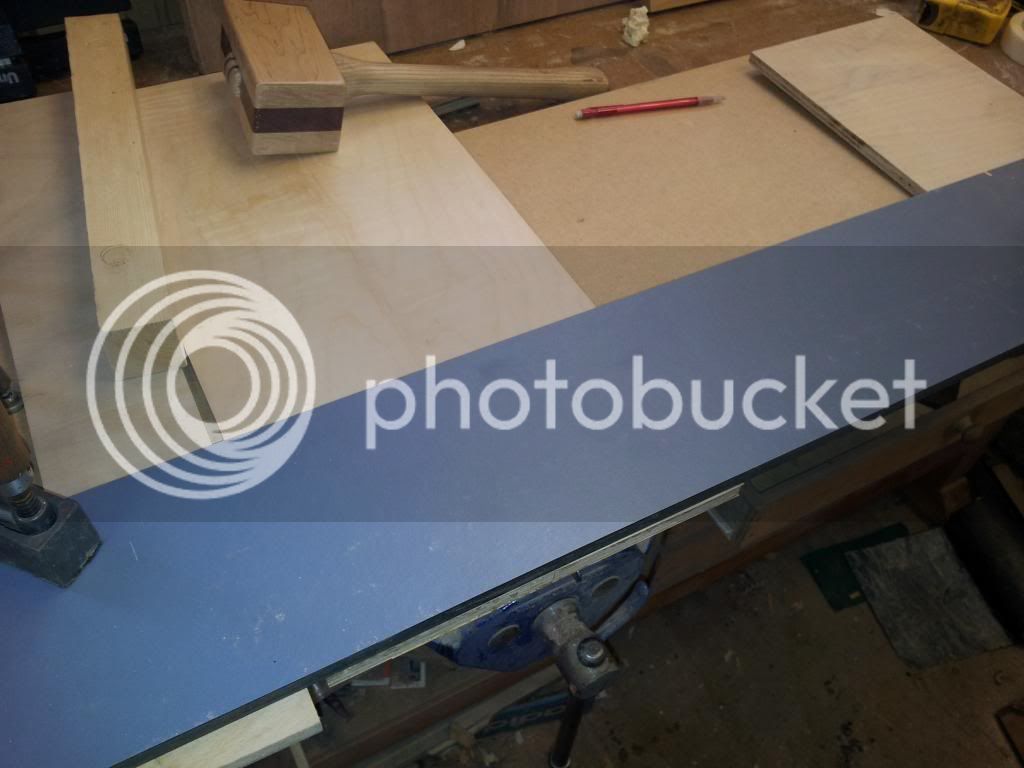
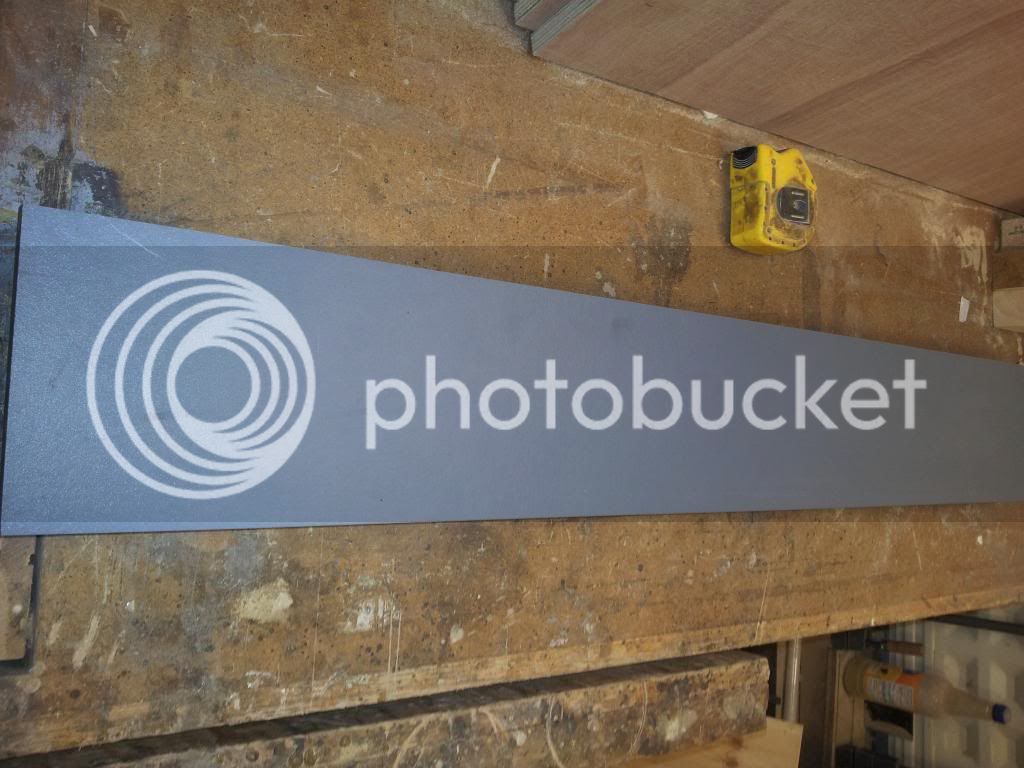
Then began the setting up process. First up some packers - trespa in this case.
20140120_160025.jpg


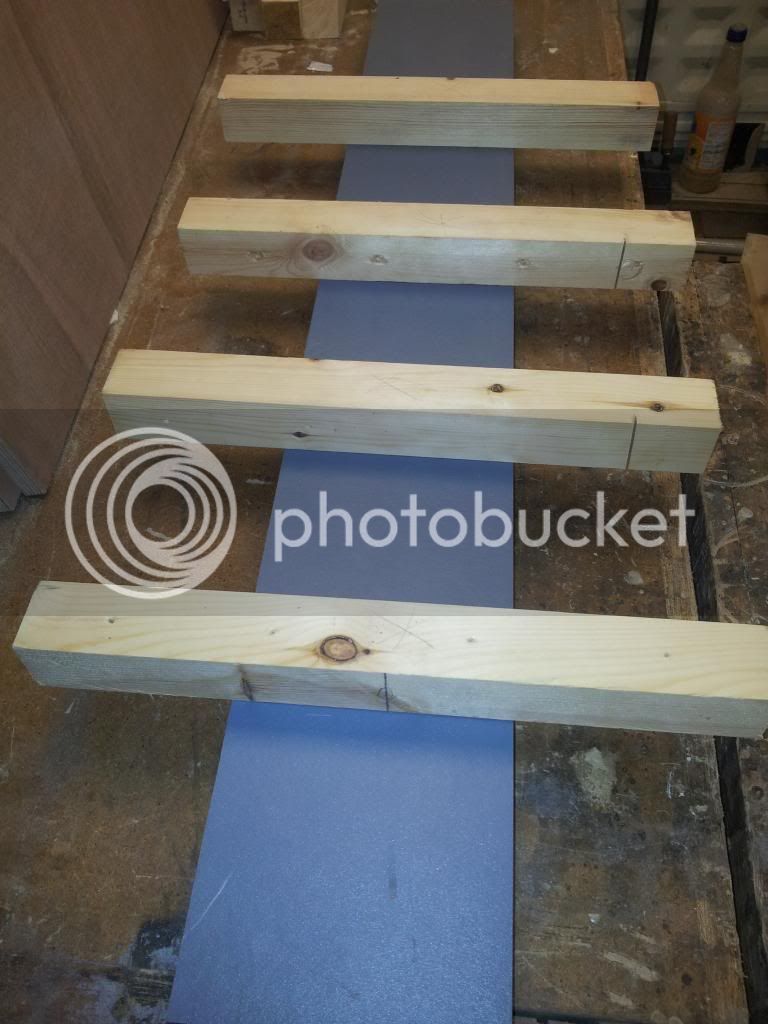
Then the bottom cauls

20140120_160056.jpg


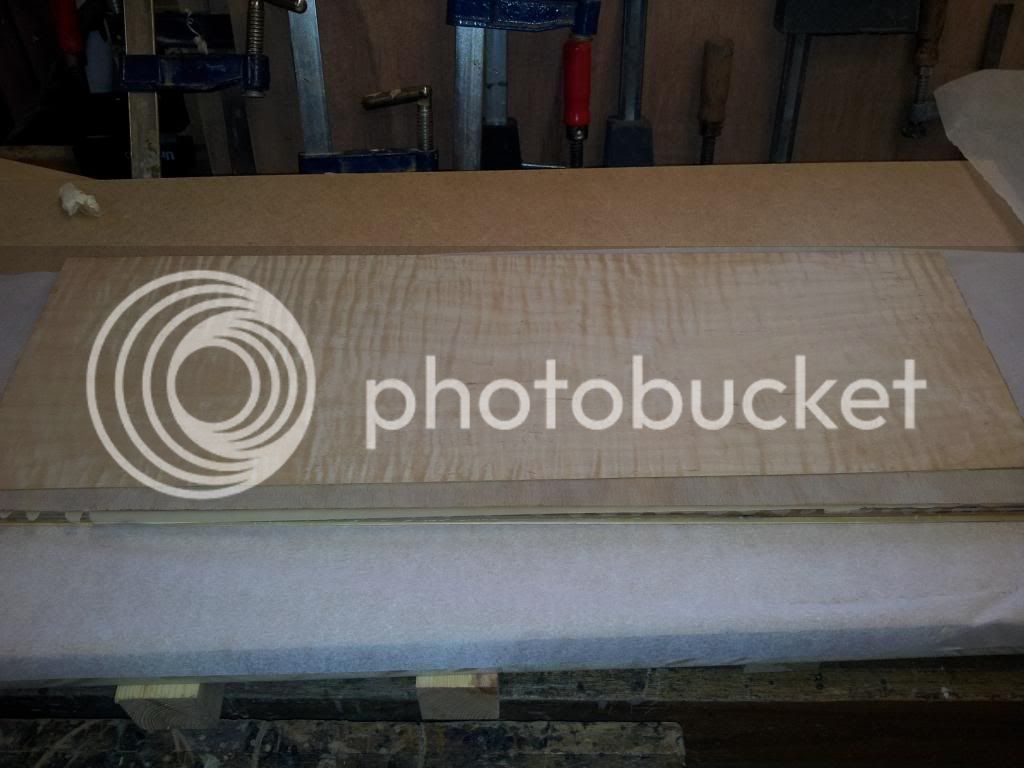
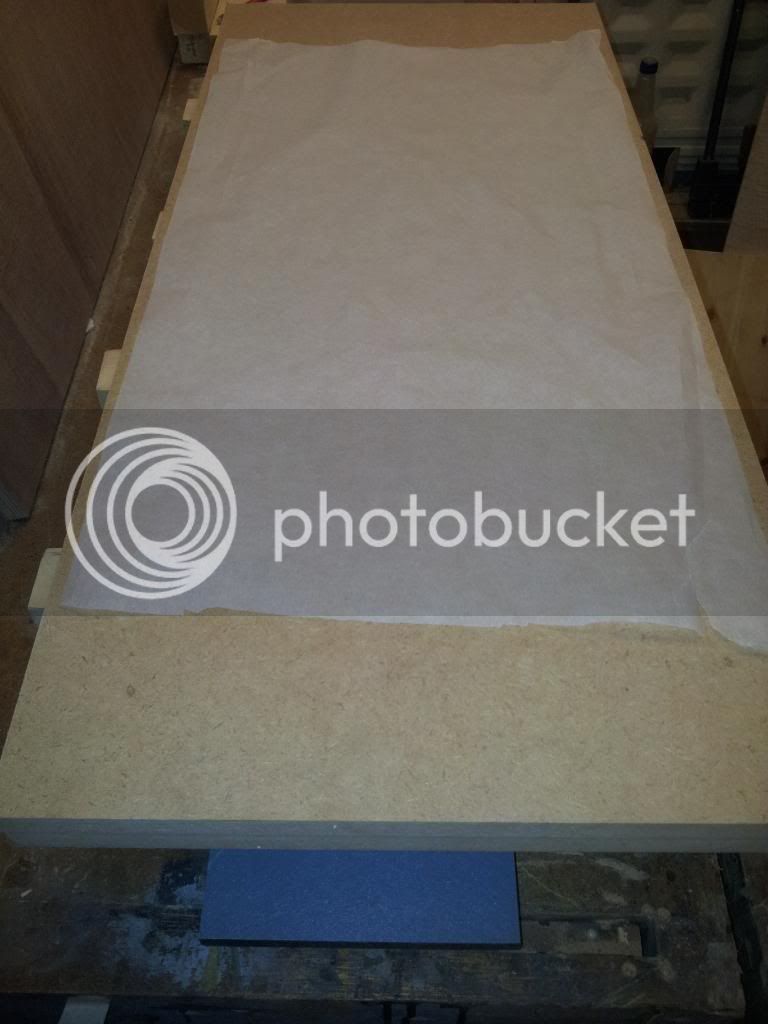
Then 2 - 18mm mdf platens - yes i cut them up this time, along with the grease proof paper. :cool:
20140120_160257.jpg


And as you can see clamps/ roller at the ready. Plus bigger clamps just out of shot.
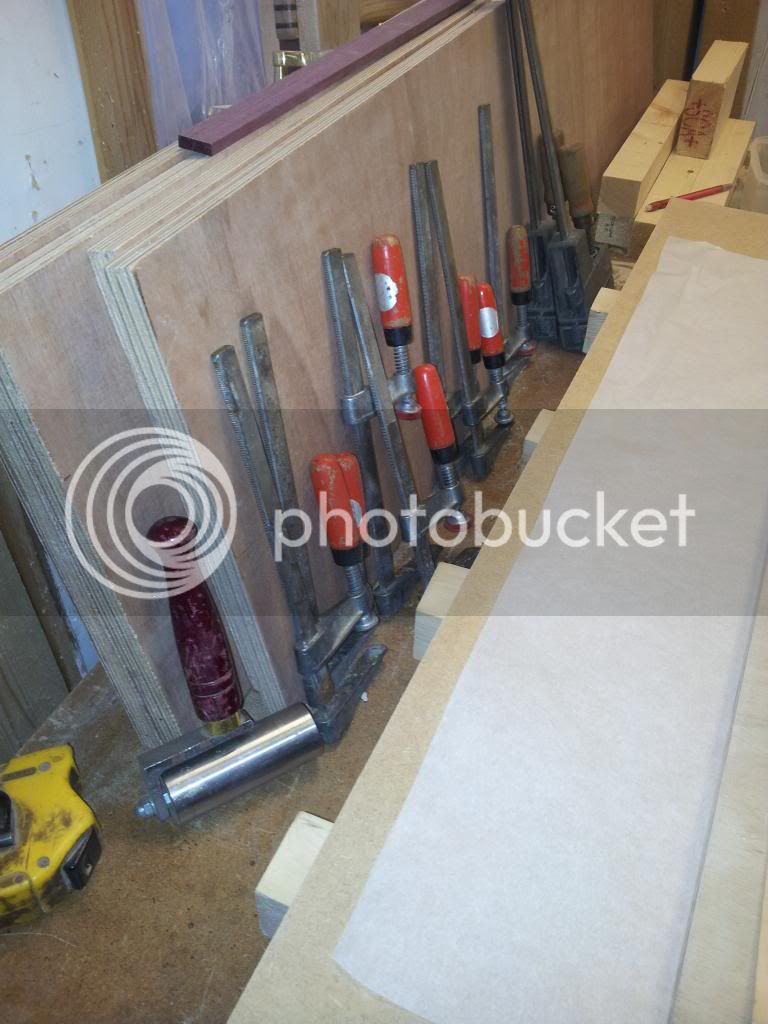
20140120_160651.jpg


Glue was weighed and mixed and rollered onto the ply. Then veneer added and rolled. More grease proof paper on top, then 2 mdf sheets, cauls and clamp time.
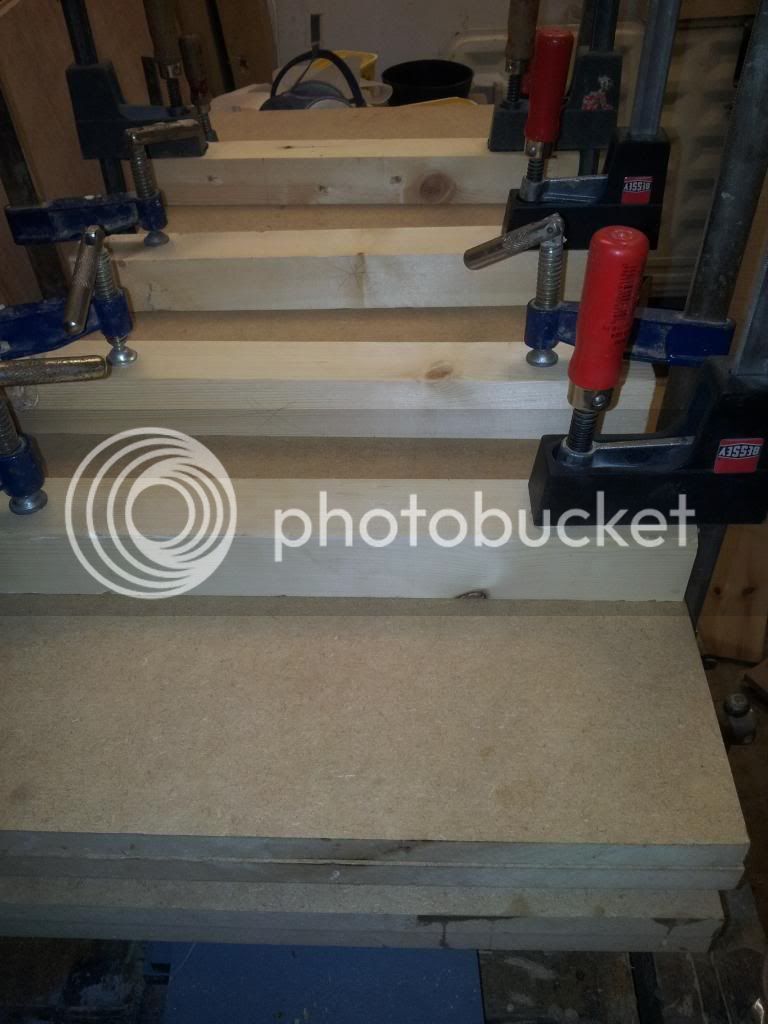
20140120_170521.jpg


Aaaaaand relax and breathe :D


But wait, what's happened there? After looking and carefully checking to make sure there is even glue squeeze out. One end of the veneer is over hanging the ply by about 5mm :shock: It is sized about 1.5mm extra all around.

Ahhhhhhhhhhhhhhhh the veneer has slid during the clamp up. :twisted: Quickly undo clamps, remove mdf etc. Then carefully slide veneer into place again. Not easy as the glue has a good grip on it. Sorted, put everything back.
Start to clamp up again and it moves yet again. Move veneer again, this time i taped it to the bottom mdf. Put it all back and start to clamp up again, and the veneer is sliding again. :twisted: So off it all comes. New grease proof as the glue is everywhere. This time i used selotape and taped the top piece around and under the bottom.
So put everything back again, clamp up. This time veneer stays put. Ha that will teach it, no one messes with me and gets away with it. :mrgreen:

So there it will stay, in clamps till tomorrow morning. I just hope the veneer sticks. :-k
 
Sooo onto today. Before even having my first cuppa :shock: I popped up to the workshop and unclamped everything.
It all had stayed put and the glue had done it's job and the veneer was still stuck to the ply. :D
The mdf did make a difference, everything was flat and smooth this time. :)
20140121_102625.jpg


20140121_102641.jpg

Then i began to clean / square up the edges.

20140121_105508.jpg

Once all the edges were done, i then started to prep the other panels. All the veneer was cut to size - in the right order this time :lol:

Then same as before the short pieces were taped up to form a hinge. I then did the same for the other side.
You have seen it once so never bothered with same pics again.
I decided to go for it today and the 2 sides and the rear were all glued up together :shock: After applying the glue the veneers were taped down. Everything was clamped up and no veneers moved this time. :)

They will be left overnight again. All the veneering is done now bar the panel for the lid. That will have to wait for a bit as i need to source a suitable piece for the outer of the lid. :roll:


Oh and my finger slipped today. I pressed the buy button on another piece of purple heart from Yandles :mrgreen:
 
Forgot to post this yesterday. #-o


Soooo there i was sitting there enjoying a nice cuppa, when i hear bang bang on the door. :evil:
After answering the door, i let him off as it was a nice man from city link with my purple heart from Yandles. :D

Let the show commence. \:D/

On another note, hardware. :hmm: While it may be a way off yet, i should start thinking about it now. So is there anything in between the normal cheap tat and Brusso? Other thing is do i go the traditional route of brass? or modern stainless steel?
Either way i can see the hardware costing wayyyyyyy more than i have spent on materials for the main box. :shock:

However a few Brusso items have caught my eye. :whistle:

catch
http://www.classichandtools.com/acatalo ... russo.html
Thinking 1st one on that page.

stay
http://www.classichandtools.com/acatalo ... russo.html
 
Looks really nice so far. Really looking forward to seeing the finished product.
 
I'd go for brushed chrome hardware. The problem with brass and brass electroplate is that they go green when in contact with human hands due to the acids.
 
Thank's guys.
Mark i'm not too fond of chrome, it always seems cheap to me. I would hope for the money those Brusso fittings have some form of lacquer / protection on them.
 
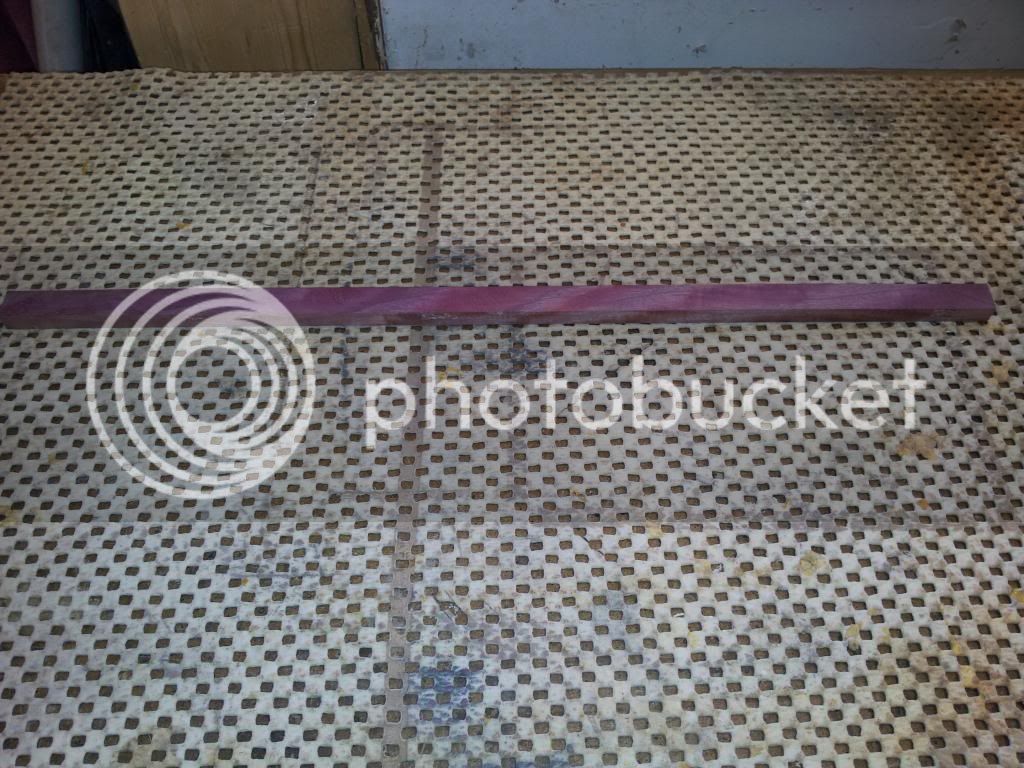
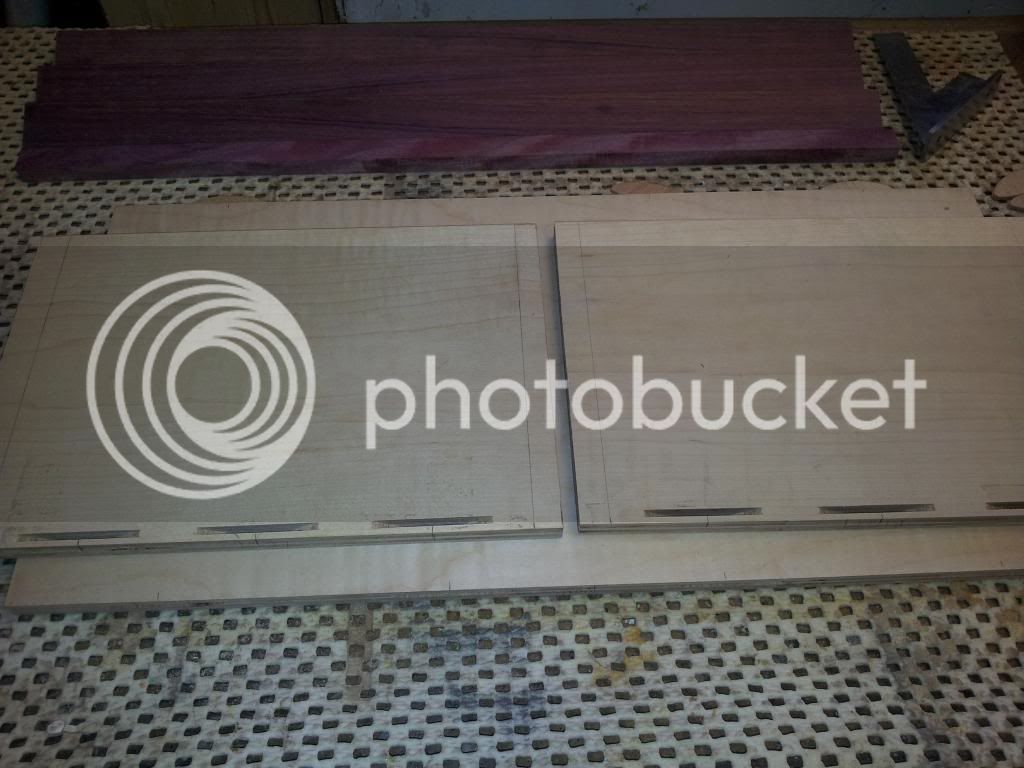
Soooo after being so rudely interrupted during my cuppa :lol: I thought i better make a start. Off the workshop i pop with me new length - of purple heart LOL

This piece is giving me no end of grief. The first piece was nice and straight grained. This one is all over the place.

Even the finest of cuts is giving me deep tear out - even planing with the grain.

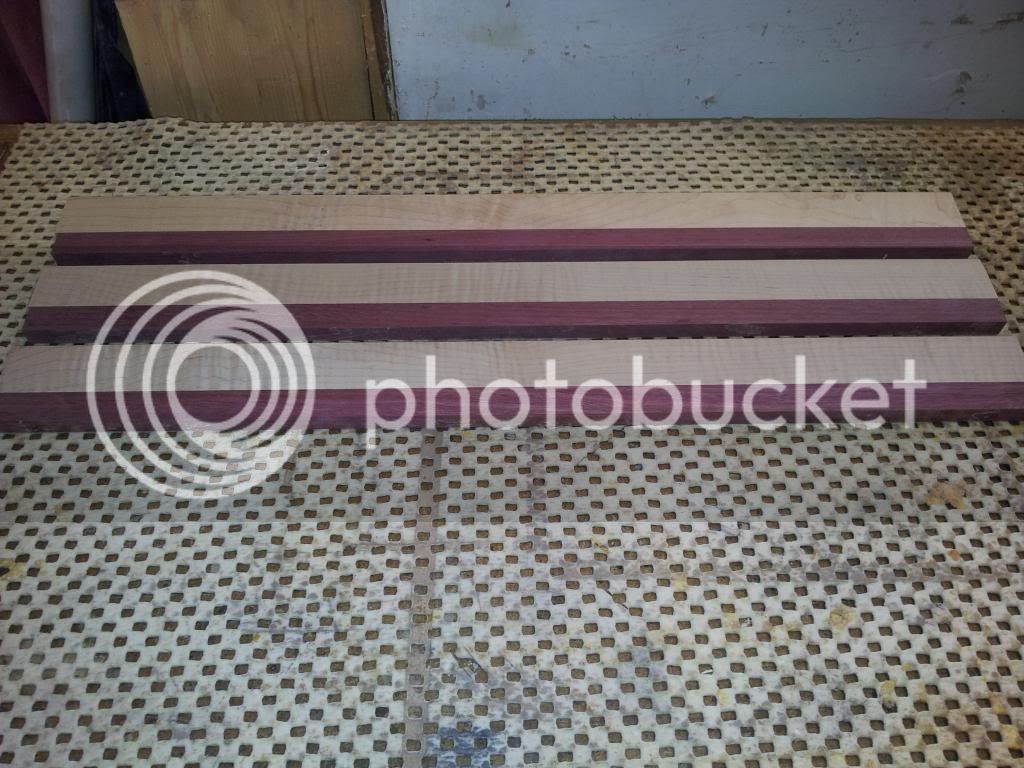
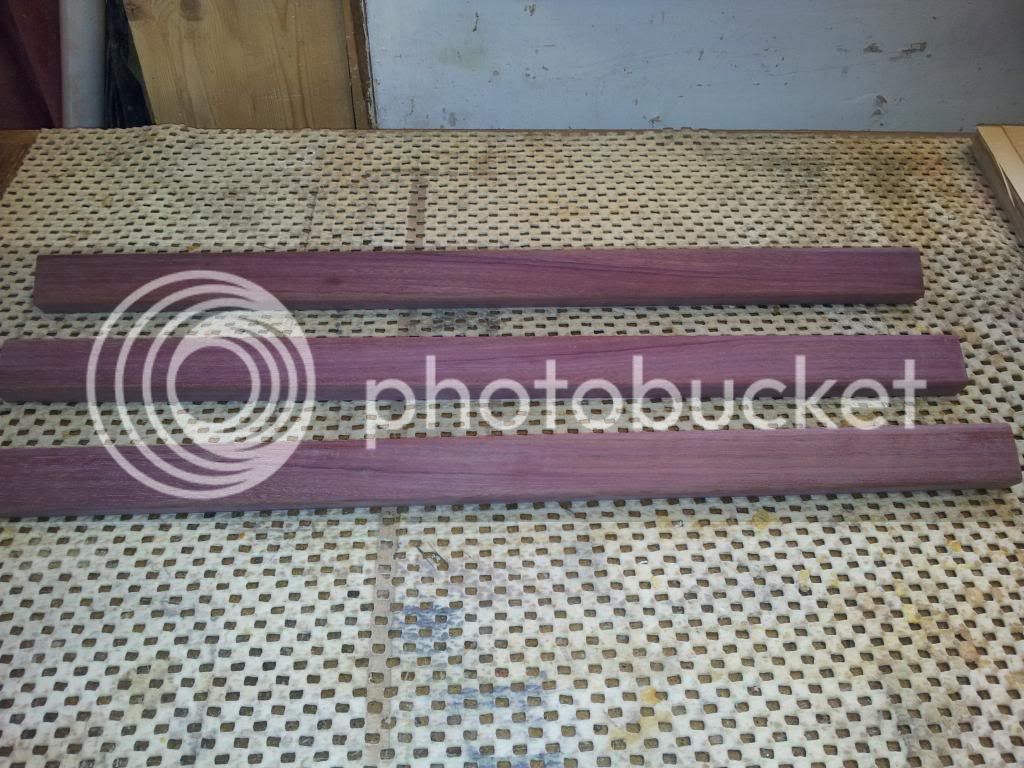
So after a bit of planing, sawing and thicknessing i have the missing bits prepped.

20140125_103130.jpg

As you might be able to see the grain issue. The lot is taking a lot of hand scraping and sanding to get it reasonably smooth. :roll:
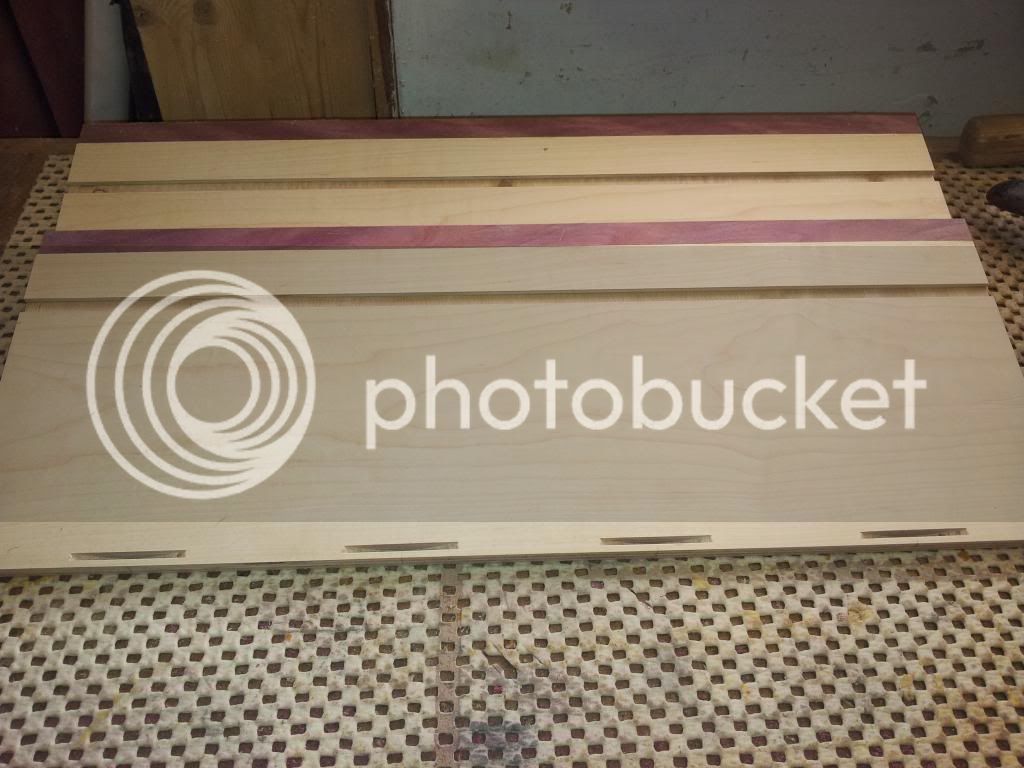
Also the lid sections were thicknessed at the same time.

20140125_103102.jpg


So that was another day over.

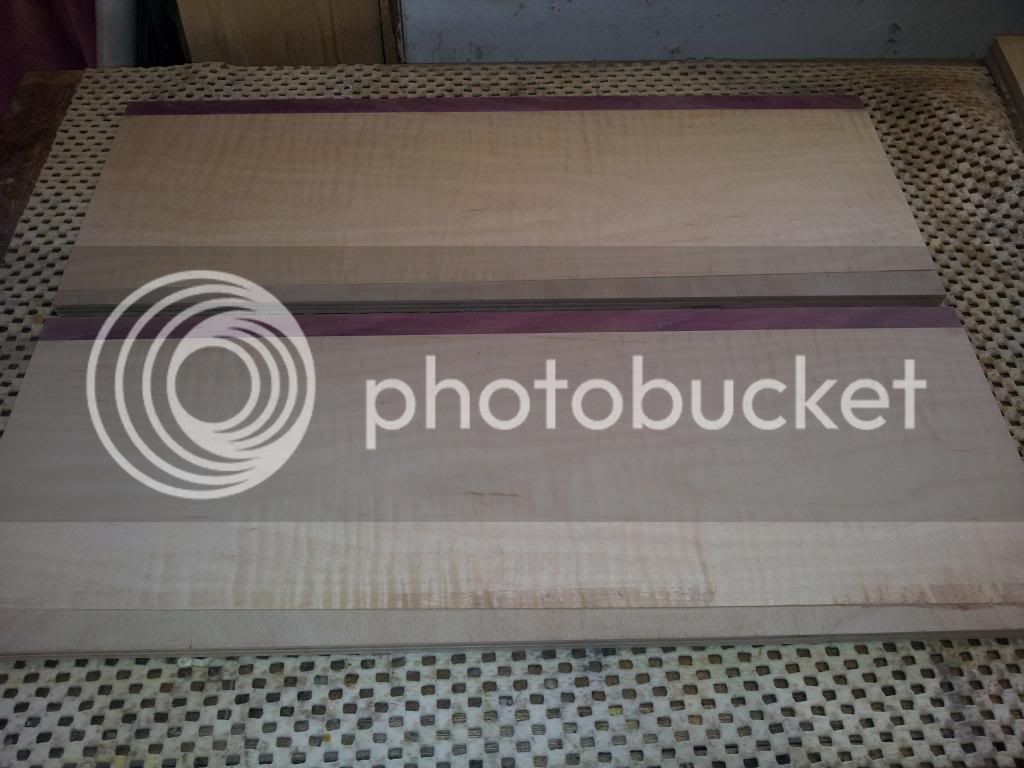
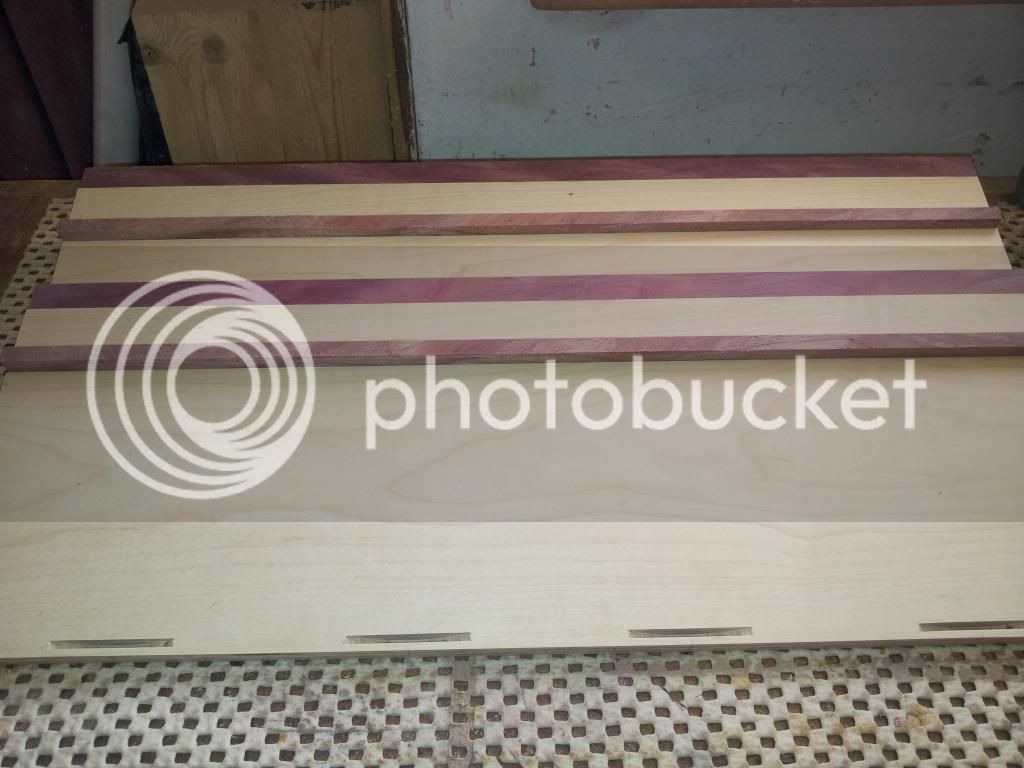
Then the next morning i finished trimming up the veneered panels and started to glue the strips onto the panels

20140125_102921.jpg


Then while the glue was setting i thought a small cuppa was appropriate :mrgreen:

20140126_084212.jpg


Then after setting up the router table i machined up the skirts. Rounding over the top/bottom and then forming the rebate. The bottom was done because although the purple heart is tough, it is also brittle on the corners. So easing the bottom edges should help. :)

20140125_103234.jpg


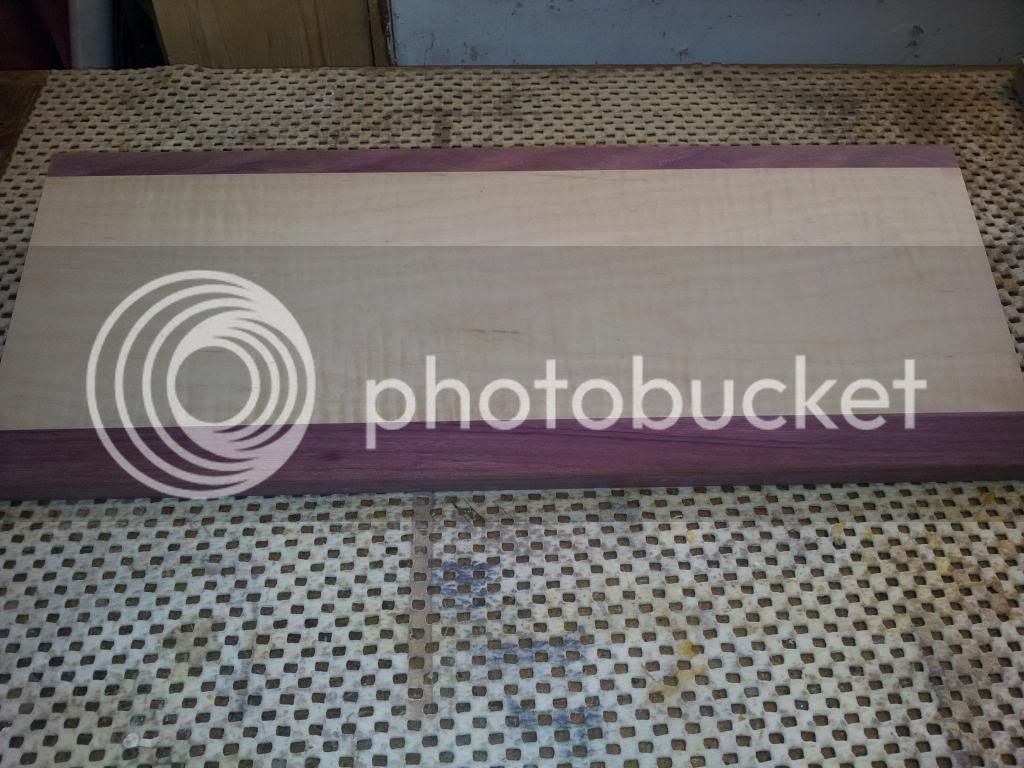
Once machined up a quick look to see how they look on the panel.
20140125_103352.jpg
 
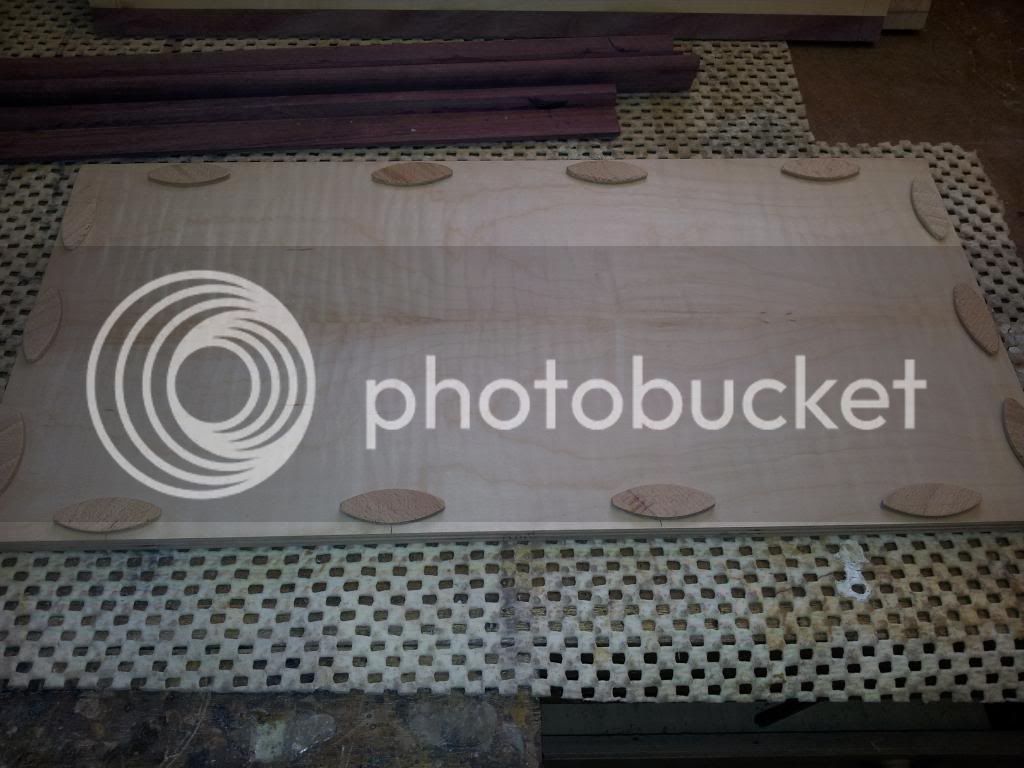
Next day was started by sanding the skirts/ panels etc. Once done it was time for some biscuits. :mrgreen:

Panels layed out
20140125_112826.jpg


and cut
20140125_122711.jpg


20140126_142134.jpg


I then decided to do a mock up and that's when i found another error. #-o

I made the carcass at 600mm x 300mm. The skirt once fitted added another 18/20mm to each direction. The purple heart is 610mm long. Therefore too short to mitre and fit.
So take it apart and work out how much to trim the base by. Yes the base i haven't long put biscuit slots into. #-o

So trimmed the the base. Then checking for square etc. After much measuring / checking/ swearing lol. It turns out my 2 squares are not square ](*,) Also i have been having issues with the TS. As i'm cutting, once past the front teeth the rear teeth also catch the work piece. :( After fitting a new blade for cutting the ply. It's the same. After much swearing and throwing things LOL. It turns out the front rail has moved from 90 degrees to the blade. So the rail gets altered and squared up.
So i call it a night before something goes horribly wrong.
 
DannyEssex":1xosyzzs said:
Looking nice Carl, you sure do like a cupper :lol:
Thank you Danny. That is a small one, i have spotted a nice one in asda, it holds 1.5ltrs i think :mrgreen:
 
Looking good. Can you not just shorten everything to accommodate the mistake. I presume your not short by 50mm +
 
Now onto today. Starts of nice with sanding :roll: Starting with 80g going up to 180g.

Biscuit slots done in base again, oh how i lurrrrrve redoing work. :oops:

I then set up the TS and trimmed the panels all to the same width. Then i set up the router table and cut a groove in the front/ rear panels.

20140126_142134.jpg


Those will be for some strips for the inner tray to sit on. :)

Saw set up for cutting strips and after trying to plane them i give up and resort to scraping again.

20140126_142208.jpg


Now a quick mock up of how it might look.

20140126_153906.jpg


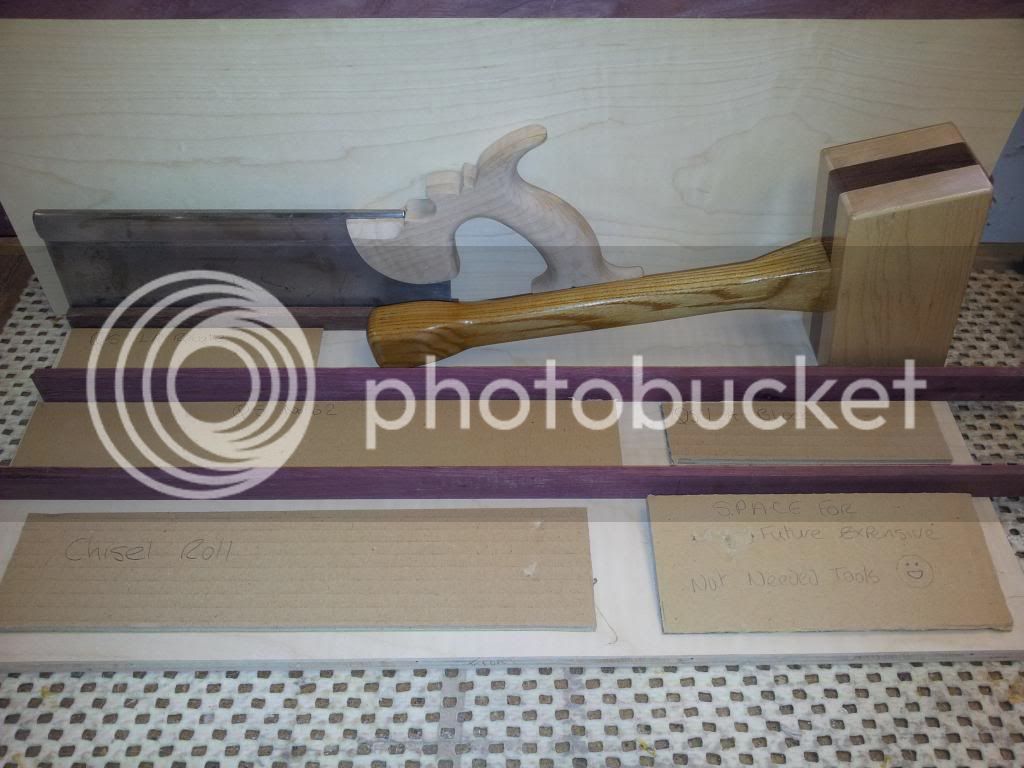
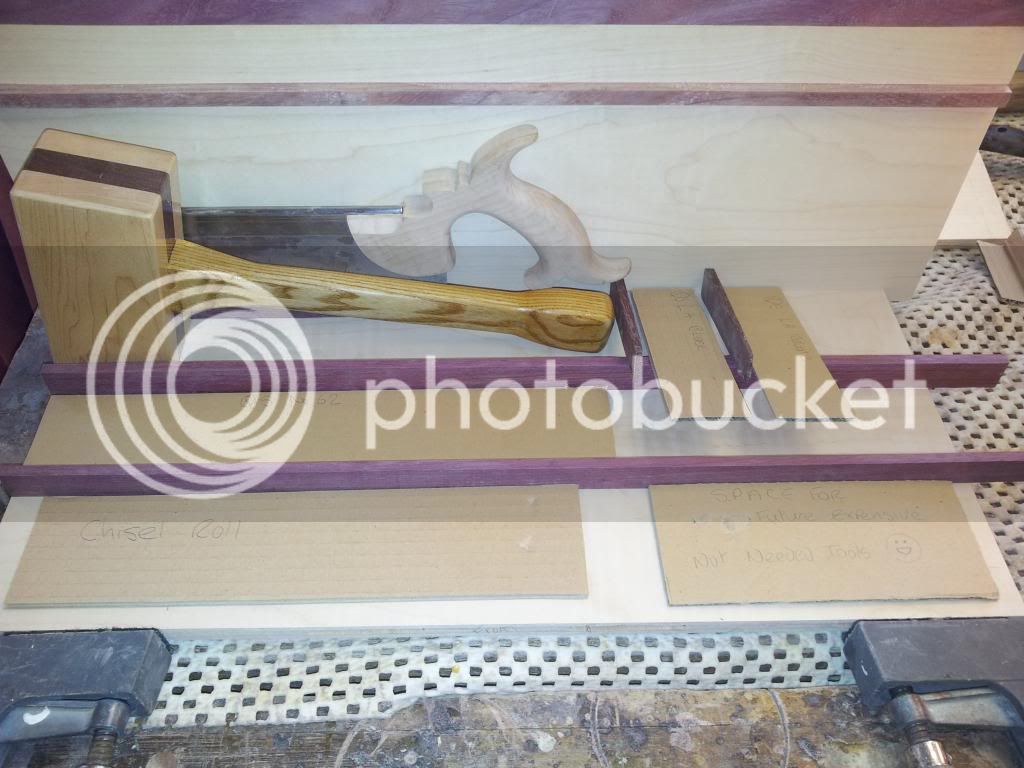
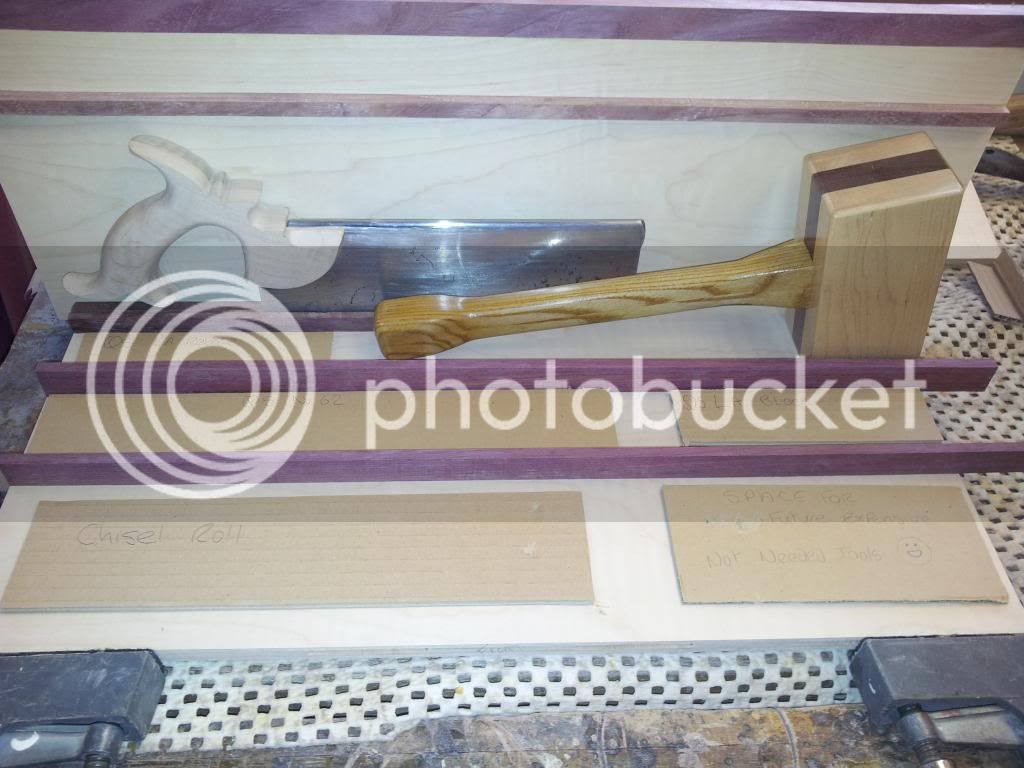
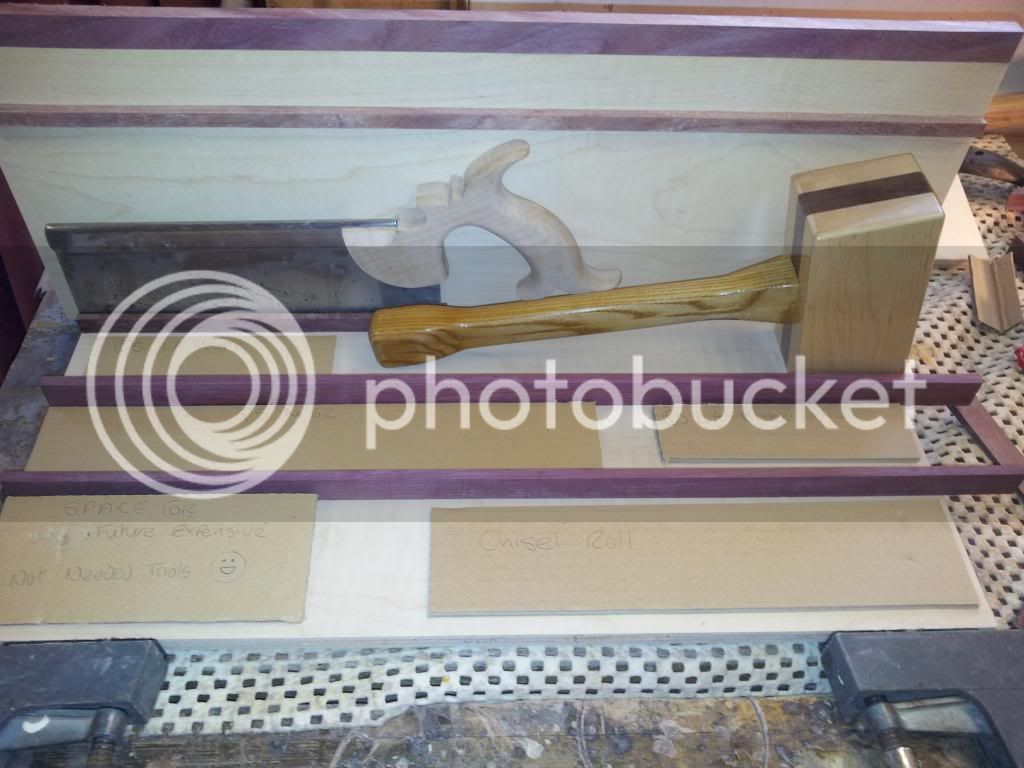
The rest of the day was spent trying different mock ups of tool locations. ;)
1
20140126_130415.jpg


2
20140126_145408.jpg

This one didn't really work too well. The mallet blocks easy access to removing/ replacing the saw.

3
20140126_145049.jpg

This way the saw handle is too close to the side for easy access.

4
20140126_145934.jpg

This is probably the one i will use, good access all round. Plus even weight distribution.

I am also thinking of a strip of purple heart level with the top of the saw spine with a magnet in it to keep it in place?

Next up, start mitring the box corners :shock:
 
billybuntus":3qt3v3mg said:
Looking good. Can you not just shorten everything to accommodate the mistake. I presume your not short by 50mm +
Thank you.

Yeah i trimmed about 10mm off the length and about the same - splitting it off each side to keep the veneer pattern central. :)
 
carlb40":20hbi7df said:
Thank's guys.
Mark i'm not too fond of chrome, it always seems cheap to me. I would hope for the money those Brusso fittings have some form of lacquer / protection on them.


It's Steve btw :wink: MMUK stands for Madison Motorsport UK, my race team :mrgreen:
 
MMUK":2hfbwf40 said:
carlb40":2hfbwf40 said:
Thank's guys.
Steve i'm not too fond of chrome, it always seems cheap to me. I would hope for the money those Brusso fittings have some form of lacquer / protection on them.


It's Steve btw :wink: MMUK stands for Madison Motorsport UK, my race team :mrgreen:

Ooops :oops:

Sure i put Steve :mrgreen:
 
This is progressing very nicely, excellent stuff so far. I built a quick plywood cabinet from Fine Woodworking Tools and Shops edition but I want do a proper craftsman one (be after Roubo is finished :) ).

J
 

Latest posts

Back
Top