Tool Cabinet - FINISHED

UKworkshop.co.uk

Help Support UKworkshop.co.uk:

This site may earn a commission from merchant affiliate links, including eBay, Amazon, and others.
Shultzy":2oad1x94 said:
Waka, what problems did you have with the "push to open/close" mechanism which was different to standard runners?

For the mechanism to work perfectly the width of the draw has to fit perfectly, if the draw is as much as 1 mm to wide then the mechanism doesn't work correctly.
Once I had done the initial fit I had to plane off a little at a time until the draw would swing open once pushed in. The closing part was no problem at all.
If you went to far (as I did on one draw) then the locking mechanism does not latch in, to overcome this I put a washer spacer in the section of runner that attaches to the carcass.

If you used conventional draw runners then you would just pull the draw open and that extra 1 mm width would probably not be noticed.

There is a knack to fitting the draws to these runners, but when you've mastered it, its well worth the effort.
 
I'm totally in awe of this tool cabinet - I have furniture in the house which isnt as well made / finished.

My tool cabinet is made out of five bits of Mdf screwed together with 40mm M8s
 
Waka, With a post as good as that, coupled with WIP pics, it deserves to be offered to woodworker mag as an article.
excellent thread, excellent project, super conclusion. (homer) MMMMMMMMMMM,,,,Rosewood, my favorite wood :mrgreen::mrgreen::mrgreen::mrgreen::mrgreen::mrgreen::mrgreen::mrgreen::mrgreen::mrgreen:

All I can say is "Well done".

John. B
 
John. B":37ocwfis said:
Waka, With a post as good as that, coupled with WIP pics, it deserves to be offered to woodworker mag as an article.
excellent thread, excellent project, super conclusion. (homer) MMMMMMMMMMM,,,,Rosewood, my favorite wood :mrgreen::mrgreen::mrgreen::mrgreen::mrgreen::mrgreen::mrgreen::mrgreen::mrgreen::mrgreen:

All I can say is "Well done".

John. B

John

Not sure my pic's are detailed enough for a magazine.
 
Waka":1ay6h4y5 said:
Not sure my pic's are detailed enough for a magazine.

It is not uncommon for makers to (ahem)"re-create" the action shots after the piece is finished, not that I would indulge in such a shoddy practise...

As a piece its certainly interesting enough for publication in my view, its just whether you could be bothered to document the detail. I have done a few articles and personally I find the process intrusive and a bit of a hassle. Gratifying though it is to see ones work in print, the remuneration is really pretty poor - I would say you need to do it for the self-edification, not to make a million.

Cheers, Ed
 
EdSutton":3gn8vn9l said:
Waka":3gn8vn9l said:
Not sure my pic's are detailed enough for a magazine.

It is not uncommon for makers to (ahem)"re-create" the action shots after the piece is finished, not that I would indulge in such a shoddy practise...

As a piece its certainly interesting enough for publication in my view, its just whether you could be bothered to document the detail. I have done a few articles and personally I find the process intrusive and a bit of a hassle. Gratifying though it is to see ones work in print, the remuneration is really pretty poor - I would say you need to do it for the self-edification, not to make a million.

Cheers, Ed

Ed

I agree with you, I've never wanted to make money out of my woodworking whether it be form making things or doing articles. Its nice to know that people think its worth a magazine article.

The satisfaction I get is from starting with rough sawn timber and making something that looks nice. I really think a lot of us on the forum are of the same opinion.

The big question is whether I could be bothered to put the article together, and to be honest I'm not sure of the answer.
My real pleasure is showing what I've done on the forum and getting the negative and positive comments from like minded people, thats one of the things that makes it all worthwhile.

Should have another update in about a week, got some other projects to get on with in the meantime.
 
If you've got the time Waka then I'd do it, pride in a well made piece is nothing to be ashamed of and I think you're putting together a pretty impressive cabinet here. I imagine F&C would be interested.

The feeling of pride I got from putting my table on the college stand at Harrogate last year was immense and that was by no means a perfect job. It'll be a hassle to do but it will be great soul food, your spirit will dine out on the experience for a long time to come
 
it will be great soul food, your spirit will dine out on the experience for a long time to come

That is superb and i intend to steal that and use it as my own :D
 
Its been a very frustrating week with the cabinet, nothing I haven't overcome but it has just been trial and error and of course time.

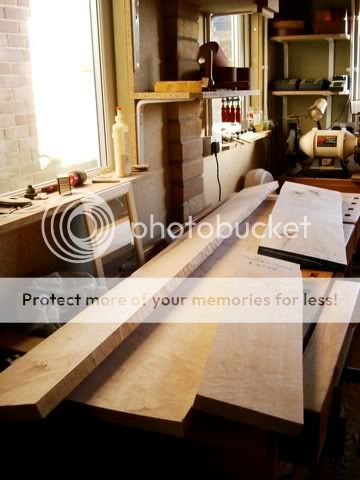
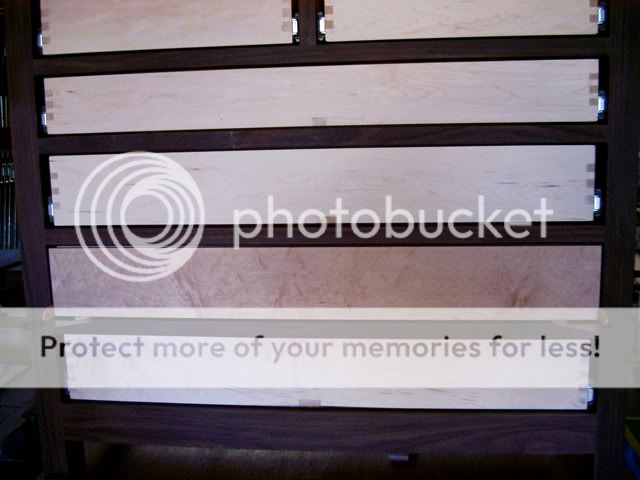
The beginning of the week started with selecting the birds eye for the front on the drawers, I thought I'd just do one to see how it went.

IMGP2755_2.jpg


After re sawing through the band saw and I've got it cut pretty mush to size allowing for a cock beading thickness of 3/32.

IMGP2756_2.jpg


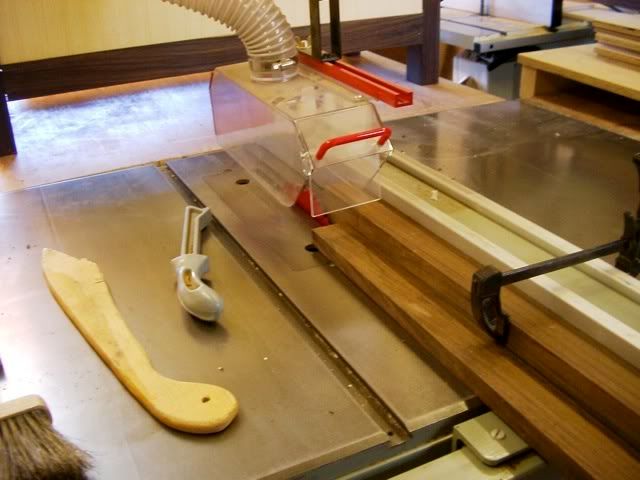
I then set up the table saw to cut the cock beading, even with the overhead blade guard you still need to be very careful with this job. I decided to cut all the strips in one go.

IMGP2757_2.jpg
.

To round tyhe edge off I user the router table and two push blocks, went really well , but again another job that needs all your attention, if you weant to finish the job with all your pinkies.

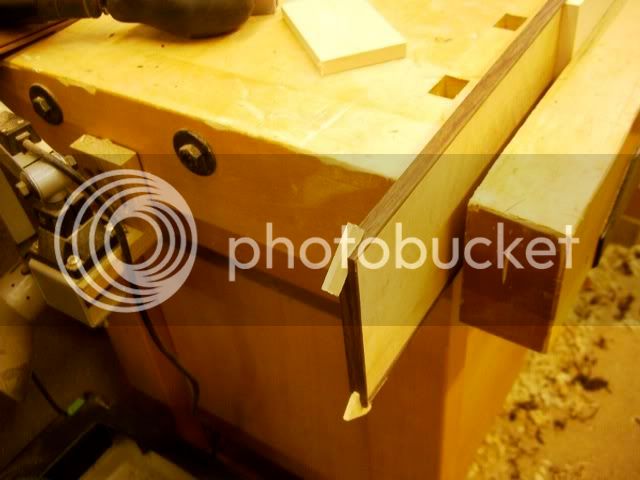
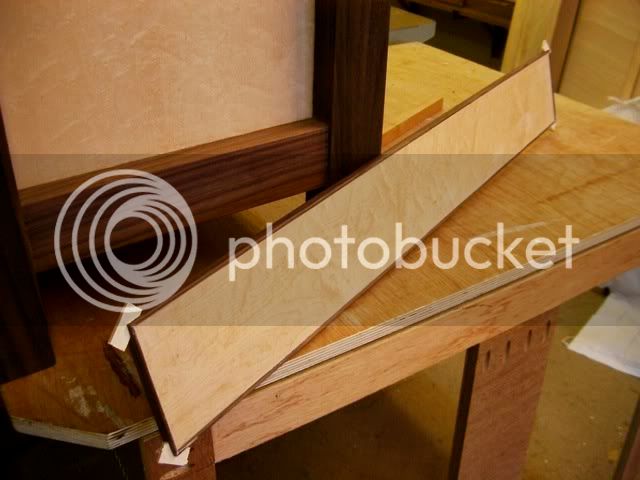
Here comes the really frustrating part of the week and thats the glue up of the cock beading. I wiped down the rosewood with acetone to dry it while the glue was going off, this worked initially but any little pressure and the beading would start to come off, this happened during the final rubbing down.

So this was back to square one, this time I used Gorilla glue, no problem here it stuck like the old proverbial.

By the way I have been discussing these problem with the other two woodkateers and they have been giving me advice.

There's me thinking that I might even get a draw front on this week, the Martin comes up with the idea that I should spline the corners of the cock beading with mapel.
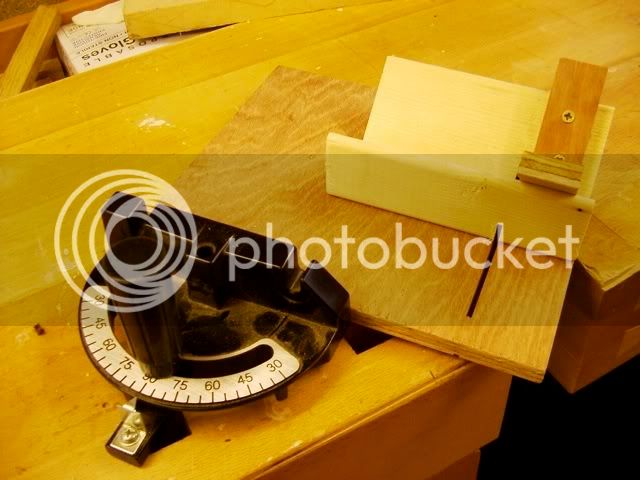
I thought this a good idea as well, so the first thing on the agenda this morning was to knock up a Rob type spline jig. This one doesn't have the movable bit, kits been set solely for these draws, maybe later I'll do the modification.

IMGP2762.jpg


A little bit of mapel, and a little glue and the splines are in.

IMGP2761.jpg


IMGP2763.jpg


So the week turned out alright in the end. The great thing is that I'm doing things I haven't done before and making the jigs as I go along.

I'll give you another update when all the draws have been completed.
 
Fantastic attention to detail Waka. This is going to be an amazing tool cabinet. =D>
 
Oh boy that does look good, I'm gonna copy that idea for my drawers :lol: =D>

Waka I'll let you decide what handle design before I do mine :lol:

EDIT....

Can't wait to see that birdseye come alive when you do the finish.
 
No Rush Waka, plenty of time.

I must admit when you mentioned the cock beading I was nervous. I remembered some horrible repro furniture my parents had in the 80's that had fake cock beading all round over the years bits had chipped off. Also I think I remember Norm ruining something with what he called Cock Beading.

Anyway, I really like they way you've done yours and I think that with the combination of Gorilla and the spline, it'll be super strong. It looks really nice, the contrast works really well.

Keep on truckin mate ;)
 
I was always under the impression that a 'cock bead' was applied to the frame around a door or drawer opening, and that the kind of bead Waka has applied to his drawers was a 'hockey stick moulding'.

Whatever, it looks excellent!

Myself though, I would have used PVA and headless pins. I hate PU glue on delicate work such as this; not only is cleaning up a nightmare but the foaming action of the glue can push joints apart.

I amazed by the time and attention to detail that Waka is putting into what many would consider a utilitarian piece of workshop storage. Great stuff.

Cheers
Dan
 

Latest posts

Back
Top